Gluten-Free Buckwheat Bread Recipe (Bread Machine Friendly & Foolproof)
Buckwheat flour isn’t the same as wheat flour, and that difference is quickly noticed in a bread machine. Because buckwheat is naturally gluten-free and doesn’t possess wheat’s structure, the dough doesn’t trap gas the same way. Without small adjustments to the gluten-free buckwheat bread recipe and method, loaves usually turn out dense or gummy.
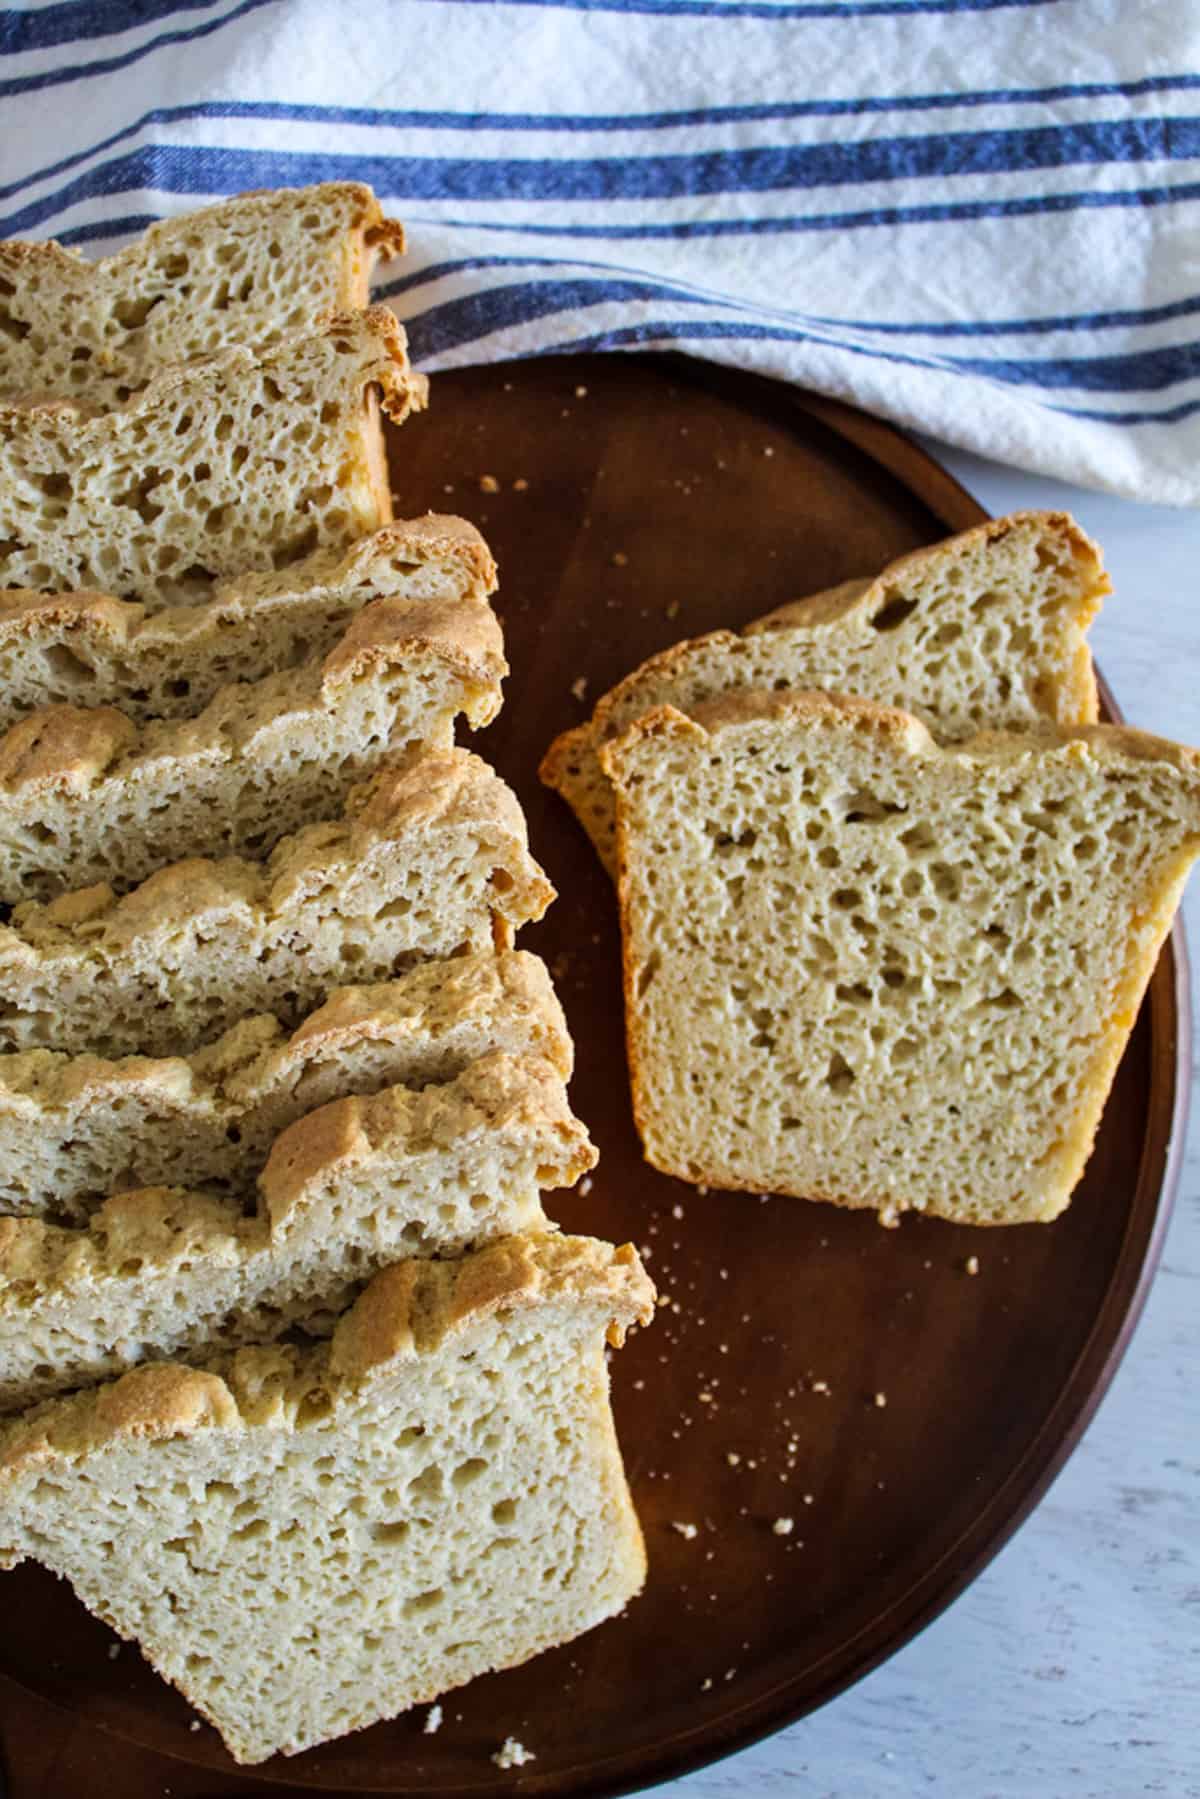
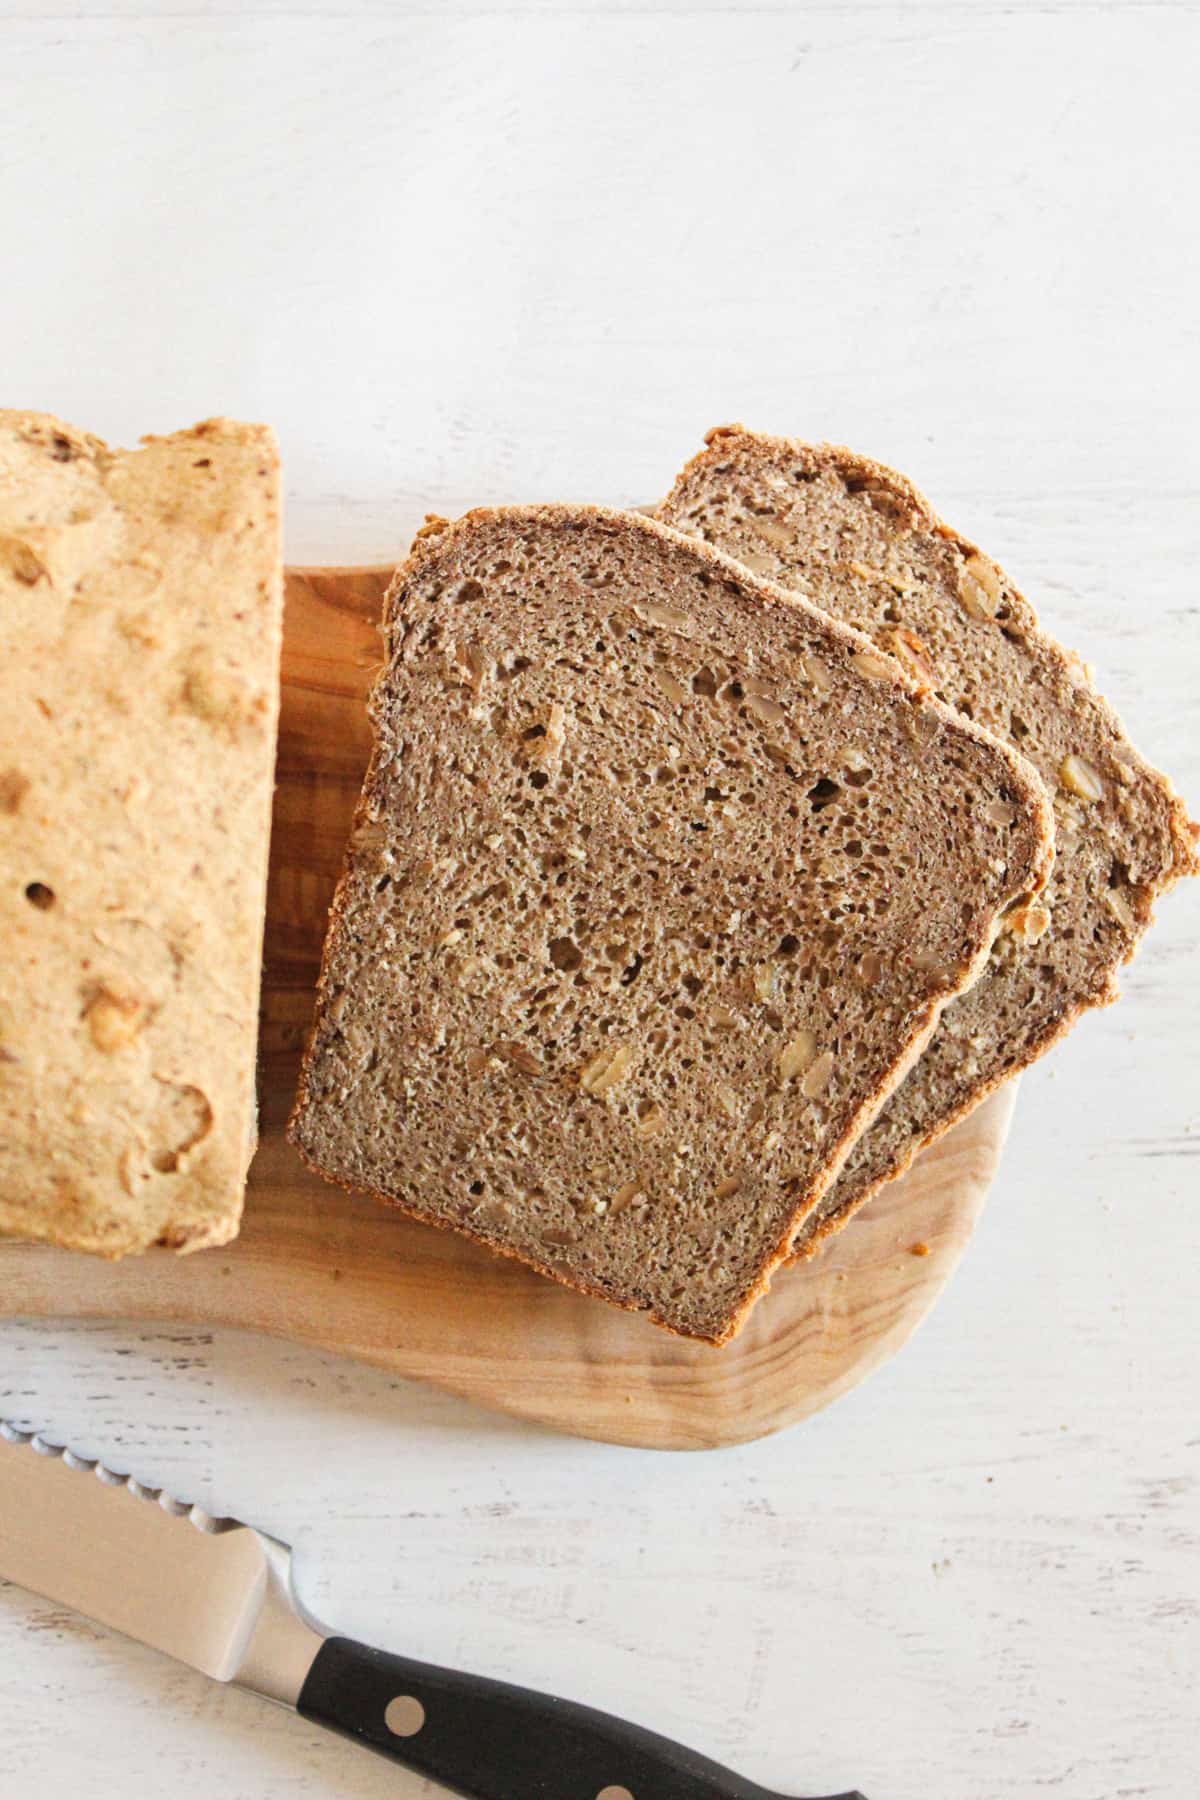
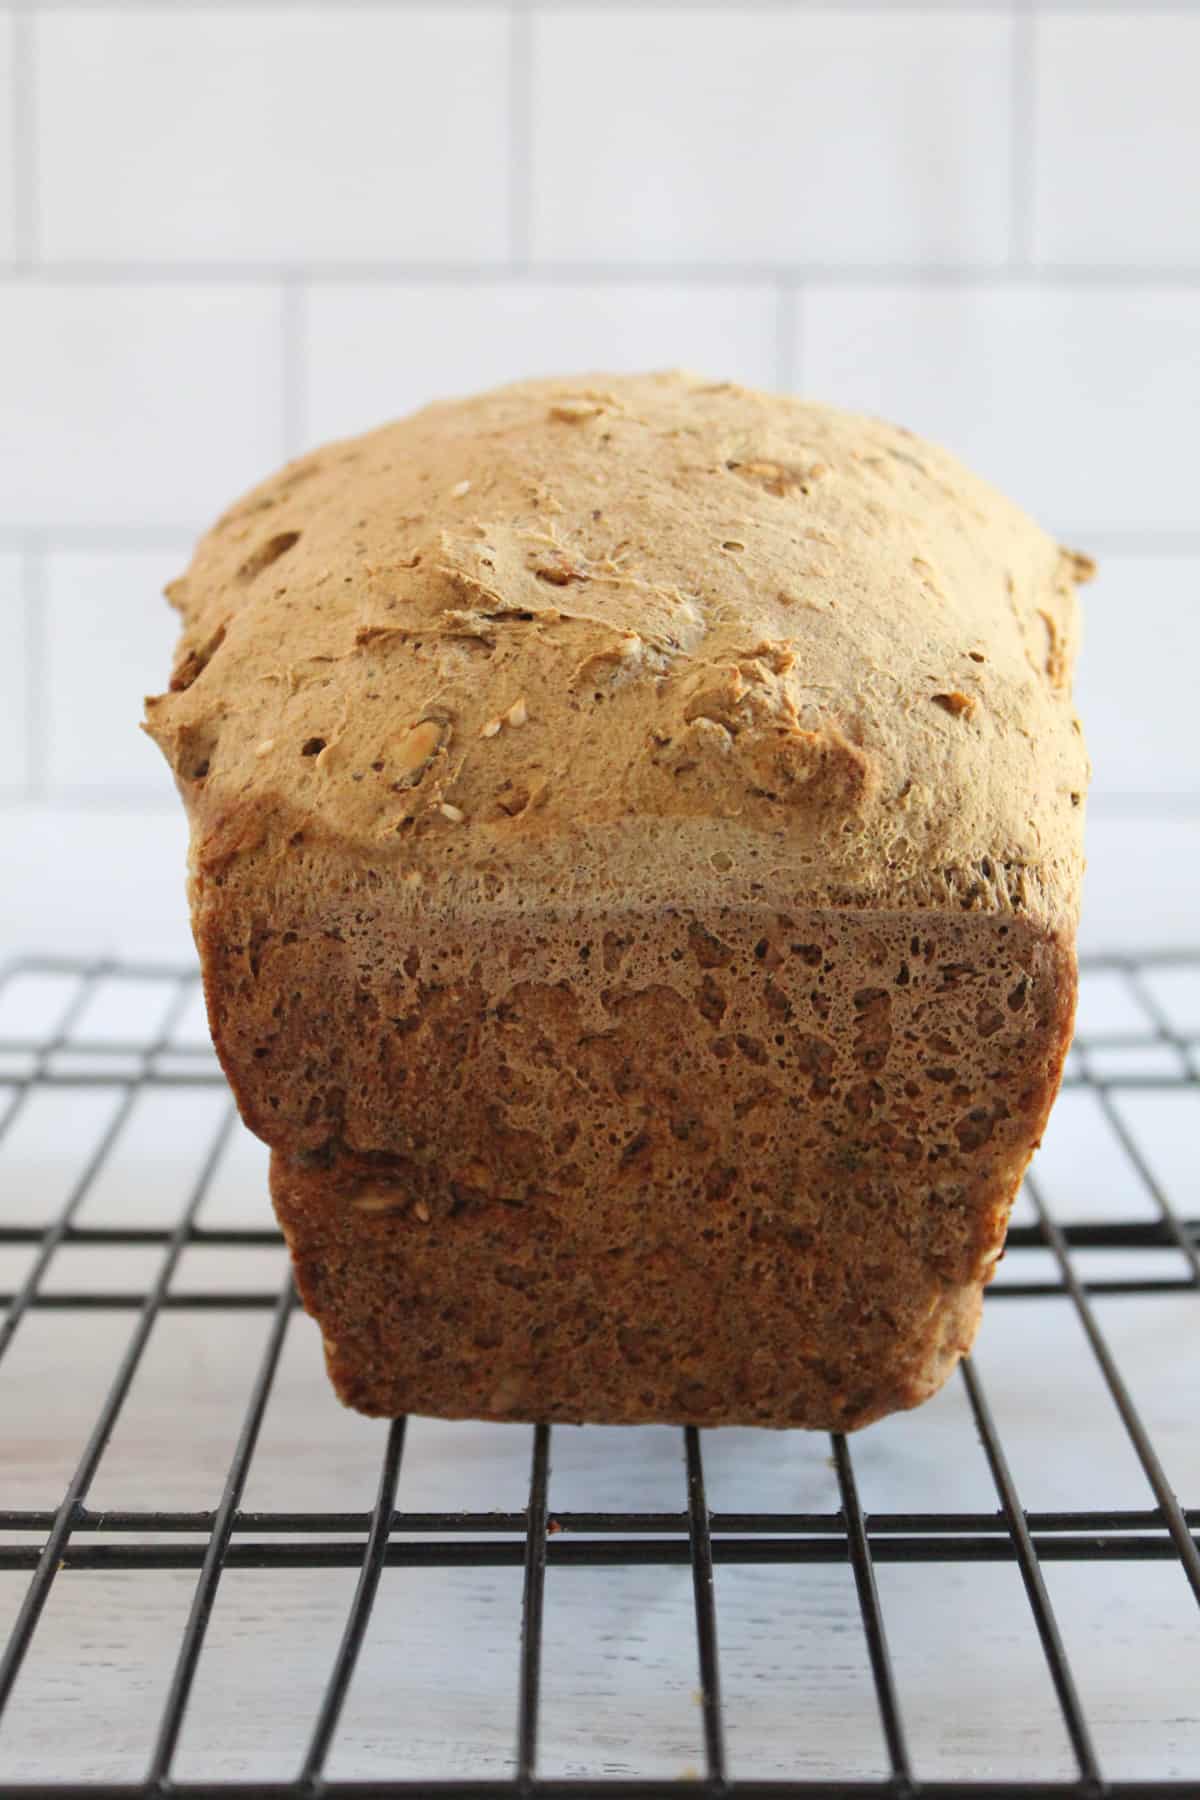
Standard bread machine cycles also aren’t designed for 100% buckwheat flour, which is why several first attempts fail. This loaf is hearty and moist rather than fluffy like white sandwich bread. That texture is normal for buckwheat and actually gives the bread better structure for slicing and toasting.
Table of Contents
This buckwheat bread recipe guide walks you through the right flour balance, yeast method, and hydration. Also, it will show you the cycle settings so you can bake a soft, sliceable loaf with consistent results.
Quick Ingredient Amounts (At-a-Glance)
If you just want to double-check quantities before you start, here’s the full buckwheat bread machine ingredient lineup in one quick view:
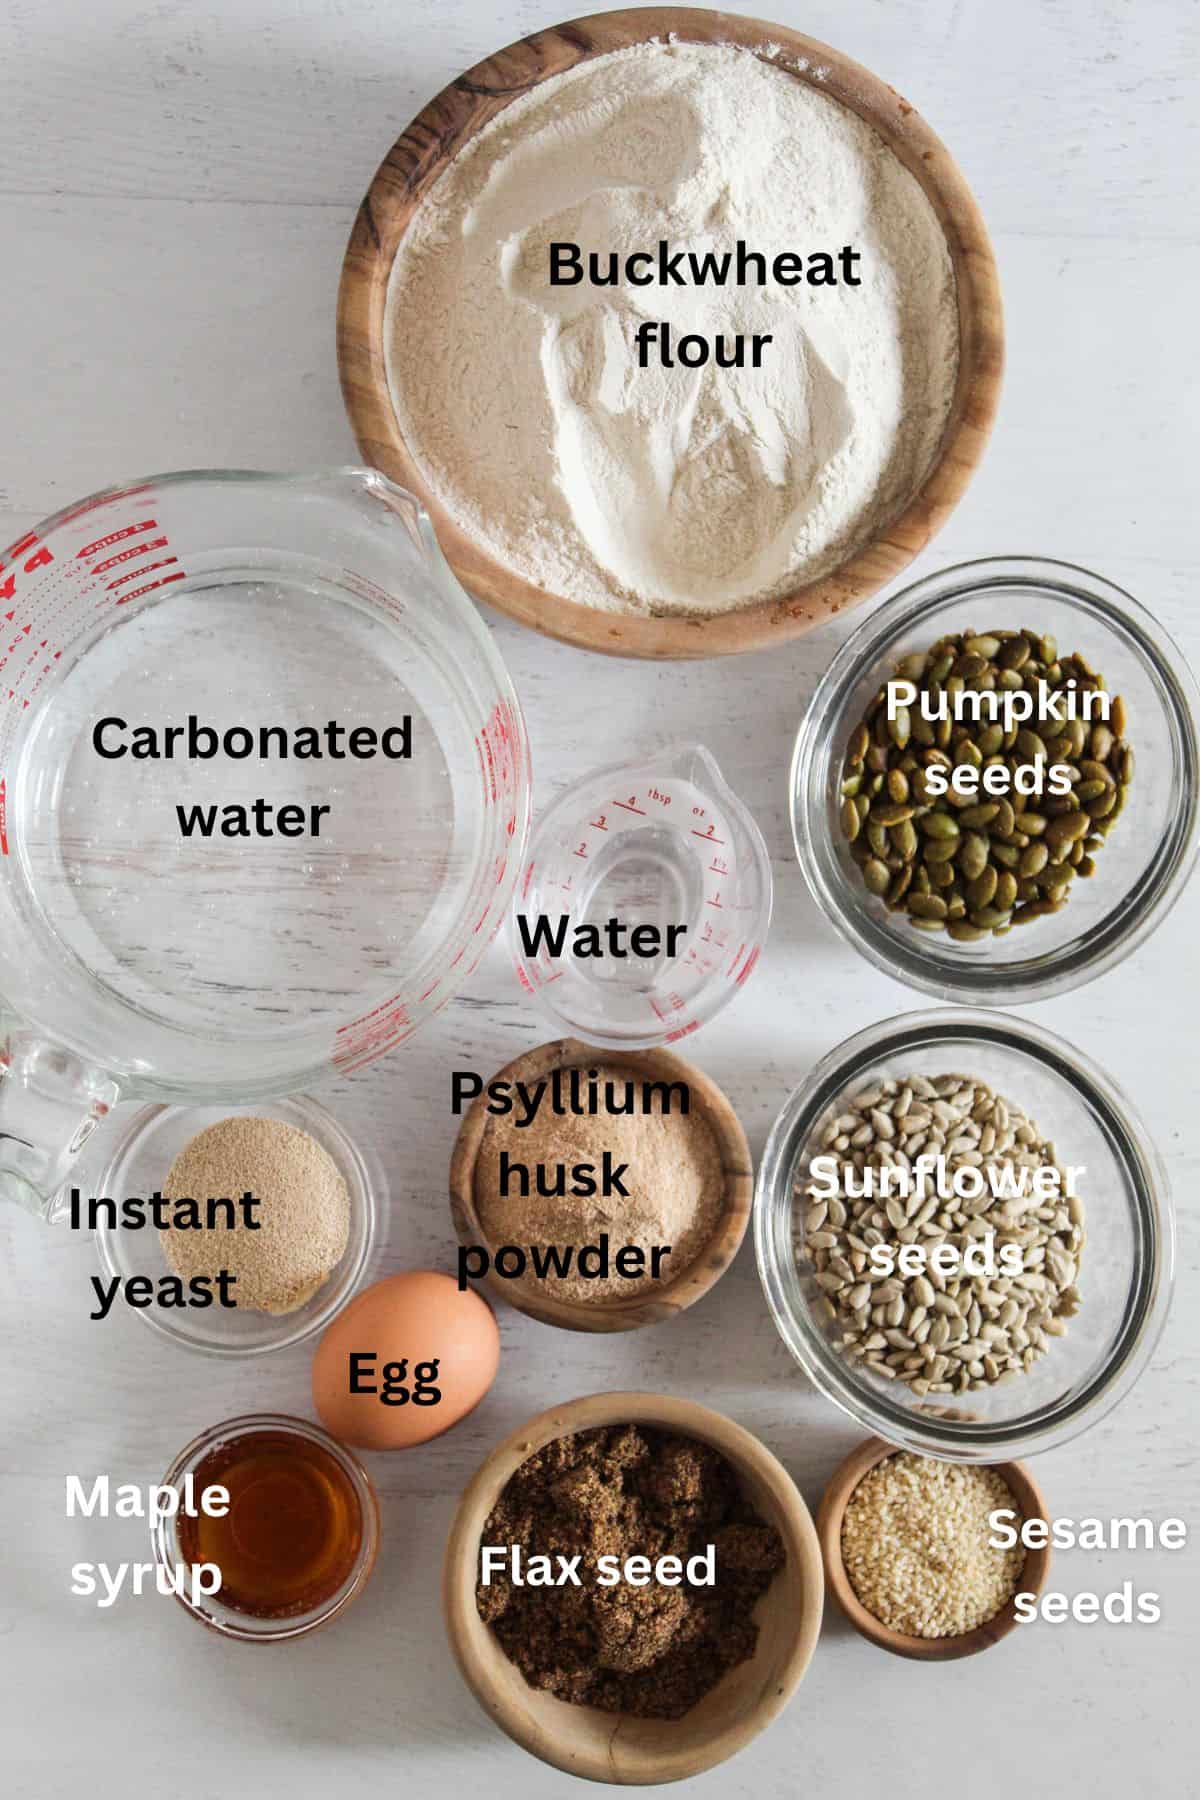
- Buckwheat flour: 2 cups (240 g)
- Tapioca starch: ½ cup (60 g)
- Psyllium husk powder: 2 tbsp
- Warm water: 1¾ cups (420 ml)
- Oil: 2 tbsp
- Sweetener: 2 tbsp
- Yeast: 2¼ tsp
This fast preview helps you confirm everything is ready before loading the pan.
Important Yeast Note (Which Yeast Are You Using?)
Yeast choice can make or break your gluten-free buckwheat bread recipe. Use the method that matches your yeast type before starting the recipe card. This reflects common questions about gluten-free yeast breads like those in our 5 gluten-free bread recipes guide.
If Using Active Dry Yeast
- Proof in 100–110°F water
- Wait for 5–10 minutes until foamy
- Then mix into the dough
If Using Instant Yeast
- No proofing required
- Add directly to the dry ingredients
- Room temp or warm water is fine
Instant yeast doesn’t need proofing. Proofing it won’t hurt either, but it’s unnecessary and just adds an extra step.
For more ideas, explore our collection of 21 gluten-free yeast bread recipes to see how yeast works across different gluten-free breads.
Ingredients & Substitutions
Ahead of the recipe card, understanding what each ingredient does in this buckwheat bread machine loaf is important. Little changes can directly influence texture, rise, and moisture.
Buckwheat Flour (Flavor + Structure)
This forms the base of the loaf. It adds an earthy, nutty flavor and provides the primary structure since there’s no gluten network to hold the bread together.
Tapioca Starch (Lightness + Elasticity)
Tapioca helps soften buckwheat’s natural heaviness. It improves stretch, traps air bubbles, and creates a lighter, less compact crumb. As a result, without it, the loaf can feel overly dense.
Binder – Psyllium Husk (Replaces Gluten)
Psyllium acts like gluten by trapping gas and helping the loaf hold shape during rising and baking. Too little leads to crumbling; too much creates a gummy texture. Hence, accurate measuring matters here more than any other ingredient.
Yeast (Lift)
Yeast produces the gas that raises the loaf. Active dry or instant both work, but timing and mixing methods differ slightly.
Warm Water (Hydration)
Buckwheat absorbs more water than wheat flour, so higher hydration keeps the bread moist and sliceable. The dough should look thick and batter-like, not firm.
Neutral Oil (Moisture + Tenderness)
Use mild oils like vegetable, canola, avocado, or light olive oil. A neutral oil adds softness and prevents dryness without adding a strong flavor that competes with buckwheat.
Sweetener (Feeds Yeast + Browning)
Honey or sugar feeds the yeast for a better rise and improves crust color. The bread will not taste sweet at this amount.
Optional Add-Ins (Flavor & Texture Only)
The ingredients below are completely optional and don’t affect the structure. They’re included for taste, crunch, or appearance.
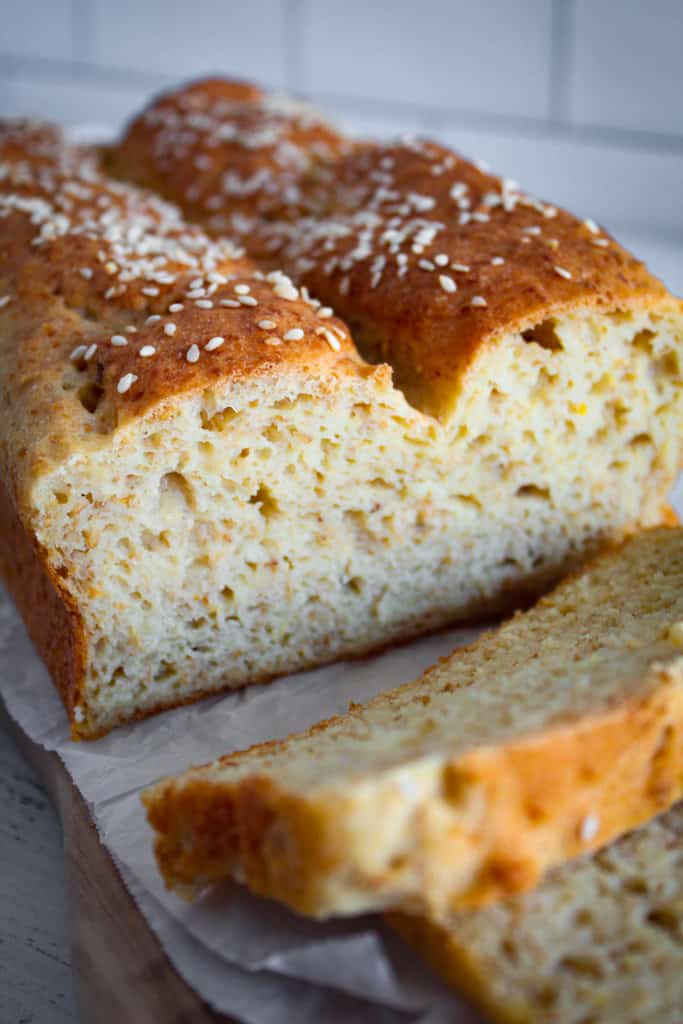
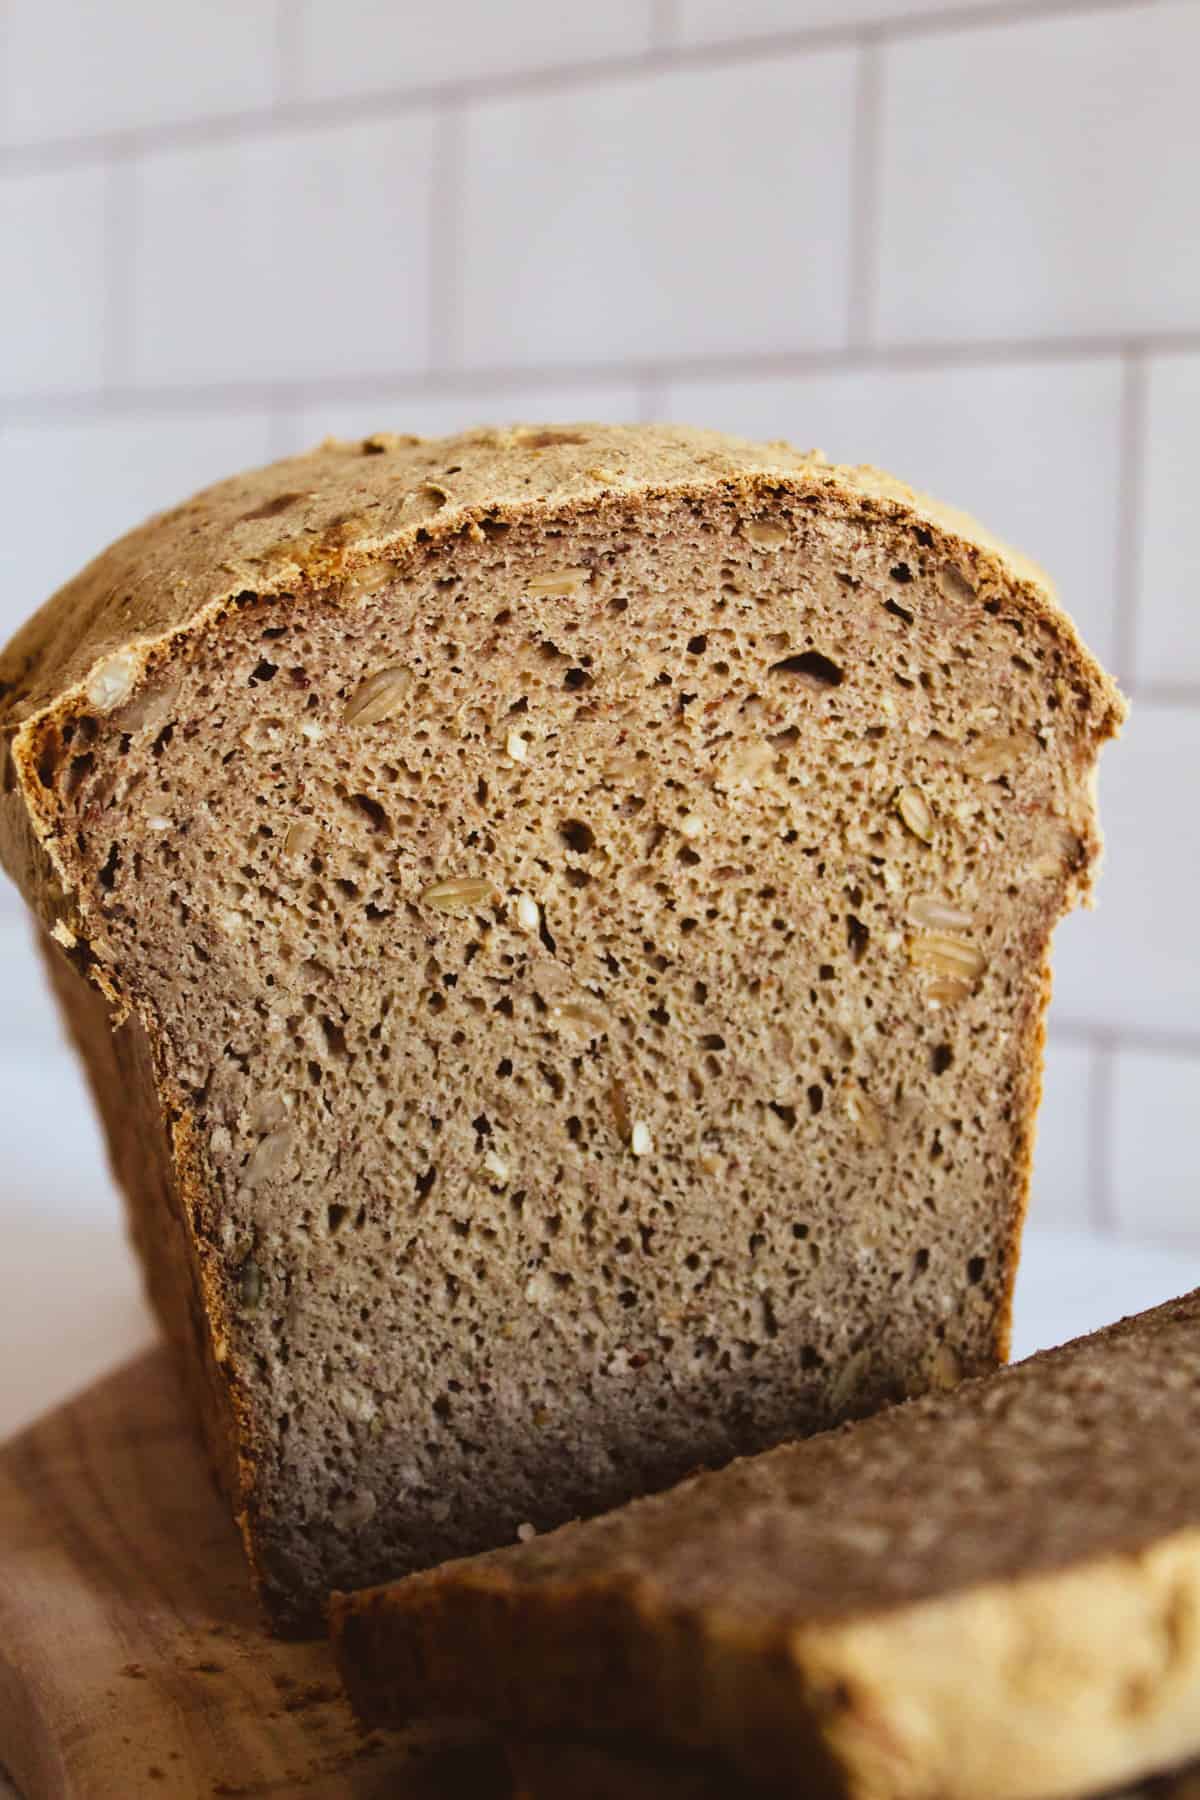
Seeds (Sunflower, Pumpkin, Flax, Sesame)
Stir 2–3 tablespoons into the dough for texture. Sprinkle extra on top before baking for a seeded crust. They add crunch and nutrition but won’t change the rise or crumb.
Egg (Optional, Not Required)
This recipe does not need an egg because psyllium already provides the binding and structure gluten normally would. Adding an egg can make the crumb slightly richer and softer, but it’s not necessary for lift or stability.
Substitution Notes
Some swaps work well, while others change texture significantly:
- Light VS Dark Buckwheat: Light is milder, but dark is stronger and slightly denser.
- Psyllium VS Xanthan: Although they both bind, psyllium usually gives a softer, moister crumb.
- Honey VS Sugar: Both feed yeast, but honey adds moisture. As a result of that, reduce the liquid slightly if you choose to swap.
- Oil Choices: Stick to neutral oils. Strong oils like extra-virgin olive or coconut can overpower flavor or change texture.
- Do Not Substitute: Buckwheat flour is essential. Other flours change structure and require a different recipe.
If you want a broader breakdown of flour and binder swaps, see our guide to gluten-free flour substitutes.
Buckwheat Bread Is Different
Buckwheat doesn’t behave like wheat, especially in a bread machine. Knowing what makes it different helps you set the right expectations and avoid common texture issues.
Why It’s Not Like Wheat Bread
- Buckwheat is not actually wheat
- It contains no gluten; as a result, it can’t form a stretchy structure
- The dough is naturally dense, not elastic
- It needs higher hydration to stay soft
- Kneading matters less because there’s no gluten to develop
What This Means in a Bread Machine
- Expect batter-like dough, not a firm ball
- You’ll see less rise than wheat bread
- A moist, slightly dense crumb is normal
These differences are exactly why this buckwheat bread machine recipe focuses on hydration, binder, and the correct cycle rather than kneading. Read our Top 10 Gluten Free Baking Tips for more practical guidance.
Why This Recipe Works
Understanding why this gluten-free buckwheat bread recipe works helps you trust the process and avoid common pitfalls.
1. Higher Hydration Prevents Dryness
Buckwheat and many gluten-free flours absorb more water than wheat; consequently, a wetter dough yields better texture and crumb structure. Proper hydration improves how water interacts with starches, which helps the bread maintain softness rather than dry out.
2. Binder Traps Gas
Because buckwheat lacks gluten’s viscoelastic network, adding hydrocolloids like psyllium or xanthan gum helps trap the gases yeast produces. This mimics gluten’s role and improves loaf volume and crumb without traditional gluten structure.
3. Bread Machine Handles Mixing Automatically
Bread machines provide consistent mixing, hydration, and heat, which standardizes dough development. This consistency is especially valuable with batter-like buckwheat doughs that don’t benefit from traditional kneading.
4. Instant Yeast Rises Faster In Machines
Instant yeast activates quickly and steadily, which pairs well with the shorter fermentation dynamics of gluten-free doughs. Because gluten-free doughs don’t retain gas as long as wheat doughs, faster rise timing in the machine helps achieve better loaf height.
Printable Buckwheat Bread Machine Recipe Card
Ingredients
Dry Ingredients
- 2 cups buckwheat flour
- ½ cup tapioca starch
- 2 tbsp psyllium husk powder
- 2 tsp salt
- 2¼ tsp Yeast check note
Optional Add-Ins (Flavor & Texture)
- 3 Tbsp. sunflower seeds optional
- 3 Tbsp. pumpkin seeds optional
- 2 Tbsp. ground flaxseed optional
- 2 Tbsp sesame seeds optional
Wet Ingredient
- 1¾ cups warm water (105–110°F)
- 2 tbsp neutral oil (Vegetable, canola or light olive oil)
- 2 tbsp honey or sugar
Instructions
Bread Machine Instructions
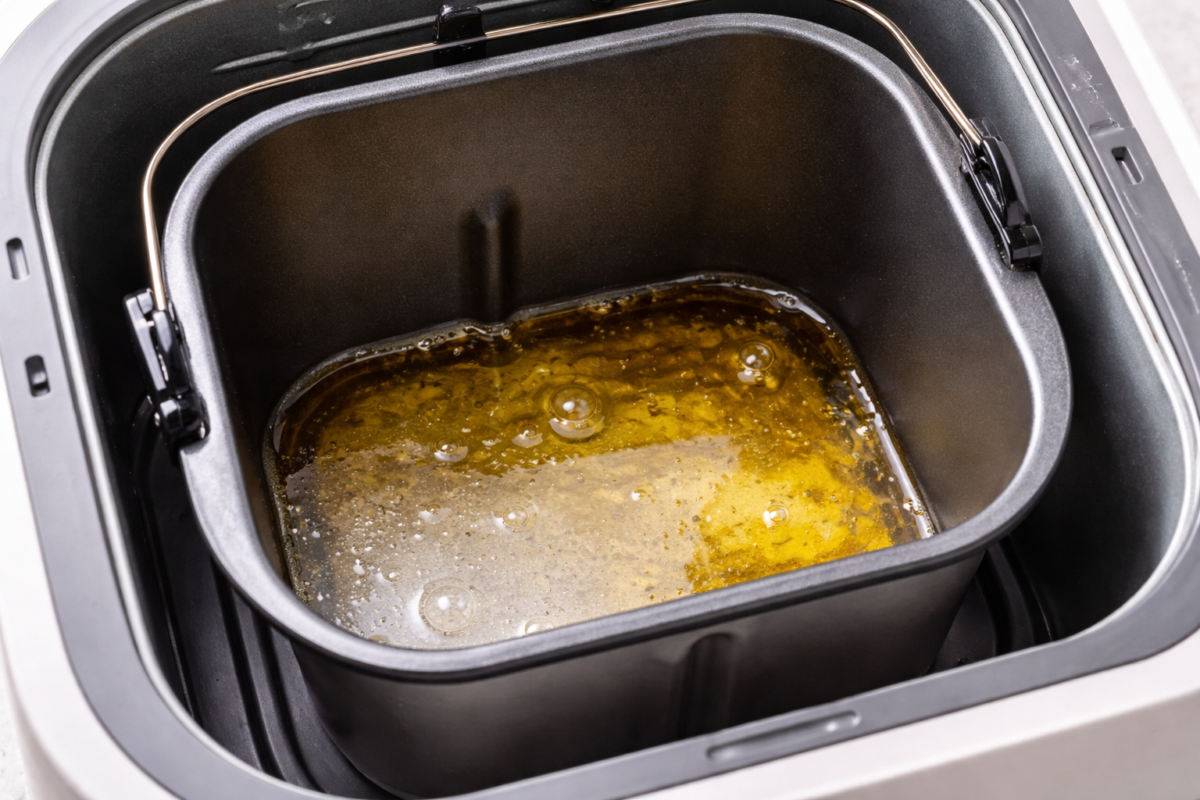
- Add Liquids: Pour warm water, oil, and honey/sugar into the bread machine pan.
- Add Dry Ingredients: Layer buckwheat flour, tapioca starch, psyllium, salt, and any optional seeds over the liquids.
- Add Yeast (Based On Type):Active Dry: Pour proofed, foamy yeast into the pan.Instant: Make a small well in the dry mix and sprinkle instant yeast.
- Select Settings: Choose the Gluten-Free cycle (or Basic/One-Cycle if GF isn’t available), and set loaf size to 1.5 lb.
- Start & Early Check: Press Start. Then, about 10 minutes in, open briefly and check the dough. It should be thick, batter-like; not dry. The next thing to do is to add 1–2 tbsp water only if needed.
- Bake: Let the machine complete the full mix → rise → bake cycle without interruption.
- Cool Before Slicing: Transfer the loaf to a rack and cool 60–90 minutes before slicing. The Internal temperature should reach ~205–210 °F (96–99 °C).
- Slice with a sharp knife and enjoy.
Notes
- 2¼ tsp active dry yeast
- Proof in ¼ cup warm water with a pinch of sweetener until foamy (5–10 min)
- 2¼ tsp instant yeast (add directly to dry ingredients)
- 1 large egg
- Dough will look batter-like; this is normal
- Measure flour by weight for best accuracy
- Don’t slice until fully cooled
- Use a single-rise or Gluten-Free cycle whenever possible
- Dough should look thick and batter-like, not dry
- Add water 1–2 tbsp at a time only if adjusting hydration
- Avoid opening the lid during the rise; heat loss can collapse the loaf
- Cool completely before slicing to prevent a gummy center
- Carbohydrates: ~26–30 g
- Protein: ~3–4 g
- Fat: ~4–6 g
- Fiber: ~2–4 g
Nutrition
Did you make and love this recipe? Give it your review and rating below! And make sure to follow me on Instagram, Pinterest, and Facebook , too!
Step-by-Step Instructions
Follow these numbered steps carefully to get the best results from your gluten-free buckwheat bread recipe. Each step is one clear action with a visual cue, so even beginners can follow along confidently.
Step 1: Add Liquids
Pour the measured warm water, neutral oil, and honey/sugar into the bread machine pan.
You’ll notice that the liquid sits level across the bottom.
Helpful Tool: A bread machine measuring cup & spoon set makes measuring water, oil, and yeast exact and simple. This set is ideal when following machine recipes.
Adding liquids first prevents dry pockets and helps even hydration when dry ingredients are added.
Step 2: Add Dry Ingredients
Layer the dry ingredients over the liquids in this order:
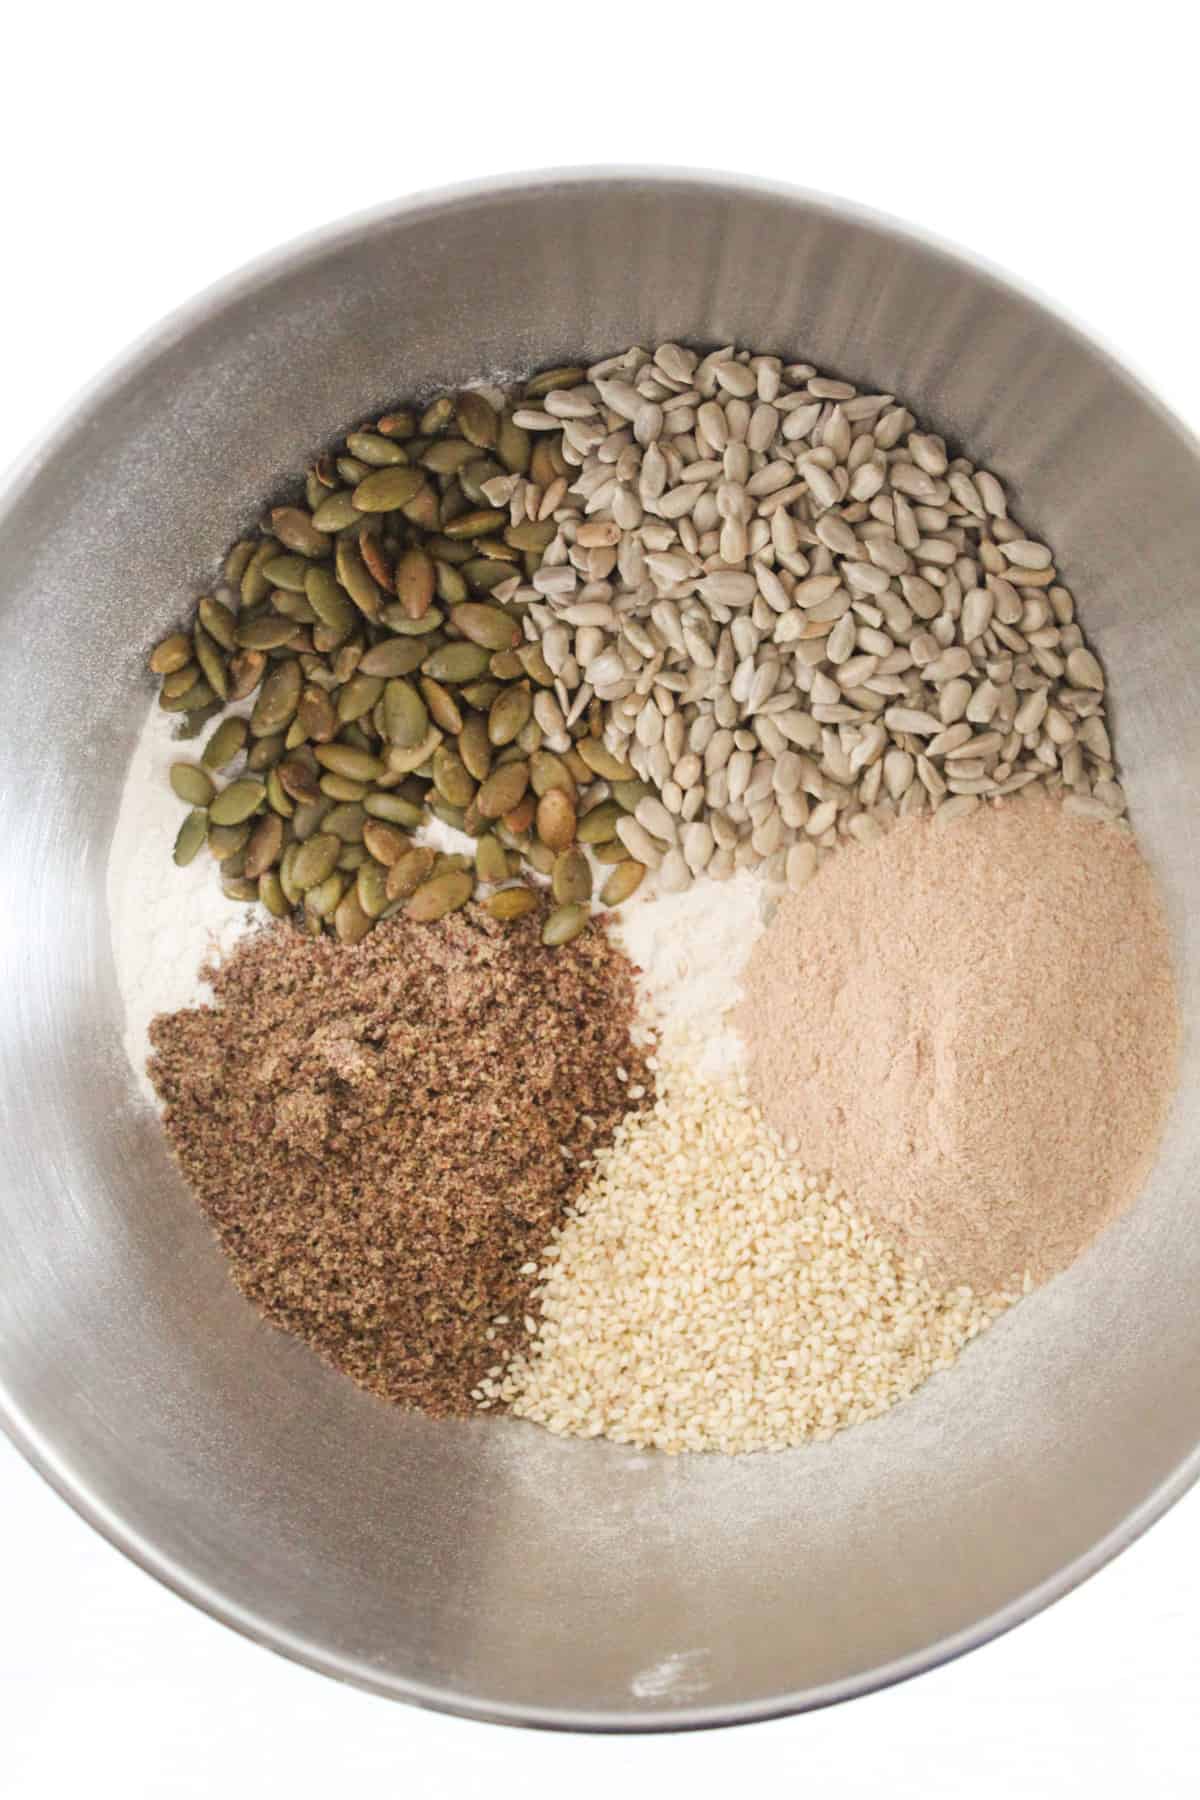
- Buckwheat flour
- Tapioca starch
- Psyllium husk powder
- Salt
- Optional seeds (sunflower, pumpkin, flax, sesame)
The dry ingredients should fully cover the liquid. If any liquid shows through, sift a small dusting of flour on top. Doing this improves how the machine mixes.
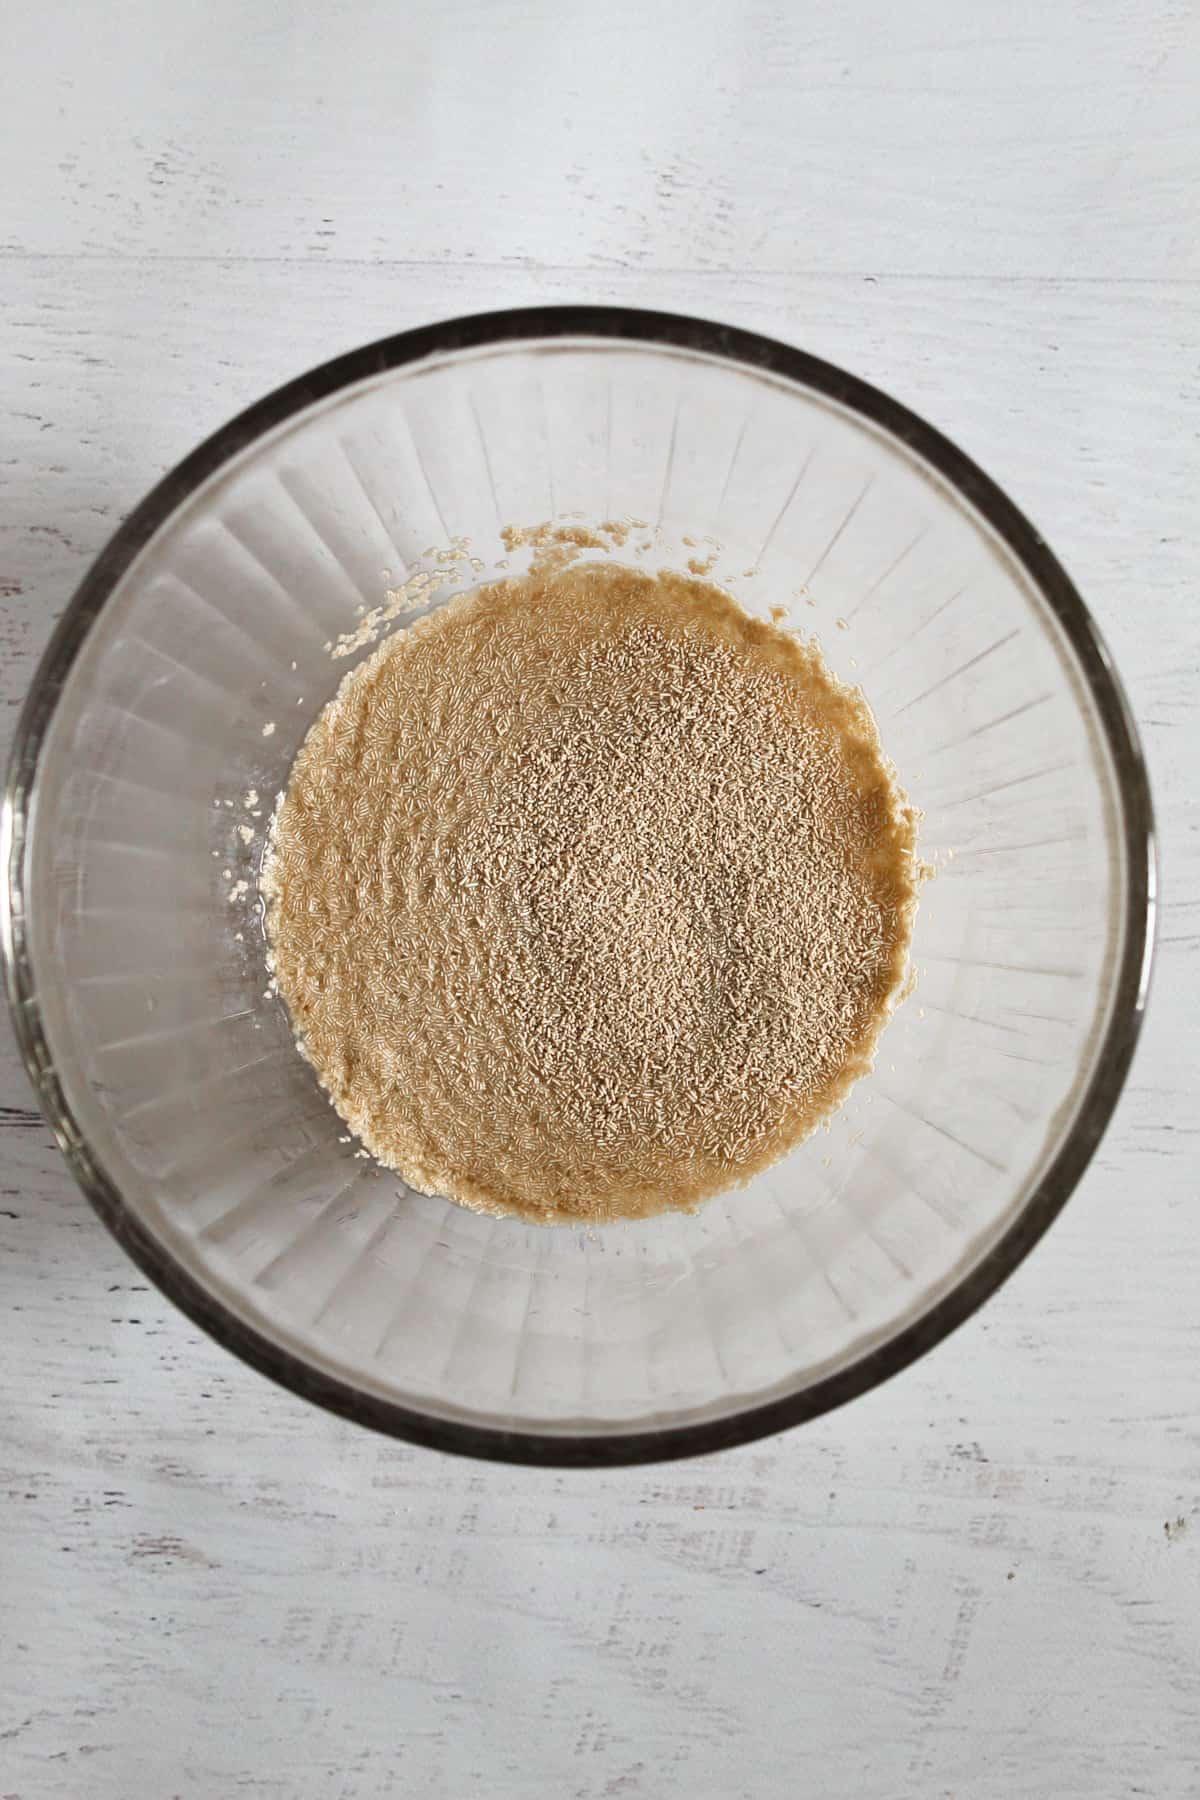
Step 3: Add Yeast (Separate by Yeast Type)
Active dry: Pour the proofed foamy yeast mixture into the pan on top of the dry layer. The yeast mixture should be bubbly and light. If it’s flat, the yeast may be old or the water too hot/cold.
Instant: Make a small well in the dry ingredients and sprinkle the instant yeast into it; do not mix yet. The yeast should sit on dry flour and not fall into the liquid layer.
Make sure you don’t mix the yeast directly with the liquids until the machine starts to keep the timing and rise predictable. For precise small amounts like yeast and salt, a Magnetic Stainless Steel Measuring Spoons Set can help ensure accuracy.
Step 4: Choose the Correct Cycle
Choose the Gluten-Free cycle (best) or Basic / One-Cycle if no GF cycle is available. Then, set the “Loaf Size” to “1.5 lb”, and press “Start”. After selecting, the machine display should show cycle time (about 2 hours and 30 minutes), loaf size, and program name.
Step 5: First 10-Minute Dough Check
Open the lid (very briefly) after ~10 minutes of mixing.
The dough should look thick and batter-like; not dry, crumbly, or like a stiff ball. If it’s too dry/clumpy, add 1–2 tbsp warm water. On the other hand, if it’s very loose/watery, add 1–2 tbsp buckwheat flour + tapioca combined.
A Multi-Purpose Bread Machine Measuring Cup & Spoon Set makes it easy to adjust hydration without guessing.
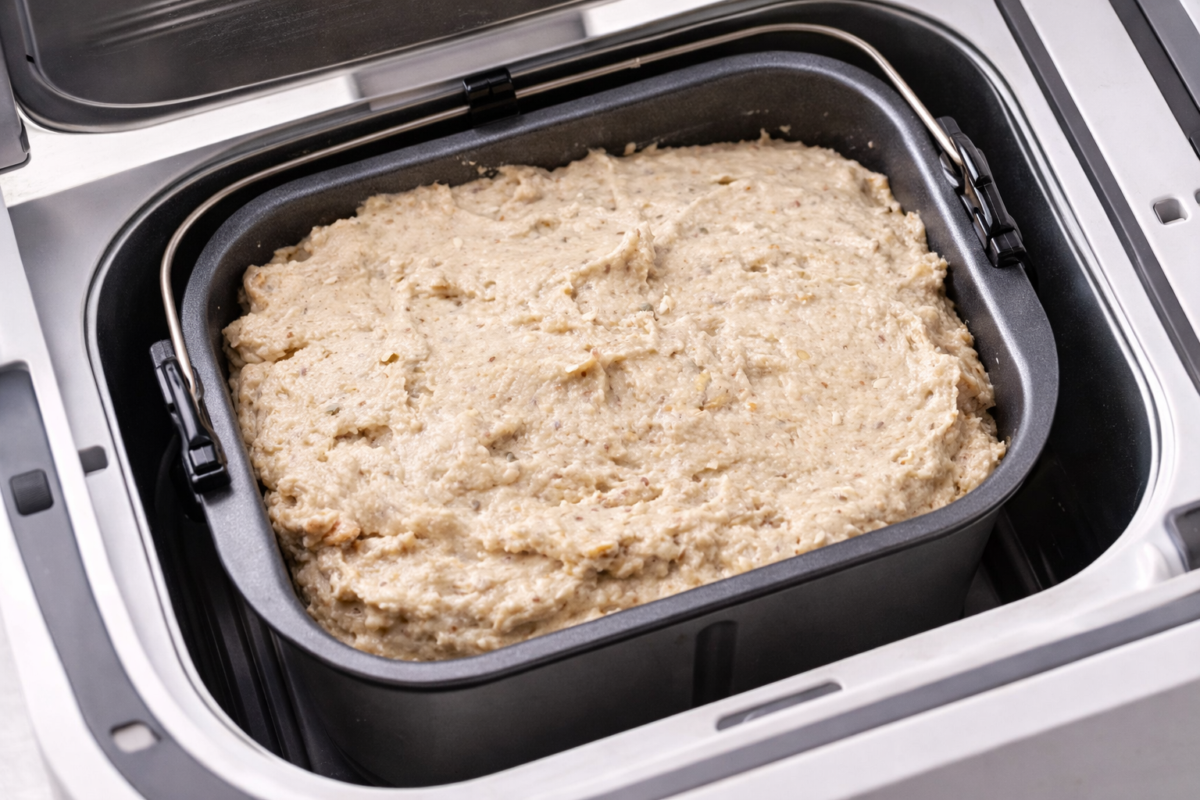
Note that gluten-free dough doesn’t form a smooth ball like wheat dough. Hence, the dough should resemble thick batter.
Step 6: Bake
Close the lid and let the machine complete the full cycle: mix → rise → bake. During the rise, the batter will dome slightly but not double like wheat dough. However, during baking, the top would turn golden to medium-brown.
Don’t open the lid during the cycle because heat loss can collapse the rise.
Step 7: Cool Fully Before Slicing
When the cycle finishes, use oven mitts to lift the pan. Then, invert the loaf onto a cooling rack.
At this point, the bottom should sound hollow when tapped gently. You must let the loaf cool down for 60–90 minutes before slicing. If you cut too soon, it will trap steam, and that will make the center gummy.
Bread Machine Specific Guide
If you want to get the most from this buckwheat bread machine recipe, start by learning your machine’s settings and how they influence results. Gluten-free dough is different from traditional wheat dough; as a result, those settings directly affect the loaf’s texture and rise.
Best Loaf Size Setting
Most bread machines allow you to choose loaf size (e.g., 1 lb, 1.5 lb, 2 lb). For buckwheat bread, a 1.5 lb (700–800 g) loaf size gives enough room for rise without over-expanding the batter-like dough. Too large a setting can make the batter spread and flatten.
If your machine only lists sizes by volume, start with the middle option for balanced rise and texture. Later on, if you want larger or smaller loaves, adjust hydration slightly to match pan capacity.
Which Cycle to Use (Basic vs Gluten-Free)
If your machine has a Gluten-Free cycle, always choose that first. It’s programmed for one rise and combined bake timing suited to gluten-free bread’s structure. If not, use the Basic or Rapid/One-Cycle setting instead. Gluten-free dough doesn’t need a second rise the way wheat dough does; hence, avoid settings with extra rise stages whenever possible.
When to Scrape Sides
During the initial mixing phase, gluten-free dough (including buckwheat) is wetter and often sticks to the pan edges. If you see dry bits stuck around the sides once the paddle starts mixing, use a spatula to quickly scrape them into the center. This ensures even hydration and avoids pockets of unmixed flour.
What Dough Should Look Like Early
Unlike wheat dough that forms a smooth ball, gluten-free buckwheat dough in a bread machine will look more like thick batter as it starts mixing. That’s expected.
A batter-like texture means hydration and binder are working. Meanwhile, if it looks too thick and clumpy, add a tablespoon or two of water. If it’s too loose, it can be corrected by small increases in flour mix.
Do you need a broader set of gluten-free baking tips to help you understand how non-wheat doughs behave in yeast breads? Go through these Top 10 Gluten Free Baking Tips, which comprise guidance on hydration, mixing, and crumb structure. Now, let’s move on to the common machine mistakes most people make.
Common Machine Mistakes
- Ignoring Pan Size Limits: Overfilling can lead to overflow and uneven baking. Therefore, stick to the recommended loaf size.
- Using an Incorrect Cycle: Choosing a wheat or double-rise cycle can over-proof gluten-free dough and make it collapse.
- Skipping Side Scrapes: Because gluten-free dough can cling to the pan, neglecting to help it mix can leave dry pockets and uneven crumb.
Gluten-Free Buckwheat Bread Recipe Texture & Expectation Guide
Before slicing, you should know what this buckwheat bread machine loaf should look and feel like. Setting the right expectations prevents disappointment and helps you judge success correctly.

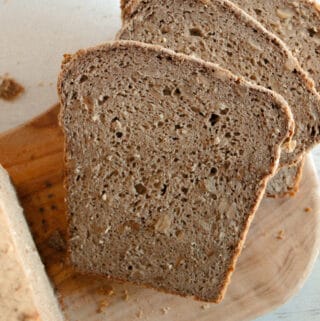
What the Crumb Should Look Like
Expect a moist, slightly dense crumb with small, even air pockets. It won’t be airy like wheat bread, but it should feel tender and slice cleanly.
If the center feels wet or sticky, it likely needs more bake time or cooling. For more help diagnosing texture issues, see this guide on why gluten-free bread can be gummy.
Why It’s Hearty, Not Fluffy
Buckwheat has no gluten network, so the loaf won’t rise tall or fluffy. Instead, you get a hearty, satisfying texture that holds its shape and toasts beautifully.
Best Uses
- Toast
- Sandwiches
- Open-face slices
- Breakfast with spreads or toppings
This sturdier texture makes the bread more versatile for everyday use.
Troubleshooting Gluten-Free Buckwheat Bread Recipe Problems
If your buckwheat bread machine loaf didn’t turn out as expected, use this quick guide to identify the issue and fix it next time.
Bread Too Dense
- Reason It Occurs: Not enough water or binder
- How to Fix It: Add 1–2 tbsp more warm water
- How to Avoid It: Measure binder accurately and don’t reduce hydration
Gummy Center
- Why It Happens: Underbaked or sliced too early
- How to Fix It: Bake longer or finish in the oven; cool fully before slicing
- How to Prevent It: Check for 205–210°F internal temp and rest 60–90 minutes
Sunken Top
- Reason It Happens: Over-proofing or opening the lid during rise
- How to Fix It: Let the cycle finish untouched
- How to Avoid It: Use a Gluten-Free/Basic single-rise cycle and keep the lid closed
Weak Rise
- Why It Happens: Old yeast or cool water
- How to Fix It: Use fresh yeast and 105–110°F water
- How to Prevent It: Proof active dry yeast and include a sweetener
Pale Crust in Bread Machine
- Why It Occurs: Low sugar or short bake time
- How to Resolve It: Extend bake or brush lightly with oil/honey
- How to Prevent It: Keep sweetener in the recipe for better browning
Dry or Crumbly Loaf
- What Causes It: Too much flour or too little liquid
- How to Fix It: Increase water slightly in the next batch
- How to Avoid It: Measure flour by weight for accuracy
Variations & Add-Ins
Once you’re comfortable with this buckwheat bread machine recipe, try these easy variations without changing the core method.
Seeded Version
Stir in 2–3 tbsp sunflower, flax, or sesame seeds. Then, sprinkle extra on top before baking.
Slightly Sweet Breakfast Loaf
Increase sweetener to 3–4 tbsp and add cinnamon or vanilla for a softer, breakfast-style flavor.
Oil-Free Option
Replace oil with equal amounts of applesauce or yogurt. However, expect a slightly denser crumb.
Hand-Mix Oven Method
Mix by hand, pour into a greased loaf pan, and bake at 350°F (175°C) for 45–55 minutes.
Half Buckwheat / Half Oat Blend
Swap half the buckwheat flour for oat flour for a milder flavor and lighter texture. Afterwards, add a splash of more water if needed.
Storage, Freezing & Make-Ahead
Use these simple storage methods to keep your buckwheat bread machine loaf fresh and sliceable.
Room Temp Storage
Store fully cooled bread in an airtight container for 2–3 days.
Refrigeration Tips
Wrap tightly and refrigerate for up to 1 week. Texture may firm slightly.
Freezing Slices
Slice first, separate with parchment, and freeze in a sealed bag for up to 3 months.
Reheating
Toast directly from frozen, or warm slices in a 350°F (175°C) oven for 5–8 minutes to refresh the crumb.
Frequently Asked Questions (FAQs)
Here are answers to the most common questions readers have when making buckwheat bread in a machine, so you can troubleshoot quickly and understand your loaf better. If you still have questions, feel free to drop them in the comments.
Can I Make This Without A Bread Machine?
Yes. Mix the dough by hand, pour it into a loaf pan, and bake at 350°F (175°C) for 45–55 minutes.
Can I Use Light VS Dark Buckwheat Flour?
Yes. Light tastes milder and bakes softer; dark has a stronger flavor and a slightly denser crumb.
Why Is My Loaf Gummy?
Usually underbaked, over-hydrated, or sliced too soon. Bake longer and cool fully before cutting.
Can I Freeze Buckwheat Bread?
Yes. Slice first, freeze in a sealed bag, and toast directly from frozen.
Is Buckwheat Bread Healthier Than Wheat Bread?
Buckwheat is naturally gluten-free and rich in fiber, antioxidants, and plant protein. It’s a good option for gluten-free or higher-fiber diets.
Can I Use Instant Yeast Only?
Yes. Instant yeast works well in bread machines and can be added directly to the dry ingredients without proofing.
Related Recipes
If you enjoyed this buckwheat bread machine loaf, try these other gluten-free breads next:
- Best Ever Gluten Free Sandwich Bread (soft & tender loaf) — soft, classic sandwich slices.
- Healthy Gluten Free Oatmeal Bread (oat flour option) — hearty oat flavor, great for toast.
- Gluten Free Cheddar Cheese Bread (bread machine recipe) — savory, cheesy, machine-friendly.
- Easy Rice Flour Bread Machine Recipe (dairy‑free soft loaf) — light, dairy-free everyday loaf.
No more gluten-free guesswork, just dependable, sliceable bread every time.
Ready to Share Your Results?
Tried this buckwheat bread machine recipe? I’d love to hear how it turned out. Let me know which yeast you used (active dry or instant), which cycle worked best in your machine, and how the texture came out. Your feedback helps other gluten-free bakers get better results, too, so jump into the comments and share your experience.