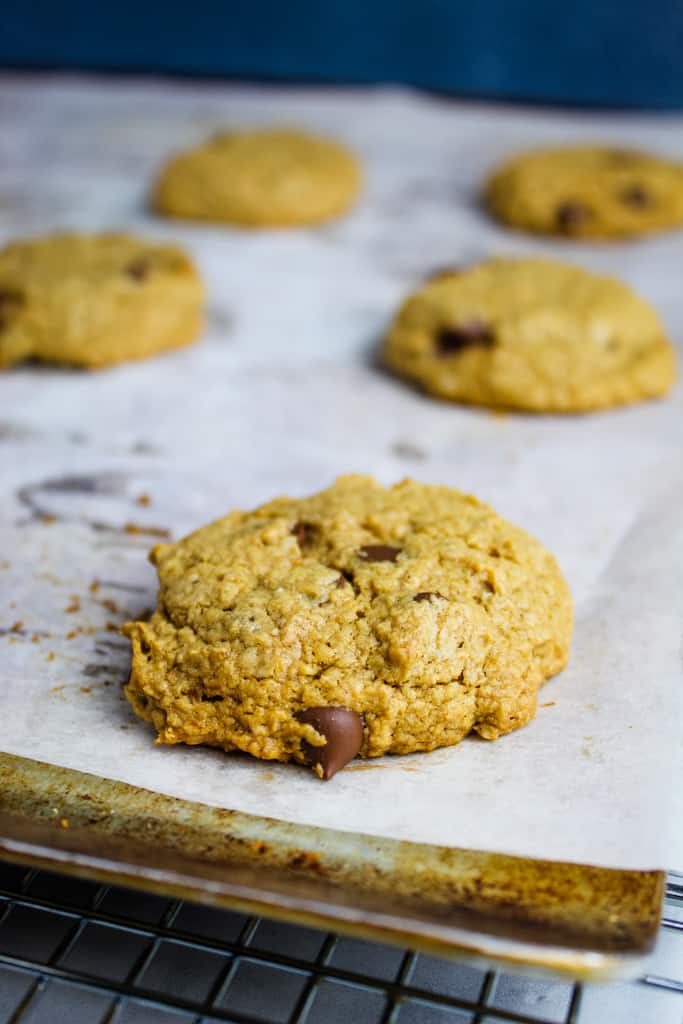
Have you been looking for gluten-free cookies that are actually soft, chewy, and full of flavor? This gluten-free peanut butter chocolate chip cookie recipe has everything you need.
With a simple oat flour dough, this recipe yields tender cookies packed with rich peanut butter flavor and melty dairy-free chocolate chips.
Table of Contents
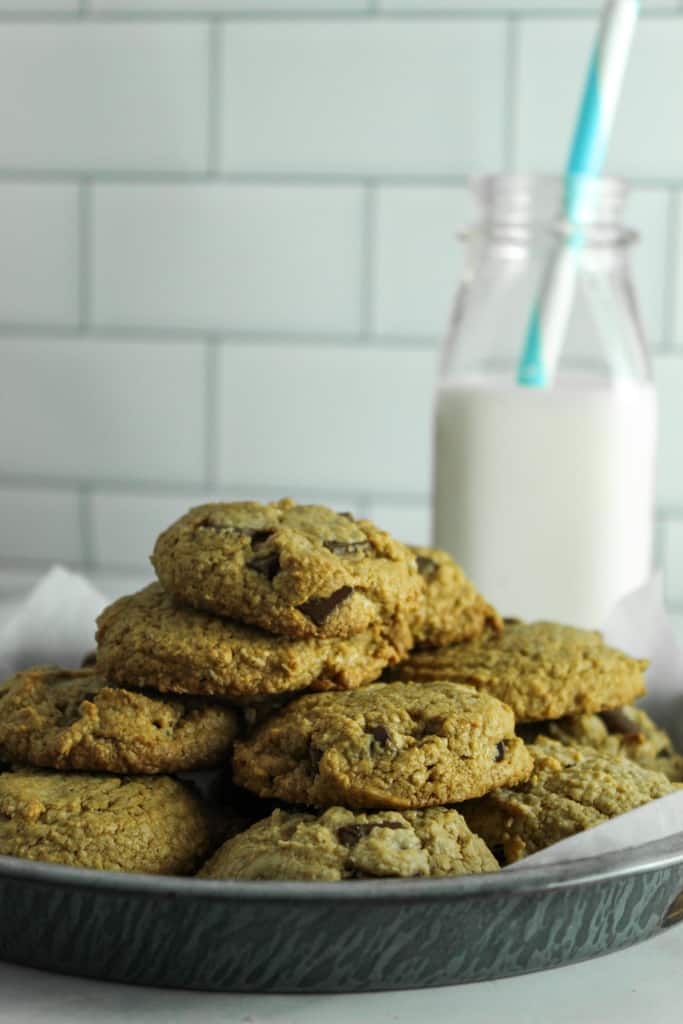
The best part is that these healthy treats are easy and quick to make, and you can enjoy them on their own, dunked in tea, or served with a cold glass of milk.
Why You’ll Love This Recipe
With simple pantry staples and no gluten, this recipe delivers rich, chewy cookies packed with peanut butter-chocolate flavor.
- Naturally gluten-free with oat flour, so there’s no need for a specialty flour blend.
- Soft, chewy centers with lightly crisp, golden edges.
- Rich peanut butter flavor balanced with plenty of melty chocolate chips.
- Made with simple pantry ingredients you may already have on hand.
- Easy to make with no chilling required. Simply mix, rest, and bake.
- Naturally dairy-free and easy to make vegan with one simple substitution.
- Perfect for meal prep and freezing, so you can enjoy fresh cookies anytime.
- Ready in under an hour, making them ideal for busy weekdays or last-minute baking.
If you want to explore another gluten-free cookie that’s a crowd-pleaser, try our Spiced Gluten-Free Pumpkin Chocolate Chip Cookie Recipe.
Ingredients Quick List
Here are the simple ingredients I used in this recipe:
- Oat flour
- Baking powder
- Baking soda
- Salt
- Peanut butter
- Coconut oil
- Coconut sugar
- Maple syrup
- Egg
- Pure vanilla extract
- Dairy-free chocolate chips
Ingredients and Substitutions Notes
The secret to baking perfect gluten-free peanut butter chocolate chip cookies lies in understanding the role each ingredient plays. Here’s what each one does, along with great substitutes to use.
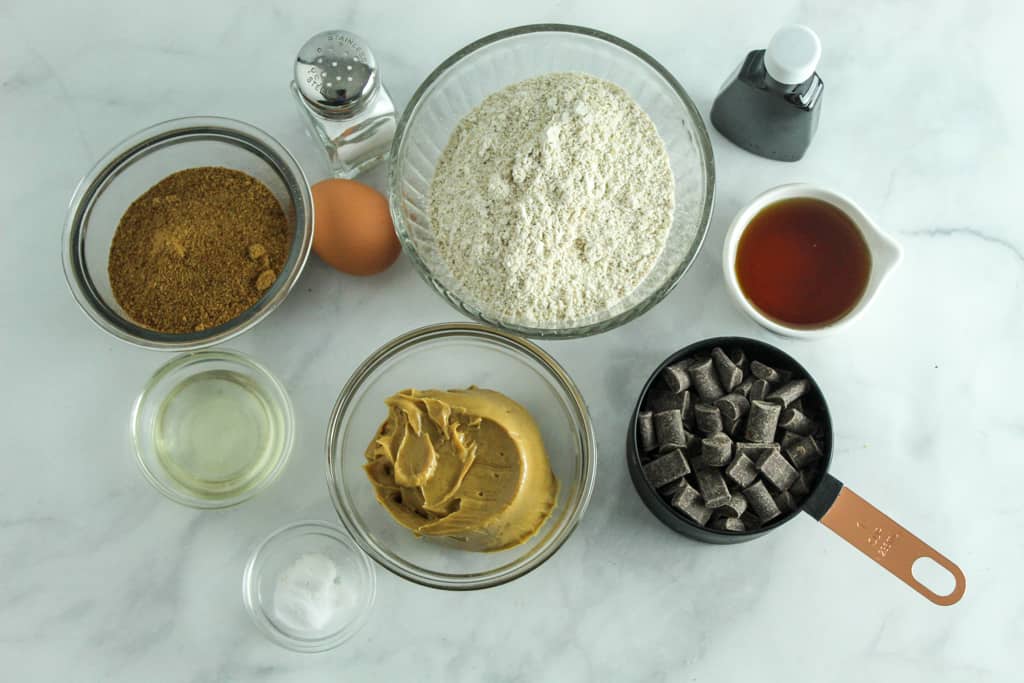
- Oat flour – The ingredient that gives the cookies structure and bite without any gluten. Gluten-free all-purpose baking flour is great, but almond flour also works well as a substitute.
- Baking powder – Adds the lift that gives the cookies a softer center.
- Baking soda – Reacts with sugars and fats, helping the cookies rise and achieve a light, airy structure.
- Salt – Enhances the peanut butter and chocolate flavors while balancing sweetness.
- Peanut butter – The primary star ingredient, providing a rich and nutty base, giving the cookies their signature depth and creamy consistency. For the tested texture, use well-stirred natural creamy peanut butter with a fluid consistency. Conventional no-stir peanut butter is thicker and may produce a denser, less-spread cookie. Almond or other nut butters are another great alternative.
- Coconut oil – Adds richness and tenderness while helping the cookies spread and develop a soft, chewy texture.
- Coconut sugar – Gives the cookies a subtle sweetness, enhances crispiness, and adds moisture and chew. Brown sugar is a great one-for-one substitute.
- Maple syrup – Sweetens the cookies while helping the cookies stay slightly chewy and promoting browning. Agave nectar or honey also work well if you’re not following a vegan diet.
- Egg – Acts as the binding ingredient in the cookies while also contributing to their moistness.
- Pure vanilla extract – Infuses an aromatic depth into the cookies while rounding out peanut and chocolate flavors.
- Dairy-free chocolate chips – The secondary star ingredient that creates contrast with the peanut dough and makes the cookies indulgent.
Want to see all these ingredients explored in a different recipe? Try our Oatmeal Flour Chocolate Chip Cookies Recipe for irresistibly soft treats with a rich, nutty flavor.
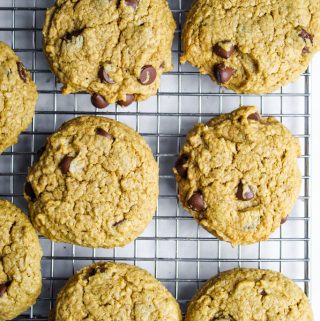
RECIPE CARD: Gluten-Free Peanut Butter Chocolate Chip Cookies (PRINTABLE)
Ingredients
- 1¼ cups oat flour about 150 grams
- ½ teaspoon baking powder
- ½ teaspoon baking soda
- ¼ teaspoon salt
- ¾ cup creamy peanut butter
- 2 tablespoons coconut oil melted
- ½ cup coconut sugar
- ¼ cup pure maple syrup
- 1 egg
- 1 teaspoon pure vanilla extract
- 1 cup dairy-free chocolate chips
Instructions
- In a large bowl, whisk together the oat flour, baking powder, baking soda, and salt, then set aside.
- In a separate medium mixing bowl, add the peanut butter, coconut oil, coconut sugar, maple syrup, egg, and vanilla extract and mix with a spatula.
- Add the dry ingredient mixture to the wet ingredient mixture and mix together until the batter forms.
- Stir the chocolate chips in with a sturdy spatula.
- Cover the bowl and let the dough rest for 20 minutes.
- Preheat the oven to 350°F, line the baking sheet with parchment paper, and set aside.
- Using a cookie scoop, shape the cookie dough into even-sized balls and place them 2 inches apart on the parchment-lined baking sheet.
- With the back of the spatula, press down gently on each cookie to flatten it.
- Bake each sheet for 15-20 minutes, until the edges are golden brown and crispy.
- Cool on the pan for 1-2 minutes, then transfer to the wire rack to cool completely.
Notes
- Make sure the oat flour you use is certified gluten-free.
- Use creamy peanut butter for best results.
- Ensure the egg is at room temperature for proper creaming.
- Use a cookie scoop to ensure uniform cookie sizes and even baking.
- Always allow the cookies to rest on the baking sheet for a few minutes before moving them to a wire rack.
- The edges are golden brown.
- The center still looks slightly soft and glossy.
- It springs back slightly to a light touch.
- Room temperature storage: After cooling, keep the cookies in an airtight container at room temperature for up to 5 days.
- Refrigerating: Store the cookies in a sealed container in the refrigerator for up to 10 days.
- Freezing: Once the cookies have fully cooled, place them in a zip-top bag and freeze for up to 3 months.
- Make-Ahead: Before baking, you can refrigerate the cookie dough for 1-2 days.
Nutrition
How to Make Gluten-Free Peanut Butter Chocolate Chip Cookies
These gluten-free peanut butter chocolate chip cookies come together with just a few simple steps. Mix the dough, let it rest, scoop, bake, and you’ll have soft, chewy cookies with crisp edges in under an hour.
Equipment You’ll Need
You don’t need any special equipment for this recipe, just a few basic baking tools:
- Mixing bowls
- Measuring cups and spoons
- Spatula
- Baking sheet
- Parchment paper
- Cookie scoop
1) Mix the Dry Ingredients
In a large mixing bowl, whisk together the oat flour, baking powder, baking soda, and salt until everything is evenly combined. Whisking distributes the leavening agents throughout the flour, helping the cookies bake evenly.
2) Mix the Wet Ingredients
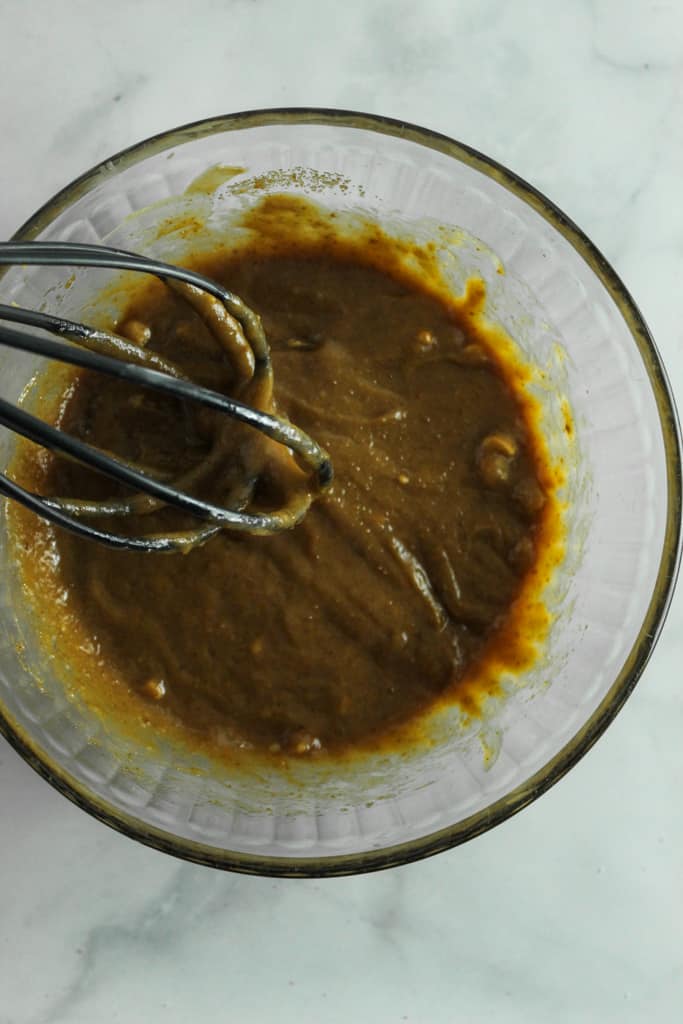
In a separate medium bowl, combine the peanut butter, melted coconut oil, coconut sugar, maple syrup, egg, and vanilla extract. Stir until the mixture is smooth and creamy, with no streaks of egg remaining.
3) Combine the Wet and Dry Ingredients
Pour the dry ingredients into the bowl of wet ingredients. Using a spatula, gently mix until a thick cookie dough forms and no pockets of flour remain. Scrape down the sides and bottom of the bowl to ensure everything is fully incorporated. Be careful not to overmix.
4) Fold in the Chocolate Chips
Add the chocolate chips and gently fold them into the dough until they’re evenly distributed. This ensures every cookie is packed with chocolate.

5) Let the Dough Rest
Cover the bowl and let the dough rest for 20 minutes at room temperature. This gives the oat flour time to absorb moisture, making the dough easier to scoop while helping the cookies bake thicker, softer, and chewier.
6) Preheat the Oven
While the dough rests, preheat your oven to 350°F (175°C). Line a large baking sheet with parchment paper to prevent sticking and promote even browning.
7) Scoop the Cookie Dough
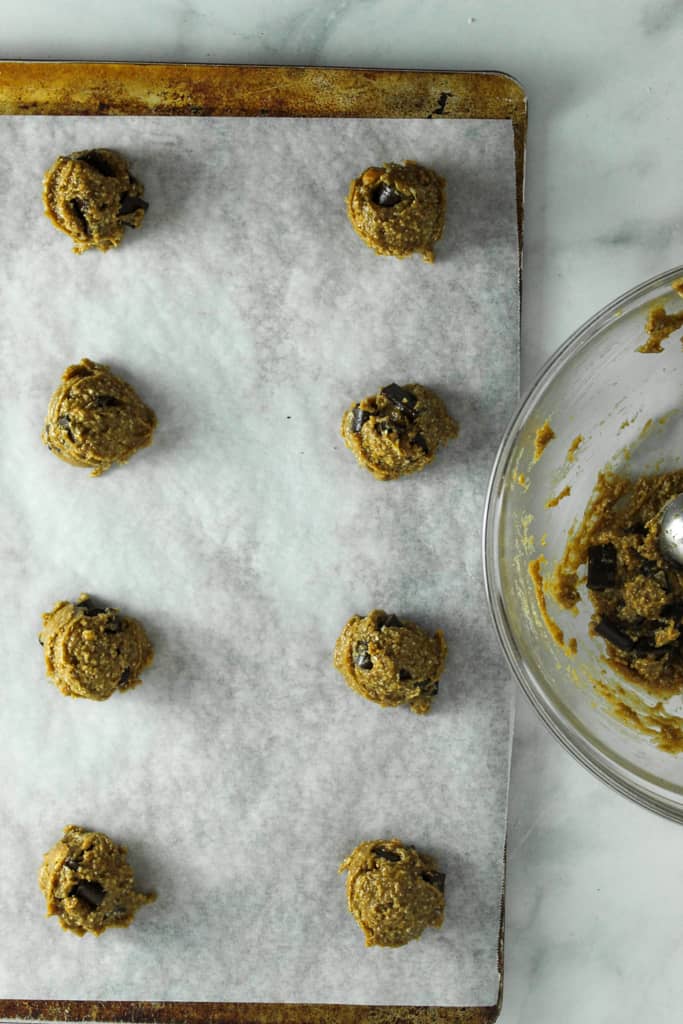
Using a cookie scoop or about 2 tablespoons of dough, scoop the dough into evenly sized balls and place them on the prepared baking sheet, leaving about 2 inches between each cookie.
8) Flatten the Dough
Gently flatten each dough ball with the palm of your hand or the back of a spoon until it’s about ½ inch thick. These cookies don’t spread much as they bake, so shaping them beforehand helps them bake evenly and gives them the perfect finished shape.
9) Bake Until Lightly Golden
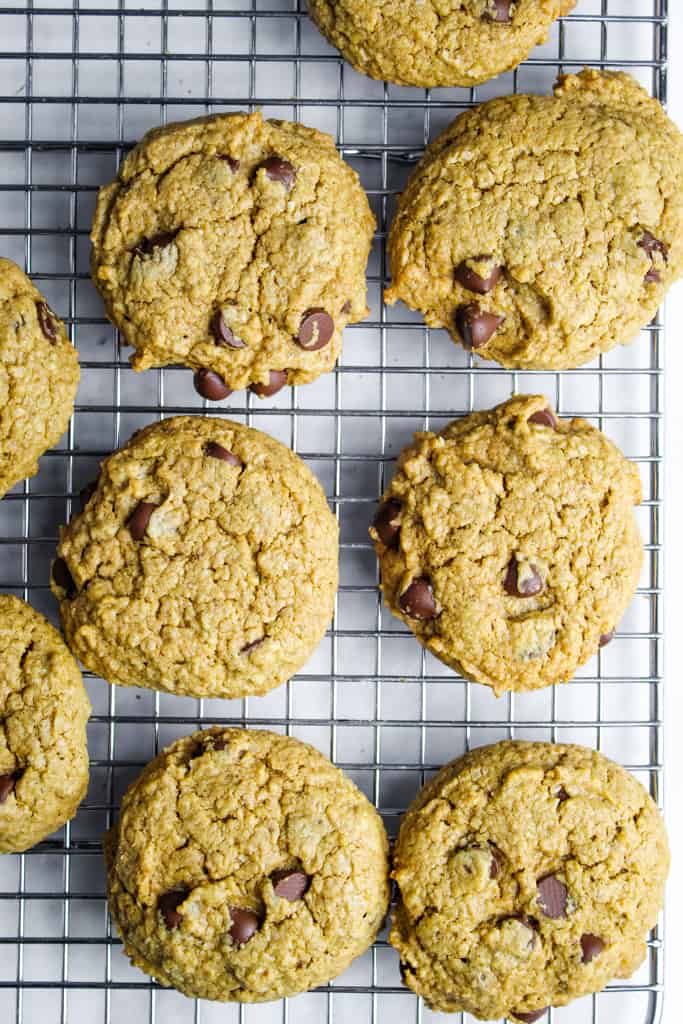
Bake for 15-20 minutes, or until the edges are lightly golden and set. The centers may still look slightly soft, but they’ll continue to cook from the residual heat as the cookies cool. Avoid overbaking if you want soft, chewy cookies.
10) Cool Before Enjoying
Let the cookies cool on the baking sheet for 2–3 minutes, then carefully transfer them to a wire rack to cool completely. They’ll become firmer as they cool while staying soft and chewy inside. Enjoy immediately or store them in an airtight container for later.
Tips for Success
Keep these simple tips in mind to ensure your cookies turn out soft, chewy, and full of peanut butter flavor every time.
- Use natural, creamy peanut butter. Choose a drippy, well-stirred peanut butter made with just peanuts (and salt, if desired). Peanut butters with added sugars, stabilizers, or hydrogenated oils can alter the dough’s texture, producing drier, denser cookies.
- Bring the egg to room temperature. A room-temperature egg mixes more easily into the dough, creating a smoother batter and helping the ingredients blend evenly.
- Don’t skip the dough rest. Letting the dough rest for 20 minutes gives the oat flour time to absorb moisture. This helps prevent excessive spreading and creates thicker, softer, chewier cookies.
- Measure your flour correctly. For the best texture, spoon the oat flour into your measuring cup and level it with a knife rather than scooping directly from the bag. Too much flour can make the cookies dry and crumbly.
- Use a cookie scoop. Scooping evenly sized portions helps all the cookies bake at the same rate, giving you consistent texture and appearance.
- Don’t overbake. Remove the cookies when the edges are lightly golden, but the centers still look slightly soft. They’ll continue to sit on the hot baking sheet as they cool, giving you perfectly chewy cookies instead of dry ones.
- Let the cookies cool before moving them. Gluten-free cookies are delicate straight from the oven. Allow them to cool on the baking sheet for 2–3 minutes before transferring them to a wire rack so they can firm up without breaking.
These small baking tips make a big difference, helping you bake gluten-free peanut butter chocolate chip cookies with the perfect balance of soft centers, chewy texture, crisp edges, and rich peanut butter flavor every time.
Troubleshooting
If your gluten-free peanut butter chocolate chip cookies don’t turn out quite as expected, don’t worry. Here are the most common problems and how to fix them.
1. Cookies are dry or crumbly: This usually means too much oat flour was used or the cookies were overbaked. Measure the flour by spooning it into the measuring cup and leveling it off, and remove the cookies from the oven as soon as the edges are lightly golden.
2. Cookies spread too much: Warm dough, overly runny peanut butter, or skipping the resting time can all cause excessive spreading. Let the dough rest for 20 minutes before baking, and chill it briefly if your kitchen is warm.
3. Cookies are too crispy: The cookies likely baked a little too long. Remove them while the centers still look slightly soft—they’ll continue to set on the hot baking sheet as they cool.
4. Cookie bottoms are burning: Dark baking sheets or baking too close to the bottom heating element are the usual culprits. Bake on the center rack, line the pan with parchment paper, and use a light-colored baking sheet whenever possible.
Most cookie problems are easy to fix with a few small adjustments. Once you’ve made a batch or two, you’ll know exactly how your oven and ingredients behave, making it easy to bake perfectly soft, chewy gluten-free peanut butter chocolate chip cookies every time.
Storage and Make-Ahead Tips
Proper storage is essential for preserving the flavor and texture of your cookies and making it easier to bake a few at a time for fresh cookies on demand.
- Room temperature storage: After cooling, keep the cookies in an airtight container at room temperature for up to 5 days. To keep them from sticking, sandwich them between parchment paper.
- Refrigerating: You can store the cookies in a sealed container in the refrigerator for up to 10 days, slightly extending their shelf life.
- Freezing: Once the cookies have fully cooled, place them in a zip-top bag or an airtight container between sheets of parchment paper. Freeze for up to 3 months. Warm in the oven for a few minutes or thaw at room temperature to enjoy.
- Make-Ahead: Before baking, you can refrigerate the cookie dough for 1-2 days. You can also freeze unbaked cookie dough balls and bake them straight from the freezer. Just make sure you increase the baking time by 1-2 minutes.
Frequently Asked Questions (FAQs)
Here are the questions we often get regarding making these gluten-free peanut butter chocolate chip cookies. If you can’t find yours, drop it in the comments.
Can I make these cookies flourless?
Sure, you can. Many versions, like our Flourless Peanut Butter Cookies, use only peanut butter, granulated sugar, an egg, vanilla extract, and salt.
Can I use natural or crunchy peanut butter?
Natural peanut butter works well in this recipe, but be sure to stir it thoroughly before measuring since the oils tend to separate. The dough may be slightly softer, but the cookies will still bake up beautifully. Crunchy peanut butter is also a great option if you enjoy extra texture and bits of peanuts in every bite.
The type of peanut butter you use can affect the dough consistency, spread, and final texture of the cookies.
| Peanut butter | Expected result |
|---|---|
| Natural creamy | Softer dough and potentially more spread |
| Conventional no-stir | Thicker dough and a denser cookie |
| Crunchy | Similar flavor with added peanut pieces |
| Sunflower butter | Nut-free alternative; color and spread may differ |
Can I use a different nut or seed butter?
Sure. Almond butter, cashew butter, and even sunflower seed butter are great swaps. However, expect the flavor and spread to change slightly.
Are these cookies dairy-free and vegan?
These cookies are naturally dairy-free when made with dairy-free chocolate chips and coconut oil. To make them vegan, simply replace the egg with a flax egg or chia egg.
What other mix-ins can I add to these cookies?
Chopped nuts, peanut butter cups, M&Ms, or dried fruit all work in these cookies. However, make sure you don’t overload the dough, or it may spread or crack.
More Chocolate Chip Recipes You Can Try
Are you in search of the next chocolate chip goodness to bake? Here are a few more to explore:
- Flourless Chocolate Chip Cookies for soft, chewy cookies with lightly crisp edges and plenty of melted chocolate.
- Peanut Butter Chocolate Chip Baked Oatmeal for a healthy grab-and-go breakfast.
- Gluten-Free Double Chocolate Chip Cookies for super-chocolatey, irresistible treats.
- Bakery-Style Gluten-Free Dairy-Free Chocolate Chip Cookies for a snack that tastes comforting and indulgent.
- Peanut Butter Pumpkin Chocolate Chip Granola Bars for satisfying and scrumptious desserts.
Whether you are looking for a healthy snack, a quick breakfast, or an indulgent dessert, these chocolate chip recipes deliver treats you can enjoy anytime.
Made These Gluten-Free Peanut Butter Chocolate Chip Cookies?
If you tried this recipe, leave a comment below and share what you enjoyed about it. Tell us about the unique twists you added and how your peanut butter chocolate chip cookies turned out. Your feedback and serving ideas help both other bakers and me!