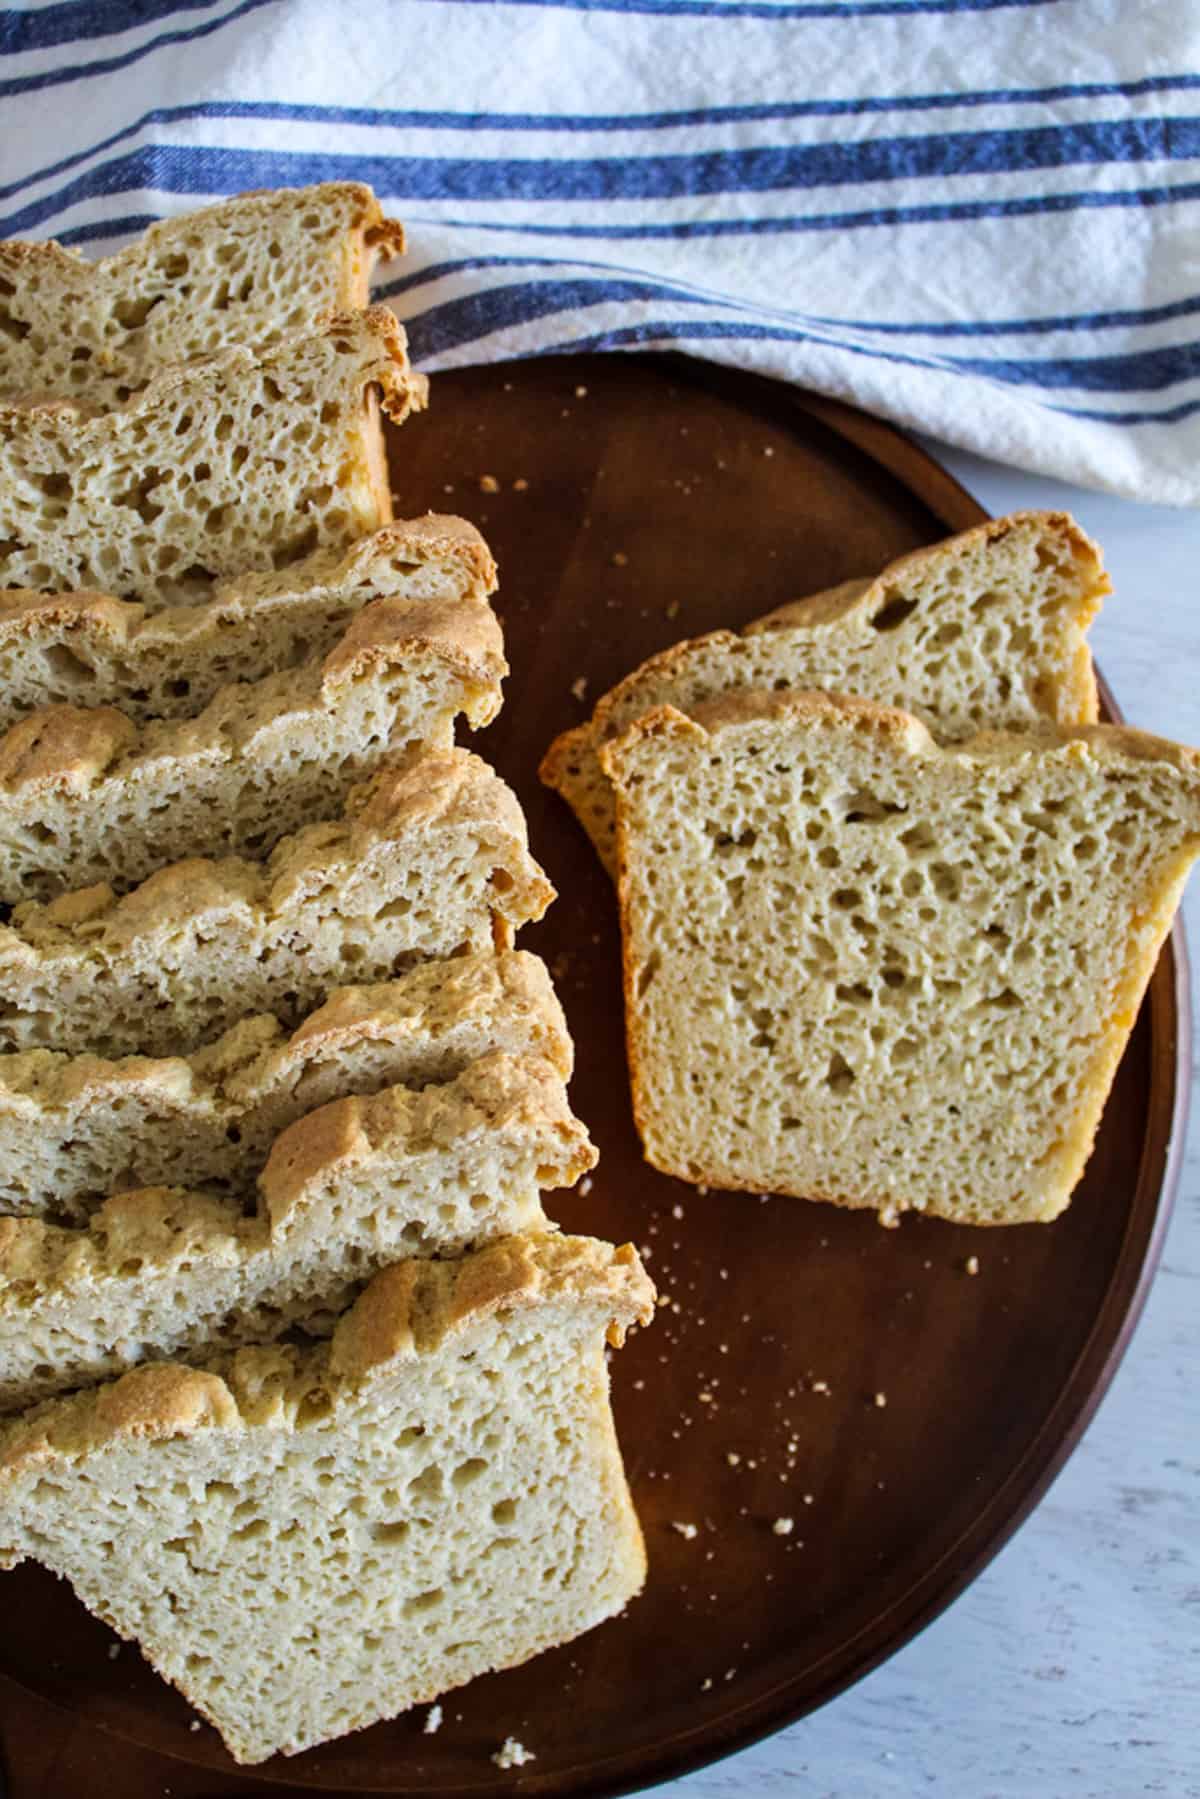
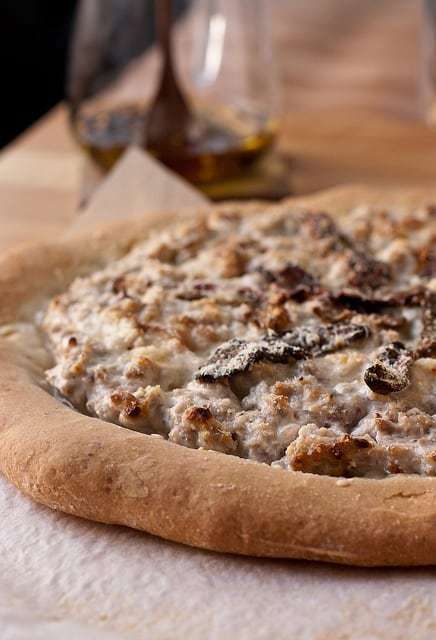
A good gluten-free pizza crust should be crisp on the outside, chewy inside, and strong enough to hold its toppings.
This gluten-free pizza dough recipe uses brown rice flour, two starches, guar gum, and gelatin to create that structure without wheat flour. The crust is also par-baked before topping to help the center set.
Table of Contents
Why You’ll Love This Recipe
This gluten-free pizza crust is simple to prepare and gives you a homemade base that is sturdy, flavorful, and easy to customize.
- Beginner-friendly – Simple ingredients and straightforward steps make this recipe easy to follow.
- Thin or thick crust – Adjust the dough thickness to create the crust style you prefer.
- Crisp and chewy – Par-baking helps create a lightly crisp exterior while keeping the center pleasantly chewy.
- Easy to customize – Add your favorite herbs, seasonings, sauces, cheeses, and toppings.
- Gluten-free pantry staples – Made with brown rice flour, potato starch, and tapioca starch for a dependable gluten-free crust.
For another homemade option, try this Gluten-Free Coconut Flour Pizza Crust (Simple & Crispy).
Ingredients at a Glance
These pantry staples work together to produce a dough that’s easy to mix, simple to shape, and sturdy enough to hold your favorite toppings without becoming dense or crumbly.
- Brown rice flour
- Potato starch
- Tapioca starch
- Knox gelatin
- Onion salt (or regular salt)
- Guar gum
- Brown sugar
- Gluten-free yeast
- Warm water
- Olive oil
Key Ingredients & Substitutions
The flour, starches, and binders each serve a different purpose. So substitutions can affect the finished crust. Accurate measurements are especially important. Learn How To Measure Gluten-Free Flour before getting started if needed.
- Brown Rice Flour: Provides the main structure and a mild, nutty flavor. White rice flour can produce a lighter crust, but the texture may differ.
- Potato Starch: Lightens the texture and helps retain moisture. Don’t substitute potato flour, which behaves differently.
- Tapioca Starch: Adds flexibility and chew while supporting browning.
- Knox Gelatin: Adds structure and makes the dough less fragile. Omitting it may produce a more delicate crust.
- Onion Salt: Seasons the dough and adds savory flavor. Regular salt works as a substitute.
- Guar Gum: Binds the dough and helps prevent crumbling. Xanthan gum may be used as a substitute, but it may change the texture.
- Brown Sugar: Provides sugar for the yeast and assists with browning.
- Gluten-Free Yeast: Provides the rise. Check the label when strict gluten avoidance is necessary.
- Warm Water: Hydrates the dry ingredients and is used to prepare the yeast.
- Olive Oil: Adds richness and tenderness while helping the crust brown.
Do you want an even crisper base? See How to Use a Pizza Stone to Bake Gluten-Free Pizza Crust.
RECIPE CARD: Gluten-Free Pizza Crust Recipe (Printable)
Ingredients
- 3 cups brown rice flour
- ¼ cup potato starch
- ¼ cup tapioca starch
- ½ teaspoon Knox gelatin
- 1 teaspoon onion salt (or regular salt)
- 2¾ teaspoons guar gum
- ½ teaspoon brown sugar
- 2¼ teaspoons (1 package) gluten-free active yeast (0.25-ounce/7 g)
- 1½ cups warm water, divided
- 2 tablespoons olive oil
Instructions
- Prepare the yeast: Dissolve the brown sugar in ½ cup warm water. Add the yeast and set aside.
- Combine the dry ingredients: Mix brown rice flour, potato starch, tapioca starch, gelatin, salt, and guar gum.
- Make the dough: Whisk the remaining 1 cup warm water and olive oil. Then add a little of the dry mixture and whisk until smooth. Mix in the yeast mixture, then add the remaining dry ingredients until a ball forms.
- Knead: Transfer to a floured surface and knead until no longer sticky, adding flour as needed.
- Rise: Transfer to a lightly greased bowl, cover with plastic wrap, and rest for 1 hour.
- Par-bake: Preheat the oven to 375°F (190°C). Roll out the dough. If using a pizza pan, lightly grease it and transfer the dough to the pan. If using a pizza stone, preheat the stone and transfer the dough using parchment paper or a pizza peel. Prick the dough with a fork and bake for 5–7 minutes, until set but still soft.
- Finish: Increase the oven to 425°F (220°C). Add the sauce and toppings, then bake for 8–10 minutes, or until the cheese is melted and lightly golden and the edges of the crust are crisp and browned.
Notes
- Use room-temperature ingredients whenever possible for more even mixing.
- Be careful not to add too much extra flour when kneading, as it can dry out the crust.
- A smaller pizza pan produces a thicker crust, while a larger pan creates a thinner crust.
- Par-baking before adding toppings helps prevent a soggy center and creates a sturdier crust.
- The bottom is lightly golden and crisp.
- The edges are firm with light browning.
- The cheese is completely melted and beginning to brown.
- The center feels set rather than soft or doughy.
- Refrigerator: Store leftover baked pizza in an airtight container for up to 4 days.
- Freezer: Freeze the baked crust or fully baked pizza for up to 3 months. Wrap it tightly before freezing to help prevent freezer burn.
- Make Ahead: Prepare and par-bake the crust up to 24 hours in advance. Let it cool completely, then wrap and refrigerate until you’re ready to add the toppings and finish baking.
Nutrition
How to Make Gluten-Free Pizza Dough
The recipe card gives you the basic method. These expanded instructions show you what the dough should look and feel like at each stage, which is more useful than repeating the same directions twice.
Essential Kitchen Tools
You’ll need just a few basic baking tools:
- Measuring cups and measuring spoons
- Mixing bowls
- Whisk
- Wooden spoon or sturdy spatula
- Rolling pin
- Plastic wrap
- Pizza pan or pizza stone
- Fork
- Cooling rack (optional)
1) Activate the yeast
Stir the ½ teaspoon brown sugar into ½ cup warm water in a small bowl until dissolved. Sprinkle the gluten-free yeast over the water and let it sit for about 5 minutes, or until foamy. If no foam forms, the yeast may no longer be active.
2) Combine the dry ingredients
In a medium mixing bowl, whisk together the brown rice flour, potato starch, tapioca starch, Knox gelatin, onion salt (or regular salt), and guar gum until evenly combined and free of visible clumps.
3) Mix the dough
Pour the remaining 1 cup warm water and 2 tablespoons olive oil into a large mixing bowl. Gradually whisk in a small amount of the dry mixture until smooth. Add the activated yeast mixture and whisk until fully incorporated. Add the remaining dry ingredients and mix until a soft dough forms. The dough should come together into a soft, slightly tacky ball without becoming runny.
4) Knead the dough
Transfer the dough to a lightly floured surface and gently work it until it becomes smooth and cohesive. Add a small amount of extra brown rice flour only if the dough feels too sticky. Avoid adding too much flour, as this can make the finished crust dense.
5) Let the dough rise
Place the dough in a lightly greased bowl and cover it with plastic wrap. Let it rise in a warm place for about 1 hour, or until it looks slightly puffed. Gluten-free dough may not double in size like traditional wheat dough, so look for a noticeable increase in volume rather than a full doubling.
6) Shape and par-bake the crust
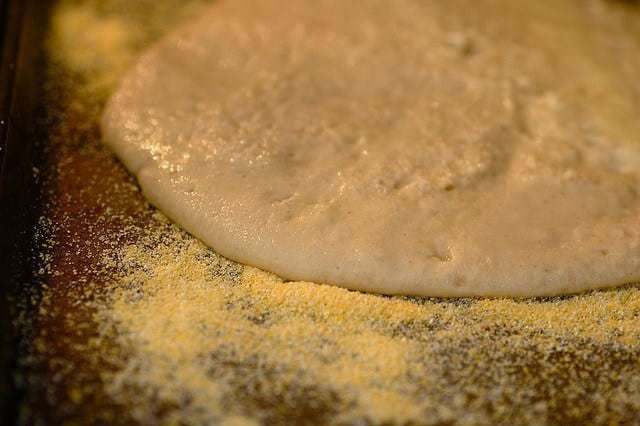
Preheat the oven to 375°F (190°C). Roll the dough to your desired thickness. If using a pizza pan or baking sheet, lightly grease it and transfer the shaped dough to the pan. If using a pizza stone or steel, preheat it in the oven and shape the dough on a piece of parchment paper or a pizza peel lightly dusted with gluten-free flour or cornmeal. Carefully transfer the dough to the hot stone or steel, then par-bake for 5–7 minutes.
Use a smaller pan for a thicker crust or a larger pan for a thinner crust. Prick the surface all over with a fork to help prevent large air bubbles.
7) Add the toppings and finish baking
Remove the crust from the oven and increase the oven temperature to 425°F (220°C). Spread your favorite pizza sauce over the crust, then add the cheese and desired toppings. Return the pizza to the oven and bake at 425°F for 8–10 minutes, or until the cheese is melted and lightly golden and the crust is crisp around the edges.
8) Cool and serve
Let the pizza cool for 2–3 minutes before slicing and serving. The finished crust should have a crisp bottom, lightly browned edges, and a chewy center.
Expert Tips for Perfect Gluten-Free Pizza Crust
Once you’ve mastered the basic method, these small adjustments can improve the finished crust:
- If using a pizza stone or steel, allow it to preheat thoroughly before baking. Shape the dough on parchment or a pizza peel rather than directly on the hot surface, then transfer it carefully for par-baking
- Keep toppings light. Excess sauce and moisture-rich toppings can make the center soggy.
- Oil your hands. If the dough sticks while shaping, lightly oiled hands are often better than adding more flour.
- Don’t over-proof. One hour is sufficient for this recipe. The dough only needs to become slightly puffy.
- Rest before slicing. Give the finished pizza 2–3 minutes to set before cutting into it.
Want another flexible gluten-free dough recipe? Try this Almond Flour Tortilla Recipe (Soft, Flexible & Keto-Friendly).
Common Gluten-Free Pizza Crust Problems (and How to Fix Them)
If something goes wrong, the dough’s appearance and texture can usually point you toward the cause.
| Problem | Most Likely Cause | How to Fix It |
|---|---|---|
| Dough is sticky | Dough is naturally high in hydration or hasn’t been mixed and rested enough. | Lightly oil your hands or dust the work surface with a small amount of flour instead of adding too much extra flour. A slightly sticky dough is normal for gluten-free baking. |
| Dough won’t rise | Possible causes include inactive yeast, excessively hot water, or a proofing environment that is too cool. | Use fresh yeast and lukewarm (not hot) water, and let the dough rise in a warm place until it becomes slightly puffy. |
| Crust is gummy | The pizza wasn’t baked long enough or wasn’t par-baked before adding toppings. | Par-bake the crust first and continue baking until the bottom is golden and the center is fully set. |
| Edges crack while shaping | Dough is too dry or has lost moisture. | If the dough feels dry, knead in a small amount of warm water and shape it gently with lightly oiled hands. |
| Center is soggy | Too much sauce or too many moisture-rich toppings. | Use a moderate amount of sauce, pre-cook watery vegetables, and always par-bake the crust before topping it. |
| Crust stays pale | Oven, pizza stone, or baking pan wasn’t fully preheated. | Allow the oven and pizza stone to preheat completely before baking to encourage better browning. |
| Edges burn before the center cooks | The crust is rolled too thin or the pizza baked too long. | Roll the dough to an even thickness and begin checking for doneness a few minutes before the recommended baking time. |
Once you’ve mastered this recipe, try another gluten-free favorite like 4-Ingredient Buckwheat Crepes: Gluten Free & Dairy Free for an easy way to expand your gluten-free cooking repertoire.
Pizza Variations
The same dough can produce several pizza styles by changing how you shape, season, or top it.
- Thin crust: Roll the dough wider and thinner.
- Thick crust: Use a smaller pan and leave the dough thicker.
- Pan pizza: Press into an oiled cast-iron skillet or sheet pan.
- Deep dish: Press into a deep pan, par-bake, then fill and finish baking.
- Mini pizzas: Divide into smaller portions before shaping.
- Stuffed crust: Fold cheese into the outer edge and seal before baking.
- Vegan: Replace the gelatin with an appropriate plant-based binder and use dairy-free toppings.
- Dairy-free: Use dairy-free cheese or skip cheese entirely.
- Herb crust: Add oregano, basil, rosemary, or Italian seasoning to the dough.
- Garlic crust: Brush the baked edges with garlic and olive oil.
Looking for another homemade gluten-free baking project? Try these Crispy Gluten-Free Graham Crackers (Better Than Store-Bought!) for a crunchy snack that’s just as satisfying.
The Best Pizza Toppings
Try these combinations:
- Classic: Pepperoni, mozzarella, mushrooms, peppers, and olives
- Vegetarian: Spinach, mushrooms, artichokes, peppers, and tomatoes
- Meat: Sausage, chicken, bacon, ham, or ground beef
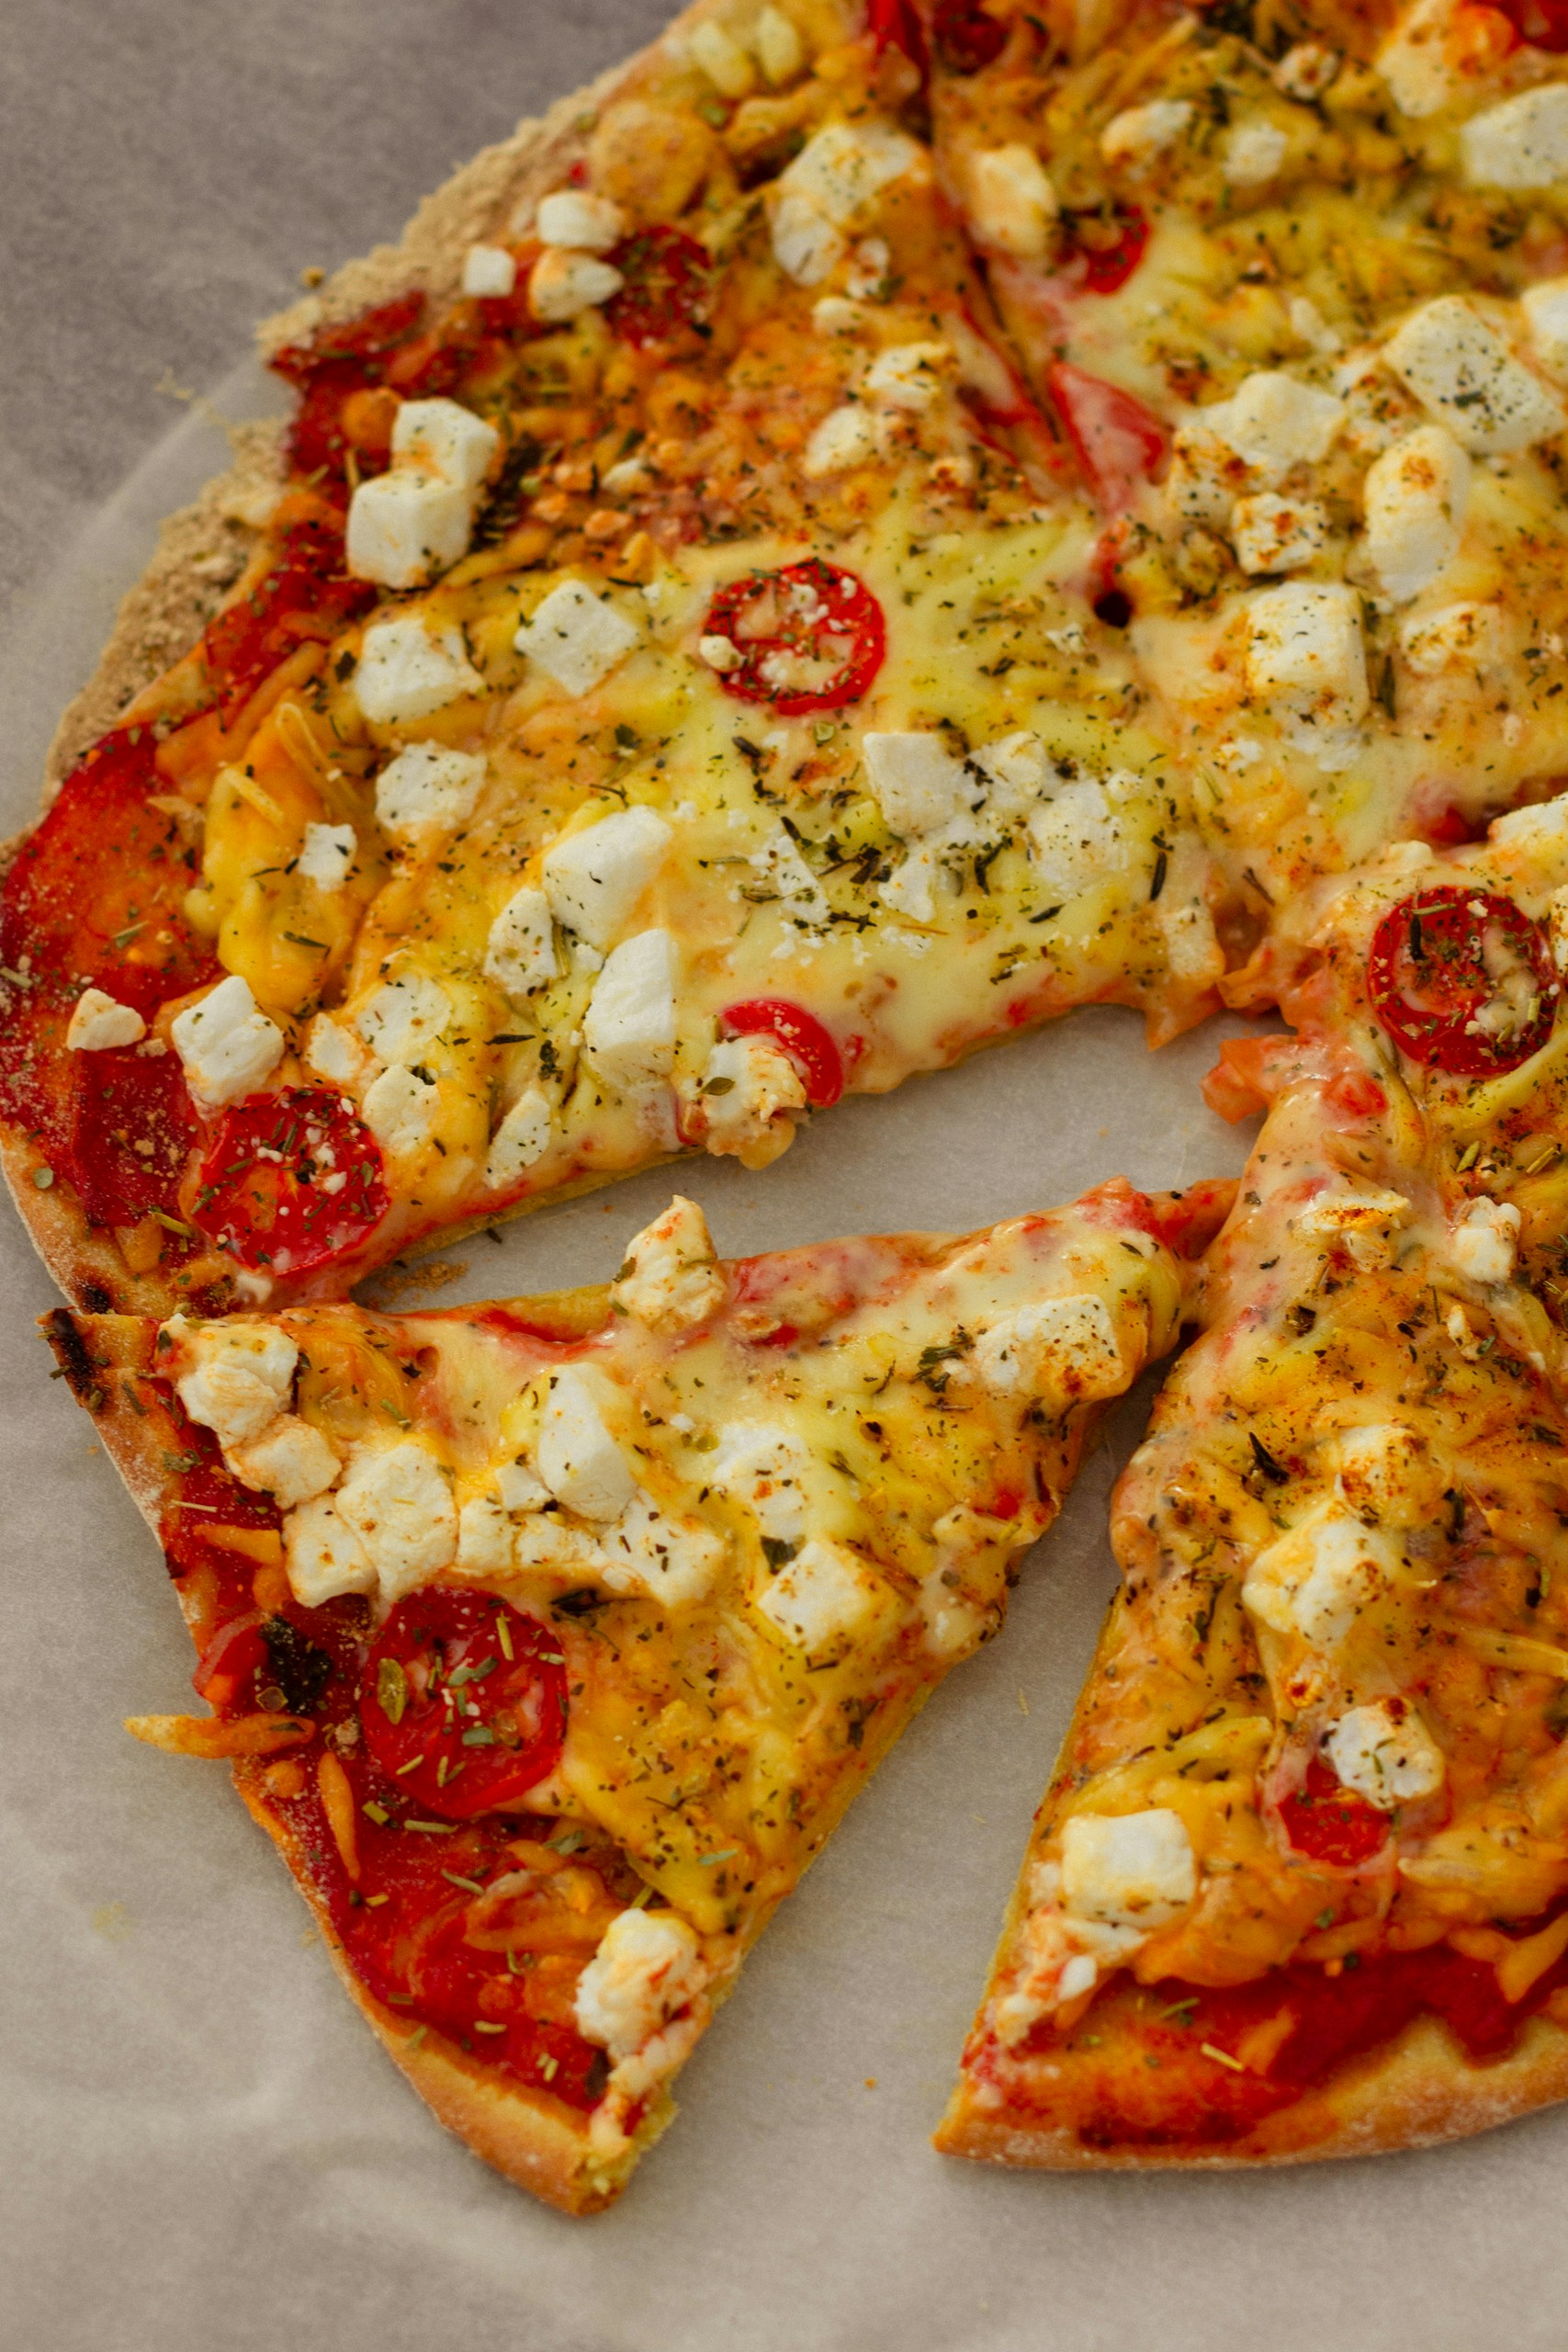
- Mediterranean: Feta, olives, spinach, roasted peppers, and sun-dried tomatoes
- BBQ: Chicken, red onion, smoked gouda, and cilantro
- Breakfast: Eggs, bacon or sausage, and cheddar
- Kid-friendly: Cheese, pepperoni, ham, or chicken
Keep wet toppings relatively light to avoid adding too much moisture to the crust.
Storage, Freezing & Make-Ahead Tips
You can store this recipe at several stages, so it’s easy to prepare ahead.
| Storage Method | Instructions | Storage Time |
|---|---|---|
| Room temperature | Serve immediately after baking. | Up to 2 hours |
| Refrigerator | Cool completely and store the pizza or baked crust in an airtight container. | 3–4 days |
| Freezer | Wrap tightly in plastic wrap and aluminum foil or place in a freezer-safe bag. | Up to 3 months |
| Reheating | Bake at 375°F (190°C) until heated through and crisp. | — |
Can You Freeze Gluten-Free Pizza Dough?
Yes, but for the best texture and easiest prep, I recommend freezing the par-baked crust rather than the raw dough. After par-baking, let the crust cool completely, wrap it tightly in plastic wrap and foil, and freeze for up to 3 months. When you’re ready to use it, you can add your sauce and toppings while the crust is still frozen, then bake until the crust is crisp and the toppings are hot.
You can also freeze the dough after its first rise. Shape it into a ball, wrap it tightly, and place it in a freezer-safe bag or container. Thaw it overnight in the refrigerator, then let it sit at room temperature until it is soft and easy to shape before proceeding with the recipe. Because gluten-free dough can become more fragile after freezing and thawing, the par-baked-crust method tends to give more consistent results.
Make-Ahead Tips
You can refrigerate the covered dough overnight and bring it closer to room temperature before shaping. Alternatively, prepare and freeze a par-baked crust.
You can also chop, cook, or shred toppings ahead of time so the pizza is ready to assemble when you need it.
Looking for another make-ahead gluten-free bake? Try our Gluten-Free Almond Flour Scones Recipe with Blueberry. They freeze well and make an easy breakfast or snack for busy mornings.
Frequently Asked Questions
Still have questions about making gluten-free pizza dough? Here are a few that aren’t covered in the instructions and troubleshooting guide above. If you don’t see yours, leave it in the comments.
Can I use rapid-rise yeast for gluten-free pizza dough?
Yes. Rapid-rise (instant) yeast can be used instead of active dry yeast in this gluten-free pizza dough. Unlike active dry yeast, rapid-rise yeast doesn’t need to be activated in warm water first. Mix it directly into the dry ingredients, then add the warm water and remaining wet ingredients as directed. Because rapid-rise yeast works faster, keep an eye on the dough during the rise and move on to shaping once it has noticeably risen rather than relying only on the suggested rising time.
What are the best sauces for gluten-free pizza?
Marinara is the classic choice, but pesto, white sauce, Alfredo, BBQ sauce, and garlic-infused olive oil all work. Check packaged sauces for gluten-containing ingredients if needed.
Is homemade gluten-free pizza dough better than store-bought?
Homemade dough gives you more control over thickness, ingredients, seasoning, and toppings. Store-bought dough saves preparation time. Choose homemade when customization matters and store-bought when convenience matters more.
What are the best gluten-free flour blends for pizza?
For this recipe, don’t substitute a commercial blend without adjusting the recipe. It was developed specifically with brown rice flour, potato starch, and tapioca starch.
Other pizza recipes may call for blends such as King Arthur Gluten-Free All-Purpose Flour, King Arthur Gluten-Free ’00’ Pizza Flour, Bob’s Red Mill Gluten Free 1-to-1 Baking Flour, or Better Batter Original Blend. Use the blend specified by the recipe rather than assuming they’re interchangeable.
Which flour blends should I avoid?
Avoid substituting a single flour, such as almond, coconut, or rice flour, for the complete flour-and-starch combination unless the recipe specifically calls for it. The recipe developer formulated this blend to provide the right balance of moisture and structure, so direct substitutions can significantly change the dough.
Should I use xanthan gum or psyllium husk?
Neither is necessary for this recipe. It already uses guar gum and gelatin as binders.
Xanthan gum is commonly used to add structure and flexibility to gluten-free baked goods, while psyllium husk can provide moisture retention, flexibility, and chew in bread-style doughs. If you want to experiment with either, use a recipe formulated specifically around that binder rather than adding it to this one.
More Gluten-Free Recipes You’ll Love
Ready to try another gluten-free bread? These recipes are good places to continue:
- Best Buttery Gluten-Free Crescent Roll Recipe: Soft, flaky, and buttery yeast rolls that are perfect for holiday dinners, weeknight meals, or serving alongside soups and stews.
- Better-Than-Store-Bought Gluten-Free English Muffins: Enjoy tender, homemade English muffins with a light texture ideal for breakfast sandwiches or your favorite spreads.
- Perfect Gluten-Free Hawaiian Bread (Moist & Slightly Sweet): A soft, slightly sweet loaf that’s delicious for sandwiches, sliders, or as a side with your favorite meals.
- Roundup of 21 Gluten-Free and Xanthan-Free Dinner Roll Recipes: Explore a collection of gluten-free dinner roll recipes, including options made without xanthan gum to suit a variety of dietary needs and baking preferences.
Whether you’re craving rolls, muffins, or a soft homemade loaf, these recipes are a great way to keep building your gluten-free baking repertoire.
Did You Make This Gluten-Free Pizza Crust Recipe?
If you tried this recipe, leave a star rating and review and tell us how it turned out. We’d also love to hear your favorite toppings, successful substitutions, or any questions you ran into while making the dough.
Leave a comment below, especially if you need help troubleshooting your crust.