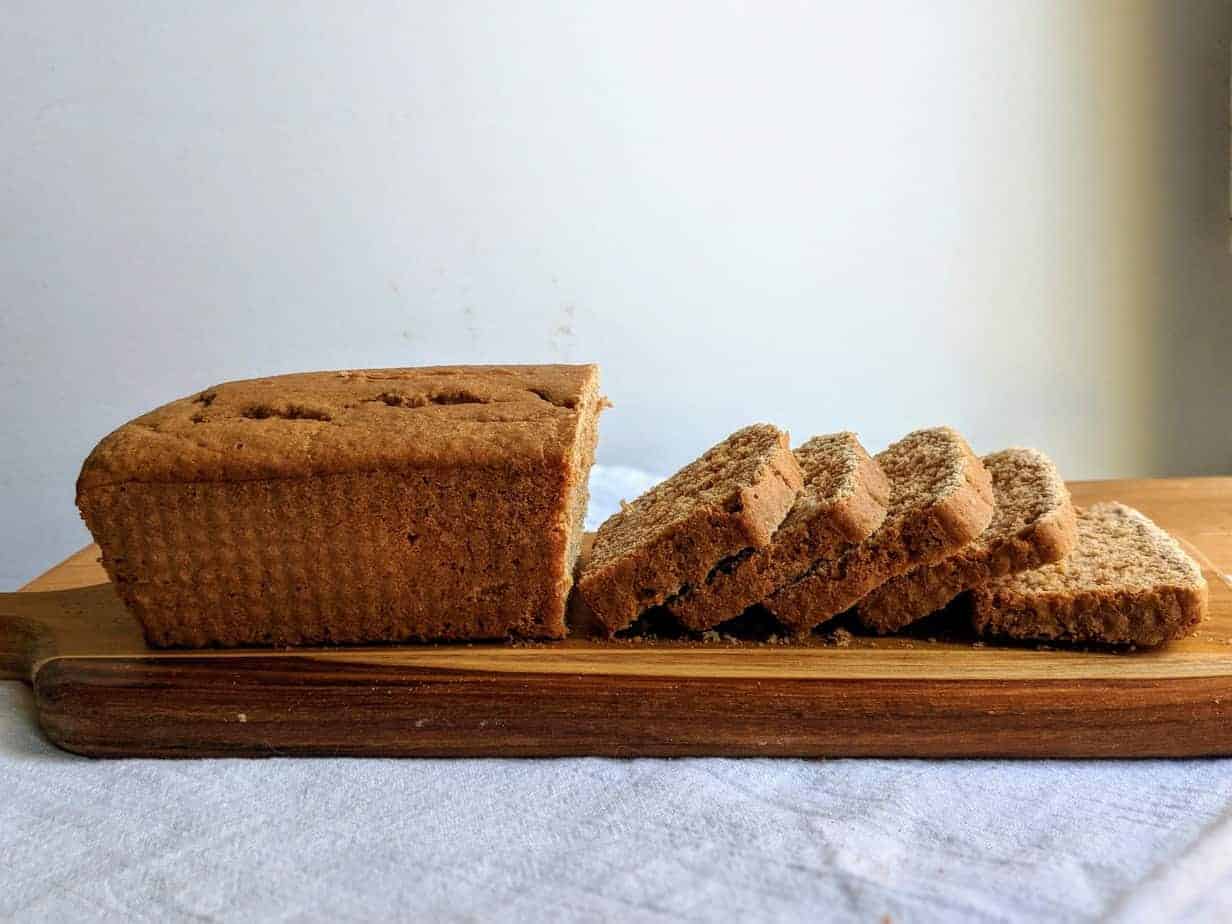
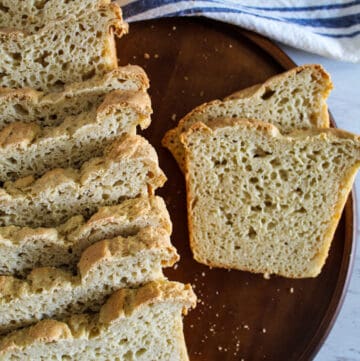
Have you tried sorghum bread before and ended up with a dense, crumbly, or gummy loaf? This sorghum flour bread recipe combines sorghum flour with complementary gluten-free flours to create a loaf that’s soft, easy to slice, and sturdy enough for sandwiches and toast.
Whether you’re new to gluten-free baking or looking for a dependable everyday loaf, this recipe delivers consistent results with simple ingredients and straightforward techniques.
Table of Contents
Along the way, you’ll learn why the recipe works, how to avoid common baking mistakes, the best ingredient substitutions, and how to store the bread so it stays fresh for longer.
If you’re looking for another wholesome gluten-free bake, try our Dairy-Free & Gluten-Free Almond Flour Cornbread. It pairs well with soups, stews, and chili.
Why You’ll Love This Sorghum Bread
- Naturally gluten-free
- Soft sandwich texture
- Mild flavor
- Easy for beginners
- Great for toast
- Freezer-friendly
- Uses simple ingredients
- Perfect for meal prep
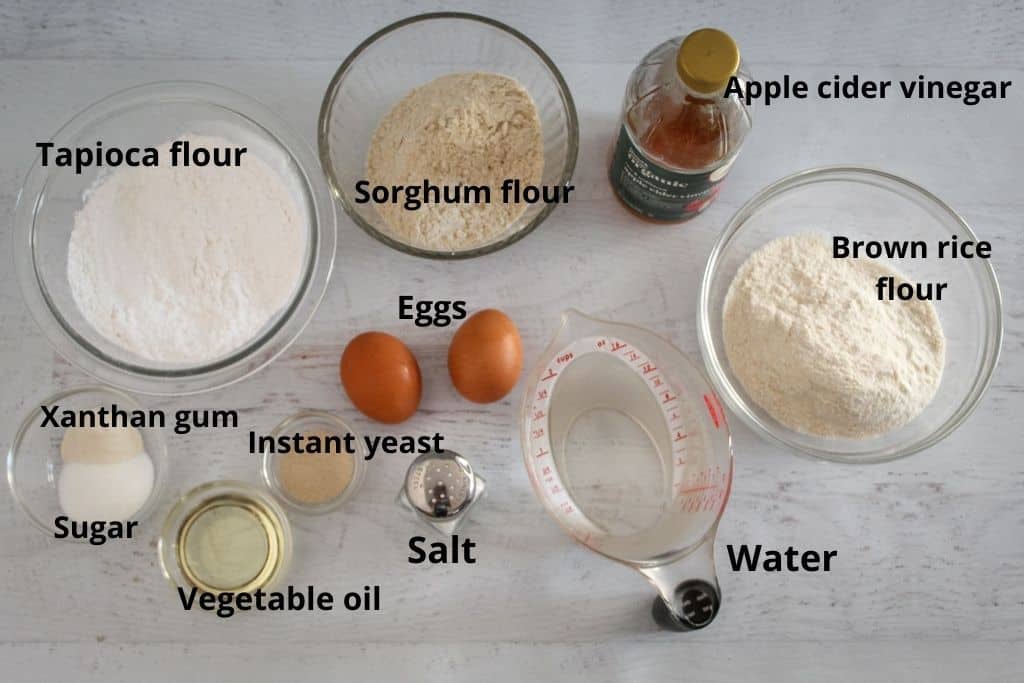
Ingredients You’ll Need
Here’s everything you’ll need to make this sorghum bread.
- Sorghum flour
- Tapioca flour (tapioca starch)
- Brown rice flour
- Granulated sugar
- Xanthan gum
- Salt
- Instant yeast
- Warm water
- Large eggs
- Vegetable oil
- Apple cider vinegar
Ingredients & Substitutions
Each ingredient plays an important role in creating a soft, sturdy loaf. Here’s what each one does, along with the best substitutions if needed.
Gluten-Free Flours
- Sorghum Flour: The main flour in this recipe. It provides a mild flavor and works best when combined with starches and a binder. If you need an alternative, see our 9 Best Sorghum Flour Substitutes (With a 1:1 Baking Guide).
- Brown Rice Flour: Brown rice flour strengthens the loaf and balances the softer texture of sorghum flour. Superfine brown rice flour produces the best texture. White rice flour can be substituted, although the loaf may be slightly lighter in flavor and color.
- Tapioca Flour (Tapioca Starch): Tapioca starch improves elasticity and gives the bread a lighter texture. Potato starch can be substituted in equal amounts, though the texture may be slightly less chewy.
Bread Essentials
- Granulated Sugar: Sugar feeds the yeast during fermentation and promotes browning. Honey or maple syrup can be substituted, but you may need to reduce the other liquid ingredients slightly.
- Xanthan Gum: Xanthan gum replaces the structure that gluten normally provides, helping the loaf hold together and reducing crumbling. Guar gum can be used instead, though the texture may differ slightly.
- Salt: Salt enhances flavor while helping regulate yeast activity. Fine sea salt or kosher salt both work well.
- Instant Yeast: Instant yeast gives the bread its rise and airy texture. Active dry yeast can be substituted, but it should be dissolved in warm water before mixing with the remaining ingredients.
Wet Ingredients
- Warm Water: Warm water activates the yeast and hydrates the gluten-free flours. The ideal temperature is 100–110°F (38–43°C). Water that’s too hot can kill the yeast, while cooler water may slow fermentation.
- Large Eggs: Eggs add structure, moisture, and lift. This recipe uses eggs, so substituting may affect the loaf’s texture and rise.
- Vegetable Oil: Vegetable oil keeps the bread soft and moist for longer. Other neutral oils, such as canola, avocado, or sunflower oil, can be substituted in equal amounts.
- Apple Cider Vinegar: Apple cider vinegar supports yeast activity and improves the loaf’s texture. White vinegar or lemon juice also works.
Why This Recipe Works
Great gluten-free bread depends on the right balance of hydration, starches, structure, and fermentation. Below is what gives this bread its soft texture and reliable rise.

Proper Hydration Creates a Softer Crumb
Gluten-free flours absorb more liquid than wheat flour. A higher hydration level helps create a lighter loaf with a softer crumb and better volume.
A Blend of Flour and Starch Improves Texture
Combining sorghum flour with tapioca starch produces a loaf that’s lighter and more flexible than bread made with sorghum flour alone. Learn more in our Sorghum Flour: The Beginner-Friendly Gluten-Free Flour for Baking.
Eggs Build the Bread’s Structure
Eggs strengthen the loaf as they bake, helping it hold its shape without gluten.
Xanthan Gum Replaces Gluten’s Elasticity
Xanthan gum traps gas produced during fermentation, improving elasticity and reducing crumbling.
Yeast Fermentation Creates Rise and Flavor
As yeast ferments, it produces carbon dioxide that lifts the batter while developing flavor. Proper proofing produces a lighter loaf with a more even crumb.
Printable Sorghum Bread Recipe Card
Ingredients
- 125 grams sorghum flour about 1 cup
- 120 grams tapioca flour about 1 cup
- 155 grams brown rice flour about 1 cup
- 1 Tablespoon granulated sugar
- 1 teaspoon xanthan gum
- 1 teaspoon salt
- 2 teaspoons instant yeast
- 12 ounces water about 1 1/2 cups
- 2 large eggs
- 2 Tablespoons vegetable oil
- 2 teaspoons apple cider vinegar
Instructions
- Step 1: Combine the Dry IngredientsAdd the sorghum flour, tapioca flour, brown rice flour, sugar, xanthan gum, salt, and instant yeast to the bowl of a stand mixer. Mix on low speed for about 30 seconds until evenly combined.
- Step 2: Add the Wet IngredientsAdd the warm water, eggs, vegetable oil, and apple cider vinegar. Mix on low speed for 30 seconds, then scrape down the sides of the bowl.
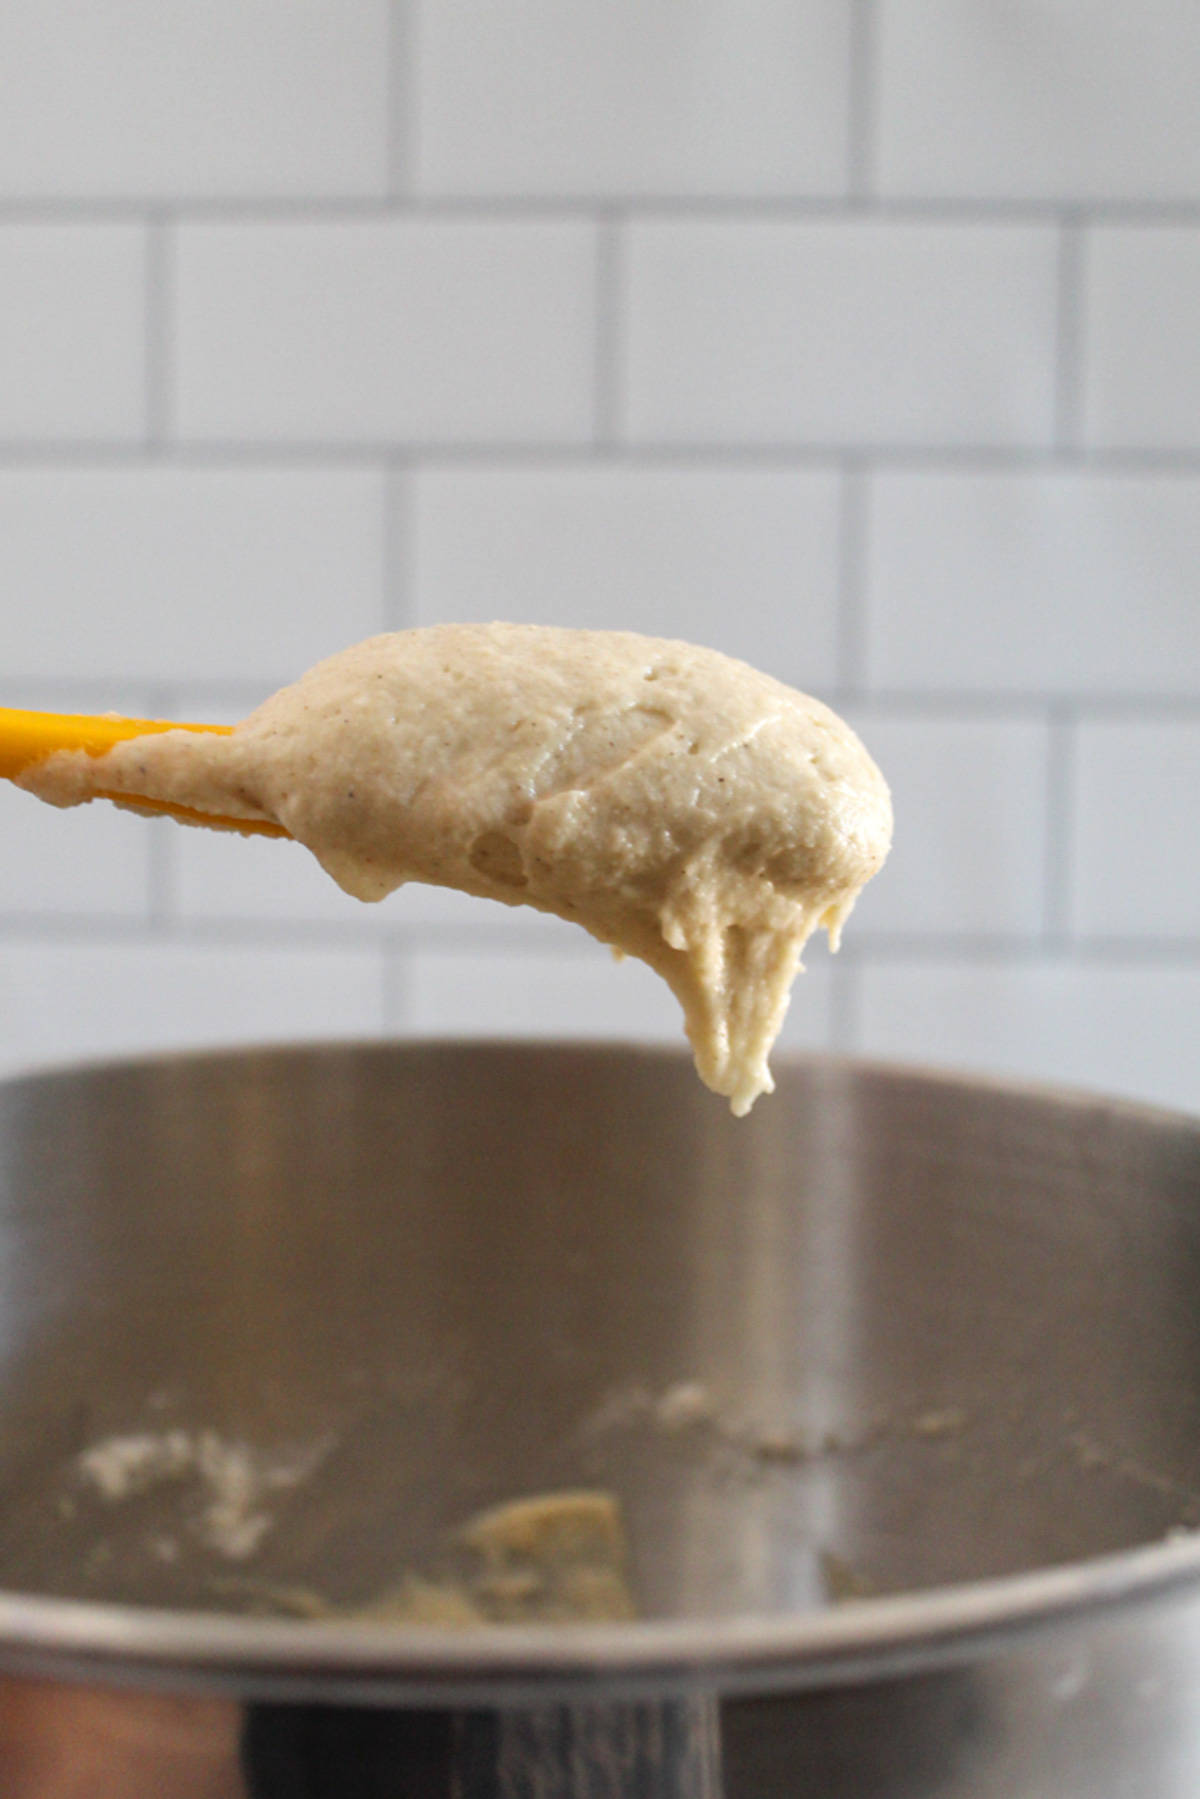
- Step 3: Mix the BatterIncrease the mixer to medium speed and beat for 3 minutes. The batter should be thick, smooth, and resemble heavy cake batter.
- Step 4: Prepare the PanLightly grease an 8 × 4½-inch loaf pan and spread the batter evenly inside.
- Step 5: ProofLet the batter rise for 20–25 minutes, or until it reaches just below the rim of the pan.
- Step 6: BakeBake at 350°F (175°C) for about 45 minutes.
- Step 7: Check for DonenessThe bread is done when the internal temperature reaches 205–210°F (96–99°C).
- Step 8: CoolCool the loaf in the pan for 10 minutes before transferring it to a wire rack. Let it cool completely before slicing.
Notes
- Measure ingredients by weight whenever possible.
- Use warm water to activate the yeast.
- Bake as soon as the batter reaches the top of the pan to avoid over-proofing.
Doneness Cues
Your loaf is ready when:- The crust is evenly golden brown.
- The sides pull away slightly from the pan.
- The internal temperature reaches 205–210°F (96–99°C).
Storage
- Room Temperature: Store in an airtight container for up to 3 days.
- Refrigerator: Store for up to 1 week.
- Freezer: Freeze sliced bread in a freezer-safe bag for up to 3 months.
- Reheating: Toast slices directly from frozen or warm the loaf in a 325°F oven for 8–10 minutes.
Nutrition
Step-by-Step Instructions
Once your ingredients are measured, use these photos and visual cues in the steps below to check that your batter looks right at every stage.
Essential Kitchen Tools
You’ll need a few basic tools to make this recipe successfully:
Step 1: Mix the Dry Ingredients
Add the sorghum flour, tapioca flour, brown rice flour, sugar, xanthan gum, salt, and instant yeast to the bowl of your stand mixer. Mix on low speed for about 30 seconds until everything is evenly distributed.
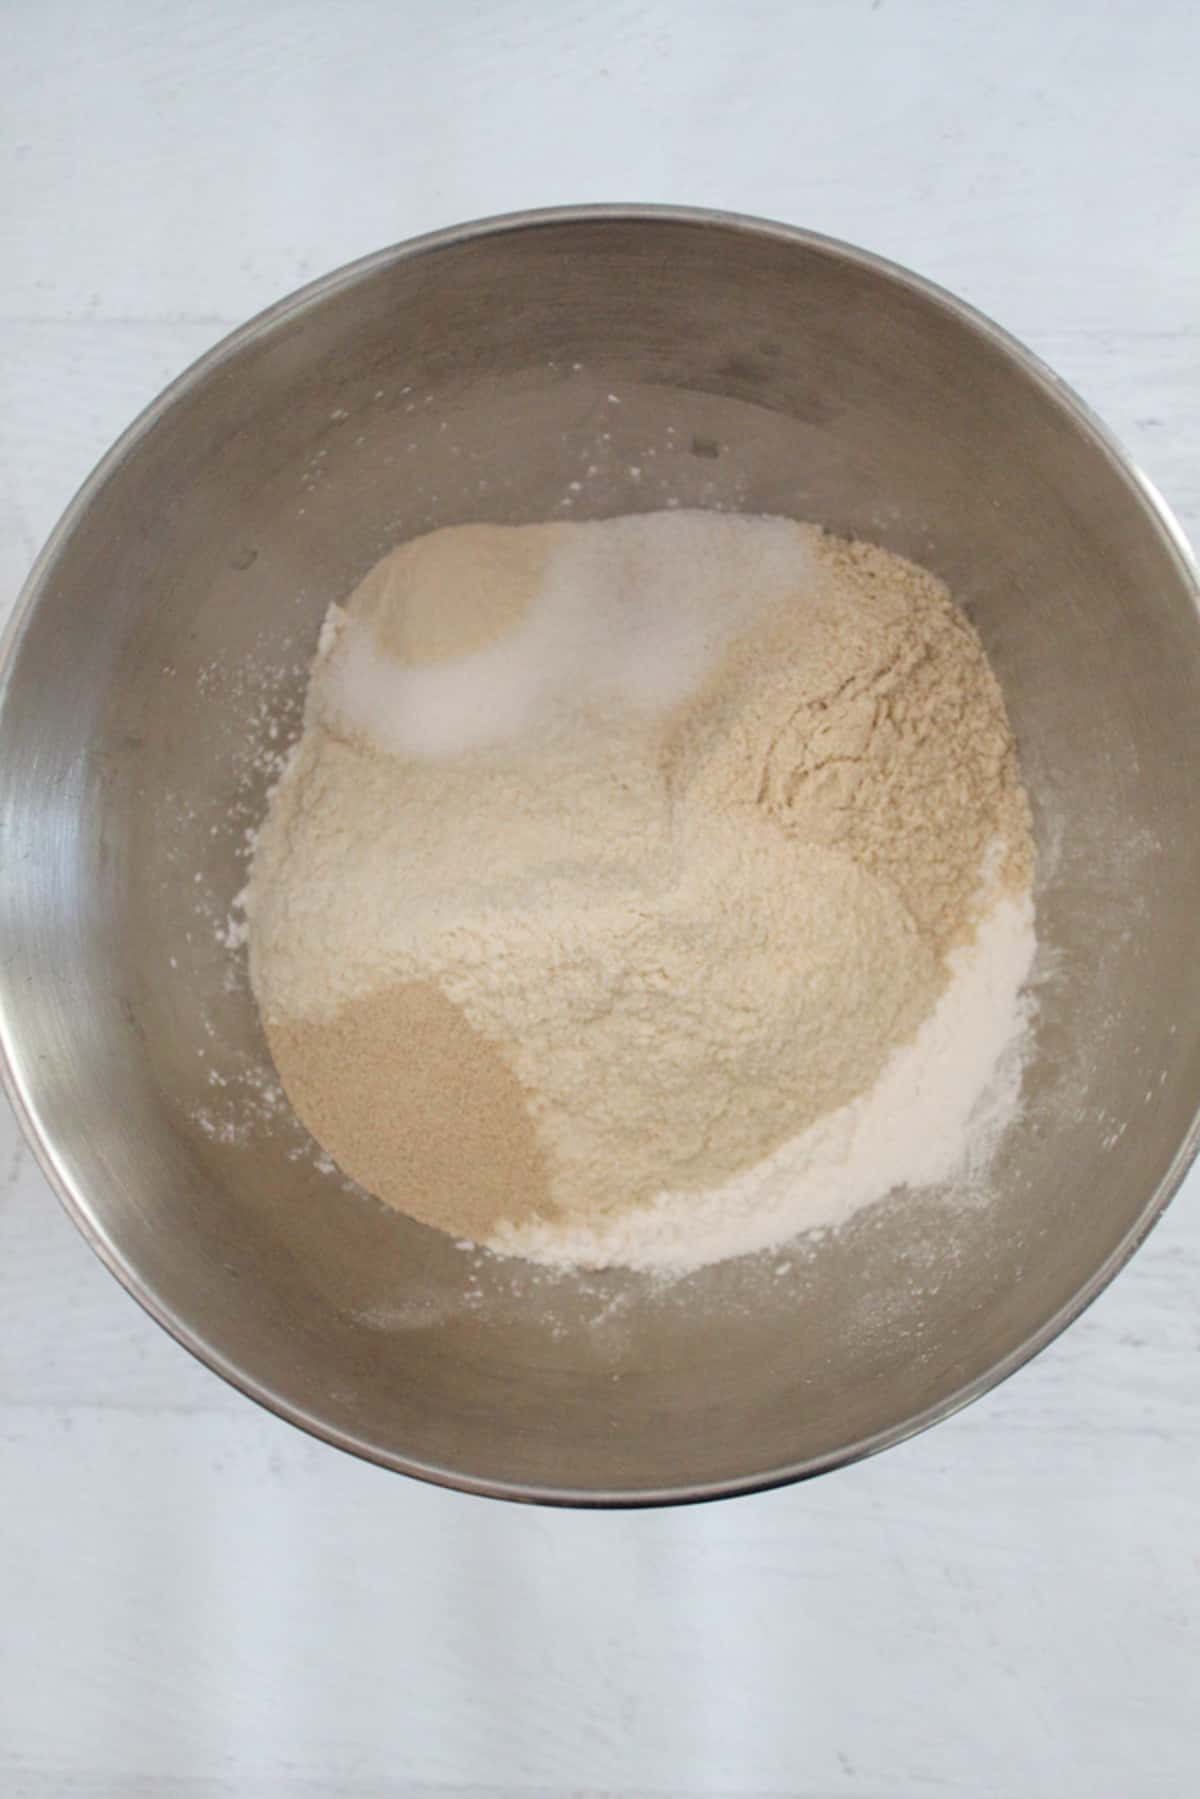
The ingredients should be evenly blended with no visible streaks of individual flours.
Step 2: Add the Wet Ingredients
Add the warm water, eggs, vegetable oil, and apple cider vinegar. Mix on low speed for 30 seconds, then stop the mixer and scrape down the sides of the bowl.

The batter should be thick and sticky.
Step 3: Beat Until Smooth
Increase the mixer to medium speed and beat the batter for 3 minutes. This helps fully hydrate the gluten-free flours and allows the xanthan gum to develop the structure needed for a stable loaf.
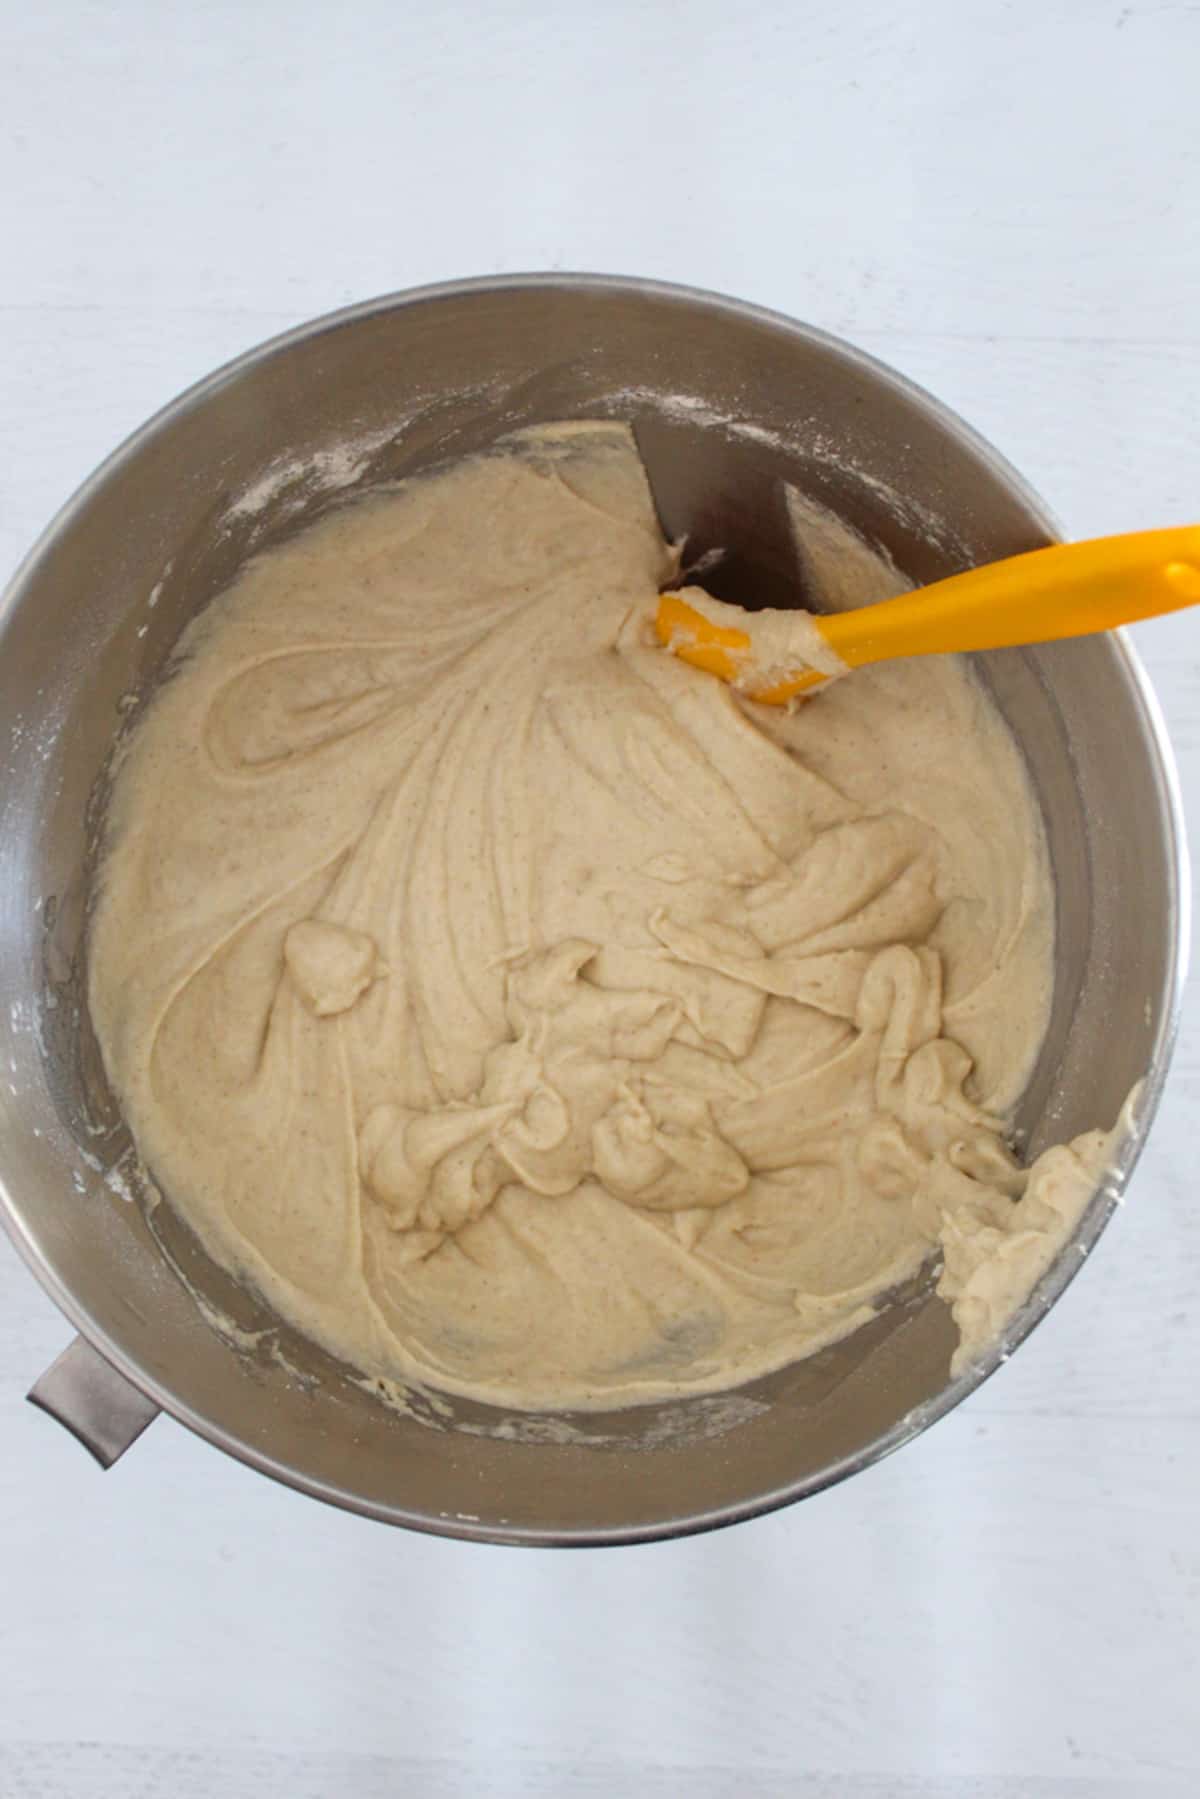
The batter should look smooth with no dry pockets or visible lumps.
Step 4: Prepare the Loaf Pan
Lightly coat an 8 × 4½-inch loaf pan with nonstick cooking spray. Transfer the batter to the prepared pan and smooth the surface with a spatula.
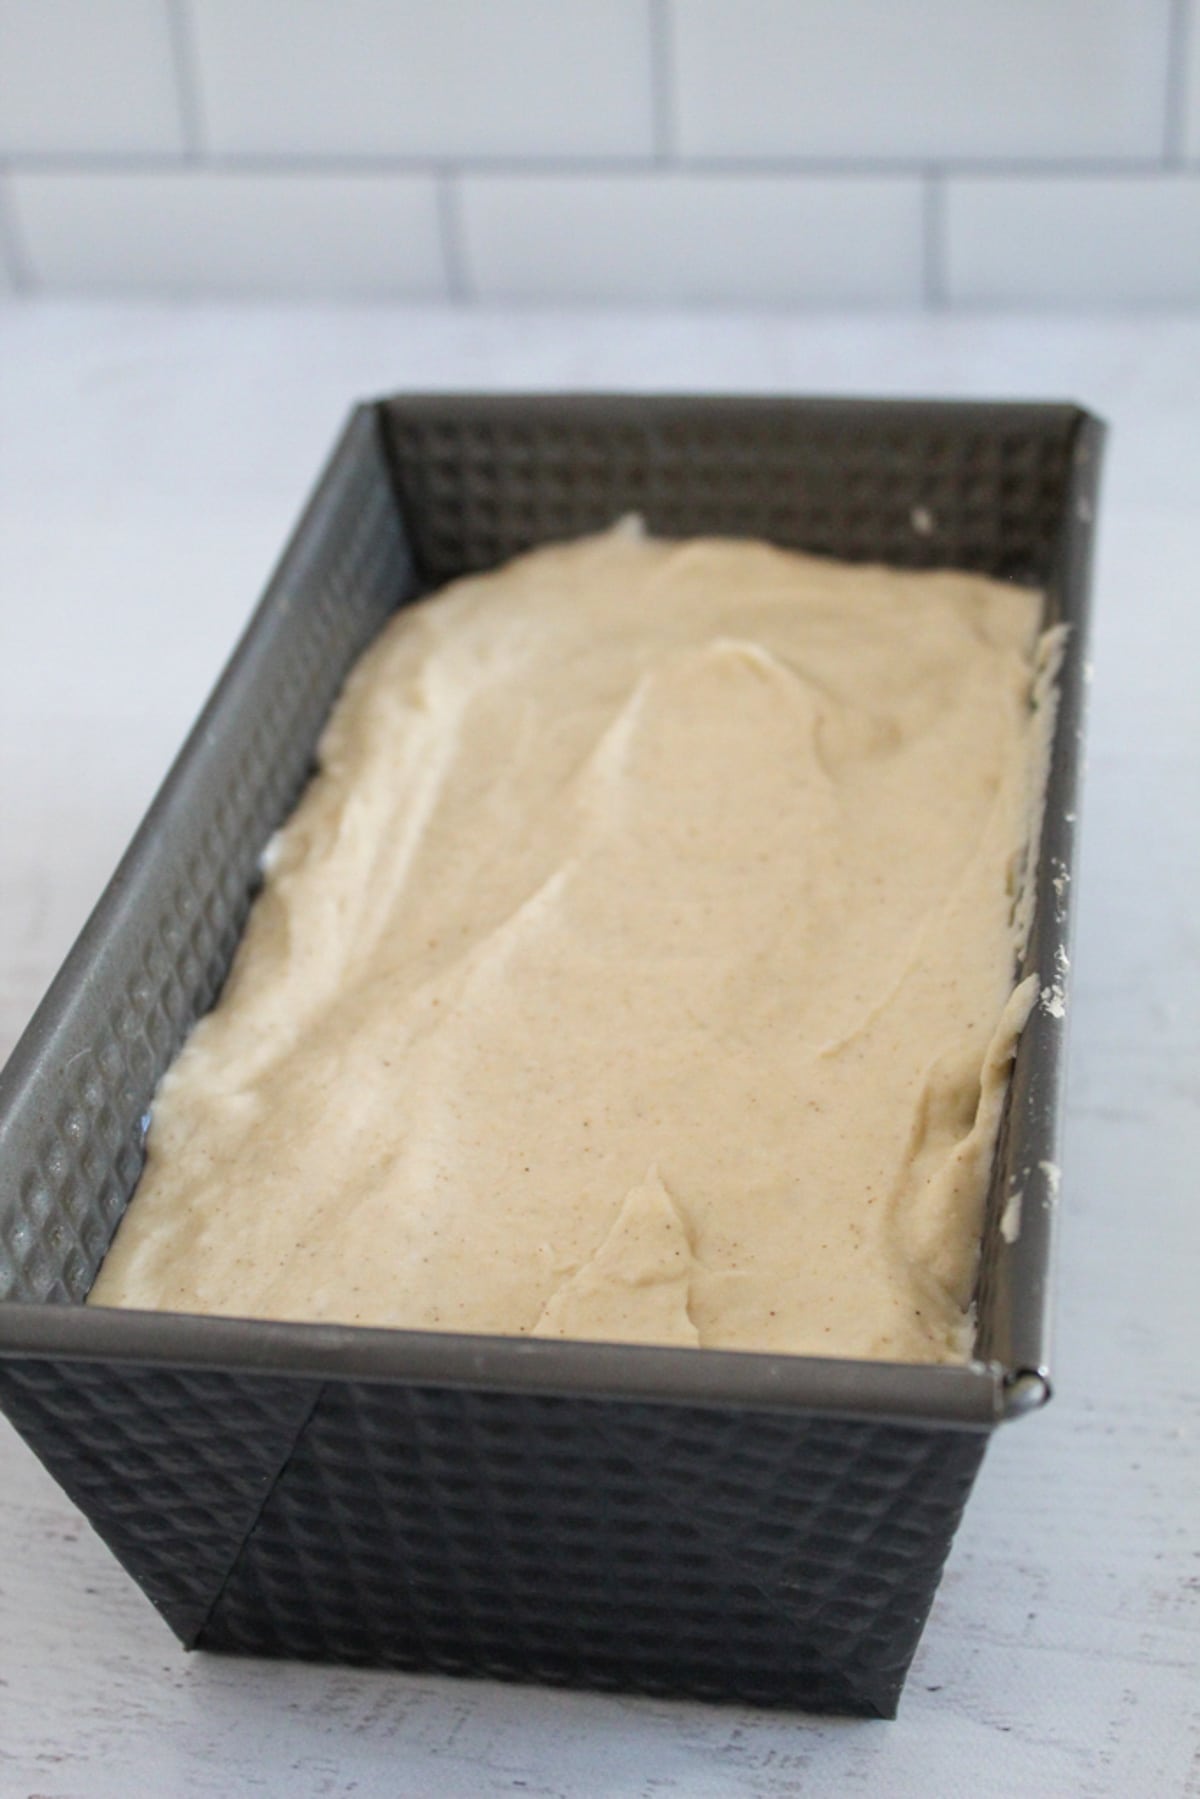
The batter should sit level in the pan with a smooth top.
Step 5: Let the Batter Rise
Place the pan in a warm, draft-free spot and allow the batter to rise for 20 to 25 minutes.

The batter should rise until it nearly reaches the top edge of the loaf pan without overflowing.
Step 6: Bake the Bread
While the batter rises, preheat your oven to 350°F (175°C). Bake the loaf for approximately 45 minutes.
The crust should be evenly golden brown, and the loaf should hold its shape.
Step 7: Check for Doneness
Insert an instant-read thermometer into the center of the bread. The loaf is done when the internal temperature reaches 205–210°F (96–99°C), which helps ensure the starches are fully set and reduces the risk of a gummy crumb.
The loaf should feel firm, pull away slightly from the sides of the pan, and register the target internal temperature.
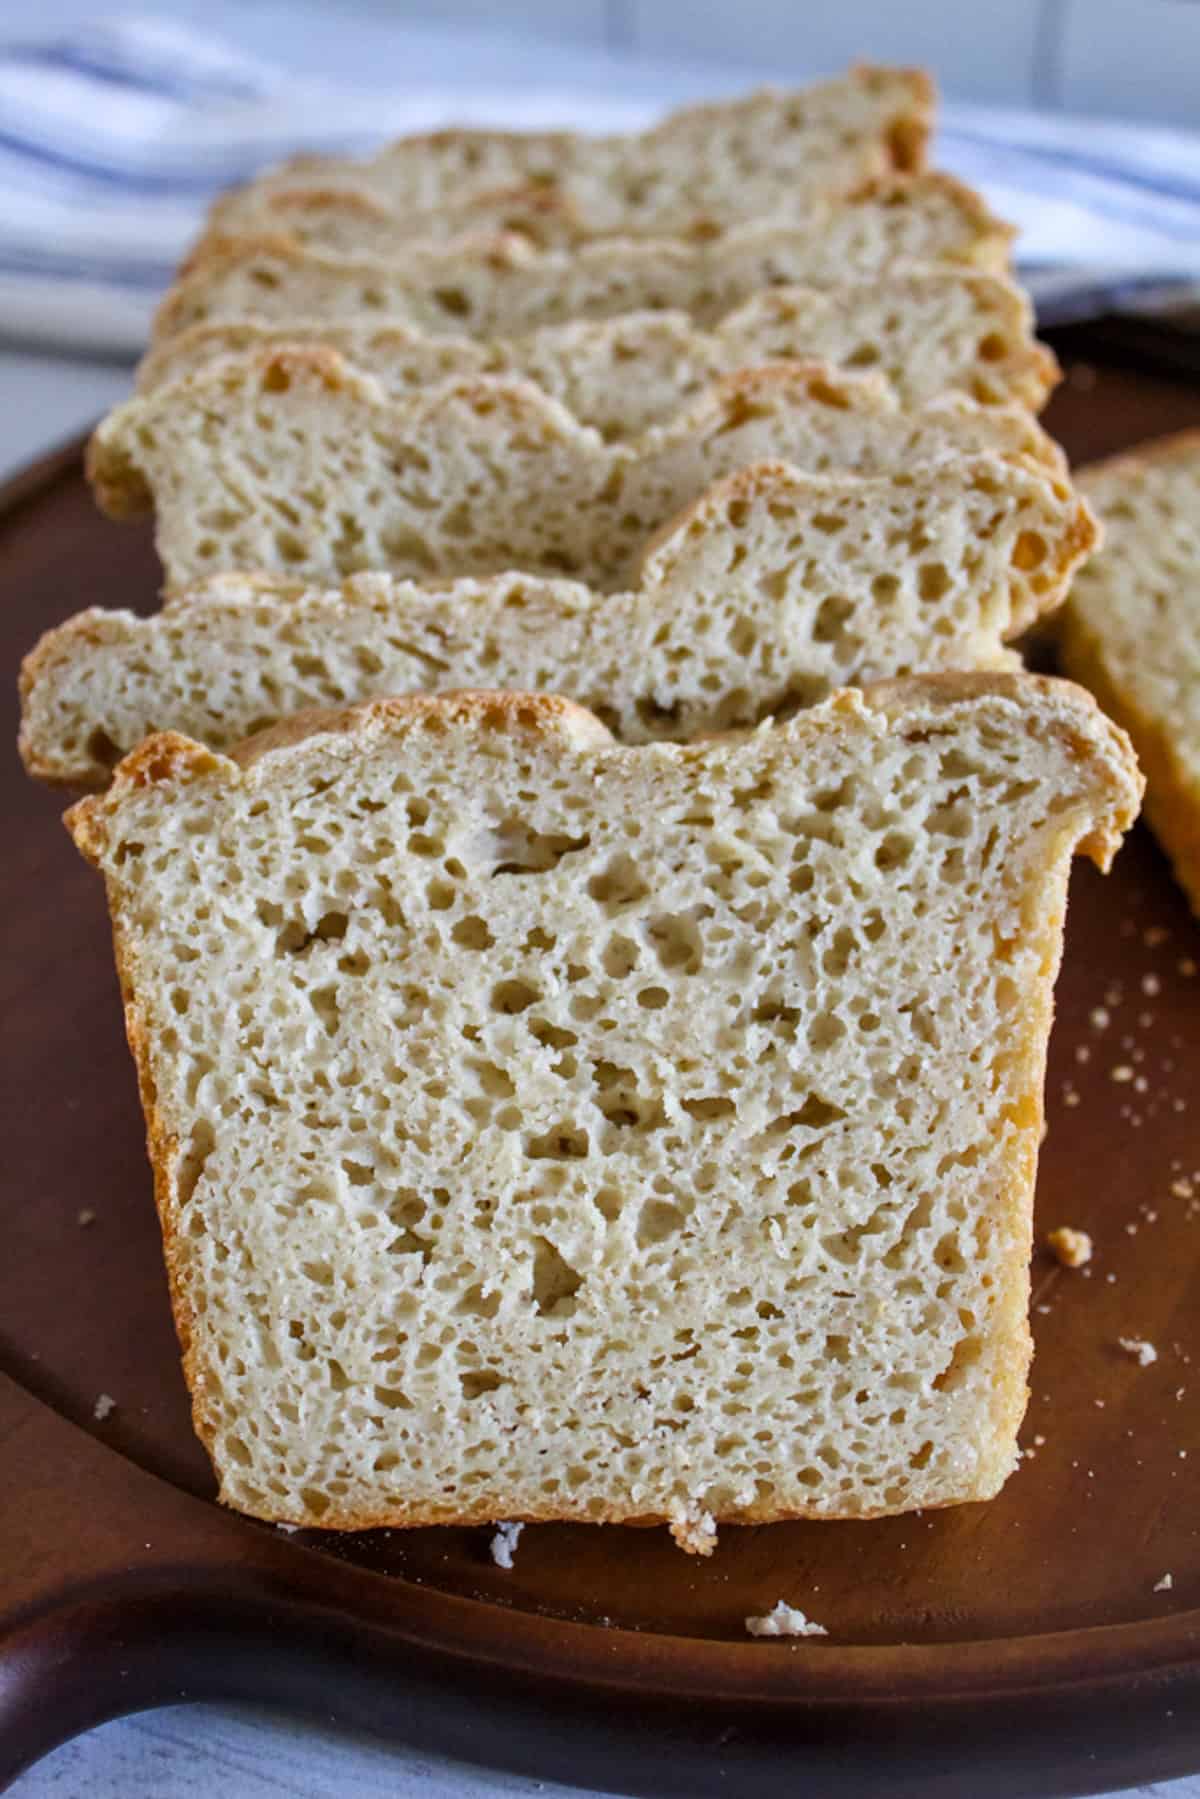
Step 8: Cool Before Slicing
Let the bread cool in the pan for 10 minutes, then carefully remove it and transfer it to a wire rack. Allow it to cool completely before slicing.
Expert Tips for Soft, Fluffy Sorghum Bread
These simple tips will help you get consistent results every time you bake this sorghum bread.
- Weigh Your Ingredients: Weighing flour with a digital scale produces more consistent results than measuring by volume. Even a small amount of extra flour can make gluten-free bread denser.
- Use Warm Water: Water between 100–110°F (38–43°C) activates the yeast without damaging it. Hotter water can kill the yeast, while cooler water slows fermentation.
- Use Room-Temperature Eggs: Room-temperature eggs mix more evenly into the batter and help maintain a consistent dough temperature.
- Mix Until Smooth: Mix for the full recommended time so the batter becomes smooth and evenly hydrated.
- Don’t Over-Proof: Bake the loaf once the batter reaches the top of the pan. Over-proofing can cause it to collapse.
- Bake to Temperature: An instant-read thermometer is the most reliable way to confirm the loaf is fully baked.
- Cool Before Slicing: Wait until the loaf cools completely before slicing to help the crumb finish setting.
Are you looking for another beginner-friendly recipe? Try our How to Make Gluten-Free Cornbread Without Flour for another simple way to build confidence with gluten-free baking.
Troubleshooting Sorghum Bread
If your sorghum bread didn’t turn out as expected, these quick fixes should help you identify the problem before your next bake.
Why Didn’t My Sorghum Bread Rise?
Expired yeast, water that’s too hot, a cool kitchen, or not proofing the batter long enough can all reduce the loaf’s rise. Use fresh yeast, warm water between 100–110°F (38–43°C), and proof the batter in a warm location until it reaches the top of the pan before baking.
Why Is My Bread Dense?
Dense bread usually results from too much flour, under-mixing, or under-proofing. Weigh the ingredients, mix until smooth, and let the batter rise before baking.
Why Is It Gummy?
A gummy crumb usually means the bread was underbaked or sliced too soon. Bake until fully cooked, then let the loaf cool completely before cutting.
Why Did It Collapse?
Bread usually collapses after over-proofing or being removed from the oven before it’s fully baked. Bake until the batter reaches the top of the pan, then verify doneness before removing it from the oven.
Why Is It Dry?
Too much flour, overbaking, or improper storage can dry out the loaf. Measure accurately, avoid overbaking, and store the cooled bread in an airtight container.
Best Ways to Enjoy Sorghum Bread
One of the best things about sorghum bread is its versatility. Look below to learn how to enjoy it for breakfast, lunch, dinner, or dessert.
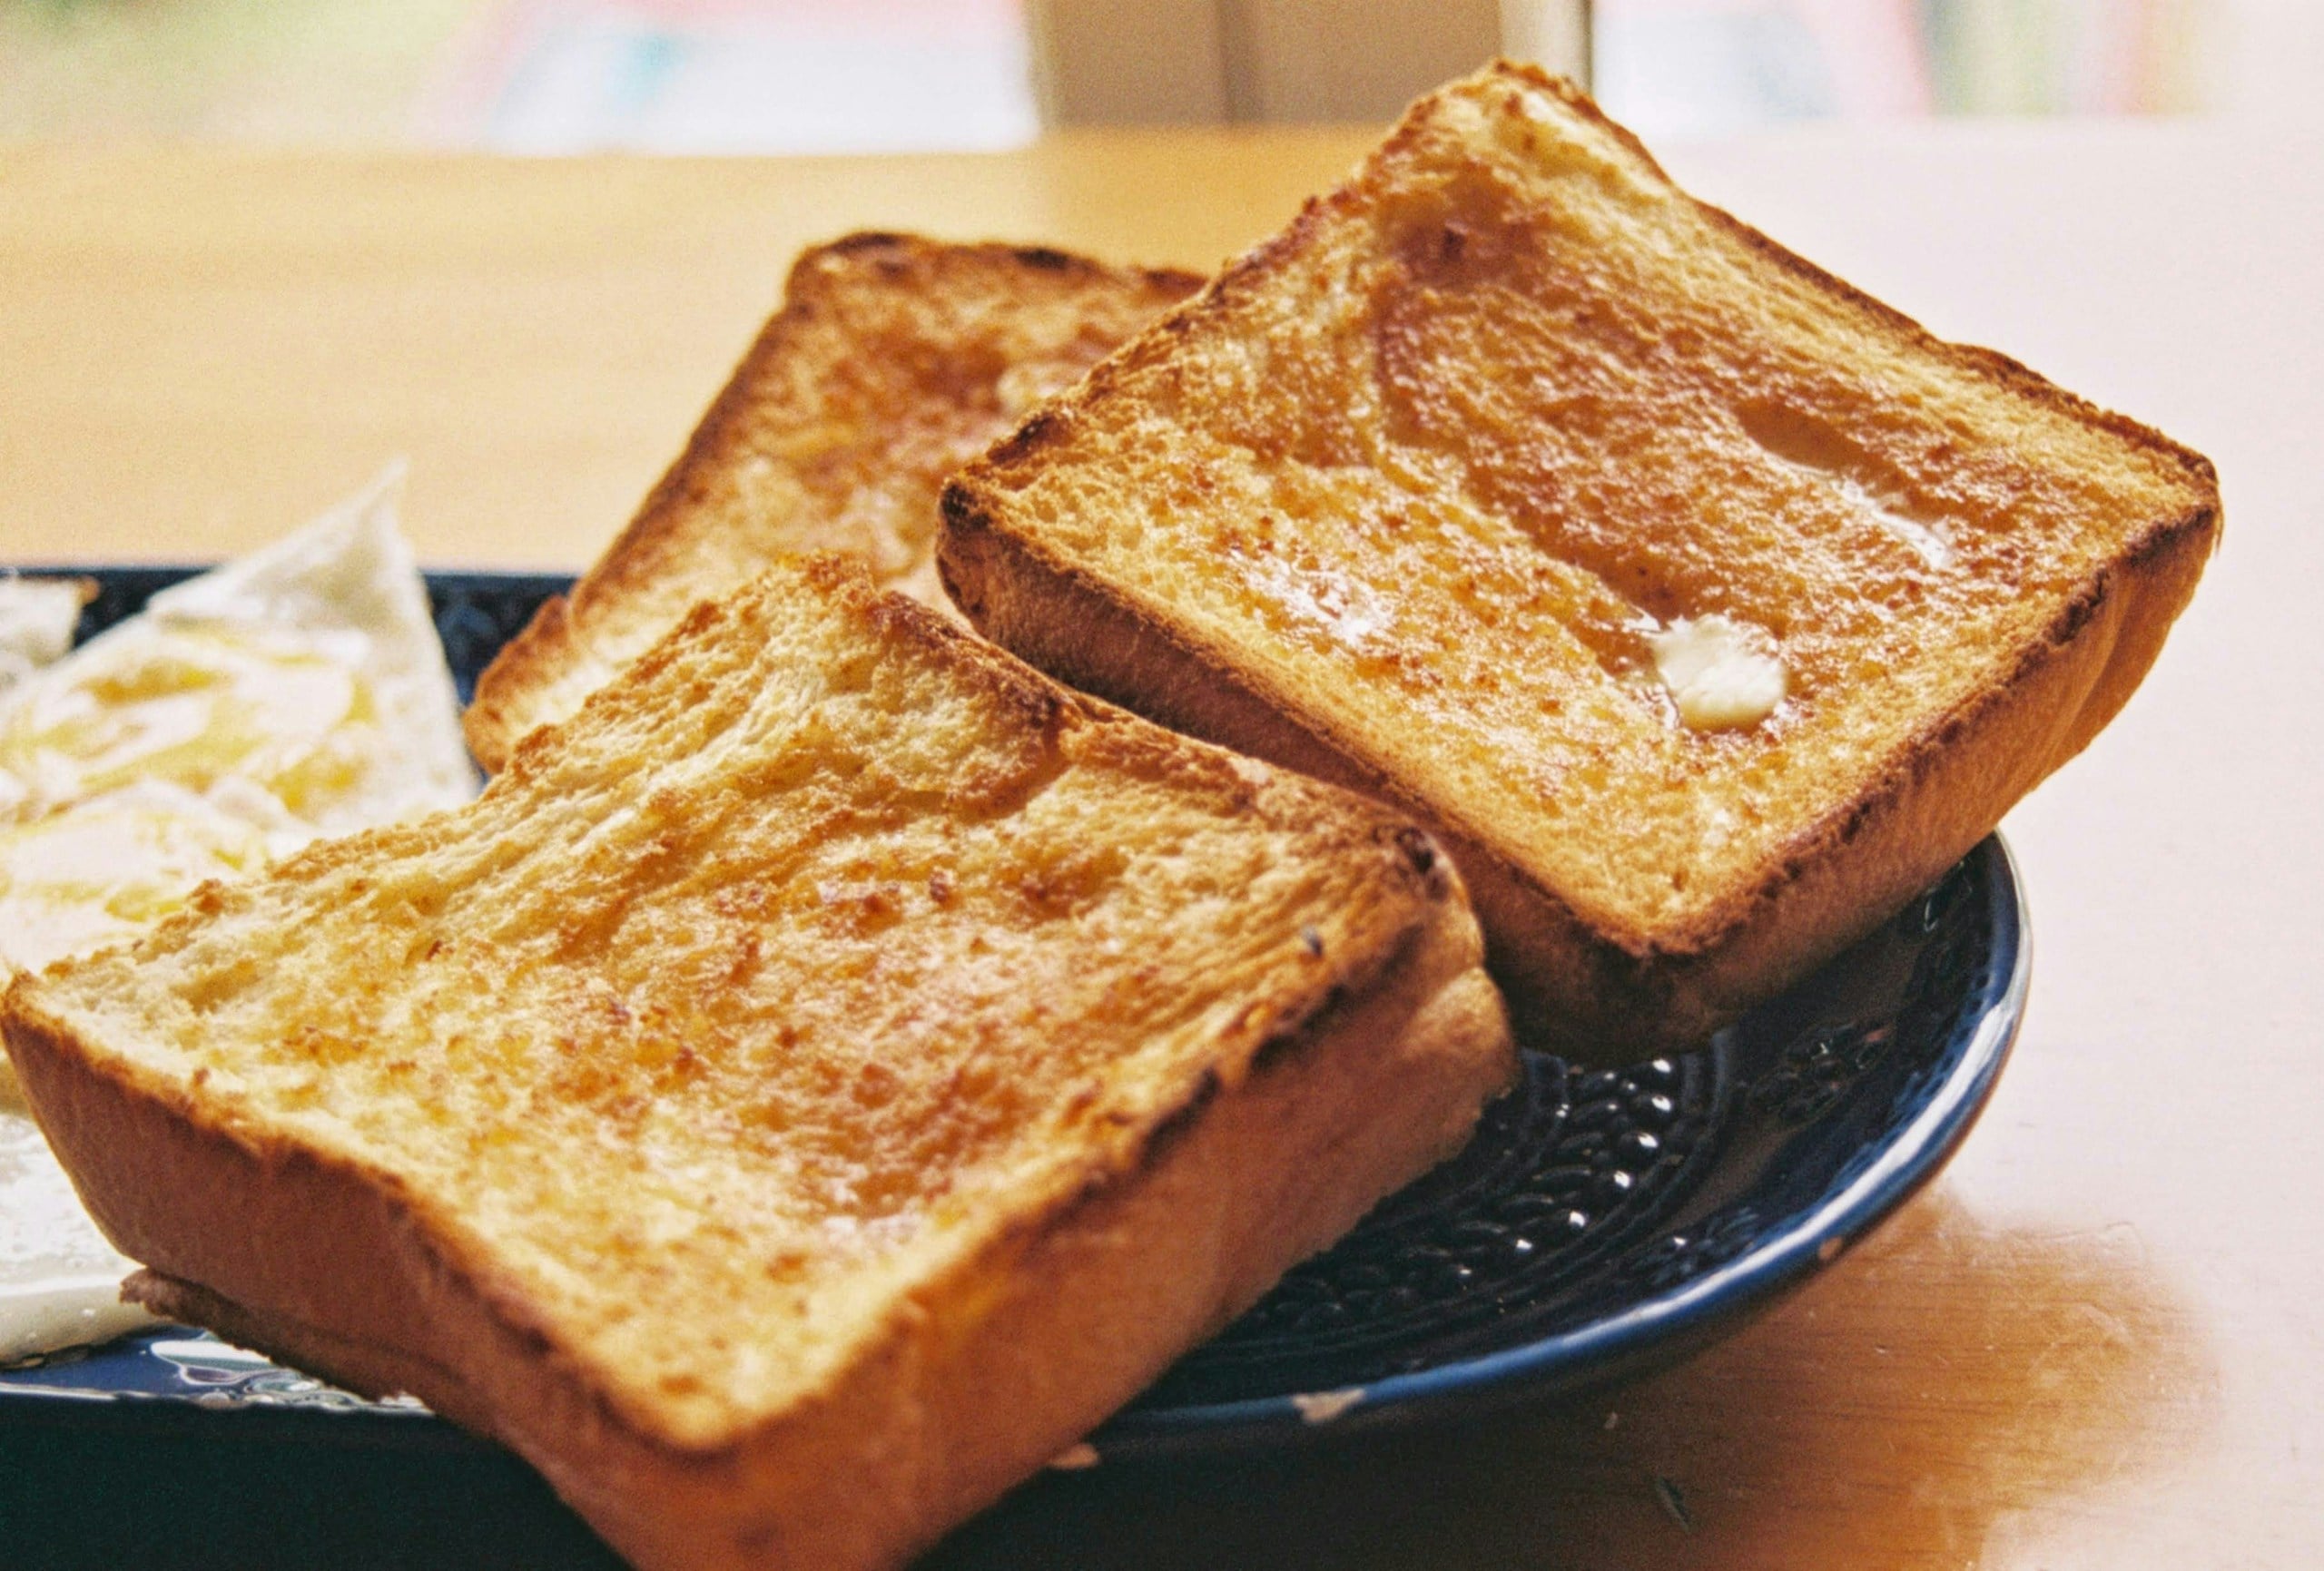
French Toast
The bread absorbs the egg mixture well without becoming overly soggy, resulting in French toast with a crisp exterior and a soft, custardy center. Day-old bread often works especially well because it soaks up more flavor while holding its shape during cooking.
Grilled Cheese
Its balanced flavor complements a wide variety of cheeses without overpowering them. Toasting the bread until it is golden brown gives it a crisp crust that contrasts with the gooey, melted cheese inside.
Bread Pudding
Slightly stale slices absorb custard while holding their shape. Try them in our Easy Gluten-Free Bread Pudding with Warm Caramel Sauce.
Sorghum Bread Variations
Once you’ve mastered the base recipe, try one of these easy customizations below.
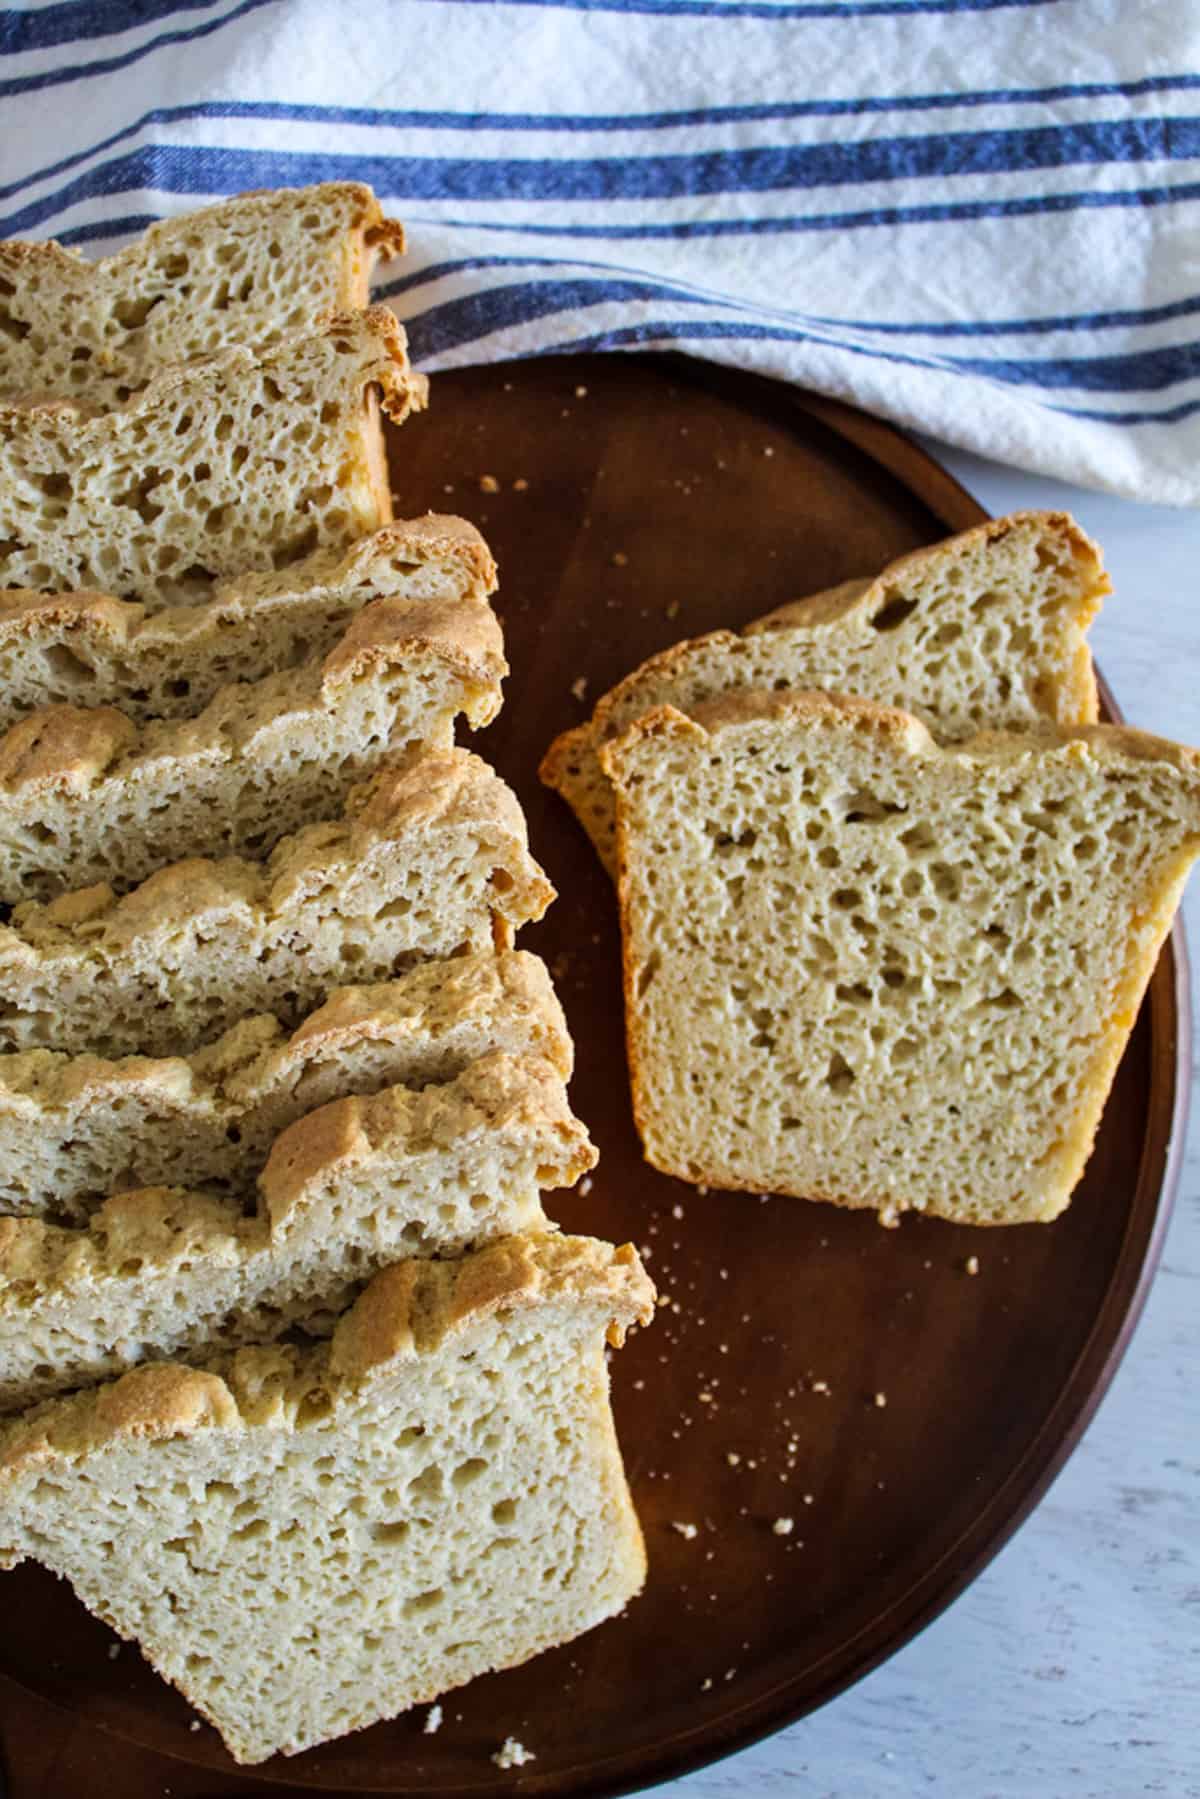
Sandwich Bread
This recipe already produces a soft, sturdy loaf that’s ideal for sandwiches. For even cleaner slices, allow the bread to cool completely, then cut and store it overnight before making sandwiches. The crumb becomes slightly firmer as it rests, making it easier to slice thinly for lunches or meal prep.
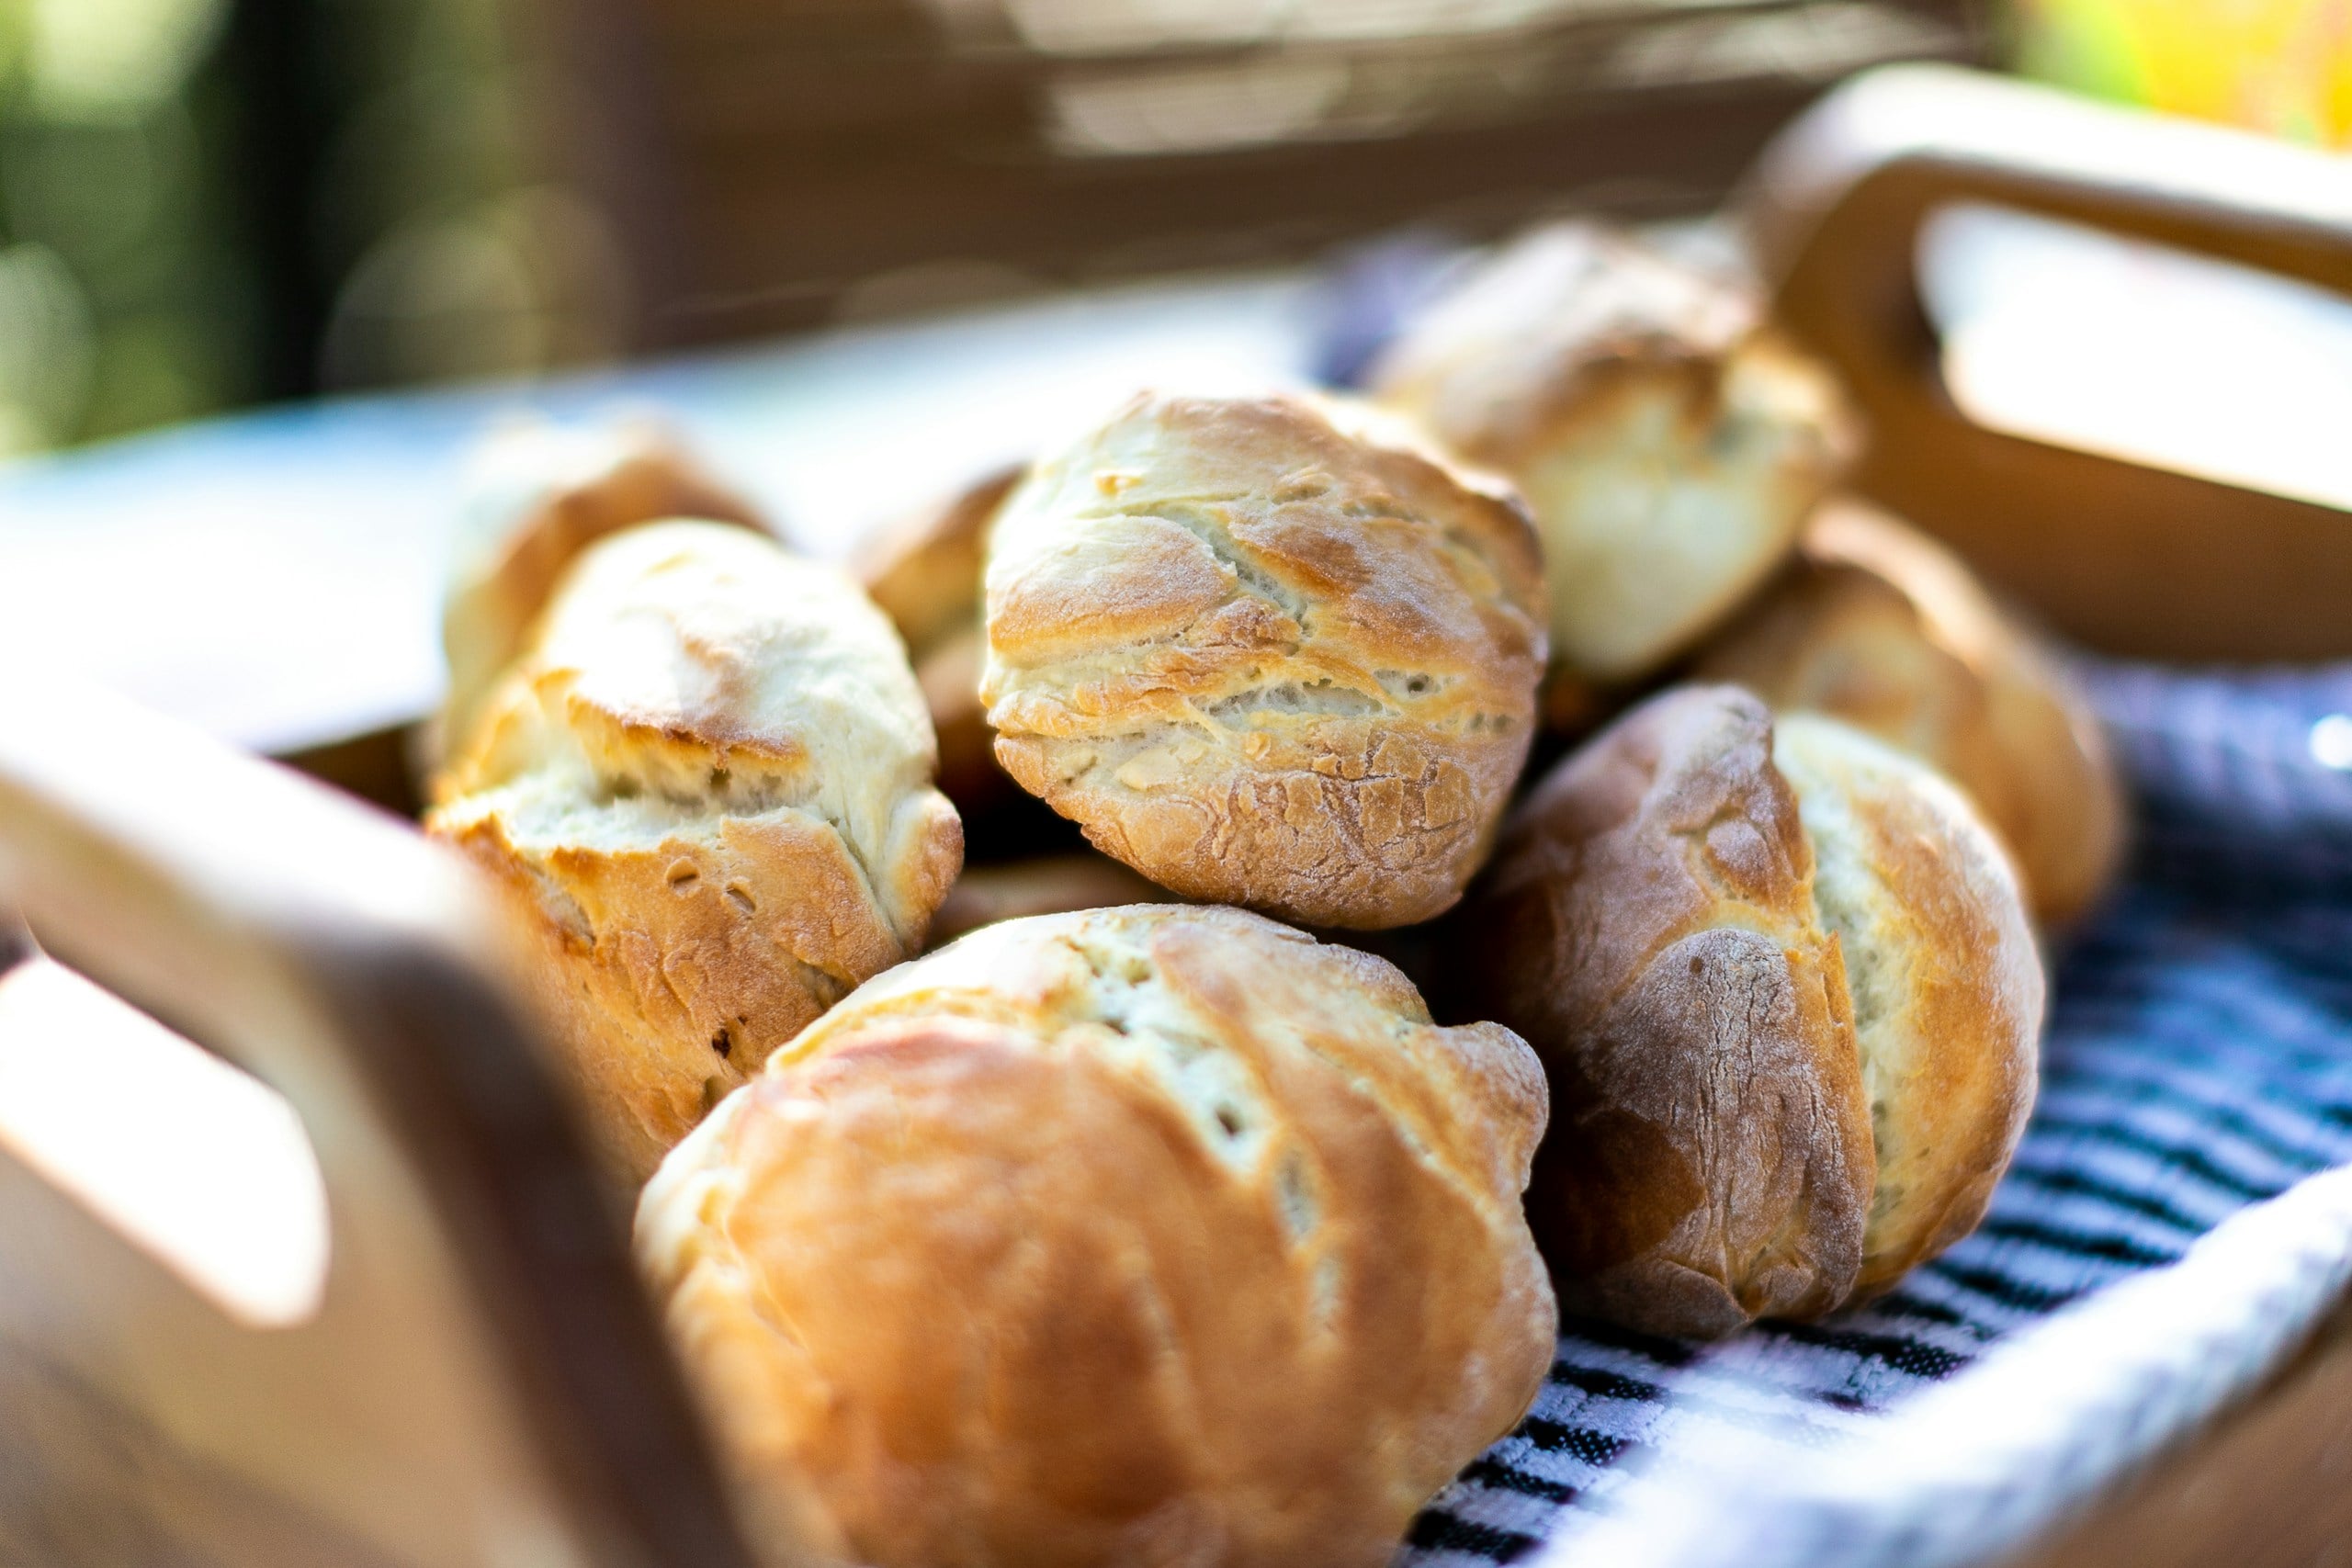
Dinner Rolls
Instead of transferring the batter to a loaf pan, divide it evenly among a greased muffin tin or individual roll molds. Let the rolls rise until slightly puffy before baking. Since smaller portions bake faster than a full loaf, begin checking for doneness several minutes earlier than the original baking time.
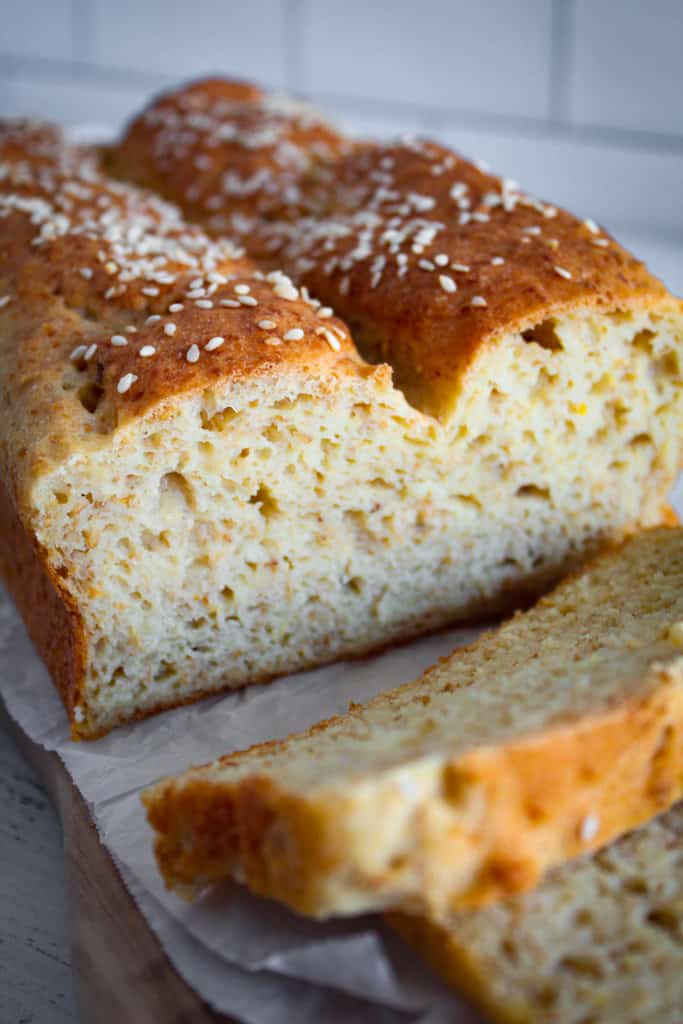
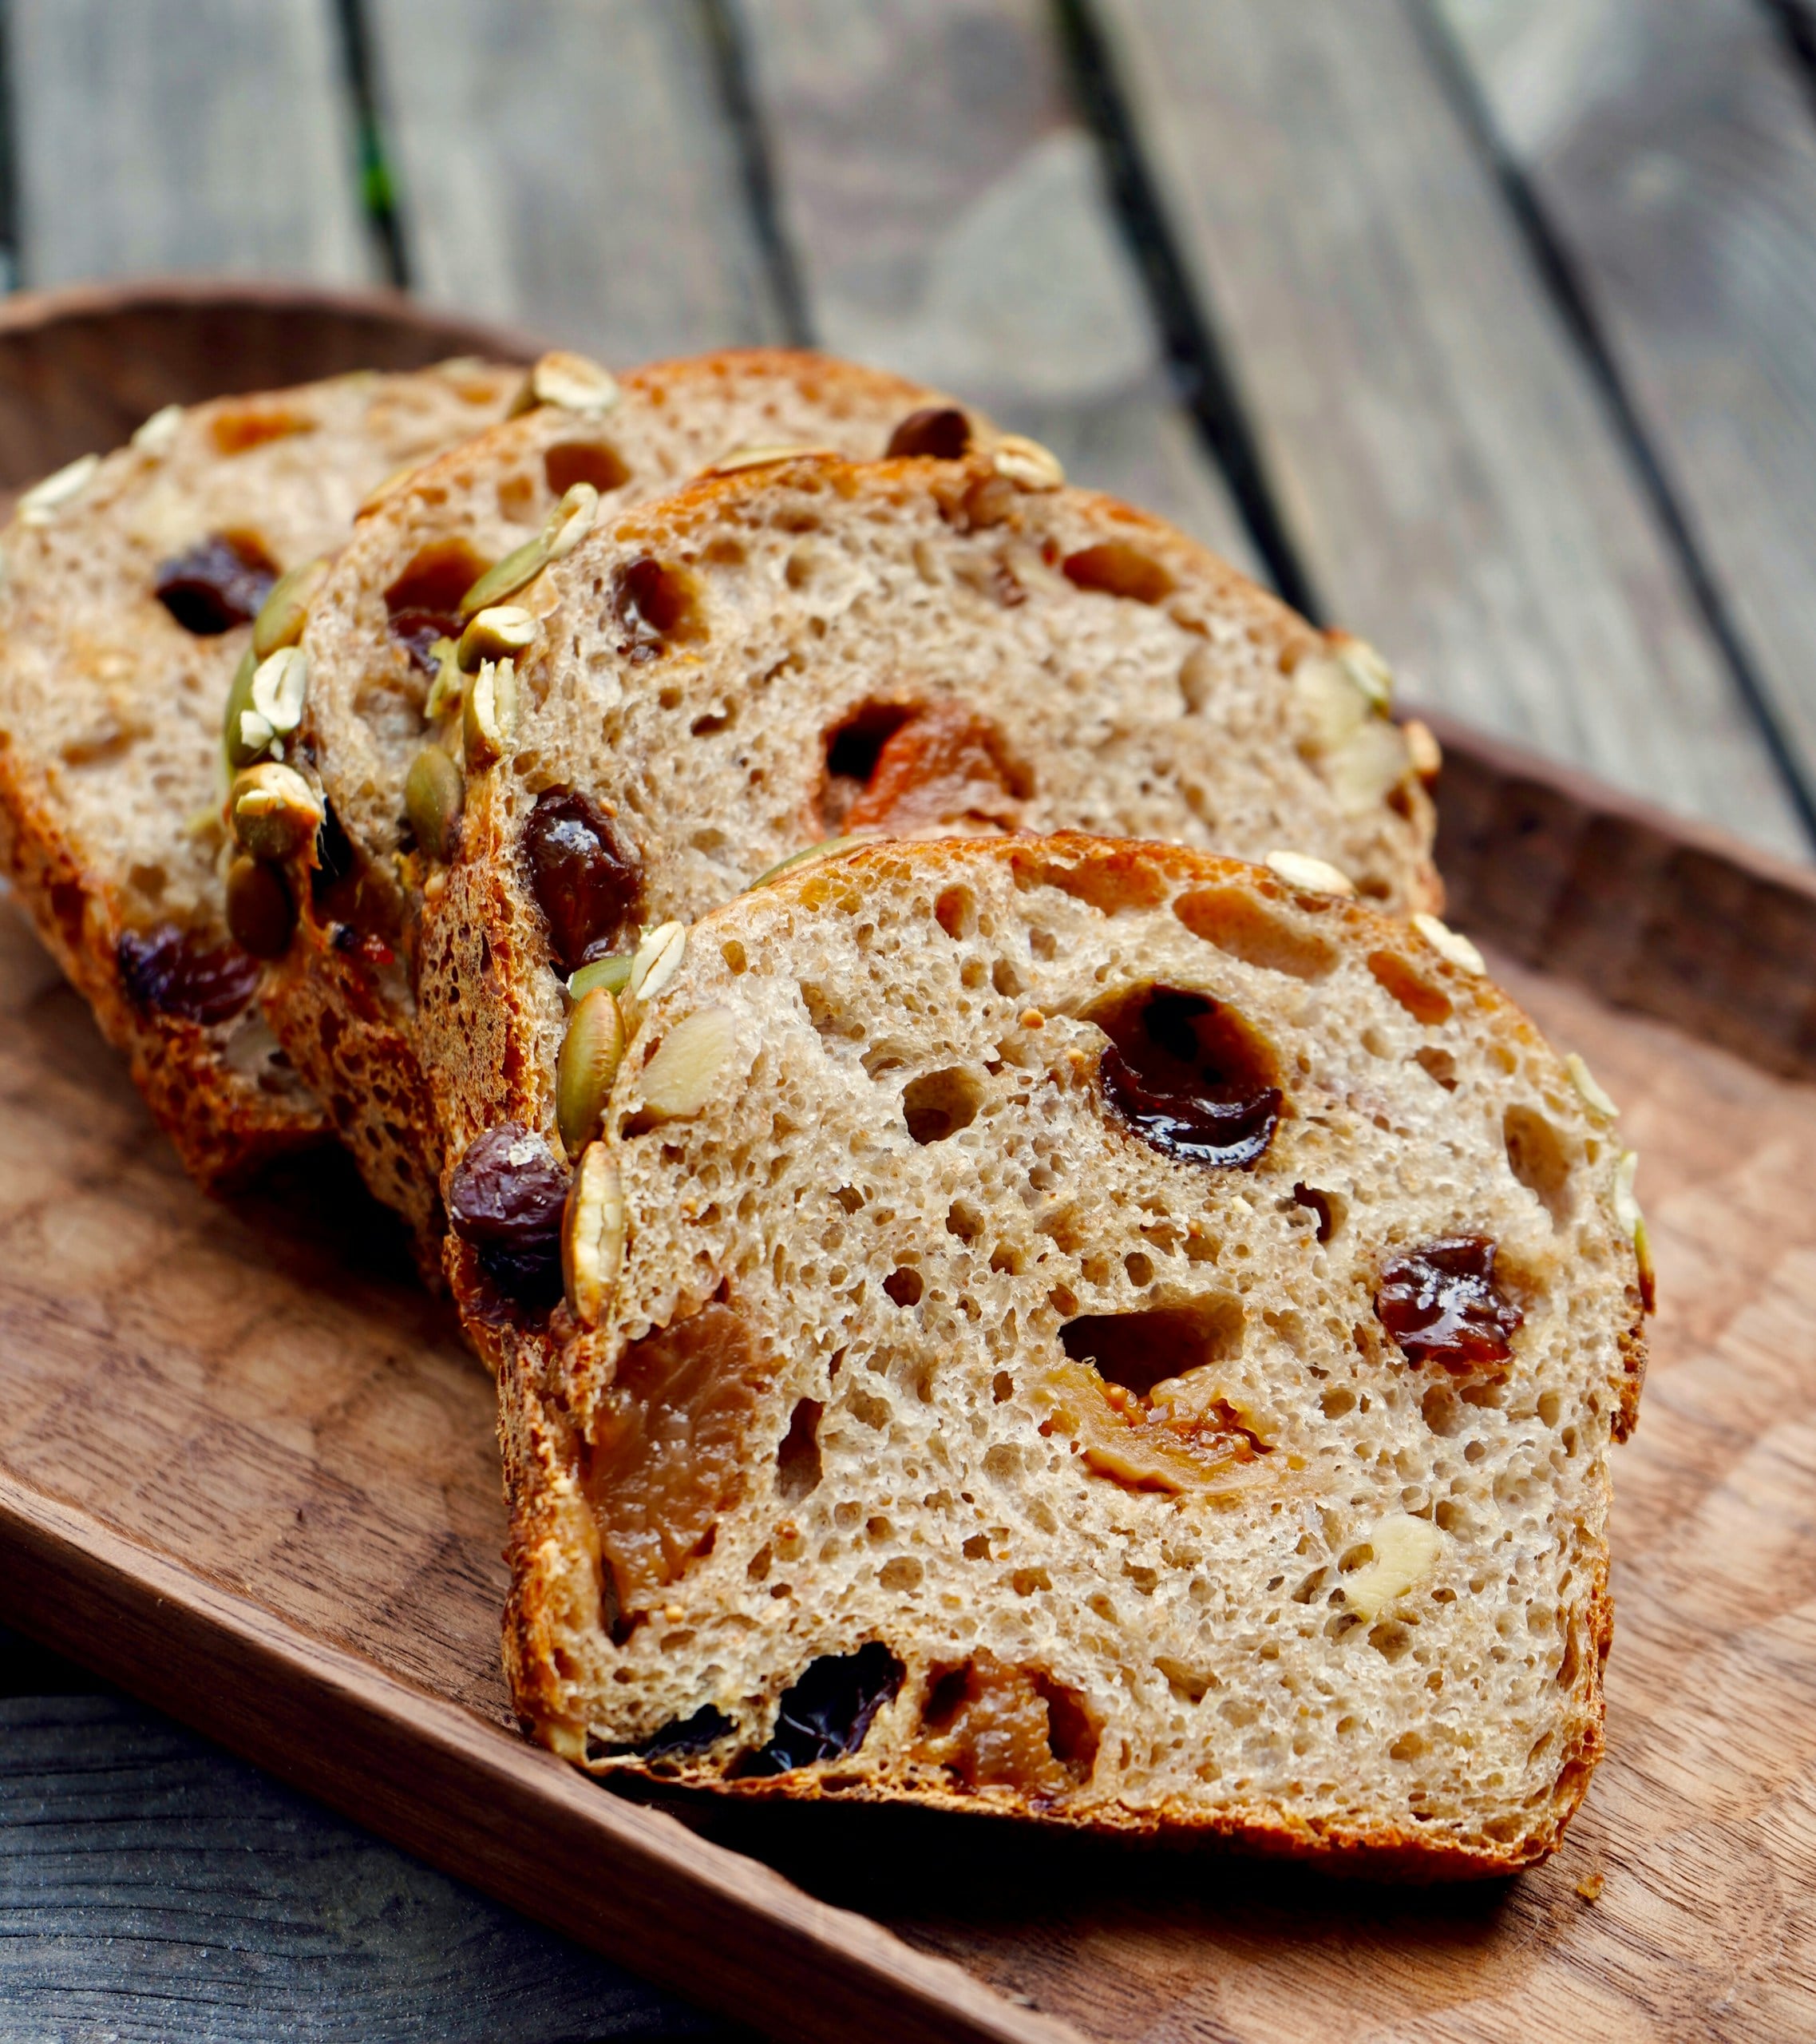
Seeded Bread
For extra texture and nutrition, fold sunflower seeds, pumpkin seeds, sesame seeds, or flaxseeds into the batter before transferring it to the pan. Sprinkle additional seeds over the top just before baking for a crisp, bakery-style finish. Seeds add flavor, healthy fats, and a satisfying crunch without changing the basic recipe.
Dairy-Free Version
This recipe is naturally dairy-free as written, provided you use dairy-free cooking spray and verify that all packaged ingredients are certified dairy-free. Always check ingredient labels if you’re baking for someone with a milk allergy, as manufacturing practices can vary.
Vegan Version
To make a vegan loaf, replace the eggs with a suitable plant-based egg substitute designed for yeast breads, and confirm that all ingredients are vegan-friendly. Because eggs provide structure and moisture in gluten-free baking, the finished loaf may have a slightly denser crumb than the original.
Cinnamon Raisin Bread
Turn this loaf into a breakfast favorite by gently folding raisins into the batter and adding a cinnamon-sugar swirl before baking. King Arthur Baking recommends layering the batter and cinnamon filling rather than rolling the dough, since gluten-free bread batter is too soft to shape like traditional wheat dough.
Herb Bread
Fresh or dried herbs can give the loaf a savory twist that’s perfect alongside soups, stews, and pasta dishes. Rosemary, thyme, oregano, parsley, or Italian seasoning all pair well with the mild flavor of sorghum flour. You can also sprinkle a little flaky sea salt over the top before baking for additional flavor and texture.
If you enjoy experimenting with gluten-free grains, you’ll also love our Homemade Millet Bread for Sandwiches, Toast, and Everyday Slices, another versatile loaf that’s perfect for everything from breakfast toast to hearty sandwiches.
Storage & Freezing Tips
The storage tips below keep sorghum bread soft and fresh for longer.
- Room Temperature: Store the cooled loaf in an airtight container for up to 3 days.
- Refrigerator: Refrigerate only if necessary. Toast slices before serving to improve the texture.
- Freezer: Freeze sliced bread in a freezer-safe bag, separating the slices with parchment paper, for up to 3 months.
- Thawing: Toast frozen slices directly from the freezer or thaw a whole loaf at room temperature.
- Reheating: Warm slices in a toaster or reheat the loaf in a 350°F (175°C) oven for 10–15 minutes.
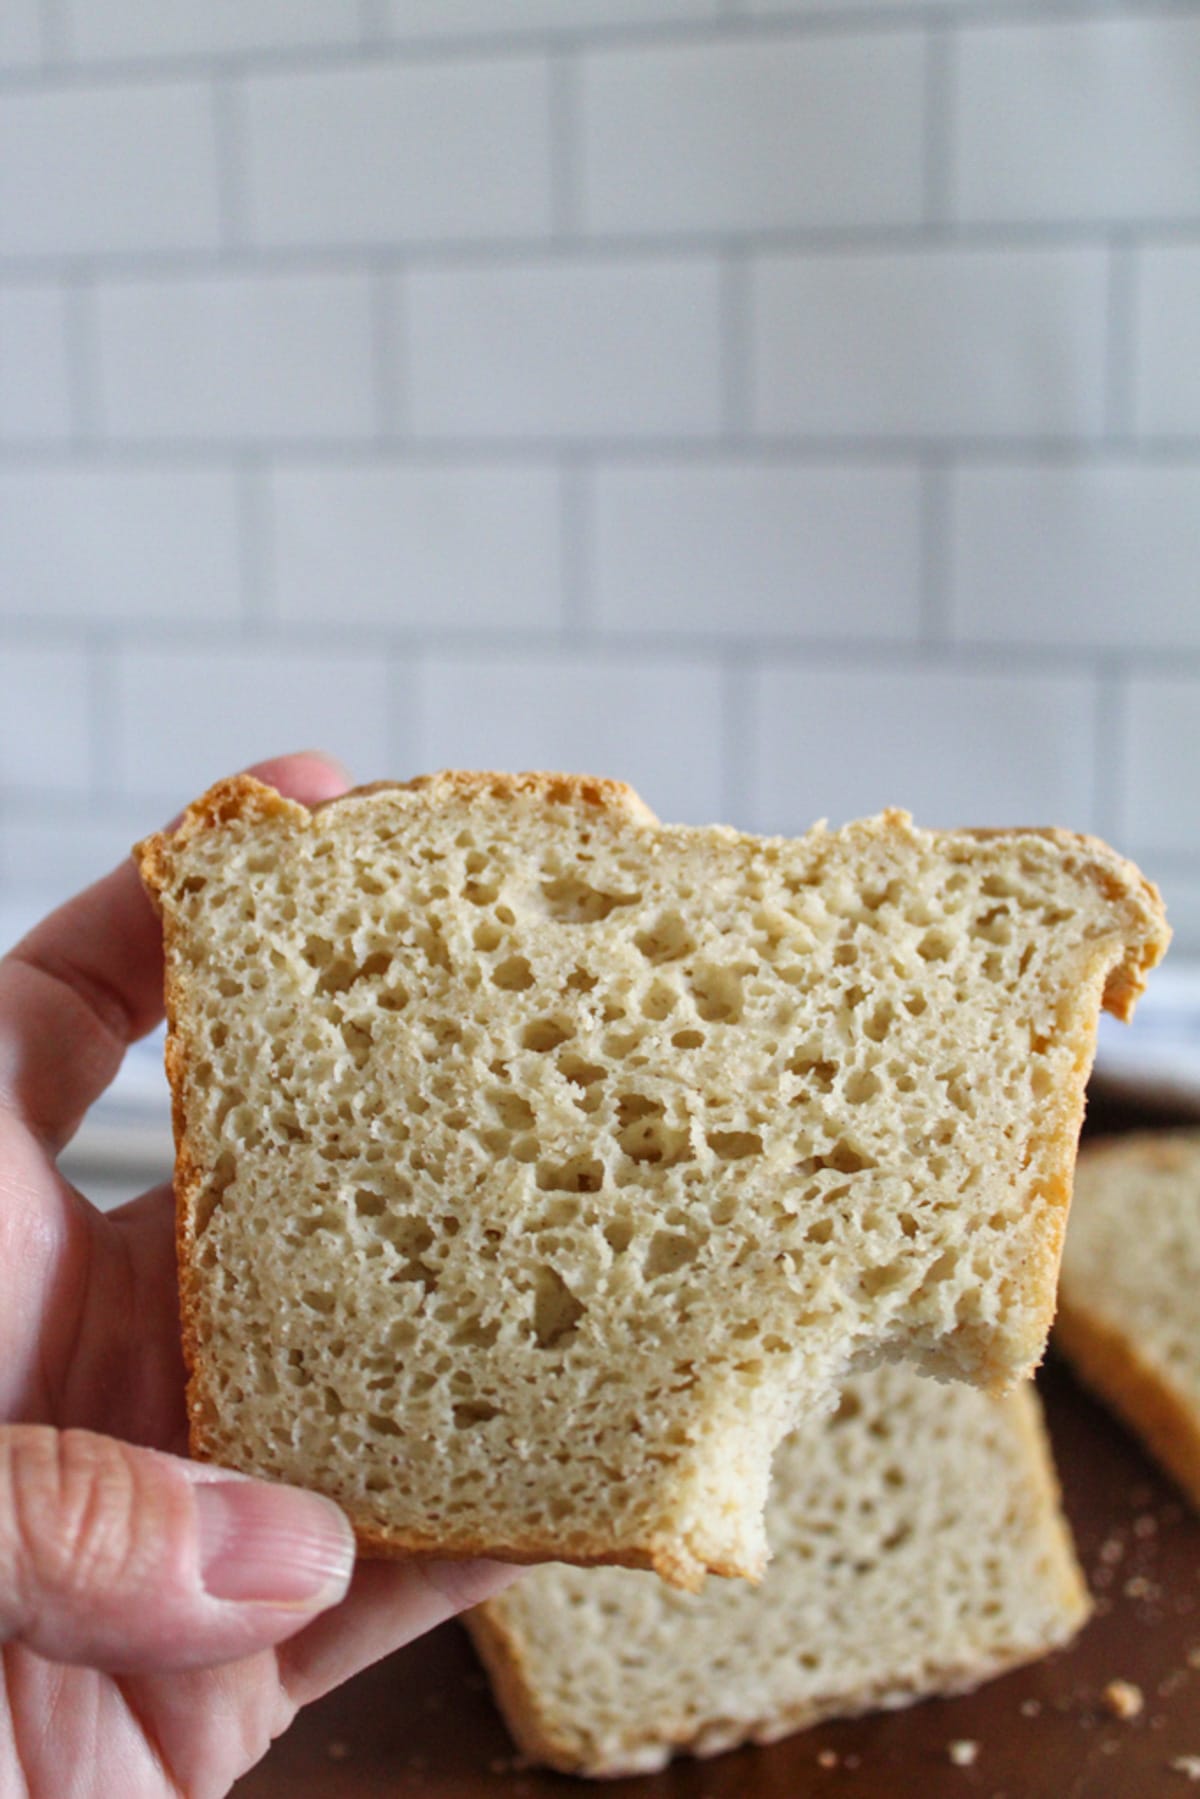
Personal Baking Notes
After testing this recipe several times, I found that sorghum flour produced a noticeably softer loaf than recipes made primarily with brown rice flour.
I also found that letting the loaf cool completely before slicing produced cleaner slices and a more stable crumb.
On the second day, the crumb became slightly firmer, making it better for sandwiches without becoming dry.
For leftover slices, I preferred toasting them. Toasting restored a crisp crust while keeping the center soft, making the bread perfect for butter, avocado, or The Best Gluten Free Breakfast Sandwich With Egg and Cheese.
Frequently Asked Questions
The following are the questions we often get about this recipe. If you can’t find yours, drop it in the comments.
Can I Make this Sorghum Bread in a Bread Machine?
You can, provided your bread machine has a gluten-free setting. If it doesn’t, mix the batter in a stand mixer or by hand, then transfer it to a loaf pan and bake it in the oven.
Can I Make this Recipe without Xanthan Gum?
Xanthan gum can be replaced with another binder, such as psyllium husk powder. Without a binder, the bread will be more crumbly and won’t rise as well.
Can I Use Olive Oil Instead of Vegetable Oil?
You can substitute olive oil in equal amounts. Olive oil gives the bread a slightly richer flavor, while neutral oils such as canola, avocado, or sunflower oil produce a milder loaf.
Can I Bake this in a 9 × 5-inch Loaf Pan?
Absolutely. The loaf will be wider and slightly shorter, so begin checking for doneness a few minutes before the recommended baking time.
Can I Add Seeds or Nuts?
Absolutely. Fold up to ½ cup of sunflower seeds, pumpkin seeds, chopped walnuts, pecans, or other favorite mix-ins into the batter before baking. Adding more than ½ cup may make the loaf denser.
More Gluten-Free Bread Recipes
Looking for more gluten-free baking inspiration? Try one of these reader favorites.
- Soft Flaxseed Bread That Slices Without Crumbling – A high-fiber loaf with a tender crumb that’s perfect for sandwiches and toast.
- Gluten-Free Buckwheat Bread Recipe (Bread Machine Friendly & Foolproof) – A wholesome, freezer-friendly loaf that’s easy to prepare in a bread machine or oven.
- Soft Gluten-Free Potato Bread Recipe (Easy & Fluffy) – A light, fluffy bread that’s ideal for everyday sandwiches and family meals.
- Coconut Flour Zucchini Bread {Dairy Free} – A moist quick bread made with coconut flour that’s great for breakfast, snacks, or dessert.
- Easy Dairy-Free French Toast Casserole with Gluten-Free Bread – A make-ahead breakfast that’s perfect for weekends, holidays, or using up leftover slices of homemade bread.
Leave a Comment
Did you make this sorghum bread? Leave a star rating and comment below. I’d love to hear about any ingredient substitutions you tried, your favorite variation, or any questions you have about the recipe.
Did you make and love this recipe? Give it your review and rating below! And make sure to follow me on Instagram, Pinterest, and Facebook , too!