Gluten-free baked donuts shouldn’t be dry, dense, or disappointing. Yet most recipes out there seem to promise tender texture and then deliver crumbly, chalky results.
If you’ve ever pulled a tray of gluten-free donuts from the oven only to feel your heart sink, you’re reading the right article. It’s frustrating when something as fun and comforting as donuts turns into something uninspiring.
Table of Contents
You deserve a baked treat that’s soft, flavorful, and actually melts in your mouth, not one that leaves you reaching for water. This recipe was developed to solve that problem.
On this page, we focus on balance: the right flour blend, just enough fat, and a gentle technique that keeps moisture locked in. You’ll learn how to avoid the common pitfalls that make gluten-free baked goods dry, and why they happen in the first place.
By the time you finish reading, you’ll be equipped to bake donuts that are tender, cake-like, and worth sharing. There will be no dense crumbs, no gummy centers, and no regrets.
Let’s fix those dry donut disappointments once and for all. This post contains expert tips, a real explanation of the science behind gluten-free batters, and texture cues you can trust. Also, you’ll get step-by-step guidance that breaks down every part of the baking process.
Quick Answer: How to Make Gluten-Free Baked Donuts
Are you ready to start baking? The following is the simplest way to make gluten-free baked donuts that stay moist and tender every time.
- Use a balanced gluten-free flour blend with xanthan gum. This gives structure and moisture so your donuts don’t turn dry.
- Do not overmix the batter. Gentle mixing keeps the texture tender and prevents toughness.
- Bake at 350°F (177°C). This temperature helps the donuts rise evenly without drying out.
- Remove from the oven when the edges are lightly golden. Don’t wait for deep browning, because that’s how gluten-free donuts go from moist to dry.
- Cool for 5 minutes before unmolding. Doing this allows the donuts to set so they come out clean and stay soft.
If you love exploring ways to make gluten-free baking actually work, you’ll also enjoy our take on Gluten-Free Chocolate Chip Muffins. It’s another fan-favorite that proves gluten-free treats can be moist and delicious.
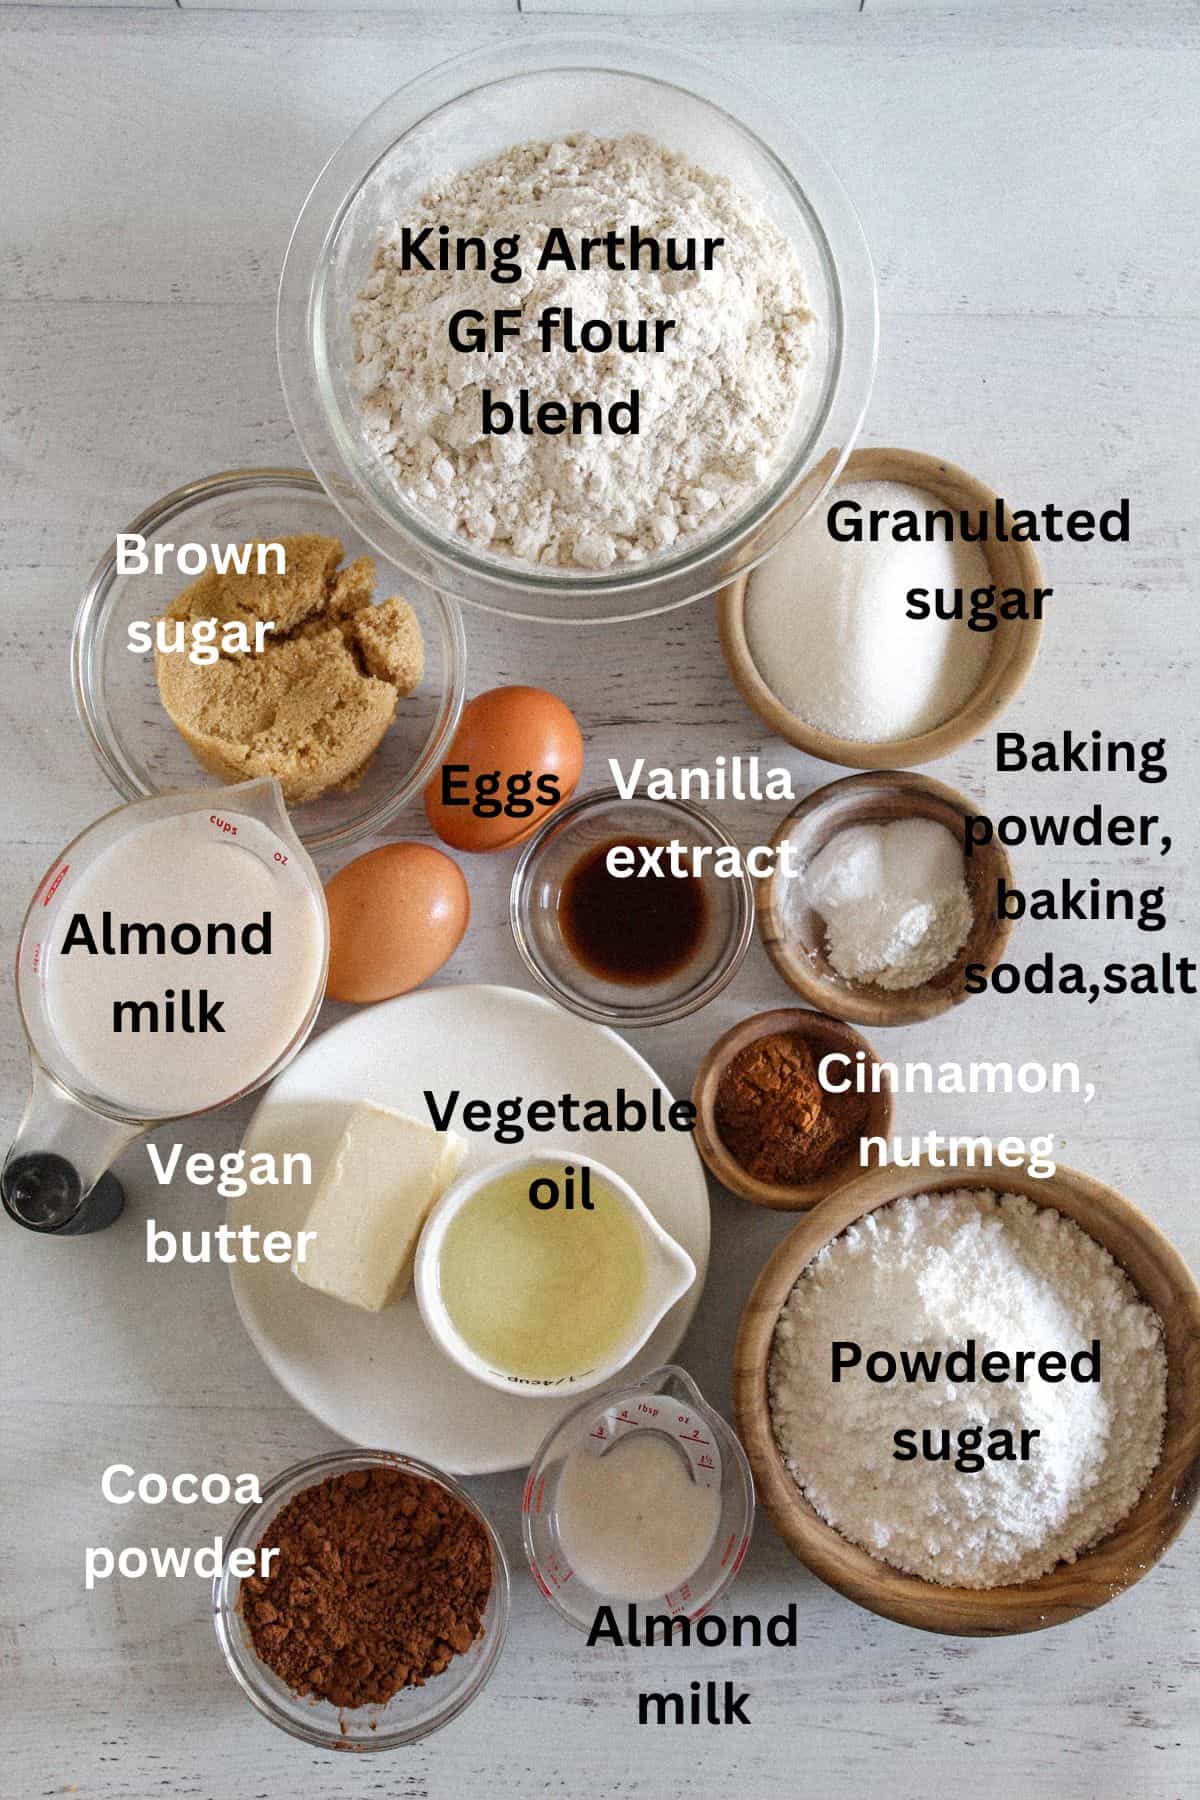
Ingredient Quick Scan List
Before you mix a single bowl, below is a quick look at what makes these gluten-free baked donuts tender, moist, and full-flavored:
- Gluten-free flour blend (with xanthan gum)
- Baking powder
- Baking soda
- Ground nutmeg
- Ground cinnamon
- Salt
- Vegan butter
- Vegetable oil
- Brown sugar
- White sugar
- Eggs
- Almond milk
- Pure vanilla extract
- Cocoa powder (for chocolate glaze)
- Powdered sugar (for glaze)
Ingredients & Substitutions
Understanding why each ingredient matters helps you bake consistently soft, moist gluten-free baked donuts instead of dry or gummy ones. Below, we break down each key ingredient’s role in structure, flavor, and texture, plus what happens when you swap them.
If you’ve ever wondered why gluten-free donuts turn dry or gummy, the answers are usually hiding in these ingredients.
Gluten-Free Flour Blend (with Xanthan Gum)
Purpose:
This is the backbone of your gluten-free baked donuts. It provides structure where wheat gluten normally would.
Moisture Impact:
The right flour blend hydrates evenly and helps retain moisture. Too much starch or too little binder will give dry, crumbly results.
Substitution Effects:
- No Substitute: Plain single-flour swaps like brown rice or sorghum alone will throw off balance.
- Almond Flour: It won’t work 1:1 here because it lacks enough starch and will create dense, oily donuts.
- Oat Flour: It increases moisture but can make batter gummy if not balanced with enough starch and binder.
Baking Powder & Baking Soda
Purpose:
These leaveners help the donuts rise and become tender.
Moisture Impact:
Proper amounts create lift without dry pockets. Too much can dry and over-brown.
Substitution Effects:
- Double-acting baking powder works best.
- Single-acting baking powder can work, but you must bake immediately.
- Baking Soda Only: It has no substitute unless you adjust the acid, as the donut texture will be flat or dense.
Ground Nutmeg & Ground Cinnamon
Purpose:
These warm spices add depth and aroma.
Moisture Impact:
They have little effect on moisture and mostly enhance taste.
Substitution Effects:
- You can skip or swap spices (e.g., pumpkin pie spice) without structural issues.
Salt
Purpose:
Balances sweetness and strengthens flavor.
Moisture Impact:
No direct effect on moisture, but too much can accentuate dryness.
Substitution Effects:
- Sea Salt / Kosher Salt: It’s fine to swap them, but make sure you adjust volume to taste.
Vegan Butter
Purpose:
Adds richness and tender crumb.
Moisture Impact:
Solid fats coat flour and slow starch hydration, giving a softer texture.
Substitution Effects:
- No Substitute: Fully removing fat will yield dry, crumbly donuts.
- Dairy Butter: Works similarly if lactose is not a concern.
- Coconut Oil: Can be used, but may add a subtle flavor and slightly wetter crumb.
Vegetable Oil
Purpose:
Boosts moisture and tenderness beyond what solid fat alone can do.
Moisture Impact:
Liquid fats keep gluten-free baked donuts soft longer.
Substitution Effects:
- Canola / Sunflower Oil: Fine swaps.
- Olive Oil: Not recommended because its flavor is too strong.
Brown Sugar & White Sugar
Purpose:
Sweetness and browning.
Moisture Impact:
Brown sugar adds additional moisture due to molasses; meanwhile, white sugar promotes structure.
Substitution Effects:
- Coconut Sugar: Can be used, but it may darken in color and slightly alter moisture.
- Sugar Substitutes: Works only if they behave like granulated sugar, but protein and texture may change.
Eggs
Purpose:
They bind ingredients, trap air, and help rise.
Moisture Impact:
Eggs help hold the batter together and add moisture. Too many eggs can make the donuts dry, and too few can make them gummy.
Substitution Effects:
- Egg Replacement Guidance:
- Flax or Chia “Eggs” (1 Tbsp Ground Seed + 3 Tbsp Water): This can work, but it would give a softer rise, and the donut may be denser.
- Commercial Egg Replacers: This can work if they provide structure, but note that texture will vary.
- Aquafaba: This works, but the batter may be wetter, so adjust the flour slightly.
Almond Milk
Purpose:
Liquid component to hydrate flour and dissolve sugar.
Moisture Impact:
Helps achieve a smooth batter and tender crumb.
Substitution Effects:
- Any Neutral Dairy-Free Milk: They would make a great swap (soy, oat, cashew).
- Full-Fat Dairy Milk: This also works and may give a richer crumb.
Vanilla Extract
Purpose:
Flavor enhancer.
Moisture Impact:
Negligible.
Substitution Effects:
- Vanilla Bean or Paste: Fine swap.
- Other Extracts: Adjust to taste.
Cocoa Powder (for Chocolate Glaze)
Purpose:
Flavor and color in the chocolate topping.
Moisture Impact:
None in the donuts themselves.
Substitution Effects:
- Dutch-Processed Cocoa: This works but has a slightly smoother flavor.
Powdered Sugar (for Glaze)
Purpose:
Sweet base for glaze.
Moisture Impact:
Dissolves easily and sets properly on glaze.
Substitution Effects:
- Confectioner’s Sugar Alternatives: They are not recommended because they can affect texture.
Why This Recipe Works
Knowing what makes this gluten-free baked donut recipe succeed helps you bake without doubts.
- Balanced Fat-to-Flour Ratio: The combination of liquid oil and butter ensures enough moisture without weakening the structure. Fat slows down starch absorption and keeps the crumb tender.
- Proper Hydration: Allowing the batter to rest and using the right amount of liquid helps the flour fully absorb moisture, which prevents dryness and a gummy texture.
- Correct Baking Time: Gluten-free batters dry out quickly once overbaked, so this recipe uses precise timing and doneness cues to pull the donuts from the oven at the ideal moment.
- Controlled Mixing Method: Gentle, measured mixing limits air over-incorporation and reduces tough or dense results. This is especially important in gluten-free recipes where structure comes from binders, not gluten.
Printable Gluten-Free Baked Donuts Recipe Card
Ingredients
Donuts
- 348 grams gluten-free flour blend with xanthan gum (about 2 ⅔ cups)
- 1 ½ teaspoons baking powder
- ¼ teaspoon baking soda
- 1/2 teaspoon ground nutmeg
- 2 teaspoons ground cinnamon
- ½ teaspoon salt
- ¼ cup vegan butter softened
- ¼ cup vegetable oil
- 80 grams brown sugar about 1/3 cup
- 100 grams white sugar about 1/2 cup
- 2 large eggs
- 2 teaspoons pure vanilla extract
- 1 cup almond milk room temperature
Chocolate Glaze Topping
- 150 grams powdered sugar about 1 1/2 cups
- 24 grams cocoa powder about 4 Tablespoons
- 2 – 4 Tablespoons almond milk
Instructions
Donuts
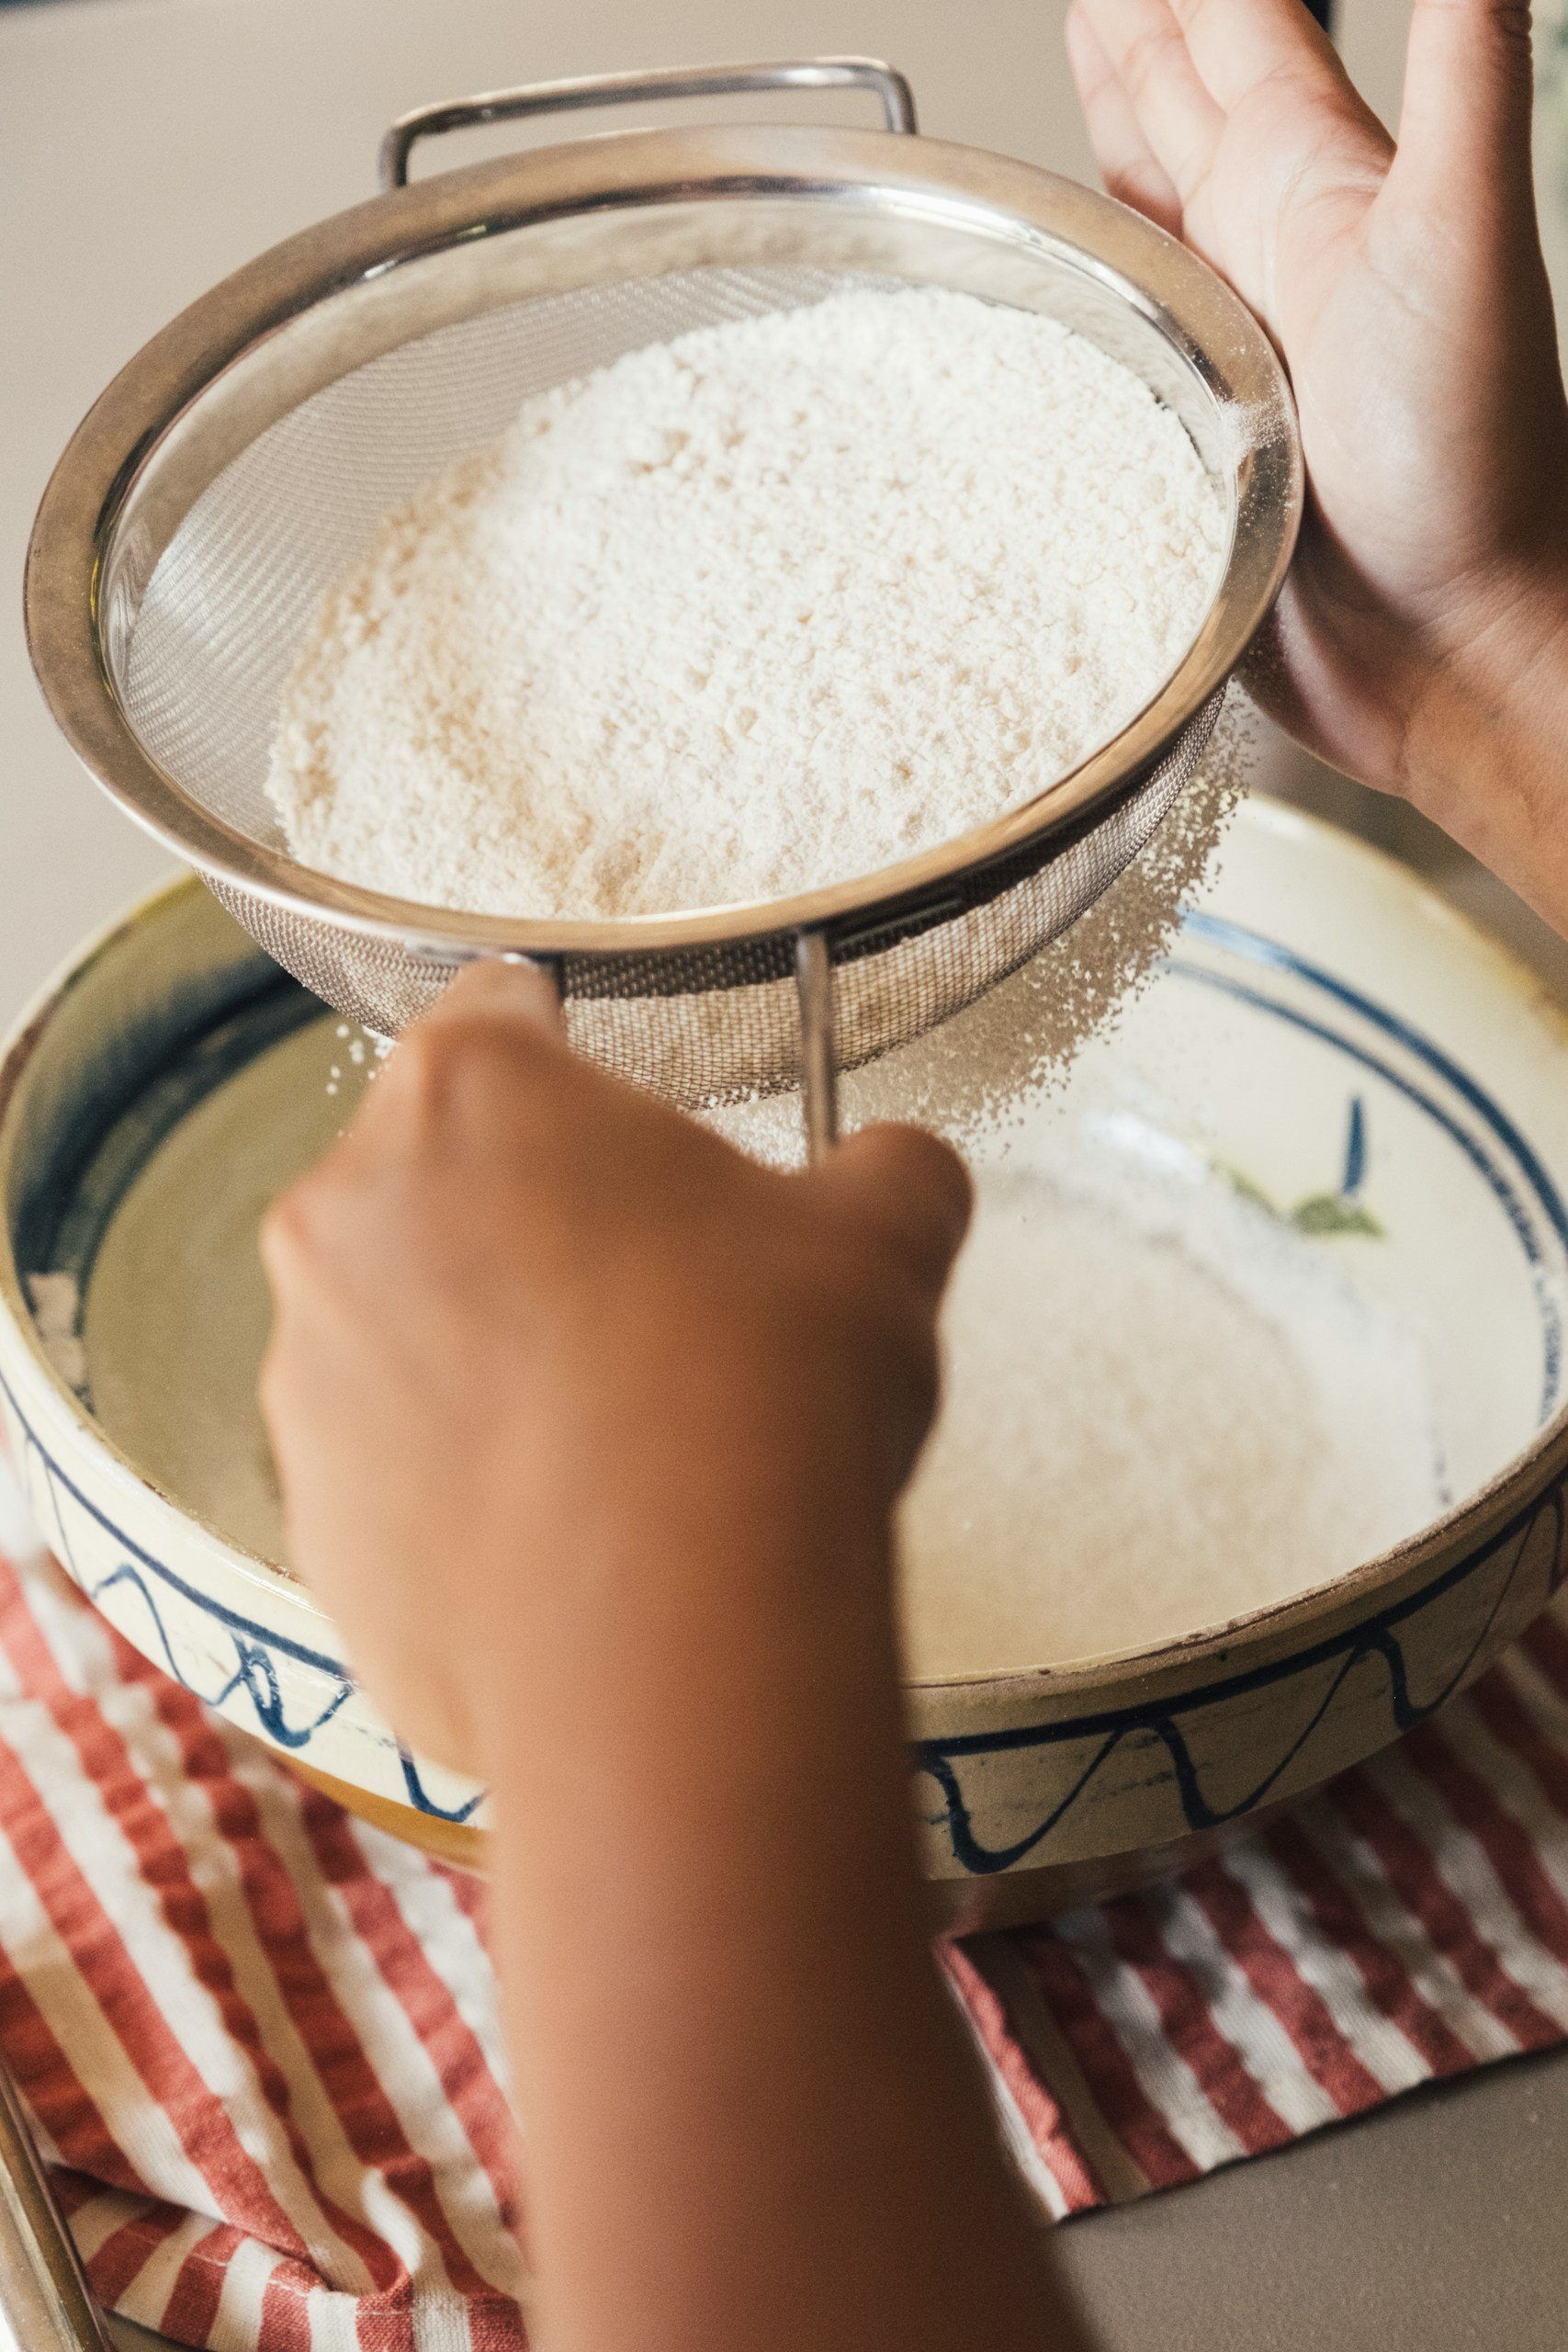
- Mix Dry Ingredients: In a medium bowl, whisk together the gluten-free flour mix, baking powder, baking soda, nutmeg, cinnamon, and salt until evenly combined.
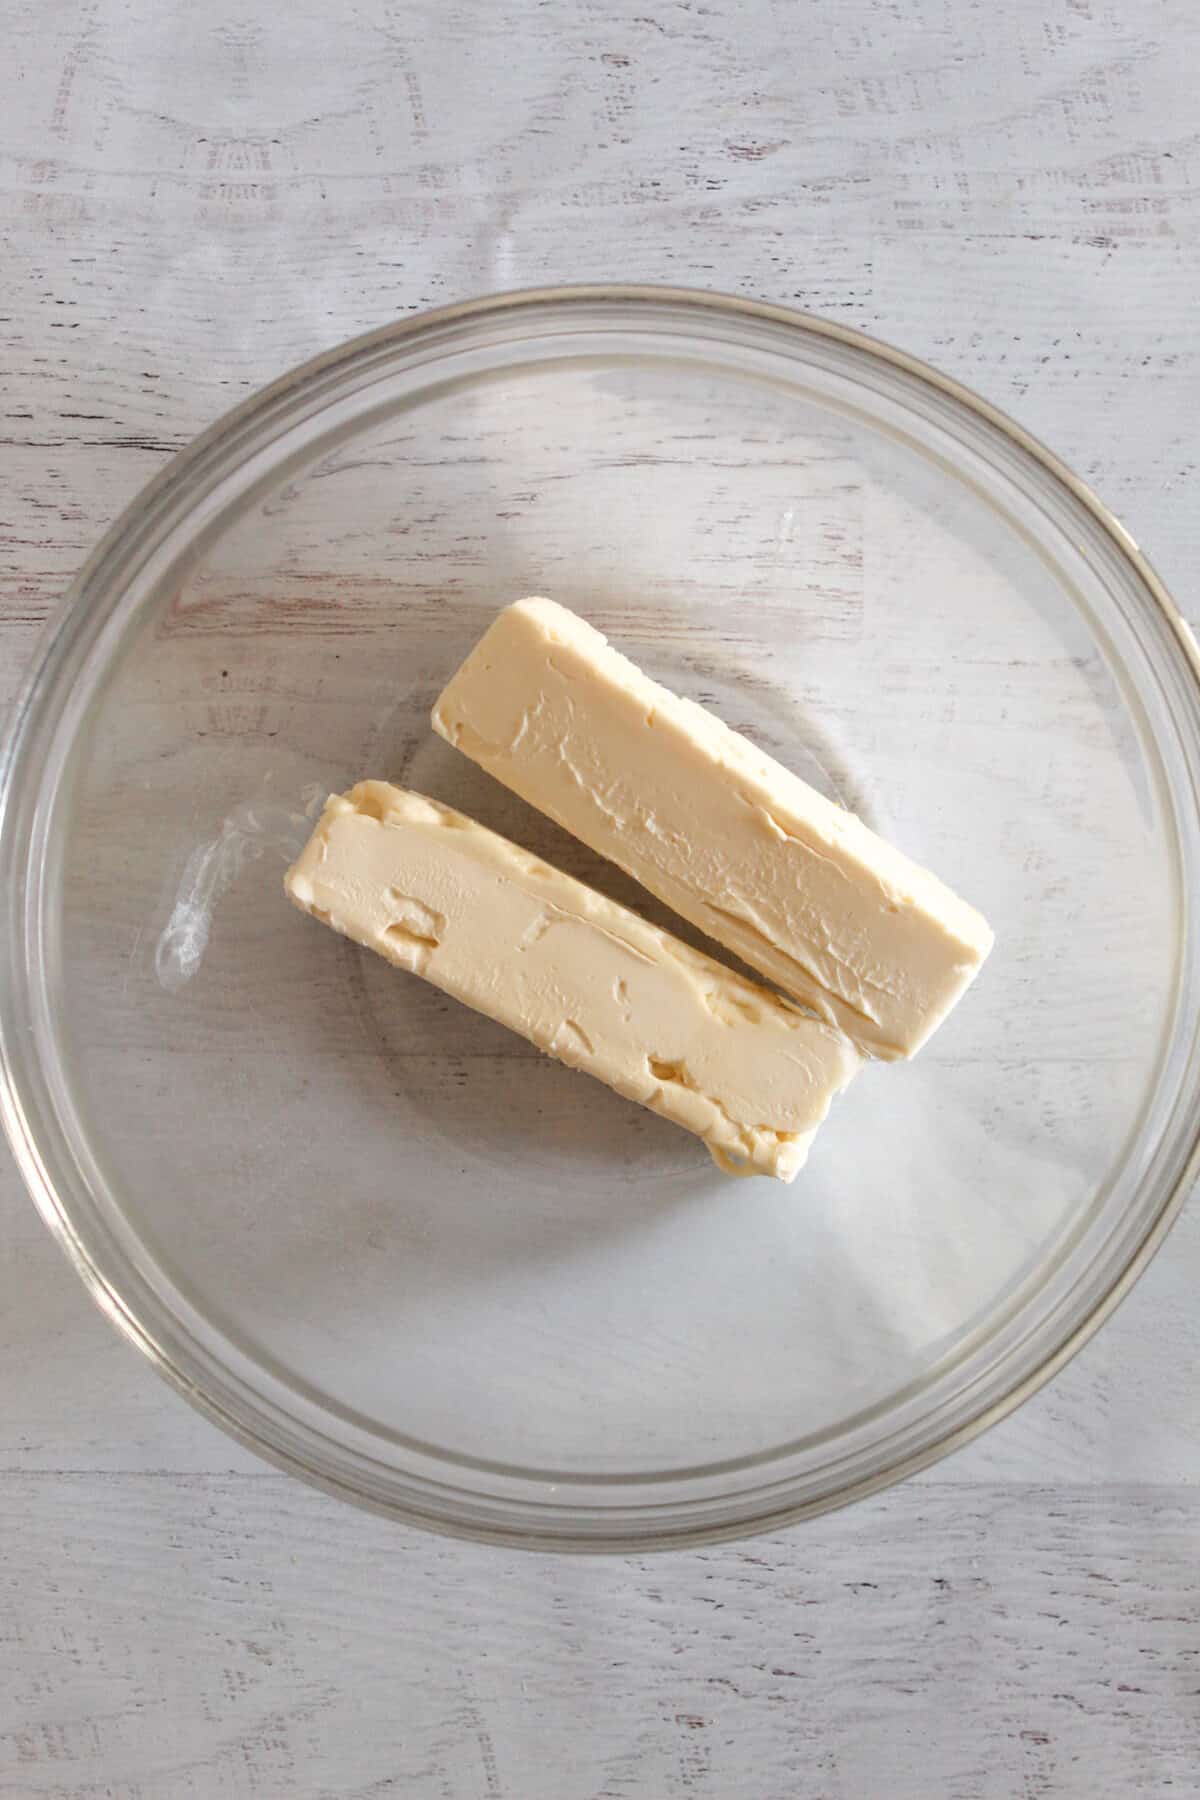
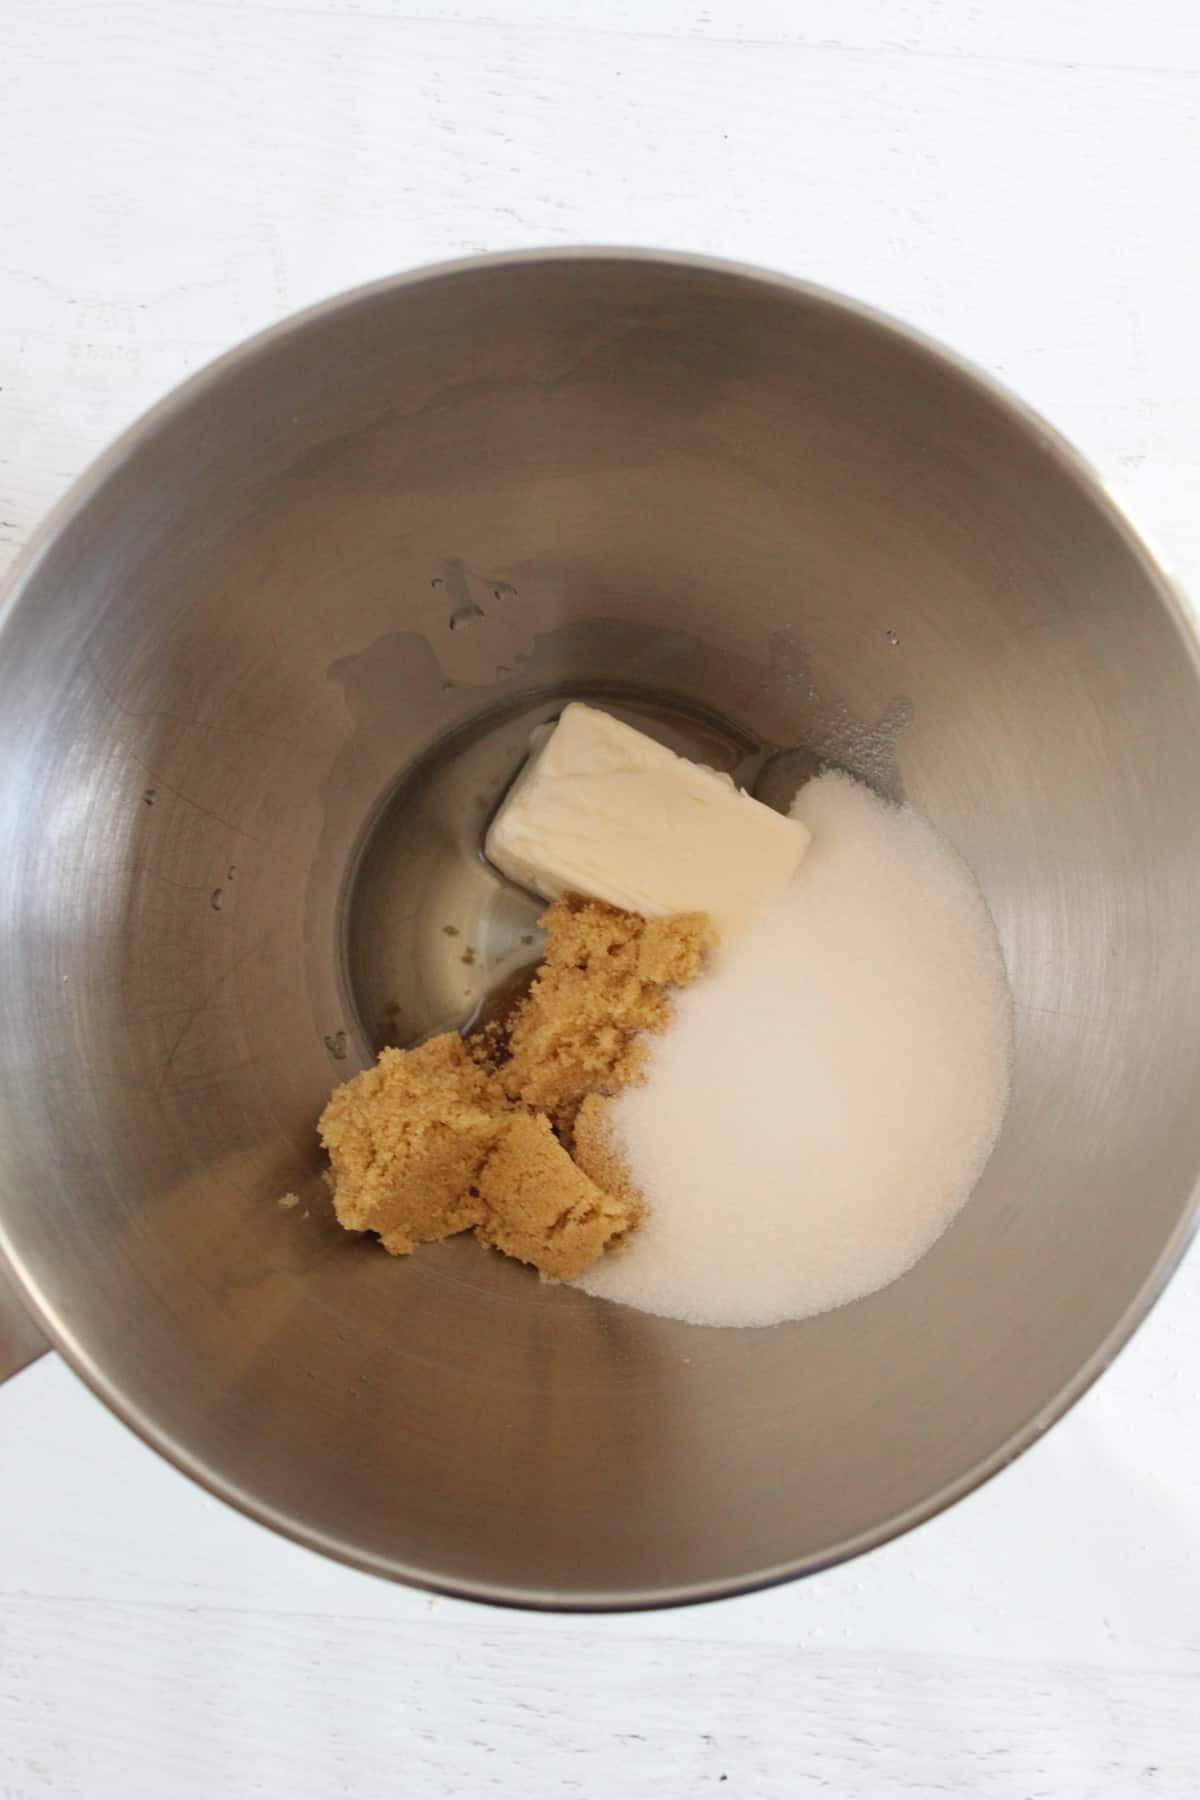
- Cream Fats & Sugars: In a stand mixer bowl, add the vegan butter, vegetable oil, brown sugar, and white sugar. Beat on low for ~15 seconds, scrape sides, then beat again in another ~15 seconds until creamy.
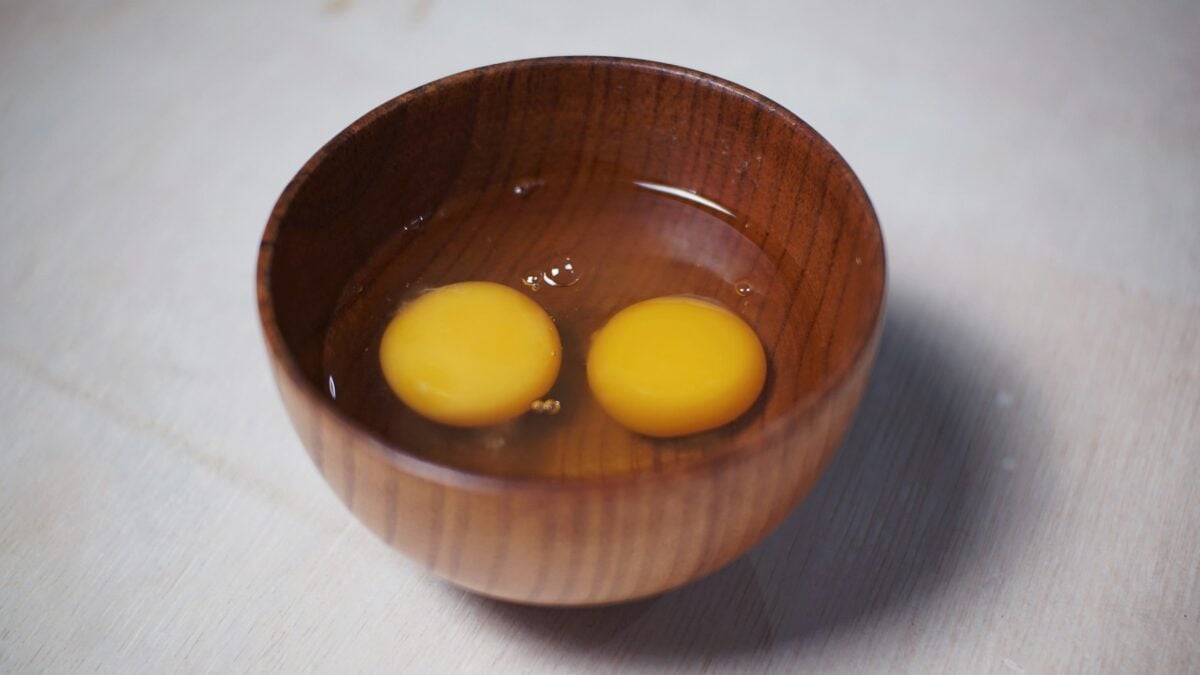
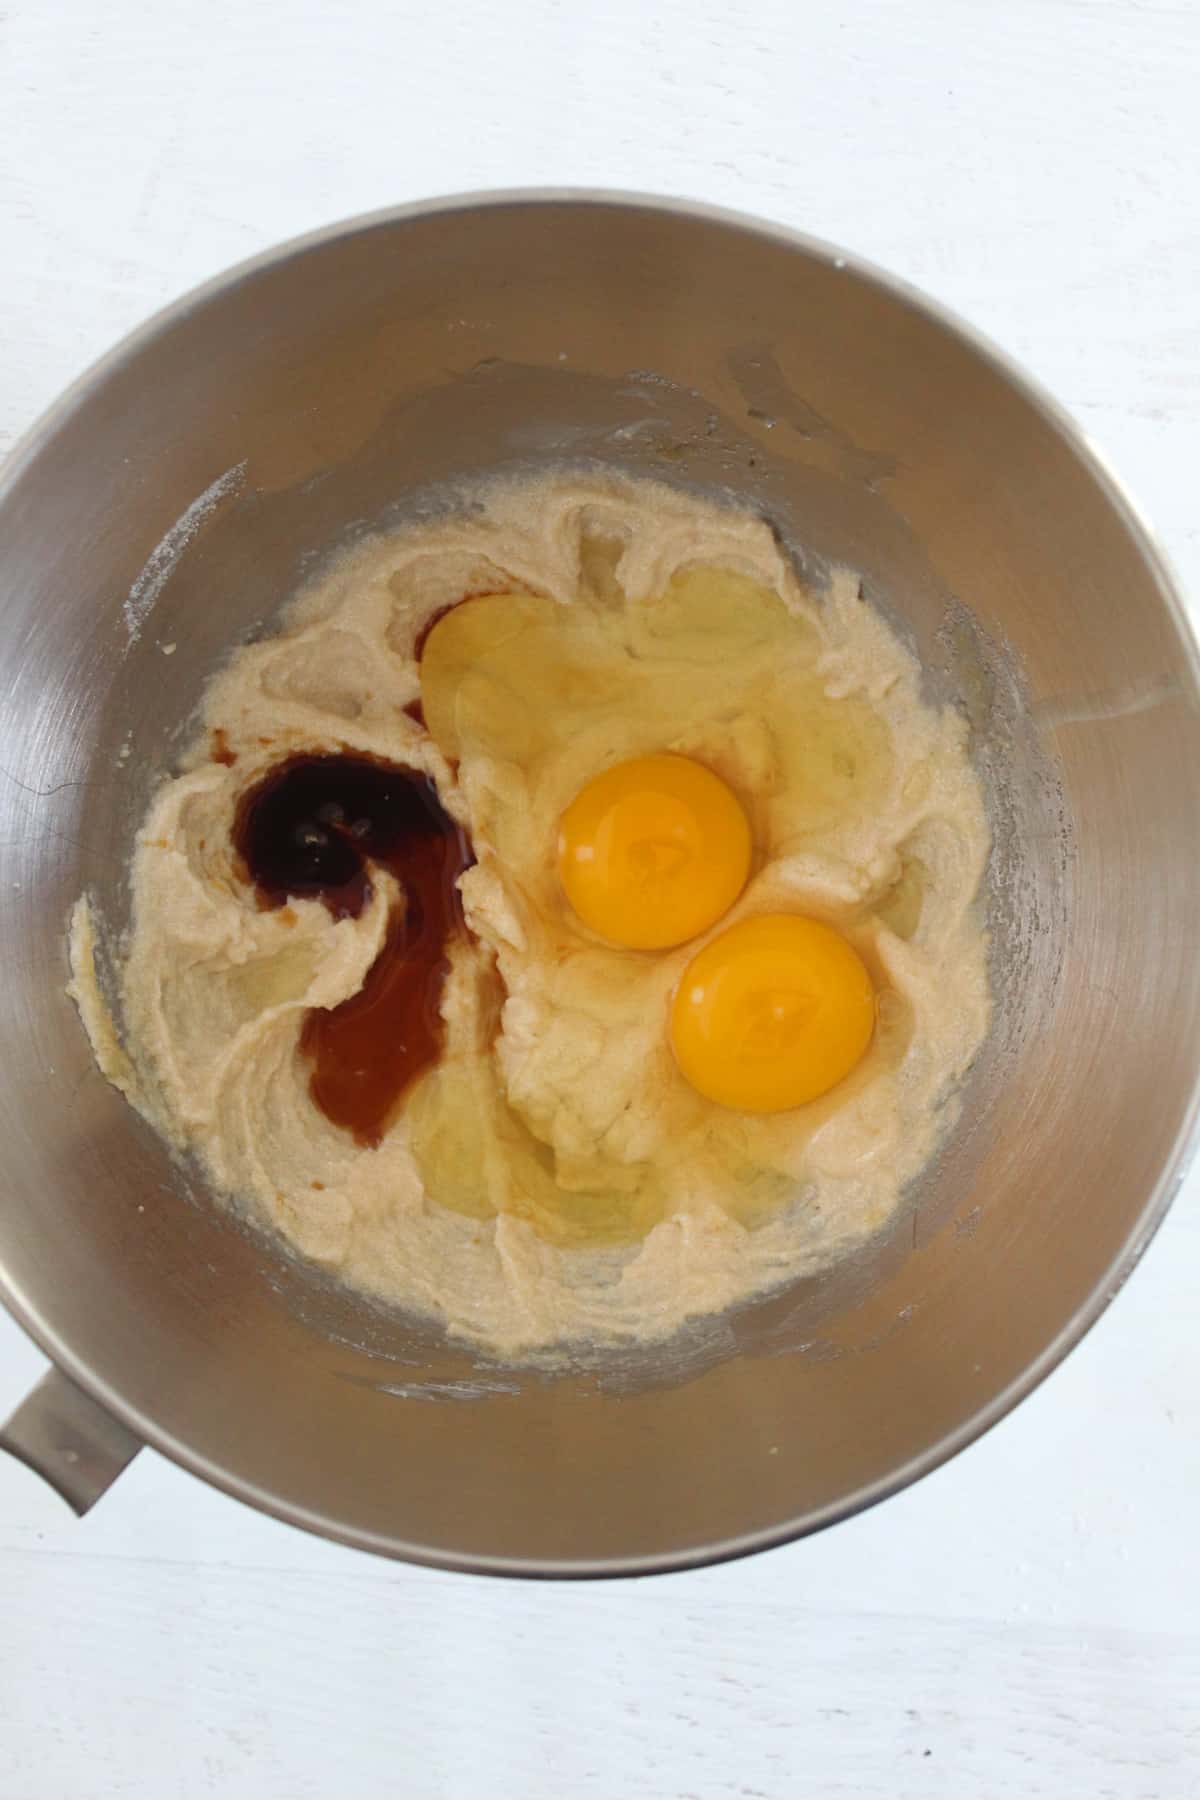
- Add Eggs & Vanilla: Add eggs and vanilla extract. Beat on low for ~30 seconds until fully incorporated.
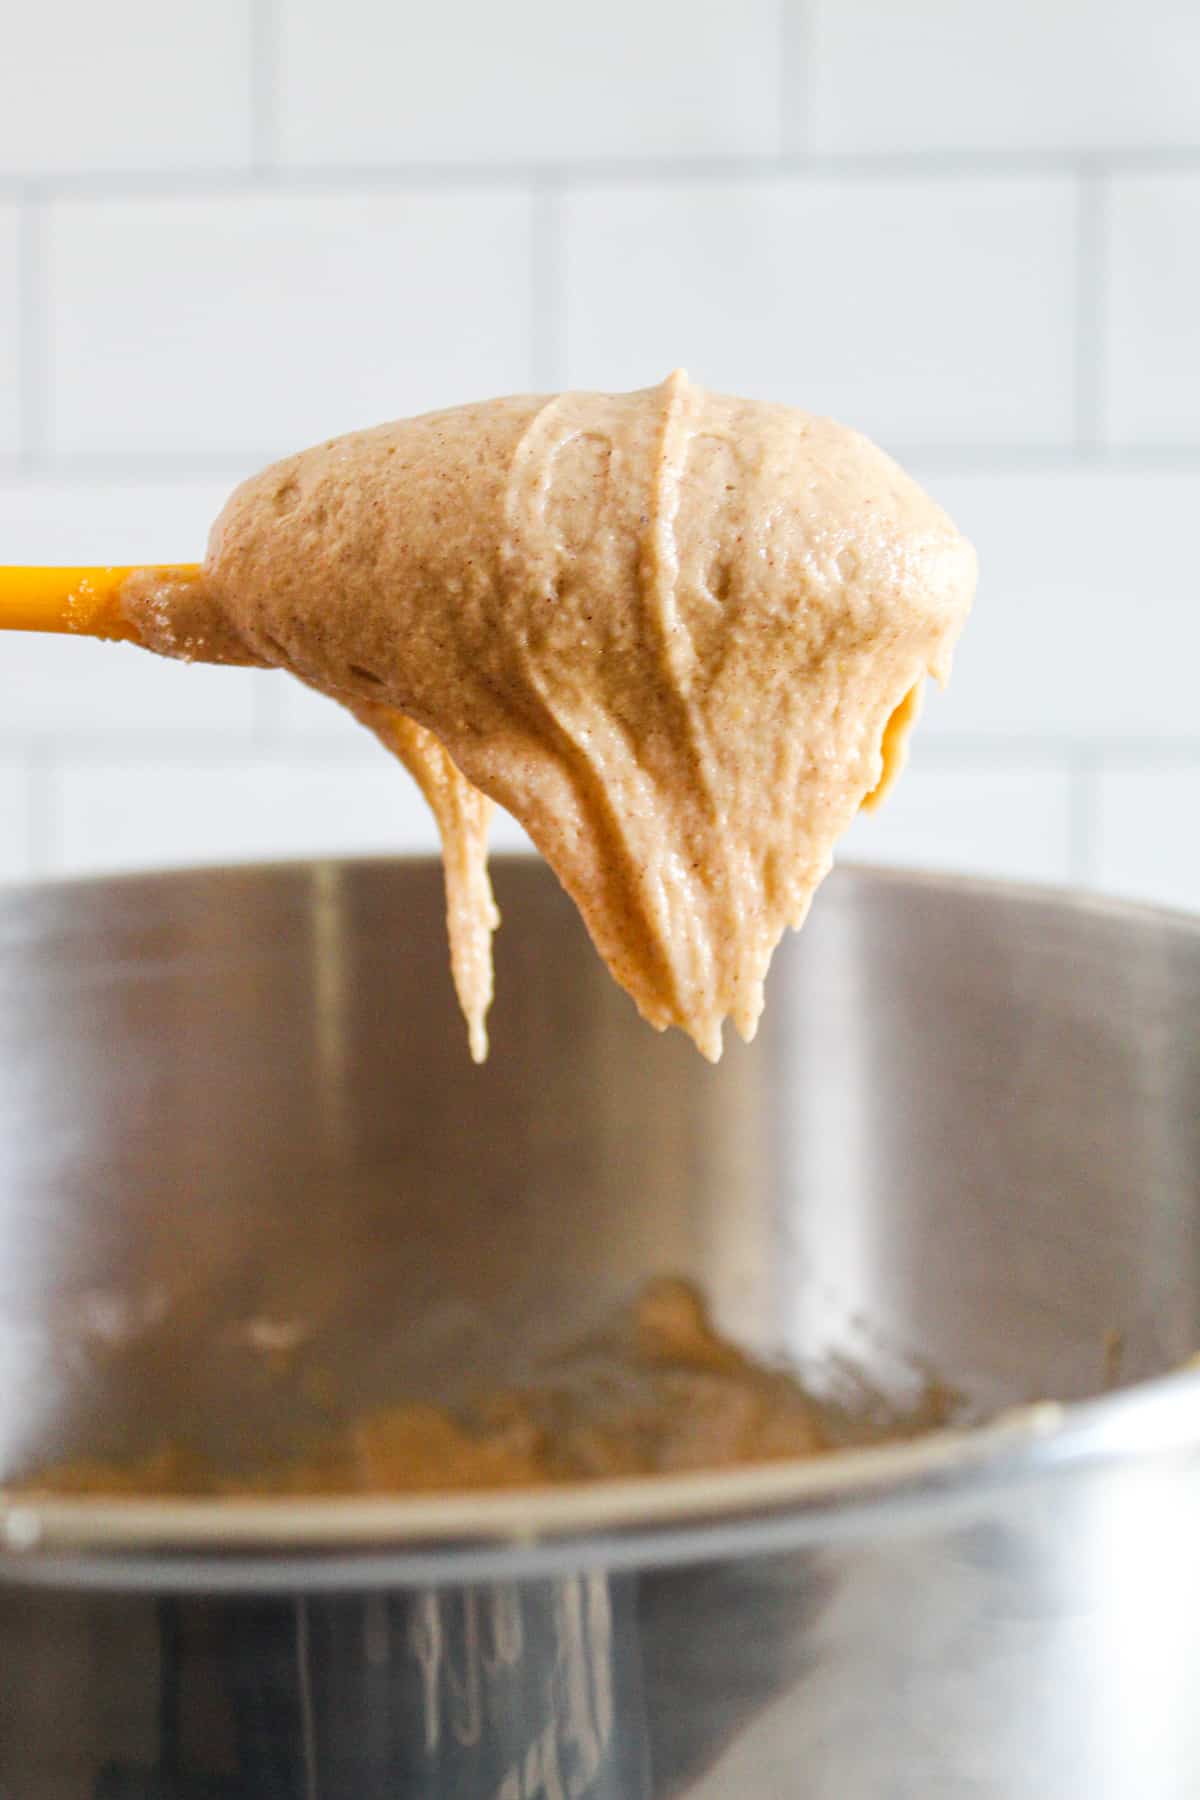
- Alternate Flour & Milk: With the mixer running, add three large spoonfuls of the flour mixture, mix for ~10 seconds, then add ⅓ cup almond milk and mix for ~5 seconds. Continue alternating flour and milk, ending with flour. Beat just until combined.
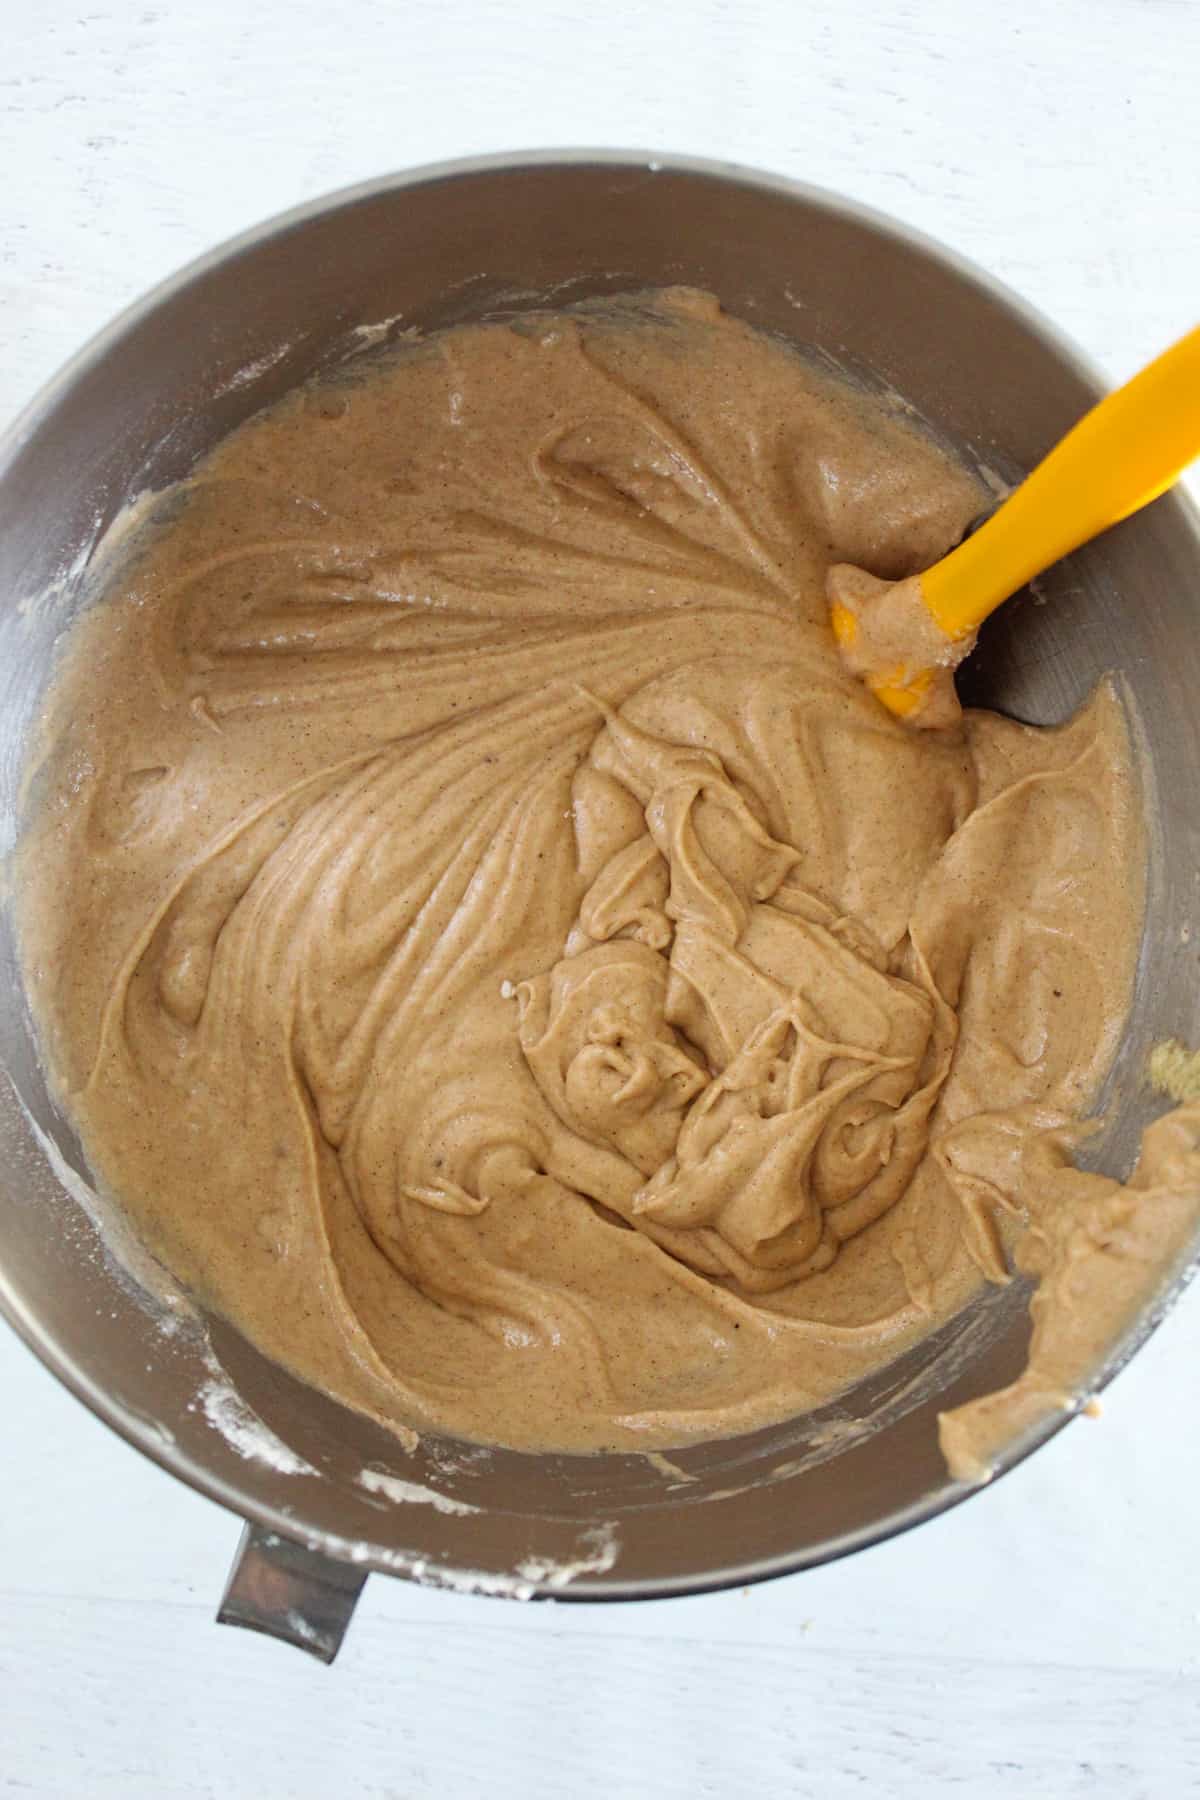
- Rest the Batter: Set the batter aside to rest for 30 minutes. This hydrates the gluten-free flours for a tender texture.
- Prepare Pan & Oven: Preheat the oven to 425 °F. Then, spray two 6-donut pans with cooking spray.
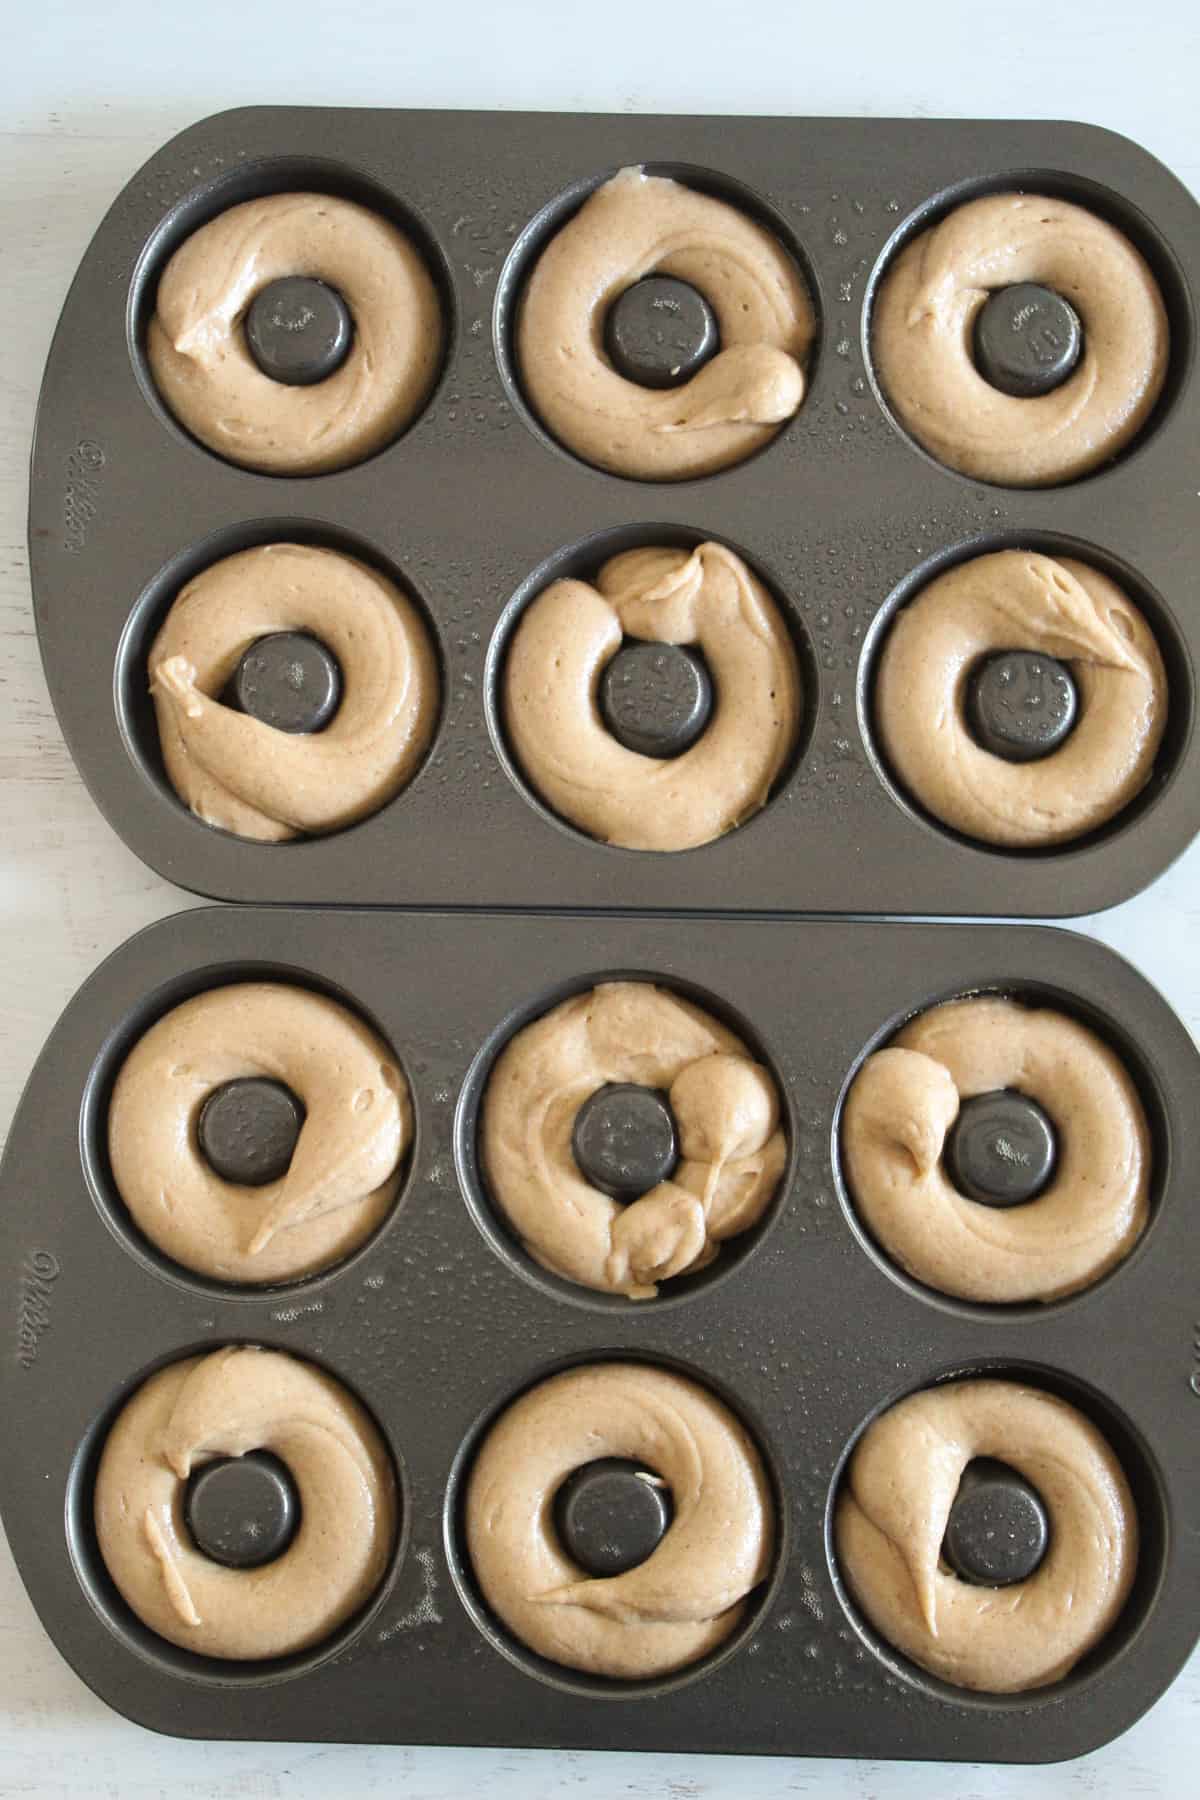
- Fill the Donut Pans: Put the batter into a large plastic bag or piping bag, cut about a ½-inch opening, and squeeze the batter into the donut pan. Fill each mold almost to the top, but don’t let it spill over.
- Bake: Bake for 8–10 minutes or until a toothpick comes out clean. Let the donuts cool in the pan for a few minutes, then turn onto a wire rack.
Chocolate Glaze Topping
- In a medium bowl, combine the powdered sugar and cocoa.
- Add almond milk 1 Tbsp at a time until the glaze is pourable.
- Spoon the glaze over each donut and let it set. Then you can decorate as desired.
Notes
- This recipe was tested with a gluten-free flour blend with xanthan gum. Other blends may alter texture.
- The vegetable oil can be swapped with melted coconut oil.
- Vegan butter substitutes have not been tested.
- Brown or white sugar may be swapped with a granular sweetener like Swerve.
- For easier filling, use a large plastic or frosting bag.
- King Arthur FG flour blend was used for this recipe; you can use any other gluten-free flour of your choice.
Nutrition Estimate (Per 1 Donut)
- Calories: ~200–250 kcal
- Total Fat: ~8–12 g
- Saturated Fat: ~2–5 g
- Carbohydrates: ~25–35 g
- Dietary Fiber: ~1–3 g
- Sugars: ~15–22 g
- Protein: ~1–3 g
- Sodium: ~280 mg
Nutrition
Tested Results
Before moving into the deeper baking science below, here is a quick summary of repeat bake outcomes.
- This gluten-free baked donut recipe was tested 7 total times; 6 using metal donut pans and 1 using silicone.
- Rise consistently peaked between 8 and 9 minutes.
- The most tender crumb occurred after a 30-minute batter rest.
- Donuts released cleanly after a 5-minute cooling period.
- The texture stayed soft for about 24 hours at room temperature in an airtight container.
- Silicone pans produced a softer exterior, while metal pans created lightly golden edges.
How to Pick the Best Gluten-Free Flour for Tender Donuts
When it comes to gluten-free baked donuts, the flour blend you choose doesn’t just replace wheat; it defines the texture, moisture, and rise of every bite. Unlike wheat flour, which bonds with gluten to trap air and build structure, gluten-free flours rely on starches and gums to simulate that behavior.
With vs Without Xanthan Gum
Xanthan gum helps bind ingredients together and retain moisture in gluten-free baked goods.
Why it matters:
A blend with xanthan gum gives structure and chew. Meanwhile, a blend without it often needs an added binder, or the finished donuts may be crumbly and weak.
Starch-Heavy Blends and Dryness
Starch-forward mixes (like tapioca or potato starch) hydrate quickly and help lift the batter, but they don’t hold moisture on their own.
Outcome:
Too much starch can lead to dry, crumbly donuts unless balanced with sufficient fat and liquid.
Tip:
If your batter feels sandy or the finished crumb feels dry, it’s often a starch imbalance.
Whole-Grain Heavy Blends and Density
Blends dominated by whole grains (like sorghum or brown rice) bring more flavor and fiber. However, they also absorb a lot of water and weigh the batter down.
Outcome:
This can result in dense, heavy donuts unless you adjust hydration and include enough lighter starches.
Why Structure Differs from Wheat Flour
Wheat’s gluten forms a stretchy network that traps gas bubbles as it bakes. Because gluten-free flours don’t stretch like wheat flour, we rely on binders, balanced starches, and correct liquid amounts to get the texture right.
This is why gluten-free batters behave differently and why recipes like our quick breads and muffins emphasize the correct flour structure for soft outcomes.
Hydration Science in Gluten-Free Baking
Starches absorb liquids quickly and in large amounts, while whole grains soak up moisture more slowly. Not enough liquid makes the donuts dry, and too much makes them gummy. Getting this right is like tuning an instrument, as small changes make a big difference in texture.
Troubleshooting Based on Blend Type
- Dense Donuts: This usually happens when there’s too much whole-grain flour compared to starch in the mix.
- Gummy Texture: The batter may be underbaked, or there may have been more liquid than the flour could absorb.
- Crumbly Texture: There wasn’t enough binder (like xanthan gum), or the flour blend had too much starch.
Why Gluten-Free Donuts Turn Dry
Even when you follow the recipe precisely, gluten-free baked donuts can still come out dry. Understanding why this happens will set your baking apart from the average recipe.
Starch Hydration
Most gluten-free flour blends are heavy in starches like tapioca or rice starch. These starches absorb liquid quickly but don’t hold it as well as wheat gluten does. When starch soaks up moisture too fast, the crumb dries out. Balancing starch with fats and the right hydration keeps moisture where you want it.
Fat Balance
Fat does more than add flavor. It coats flour particles, slowing down how quickly starch grabs liquid.
If there isn’t enough fat, the batter can gel too early in the oven and finish dry. That’s why this recipe uses both oil and butter: liquid fat for moisture and solid fat for tender structure.
Overbaking
With gluten-free baked goods, the window between “set” and “dry” is narrower than with wheat-based ones. Overbaking pulls out moisture rapidly, so donuts that brown too deeply often feel dry inside even if they look done. Timing and doneness cues will help you avoid this.
Why Baked Donuts Dry Faster Than Fried
Fried donuts stay moist because hot oil quickly seals the exterior, trapping steam and preventing internal drying. Oven-baked donuts don’t get that same seal, so they rely entirely on batter chemistry and precise heat control to retain moisture.
Gluten-Free Structural Limitations
Wheat flour forms a stretchy network that traps steam and supports rise. Meanwhile, gluten-free flours don’t form that network, so recipes must use binders (like gums), balanced starches, and controlled hydration to mimic structure. When any of these are off, moisture escapes and texture suffers.
Would you like to see more examples of how ingredient choice affects gluten-free baking success and texture outcomes? Read our guide on choosing the best gluten-free flour substitutes and how they behave in different recipes.
These elements have been tested and refined to balance structure, rise, and tenderness in a way many beginner bakers miss. Do you need more insight into why hydration and ingredient behavior matter in gluten-free baking? Check out this guide explaining essential gluten-free baking principles and how to avoid texture pitfalls.
Step-by-Step Instructions
Let’s walk through this recipe step by step so your gluten-free baked donuts turn out tender, perfectly risen, and packed with flavor every time. Follow these clear, numbered steps with texture cues to take the guesswork out of baking and confidently make moist, irresistible gluten-free baked donuts.
Essential Kitchen Tools
Before you start, make sure you have these basics to set yourself up for success:
- NutriChef Nonstick Donut Pans (6‑cavity) – sturdy donut pan that helps shape and bake donuts evenly.
- Reusable Piping Bags & Tips Set – makes filling the donut pan fast and clean.
- Oven mitts or silicone pads for safe handling of hot pans (optional but highly recommended).
- A set of measuring cups and spoons for accuracy.
- Mixing bowls and a whisk or hand mixer.
Step 1: Preheat & Prepare Pan
Preheat your oven to 425°F (218°C).
Grease your donut pan lightly with oil or non-stick spray to help donuts release easily.
Step 2: Mix Dry Ingredients
In a medium bowl, whisk together King Arthur FG flour blend or any other gluten-free flour of choice, baking powder, baking soda, nutmeg, cinnamon, and salt until evenly combined.
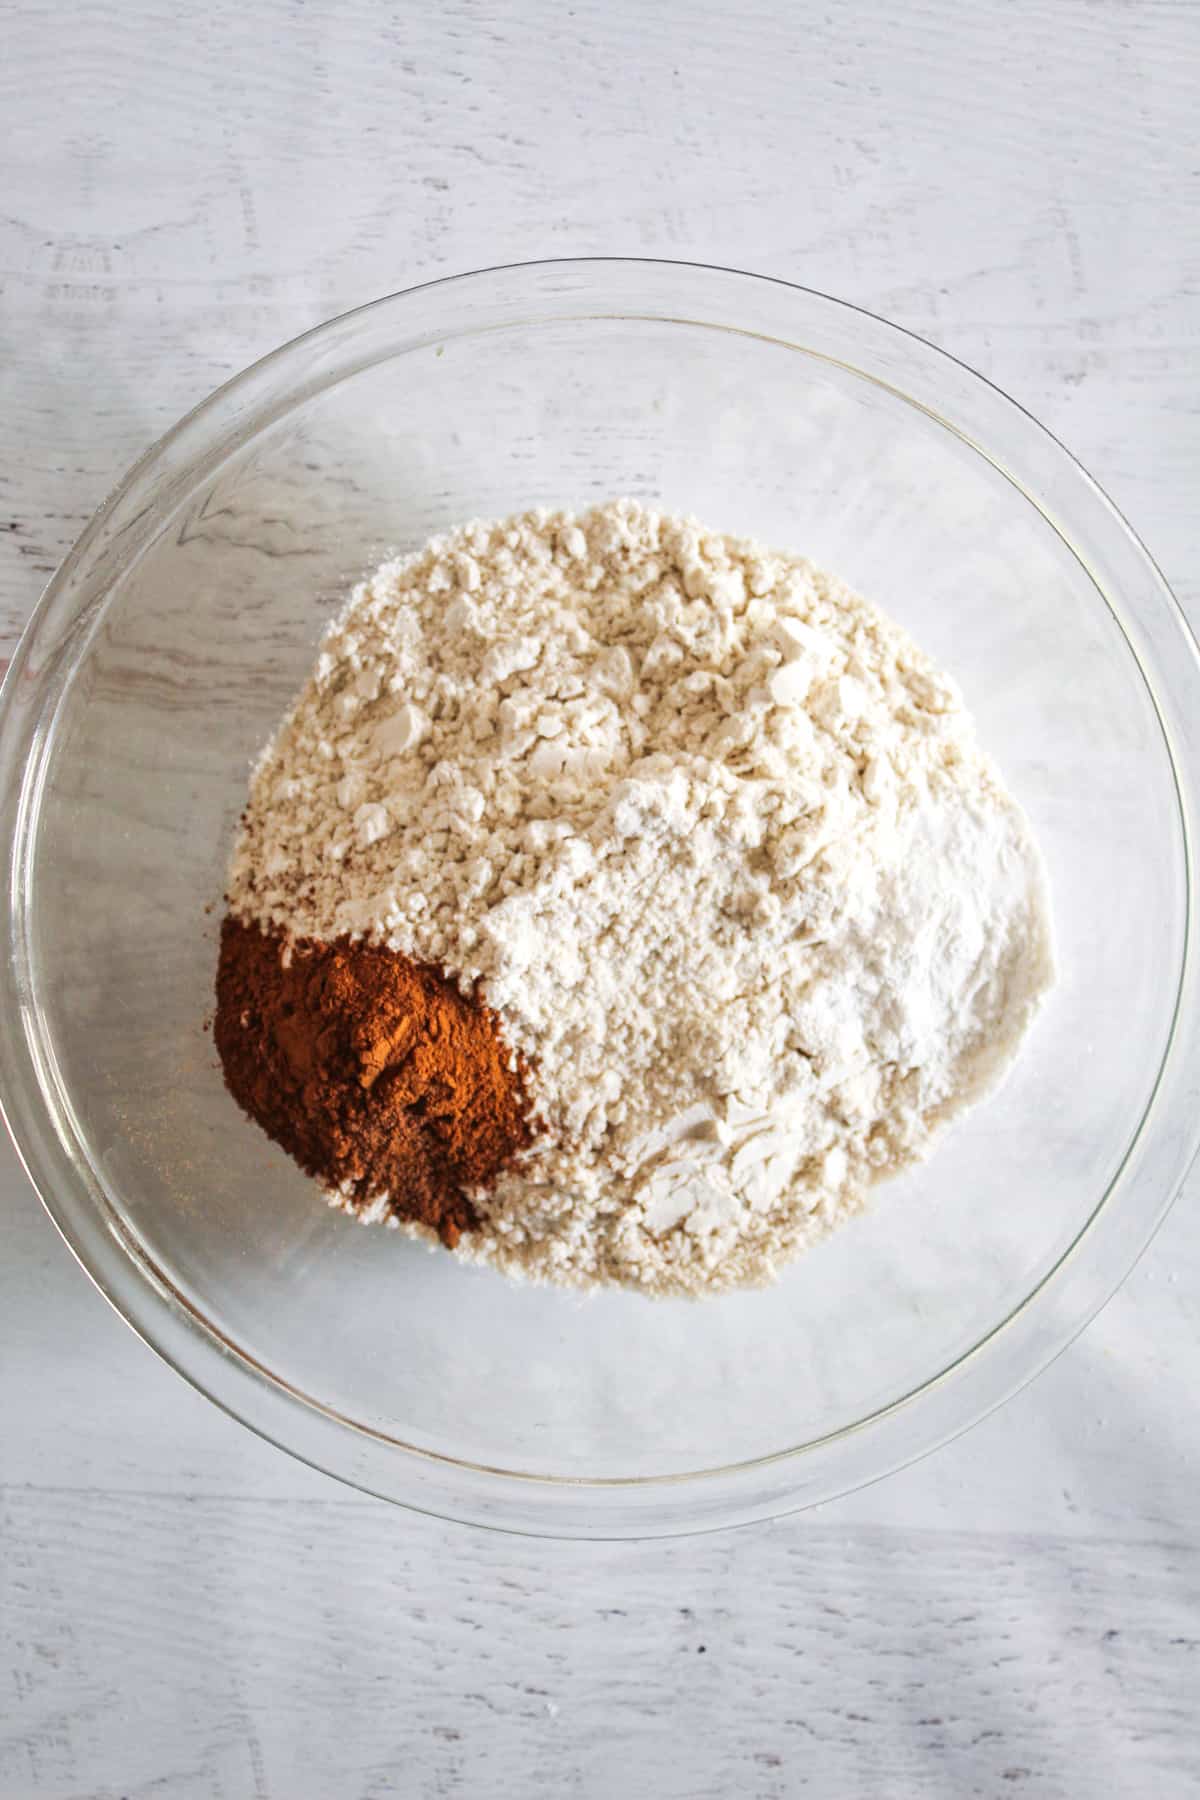
The dry ingredients should look smooth and evenly distributed.
Step 3: Combine Wet Ingredients
In a separate bowl, add your vegan butter, vegetable oil, brown sugar, and white sugar. Then, beat it gently until creamy.
Add eggs and vanilla, and mix until they’re just combined.
Slowly alternate adding dry ingredients and almond milk, then finish with dry ingredients.
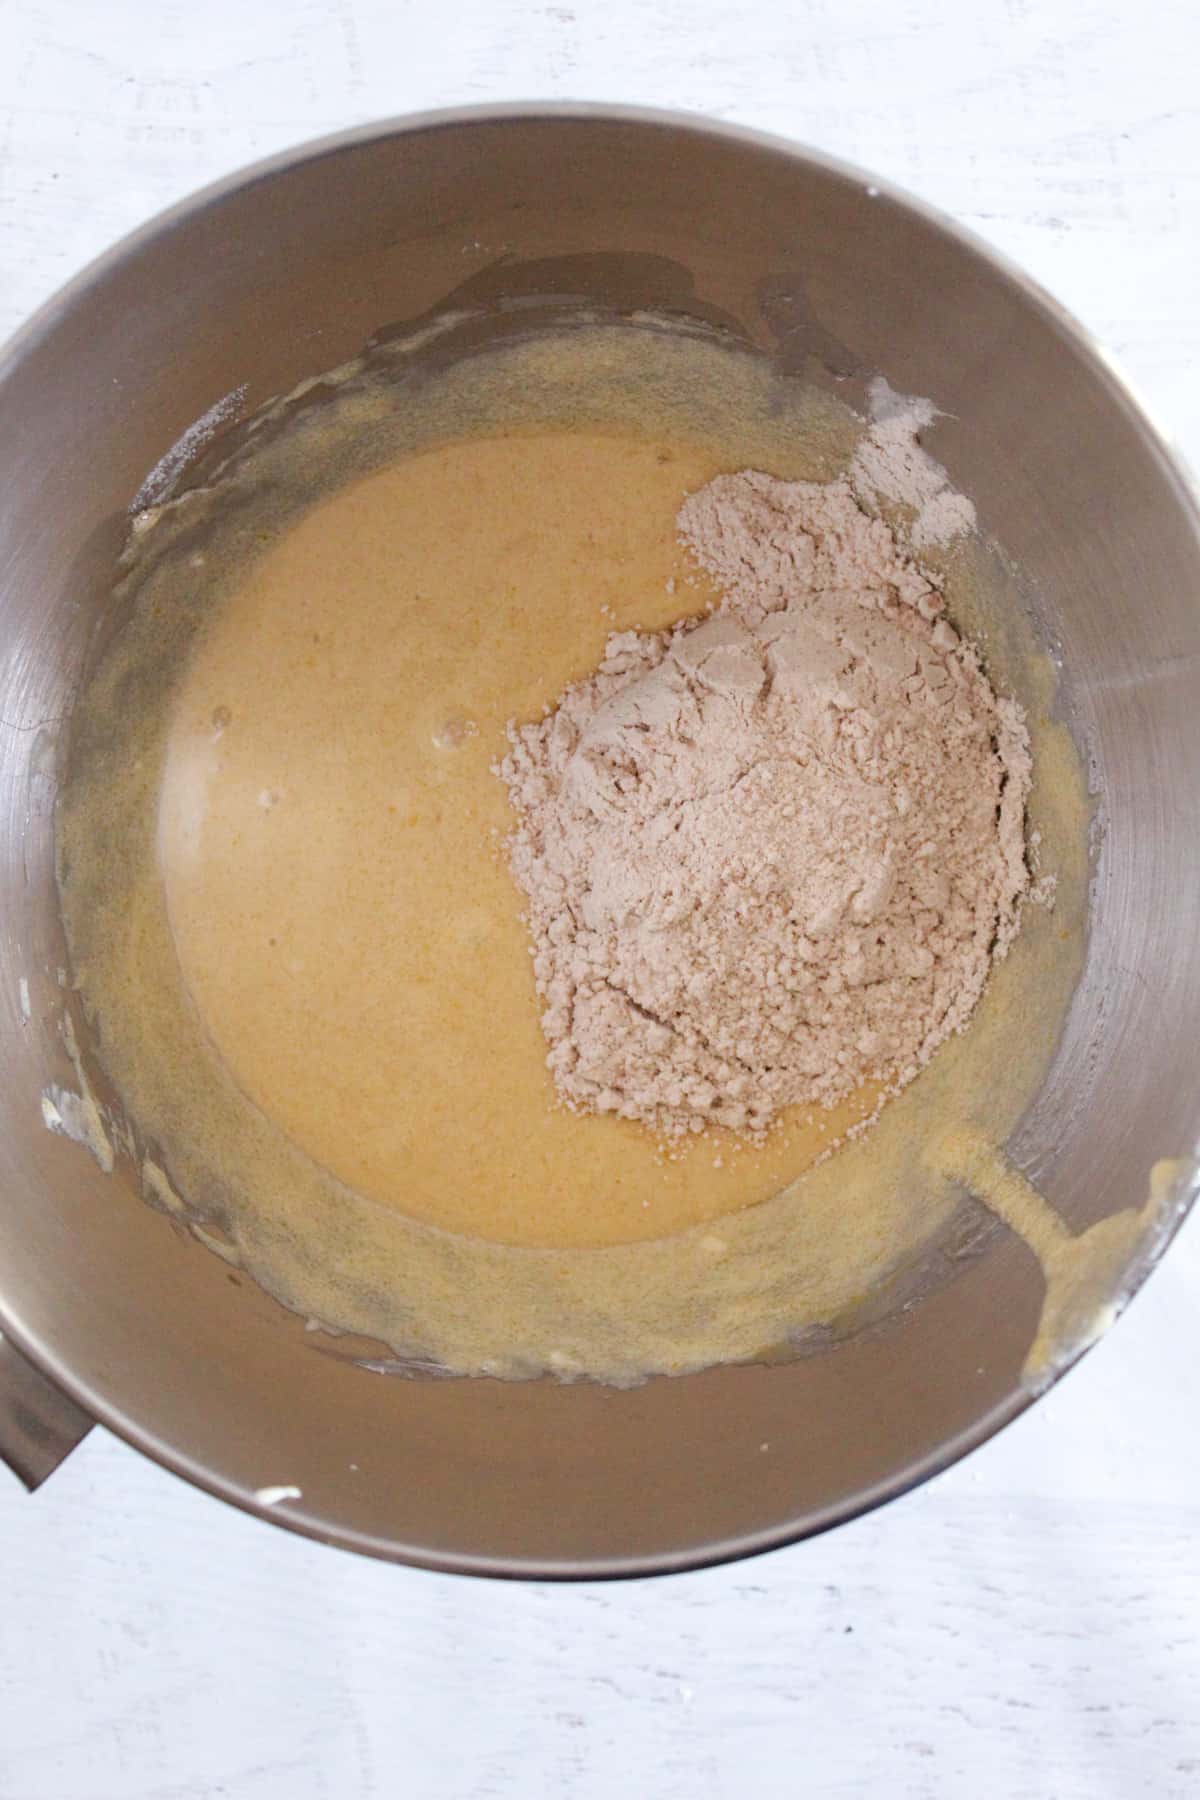
The batter should be thick but pourable, with no large lumps.
Step 4: Fill Donut Pan
Transfer the batter into a piping bag or large plastic bag and snip about a ½-inch off the tip.
Pipe batter into each cavity, and fill it almost to the top, but don’t overflow.

The batter should sit just below the rim, not spilling.
Step 5: Bake
Place the pan in the preheated oven and bake for 8–10 minutes.
Look out for these doneness cues:
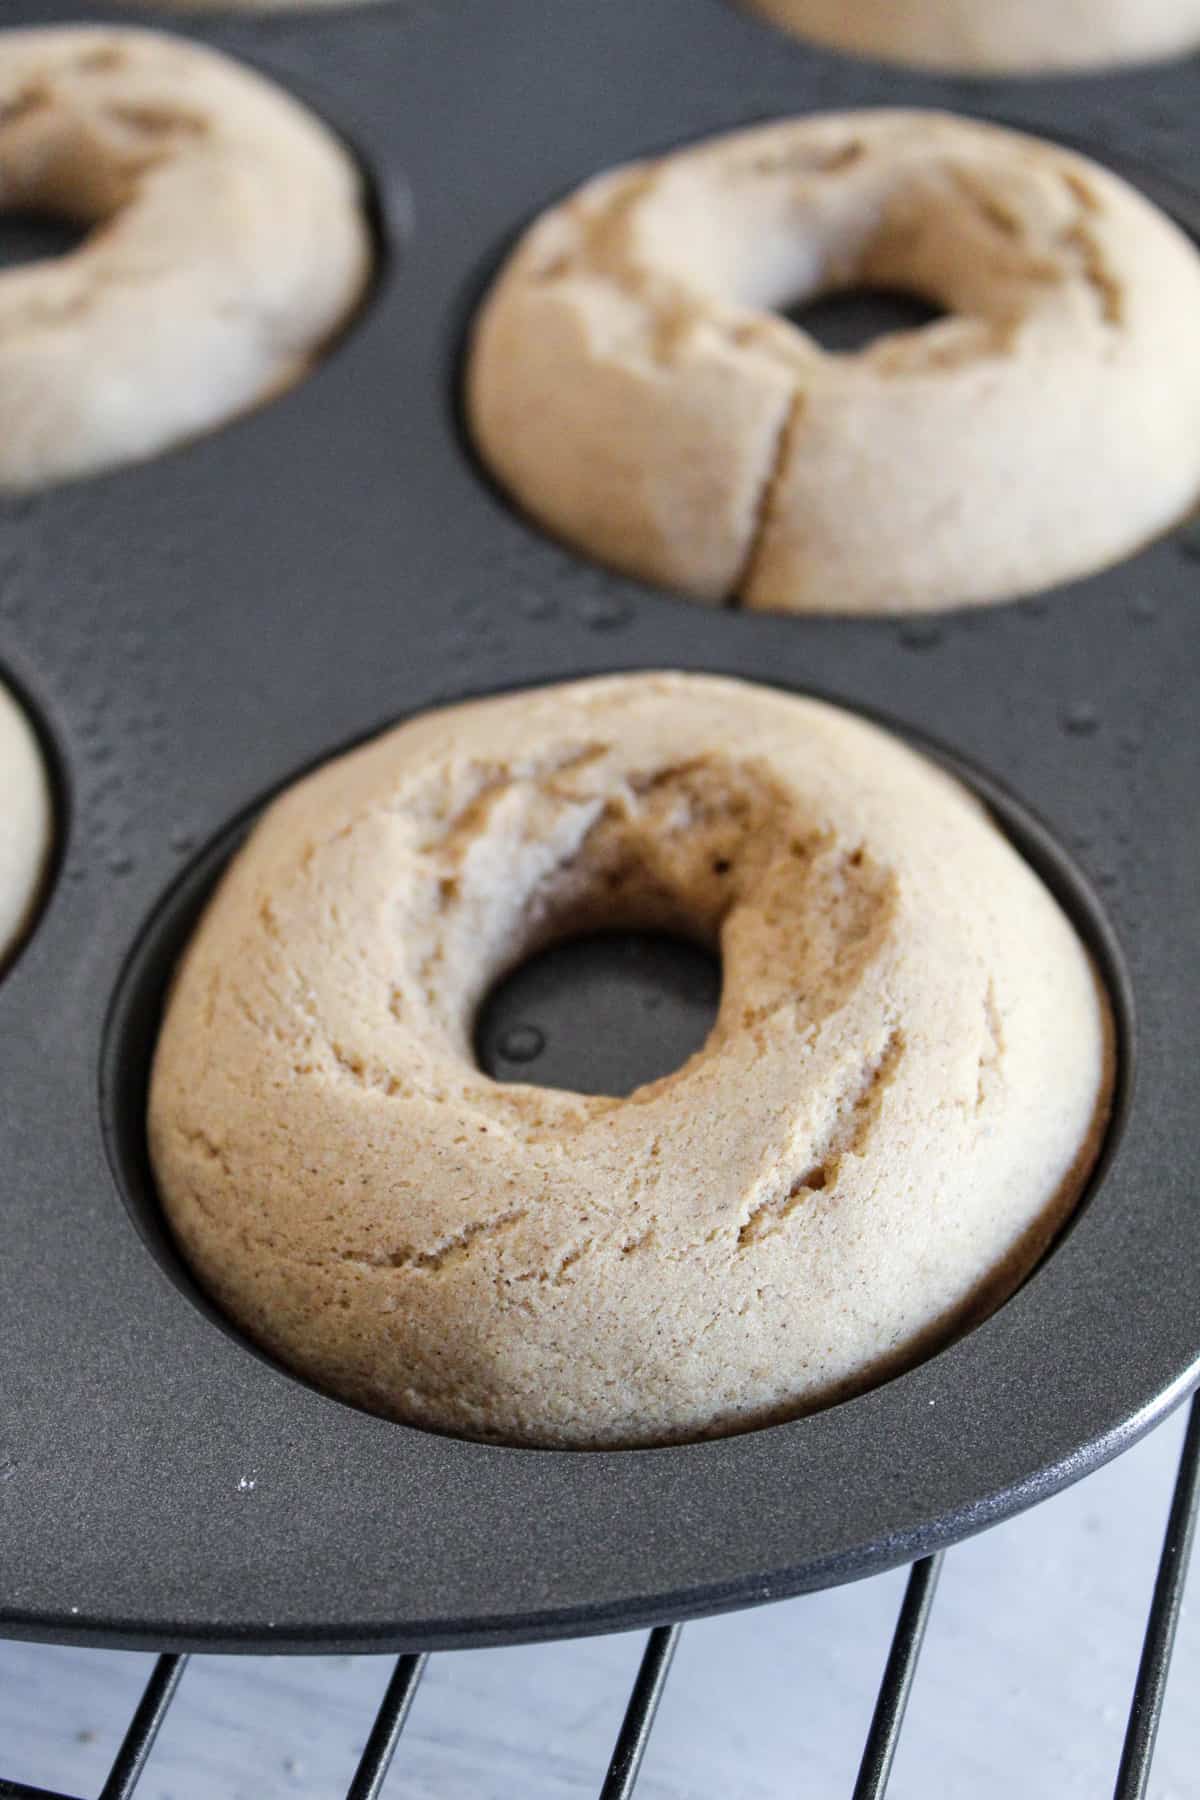
- Edges lightly golden
- Surface matte (not shiny)
- A toothpick inserted comes out with moist crumbs
When all these cues line up, the donuts are done.
Step 6: Cool Properly
Let the donuts cool in the pan for about 5 minutes. Then gently remove and transfer them to a wire rack to finish cooling.
Cooling helps the donuts set so they don’t break apart.
Step 7: Make the Chocolate Glaze
In a bowl, whisk powdered sugar and cocoa powder together.
Add milk gradually and stir until smooth and pourable.
The glaze should flow slowly from a spoon, not drip like water.
Step 8: Spoon the Glaze Over Each Donut
Place donuts on a wire rack with parchment underneath.
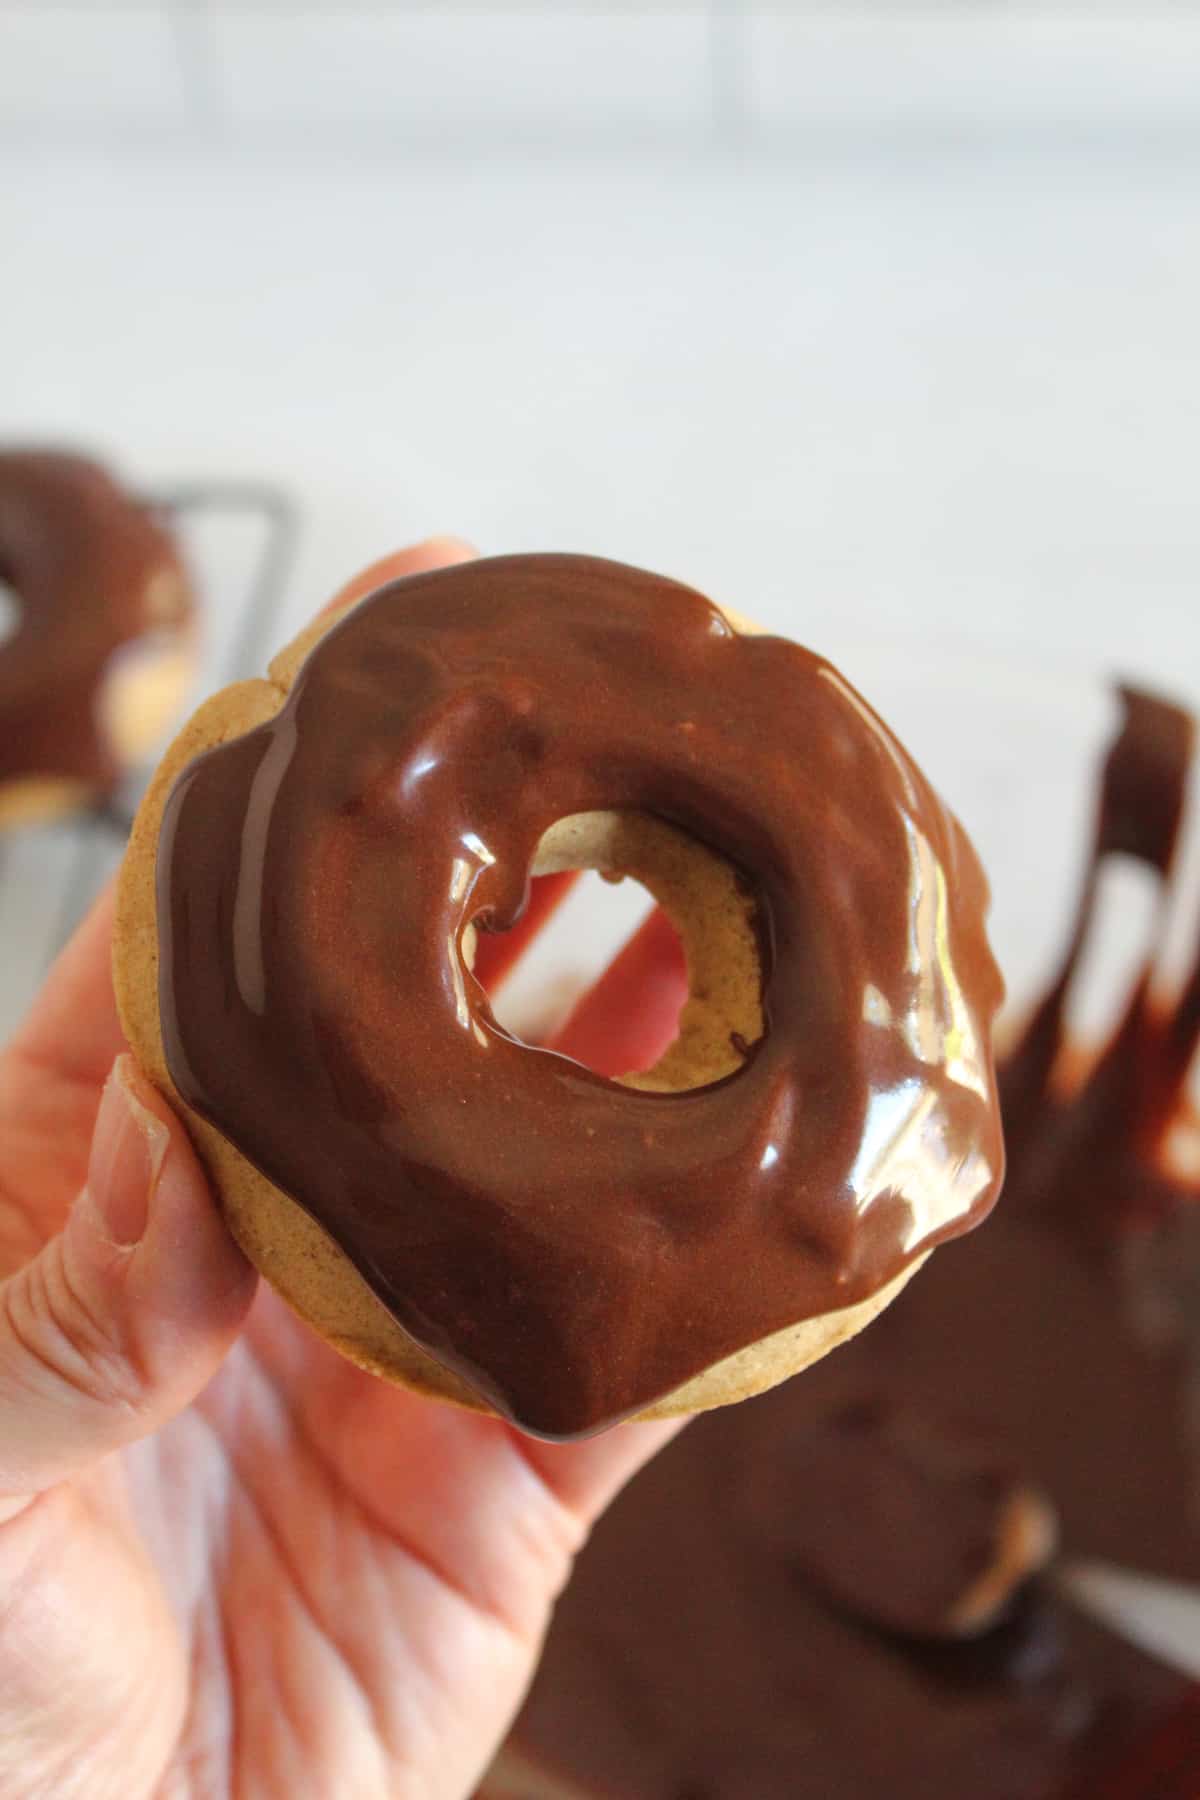
Spoon glaze over the tops until evenly coated.
The glaze should cover the surface and settle smoothly without pooling heavily.
Step 9: Add Toppings
Immediately sprinkle decorations while the glaze is still wet.
Allow donuts to rest until the glaze sets.
The surface should become matte and no longer sticky to the touch.
Small Adjustments for Different Kitchens
Every kitchen behaves a little differently, and small factors can change how gluten-free batters act. Use these quick adjustments if your results look slightly off.
- If your kitchen is humid, the batter may feel looser than expected. Stir in 1–2 tablespoons of gluten-free flour until it matches the thick, pipeable consistency described earlier.
- If you’re baking in a silicone donut pan, expect a softer exterior, and add about 1–2 extra minutes of bake time so the centers finish setting.
- If your eggs are cold, the batter won’t blend as smoothly, and the donuts may rise unevenly. Let eggs sit at room temperature for a few minutes before mixing.
These tiny changes help keep the texture consistent from batch to batch.
Bakers Report
From repeat test bakes and reader feedback, a few simple tweaks made a noticeable difference:
- Several bakers found that piping the batter instead of spooning it into the pan produced smoother donut edges and more even shapes.
- Others noticed the flavor improved after letting the donuts rest about 10 minutes before glazing, allowing the crumb to settle and the sweetness to balance.
Small adjustments like these can make an already good batch turn out even better.
Donut Pan Tips That Improve Every Batch
Choosing the right donut pan and handling it correctly can make a huge difference in how your gluten-free baked donuts turn out, both in texture and presentation. From pan material to batter fill levels, these small details help prevent sticking and improve browning.
Metal vs Silicone Donut Pans
| Feature | Metal | Silicon |
|---|---|---|
| Browning | Better | Light |
| Release | Easier if greased | Can trap moisture |
| Texture | Slightly crisp edges | Softer crumb |
Each pan type has its strengths. Metal pans tend to brown donuts more and can give a slightly crisp edge that many bakers love. Silicone pans are flexible and non-toxic, but can hold more steam, which may produce a softer outside.
Proper Greasing Technique
Even with non-stick pans, a light greasing matters, especially for gluten-free batters, which have a different surface tension than wheat doughs. Use a pastry brush or spray to coat:
- All cavity surfaces
- The center post of each donut well
- The edges where the batter expands most
This thin layer of fat creates a buffer between batter and metal or silicone, helping donuts release cleanly.
Fill Level Guidance
For an even rise and perfect shape, fill each cavity about ¾ full, and not more than that. Too little batter gives flat donuts, whereas too much causes overflow and uneven baking.
Why Donuts Stick
Sticky donuts usually come from:
- Insufficient greasing
- Under-greased centers
- High-sugar batters (sugars brown fast and can cling)
- Silicone pans trapping steam
Proper pan prep and fill control eliminate most sticking issues.
Read our troubleshooting article for more explanation on why gluten-free baked goods can turn dry, crumbly, or gummy and how to fix them. Also, you will get practical tips you can apply to donuts as well.
The Big Difference Between Baked and Fried Donuts
When you’re comparing gluten-free baked donuts to their fried counterparts, the biggest differences aren’t just in calories or equipment; they’re in texture and moisture outcomes. Understanding why these differences happen can help you choose the style that best fits your cravings and cooking setup.
| Feature | Baked | Fried |
|---|---|---|
| Texture | Cake-like | Crisp outside |
| Oil | Lower | Higher |
| Equipment | Donut pan | Fryer |
| Difficulty | Easy | Moderate |
Why Baked Donuts Feel Softer Inside
Baked donuts are cooked entirely in dry heat. As the batter heats up, moisture turns to steam and escapes gradually through the donut’s surface.
Because there’s no hot oil to instantly seal the exterior, baked donuts lose internal moisture more readily. This makes achieving a tender, moist interior all about the right balance of liquid, fat, and starch in the batter.
Why Fried Donuts Stay Juicy
Fried donuts are immersed in hot oil that quickly seals the outside crust, trapping internal steam and preventing too much moisture from escaping. The contrast between the crisp exterior and soft interior is one of the key appeals of fried donuts, but it comes with higher overall oil content and added calories.
Moisture Differences Explained
- Heat Transfer: Hot oil conducts heat faster than hot air, so fried donuts cook quickly and develop a protective crust.
- Steam Escape: In the oven, steam must exit through the batter’s surface, so the interior can dry if the batter isn’t properly hydrated.
- Batter Composition: Baked donuts rely fully on ingredient balance to retain moisture, while fried donuts benefit from the physical barrier that hot oil creates.
Despite these differences, you can get a moist, satisfying texture from oven-baked donuts when the recipe accounts for moisture balance and proper heat control. For more general tips on gluten-free baking techniques, including why hydration, ingredient choice, and equipment matter, check out this gluten-free baking how-to and tips resource.
Best Flavor Variations for Gluten-Free Donuts
Are you looking for fresh ways to enjoy this recipe? Try these creative flavor variations that bring new life to your gluten-free baked donuts.
- Cinnamon Sugar: After baking, toss your warm gluten-free baked donuts in cinnamon sugar while still warm. This variation adds warmth and sweetness with no change to bake times. It’s a simple but classic twist.
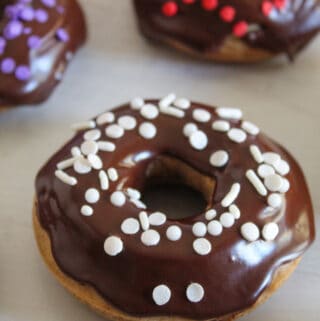
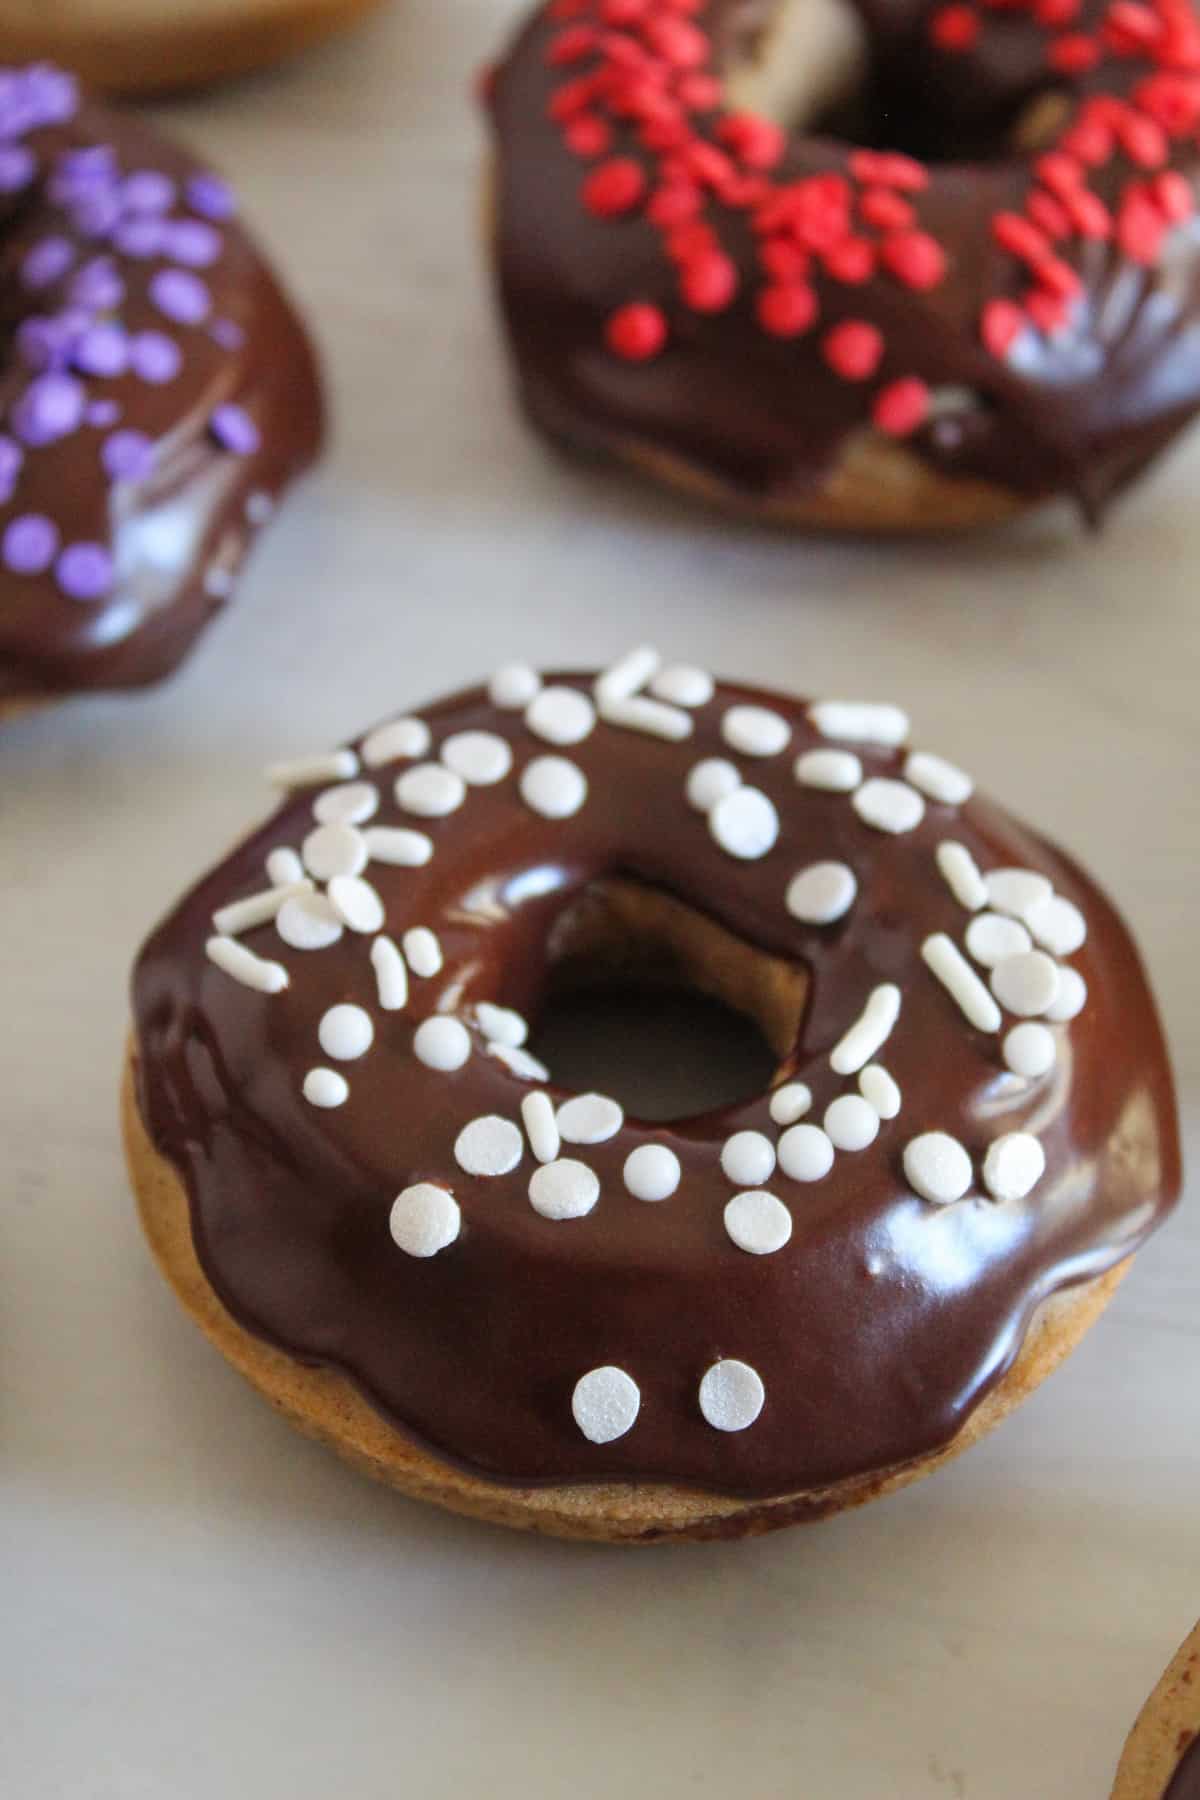
- Chocolate Glazed: Add 2–3 Tbsp cocoa to your glaze and a splash of milk. The rich chocolate topping goes well with the soft donut. Your bake time stays the same, but let the donuts cool so the glaze can set.
- Lemon Glaze: Stir lemon zest + juice into powdered sugar for a tangy topping that brightens the donuts. There is no change to bake time, but just let the glaze thicken before dipping.
- Maple Glaze: Mix pure maple syrup with powdered sugar for a rich, lightly amber glaze. Bake as usual, then cool a few extra minutes before drizzling to avoid melting.
- Chocolate Chip: Fold mini dark chocolate chips into batter (~¼ cup). Chips add texture and chocolate pops; bake time may increase by 1–2 minutes for set centers.
- Pumpkin Spice: Add ½ tsp pumpkin pie spice to batter for a cozy fall flavor. This works with any basic glaze. Your bake time won’t change, but the aroma will deepen as spices toast in the oven.
- Blueberry: Fold fresh or frozen blueberries into the batter (~½ cup). The bake time will be slightly longer (~1–2 minutes) due to added moisture. Top with vanilla glaze for the best balance.
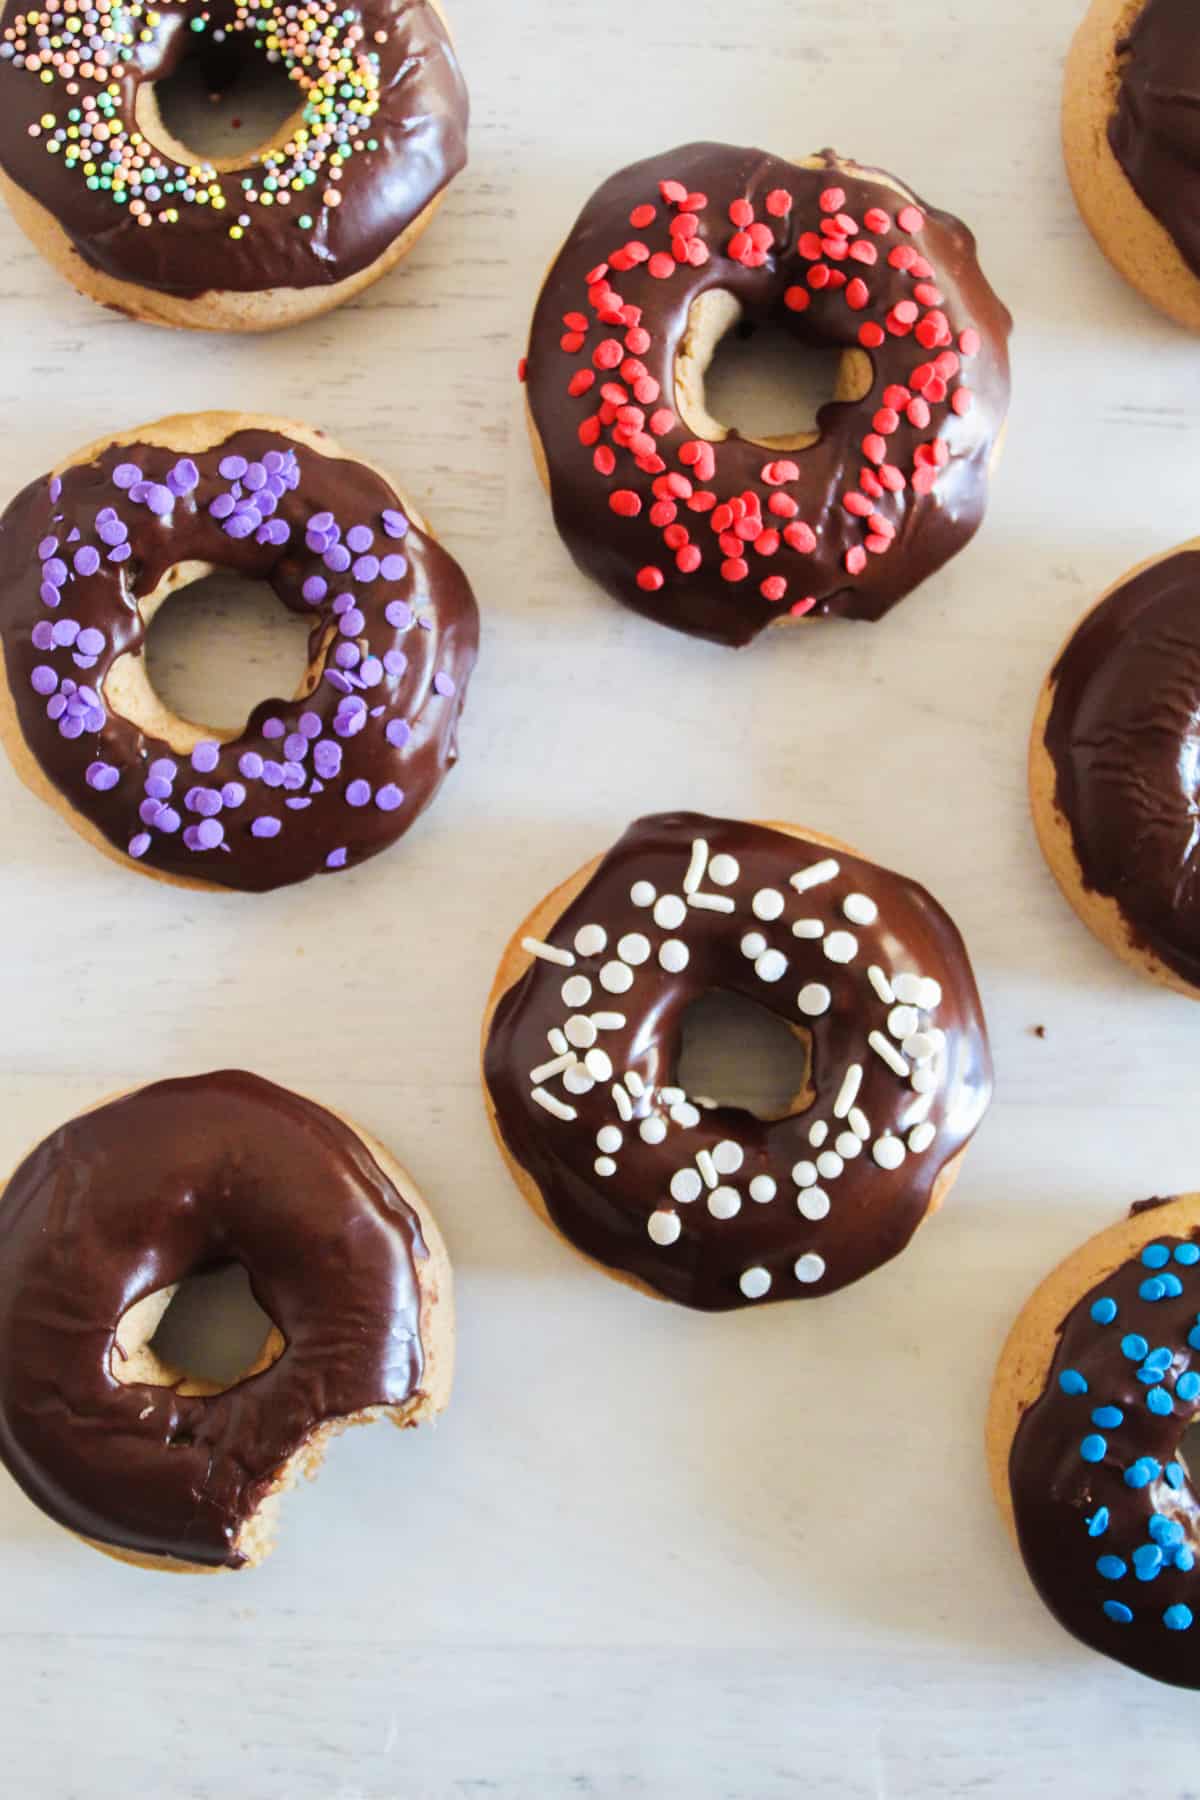
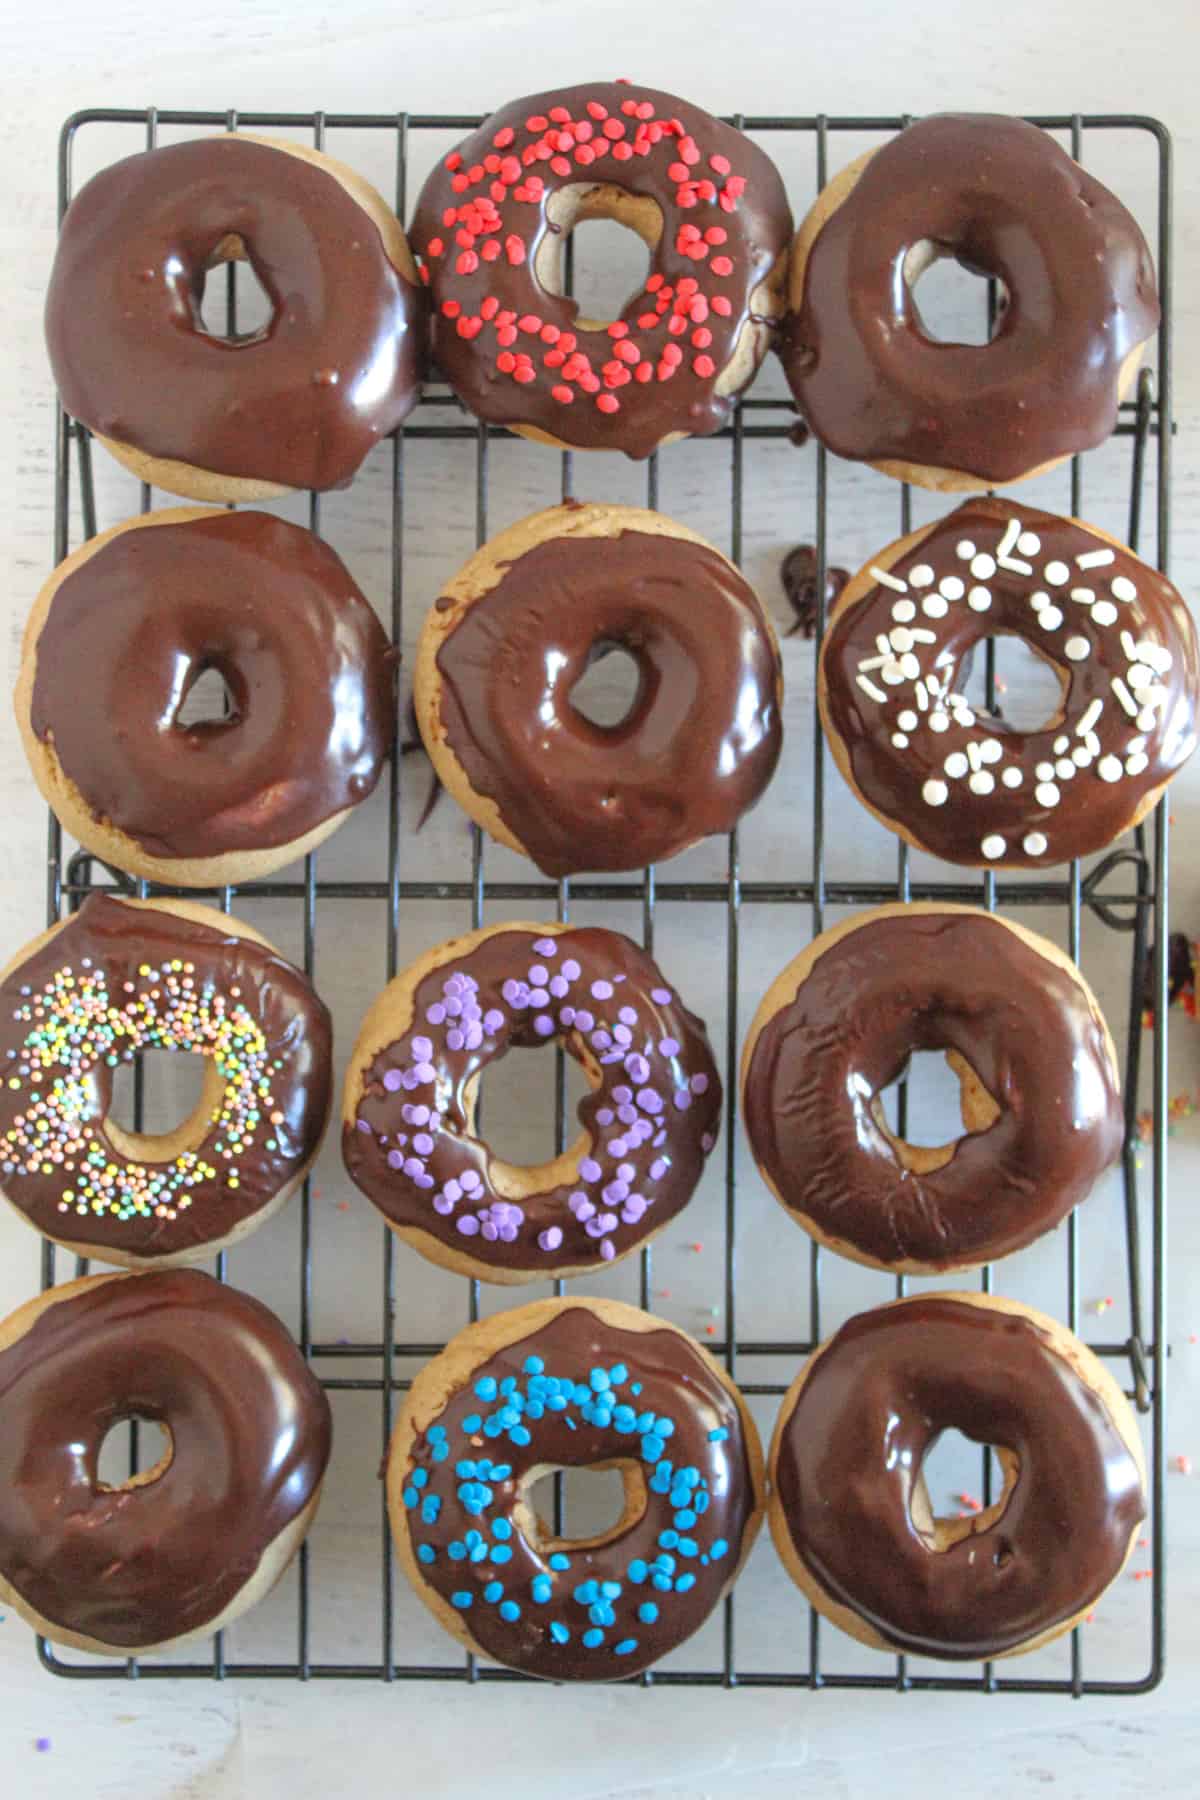
- Vanilla Sprinkle: Keep the batter unchanged, add vanilla bean paste to the glaze, and top with rainbow sprinkles. This bright, nostalgic variation needs no bake time adjustment.
Flavor Science Note
Flavor development in baked goods involves complex chemical reactions like the Maillard reaction, which enhances aroma and taste as ingredients interact under heat. This is a key reason different toppings and additions change your sensory experience.
How to Glaze Donuts Perfectly
After baking, the final step turns simple gluten-free baked donuts into something bakery-worthy. The right glaze should coat the surface lightly, set smoothly, and never soak into the crumb.

Powdered Sugar Glaze Base
In a small bowl, stir powdered sugar with a little milk or water. Add liquid slowly until it drips in a ribbon from a spoon. If it runs too fast, add more sugar. If it clumps, add a few drops of liquid.
Chocolate Glaze
Mix cocoa powder into the powdered sugar before adding liquid. This keeps the flavor rich and balanced instead of overly sweet. Let it sit for a minute before dipping so the cocoa fully hydrates.
Dairy-Free Glaze
Use almond, oat, or soy milk in place of dairy milk. The glaze sets the same way and keeps the donuts soft while adding a light, clean finish.
How to Dip Properly
Hold the donut at the base and dip the top straight down into the glaze. Lift and allow excess to drip back into the bowl naturally.
Place on a rack so air can circulate underneath.
How to Avoid Streaking
Streaks happen when donuts are too warm or the glaze is too thin. Let them cool slightly and stir the glaze between dips to keep the coating smooth.
If you want another example of smooth icing and finishing technique, see our gluten-free frosted sugar cookies
How to Store and Keep Donuts Fresh
Planning ahead keeps your gluten-free baked donuts tasting fresh instead of dry. The following are instructions on how to store, freeze, and reheat them the right way.
Room Temperature Storage (Up to 2 Days)
Place completely cooled donuts in an airtight container and store at room temperature for up to two days. Keep them unfrosted so the glaze stays smooth when added later.
Freezing Unfrosted Donuts
Freeze donuts without glaze for the best texture. Wrap individually or layer with parchment in a sealed freezer bag. Press out extra air to prevent freezer dryness.
Microwave Revival Trick (8–10 Seconds)
To restore softness, microwave one donut for 8–10 seconds. The gentle heat rehydrates the crumb without overcooking.
Best Reheating Method
For a slightly firmer exterior, warm thawed donuts in a low oven for a few minutes. Add glaze after reheating for a fresh finish.
Preventing Freezer Dryness
Use airtight wrapping and avoid storing warm donuts. Moisture trapped inside causes ice crystals that dry the texture later.
Read our gluten-free banana bread guide for another freezer-friendly bake.
Calories in Baked vs Fried Donuts
Understanding the numbers helps you choose the style that fits your day. After reading this section, you can decide if you want a lighter snack or an indulgent treat.
Calorie Range
Baked donuts use hot air, while fried donuts cook in oil. That difference changes the calorie range noticeably.
- Baked Donut: about 180–260 calories
- Fried Donut: about 260–350+ calories
Fat Content
Because fried donuts absorb oil during cooking, their fat content rises quickly. Baked versions contain less oil, so they feel lighter but are still satisfying.
What This Means for You
Neither option is automatically better because they simply serve different moments. If you want an everyday treat, gluten-free baked donuts are usually the lighter choice. If you want a richer experience, fried donuts deliver a classic bakery feel.
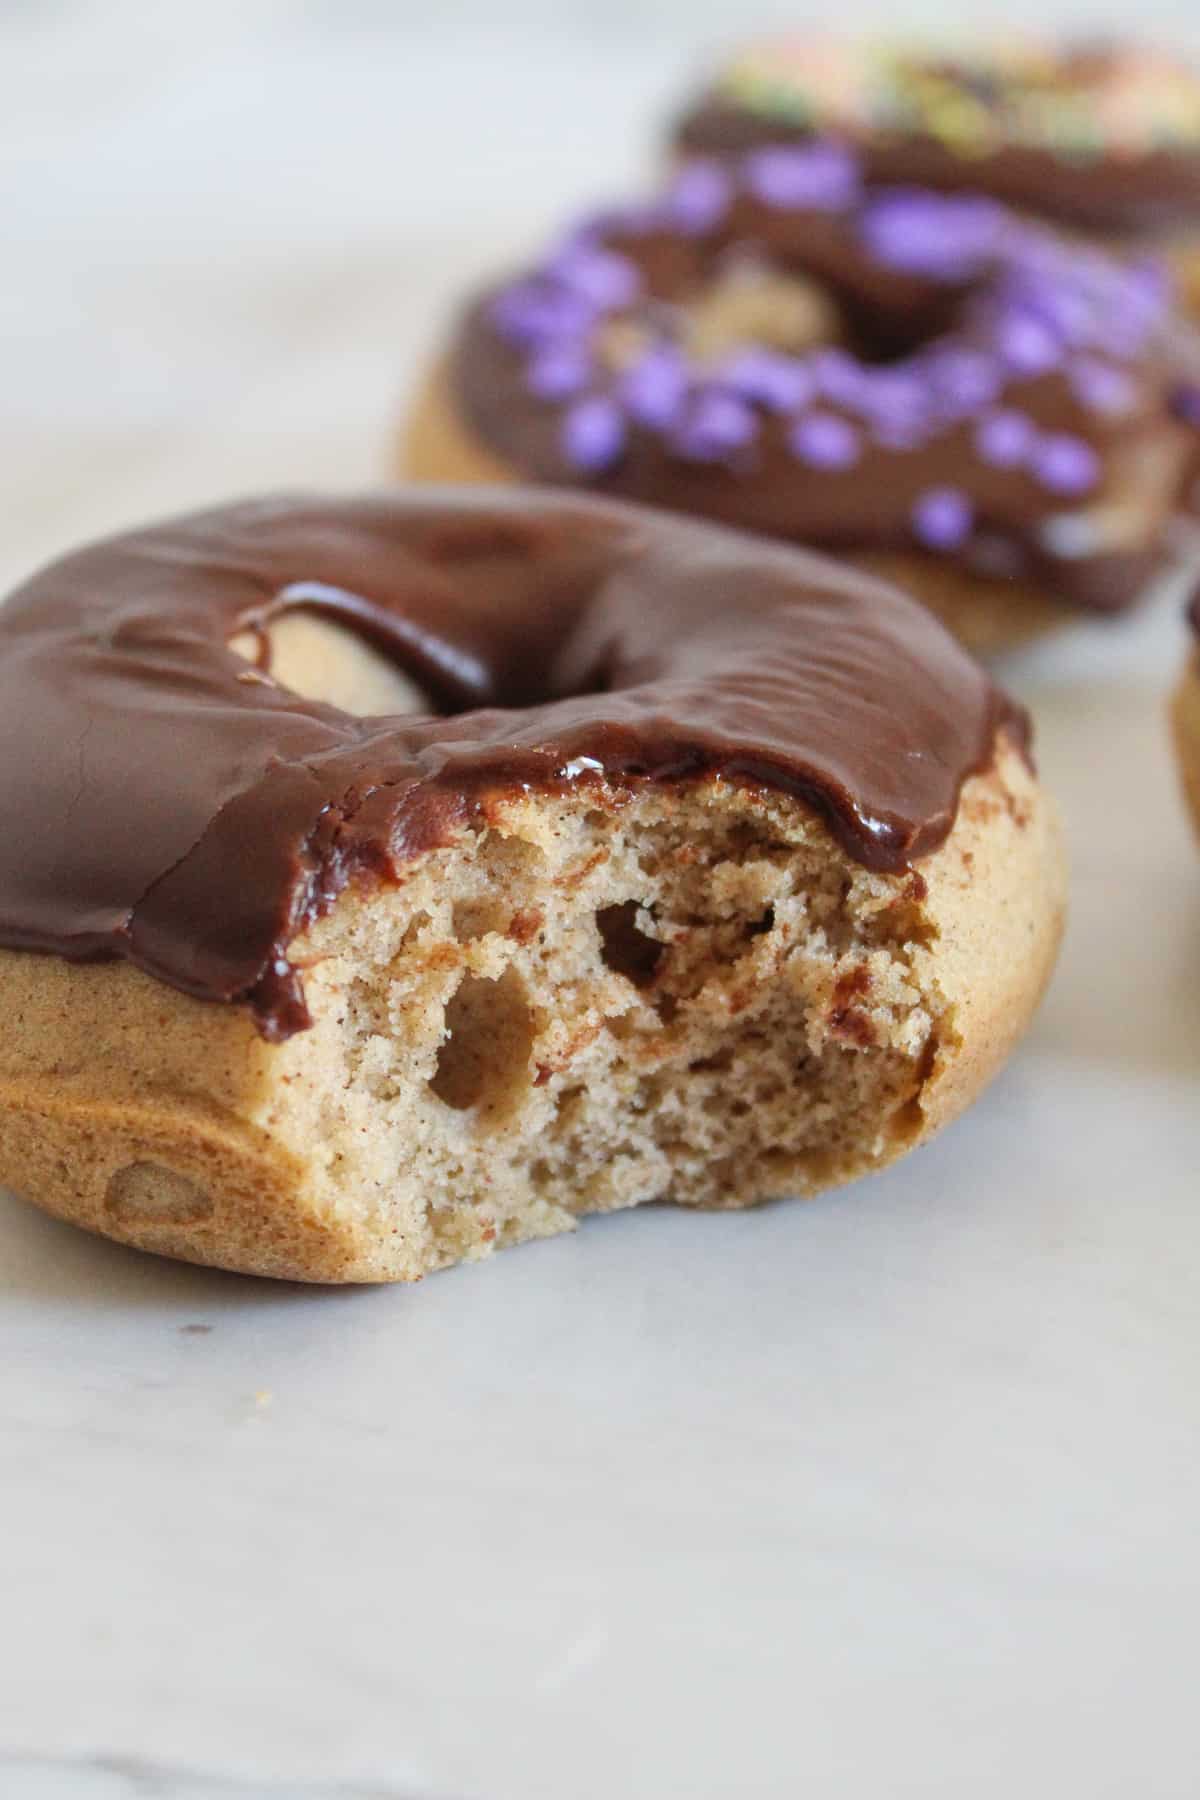
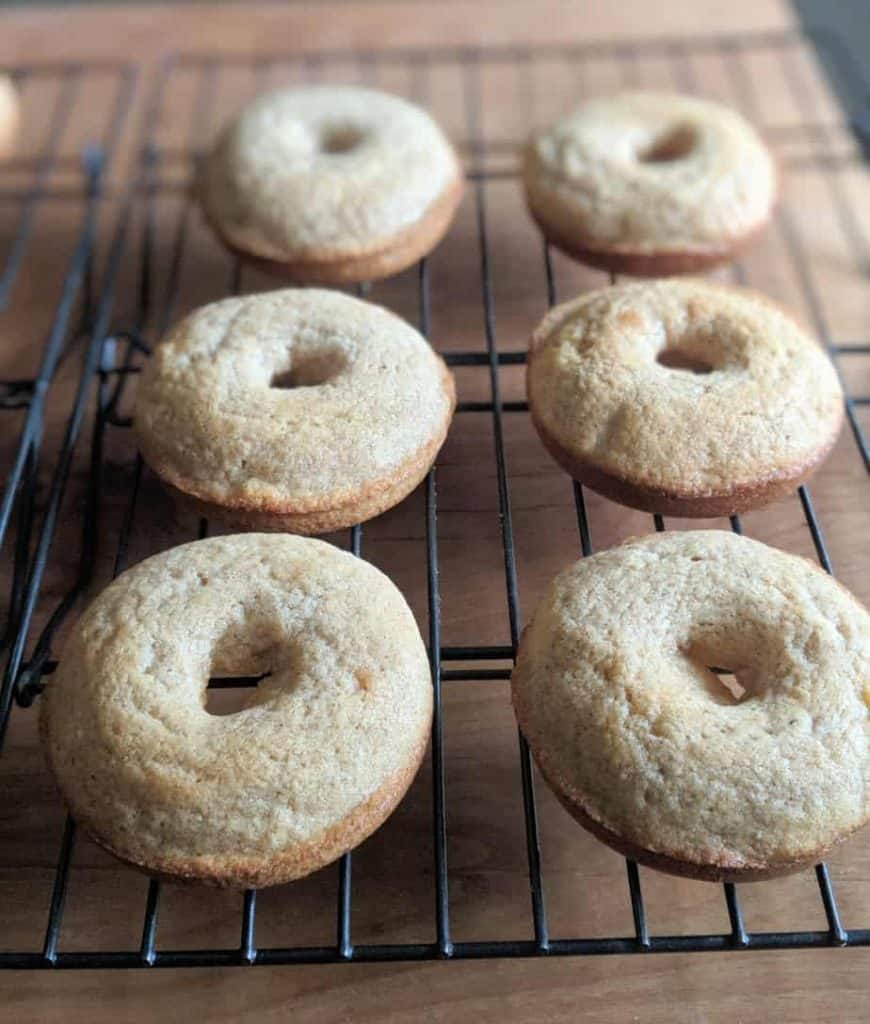
What Your Donuts Should Look Like
We will get to the troubleshooting part, but before we get to that, take a quick look at your finished donuts. Most baking issues can be identified instantly just by checking texture and appearance.
- Your gluten-free baked donuts should have a slight dome on top rather than a flat surface.
- Inside, the crumb should look fine and cake-like, not airy like bread and not tight like fudge.
- When gently pressed, the surface should spring back lightly instead of staying indented.
- After cutting one open, the interior should look soft and set with no wet shine remaining.
- If your donuts match these cues, you’re right on track, and any small differences are likely just preference, not a mistake.
Quick Fixes for Donut Baking Issues
Even a good recipe can behave differently depending on mixing, baking time, and pan handling. Use these quick fixes to understand what your gluten-free baked donuts are telling you.
Why Are My Donuts Gummy?
Gummy centers usually mean the donuts were slightly underbaked or the batter held too much moisture. Bake a minute longer and allow a short cooling rest so the crumb can set.
Why Are They Dry?
Dry donuts often come from overbaking or too little fat in the batter. Remove them once the tops look matte and the edges are lightly golden.
Why Did They Collapse?
If donuts sink after baking, they were likely underbaked inside or removed too quickly from the pan. Let them cool briefly before moving.
Why Did They Stick?
Sticking happens when the pan isn’t greased well, or the donuts are cooled too long inside it. Grease thoroughly and release after a few minutes.
Why Are They Dense?
Dense texture usually means overmixing. Mix just until combined so air stays in the batter.
Why Are They Crumbly?
Crumbly donuts often lack enough binder or moisture. Check your flour blend and avoid skipping resting time.
Baking Questions Answered (FAQ Section)
Below are questions we frequently get asked by our readers about making gluten-free baked donuts at home. If you don’t see yours, please ask in the comments below.
Can I Make These Dairy Free?
Yes, use a plant-based milk and dairy-free butter. The texture stays soft, and the donuts still glaze well.
Can I Make Them Without Xanthan Gum?
You can, but the structure will weaken. Add another binder substitute or expect a more delicate crumb.
Can I Use A Muffin Tin?
Yes, fill halfway and bake slightly longer. The shape changes, but flavor and texture remain similar.
Can I Pipe Without A Bag?
Absolutely. Use a zip bag with the corner cut or carefully spoon the batter into the pan.
Why Did They Sink?
This is usually caused by underbaked centers. Bake a minute longer and allow a short cooling rest before removing.
Can I Air Fry These?
They’re designed for baking. Air frying may overbrown the outside before the inside sets.
Can I Make Mini Donuts?
Yes, use a mini pan and reduce bake time by a few minutes.
More Gluten-Free Recipes to Try
If you enjoyed making these gluten-free baked donuts, you’ll probably love exploring more soft, reliable gluten-free breakfasts and treats. Each recipe below uses similar techniques, so the skills you practiced here carry over easily.
- Try these tender gluten-free muffins for a quick grab-and-go breakfast with the same soft crumb.
- Make a comforting stack of fluffy gluten-free pancakes when you want something warm and satisfying.
- Bake a loaf of moist gluten-free banana bread using the same moisture balance principles.
- Enjoy a weekend treat with soft, layered gluten-free cinnamon rolls that build on the same dough handling skills.
These are perfect for putting your new baking confidence to good use.
Join the Conversation
Now it’s your turn in the kitchen. Did you go classic glaze or try something new?
Tell us how yours turned out in the comments, and we’ll respond if you need help troubleshooting.