Are you looking for how to make fluffy gluten-free biscuits? The difference between tall, flaky biscuits and ones that are flat, dense, dry, or crumbly comes down to technique.
Because gluten-free dough lacks the gluten network found in wheat flour, it relies on the right flour blend, binders, ingredient temperature, and dough handling to create structure and rise.
Table of Contents
You’ll learn how to choose the best gluten-free flour, why cold butter matters, whether butter or shortening is the better choice, how to avoid common baking mistakes, and how to troubleshoot biscuits that don’t rise. You’ll also find storage, freezing, and reheating tips to keep your biscuits fresh.
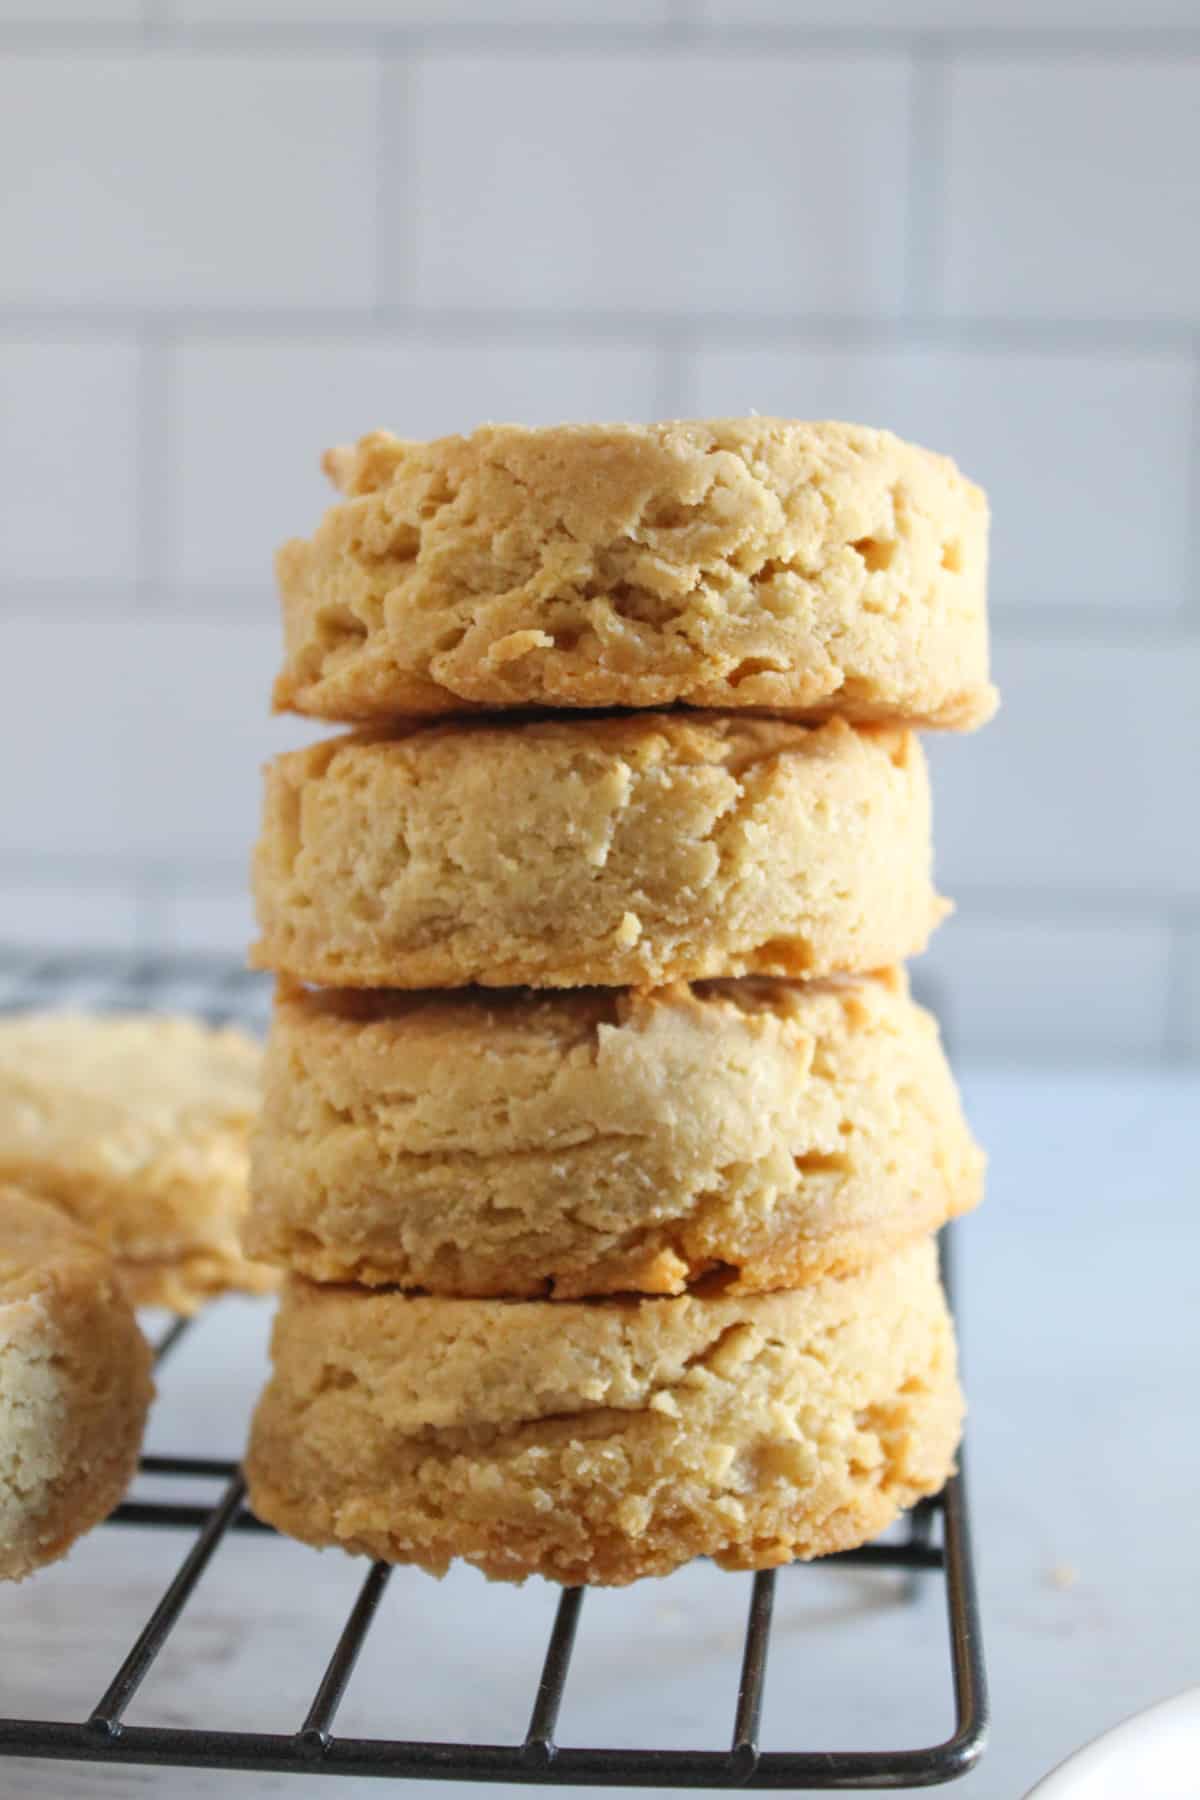
The keys to fluffy gluten-free biscuits are a balanced flour blend, the right amount of binder, ice-cold fat, gentle handling, thick dough, a straight downward cut, and a fully preheated hot oven.
The 10 Secrets to Fluffy Gluten-Free Biscuits
This guide focuses on the techniques that make gluten-free biscuits rise. For exact ingredient amounts and step-by-step instructions, use our tested Gluten-Free Biscuit Recipe.
Want our human-written content to rank above AI-generated garbage? Help us out by clicking this button!
Tall, tender gluten-free biscuits do not depend on one magic ingredient. Their texture and rise come from a series of small but important choices—from selecting the right flour blend and keeping the butter cold to handling the dough gently and baking it at the proper temperature.
Whether you serve them with breakfast, alongside a bowl of soup, or topped with our Gluten-Free Biscuits and Gravy, these 10 proven techniques will help you achieve light, flaky biscuits with a tender crumb and consistently impressive rise.
1) Choose the Right Gluten-Free Flour Blend
Your flour blend has the biggest impact on the texture and rise of your biscuits. Unlike wheat flour, gluten-free baking relies on a combination of flours and starches to create structure, tenderness, and moisture retention.
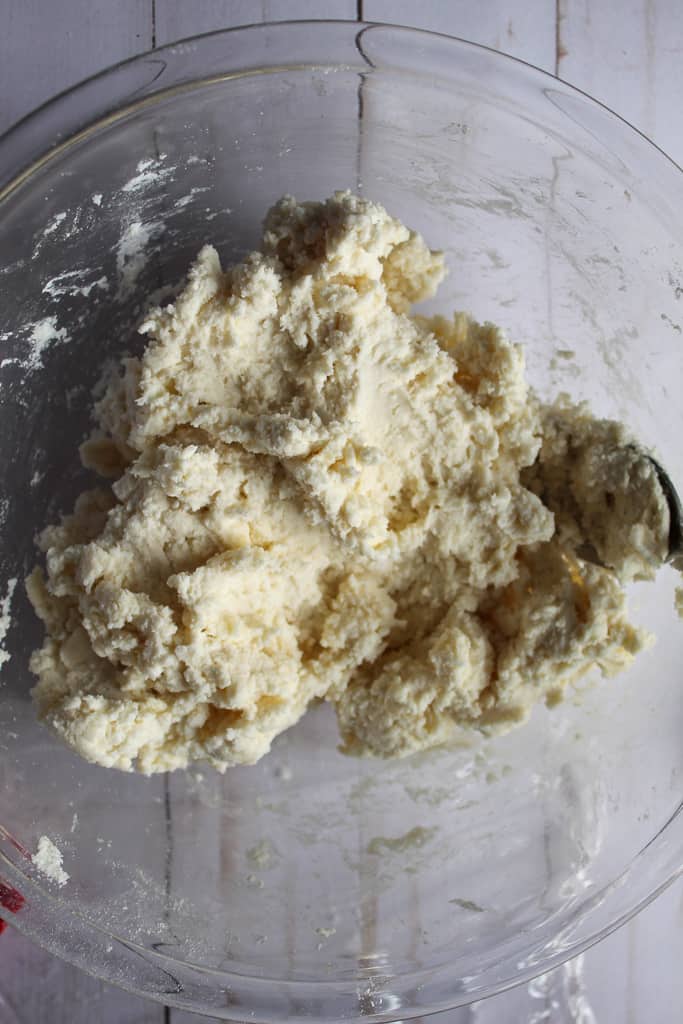
For the lightest biscuits, choose a high-quality all-purpose gluten-free baking blend rather than a single flour. Blends with a balanced ratio of rice flour and starches generally produce a softer crumb and better rise than blends made primarily from whole-grain flours.
- Cup4Cup-style blends produce exceptionally tender, buttery biscuits thanks to their higher starch content.
- White rice flour blends create light, classic biscuits that work well for everyday baking.
- Brown rice flour blends have a nuttier flavor and slightly denser texture, making them ideal for rustic biscuits.
- Bread-style blends contain more protein and create a slightly chewier biscuit that’s excellent for savory recipes.
Do you prefer making your own blend? Aim for a balance of whole-grain flour, starches, and a binder. Too much starch can make biscuits fragile, while too much whole-grain flour can produce a dense texture.
| Flour Blend | Texture | Rise | Best Use |
|---|---|---|---|
| Cup4Cup-style | Very tender | Excellent | Southern biscuits |
| White rice blend | Light | Excellent | Everyday biscuits |
| Brown rice blend | Heartier | Good | Rustic biscuits |
| Bread-style blend | Slight chew | Very Good | Savory biscuits |
2) Decide Whether Your Recipe Needs Xanthan Gum
Xanthan gum replaces some of the structure normally provided by gluten, helping gluten-free dough hold together and trap the gases released during baking.
Before adding extra xanthan gum, check your flour blend. Many commercial gluten-free flour blends already contain it. Adding more than the recipe needs can make biscuits gummy or overly chewy instead of light and tender.
Some bakers substitute guar gum, which provides similar binding properties. Xanthan gum generally performs better in baked goods that require structure, while guar gum is often preferred in cold recipes or softer doughs.
3) Use Cold Butter (Or Frozen Butter)
Cold butter is one of the easiest ways to make taller, flakier biscuits. As the biscuits bake, small pieces of cold butter release steam. Those steam pockets lift the dough and create distinct flaky layers before the butter fully melts.
If the butter softens before baking, it blends into the flour instead of creating those pockets, resulting in flatter biscuits.
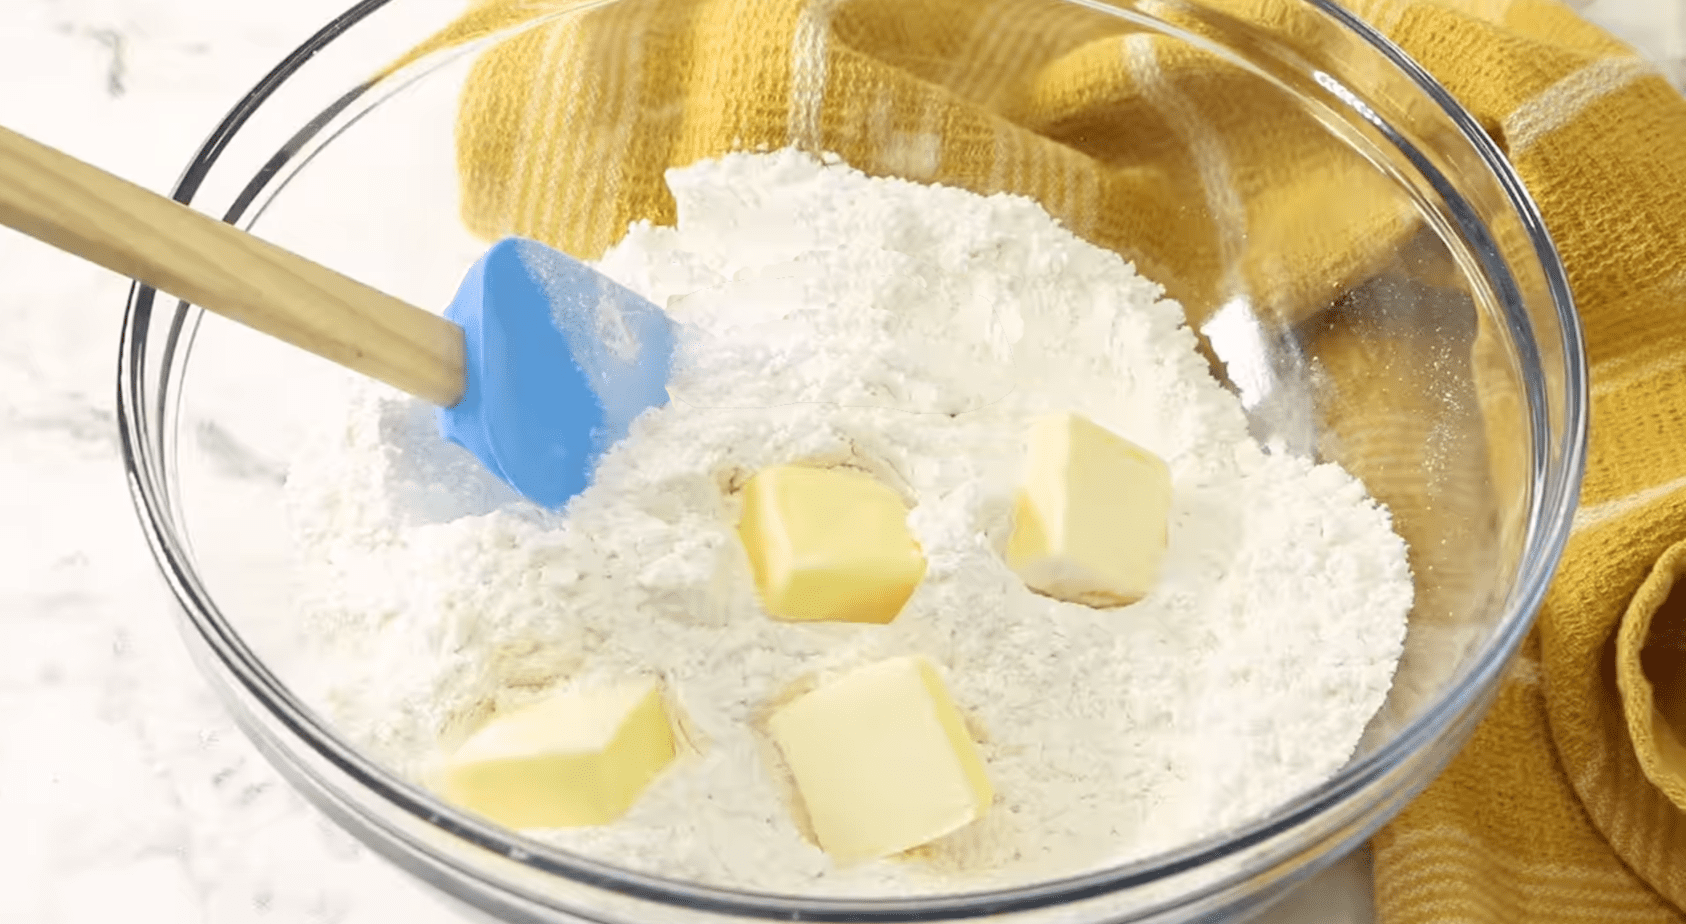
For even better results:
- Keep butter refrigerated until you’re ready to use it.
- Grate frozen butter directly into the flour mixture for even distribution.
- If the dough becomes warm while shaping, chill it for 10–15 minutes before baking.
Expert Tip: Warm butter melts before the biscuits reach the oven, preventing the steam that creates tall layers.
4) Butter vs. Shortening vs. Lard
The fat you choose affects flavor, flakiness, and height.
| Fat | Flavor | Flakiness | Height |
|---|---|---|---|
| Butter | Excellent | Excellent | Very Good |
| Shortening | Mild | Very Good | Excellent |
| Lard | Rich | Excellent | Excellent |
- Butter delivers the richest flavor and beautiful flaky layers, making it the best all-around choice.
- Shortening has a higher melting point, helping biscuits rise slightly taller while producing a softer texture.
- Lard creates exceptionally flaky biscuits with excellent lift and is a traditional choice for Southern-style biscuits.
If flavor is your priority, choose butter. If maximum height matters most, shortening or lard may produce slightly taller biscuits.
5) Don’t Overwork the Dough
Gentle handling is just as important for gluten-free dough as it is for traditional biscuit dough. Overmixing breaks apart the cold butter pieces needed for steam pockets and compresses the dough, producing heavier biscuits.
Stir only until the ingredients come together, leaving a few small pieces of butter visible. Folding the dough several times is enough to build flaky layers without making it dense.
6) Rest the Dough Before Baking
A short resting period improves the texture of gluten-free dough. During the rest, the flour and starches absorb moisture more evenly, making the dough easier to handle and less likely to crack.
Better hydration also helps biscuits bake more evenly and develop a softer interior. Additionally, a 10- to 15-minute rest in the refrigerator keeps the butter cold before the biscuits go into the oven.
7) Roll the Dough to the Proper Thickness
Thickness directly affects how high your biscuits rise. Aim for a dough thickness of ¾ to 1 inch. Dough that’s rolled too thin doesn’t have enough height to develop tall layers during baking.
As a quick visual guide, the dough should be about as thick as your thumb before cutting.
8) Cut Straight Down (Never Twist)
The way you cut your biscuits matters more than most people realize. Twisting the cutter seals the edges of the dough, making it harder for the biscuits to rise evenly in the oven.
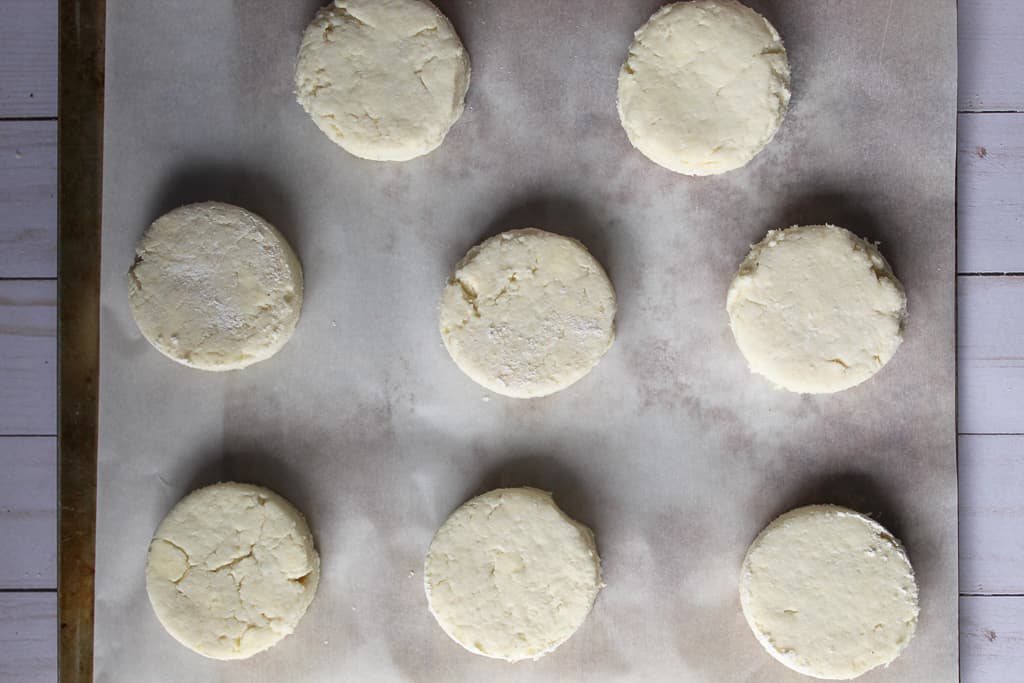
Instead, press the cutter straight down and lift it straight back up. This keeps the edges open so the layers can expand freely.
Wrong:
- Twist cutter
- Compressed edges
- Poor rise
Correct:
- Cut straight down
- Open edges
- Better layers
9) Bake Biscuits Close Together
Many professional bakers intentionally place biscuits close together on the baking sheet.
As the biscuits expand, they lightly support one another, encouraging an upward rise rather than spreading outward. This simple technique often produces taller, softer biscuits with straighter sides.
Once you’ve mastered these techniques, try applying them to our Light and Tender Millet Biscuits in Under 40 Minutes for another delicious gluten-free option with a slightly heartier flavor.
10) Bake in a Fully Preheated Hot Oven
A hot oven gives biscuits the rapid burst of heat they need to rise. The intense heat quickly turns moisture in the butter into steam, creating what’s known as oven spring before the dough sets.
For most fluffy gluten-free biscuits, an oven temperature of 425°F (220°C) provides an excellent balance of rise, browning, and tenderness.
Avoid opening the oven during the first 10 to 12 minutes of baking. Letting heat escape too early can reduce steam production and prevent the biscuits from reaching their full height.
Common Mistakes That Ruin Gluten-Free Biscuits
Even with a great recipe, a few small mistakes can leave your fluffy gluten-free biscuits flat, dry, or dense. Fortunately, they’re easy to avoid once you know what to look for.
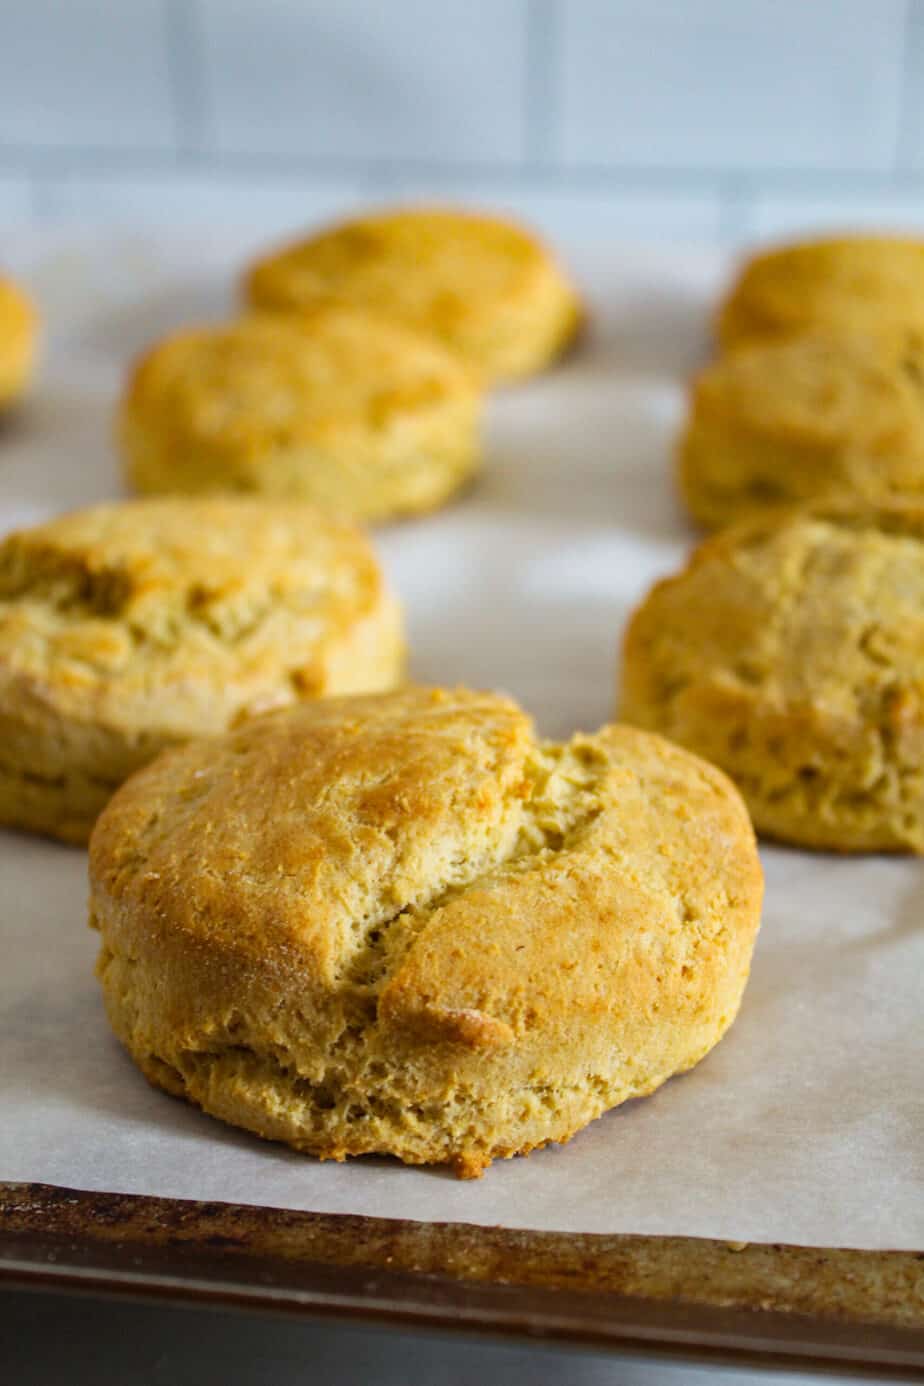
1. Adding Too Much Flour
Too much flour throws off the dough’s moisture balance, producing dry, heavy biscuits. If you’re measuring by volume, spoon the flour into the measuring cup and level it off rather than scooping directly from the bag, which can pack in significantly more flour.
2. Using Expired Baking Powder
Fresh baking powder is essential for a good rise. As it ages, it loses its ability to produce carbon dioxide, resulting in biscuits that spread rather than rise. If you’re unsure whether yours is still active, stir a small amount into hot water. It should fizz vigorously.
3. Working in a Warm Kitchen
A hot kitchen can soften butter surprisingly quickly, especially if you’re handling the dough for several minutes. If the dough starts feeling soft or sticky, refrigerate it for 10 to 15 minutes before cutting and baking. Keeping the butter cold gives the biscuits a better chance to rise.
4. Skipping the Dough Rest
Resting the dough for 10 to 15 minutes improves handling and encourages more even baking. If you’re chilling the dough, you’ll also keep the butter firm before it goes into the oven.
Once you’ve avoided these common mistakes, put your new skills to work with our Light and Tender Oat Flour Biscuits (Soft, Fluffy & Easy Recipe), where the same techniques help create soft, fluffy biscuits with a wholesome oat flavor.
Troubleshooting Fluffy Gluten-Free Biscuits
Even experienced bakers occasionally run into problems. Use this guide to identify the most likely cause and make a simple adjustment before your next batch.
| Problem | Likely Cause | How to Fix It |
|---|---|---|
| Dense biscuits | Overmixing the dough | Mix only until the dough comes together. A slightly shaggy dough produces a lighter biscuit. |
| Flat biscuits | Warm butter or warm dough | Keep the butter and dough cold. Chill the shaped biscuits for 10–15 minutes if they begin to soften. |
| Dry biscuits | Too much flour | Measure flour carefully with a kitchen scale or by spooning it into the measuring cup before leveling. |
| Crumbly biscuits | Too little moisture | Add buttermilk one tablespoon at a time until the dough comes together. |
| Pale biscuits | Oven temperature too low | Make sure the oven is fully preheated before baking. |
| Gummy biscuits | Too much xanthan gum | Use only the amount of xanthan gum your flour blend or recipe requires. |
Most gluten-free biscuit problems are easy to correct once you identify the underlying cause. Whether it’s using colder butter, handling the dough more gently, or adjusting your oven temperature, even small changes can make a noticeable difference in the texture, rise, and overall quality of your next batch.
Would you like another recipe to practice these techniques? Try our Buckwheat Biscuits Recipe: Easy & Gluten Free. The same principles of cold butter, gentle mixing, and proper dough hydration will help you achieve tender, well-risen biscuits with a hearty buckwheat flavor.
Storage, Freezing & Reheating
Whether you’re saving leftovers or preparing ahead, proper storage keeps gluten-free biscuits tasting their best.
How to Store Fluffy Gluten-Free Biscuits
- On the Counter: Once the biscuits have cooled completely, store them in an airtight container at room temperature for up to 2 days. Allowing them to cool before storing helps prevent condensation, which can make the biscuits soggy.
- In the Refrigerator: For longer storage, refrigerate the biscuits in an airtight container for up to 5 days. Keep in mind that refrigeration can slightly dry baked goods, so warm them before serving for the best texture.
- In the Freezer: For the longest storage, freeze baked biscuits in a freezer-safe bag or airtight container for up to 3 months. Freezing keeps them safe for much longer, but using them within this time provides the best quality and flavor.
Can You Freeze Biscuit Dough?
Freezing unbaked biscuit dough is one of the easiest ways to enjoy freshly baked biscuits whenever you want them.
The best method is to flash freeze the cut biscuits first. Arrange them on a parchment-lined baking sheet so they aren’t touching and freeze until solid. Once frozen, transfer them to a freezer-safe bag or airtight container. This prevents the biscuits from sticking together and allows you to bake only as many as you need.
For the best texture, use frozen biscuit dough within 2 to 3 months. You can bake the biscuits straight from the freezer; add a few extra minutes to the baking time.
Best Way to Reheat Biscuits
Reheating properly helps restore the crisp exterior and tender interior without drying out the biscuits.
- Oven (Best Method): Place the biscuits on a baking sheet and warm them in a 350°F (175°C) oven for 5 to 10 minutes. This method refreshes the exterior while warming the center.
- Air Fryer: An air fryer is another excellent option. Reheat the biscuits at 325–350°F for 3 to 5 minutes, checking frequently to avoid over-browning.
- Microwave (Last Resort): The microwave is convenient but can soften the crust and make biscuits slightly chewy. If you use one, heat the biscuits in 10- to 15-second intervals until just warmed through. Avoid overheating, and heat only until warmed through.
If you’re planning ahead, freezing individual portions is a great way to enjoy fresh-tasting biscuits without making a new batch each time. These same storage and reheating methods also work well for our The Best Flaky Gluten-Free Biscuits (Dairy-Free & Vegan!), making them a convenient option for meal prep or quick breakfasts.

Frequently Asked Questions
Still have questions? Here are answers to some of the most common questions bakers ask about making gluten-free biscuits.
Can I Make Gluten-Free Biscuits Without Buttermilk?
If you don’t have buttermilk, you can make a simple substitute by adding 1 tablespoon of lemon juice or white vinegar to 1 cup of milk and letting it stand for 5 to 10 minutes. The acidity reacts with the baking powder or baking soda to produce a lighter texture and adds the subtle tang associated with traditional buttermilk biscuits.
Should I Bake Gluten-Free Biscuits on Parchment Paper?
Parchment paper is highly recommended. It prevents sticking, promotes more even browning, and makes cleanup easier without adding excess flour or grease to the bottom of the biscuits. Many professional baking recipes also recommend shaping the dough on parchment or waxed paper to make handling easier.
Why Are the Bottoms of My Biscuits Overbrowning?
Overbrowned bottoms are usually caused by dark-colored baking pans, baking sheets that retain too much heat, or positioning the pan too close to the bottom heating element. Using a light-colored baking sheet lined with parchment paper and baking on the center oven rack helps promote more even browning.
Should I Brush the Tops of My Biscuits Before Baking?
Brushing the tops with milk, buttermilk, or melted butter encourages a beautifully golden finish and adds a little extra flavor. Avoid letting the liquid run down the sides of the biscuits, as it can interfere with their ability to rise evenly.
Can I Add Cheese, Herbs, or Other Mix-Ins?
Gluten-free biscuit dough works well with shredded cheddar, Parmesan, fresh herbs, chopped chives, roasted garlic, cooked bacon, or cracked black pepper. To maintain a light texture, keep mix-ins to about 1 cup or less for a standard batch so they don’t weigh down the dough.
How Do I Know When Gluten-Free Biscuits Are Fully Baked?
The tops should be lightly golden, and the biscuits should feel set rather than soft when gently pressed. If you’re unsure, break one open; the center should look fully baked with no wet or gummy streaks. Because gluten-free starches continue to set as they cool, letting the biscuits rest for about 10 minutes before serving improves their final texture.
Can I Make These Biscuits Dairy-Free?
Replace the butter with a good-quality plant-based butter formulated for baking and use a dairy-free buttermilk substitute made from unsweetened plant milk mixed with lemon juice or vinegar. Keep the dairy-free butter just as cold as regular butter to maintain flaky layers.
Related Fluffy Gluten-Free Biscuit Recipes
Now that you know the techniques for making tall, tender, and flaky gluten-free biscuits, why not try them in a few different recipes? Each recipe puts these techniques to work differently, from grain-free biscuits to savory favorites.
- Almond Flour Biscuits: Grain-Free & Low Carb: Made with almond flour instead of a traditional gluten-free flour blend, these grain-free biscuits are buttery, tender, and perfect for anyone following a low-carb lifestyle.
- Gluten-Free Bisquick Biscuits Recipe: Easy & Dairy-Free: Short on time? This quick recipe uses gluten-free Bisquick to make soft, fluffy biscuits with minimal prep, making it ideal for busy weeknights or weekend breakfasts.
- Gluten-Free Sour Cream Biscuits: Sour cream adds extra richness and moisture, creating incredibly soft, tender biscuits with only a handful of ingredients.
- Gluten-Free Cheddar Bay Biscuits (Dairy-Free): If you’re craving cheesy, savory biscuits with plenty of garlic flavor, this dairy-free version delivers the same restaurant-inspired taste with a gluten-free twist.
Whichever recipe you choose, use the tips above to get the best rise, texture, and flavor from every batch.
Have A Question Or A Tip of Your Own?
Have you tried these tips? We’d love to hear how your gluten-free biscuits turned out! Share your results, or any troubleshooting questions, in the comments below. Your experience could help other readers bake taller, fluffier, and more delicious gluten-free biscuits.