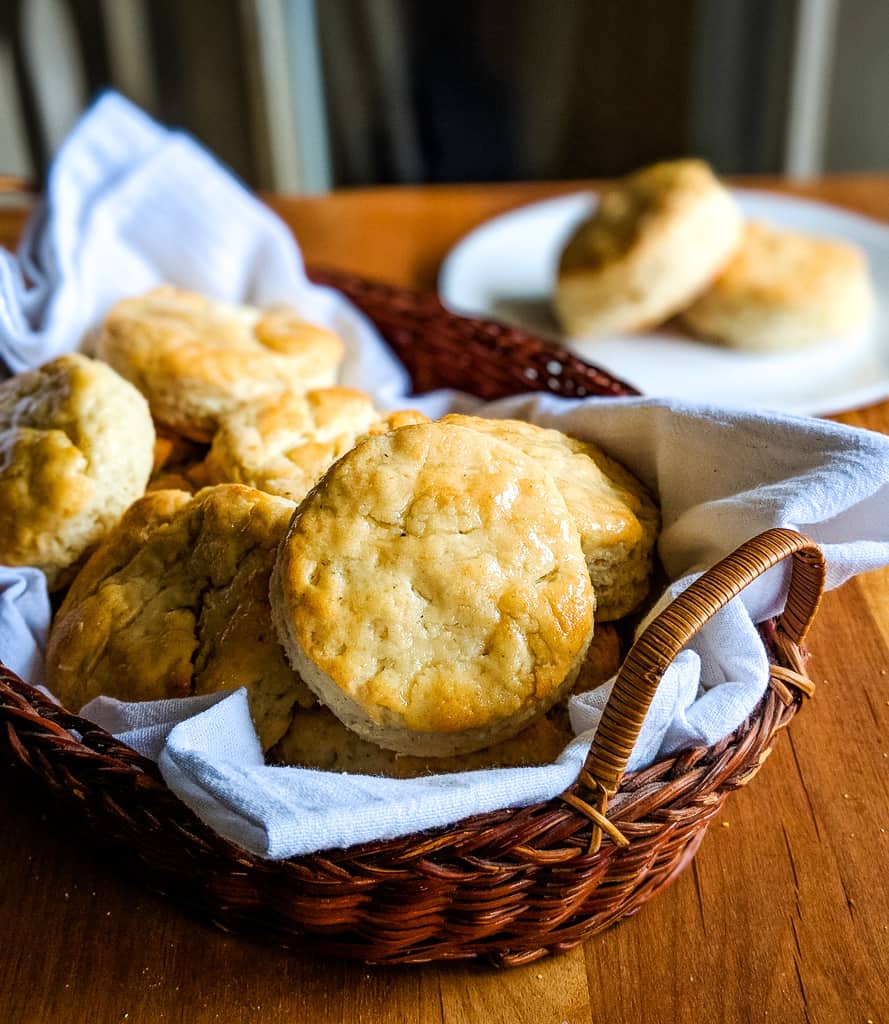
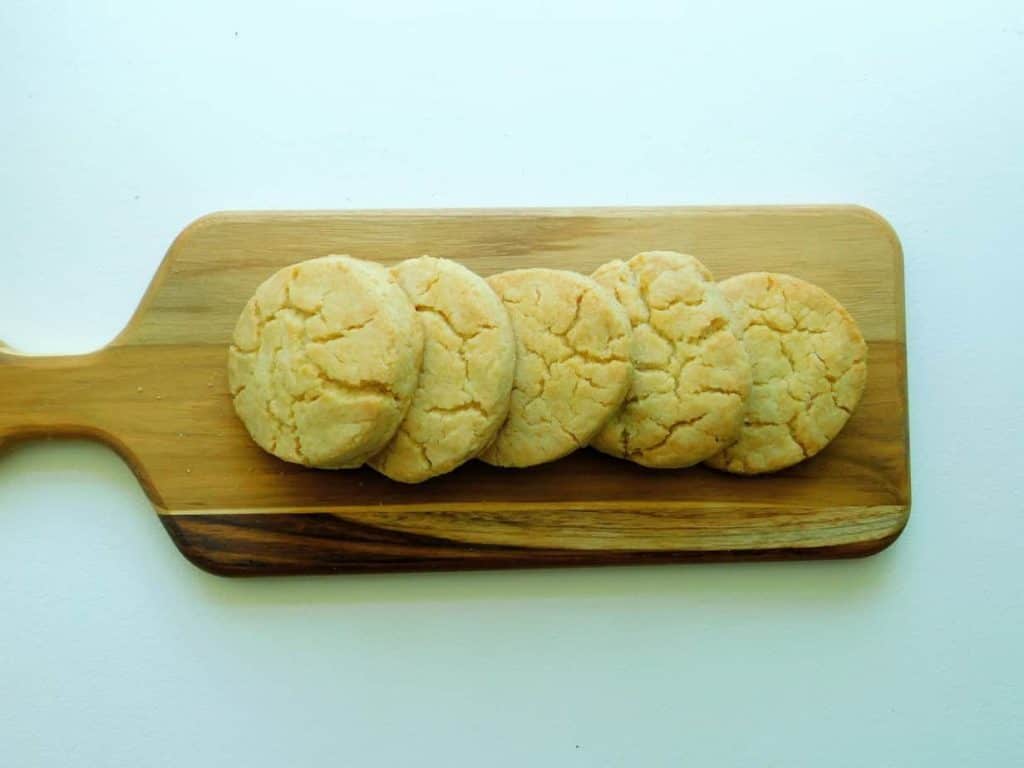
Gone are the days when eating gluten-free meant missing out on classic delicacies. With these light, flaky, gluten-free Bisquick biscuits, you can still enjoy a traditional breakfast.
With just a handful of ingredients and one simple technique tweak, this gluten-free Bisquick biscuit recipe yields fluffy, buttery, bakery-style biscuits.
Table of Contents
Whether you’re looking for a quick snack or a tasty sandwich base, this easy-to-follow guide makes one of the best gluten- and dairy-free biscuits around.
The best part is that this recipe doesn’t require any guesswork or expensive specialty flours. With the right ingredients and a few baking tricks, you can put a unique twist on these classic biscuits. And yes, these actually hold together.
If you’re curious about other comforting gluten-free recipes that come together in no time, this Spiced Gluten-Free Pumpkin Donut Recipe is a delicious place to start.
Ingredient Quick Scan List
The recipe has the unique quality of a short ingredient list. The following five elements make these fluffy, tender, and flavorful gluten-free Bisquick biscuits :
- Gluten-Free Bisquick Mix
- Arrowroot Powder
- Xanthan Gum
- Vegan Butter
- Almond Milk
Why Gluten-Free Biscuits Are Hard to Get Right
To get the best results when baking these tasty treats, it is necessary to understand why it can be difficult to achieve success with gluten-free biscuits.
- No gluten structure: Gluten in wheat flour creates elasticity and traps air for lift. Without it, the dough lacks cohesion, resulting in dense or crumbly biscuits.
- Poor rise: Gluten-free flours don’t hold leavening gases well, so biscuits stay flat unless baking powder is fresh and dough handling is precise.
- Fragile texture: These treats can also become brittle and dry without gluten’s moisture retention, often requiring extra fats or sugars that can unbalance flavor.
- Flour absorption differences: Gluten-free flours absorb liquid unevenly, leading to dry, hard biscuits if hydration isn’t adjusted.
- Fat mishandling: Cold fat must coat the flour evenly for flakiness. Soft butter or poor distribution results in tough, greasy outcomes.
Quick Answer: How to Make Gluten-Free Bisquick Biscuits
Are you ready to show your baking skills? Here’s how to make gluten-free Bisquick biscuits that are fluffy and delicious every time.
- Combine the gf Bisquick mix, arrowroot powder, and xanthan gum, and cut in cold butter until crumbly.
- Use cold butter to create flaky layers.
- Stir in milk just until a shaggy dough comes together.
- If your dough is gritty, let it rest for 10–15 minutes.
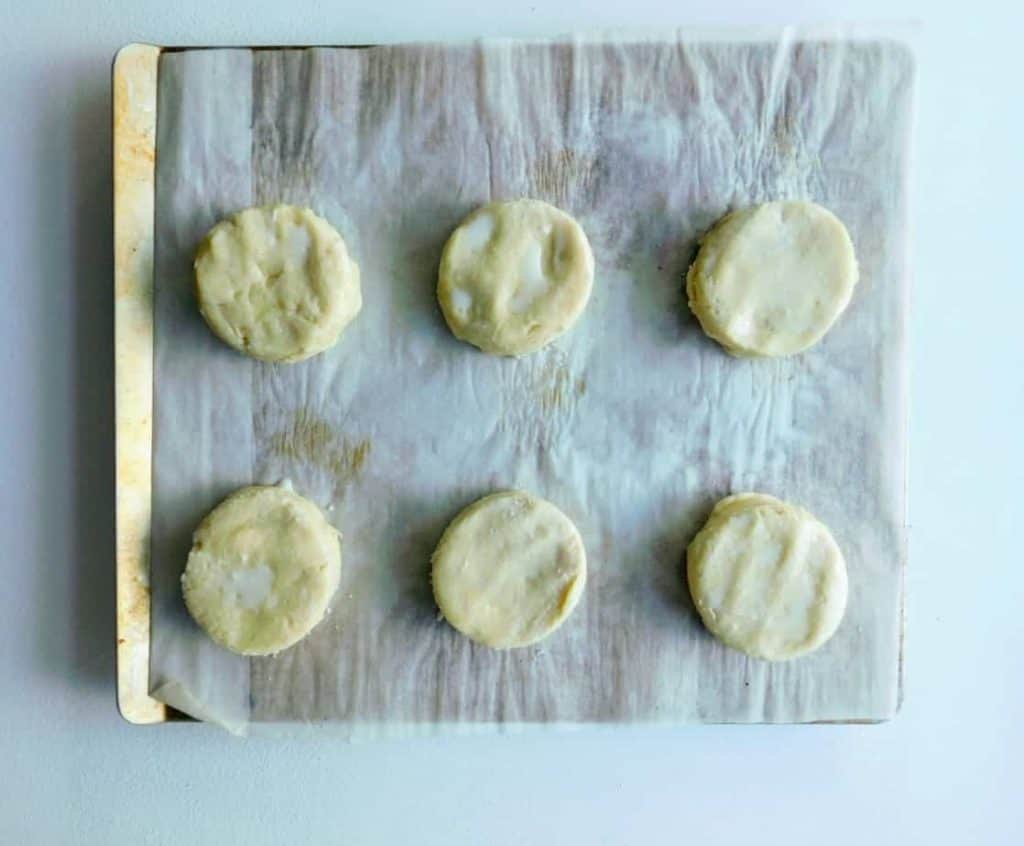
- Turn onto a lightly floured surface and pat until it’s about 1 inch thick. Then cut the biscuits and place them on a parchment‑lined sheet or in a skillet.
- Bake for 18 to 20 minutes.
- Remove from the oven when golden. Then cool slightly and serve warm.
Ingredients (And Why Each One Matters)
When you understand why each ingredient in this recipe matters, you’ll be able to bake consistently moist, tender gluten-free Bisquick biscuits instead of ones that are dry or crumbly. The key ingredients are discussed below, along with what happens when you replace them.

Gluten-Free Bisquick Mix
This nicely balanced gf Bisquick mix serves as the base in this recipe. It absorbs liquids evenly and offers a neutral flavor backbone, replacing wheat’s structure. You can make this in bulk and store it just like regular Bisquick. For this ingredient, there is no recommended substitute.
Arrowroot Powder
In gluten-free Bisquick recipes like this one, adding arrowroot powder makes the crumb softer, finer, and moister. It also makes the dough stay cohesive without making it tough or dense. No substitutes are advisable for this ingredient, but if you want to explore, here are some arrowroot powder swaps to try.
Xanthan Gum
Xanthan gum is the “glue” that keeps the structure of these biscuits intact, improves mouthfeel, and helps compensate for the lack of gluten. It holds things together and gives just enough stretch so the dough behaves rather than crumbling. You can replace this ingredient with some of these effective swaps.
Vegan Butter
As it melts, this butter creates steam pockets, forming flaky layers. Do not use softened or melted butter. The butter must stay cold to avoid greasy, dense results.
For these biscuits, the cleanest 1:1 substitute is refined coconut oil. If you care more about tenderness than perfect flakiness, oils like sunflower or canola, and vegetable shortening are better choices.
Almond Milk
Biscuits need a liquid to form the biscuit dough. In this recipe, almond milk adds moisture, helping hydrate the flour and activate the leaveners. Other plant‑based milks, such as oat milk, soy milk, or coconut milk, work as effective swaps.
Printable Homemade Gluten-Free Bisquick Biscuits Recipe Card
Ingredients
- 1¾ cups Gluten-Free Bisquick baking mix about 228 grams
- 2 teaspoons arrowroot powder about 6 grams
- ½ teaspoon xanthan gum
- 6 Tablespoons vegan butter cold
- ¼ cup almond milk
Instructions
- Combine dry ingredients: In a medium-sized bowl, add the Bisquick baking mix, arrowroot powder, and xanthan gum and mix until well combined.
- Cut in the vegan butter: Cut cold vegan butter into small cubes and add to the dry mix with a pastry cutter, fork, or your fingers until the mixture has pea‑sized butter pieces.
- Add wet ingredients: Pour the almond milk into the bowl, and gently stir with a spatula or wooden spoon just until a shaggy dough comes together.
- Chill the dough: Wrap the dough in plastic wrap and chill for 10 minutes while the oven preheats.
- Prep and preheat Your Oven: Preheat the oven to about 400°F and line a baking sheet or lightly grease a pan.
- Shape the biscuits: Turn the dough out onto a lightly floured or parchment‑lined surface and gently pat it into a 1-inch-thick rectangle or circle.
- Cut the biscuit dough: Use a floured biscuit or cookie cutter to cut straight down without twisting. Press scraps together once and cut again to avoid overworking the dough.
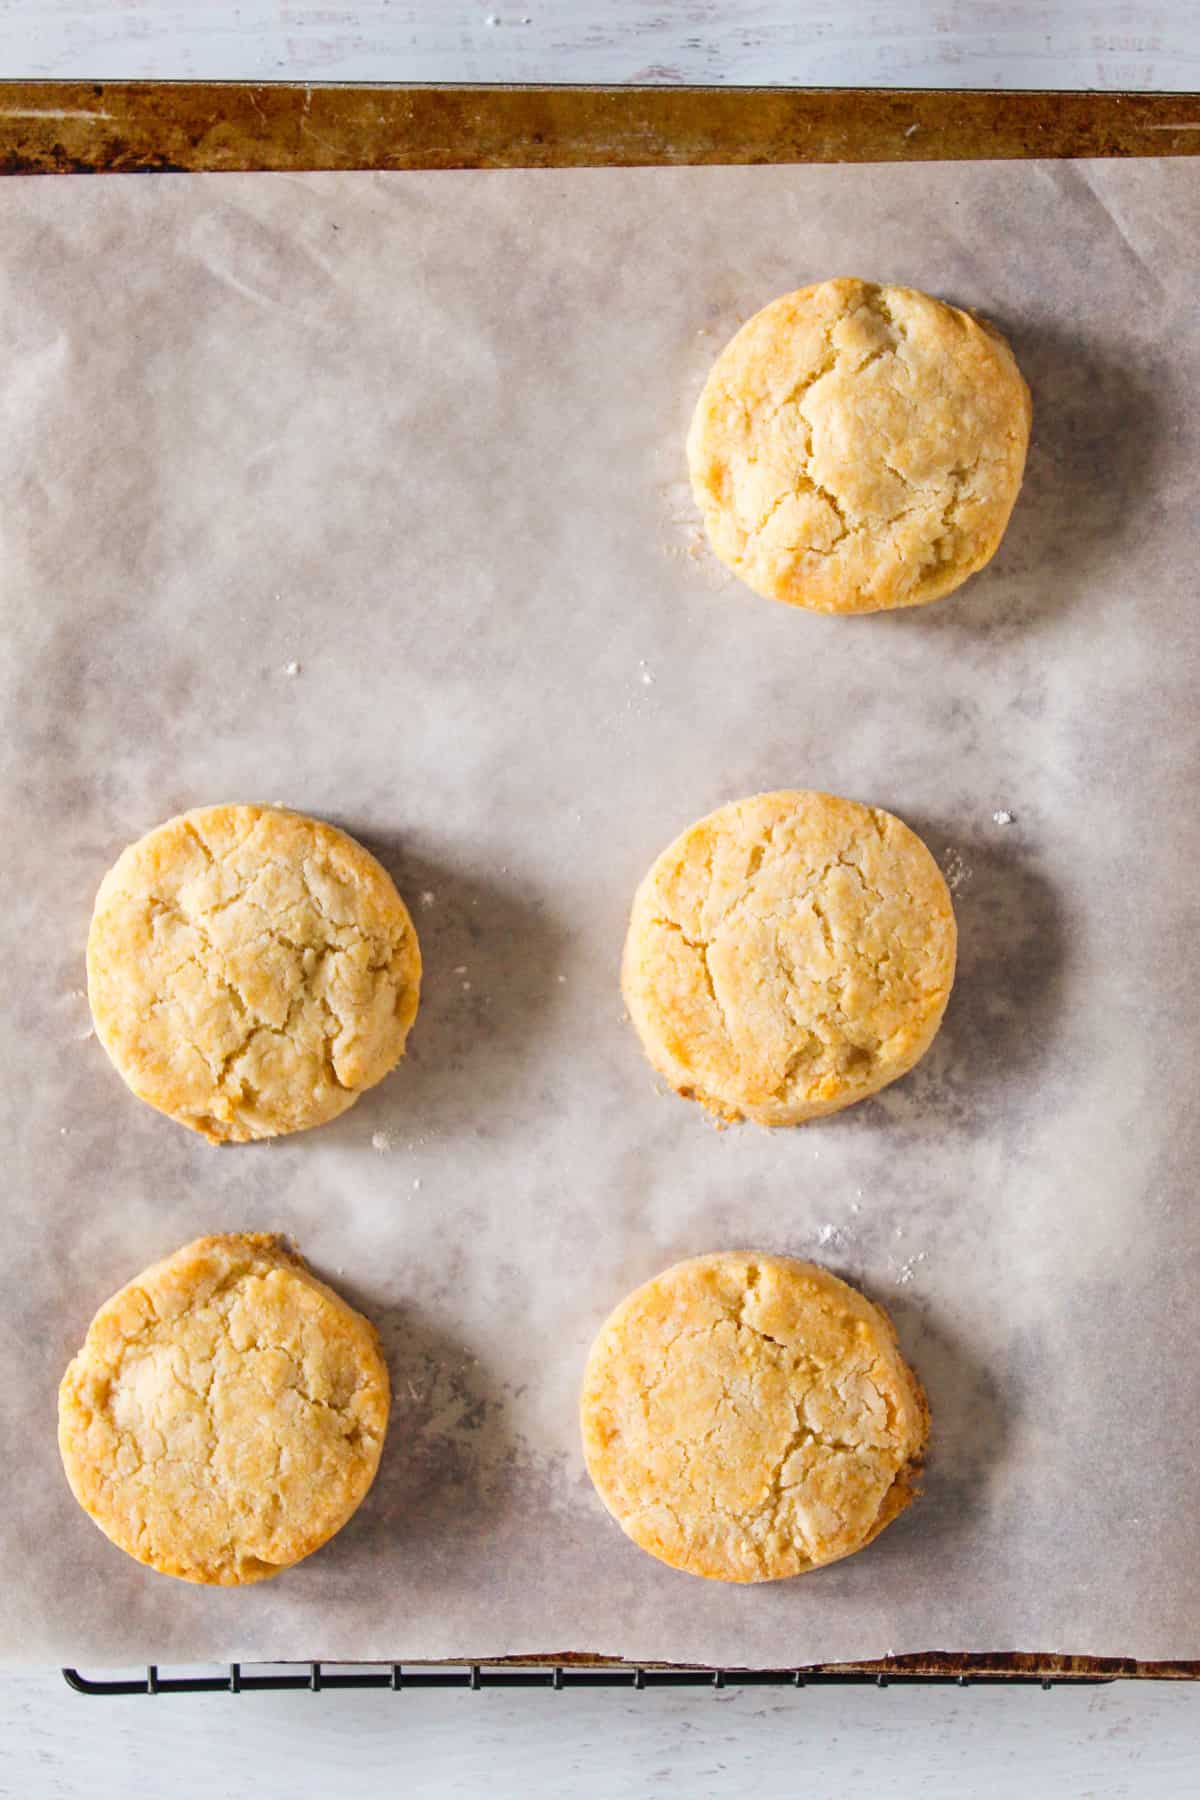
- Bake and finish: Place biscuits on the baking sheet, preferably close together so they lean on each other for height. Bake for 18 minutes or until golden brown and firm to the touch.
- Cool: Let biscuits cool on the pan 5–10 minutes so they set slightly, then serve warm.
Notes
- Keep the dough moist but not sticky. If the dough feels dry and crumbly, add 1 tablespoon of almond milk at a time until it just holds together.
- Measure the gf Bisquick mix and other ingredients for desired results.
- Do not over‑mix, or biscuits will become tough and dense.
- Pat or lightly fold the dough rather than rolling it thin, so you preserve flaky layers and avoid flattening the steam pockets.
- Use very cold vegan butter.
- Cut straight down. Don’t twist the biscuit cutter, as twisting seals the edges and stops the biscuits from rising properly.
- Bake hot and watch the color. If the biscuits are pale, the oven might be running cool, or the milk is very low‑sugar.
Storage Notes
- Gluten-Free Bisquick biscuits firm up quickly when cooled, so serve them warm.
- You can slightly reheat at 30 to 60 seconds in the oven or toaster to restore tenderness.
- If you must store them, keep them in an airtight container at room temperature for 1 day. Beyond that, they are best frozen and reheated rather than left out.
Nutrition
Did you make and love this recipe? Give it your review and rating below! And make sure to follow me on Instagram, Pinterest, and Facebook , too!
How to Make Gluten-Free Bisquick Biscuits
This step-by-step guide will help you make sure your gluten-free Bisquick biscuits are flaky, soft, and light. You can confidently create an even better gluten-free version of these traditional biscuits with these simple instructions.
Essential Kitchen Tools
Before you start baking, here are the important tools you need for a successful baking endeavor:
- Mixing Bowls — For holding the dough while you cut in the fat and gently fold in the liquid.
- Pastry cutter — To cut the vegan butter into the dry mix quickly, keeping the dough cool and flaky.
- Silicone spatula — For folding without mashing the dough, to scrape and incorporate the last bits of flour
- >Biscuit cutter — To cut straight‑down rounds cleanly.
- Light-baking sheet or parchment‑lined pan — For biscuits to bake evenly, so the bottoms don’t get too dark.
- Whisk — For evenly blending dry ingredients.
- Standard measuring cups and spoons — For accurate ingredient measurements.
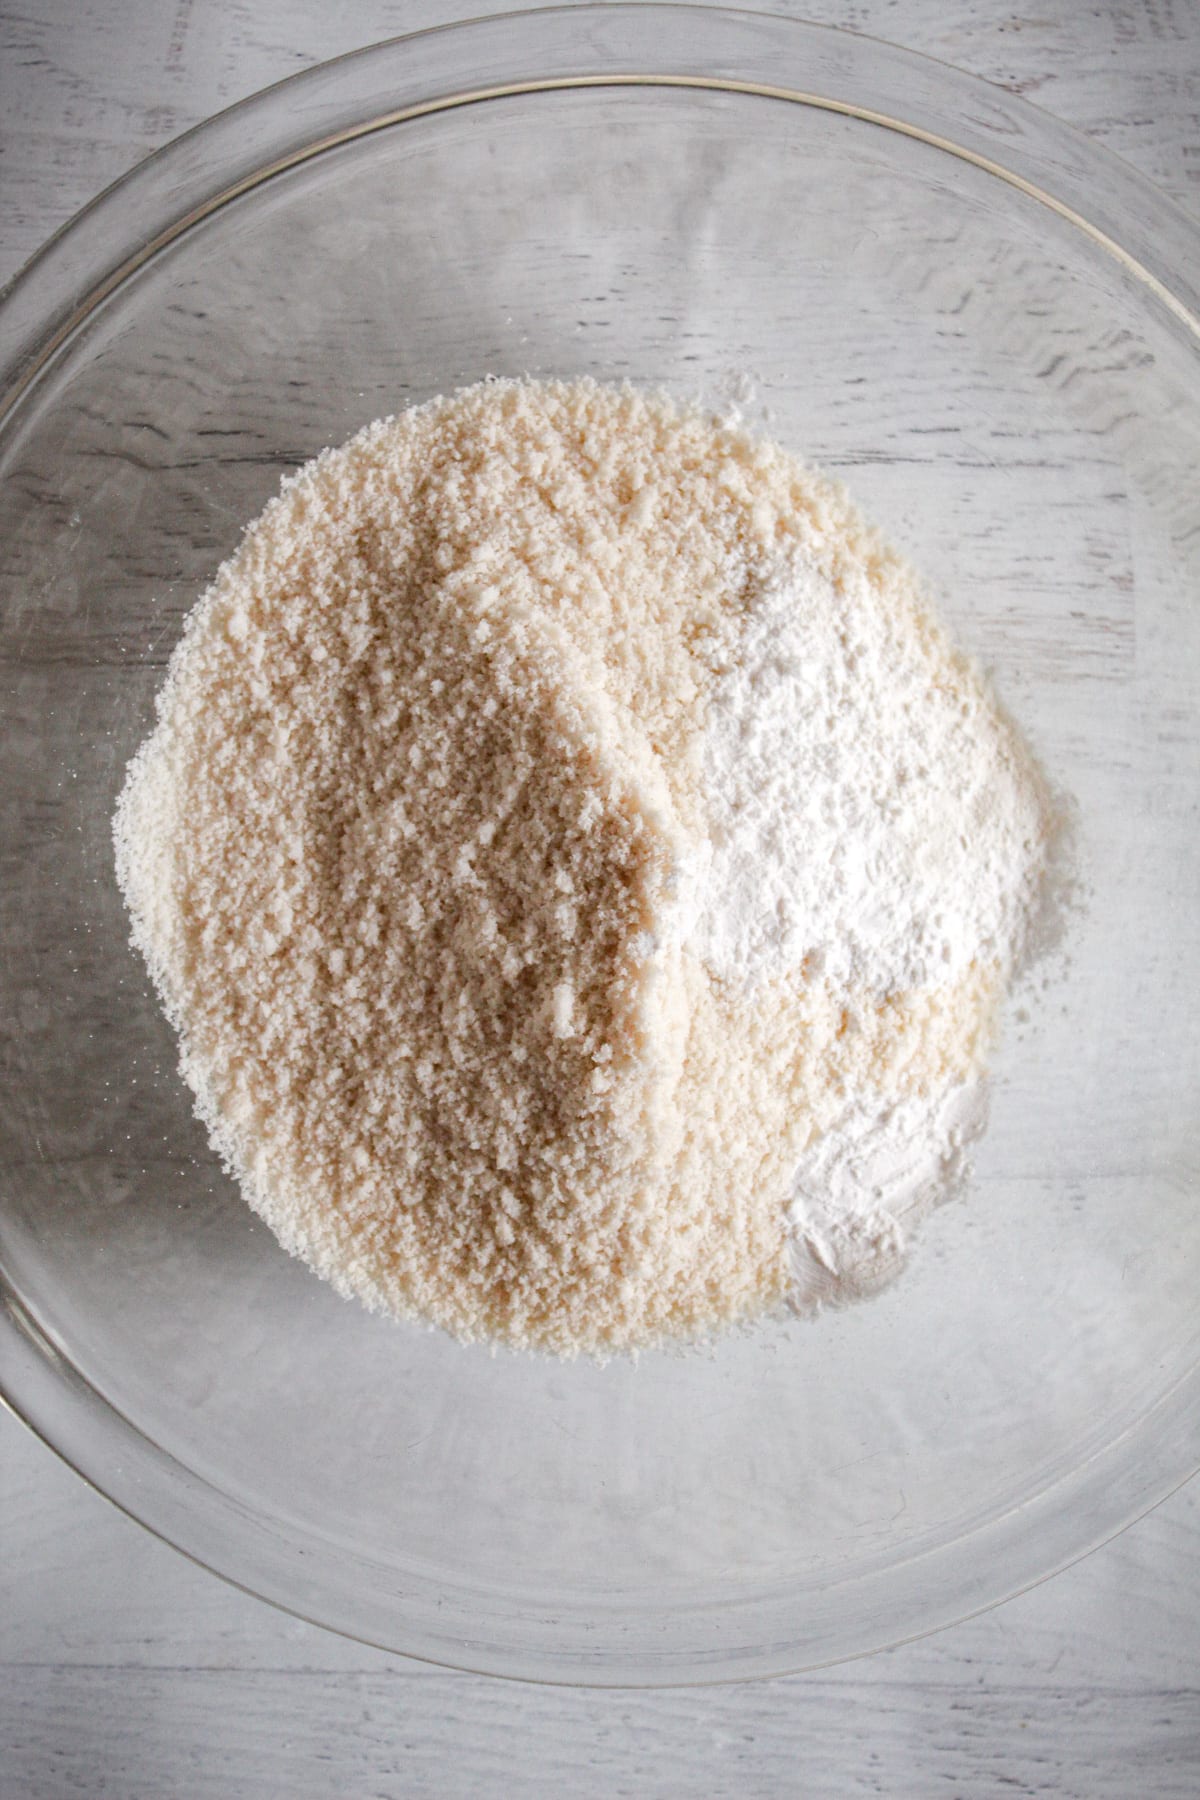
Step 1: Combine The Dry Ingredients
In a medium or large bowl, stir the gluten-free Bisquick baking mix, arrowroot powder, and xanthan gum until uniform with no clumps.
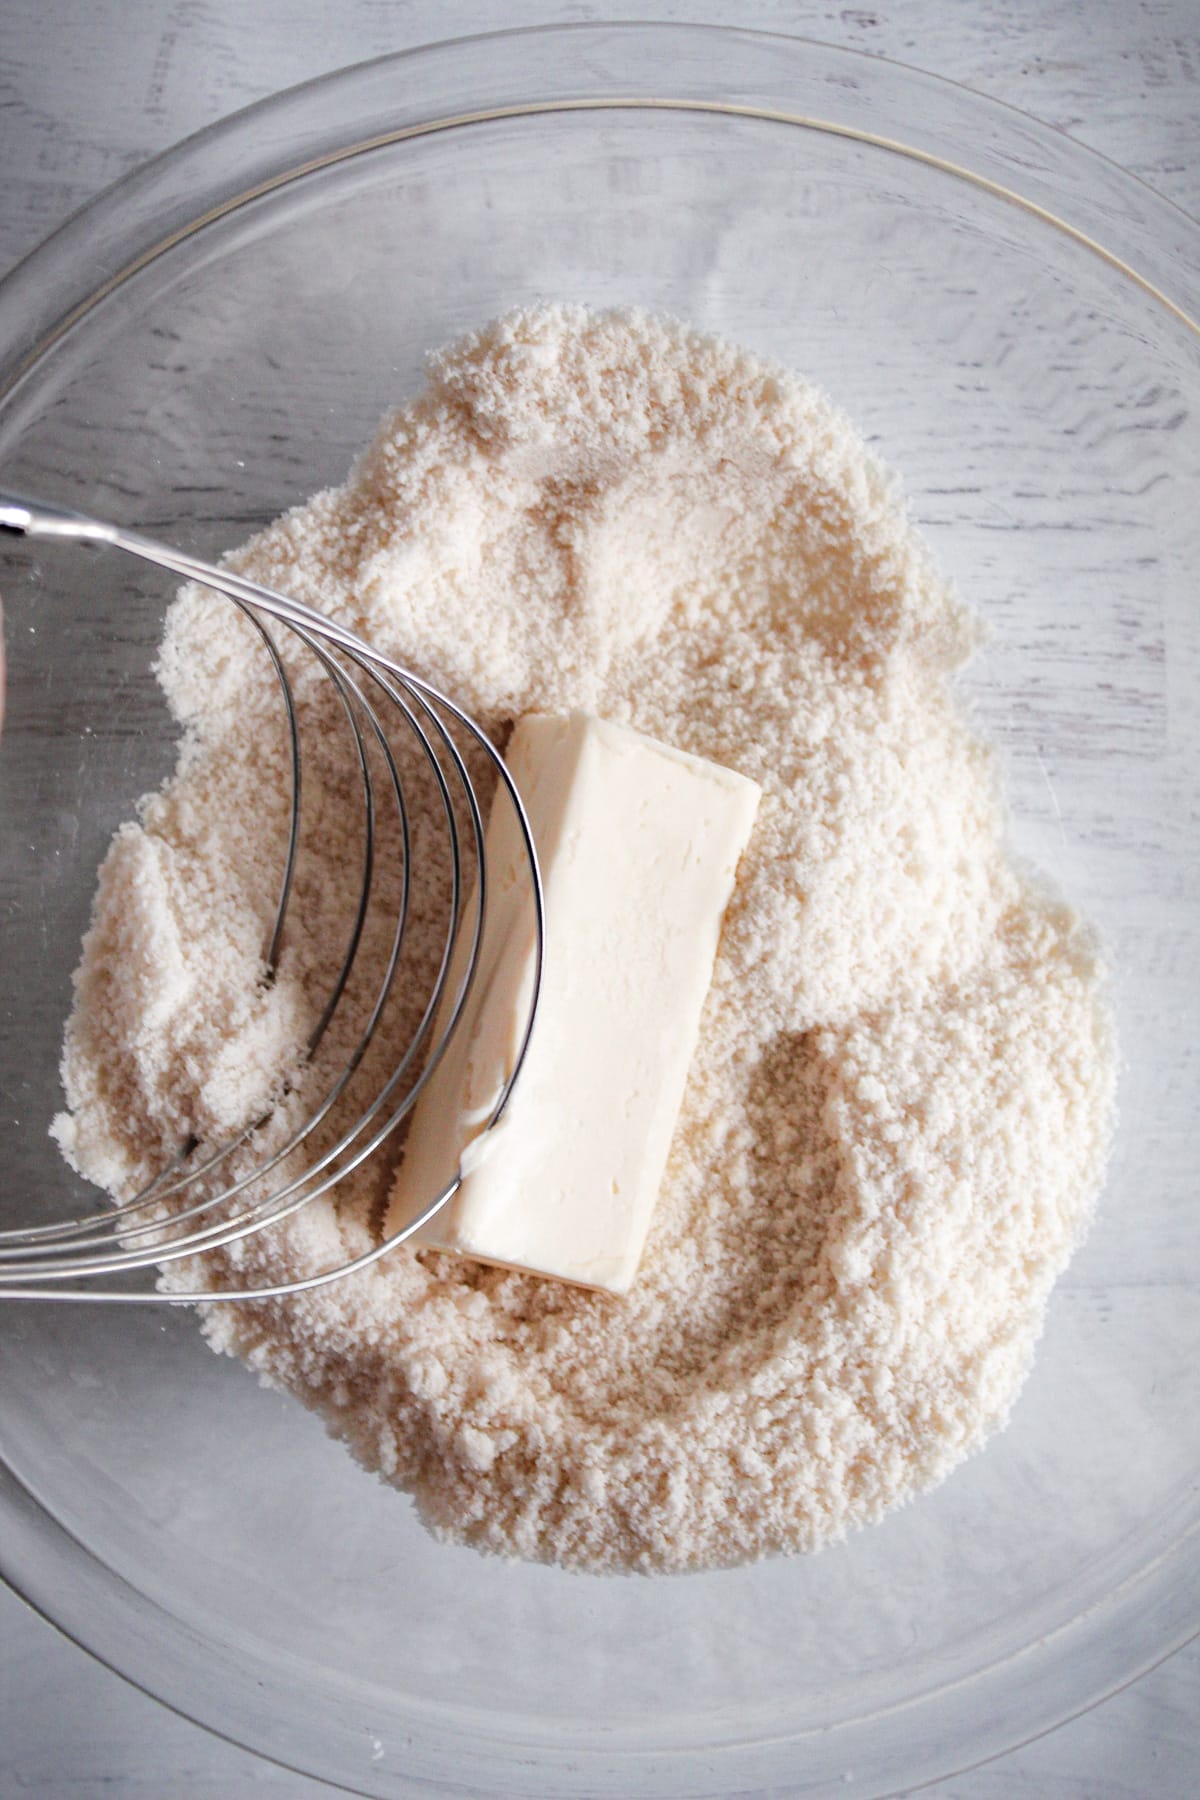
Step 2: Cut In Vegan Butter
Add the cold butter and cut it into the dry ingredients using a pastry cutter or fork, or pulse briefly in a food processor, until the mixture resembles coarse crumbs with pea‑sized butter bits.
Step 3: Add The Wet Ingredients
Pour the almond milk into the bowl all at once and stir gently with a silicone spatula just until the dough comes together into a shaggy mass.
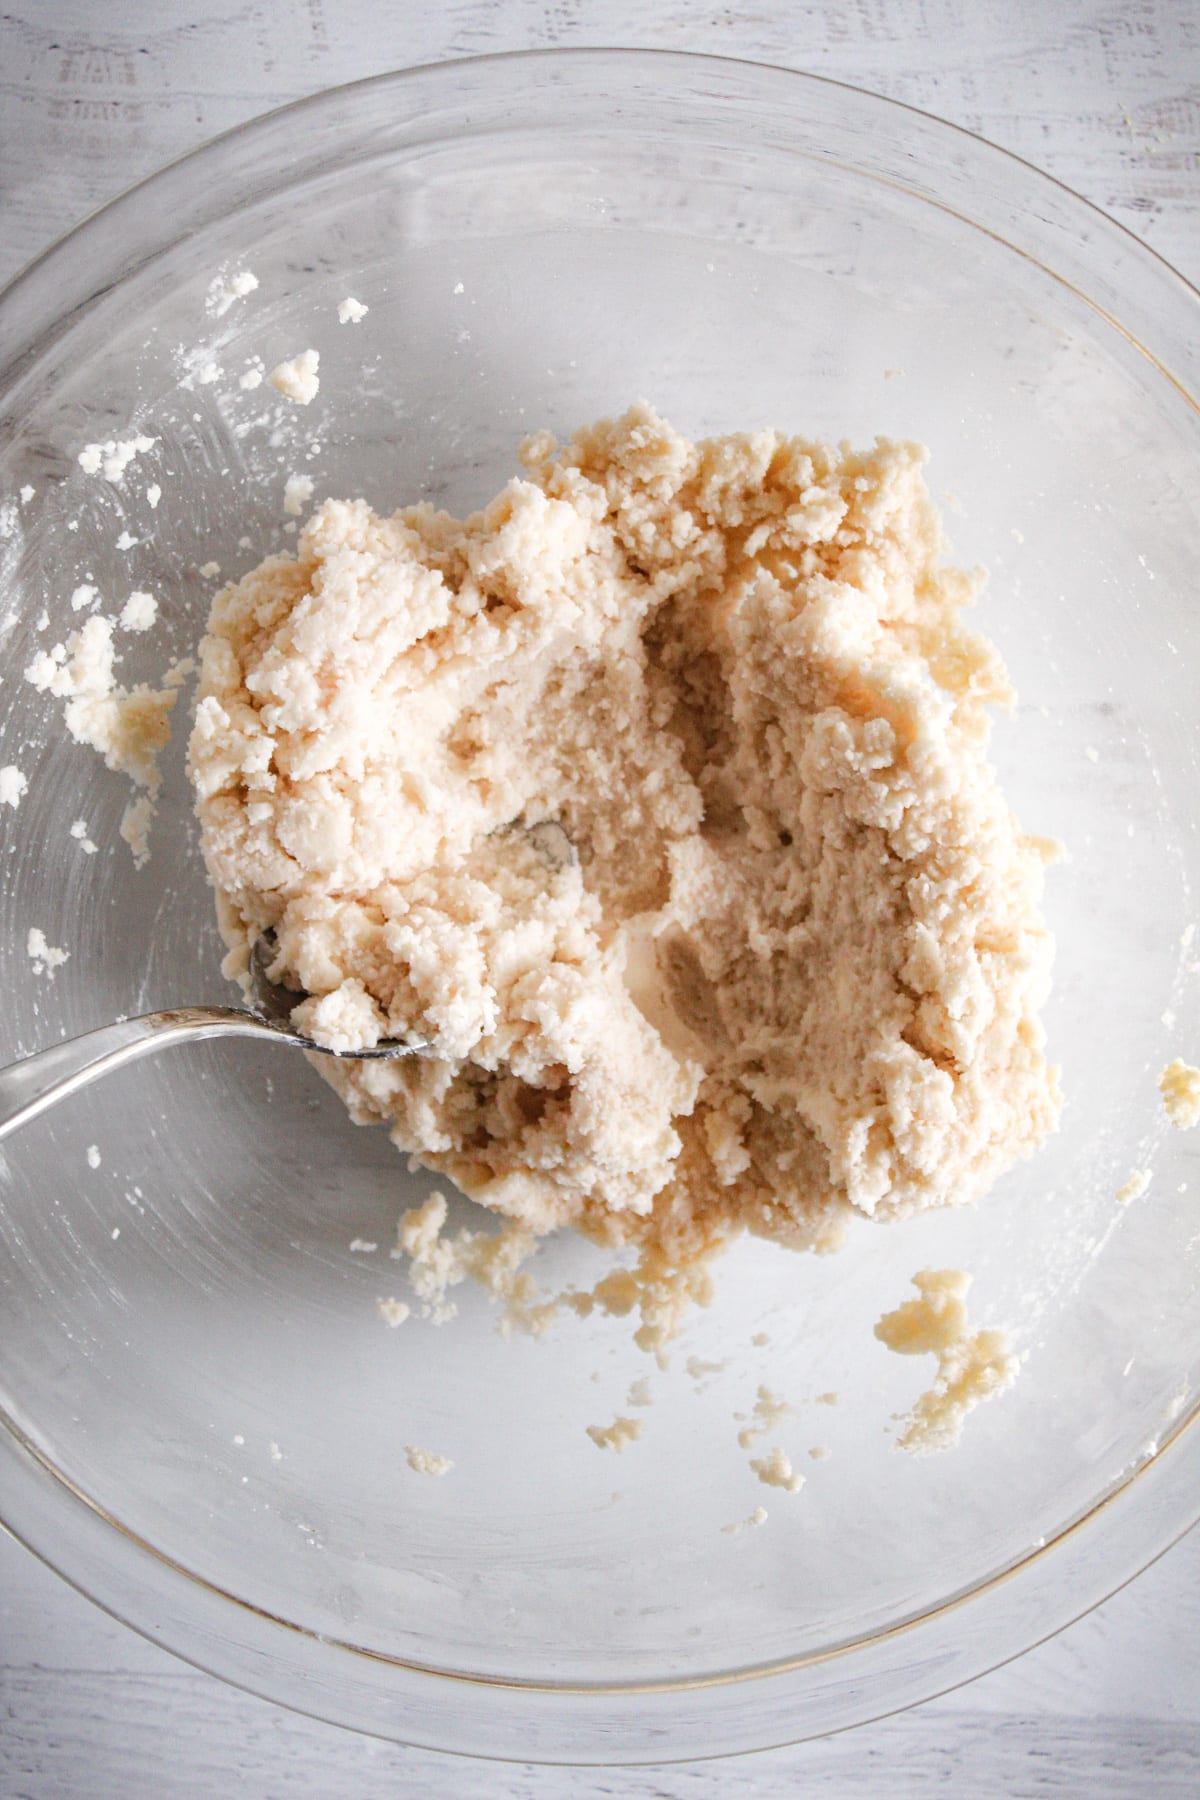
It should be slightly sticky but not pooling with liquid. Add a little more milk, 1 tablespoon at a time, if the dough feels dry and crumbly.
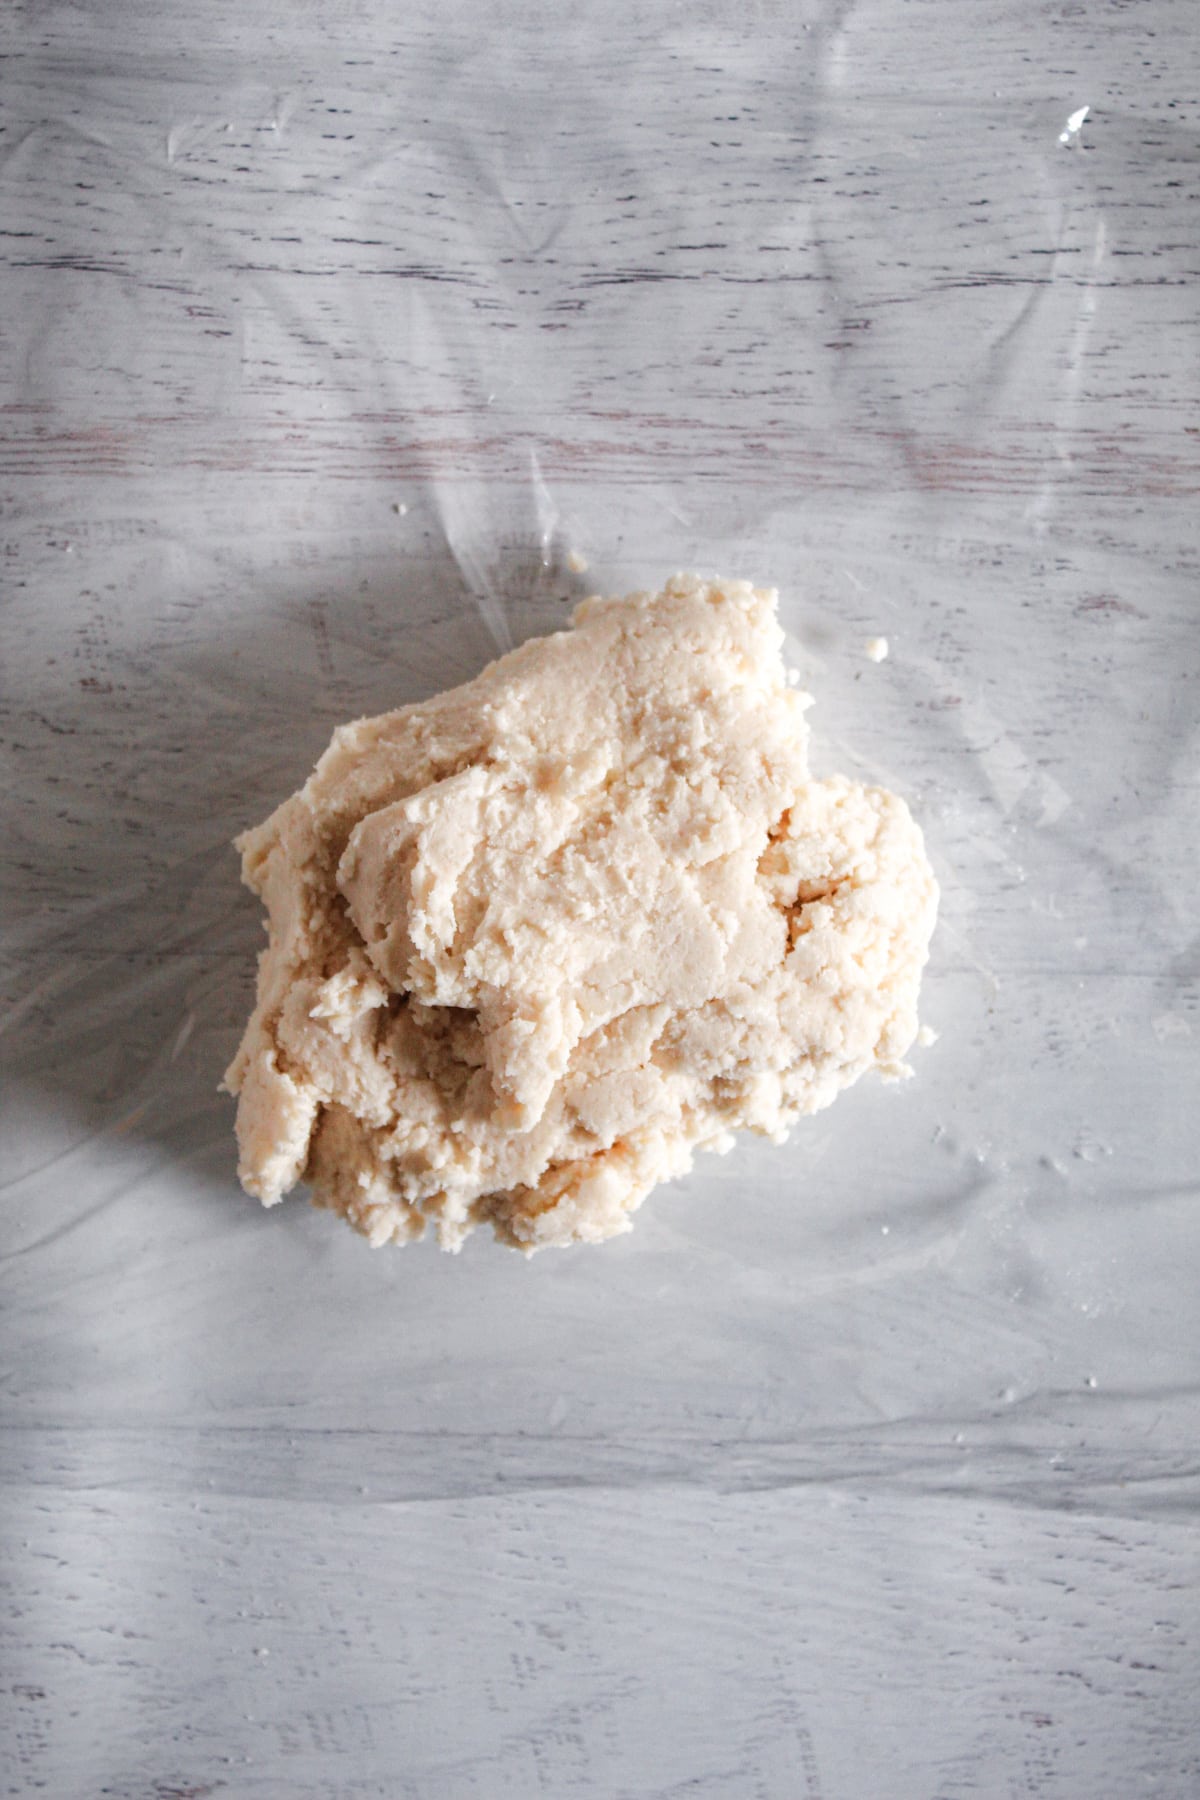
Step 4: Chill The Dough
Turn the dough out onto a piece of plastic wrap and form it into a disk. Chill the dough for 10 minutes while the oven heats to 400°F.
Step 5: Preheat The Oven
Preheat the oven to 400°F, then line a baking sheet with parchment paper or grease it lightly.
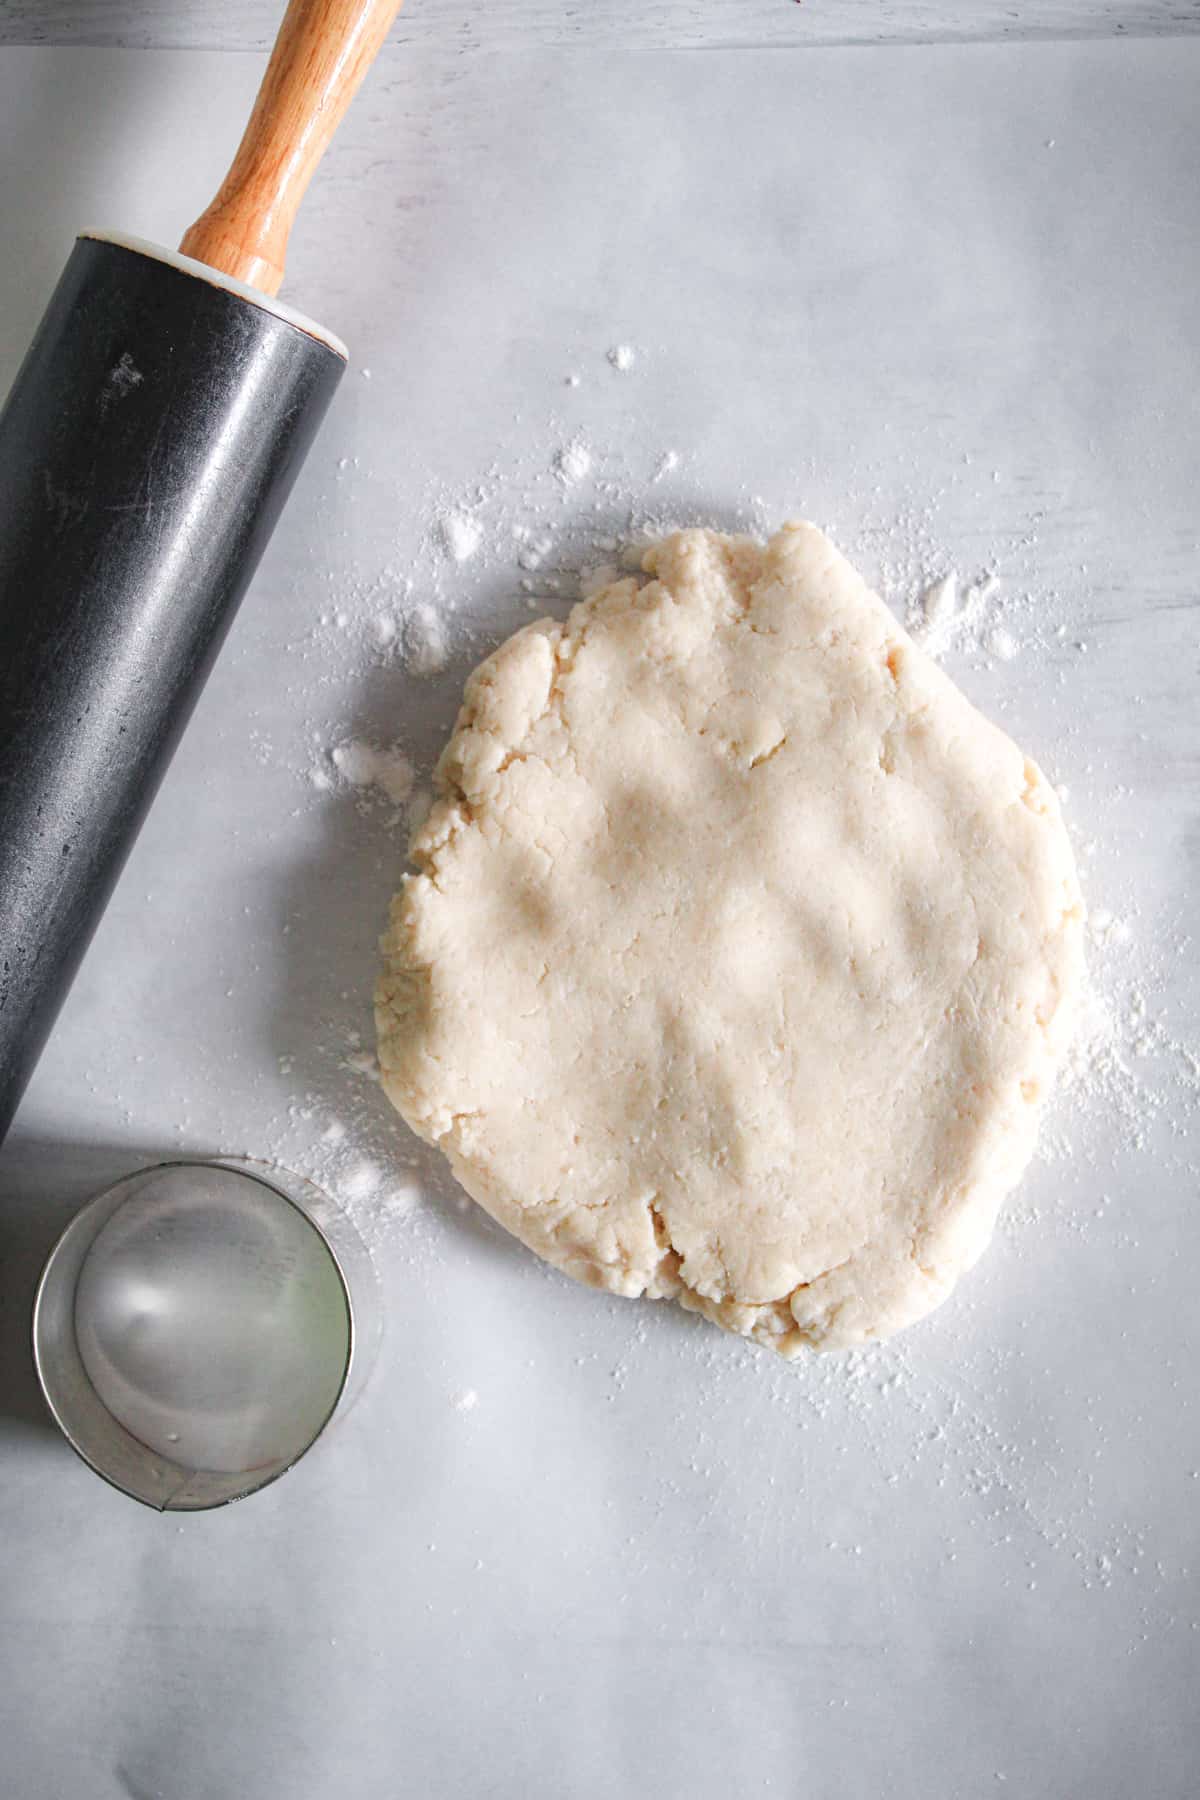
Step 6: Pat The Chilled Dough
Turn the dough onto a lightly floured work surface or parchment. Then pat into a circle or gently fold into a 1-inch thick slab. If you want to, you can use a rolling pin for this.
Step 7: Cut The Biscuits Into Shapes
Use a floured biscuit cutter or a narrow glass to cut straight‑down circles. Avoid twisting the cutter. Then place on an ungreased cookie sheet lined with parchment paper.
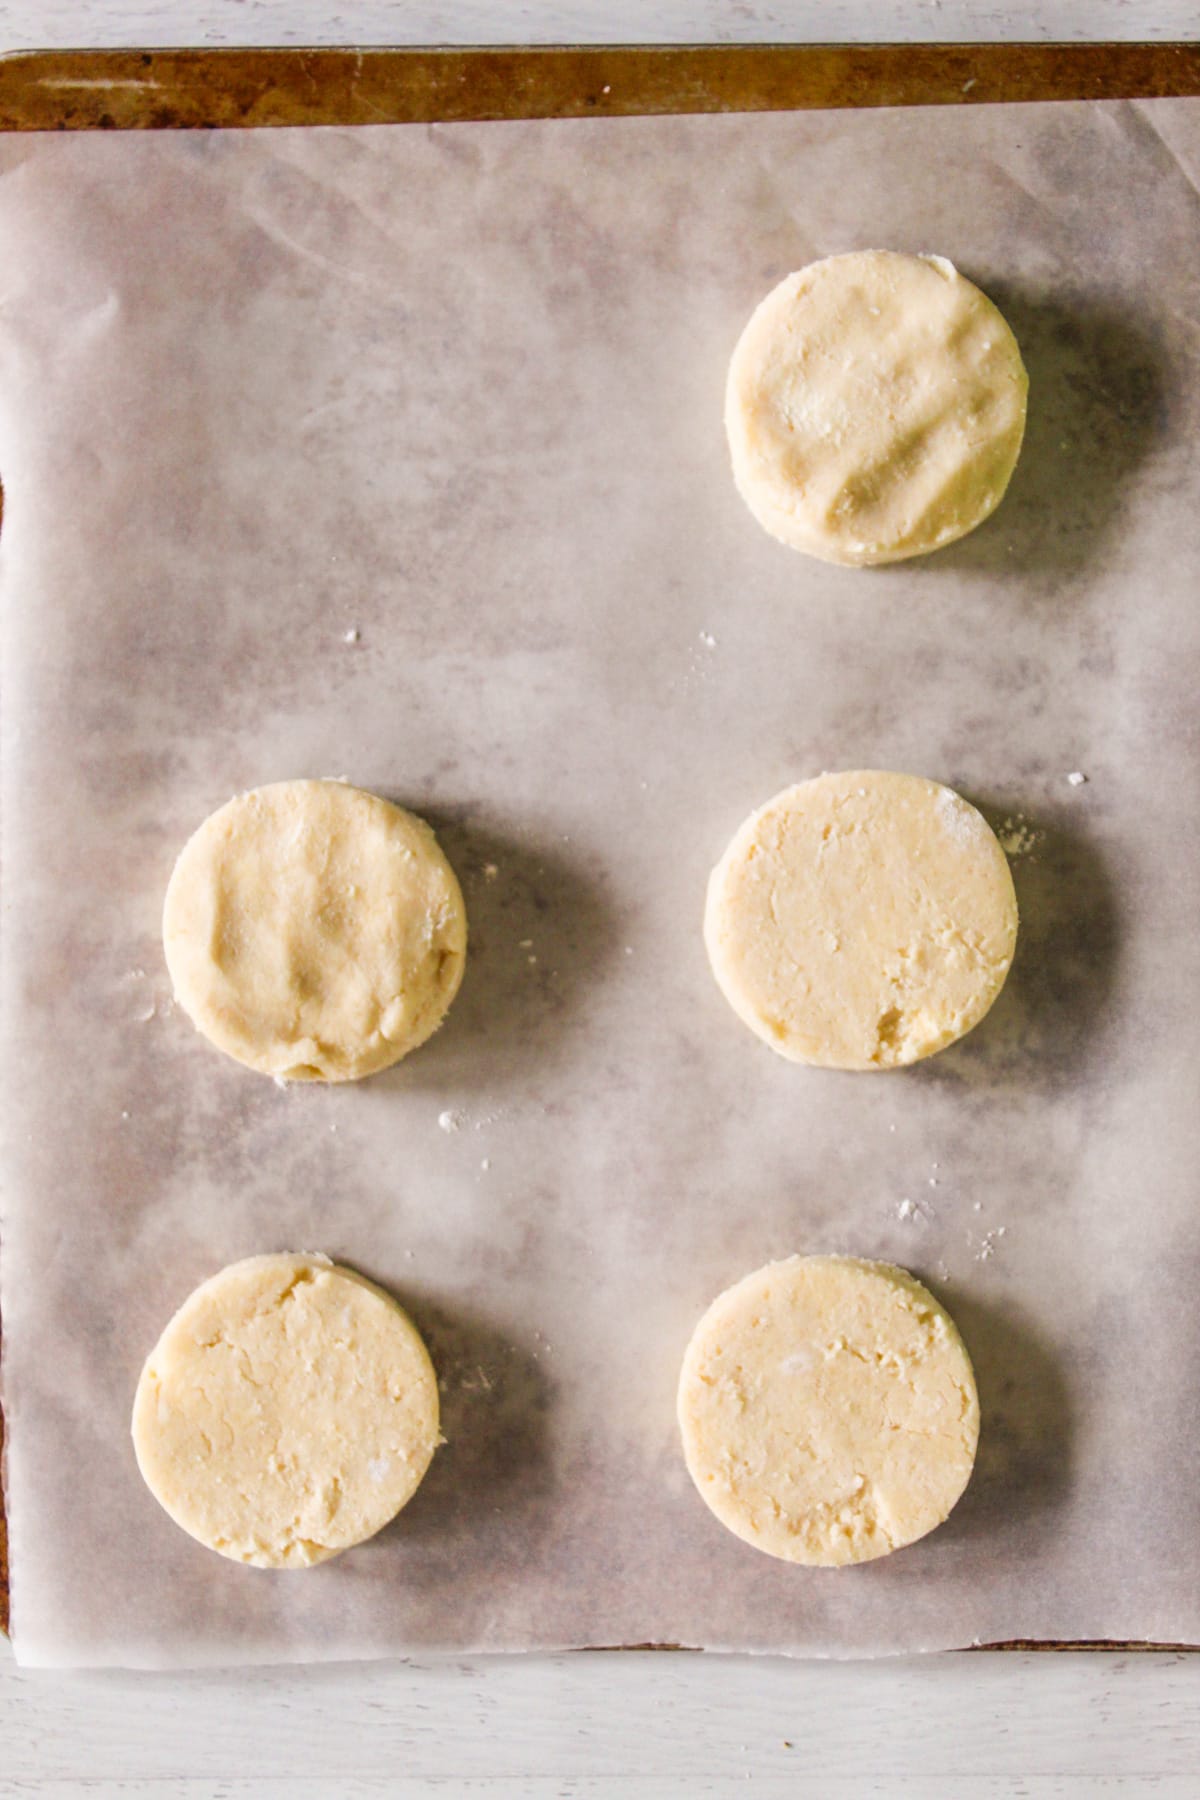
You can also gather scraps once, press lightly, and cut again to avoid overworking.
Step 8: Bake The Biscuits
Bake for 18-20 minutes until the tops and edges are golden brown, and the biscuits feel firm to the touch. Lightly brush tops with melted vegan butter for extra browning.
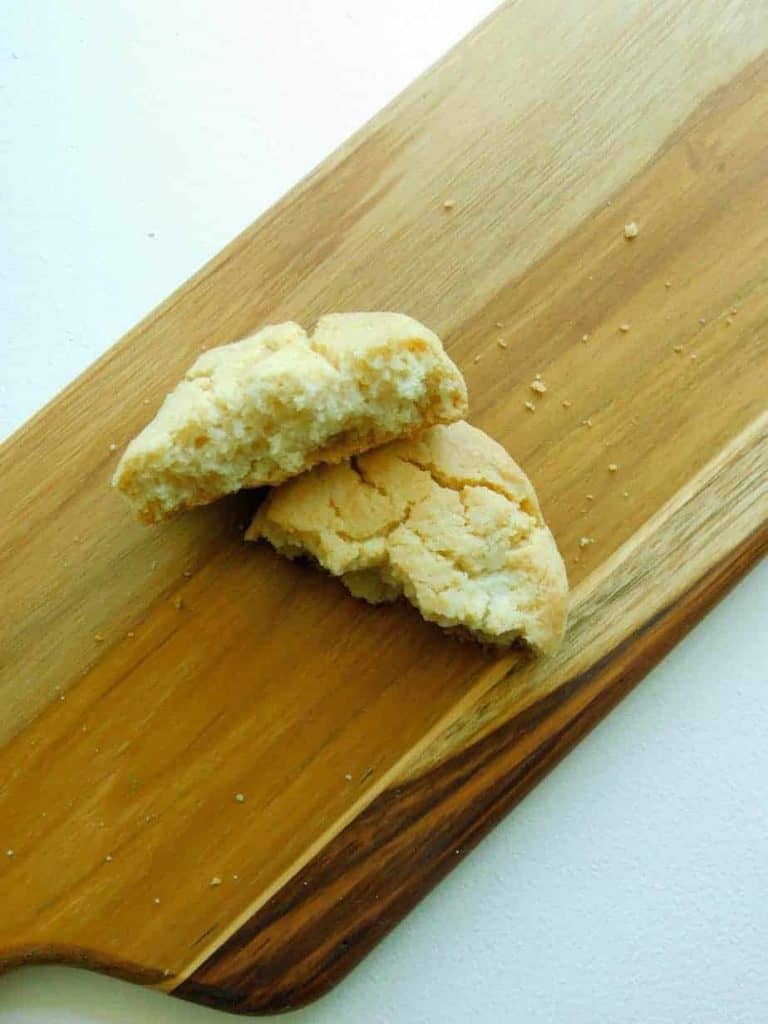
Step 9: Cool The Biscuits
Once the crackers have baked, allow them to cool on the pan for 5 to 10 minutes before serving. They firm up slightly as they cool.
Step 10: Serve and Store
Serve warm or lightly reheated. Store leftovers in an airtight container at room temperature for 1 day. Freeze extras and reheat them later from frozen for the best texture.
Pro Tips for Flaky, Tender Biscuits
These focused pro tips will set you up for the homemade gluten-free Bisquick biscuits you want.
- Use very cold vegan butter so it forms discrete pockets that melt slowly in the oven and create steam‑driven flakiness.
- Avoid overhandling. Simply mix just until the dough comes together into a shaggy, slightly sticky mass.
- Instead of rolling thin, lightly fold the dough over itself once or twice to build layers, then pat it to about 1 inch thick so biscuits stay tall and tender.
- Place biscuits close together on the pan, so they rise rather than spread out, giving a thicker, flakier interior.
- Watch the color closely. A good doneness cue is when tops and edges are golden brown, and a light tap on the top feels firm.
Common Mistakes to Avoid
Here are the most common mistakes people make when baking gluten and dairy-free biscuits, and how to avoid them:
1. Over‑mixing the dough
Over‑mixing activates too much starch and binder, making biscuits tough, gummy, or dense rather than tender.
Fix: Stir just until the dough comes together, then stop. Continue by using a spatula and fold gently rather than beating or kneading.
2. Using warm or soft butter
If the vegan butter is too soft or melts into the flour, it can’t create discrete flaky layers, so biscuits end up greasy and short rather than airy.
Fix: Keep the butter cold, chill your bowl if needed, and cut it in quickly so it stays in small, solid pieces.
3. Wrong dough hydration
Too little liquid makes biscuits dry and crumbly. On the other hand, too much turns them soggy and weak, so they fall apart when you pick them up.
Fix: Aim for a dough that is soft and slightly sticky but still holds its shape. Add milk 1 tablespoon at a time and adjust flour or starch gently if it’s too wet.
4. Using a bad‑texture flour blend
Gritty, rice‑heavy gluten‑free mixes give biscuits a sandy mouthfeel even if the technique is right.
Fix: Use a high‑quality, well‑balanced blend and, if possible, let the mixed batter sit 10 to 15 minutes so the starch hydrates and softens.
Nutritional Benefits of Homemade Gluten-Free Bisquick Biscuits
Homemade gluten‑free Bisquick biscuits are a unique, healthy, and nutritious take on this classic treat. This recipe makes a tasty, fairly simple treat with a nutritional profile that can be healthier. Below are some of the key nutritional benefits that these biscuits have:

Easy to digest
If you are sensitive to gluten or have celiac disease, making biscuits with a certified gluten‑free mix removes the gluten trigger, which can improve digestion and reduce bloating or fatigue for those who react to it.
Moderate in calories
Gluten-Free Bisquick recipes like this yield biscuits with calories usually around 186. Most of that comes from carbohydrates, depending on the mix and the fat you add.
Control over sugar, salt, and fat
A big advantage of these Gluten-Free Bisquick biscuits is that you can reduce the sugar and salt compared with some commercial mixes. You also get to choose healthier fats like the vegan butter used in this recipe.
Best Serving Suggestions for These Gluten-Free Bisquick Biscuits
Homemade gluten‑free Bisquick biscuits are wonderfully versatile and work great for breakfast, brunch, lunch, or dinner. More than a weight‑control “snack‑only” food, here are some of the best serving ideas that highlight their flaky, tender texture.

Breakfast and brunch
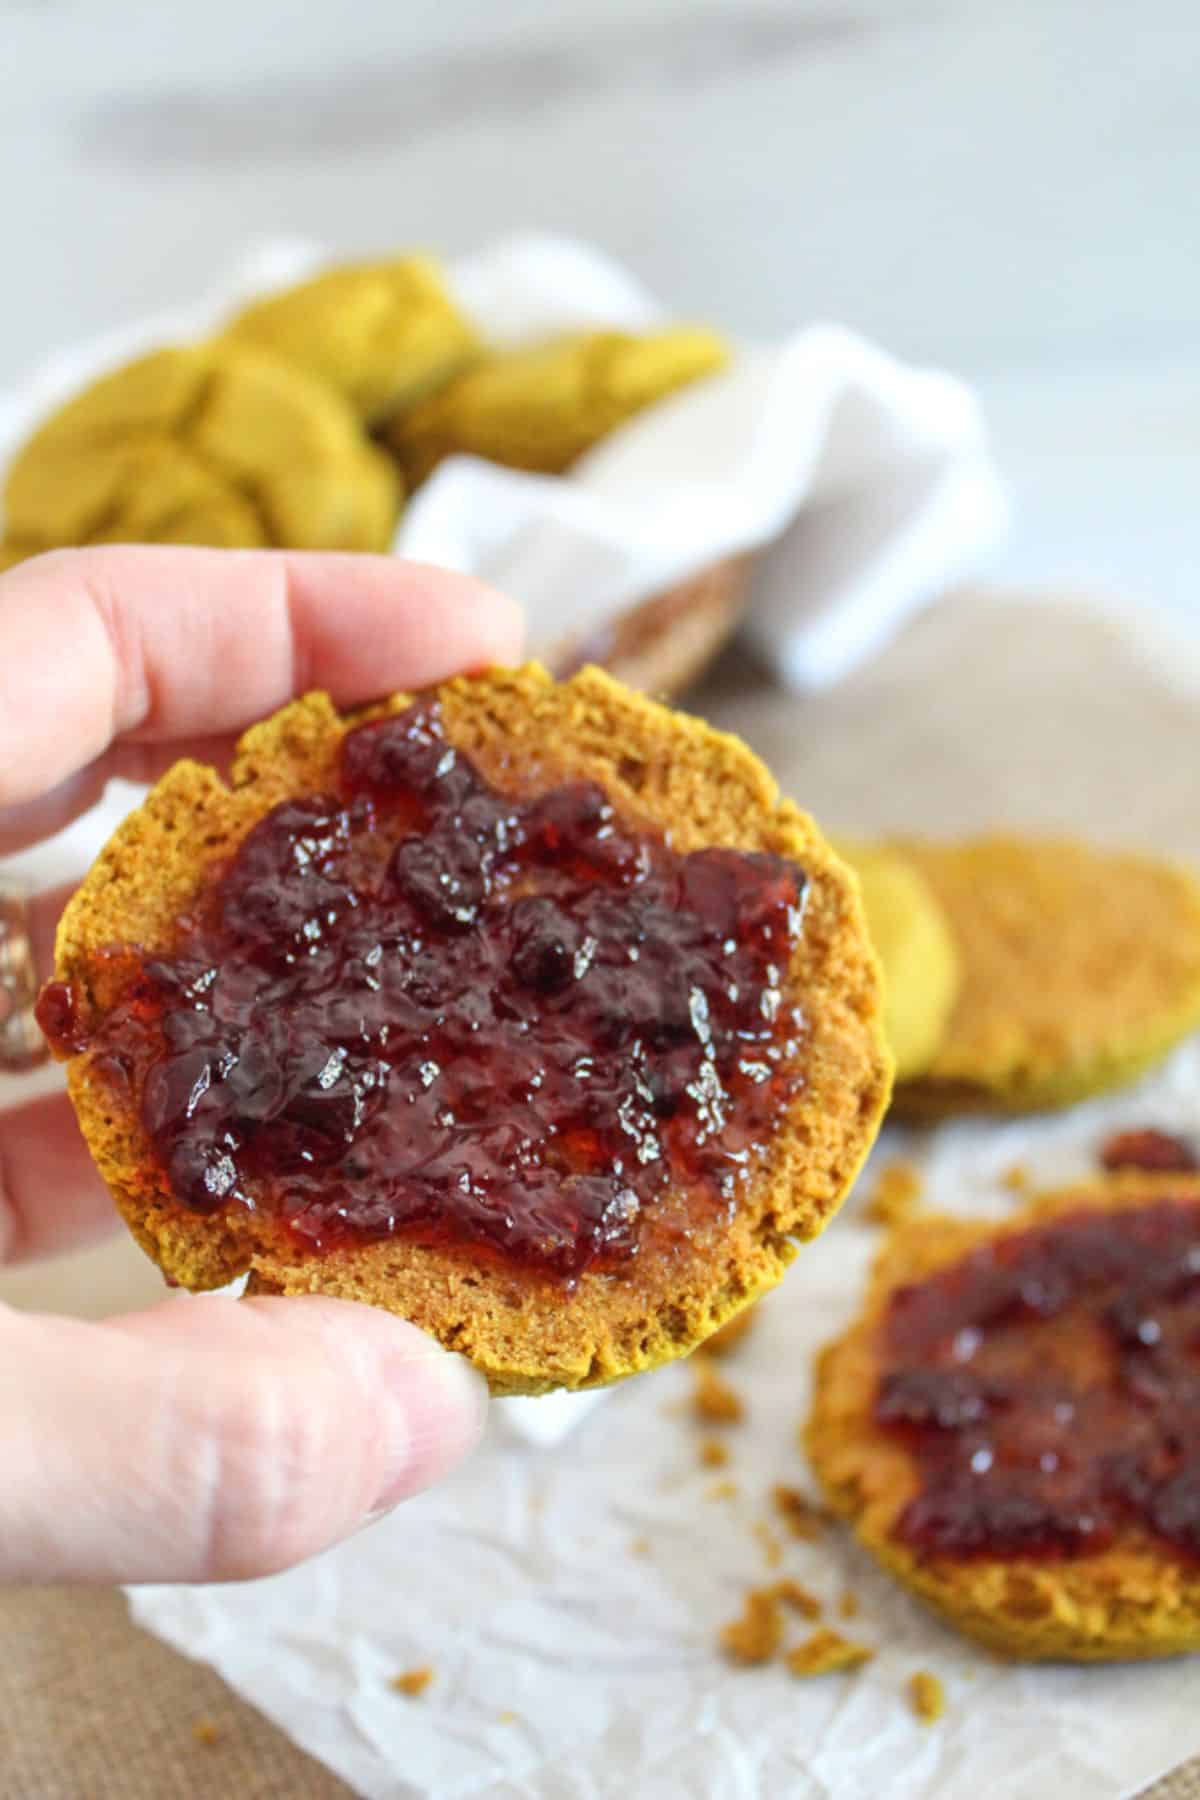
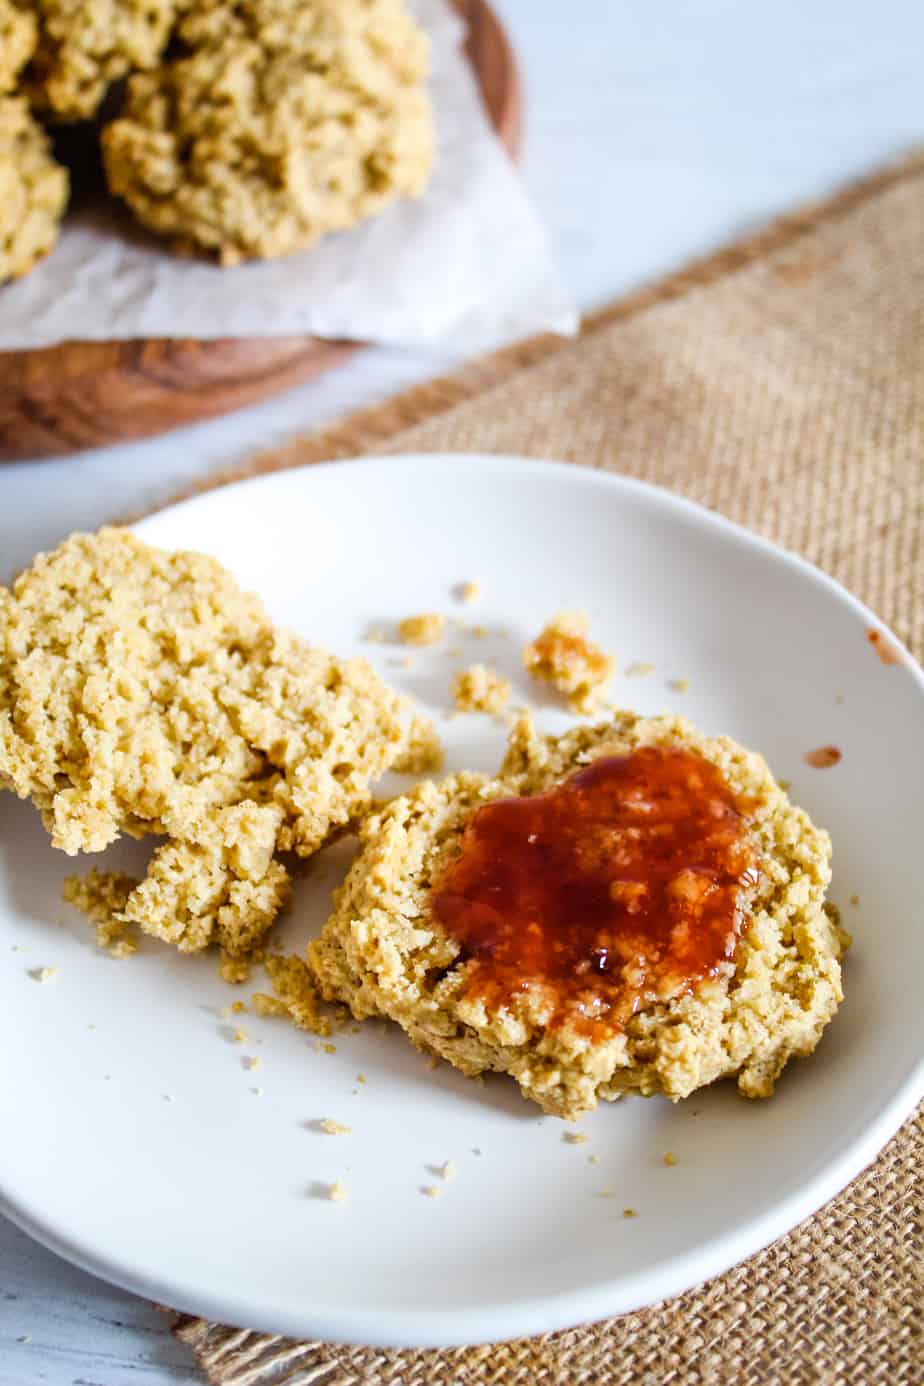
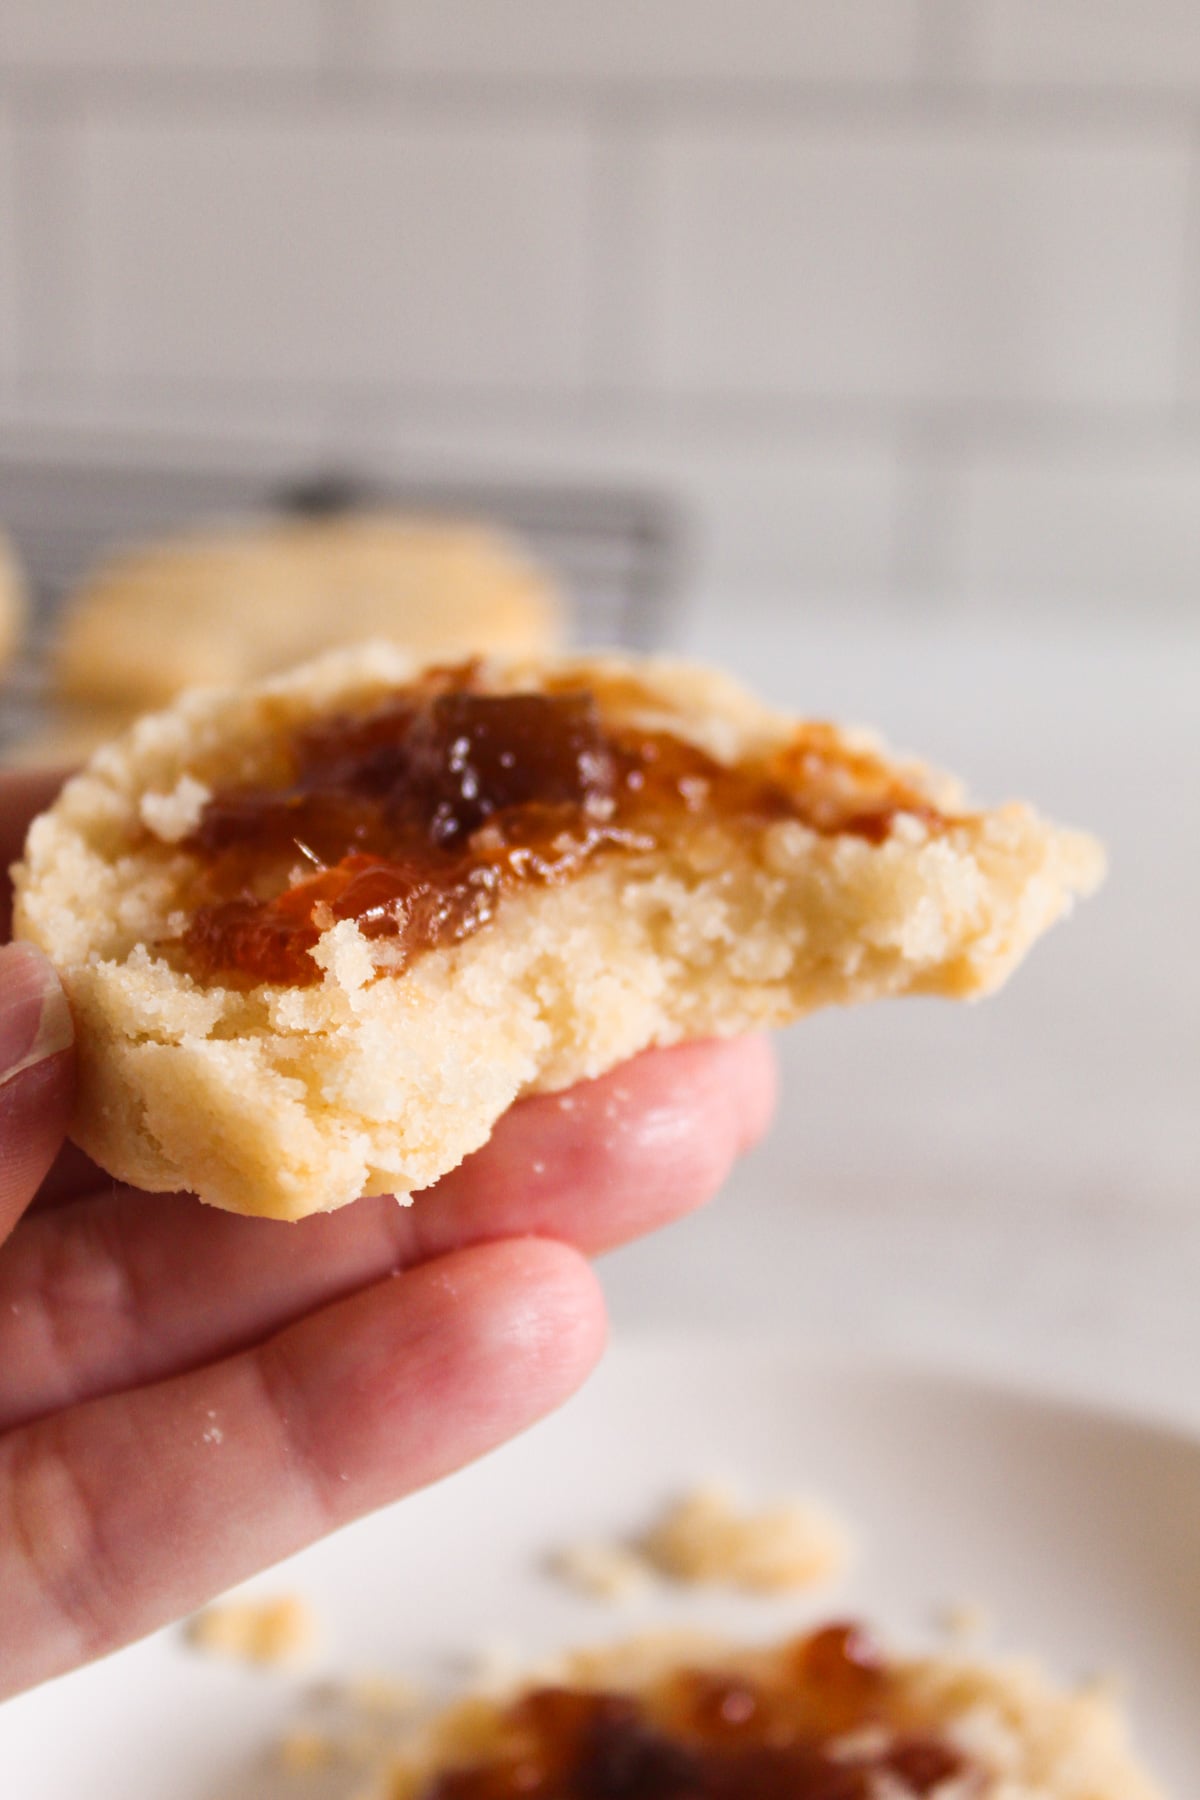
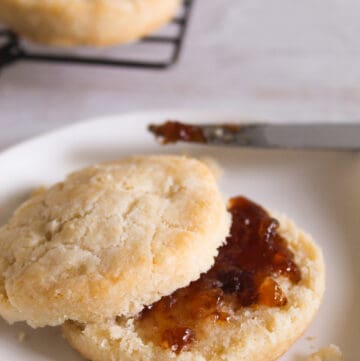
- With butter and jam or honey: Serve warm biscuits split in half, brushed with a little melted vegan butter, and filled with a spoonful of mixed‑berry jam, orange marmalade, or a drizzle of honey for a classic Southern‑style breakfast.
- As a breakfast sandwich base: Split biscuits and use them in this gluten-free biscuits and gravy recipe, tofu scrambles, or this gluten-free Breakfast Sandwich With Egg and Cheese.
- With a side of fruit and yogurt: Place 2 to 3 biscuits on the plate next to a bowl of fresh fruit and dairy‑free yogurt for a balanced, comforting morning meal.
Lunch and dinner
- Next to stews, chilis, and soups: Serve biscuits warm alongside this Panera Bread Turkey Chili or this spicy Italian vegetable soup so you can tear off pieces and mop up the broth.
- As a dumpling swap: Drop or cut biscuits into a pot of gluten‑free chicken‑style soup or any of these vegan soups, and let them steam on top until puffed and cooked through, mimicking gluten‑free dumplings.
- For sandwiches and melts: Use split biscuits as buns for hot ham‑style and vegan‑cheese melts, or as a handheld sandwich roll for turkey‑style slices, lettuce, tomato, and aioli or mustard.
Sweet and snacky ways
- Mini dessert biscuits: Brush warm biscuits with melted butter and a sprinkle of cinnamon‑sugar, or serve them with a small bowl of dairy‑free chocolate sauce or caramel for dipping.
- In shortcakes: Split a biscuit and use it in these gluten-free strawberry shortcakes.
- For snacking: Keep a few biscuits in a lidded tin and serve with a pot of jam or a light spread like almond butter for an easy snack or afternoon tea.
Storing & Reheating Tips
These gluten-free Bisquick biscuits reheat well, store nicely, and can be made ahead with a few simple tricks so they taste almost‑fresh the next day or even weeks later.
Storing Biscuits
Cool biscuits completely, then store in an airtight container at room temperature for 2 to 3 days. If your kitchen is hot or humid, store them in the fridge for 4 to 5 days. Bring them back to room temperature before reheating so they don’t feel tough.
Storing Dough
You can chill the biscuit dough for up to 2 days before baking, preserving layers and flakiness. Shape biscuits and chill the dough on a tray, then freeze. When needed, transfer frozen biscuits to a bag and bake directly from frozen, adding a few extra minutes to the bake time.
Freezing
Cool completely, wrap in parchment or foil, and place in a freezer‑safe bag. They’ll keep for 2 to 4 months and are great for grabbing and reheating one or two at a time.
Frequently Asked Questions (FAQs)
Baking these biscuits should be a simple and successful endeavor. In light of this, below are the questions we frequently get from our readers about making these gluten and dairy-free biscuits. If you don’t see yours, feel free to ask in the comments below.
Can I double the recipe to make more biscuits?
Absolutely. Just be sure to measure the ingredients in weight where this metric is.
Why are my biscuits dry and crumbly?
This usually means the dough is too dry or the flour was over‑scooped. Add a little extra almond milk 1 tablespoon at a time, until the dough is soft and just holds together.
Does the store-bought version of Bisquick work in these biscuits?
This recipe will also work with store-bought gluten-free Bisquick baking mix. Omit the xanthan gum if using the packaged mix.
How do I enjoy them after baking?
Eat warm or lightly reheat in a low‑temp oven at 325°F for 5 to 10 minutes, wrapped in foil, for a soft, almost‑fresh texture.
Why don’t my biscuits rise or spread out?
If they stay flat, the dough is either too thick, too cold, or the butter is too soft. Pat the dough to 1 inch thick. Use very cold vegan butter and place biscuits close together on the sheet.
More Easy Breads and Biscuits to Bake Next
If these Bisquick biscuits hit the spot, here are a few more warm, cozy recipes to try next:
- The Best Flaky Gluten-Free Biscuits — Tall, tender biscuits made from scratch when you want that classic homemade biscuit texture.
- Gluten-Free Cheddar Bay Biscuits — Savory, seasoned biscuits that go perfectly with soup, seafood, pasta, or a cozy weeknight dinner.
- Light & Fluffy Gluten-Free Angel Biscuits — Soft, fluffy biscuits with a little yeast-bread magic for extra lift and tenderness.
- Light and Tender Millet Biscuits — A quick biscuit option with a delicate texture and mild, slightly sweet flavor.
- Buckwheat Biscuits — Hearty, rustic biscuits with a deeper flavor that pair well with soups, stews, and savory meals.
- Gluten-Free Potato Buns — Soft buns that work beautifully for sandwiches, burgers, sliders, or dinner rolls.
- Soft & Fluffy Gluten-Free, Dairy-Free Dinner Rolls — A classic roll option for holidays, family dinners, or anytime you want something extra soft.
Whether you’re baking for breakfast, dinner, or a holiday table, these recipes will give you plenty of warm, homemade options to make next.
Tell Us About Your Biscuits!
Did your gluten-free Bisquick biscuits turn out as you wanted? Was it tender and delicious? How did you savor these flaky treats? We want to hear all about it.
If you made these gluten and dairy-free biscuits, leave a comment and tell us how the baking process went. Share your unique take on the recipe, what effective swaps you made, or anything you picked up while making them. Your feedback goes a long way in helping other bakers, too.