Coconut flour banana pancakes can be difficult to get right because coconut flour absorbs much more liquid than wheat flour. Without the right ingredient ratios, the pancakes often turn out dry and dense, or they fall apart when flipped.
This recipe solves those common problems by combining ripe bananas for moisture and natural sweetness, eggs for structure, coconut flour for a light texture, and tapioca starch for tenderness. The result is soft, fluffy pancakes that hold together well and cook evenly.
Table of Contents
These gluten-free, grain-free pancakes are naturally sweetened, beginner-friendly, and freezer-friendly for easy breakfasts throughout the week.
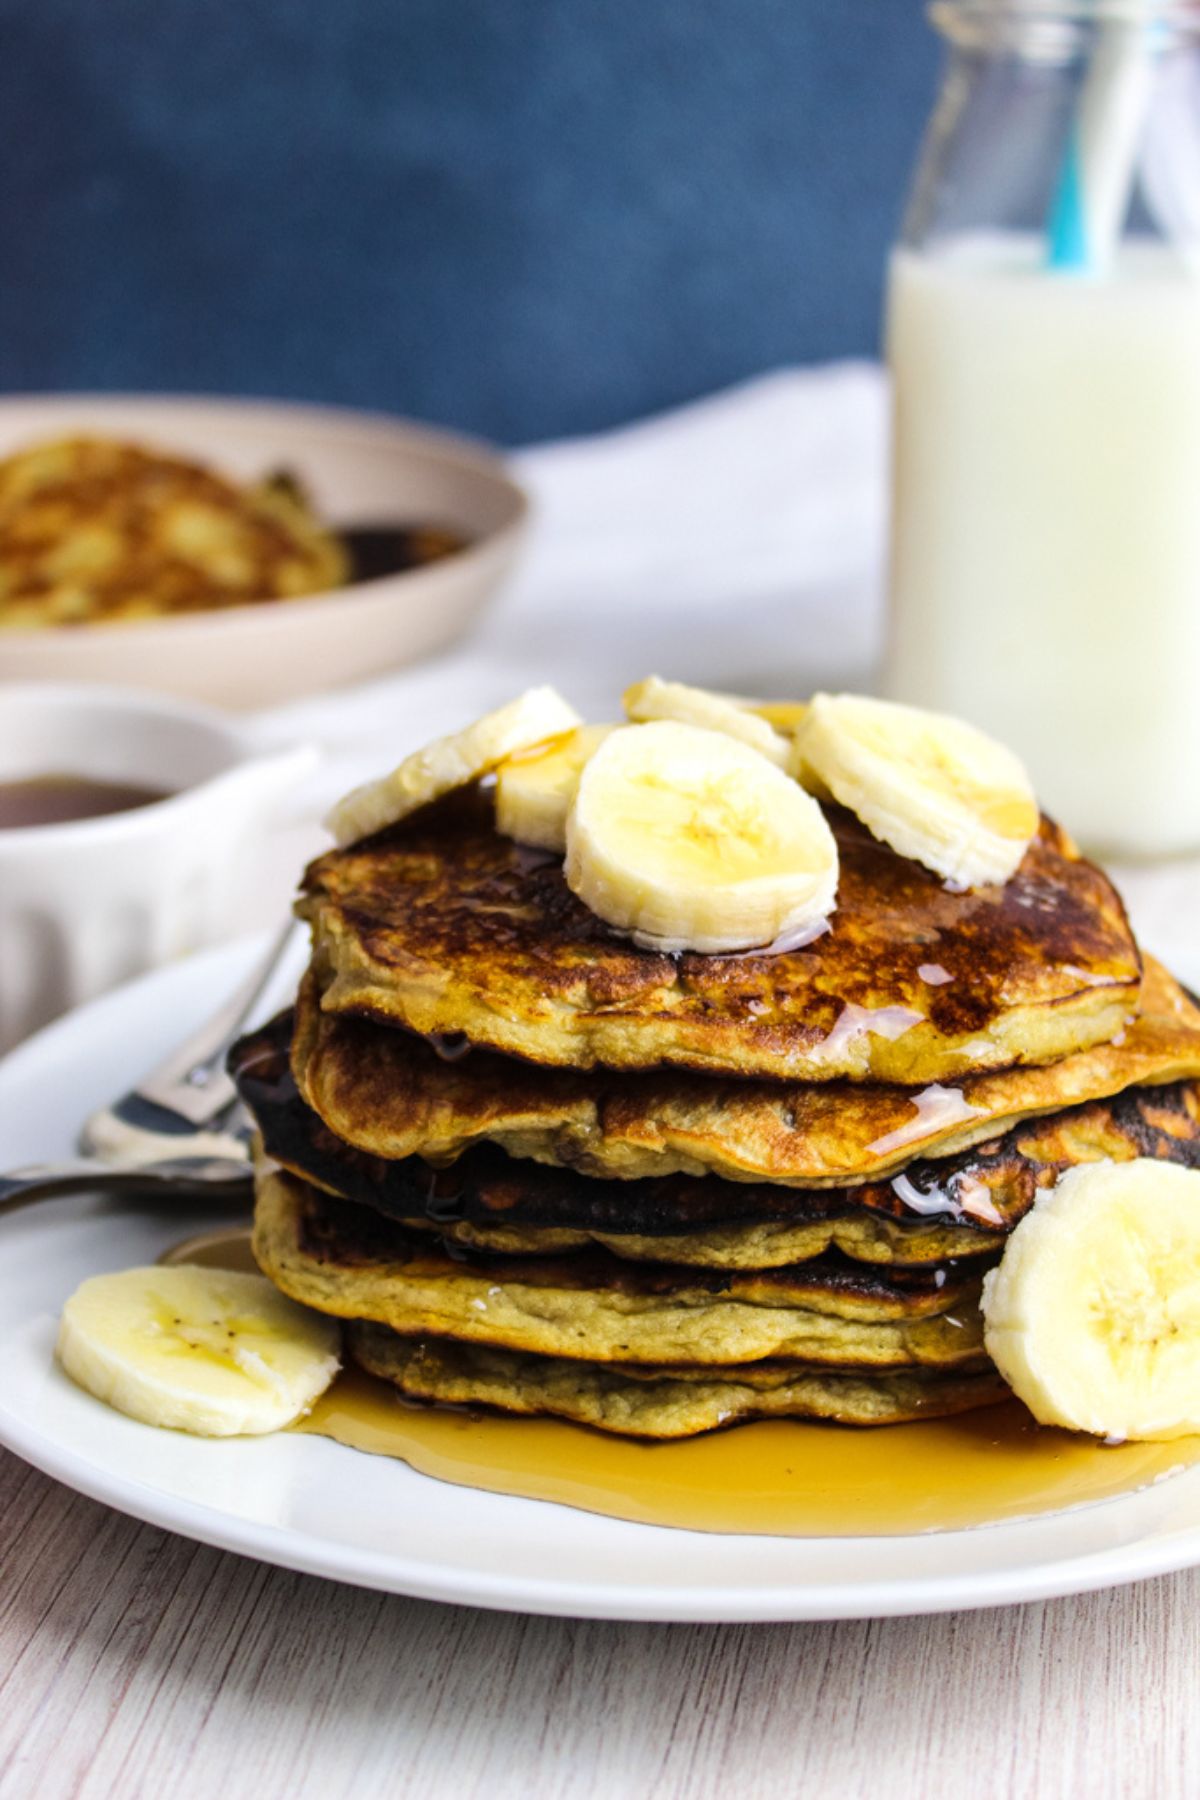
Why You’ll Love This Recipe
Baking with coconut flour is straightforward. This recipe will guide you in making tender, flavorful coconut flour banana pancakes with simple ingredients, ensuring reliable results whether it’s your first batch or your fiftieth.
- Soft and fluffy every time
- Naturally gluten-free and grain-free.
- Naturally sweetened.
- Beginner-friendly.
Make a double batch, freeze the extras, and reheat them for quick breakfasts without sacrificing their soft texture.
Ingredients Quick Snapshot
These coconut flour and banana pancakes come together with a handful of everyday ingredients, most of which you may already have in your kitchen.
- Coconut flour
- Tapioca starch
- Baking soda
- Salt
- Ripe bananas
- Eggs
- Coconut milk
- Maple syrup
- Pure vanilla extract
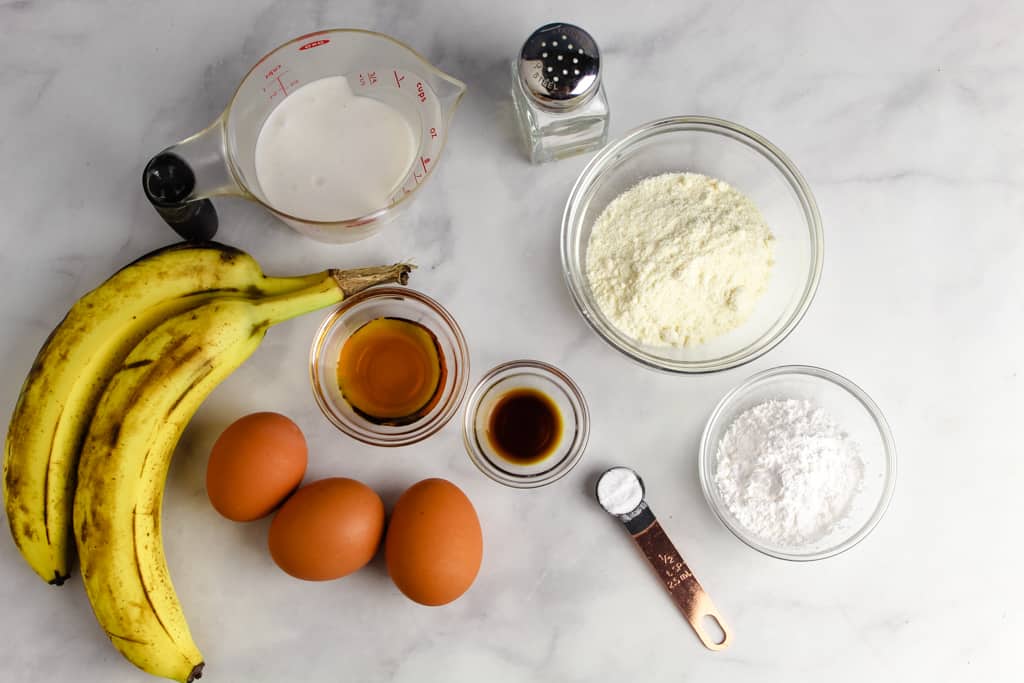
Ingredients and Substitutions Notes
Each ingredient contributes to the pancakes’ flavor, texture, or structure. Here’s what it does and which substitutions work best.
- Coconut flour provides a light texture and keeps the pancakes gluten-free. Since it is highly absorbent, do not substitute it 1:1 with other flours.
- Tapioca starch helps create lighter, more tender pancakes. Arrowroot starch can be used as a substitute if needed.
- Baking soda helps the pancakes rise and creates a lighter texture. If needed, replace the ½ teaspoon of baking soda with 1½ teaspoons of baking powder. The pancakes may have a slightly different flavor and may not rise quite the same, but the substitution will still provide leavening.
- A small amount of salt enhances the bananas’ sweetness and balances the overall flavor. Fine sea salt or kosher salt both work well.
- Ripe bananas add natural sweetness and moisture. Use ripe bananas with brown spots for the best flavor and texture.
- Eggs are essential for providing structure in this recipe, allowing the pancakes to hold together despite the absence of gluten. Since coconut flour relies significantly on eggs for stability, using egg substitutes is not recommended.
- Coconut milk adds moisture and richness while keeping the recipe dairy-free. Any unsweetened dairy-free milk, such as almond milk or oat milk, can be substituted, though full-fat coconut milk produces a richer pancake.
- Maple syrup sweetens the batter while adding extra moisture. You can substitute honey, but it will give the pancakes a slightly different flavor.
- Pure vanilla extract enhances the banana flavor and gives the pancakes a classic homemade taste. If you’re out of vanilla, you can omit it, but the finished pancakes won’t be quite as aromatic.
Recipe Card: Coconut Flour Banana Pancakes (PRINTABLE)
Ingredients
- 40 grams coconut flour ,about 6 Tablespoons
- 25 grams tapioca starch ,about 3 Tablespoons
- ½ teaspoon baking soda
- ⅛ teaspoon salt
- 2 medium ripe bananas
- 3 eggs
- ½ cup well-blended coconut milk
- 1 Tablespoon maple syrup
- 1 teaspoon pure vanilla extract
Instructions
- In a small bowl, whisk together the coconut flour, tapioca starch, baking soda, and salt until well combined.
- In a large bowl, use a fork to mash the ripe bananas until the mixture is completely smooth and free of large chunks.
- To the bananas, add the eggs, coconut milk, maple syrup, and vanilla extract. Mix for about one minute to thoroughly combine the ingredients.
- Add the dry ingredients to the banana mixture and stir with a spoon until the batter is completely blended, about 30 seconds.
- Set batter aside to rest for 30 minutes.
- Heat a flat-bottom skillet over low heat for 5 minutes.
- Lightly coat the skillet with cooking spray and scoop about ¼ cup of batter onto the pan.
- Cook until the bubbles forming on the top side burst, about 3 minutes.
- Carefully flip and cook for another 2 minutes, or until cooked through.
- Repeat with the remaining batter, lightly greasing the skillet between batches.
- Serve warm with butter and maple syrup, if desired.
Notes
- Measure the ingredients by weight whenever possible for the most consistent results.
- Bring the ingredients to room temperature before mixing.
- Don’t skip the 30-minute batter rest.
- Cook over low to medium-low heat to prevent over-browning while the centers finish cooking.
- The batter should noticeably thicken after the 30-minute rest.
- Small bubbles should form and burst on the surface before flipping.
- The edges will look set and lightly dry.
- Both sides should be golden brown, and the center should spring back lightly when touched.
- Avoid increasing the heat. The pancakes should brown gradually while the centers cook through.
- Refrigerator: Store cooled pancakes in an airtight container for up to 4 days.
- Freezer: Freeze the pancakes in a single layer until firm, then transfer them to a freezer-safe bag or container. They’ll keep well for up to 3 months. Place parchment paper between pancakes to prevent sticking.
- Reheating: Warm the refrigerated pancakes in the microwave, in a toaster, or in a skillet over low heat until heated through. Frozen pancakes can be reheated directly from frozen or thawed overnight in the refrigerator.
Nutrition
How to Make Coconut Flour Banana Pancakes
Once your ingredients are ready, the process is simple. Follow the steps below for evenly cooked, tender-centered coconut flour banana pancakes.
Essential Kitchen Tools
Before you begin, gather these kitchen essentials:
- Mixing bowls
- Fork (for mashing the bananas)
- Whisk or sturdy spoon.
- Measuring cups or, preferably, a digital kitchen scale.
- Cookie scoop
- Flat-bottom nonstick skillet or griddle.
- Silicone spatula
- Cooking spray
1) Combine the dry ingredients.
In a small bowl, mix the coconut flour, tapioca starch, baking soda, and salt until evenly combined. Breaking up any lumps now helps create a smoother batter later.
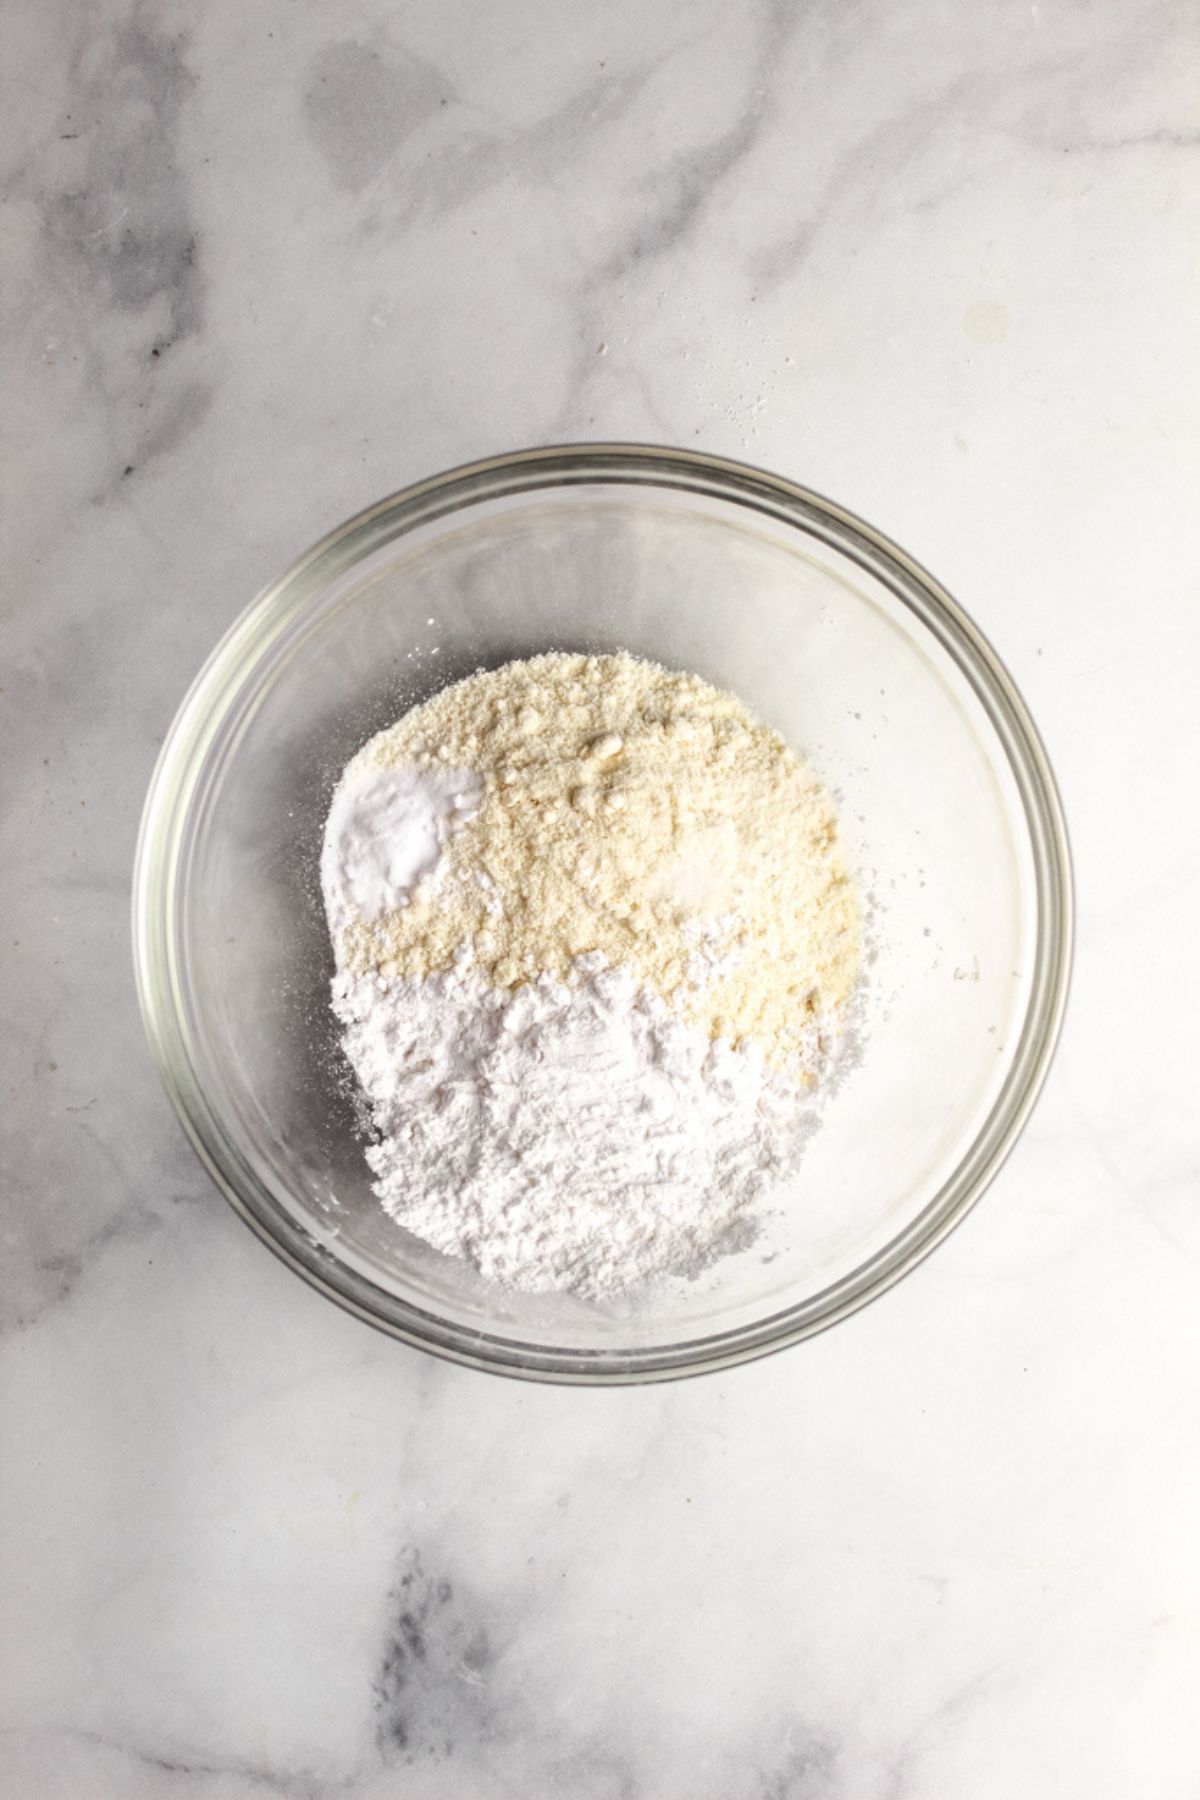
2) Mash the bananas.
Place the ripe bananas in a large bowl and mash them thoroughly with a fork until smooth, leaving no large chunks behind.
3) Mix the wet ingredients.
Add the eggs, coconut milk, maple syrup, and vanilla extract to the mashed bananas. Stir for about one minute until the mixture is smooth and well blended.
4) Combine the wet and dry mixtures.
Add the dry ingredients to the banana mixture and stir until no dry pockets remain. The batter should be noticeably thicker than traditional pancake batter.
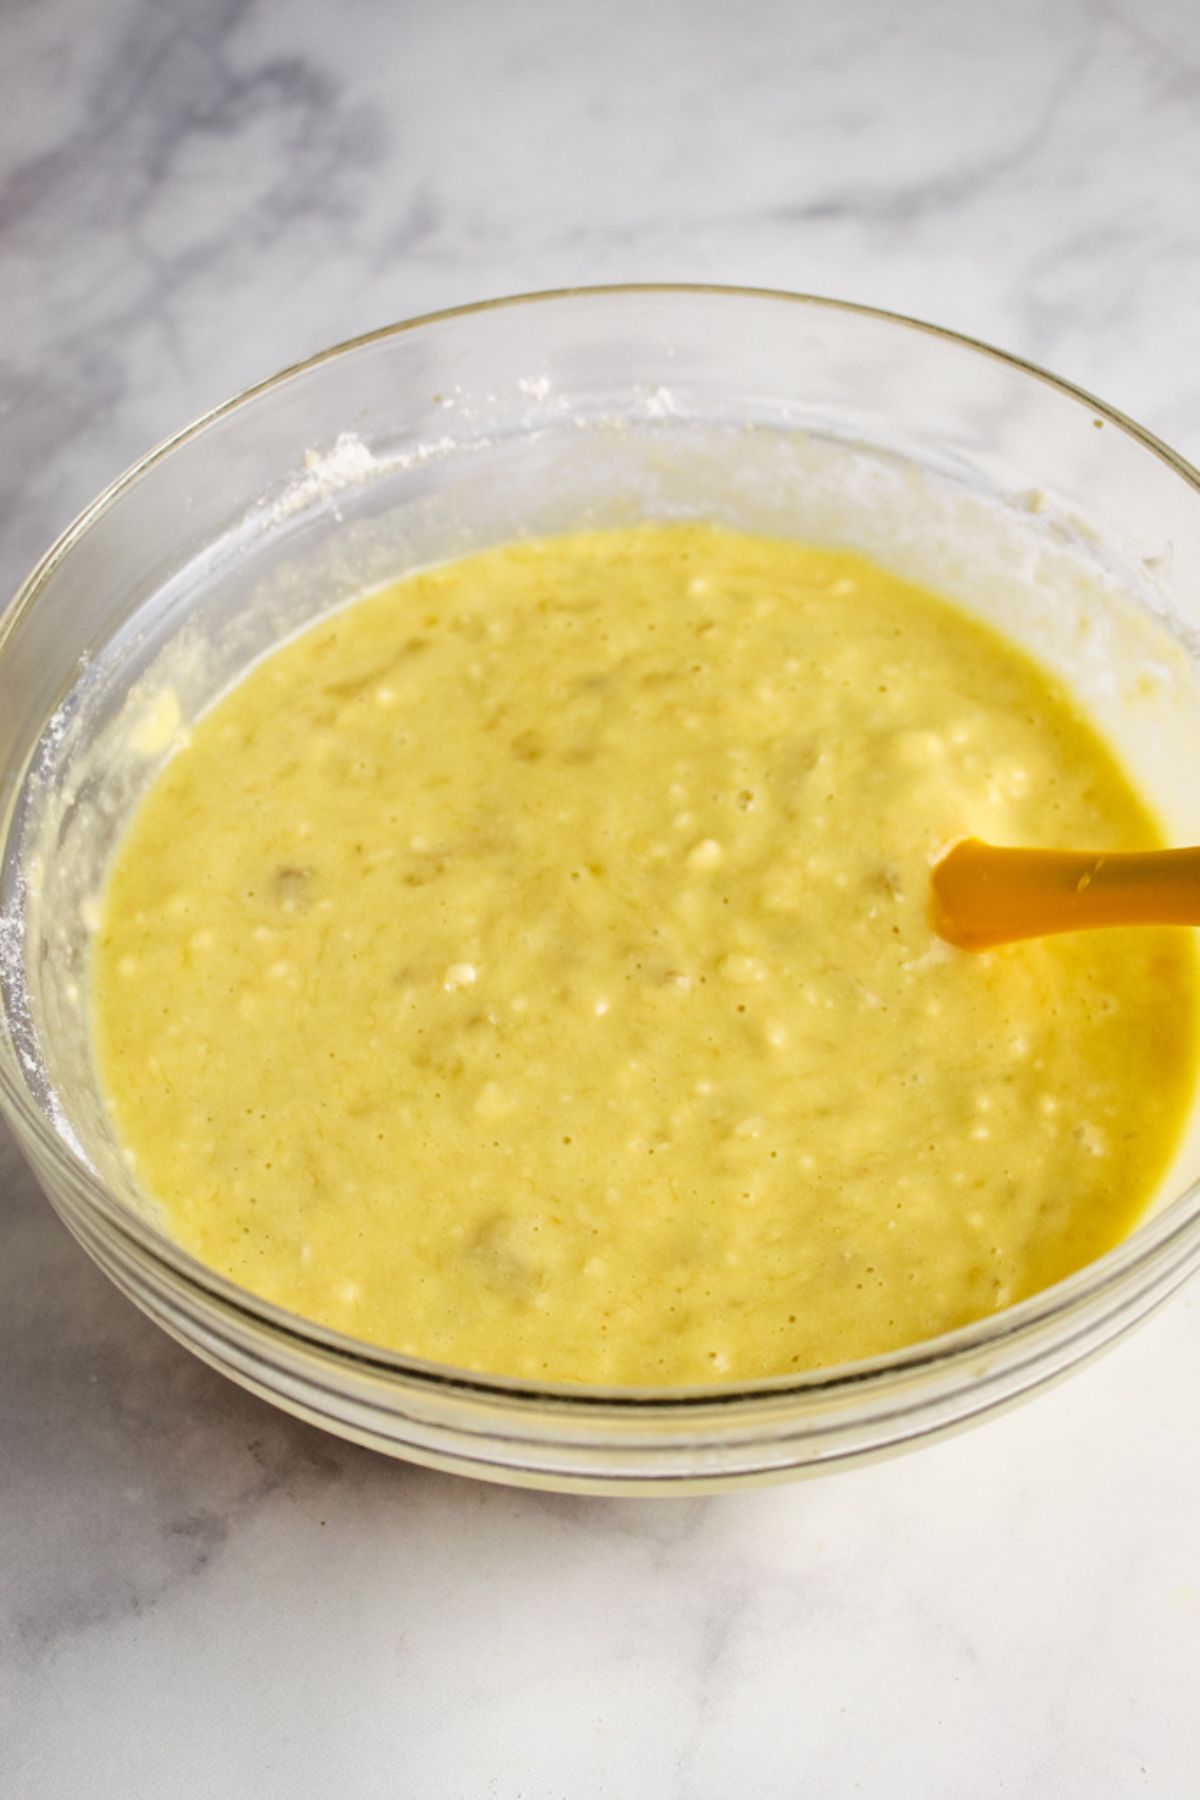
5) Let the batter rest.
Set the batter aside for 30 minutes. Resting the batter improves its consistency and makes the pancakes easier to handle during cooking.
6) Preheat the skillet.
Heat a flat-bottom skillet over low heat for about 5 minutes. A properly preheated pan helps the pancakes cook evenly without burning.
7) Portion the batter.
Lightly coat the skillet with cooking spray, then add a ¼-cup scoop of batter for each pancake. If needed, gently spread the batter into a small circle with the back of a spoon.
8) Cook the first side.
Let the pancake cook undisturbed until bubbles form on the surface and begin to burst, about 3 minutes. The edges should also look set before you flip.
9) Flip and finish cooking.
Flip the pancake with a spatula and cook for another 2 minutes, until the second side is golden brown and the center is cooked through.
10) Repeat and serve.
Lightly spray the skillet between batches and repeat with the remaining batter. Serve the pancakes warm with butter and maple syrup or your favorite toppings.
Expert Tips for Fluffy Pancakes
A few simple techniques can improve the texture and make cooking easier.
- Let the batter rest before cooking. Resting the batter improves its consistency and helps the pancakes cook more evenly.
- Don’t overmix the batter. Stir just until the wet and dry ingredients are combined. Excessive mixing can produce denser coconut-flour banana pancakes, while a gently mixed batter results in a lighter texture.
- Cook low and slow. These pancakes cook best over low to medium-low heat; this allows the centers to cook through before the outsides become too dark.
- Keep the pancakes small. Use about ¼ cup of batter for each pancake. Smaller pancakes cook more evenly and are much easier to flip without breaking.
- Grease the pan lightly. A thin coating of cooking spray or oil is all you need. Too much grease can prevent even browning, while too little can cause the pancakes to stick.
- Do not press down on the pancakes after flipping them. Pressing them with a spatula forces out steam and air, making the pancakes denser and less fluffy. Instead, let them cook undisturbed until the centers cook through.
Common Pancake Problems (Troubleshooting)
If your pancakes don’t turn out as expected, these quick fixes should help.
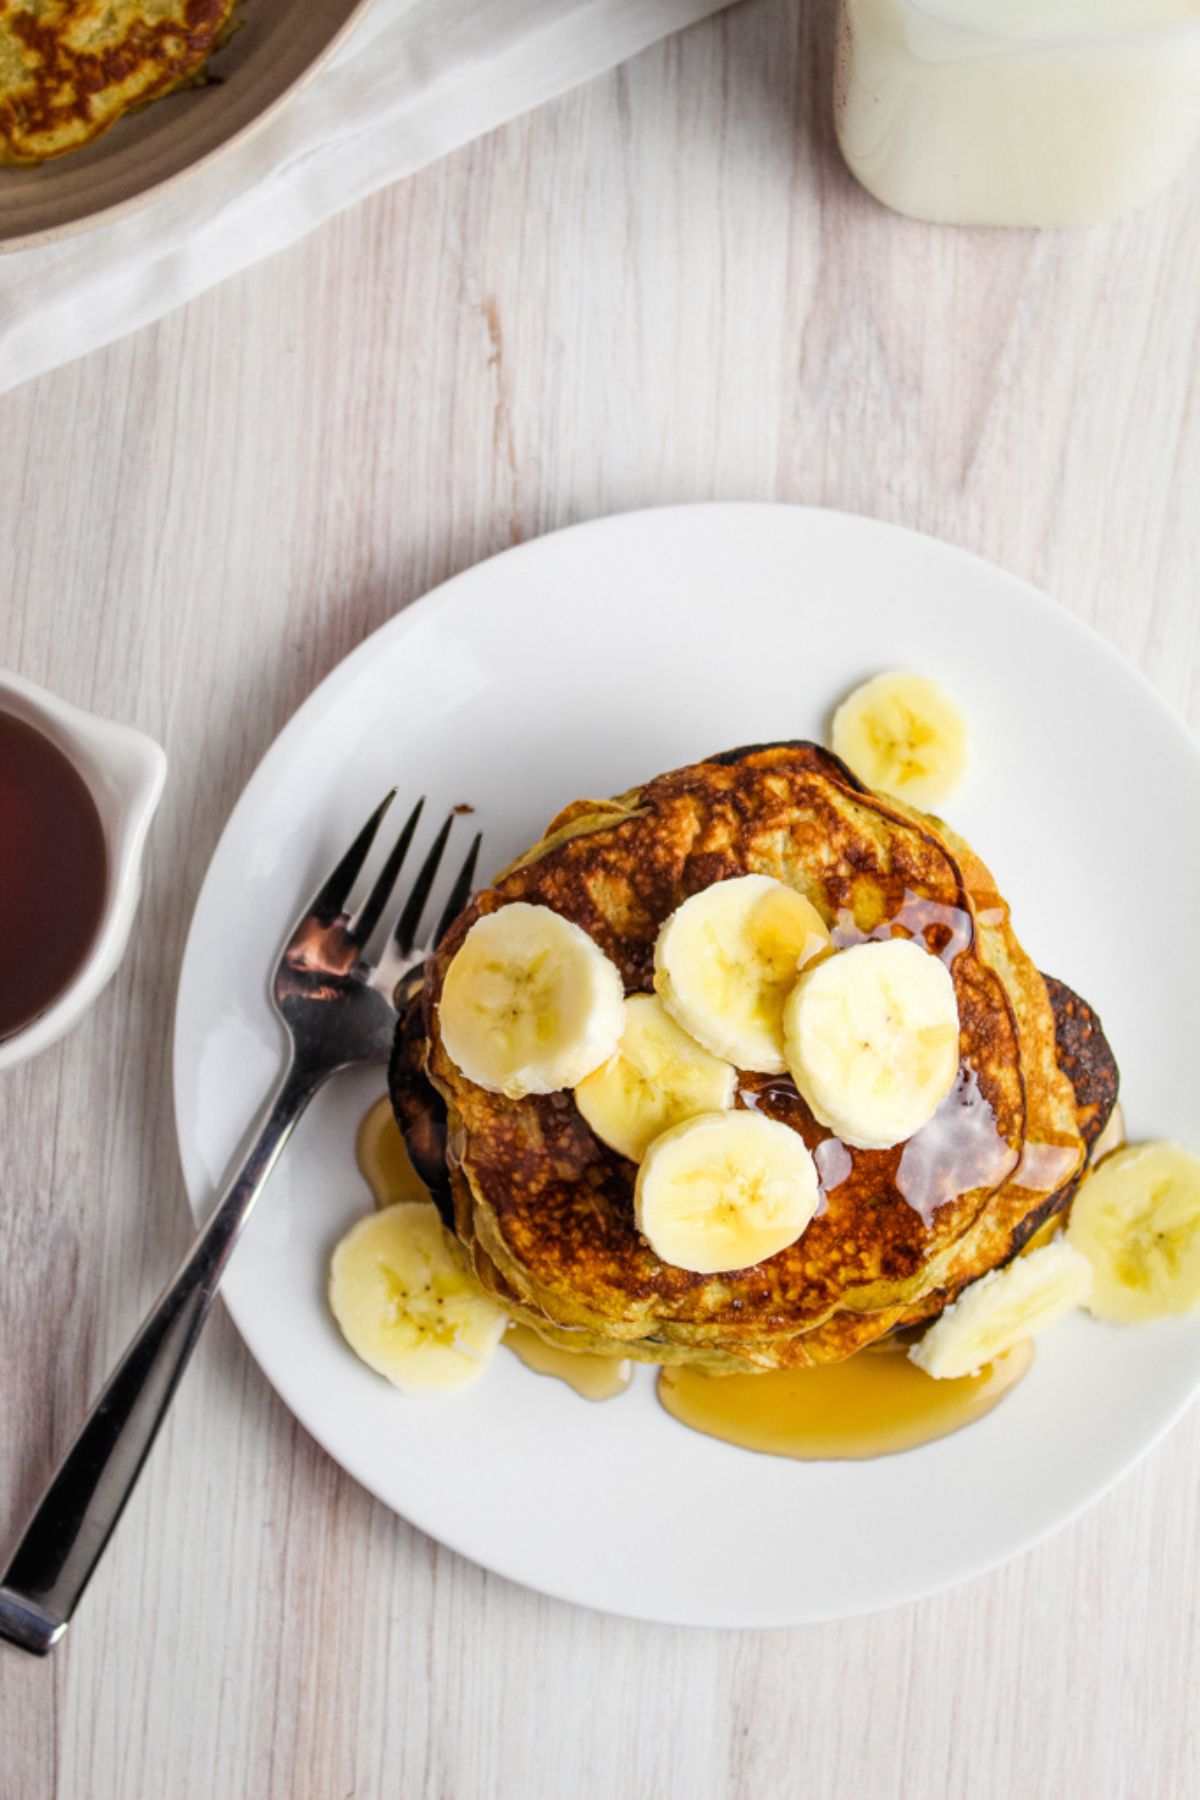
- Pancakes Are Dry: Using too much coconut flour or not enough liquid will result in a dry batter. Measure the flour carefully, use ripe bananas, and don’t skip the 30-minute rest. If the batter still seems overly thick after resting, stir in a small splash of coconut milk before cooking.
- Pancakes Fall Apart: Coconut flour creates more delicate pancakes because it doesn’t contain gluten. Cook the first side until bubbles form and the edges set, then flip. Use a wide spatula and make smaller pancakes so they’re easier to turn.
- Pancakes Are Gummy: Undercooking the pancakes or adding too much moisture creates a gummy texture. Cook them over low to medium-low heat until the centers set, then remove them from the skillet. Keep the heat low so the centers cook through before the outsides brown.
- Pancakes Are Dense: If you overmix the batter or add too much coconut flour, your pancakes may turn out dense and heavy. Stir only until the ingredients are combined, and measure the flour accurately, preferably by weight, for the lightest texture.
- Pancakes Stick to the Pan: Make sure the skillet is fully preheated before adding the batter, lightly grease it between batches, and use a good-quality nonstick skillet or well-seasoned griddle.
- Pancakes Won’t Cook Through: Cooking over too high heat keeps the centers from cooking through. Lower the heat and cook each pancake until bubbles appear and burst on the surface, then flip it. Let the pancake finish cooking before removing it from the skillet to prevent the outside from browning too quickly.
Best Pancake Toppings
Mix and match these toppings to add sweetness, creaminess, or crunch.
| Topping | Flavor |
|---|---|
| Maple Syrup | Sweet |
| Banana Slices | Fruity |
| Blueberries | Fresh |
| Peanut Butter | Rich |
| Almond Butter | Nutty |
| Coconut Yogurt | Creamy |
| Chopped Pecans | Crunchy |
| Fresh Strawberries | Bright |
Recipe Variations
Try one of these easy variations to change the flavor without changing the cooking method.
- Chocolate Chip: Fold a handful of dark or semi-sweet chocolate chips into the batter just before cooking for a sweeter breakfast.
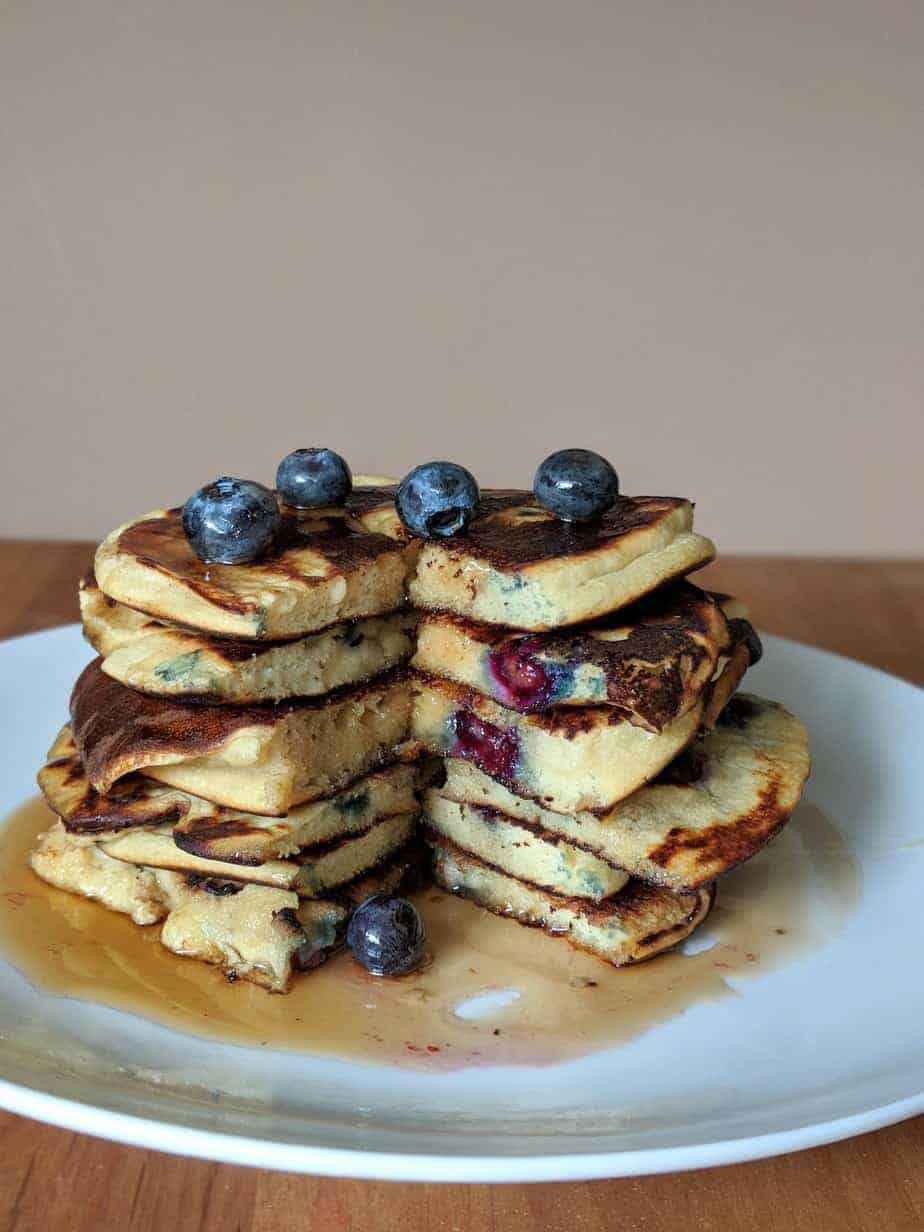
- Blueberry: Gently fold fresh or thawed blueberries into the batter, or sprinkle them onto each pancake after pouring the batter into the skillet to prevent the berries from breaking apart.
- Cinnamon Spice: Add ½ to 1 teaspoon of ground cinnamon to the dry ingredients for a warm, spiced flavor. A pinch of nutmeg also pairs well with the bananas.
- Protein Pancakes: Stir a scoop of your favorite unflavored or vanilla protein powder into the batter. If it becomes too thick, add a splash of coconut milk until it reaches the original consistency.
- Paleo Version: Use a paleo-friendly baking soda or baking powder if needed, and serve with fresh fruit or nut butter instead of processed toppings. Serve with fresh fruit or nut butter to keep it paleo-friendly.
- Nut-Free Version: Keep the recipe as written and avoid nut-based toppings, such as almond or peanut butter. Top with fresh fruit or coconut yogurt instead.
- Dairy-Free Version: The recipe is already dairy-free because it uses coconut milk. Simply serve it with dairy-free butter or coconut yogurt if desired.
Storage, Freezing & Reheating
Cool the pancakes completely before storing to prevent excess moisture from building up.
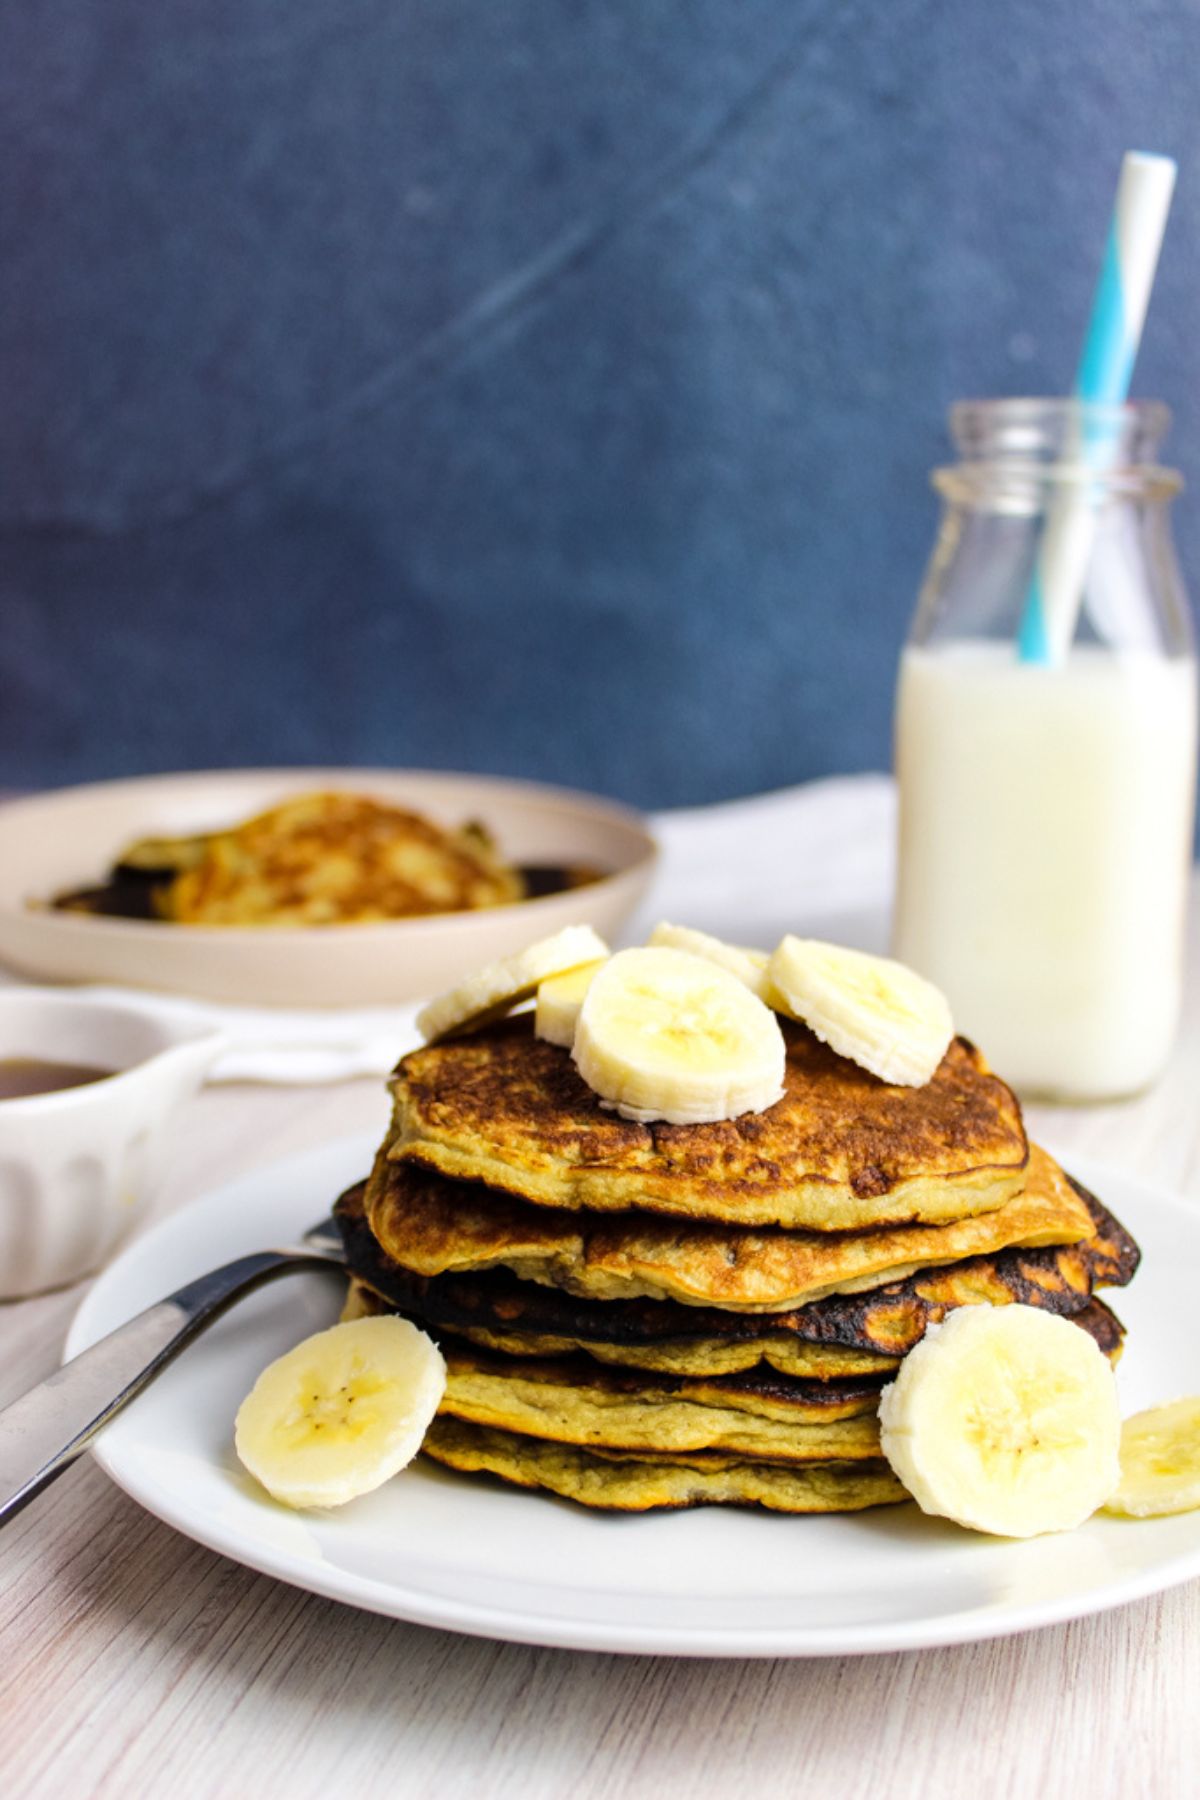
- Freezer: Freeze the pancakes in a single layer until firm. Transfer them to a freezer-safe bag or airtight container, separating each pancake with parchment paper to prevent sticking. Store in the freezer for up to 3 months.
- Meal Prep: Make a double batch and freeze individual portions for quick breakfasts throughout the week. Portion them into freezer bags for quick weekday breakfasts.
- Microwave: Place the pancakes on a microwave-safe plate and heat until warmed through. Avoid overheating, as this can make them dry or rubbery.
- Skillet: Reheat the pancakes over medium-low heat for a few minutes per side until heated through, restoring crisp edges while keeping the centers soft.
- Toaster: Pop refrigerated or frozen pancakes directly into the toaster for a quick breakfast with lightly crisp edges.
Keep the Pancake Stacks Coming
Looking for another gluten-free breakfast idea? Try these cassava flour pancakes, teff pancakes, oat flour pancakes, brown rice flour blueberry pancakes, gluten-free blueberry pancakes, or flourless pumpkin pancakes.
Frequently Asked Questions
Still have questions about making coconut flour banana pancakes? Below are answers to the ones readers ask most often. If you don’t see your question here, leave it in the comments below, and I’ll be happy to help.
What Makes Coconut Flour Different?
Coconut flour comes from dried, finely ground coconut meat. It naturally contains no gluten and packs plenty of fiber, but it absorbs far more liquid than wheat flour. Because of this, coconut flour recipes require different ingredient ratios to achieve the right texture.
Why Does Coconut Flour Work So Well in Banana Pancakes?
Bananas add moisture and natural sweetness; eggs provide structure; coconut flour absorbs excess liquid; tapioca starch keeps the pancakes tender; and baking soda creates lift for a fluffy texture.
What Do Coconut Flour Banana Pancakes Taste Like?
They have a mild coconut flavor with natural banana sweetness, a soft, fluffy interior, and lightly crisp edges. The banana and vanilla are the dominant flavors, so they don’t taste overly coconut-like.
Can I Make These Dairy-Free?
Yes. This recipe is already dairy-free because it uses coconut milk instead of dairy milk. Serve the pancakes with dairy-free butter or coconut yogurt if needed.
Can I Make Them Without Eggs?
Not for this recipe. Eggs provide most of the structure because coconut flour contains no gluten. Replacing them will significantly alter the texture and increase the likelihood of the pancakes breaking apart.
Are Coconut Flour Pancakes Keto?
No. Although coconut flour is often used in low-carbohydrate baking, this banana-based recipe is not keto-friendly and cannot be converted without substantially changing the formula.
More Gluten-Free Breakfast Recipes
Here are a few more gluten-free breakfast recipes to try next.
- Gluten-Free Fall Baking Recipes: 8 Most Popular: Discover reader-favorite recipes for the cooler months.
- Soft & Gooey Gluten-Free Cinnamon Rolls Without Yeast: A soft cinnamon roll without waiting for yeast to rise.
- Easy Gluten-Free Bread Pudding with Warm Caramel Sauce: Turn leftover bread into a warm, comforting dessert.
- Moist Gluten-Free Oatmeal Apple Muffins (Meal Prep Friendly): Bake a batch ahead for quick breakfasts all week.
- Moist Almond Flour Coffee Cake Recipe (Gluten-Free, Dairy-Free, So Easy): A tender coffee cake that pairs perfectly with your morning coffee.
Whether you’re craving something cozy, fruity, or make-ahead friendly, there’s plenty here to make your next gluten-free breakfast even better.
Ready to Make These Coconut Flour Banana Pancakes?
I’d love to hear how yours turned out. Did you make a variation? Freeze a batch for later? Or discover a favorite topping? Share your experience or questions in the comments below; your tips may help other readers, too.