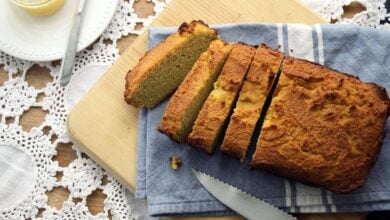
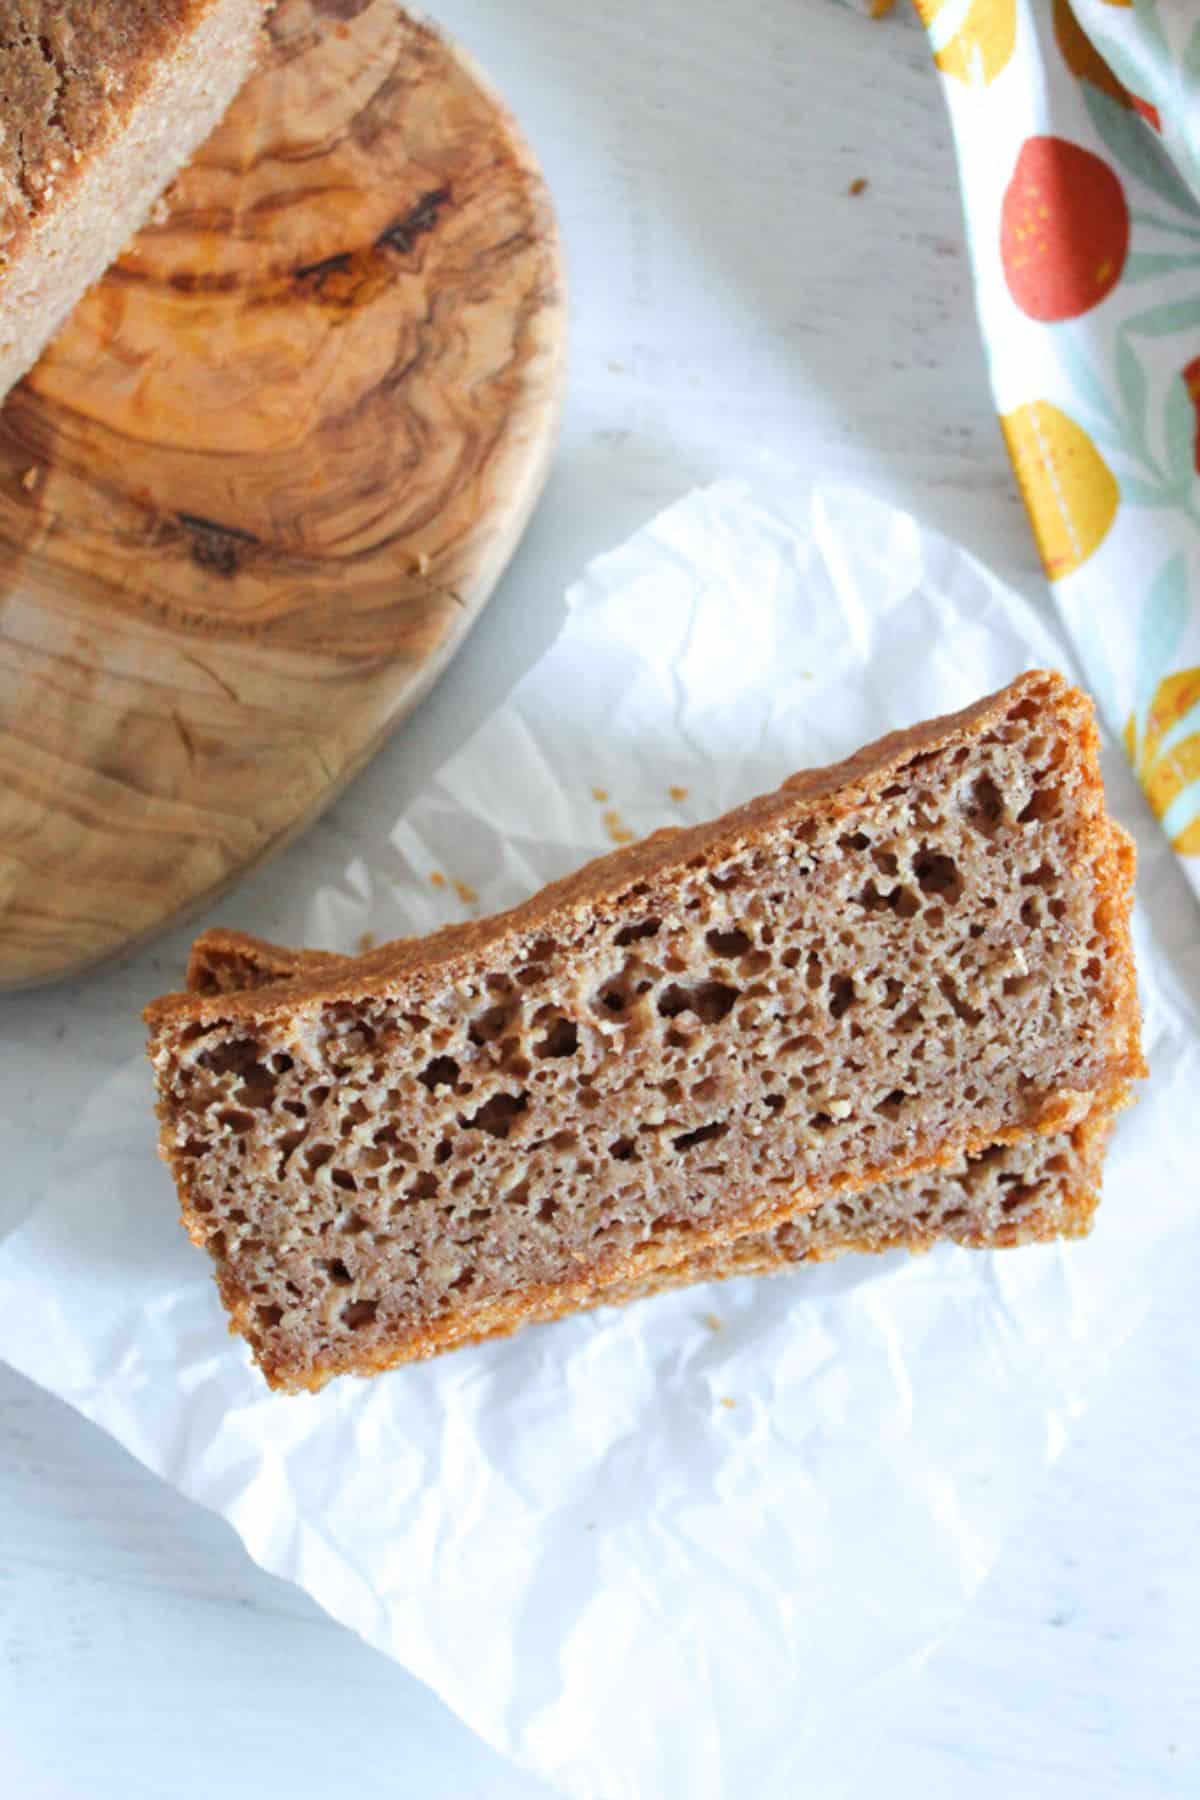
“Why did my bread fail even when I followed the recipe instructions properly?” is a common baking question. If you’re wondering why your bread sank in the middle or why your loaf turned out dense instead of fluffy, do not fret.
Baking bread, especially gluten-free or alternative loaves, is more sensitive than it seems. Small mistakes, like too much liquid, underbaking, or weak structure, can make a perfect-looking loaf collapse as it cools.
Table of Contents
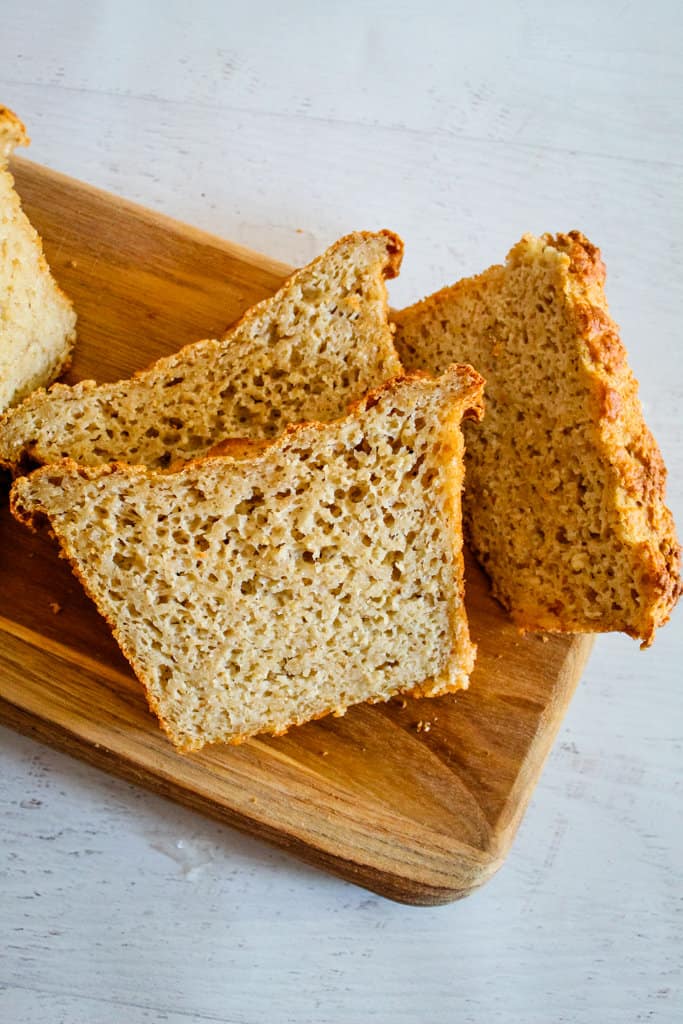
In this article, we’ll answer the question: Why did my bread fail? We will then provide practical solutions to common issues to help you achieve baking success.
Whether you’re making a loaf or something simple like The Easiest Gluten-Free Banana Bread, the same rules apply.
Why Did My Bread Fail? (Quick Answer)
If your bread sinks in the middle, the cause is usually one of these reasons below:
- Underbaking
- Too much moisture
- Weak framework (no gluten)
- Overmixing
- Incorrect ratios
6 Common Reasons Your Bread Didn’t Turn Out (and How to Fix Them)
If your loaf rises well in the oven but sinks after baking, the issue is almost always structural. Gluten-free bread is more sensitive to moisture, heat, and mixing; small mishaps can cause it to collapse. Below are the exact causes and fixes for each.
Want our human-written content to rank above AI-generated garbage? Help us out by clicking this button!
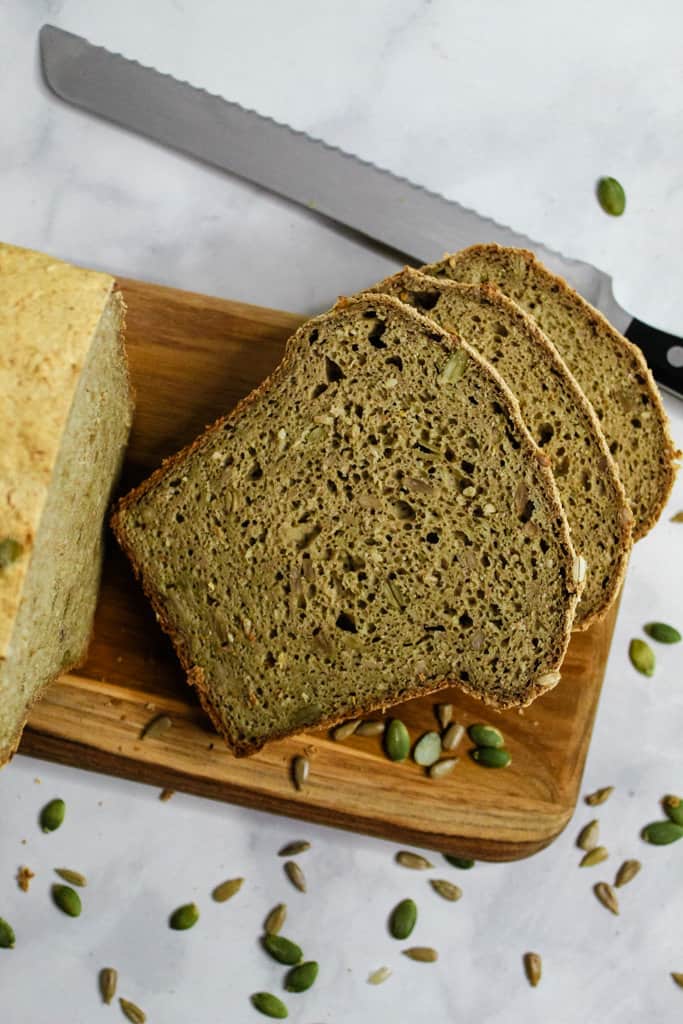
1. Underbaking (Most Common Cause)
This is the number 1 cause of gluten-free collapses. What’s occurring is simply that the outside appears done, but the center has not fully set.
A gluten-free loaf takes longer for the internal structure to become stable. The bread can’t support itself when it’s underbaked, so as it cools, it sinks.
Fixing this requires baking until the internal temperature reaches about 200°F to 205°F, even though the crust already looks done. Use a thermometer to confirm the temperature.
Then give it more time in the oven and let it cool completely before you slice it, because cutting too early can cause it to crumble.
2. Too Much Liquid
Excess liquid produces a batter that appears fine but isn’t stable. Gluten-free flours absorb moisture differently, and too much liquid can weaken the framework, making the bread heavy and likely to sink.
The solution to this problem is precision. Measure ingredients carefully, ideally by weight, and avoid adding extra liquid unless it’s necessary. If your batter appears too runny, reduce the liquid slightly to improve structure and prevent collapse.
3. Weak Flour Structure (No Gluten Network)
Most home bakers neglect this. Gluten-free bread relies on the flour blend completely for support. In the absence of gluten, there is no natural network to hold air and shape, so the loaf becomes fragile.
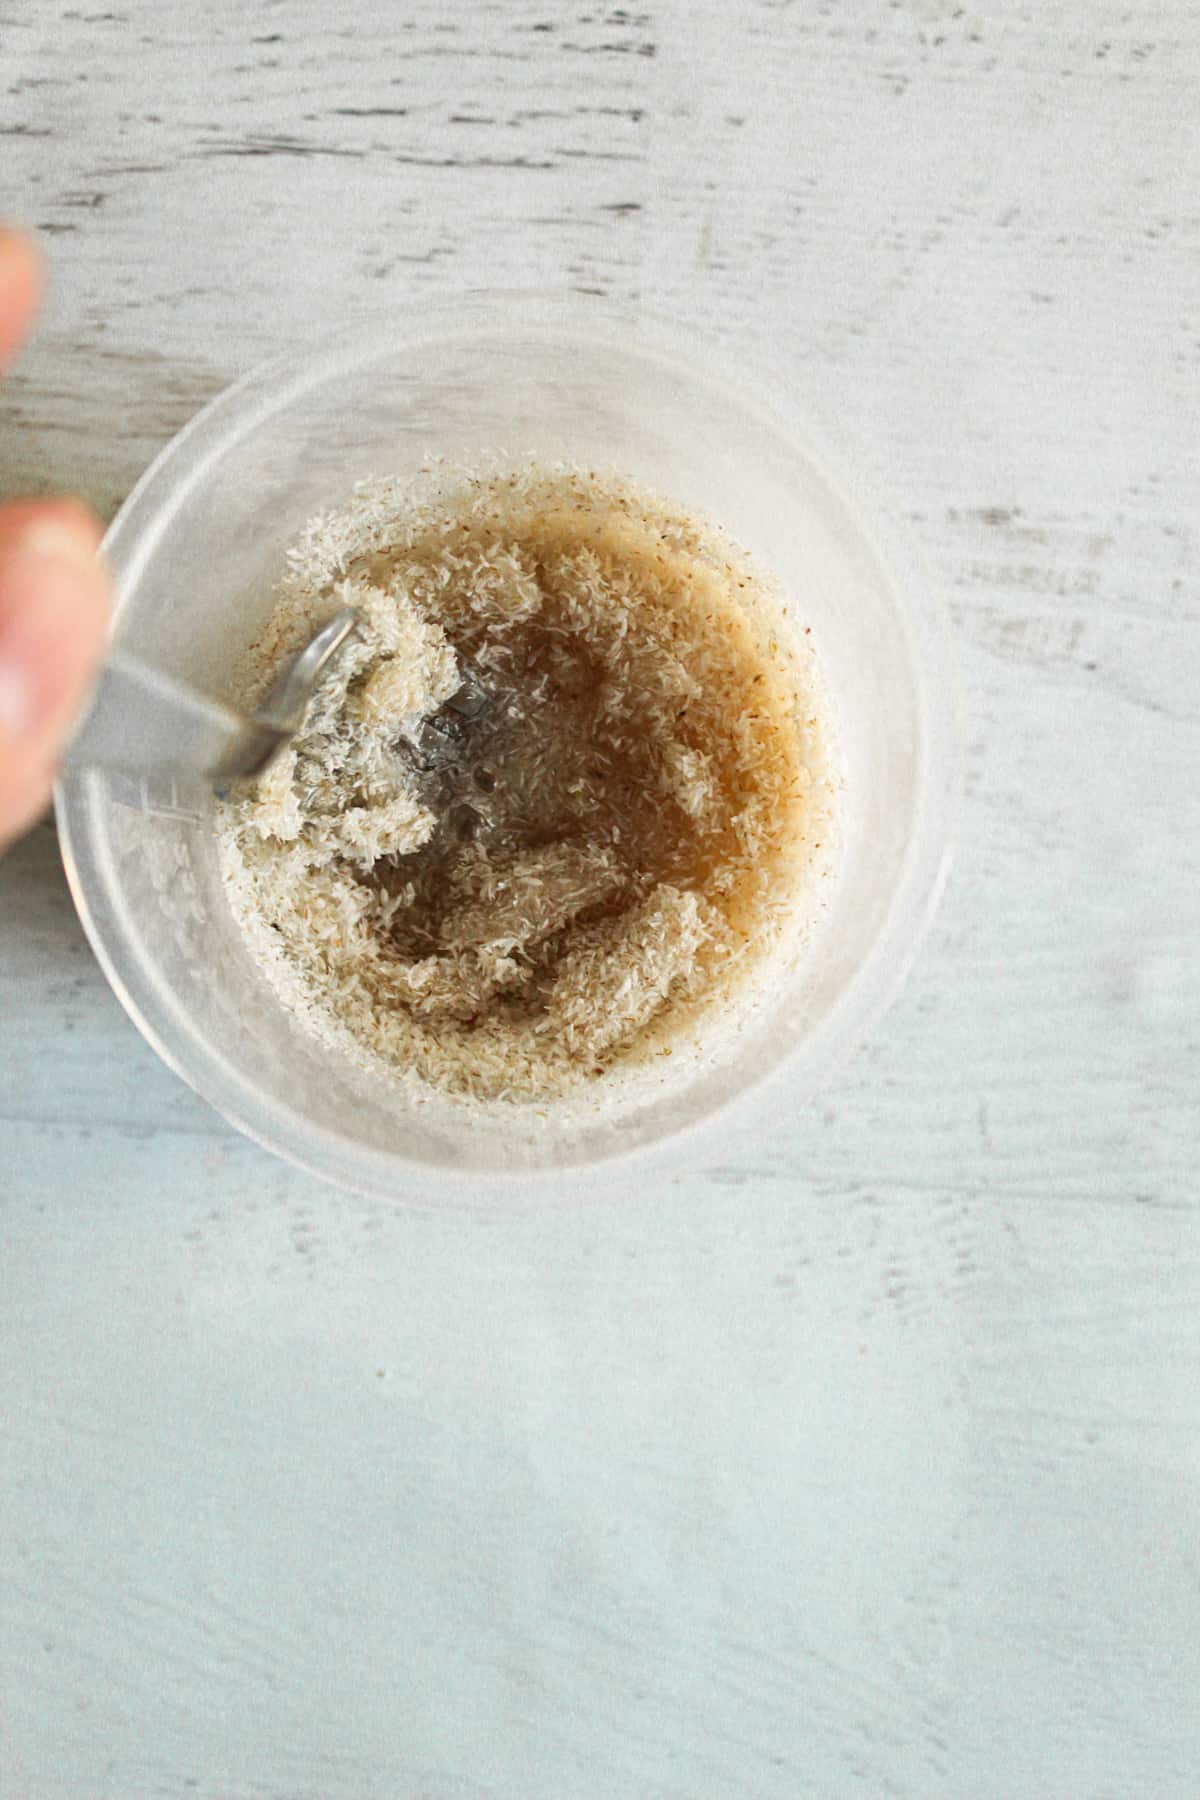
To resolve this issue, use a properly balanced flour blend that includes starches and binders. And should your recipe lack structure, add xanthan gum or psyllium husk. A tested option of ours is the Ultimate Gluten-Free Bread Flour Blend (No Xanthan Gum Required), which can significantly boost consistency and prevent sinking.
4. Overproofing (Yeast Breads)
Overproofing is a common reason bakers ask, “Why did my bread fail?” The dough rises too much, stretching the framework beyond its limits. Once baked, it collapses because the structure cannot support itself.
The solution is to quit proofing once the dough rises slightly above the baking pan, not when it doubles excessively. Bake immediately once it gets to that point to preserve structure.
5. Oven Temperature Too Low
When your oven temperature is too low, the bread will rise, but it won’t set as quickly as it should. In such situations, the framework formation will be delayed, making the loaf unstable as it cools.
Always preheat your oven completely and use an oven thermometer to confirm accuracy. The structure will set well before the bread begins to cool if you bake at the appropriate temperature.
6. Opening the Oven Too Early
There’s always a sudden drop in temperature whenever you open the oven door early. It interrupts the baking process and prevents the structure from setting.
As a result, the bread crumbles before it has a chance to stabilize. Prevent this from happening by keeping the oven closed for at least 25 to 30 minutes. Only check for doneness toward the end of baking.
What Should Gluten-Free Bread Dough Look Like?
Before you even get to baking, one of the biggest indicators of success is how your batter or dough looks. If your bread sinks in the middle, the problem often starts here, not in the oven.
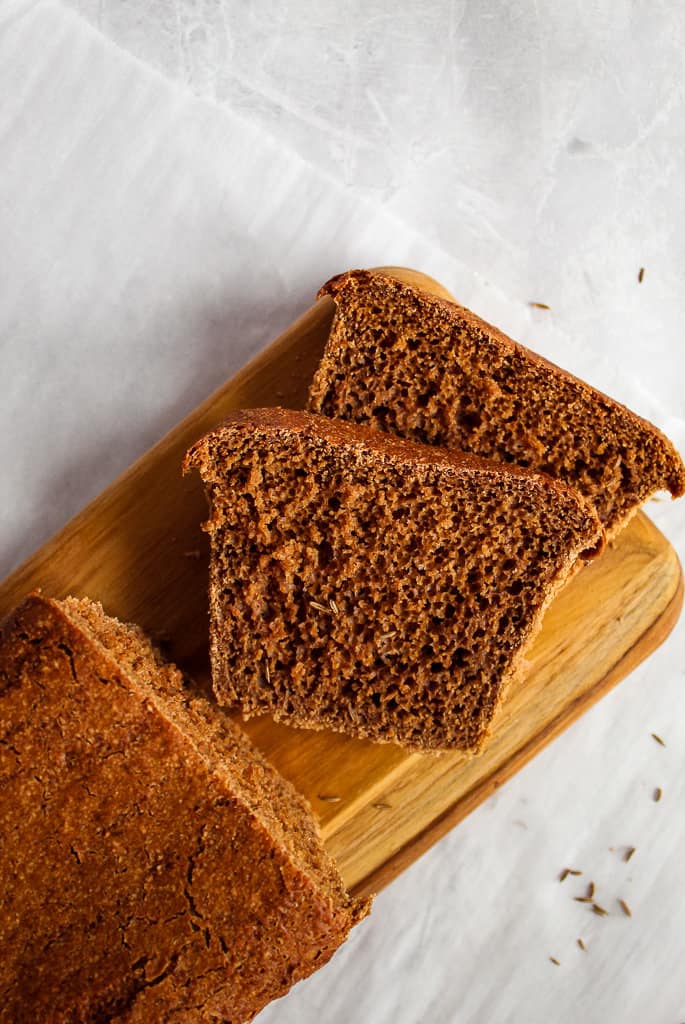
When wondering, “Why did my bread fail?” remember gluten-free bread behaves differently from traditional dough. Instead of a firm, kneadable loaf, the batter is thick and scoopable, requiring careful handling to bake properly.
The ideal texture is scoopable, not pourable. It should hold its shape when scooped but still be soft enough to spread easily into the pan.
Below is how to tell if yours is off:
- Too Wet: One reason you might ask, “Why did my bread fail?”, is that the batter is too wet. If it flows like cake batter or spreads on its own, the structure is too weak, which makes it likely your bread will sink in the middle.
- Too Dry: If the mixture is hard to mix or looks dry and crumbly, it won’t expand properly. This limits rise and can result in a dense loaf.
- Just Right: The batter should look cohesive and hold gentle peaks when lifted.
Getting this stage right solves problems before they start. If your consistency is correct, your bread is far more likely to bake evenly and hold its shape.
What Each Ingredient Does in Gluten-Free Bread
Your ingredients are key to answering the question, “Why did my bread fail?” Gluten-free bread relies on flour, starches, binders, eggs, fats, and liquids to form a stable structure.
Understanding this is what turns inconsistent results into predictable ones, whether you’re baking a simple loaf or something like our Cozy Gluten-Free Cinnamon Raisin Bread.
Flour
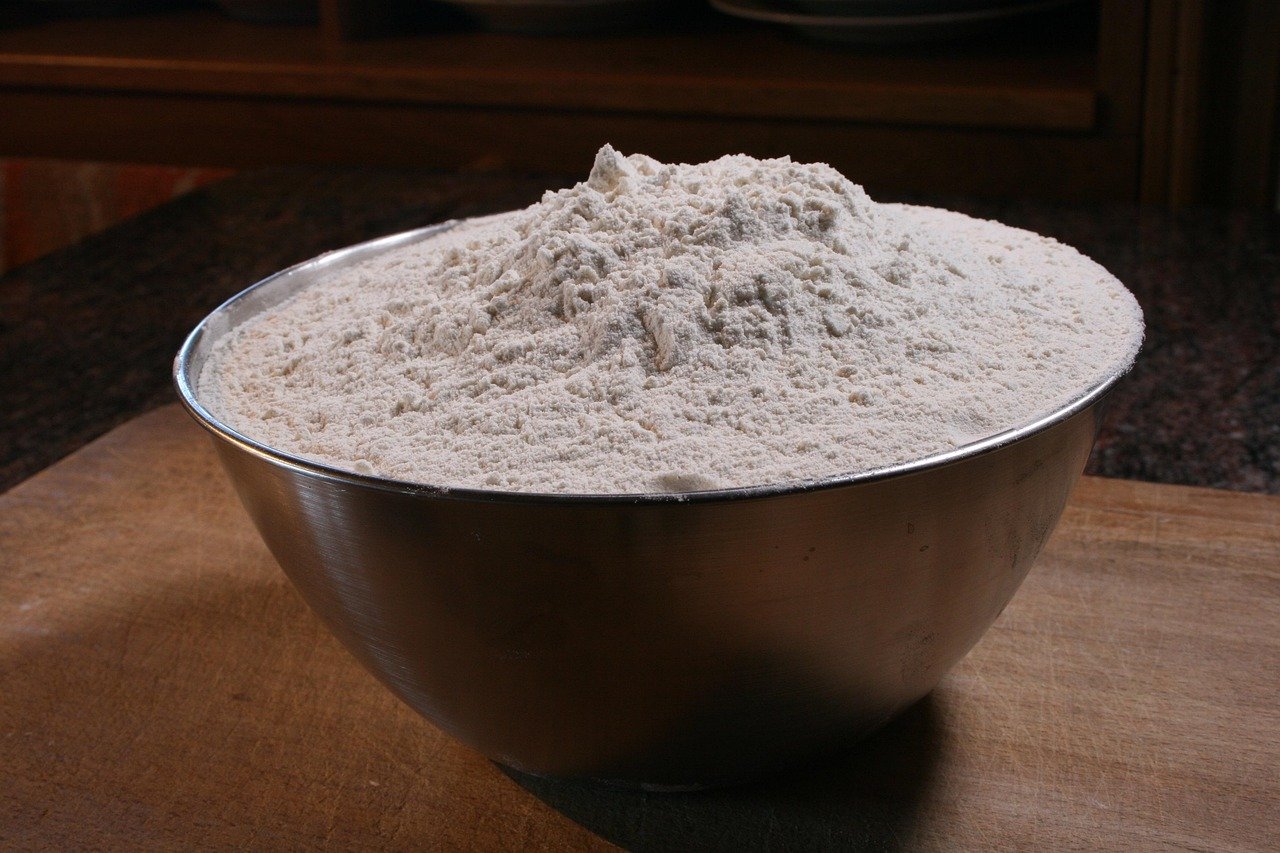
Gluten-free flour is the loaf’s foundation. In contrast to wheat flour, it doesn’t produce a natural network, so the type and blend you use directly affect stability. A poor blend leads to weak support and uneven rise.
Starch
Starches like tapioca, potato, or corn starch help lighten the texture. They trap air, preventing the loaf from becoming too dense. Without enough starch, bread tends to feel heavy and compact.
Binder
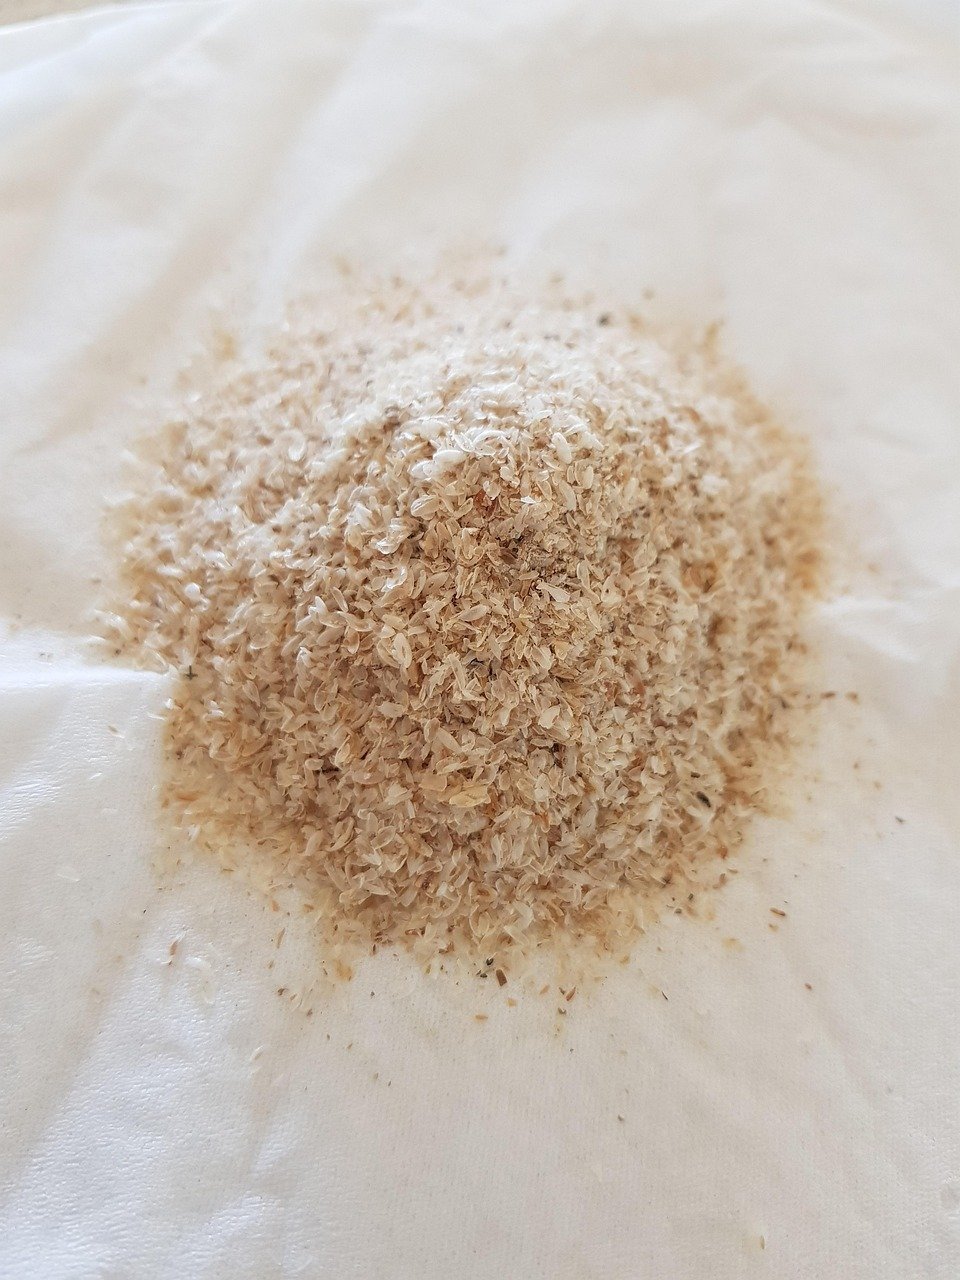
Binders such as xanthan gum or psyllium husk replace the elasticity that gluten normally provides. They help the dough stretch, hold gas, and maintain shape during baking. Without them, the structure cannot hold, and collapse becomes likely.
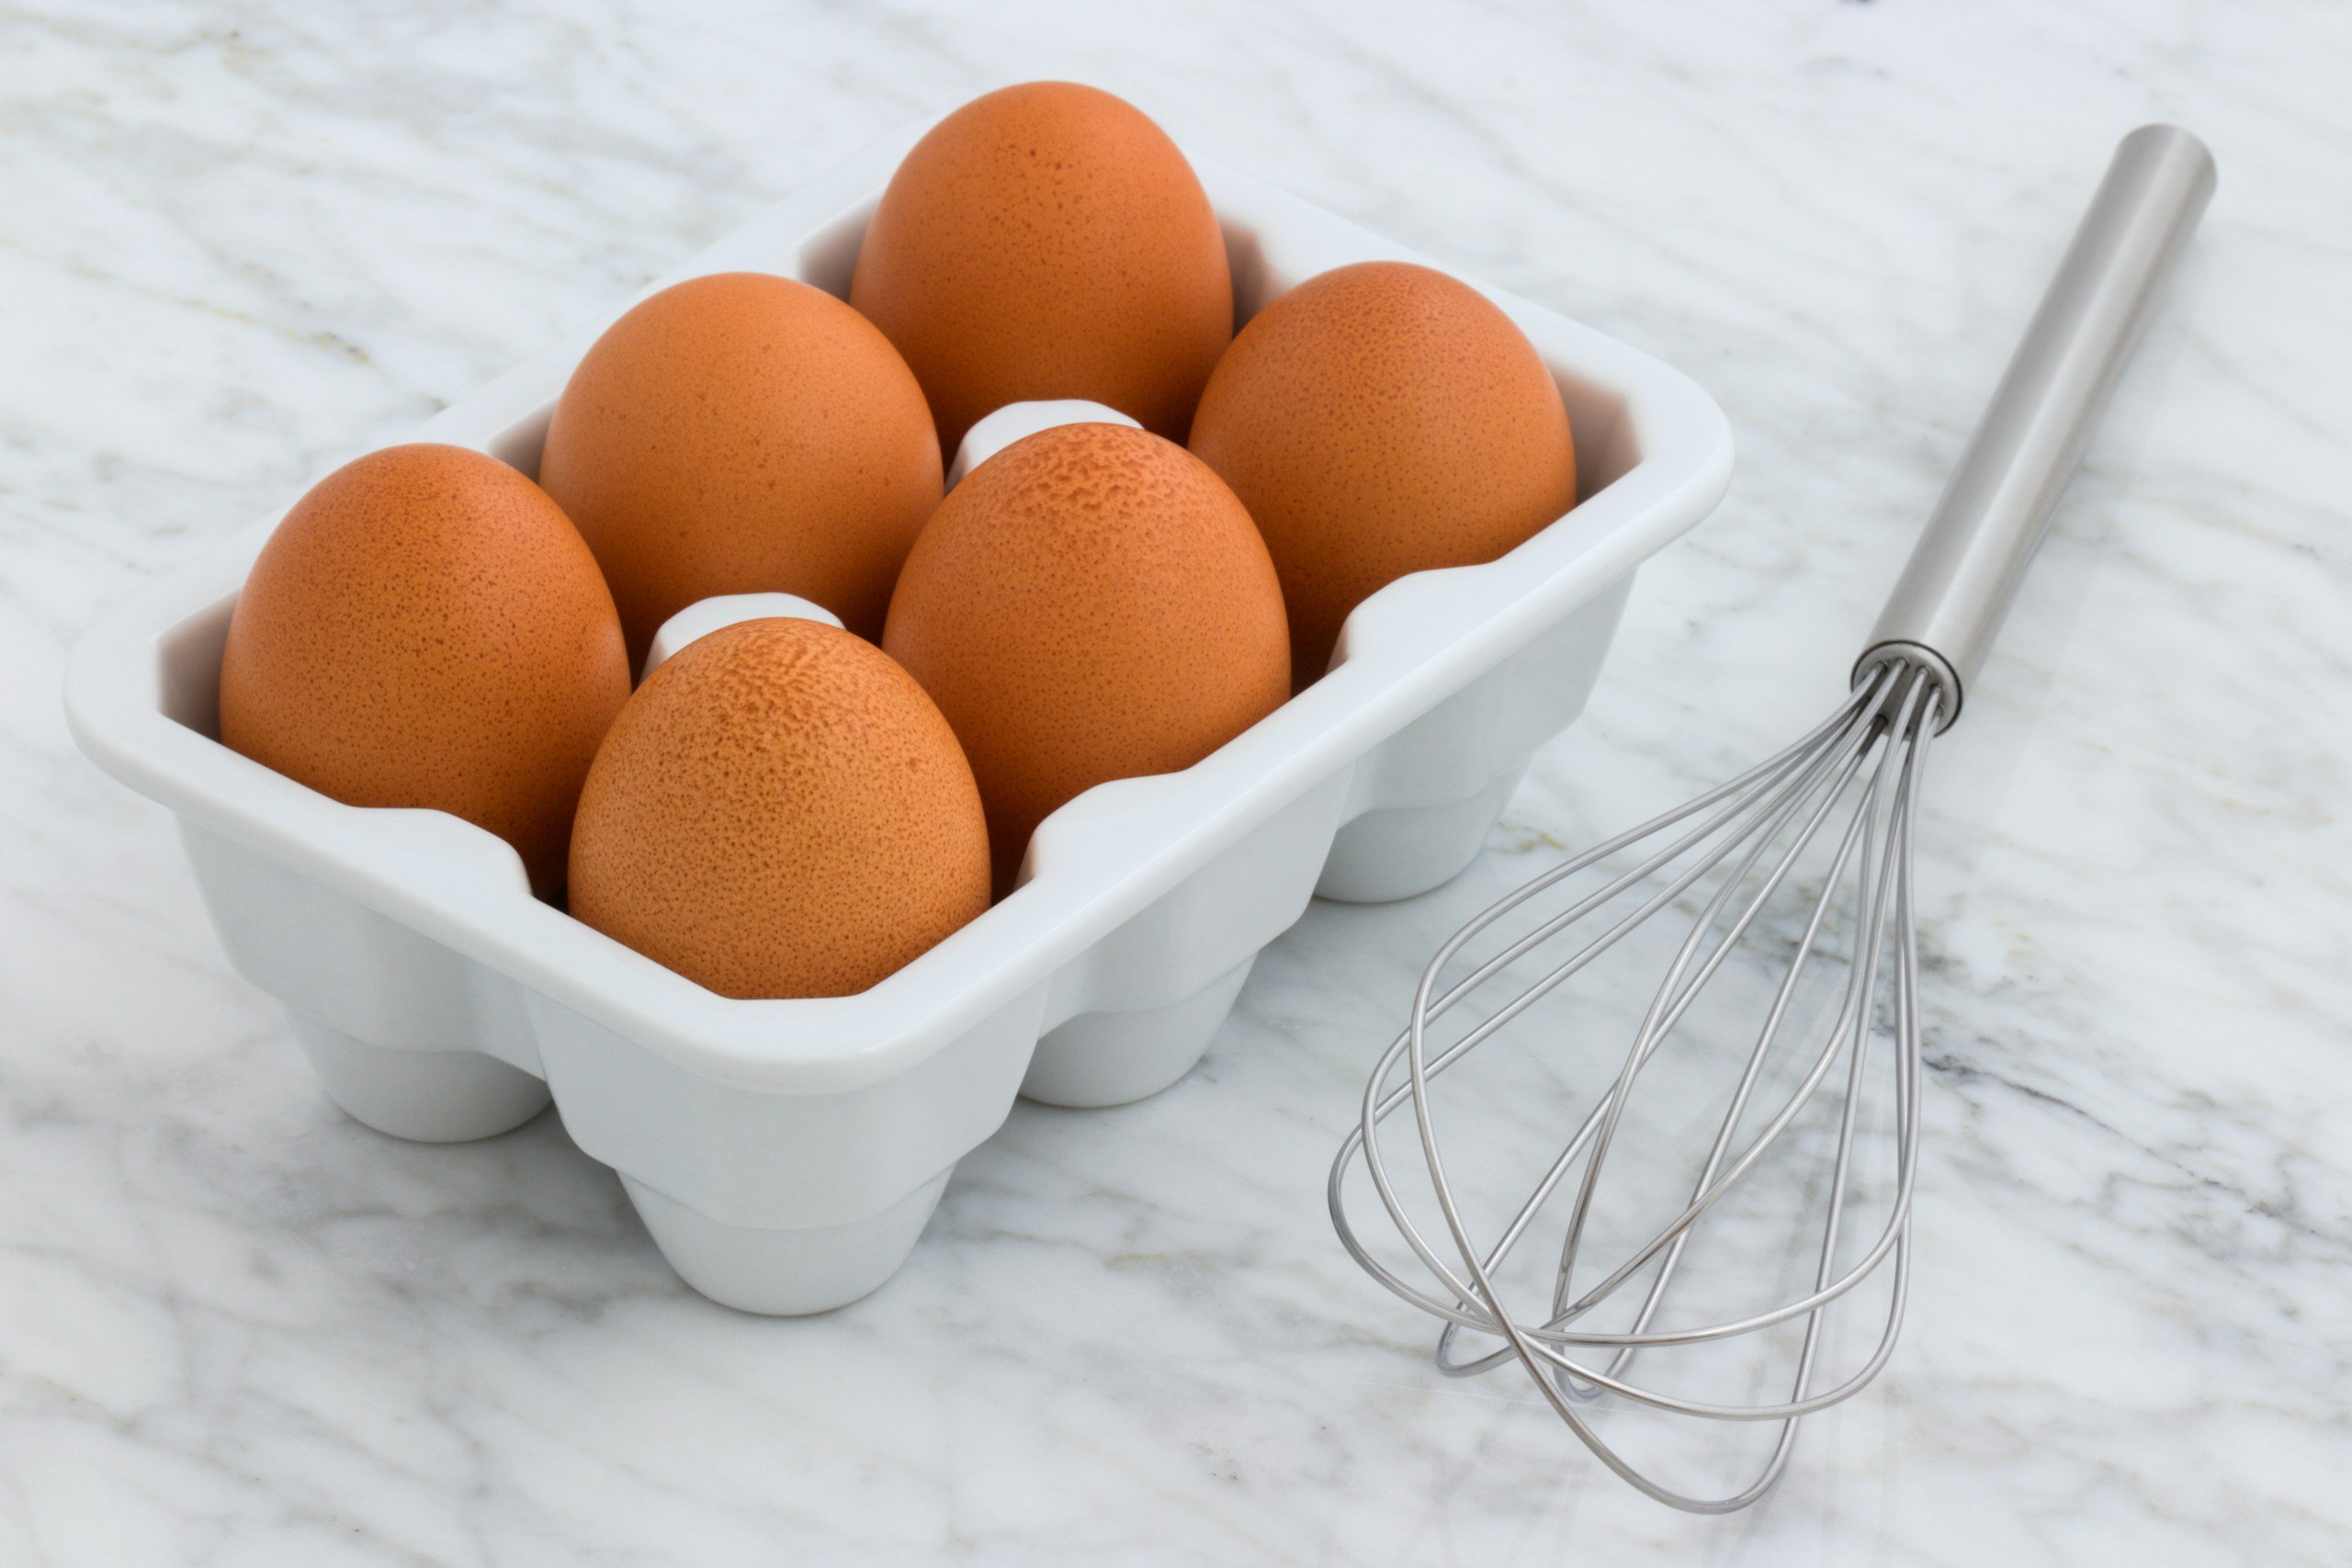
Egg
Eggs add support and hydration. They stabilize the batter and contribute to softness. Too few eggs can weaken the loaf, whereas too many can make it overly dense.
Fat
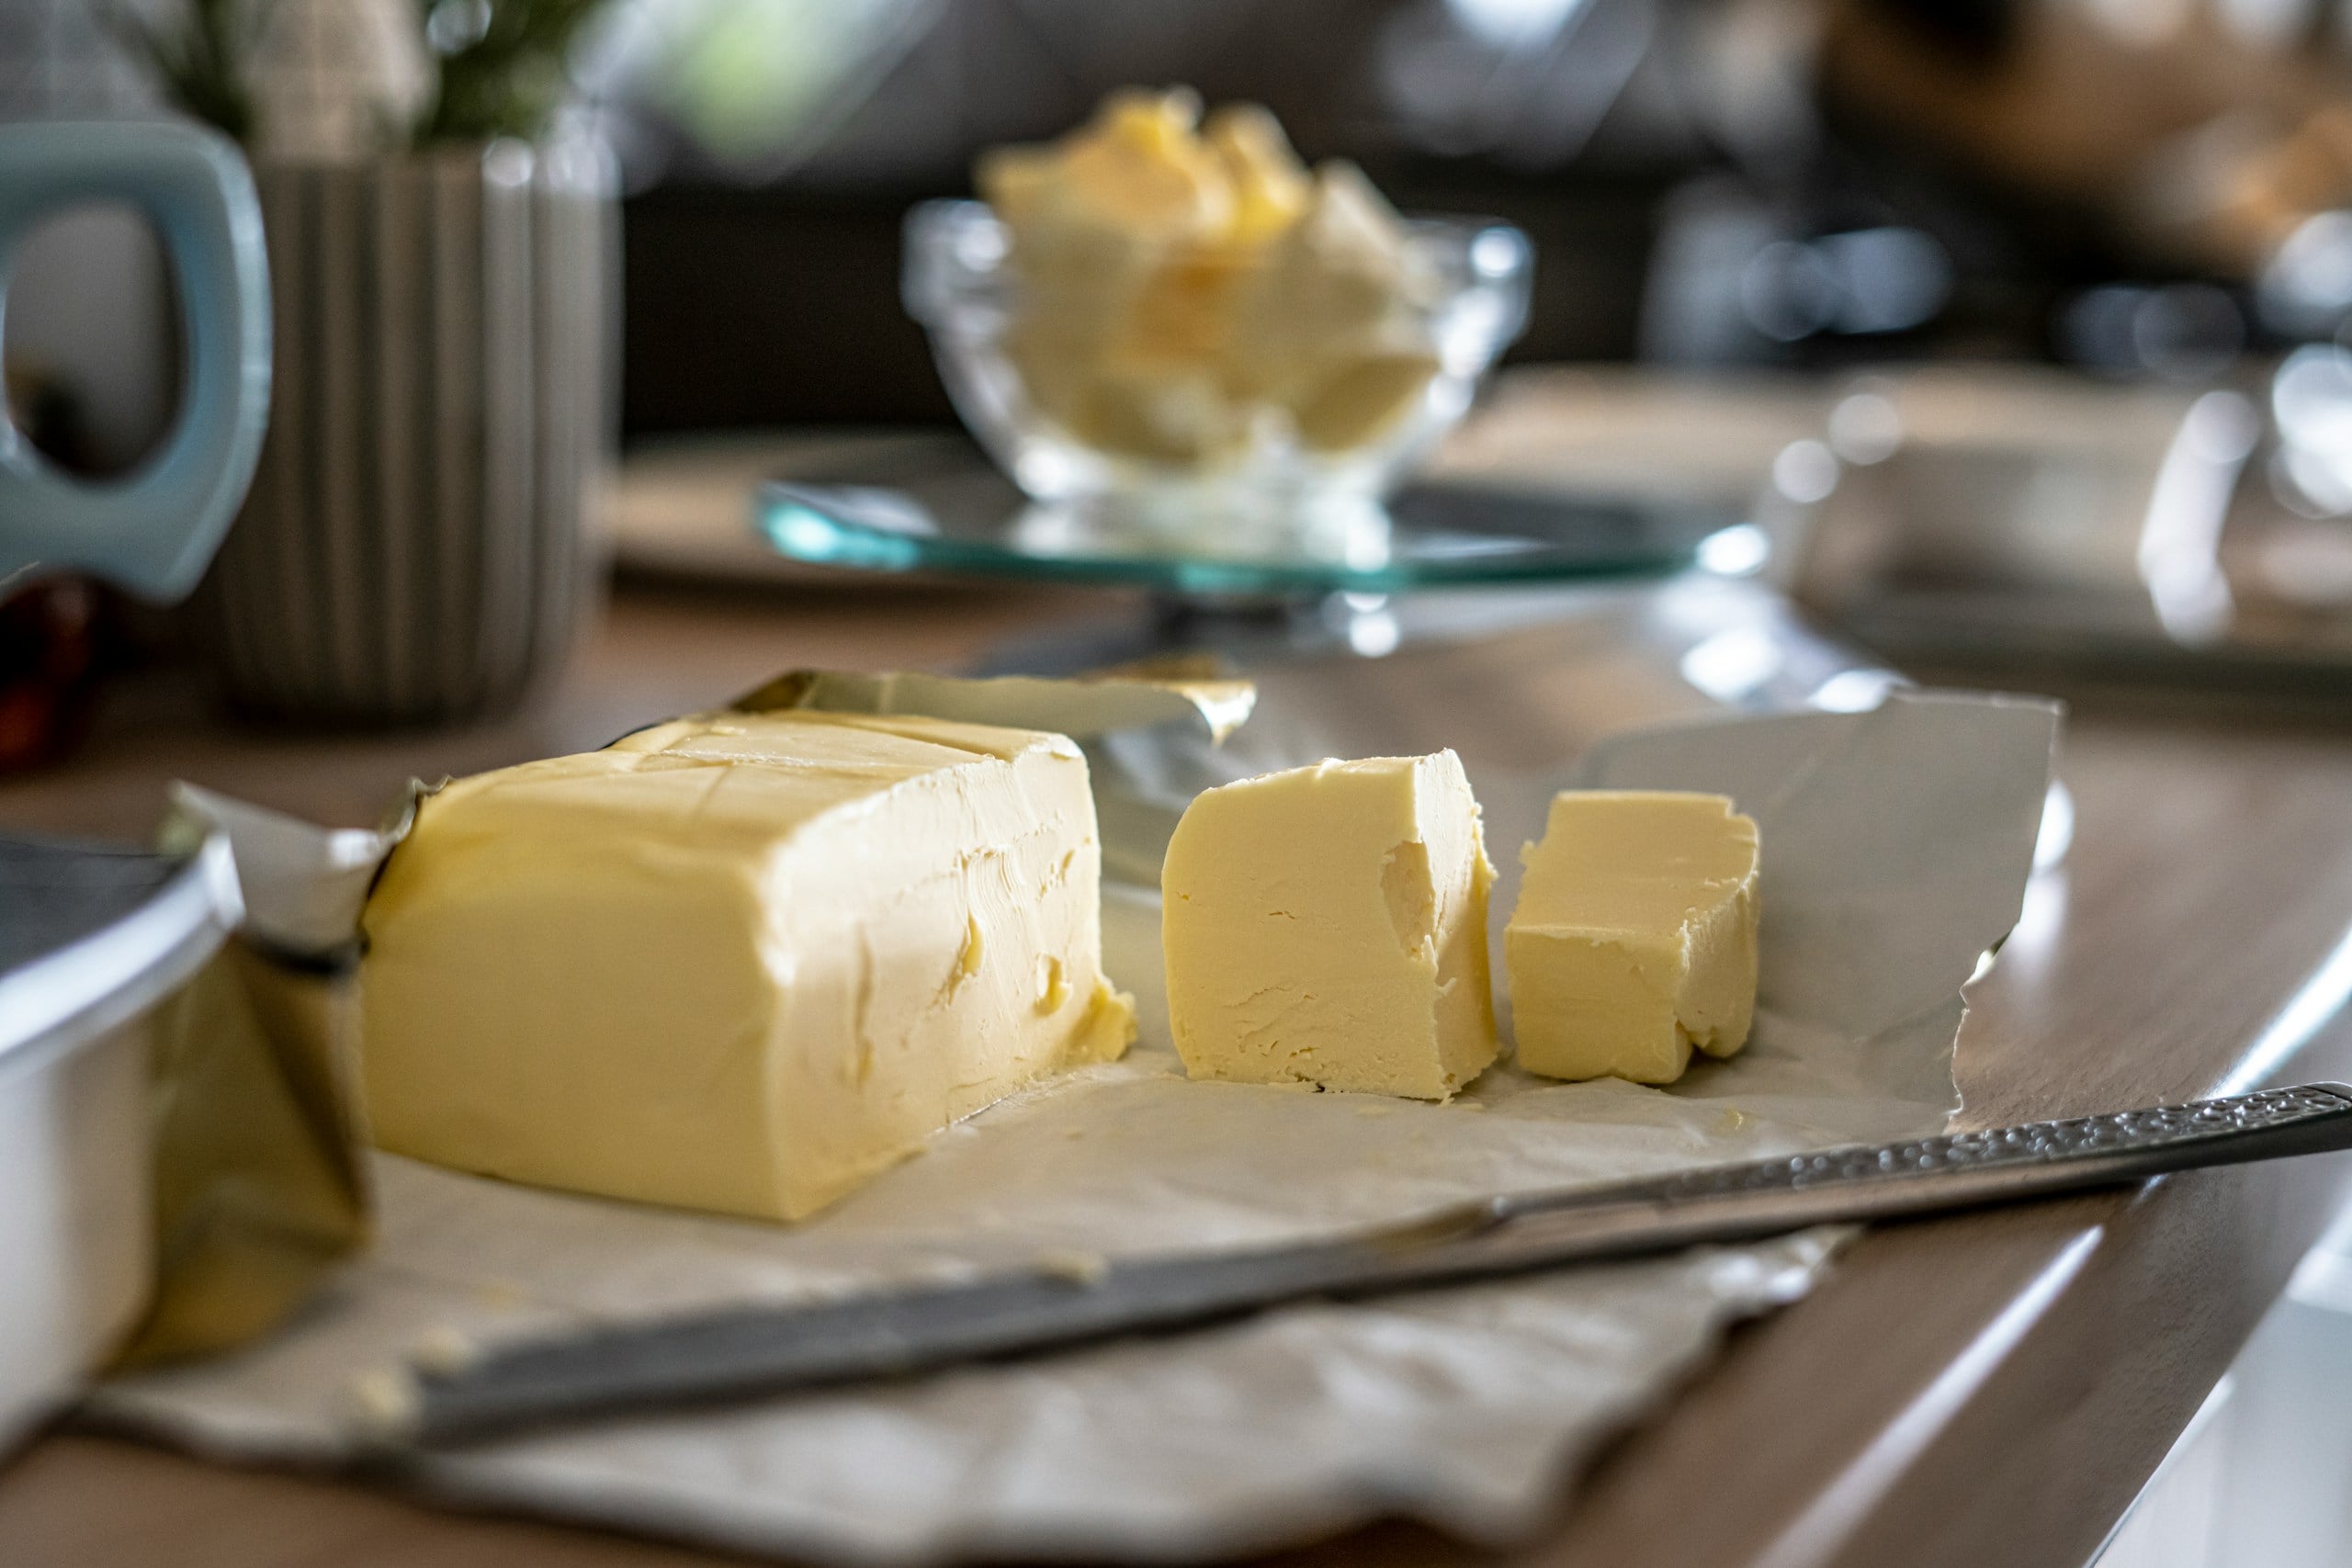
Fat (such as oil and butter) improves texture and keeps the bread tender. It also helps prevent dryness, which can affect how the loaf expands and sets during baking.
Liquid
Liquid activates all ingredients and controls consistency. Too much weakens the framework, while too little prevents proper expansion. Getting this balance right is critical to avoiding collapse.
Why Did My Banana Bread Sink? 4 Common Causes and Fixes
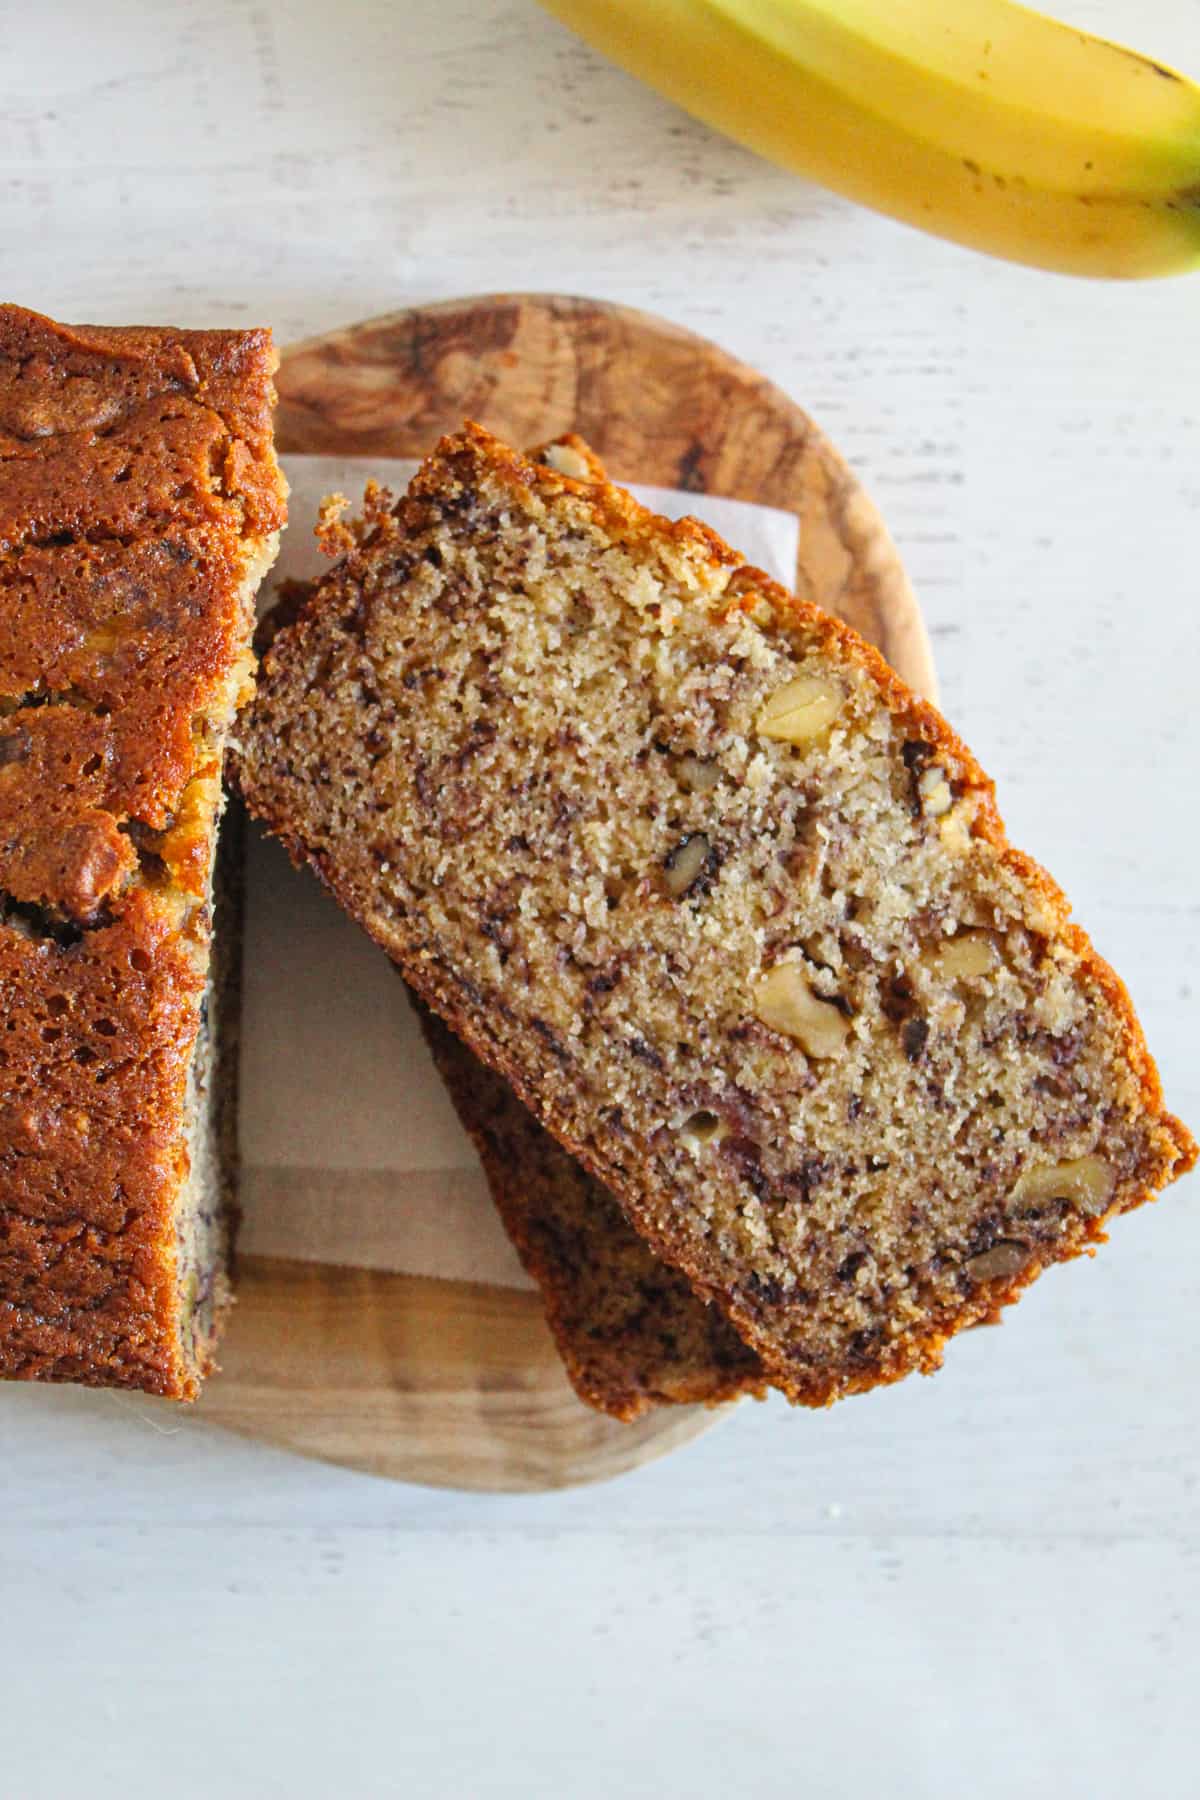
If you’re wondering, “Why did my bread fail?”, banana bread is a common example. It may rise in the oven, then crumble as it cools, leaving a dense, wet center. Understanding why banana bread sinks helps you quickly fix the problem.
1. Too Much Banana (Excess Moisture)
Bananas produce moisture, but excess throws off the balance. When the batter becomes too wet, the structure won’t hold during baking.
Fix this issue by simply sticking to the precise amount in the recipe. Slightly reduce the quantity if your bananas are extra large or very ripe to prevent excess moisture.
2. Too Much Sugar
Sugar does more than sweeten; it also affects the framework. Excess sugar delays setting and keeps the center soft for too long.
This leads to collapse as the bread cools. Therefore, measure sugar carefully and avoid adding extra, even if you prefer a sweeter loaf.
3. Underbaking
Banana bread often looks done on the outside before it’s fully baked on the inside. The center will remain soft and would sink if you remove it too early.
Hence, bake until a toothpick comes out clean or with a few crumbs, not wet batter. Let the bread cool completely to ensure the structure sets properly.
4. Wrong Pan Size
How the heat is distributed is directly affected by pan size. That’s because the center won’t cook evenly if the pan is too small and the batter is too deep.
As a result, use the pan size specified in the recipe. Adjust baking time accordingly if you change it to ensure the middle cooks through.
Banana bread collapse is basically about balance; excess moisture, improper baking, or incorrect sizes. By controlling these factors, you ensure your loaf keeps its shape every time, whether you’re making a traditional recipe or something like our One Bowl Gluten Free Banana Bread.
Essential Kitchen Tools for Perfect Gluten-Free Bread
Below are the essential tools that make a real difference:
- Oven Thermometer: Use something like the Hotloop Digital Oven Thermometer to ensure your oven is actually at the right temperature.
- Digital Kitchen Scale: A reliable option is the Etekcity Digital Kitchen Scale for accurate measurements.
- Instant-Read Thermometer: The ThermoPro TP03 Instant-Read Thermometer is widely used for quick, accurate readings.
- 9×5 Loaf Pan: A standard Amazon Basics Nonstick 9×5 Loaf Pan ensures even baking.
- Silicone Spatula: A heat-resistant option, as the OXO Good Grips Silicone Spatula works well.
Bread Doneness & Temperature Guide
After understanding the causes of collapse, the next step is knowing exactly when your bread is fully baked. Time alone isn’t reliable; temperature is.
| Bread Type | Inner Temperature | Result |
|---|---|---|
| Quick bread | 200–205°F | Fully baked |
| Yeast bread | 190–200°F | Done |
| Undercooked | <190°F | Will collapse |
Why Temperature Matters More Than Time
Baking time varies based on your oven, pan, and ingredients. Internal temperature gives a consistent, accurate measure of doneness.
How to Check Doneness Properly
Insert a thermometer into the center of the loaf. This is the last part to cook. If you don’t have one, check that the top is firm and a toothpick comes out clean.
Apply this knowledge to every recipe, whether you’re baking a simple loaf or an enriched Traditional Gluten-Free Easter Bread. Basically, to prevent collapse and ensure consistent results, you must get the internal temperature right.
5 Common Baking Mistakes That Cause Bread to Collapse
Even if your recipe is correct, these small mistakes can still cause failure:
- Opening the oven too early.
- Using the wrong flour blend.
- Adding too much liquid.
- Skipping xanthan gum or binders.
- Overmixing the batter.
Learn more about binders in Gums in Baking: Are They Really Necessary?
How to Fix Collapsing Bread (Step-by-Step)
At this point, you understand why it happens. Below is exactly how to stop your bread from sinking in the middle. Follow these steps in order; each one directly improves the framework and stability.

Step 1: Check Oven Temperature Accuracy
Use an oven thermometer to confirm your oven is heating correctly. Even small temperature differences can lead to underbaking and collapse.
Step 2: Use the Correct Flour Blend
Choose a balanced gluten-free flour blend with proper structure and binders. The wrong blend is a common reason bread fails.
Step 3: Measure ingredients precisely
Use exact measurements, preferably by weight. Small changes in liquid or flour ratios can weaken the batter and cause it to sink.
Step 4: Bake Until the Internal Temperature Is Reached
Don’t rely on time alone. Bake until the center reaches the correct internal temperature so the framework fully sets.
Step 5: Let the Bread Cool on the Rack Completely
Cooling is part of the baking process. Removing or slicing too early can cause the bread to collapse before it stabilizes.
Quick Fix Checklist
Do you just want a fast solution to stop your bread from sinking in the middle? Use this checklist before and after baking. These are the key fixes that prevent collapse.
- Bake longer.
- Use a proper flour blend.
- Don’t overmix.
- Check oven temp.
- Let the bread cool fully.
Run through this every time you bake. If your bread still sinks in the middle, one of these steps is usually being missed.
Gluten-Free vs Regular Bread (Why Gluten-Free Bread Collapses More)
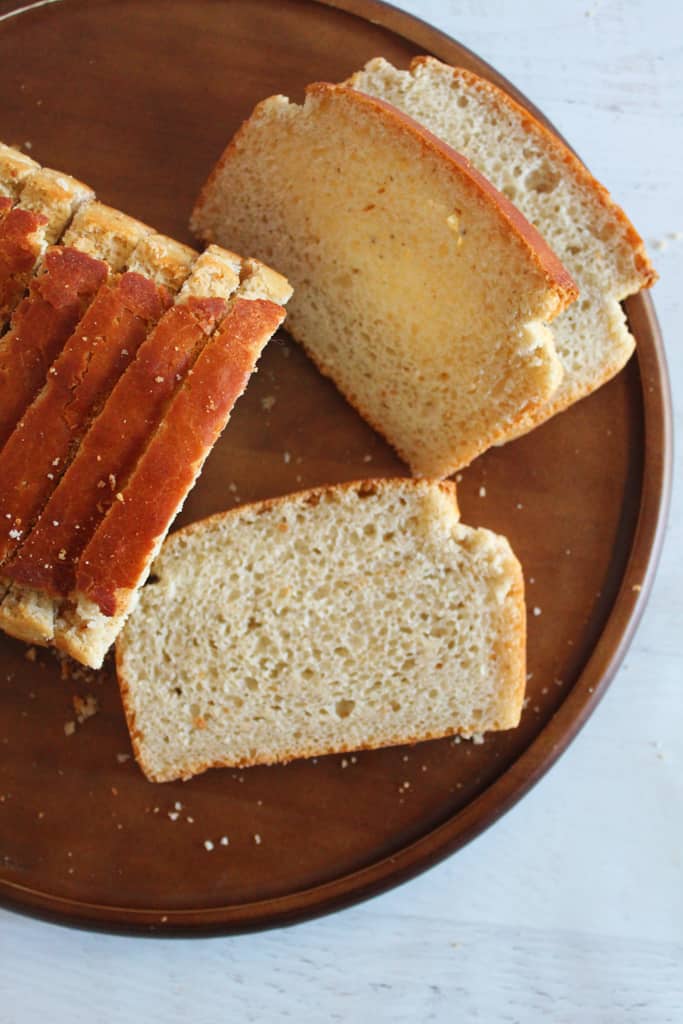
To really grasp why your bread sinks in the middle, you must understand one major difference: structure. Regular bread and gluten-free bread have entirely different baking characteristics.
Lack of Gluten Structure
In regular bread, gluten creates a strong, elastic network that holds in gas and keeps the bread’s shape. This network is the reason the bread rises and stays risen. Scientific research indicates that gluten provides strength, elasticity, and gas retention, all of which are crucial for bread stability.
Gluten-free loaf lacks this system. In the absence of this elastic network, the dough can’t retain air properly, which makes it very likely to collapse during or after baking.
Role of Binders (Xanthan Gum, Psyllium)
Because of gluten’s absence, gluten-free recipes depend on binders to perform its function. Ingredients such as psyllium husk and xanthan gum form a network that mimics gluten’s ability to hold structure.
NCBI research shows that without this support system, gluten-free loaves exhibit reduced gas retention and a weaker structure, resulting in a sunken, dense loaf.
This is why neglecting binders or using inadequate amounts usually results in a loaf that rises but lacks stability.
Higher Moisture Sensitivity
Gluten-free dough is more moisture-sensitive than traditional dough. Gluten usually balances water absorption and structure, but when it’s absent, even small changes in liquid can have a huge impact.
Excess moisture weakens the already fragile framework, whereas too little can prevent proper expansion. This delicate balance explains why gluten-free bread is much more likely to crumble than traditional bread.
What Collapsed Bread Looks Like
Recognizing the pattern helps you quickly identify the issue.
- Sunken Center – A dip in the middle of the loaf.
- Gummy Interior – Sticky or wet texture inside.
- Dense Bottom – Heavy, compact base layer.
Match what you see to the causes above to pinpoint the problem quickly.
Baking Questions Answered
You now understand the main causes of collapse. But there are still a few important questions that come up during baking, especially when your results are inconsistent. These answers below cover the gaps most bakers still struggle with.
If you have more questions or tips to add, drop them in the comments below. We’d love to hear from you.
Can You Fix Bread After It Has Collapsed?
Once bread has sunk in the middle, you can’t fully restore its framework. However, you can still use it. Toasting slices or rebaking slightly can improve texture, especially if the issue is mild underbaking. For severely collapsed loaves, it’s better to adjust your method for the next bake rather than trying to fix the current one.
Why Is My Bread Dense but Not Sunken?
Dense bread usually means the structure didn’t develop properly, even if it didn’t collapse visibly. This often comes from poor ingredient balance, weak flour blends, or insufficient air incorporation during mixing. Unlike collapse, this issue happens earlier in the baking process.
Should I Use a Glass or Metal Pan?
Pan material affects heat distribution. Metal pans heat faster and more evenly, helping the structure set properly. Glass pans retain heat longer but heat up more slowly, which can increase the risk of uneven baking in gluten-free recipes.
Can I Bake Gluten-Free Bread in a Fan (Convection) Oven?
Yes, but adjustments are needed. Convection ovens circulate hot air, which can cause the outside to bake faster than the inside. Lower the temperature slightly and monitor doneness carefully to avoid underbaking the center.
Why Does My Bread Crack on Top but Still Collapse?
A cracked top usually means the outer layer set too quickly while the inside was still expanding. This creates a weak internal structure, which can collapse as it cools. It’s often linked to uneven baking or incorrect temperature balance.
Why Does My Bread Taste Fine but Have Poor Texture?
Different factors influence flavor and framework. You can have well-balanced ingredients for taste, but still lack the structural integrity needed for proper rise and stability. Texture issues usually point to technique or ratios rather than flavor.
How Do I Know If My Flour Blend is the Problem?
If you consistently get poor structure across different recipes, your flour blend is likely unbalanced. A good blend should provide both support and moisture control. If not, your bread may rise but fail to hold its shape.
Fix Your Bread for Good
By now, you know exactly why your bread sinks in the middle, and more importantly, how to stop it. From fixing moisture balance to baking at the right temperature, every step you take improves structure and consistency.
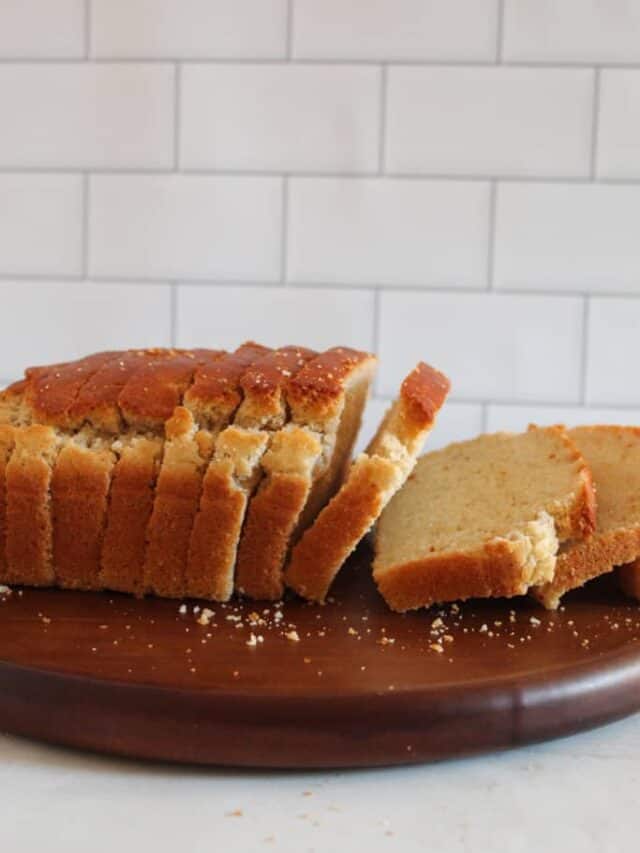
Gluten-free baking isn’t guesswork. Once you control the key variables, your results become predictable, and your bread stops collapsing.
If you’ve been struggling with failed loaves, don’t stop here. Apply these fixes, test again, and refine your process. That’s how you get it right every time.
More Baking Guides You’ll Find Helpful
If you want to keep improving, these guides below will help you build a better framework, avoid common mistakes, and master gluten-free baking in different styles:
- You Gotta Try It: Make-Ahead, Flour-Free Gluten-Free Bread – Prep it ahead, bake when ready, without sacrificing structure or texture.
- Gluten-Free Buckwheat Bread Recipe (Bread Machine Friendly & Foolproof) – A reliable, set-it-and-forget-it loaf that takes the guesswork out of gluten-free baking.
- Soft Gluten-Free Vegan Bread: Nut-Free & Gum-Free – Light, soft, and completely free from common allergens, without compromising structure.
- Gluten-Free Irish Soda Bread: Step-by-Step for Perfect Loaves – A simple, no-yeast bread that still delivers a stable, well-risen crumb.
- Easy Omega-3 Loaded Cinnamon Bread (Gluten-Free!) – A nutrient-rich loaf that proves healthy baking can still hold its shape.
- Beginner-Friendly Gluten-Free Sandwich Bread – The perfect starting point if you want consistent, no-fail results every time.
- Making the Perfect Gluten-Free Sourdough Bread – Master fermentation and structure for a naturally risen loaf that doesn’t collapse.
Together, these recipes and guides can help you build more confidence, troubleshoot more effectively, and create gluten-free breads with better texture, structure, and consistency.
Let’s Talk Bread
Still having trouble with your bread? Tell us what happened in the comments, and we’ll help you fix it.