A truly great key lime pie should be three things: creamy, tangy, and perfectly sliceable. It should have a smooth texture that melts in your mouth and a crust that holds together beautifully with every bite. And yes, of course it should feel indulgent, even without gluten or dairy. Have I got you drooling yet?
This classic dessert seems simple on the surface, but once you remove gluten and dairy, everything changes. The filling doesn’t always set the way you expect it to. The crust can crumble. And somehow, that bright, zesty lime flavor just doesn’t hit the same. This recipe was developed to tackle those common gluten-free baking frustrations.
Table of Contents

With just a handful of ingredients and minimal prep time, you’ll be able to create a pie that not only looks impressive but tastes as if it came straight from a professional bakery. It’s designed to be simple, reliable, and practically foolproof. And whether you’re making this for a summer gathering, a holiday dessert, or just because you’re craving something fresh and citrusy, it won’t disappoint.
By the end of this guide, you’ll not only have a go-to gluten-free (and dairy-free!) key lime pie recipe, but you’ll understand how to avoid the mistakes that ruin most homemade versions. So if you’re ready to make a pie that’s bright, creamy, and guaranteed to impress, let’s get started.
Why This Recipe Is The Best!
This gluten-free key lime pie is certainly a spring and summertime favorite with its bright, citrusy flavors, but it can be enjoyed year-round. Since it’s gluten and dairy-free, this pie is perfect for serving a wide variety of people at a potluck or dinner party. Here are a few more reasons you’ll love this pie:
- The prep time for this pie is only 10 minutes.
- Like this gluten-free tiramisu, this is a wonderful no-bake make-ahead recipe.
- This pie only requires a handful of ingredients.
- It can be stored in the refrigerator for up to 3 days.
- And did I mention, it’s gluten-free AND dairy-free!

Ingredient Deep Dive
The difference between a mediocre key lime pie and one that people rave about often comes down to the ingredients and how well you understand them.
- Key Lime Juice: This is the star of the show. Key limes are smaller, more aromatic, and slightly more floral than regular limes. That’s what gives key lime pie its signature flavor. Bottled key lime juice is a great alternative if fresh key limes aren’t available.
- Sweetened Condensed Coconut Milk: The Nature’s Charm brand was used in this recipe. Regular dairy sweetened condensed milk can be used if you do not need a dairy-free recipe.
- Dairy-Free Sour Cream: The Forager brand was used in this recipe. As with the condensed milk, you can use a regular sour cream if dairy is not an issue for you.
- Lime Zest: If you are using bottled key lime juice, use the zest from regular limes.
- Cornstarch: This is necessary to thicken the filling and help it set up firm as it chills in the fridge.
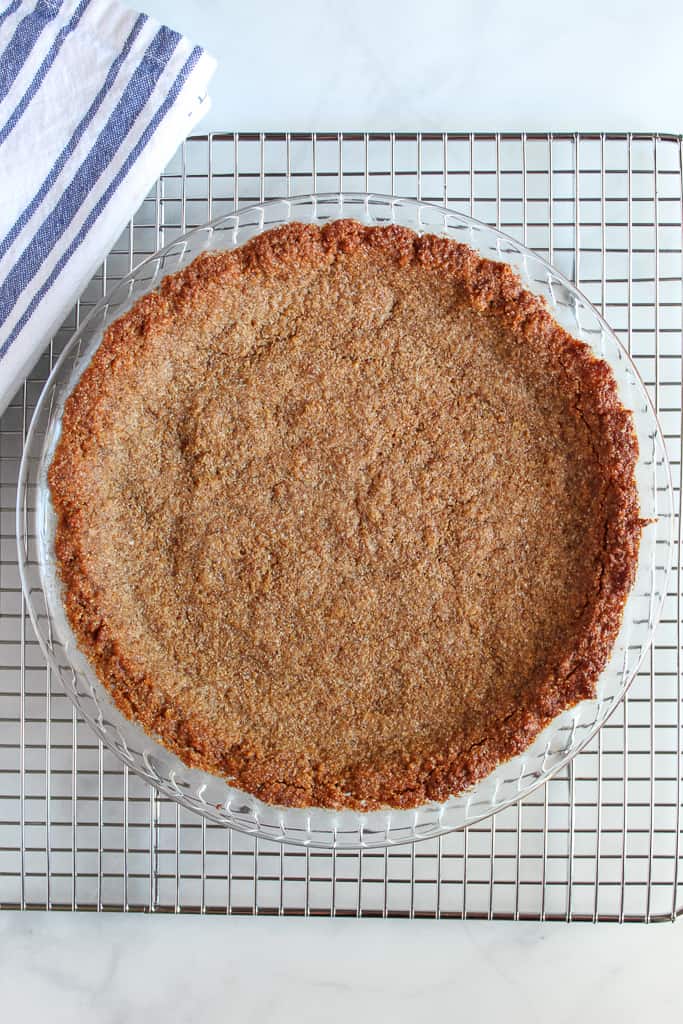
- Graham Cracker Pie Crust: I made this key lime pie with this gluten-free pie crust recipe, which uses gluten-free graham crackers and almond flour. Follow this recipe or use your favorite gluten-free pie crust.
Measurements for each ingredient, along with instructions for making Gluten-Free Key Lime Pie, are in the printable recipe card below.
Printable Gluten-Free Key Lime Pie Recipe Card
Ingredients
- 16.75 ounces sweetened condensed coconut milk (about 1 1/2 cans)
- ⅔ cup key lime juice
- ¼ cup dairy-free sour cream
- 1 tbsp grated lime zest (about 2 small limes)
- 4 tbsp cornstarch
- 1 9-inch graham cracker pie crust, baked and cooled
Instructions
- In a large bowl, combine the sweetened condensed coconut milk, key lime juice, sour cream and lime zest. Mix with a whisk until combined.
- In a small bowl, add 1 spoonful of the filling to the 4 Tablespoons of cornstarch and mix gently until the cornstarch is smooth and fully combined.
- Scrape cornstarch mixture into the filling and mix with a whisk until thoroughly combined.
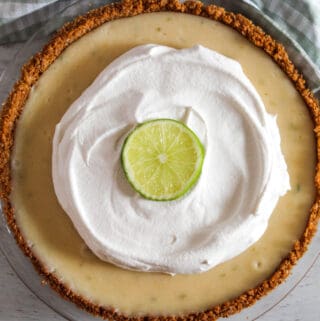
- Pour filling into prepared graham cracker crust and smooth the top. The pie will be full.
- Chill the pie in the refrigerator for 8 hours or overnight.
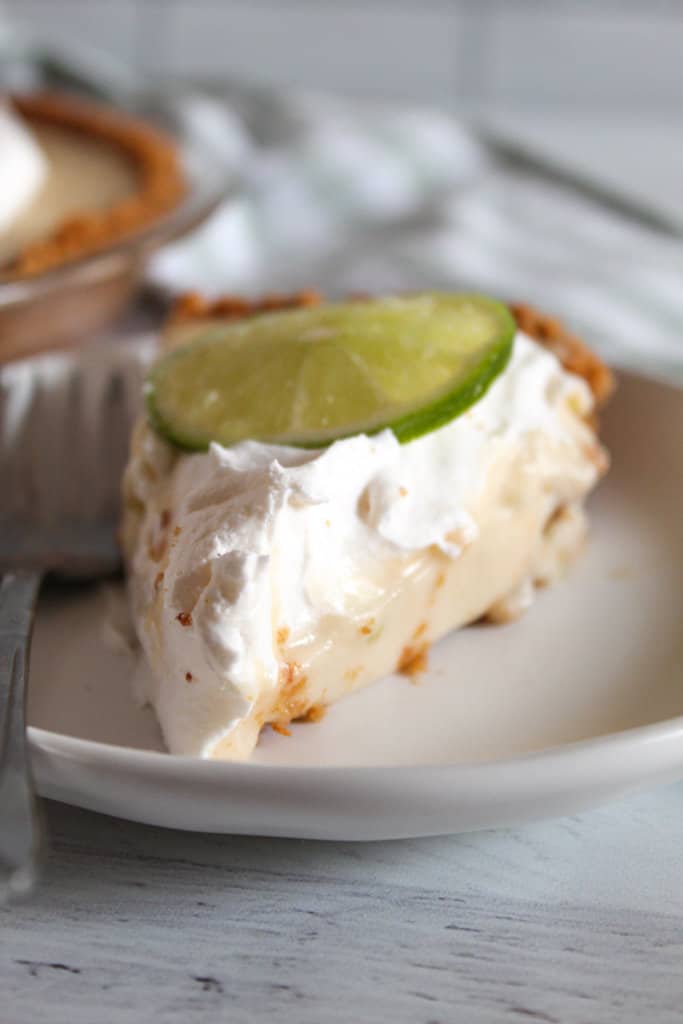
- Serve with dairy-free whipped topping and your favorite garnishes.
Notes
- This is the pie crust used in the recipe. Pie crust can be made a day ahead of time.
- The pie can be stored covered in the refrigerator for up to 3 days.
Nutrition
Did you make and love this recipe? Give it your review and rating below! And make sure to follow me on Instagram, Pinterest, and Facebook , too!
Best Gluten-Free Pie Crust Options
A great key lime pie deserves a crust that complements it. The most popular option is a gluten-free graham cracker crust. This is the classic style to use with key lime pie, as it’s slightly sweet, easy to make, and pairs perfectly with the tart filling. When done right, it creates a firm base that slices cleanly.
In most graham cracker crust recipes, gluten-free graham crackers or graham cracker crumbs can be swapped with your favorite crushed cracker. Think digestive biscuits, chocolate cookies, or even ground nuts.
If convenience is your priority, a store-bought gluten-free crust can work just as well. Ultimately, the best crust is one that balances flavor, texture, and structure to support the filling without stealing the spotlight.
Recipe for Gluten-Free Pie Crust
- 1 1/4 cups (160g) gluten-free graham cracker crumbs
- 1/4 cup (50g) granulated sugar
- 1/3 cup (35g) almond flour
- 5 tbsp (71g) vegan butter, melted
Preheat the oven to 325ºF. In a medium bowl, mix the graham crackers, granulated sugar, and almond flour. Add the melted butter and mix well.
Using your hands or the back of a spoon, press the mixture into the base and up the sides of a 9″-10″ ungreased pie plate.
Bake in the oven for 10-12 minutes. Cool completely before using.
Step-by-Step Instructions (With Photos)
For me, pictures always help me to better understand what to look for in recipes. So take a look at the photos below as a guide for what to look for as you make this gluten-free key lime pie at home.
Step 1
In a large bowl, combine the 16.75 oz sweetened condensed coconut milk, 2/3 cup key lime juice, 1/4 cup sour cream, and 1 tbsp lime zest. Mix with a whisk until combined.
Step 2
In a small bowl, add a spoonful of the filling and 4 tbsp of cornstarch, whisking until smooth and fully incorporated, with no clumps.
Tip: This is called a cornstarch slurry and is necessary to prevent the cornstarch from becoming clumpy in your pie filling. See the troubleshooting section below for a helpful video on making a slurry.
Step 3
Add the cornstarch mixture to the filling and mix with a whisk until thoroughly combined.
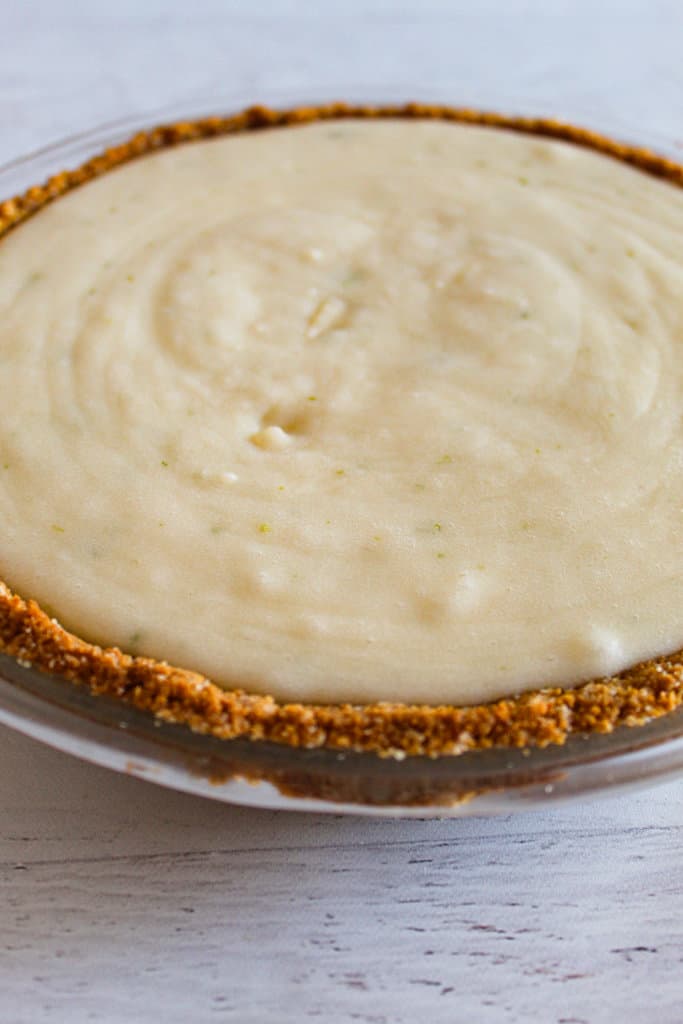
Step 4
Pour the filling into the prepared graham cracker crust and smooth the top. Chill the pie in the fridge for at least 8 hours, preferably overnight. Serve with your favorite toppings and enjoy!

Troubleshooting Guide
Even simple recipes can go wrong, and key lime pie is no exception. Here’s how to fix the most common issues before they ruin your dessert.
The Filling Didn’t Set
This is the most common issue with key lime pie. Usually, it comes down to insufficient chilling time or too little cooking time. Make sure you’re chilling the pie for at least 4-6 hours, and preferably, overnight. If it has been chilled long enough and still hasn’t set, the issue may be the cornstarch, which helps the pie to firm up. Be sure to measure your cornstarch and all other ingredients accurately.
The Flavor is Too Tart and Bitter
This can happen if you use too much lime juice or include the white pith when zesting, which is very bitter. Balance is key, and if needed, a touch more sweetened condensed milk, or a splash of vanilla extract can help to mellow the acidity.
The Crust is Falling Apart
This usually means there wasn’t enough fat used in the recipe, or it wasn’t pressed firmly enough into the pan. Press the crust tightly before baking, and it can help to chill it before adding the warm filling.
The Filling in Chunky
This can happen if the cornstarch is added all at once to the condensed milk, which can cause it to clump and make it very difficult to mix out.
When using cornstarch in this recipe, make a slurry to prevent lumps in the filling. A slurry is made by first mixing cornstarch with a small amount of cold liquid before adding it to the rest of the mixture. For a great visual on making a cornstarch slurry, check out this helpful video:
Storage & Make-Ahead Tips
Key lime pie is one of the most make-ahead-friendly desserts, which makes it perfect for entertaining!
Once prepared, the pie should be stored in the refrigerator, covered, for up to 3-4 days. The flavor actually improves after the first day as the filling fully sets and the citrus notes deepen. So it’s an even better excuse to make it ahead of time and stress less. If you’re planning to, you can make the pie a full day in advance, for the best texture.
Serving Ideas & Presentation
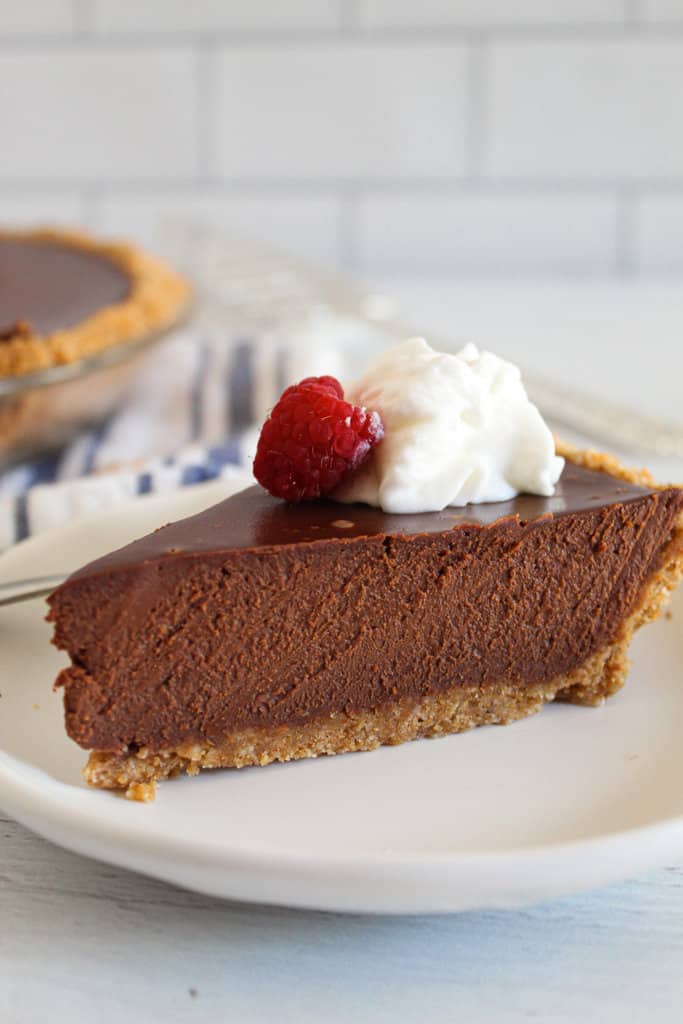
A beautiful presentation can turn a simple pie into a show-stopping dessert. So, toppings are where I love to have some fun with this key lime pie. Classic whipped cream is always a winner, but there are even more ways to elevate it and make this dessert fitting for any occasion, big or small. Try:
- Fresh berries for a pop of color and contrast.
- Lime zest sprinkled over the pie.
- Arrange thin lime slices neatly for a vibrant touch.
- Dust it with powdered sugar.
Tip: If you’re adding whipped topping, do so just before serving. This keeps it fresh and prevents it from weeping or losing structure.
Even small details like a pop of bright green lime slices on the top can make a big impact.
Key Lime Pie FAQs
A classic like key lime pie always comes with a few questions, so here, we’ve covered some of the most common reader questions. For any others you may have, leave them in the comments!
Can I Use Regular Lime Juice Instead of Key Lime Juice?
You can use regular lime juice, but the flavor will be different. Key limes have a floral and tangy flavor with slightly less acidity than regular limes. Regular (Persian) limes have a very sharp, bright, acidic flavor. While either will work, if you can access key limes or key lime juice, it is perfect for this recipe.
How Long Does It Take To Set?
This pie should set for at least 4-6 hours, but ideally overnight. The pie needs plenty of time to fully set so you can serve nice, clean slices that don’t leak or fall apart when cut.
Can I Make It Ahead of Time?
This is one of the best make-ahead desserts! Because it needs time (ideally overnight) to fully set, it is best made a day ahead. That also gives the flavors more time to settle and meld, resulting in an even tastier key lime pie!
A Pie for All
By now, you’ve seen that making a truly great gluten-free key lime pie isn’t about complicated steps or ingredients; it’s about understanding what the ingredients do so you can make smarter decisions in the kitchen.
When everything comes together, the result is exactly what a key lime pie should be: smooth, creamy, with a perfect balance of tart and sweet, and with a crust that holds every bit together. It’s the kind of dessert that feels light yet indulgent and one that people will absolutely ask you for again.
What makes this recipe especially worth keeping in your rotation is its ability to fit your preferences, dietary needs, or whatever you have on hand. If you’ve struggled with gluten-free, dairy-free desserts in the past, this is one of those recipes that is meant to change your expectations. It proves that you don’t have to sacrifice texture, flavor, or presentation to make something that fits your lifestyle. You need a little patience and the right ingredients to make a dessert that anyone can enjoy, and everyone will love.
So the next time you’re craving something fresh, citrusy, and incredibly satisfying, you’ll know exactly what to make.
More Gluten-Free Pie Recipes
Looking for more gluten-free pies to bring to the party? Try out some of these that are fit for any celebration!
Connect With Us
Have you tried this pie recipe? What is your favorite way to garnish this key lime pie? Let us know in the comments below and inspire other readers with your presentation ideas!