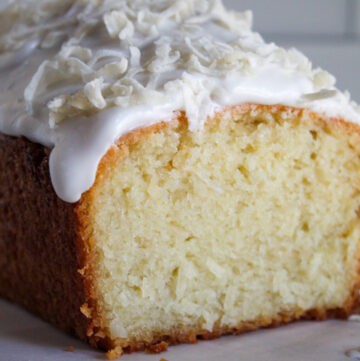
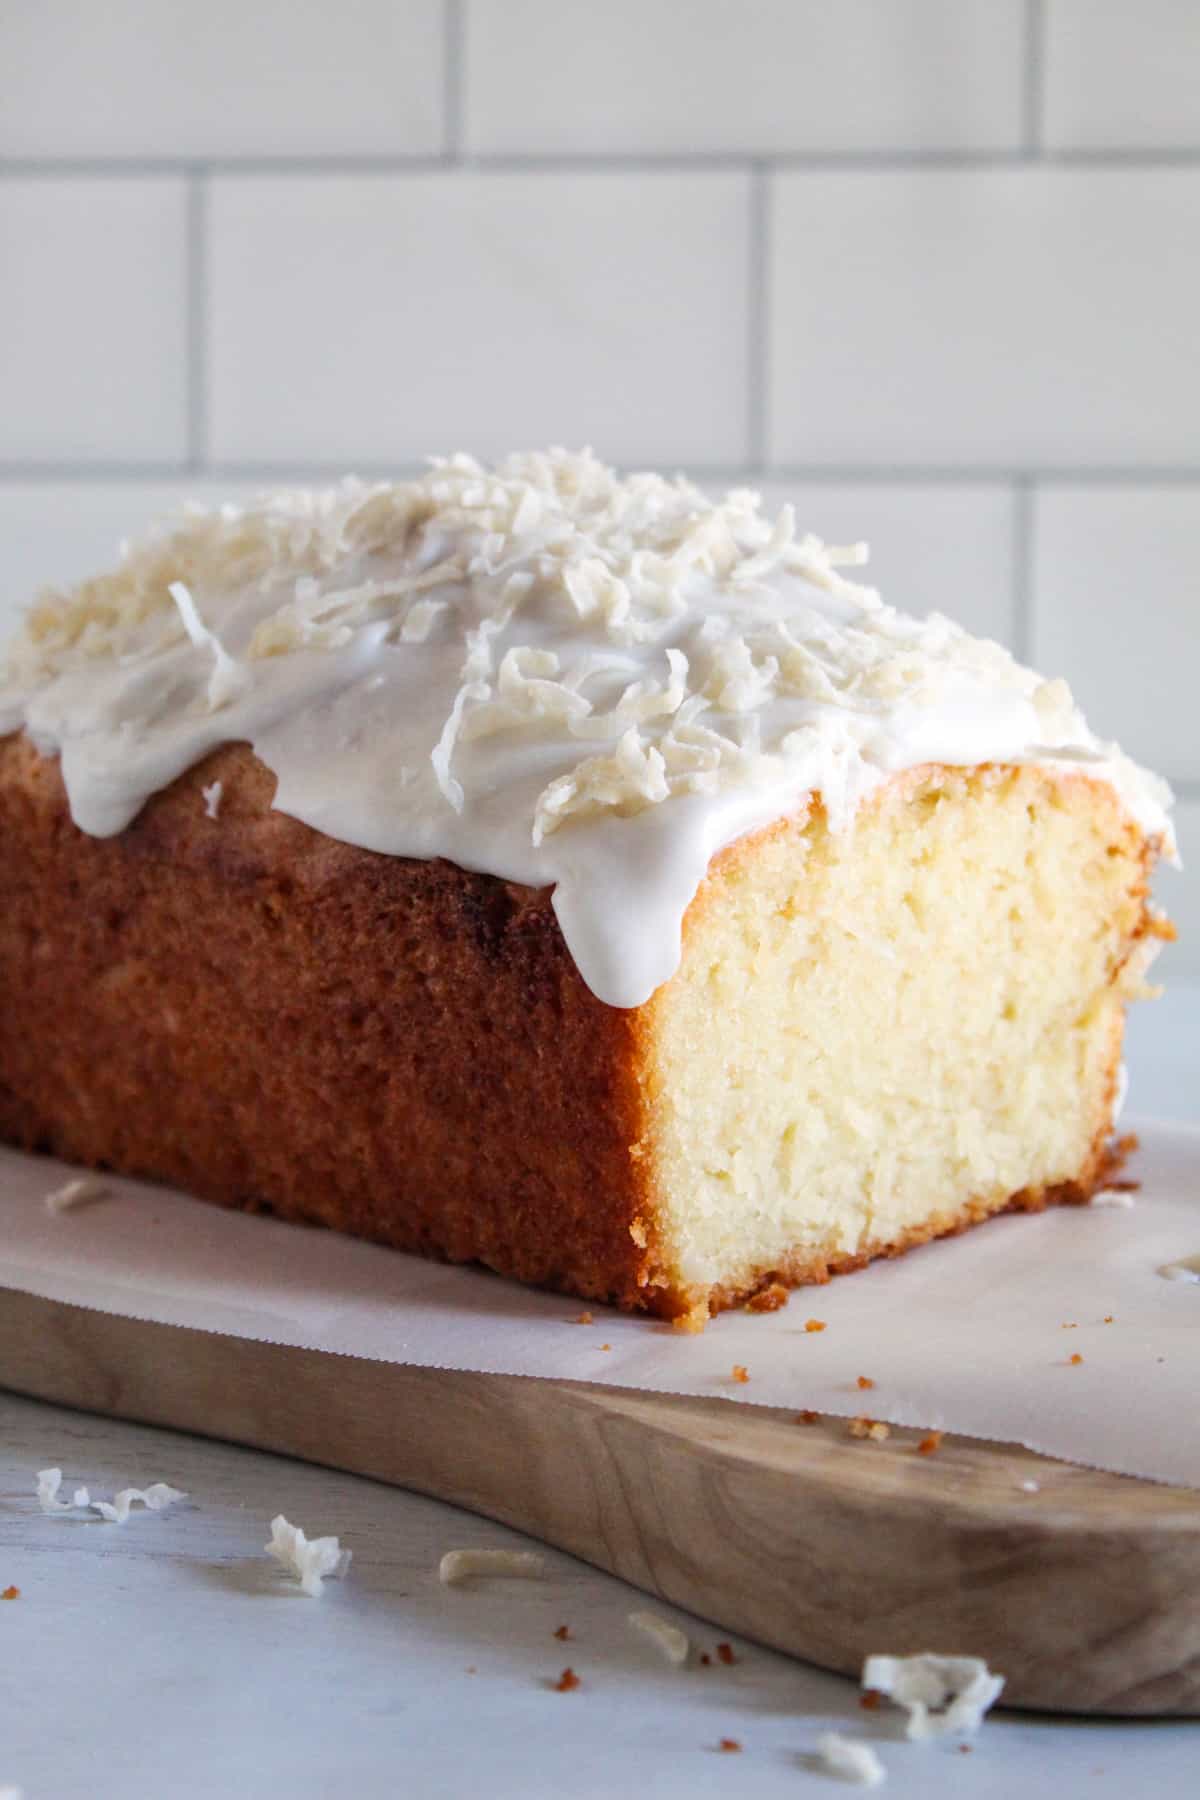
There are two types of people: those who love coconut and those who do not. If you belong to the latter, this coconut bread is about to become your new favorite bake.
Bursting with rich coconut flavor, a tender crumb, and topped with a sweet coconut glaze, this recipe makes a naturally delicious bread that disappears as soon as you set it down.
Table of Contents
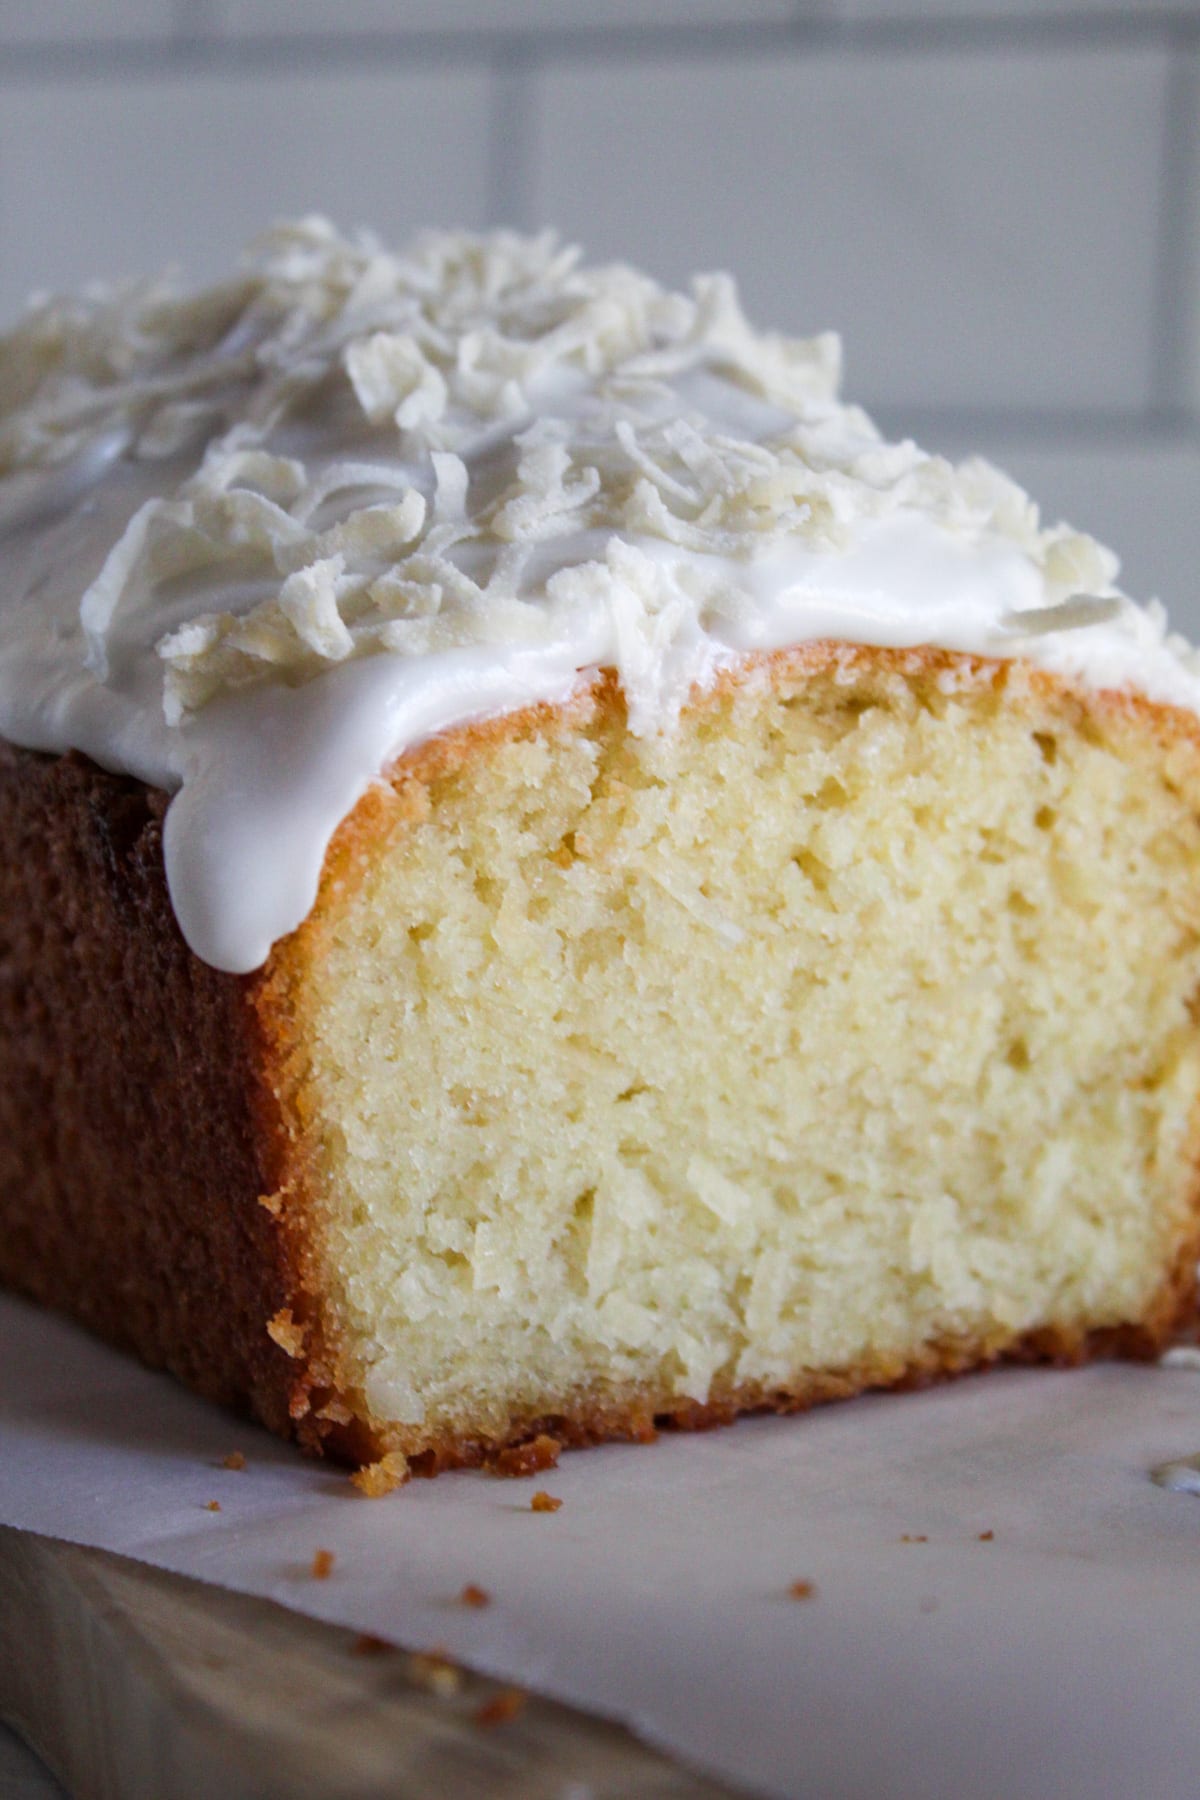
Whether you’re looking for a quick breakfast option or a complementary loaf for brunch, this foolproof recipe delivers a delightful loaf with easy-to-follow steps and simple ingredients.
Why You’ll Love This Recipe
From the variety of coconut ingredients in the batter to the indulgent glaze, there are many unique elements that set this coconut bread recipe apart and make it super special.
- Simple to bake with pantry staples and kitchen tools you might already have on hand.
- No yeast or kneading required. Just mix, bake, glaze, and enjoy.
- Deep, layered coconut aroma and taste from coconut milk and shredded coconut.
- Moist texture with a buttery crumb, making it easy to savor.
- Rich in coconut flavor and satisfying enough for breakfast, brunch, or dessert.
- Gluten-free and dairy-free when prepared with vegan butter and a suitable gluten-free flour blend.
- Easily customizable base, with add-ins that complement and elevate the flavor.
- Slices cleanly and freezes beautifully, perfect for grab-and-go breakfasts.
If you’re interested in exploring a low-carb recipe packed with coconut flavor, check out our No-Bake Keto Coconut Mousse.
Ingredients and Substitutions
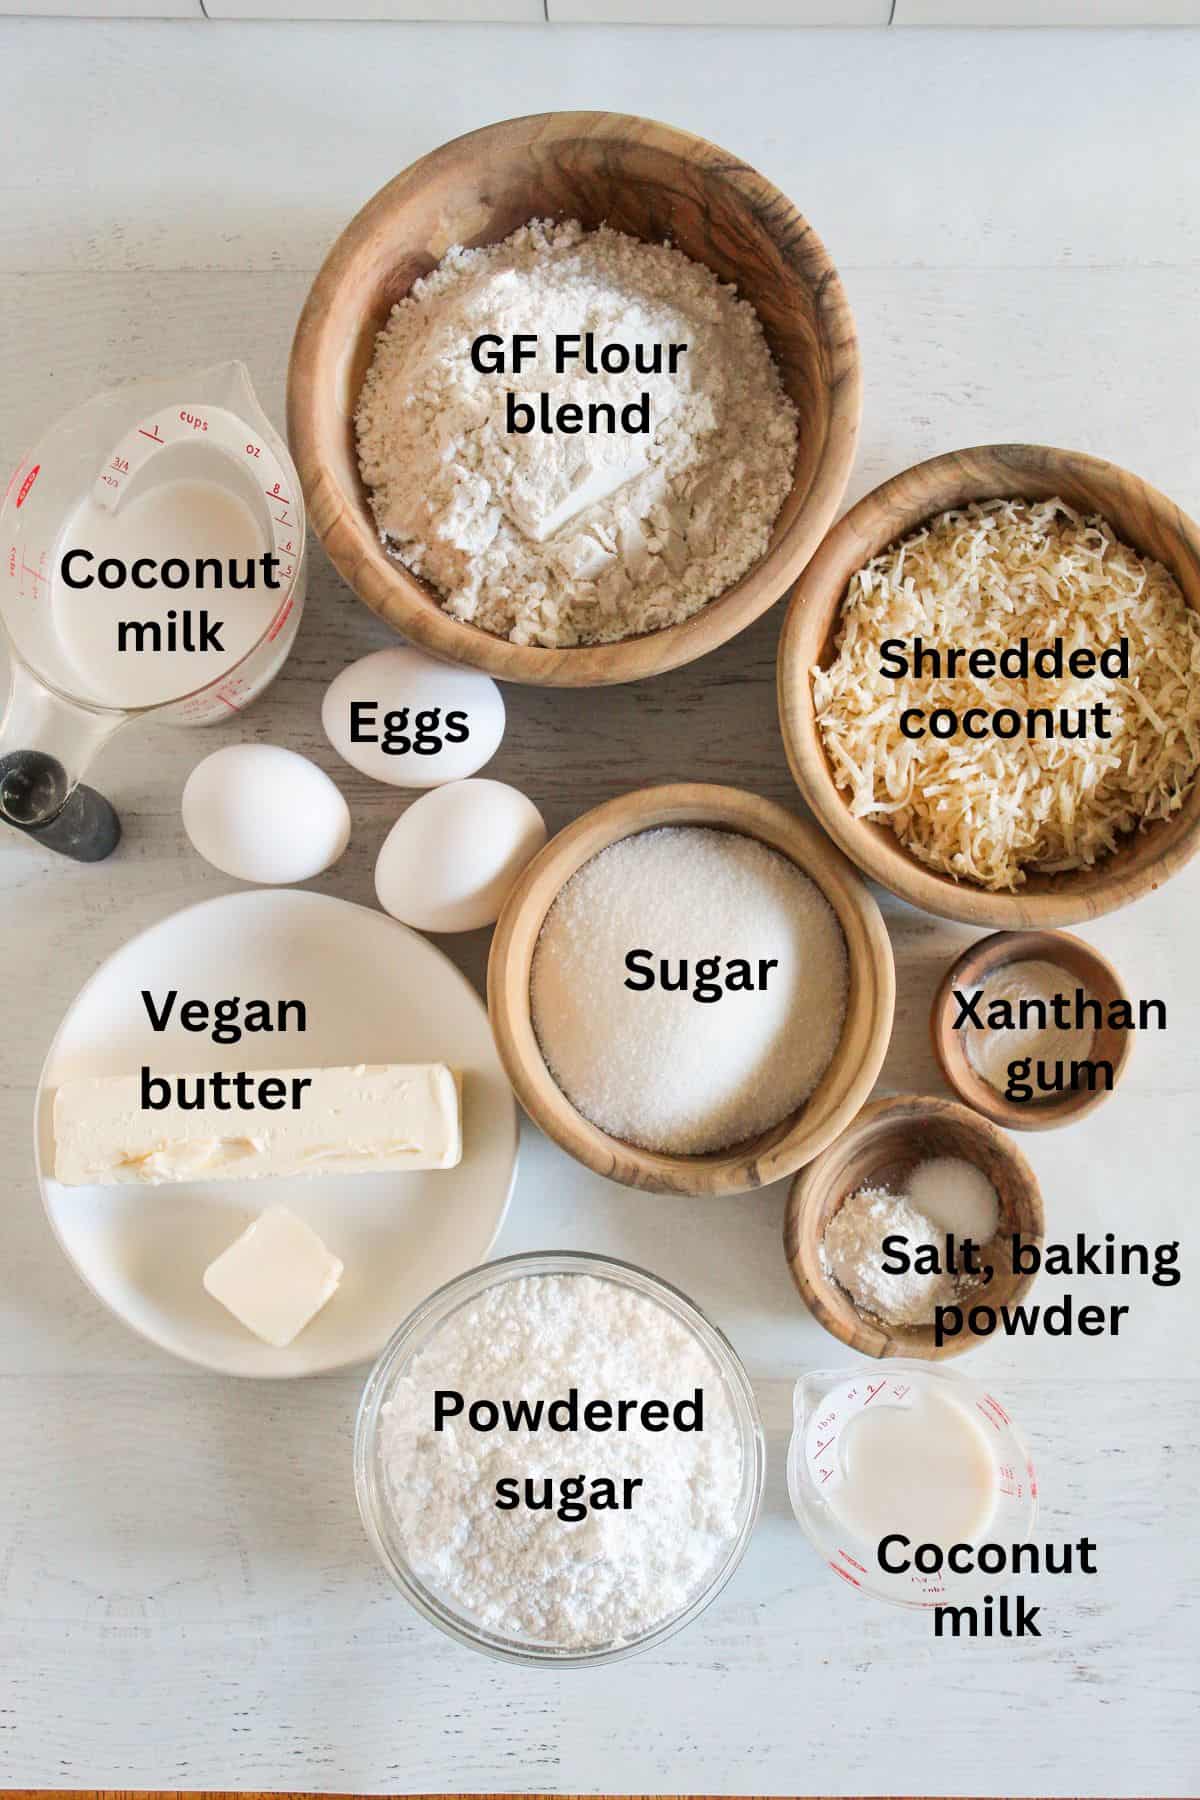
You will need the following ingredients for this recipe:
For the bread:
- Gluten-free flour blend
- Baking powder
- Xanthan gum
- Salt
- Vegan butter
- Granulated sugar
- Eggs
- Coconut milk
- Sweetened coconut flakes
For the glaze:
- Powdered sugar
- Coconut milk
- Vegan butter
Ingredients and Substitutions Notes
It is easier to bake the perfect coconut bread when you understand the role of the ingredients in this recipe. Following that, here is what each element does:
For the bread:
- Gluten-free flour mix – For the best texture, use a high-quality gluten-free all-purpose flour blend. Substituting individual gluten-free flours will significantly change the texture.
- Baking powder – Provides the airy lift in this batter, making the bread nice and fluffy.
- Xanthan gum – Absorbs moisture and acts like a glue to hold the batter together so the loaf holds its shape. If you don’t have it, you can try any of these substitutes.
- Salt – Balances sweetness and helps the coconut flavor stand out.
- Vegan butter – Adds richness and softness to the bread while deepening its flavor. Regular butter also works great in this recipe.
- Granulated sugar – Sweetens the batter while promoting browning via the Maillard reaction. Stick with regular sugar, as brown sugar may hide the coconut flavor.
- Coconut milk – Adds a rich coconut flavor while hydrating the flours and gums for proper batter consistency, giving the bread a lovely softness.
- Sweetened coconut flakes – Add visible coconut bits, chewiness, and a stronger coconut aroma to the bread.
- Eggs provide structure, emulsification, and moisture, and help the bread rise perfectly. Check out these egg substitutes if you want to try some other options.
For the glaze:
- Powdered sugar – Adds sweetness to the glaze and helps it set firm.
- Coconut milk – Infuses a little coconut flavor into the glaze.
- Vegan butter – When melted, it gives the glaze a creamy texture and buttery flavor.
RECIPE CARD: Moist Gluten-Free Coconut Bread with Coconut Glaze (PRINTABLE)
Ingredients
Bread:
- 188 grams gluten-free flour blend about 1½ cups
- 1½ teaspoons baking powder
- 1 teaspoon xanthan gum
- ½ teaspoon salt
- 8 tablespoons vegan butter softened
- 133 grams granulated sugar about ⅔ cup
- 3 large eggs
- ½ cup coconut milk
- 62 grams shredded coconut sweetened, about 1 cup
Glaze:
- 120 grams powdered sugar about 1 cup
- 2 tablespoons coconut milk
- 1 tablespoon vegan butter melted
Instructions
Bread:
- Preheat your oven to 350°F, grease the loaf pan, and line it with parchment paper.
- In a medium mixing bowl, stir together the flour mix, baking powder, xanthan gum, and salt.
- Add the softened vegan butter and sugar to a large bowl. With an electric mixer, beat on low speed for 20 seconds to combine.
- Stop and scrape down the sides of the bowl. Then beat the mixture again for 30 seconds on medium speed.
- Into the butter mixture, add the eggs and milk and beat on medium speed for 20 seconds.
- Pour the dry ingredients into the bowl of wet ingredients and, using a wooden spoon, stir until everything is just combined into a thick batter.
- Add in the shredded coconut so it’s evenly distributed through the flour mix.
- Let the batter rest at room temperature for 30 minutes.
- Scrape the batter into the pan and bake for 60-65 minutes or until the top is golden brown.
- Cool on the pan for 10 minutes, then transfer to the wire rack to cool completely.
Glaze:
- In a small bowl, mix together the powdered sugar, coconut milk, and butter until smooth and well combined.
- Drizzle it over the cooled bread, sprinkle it with shredded coconut, and enjoy.
Notes
- Measure the flour mix and shredded coconut by weight.
- Use a metal loaf pan for bread that browns evenly on all sides.
- Avoid overmixing to prevent dense results.
- Use room-temperature eggs and milk.
- Bake on the middle rack to avoid the bread drying out.
- Avoid opening the oven for at least the first 25–30 minutes.
- Allow the bread to cool in the pan before moving it to a rack.
- The top is golden brown.
- A toothpick or skewer inserted in the center comes out clean.
- It springs back slightly when gently pressed.
- Room temperature storage: After cooling, store the bread in an airtight container at room temperature for up to 3 days.
- Refrigerating: Slice first, wrap each slice in plastic wrap or foil, then put all slices in an airtight container and refrigerate them for up to a week.
- Freezing: Place parchment between slices, put in a freezer-safe bag, press out as much air as possible, and store for 2 to 3 months.
- Thawing: Thaw at room temperature for 20–30 minutes, then toast or briefly warm in the oven.
Nutrition
Did you make and love this recipe? Give it your review and rating below! And make sure to follow me on Instagram, Pinterest, and Facebook , too!
How to Make Gluten-Free Coconut Bread
This coconut bread comes together using kitchen staples and simple techniques. All you have to do is stick to these step-by-step instructions, and you’ll have a perfect loaf at the end:
Equipment You’ll Need
This recipe delivers great results with these basic baking tools:
- Mixing bowls
- Measuring cups and spoons
- Wooden spoon
- Loaf pan
- Cooling rack
- Whisk
- Parchment paper
- Stand mixer or hand mixer (Optional)
- Bread knife (optional)
1) Preheat and grease
Preheat your oven to 350°F, grease the loaf pan, and line it with parchment paper for easy removal. Then bring the coconut milk and eggs to room temperature for a smoother batter and better rise.
2) Mix the dry ingredients
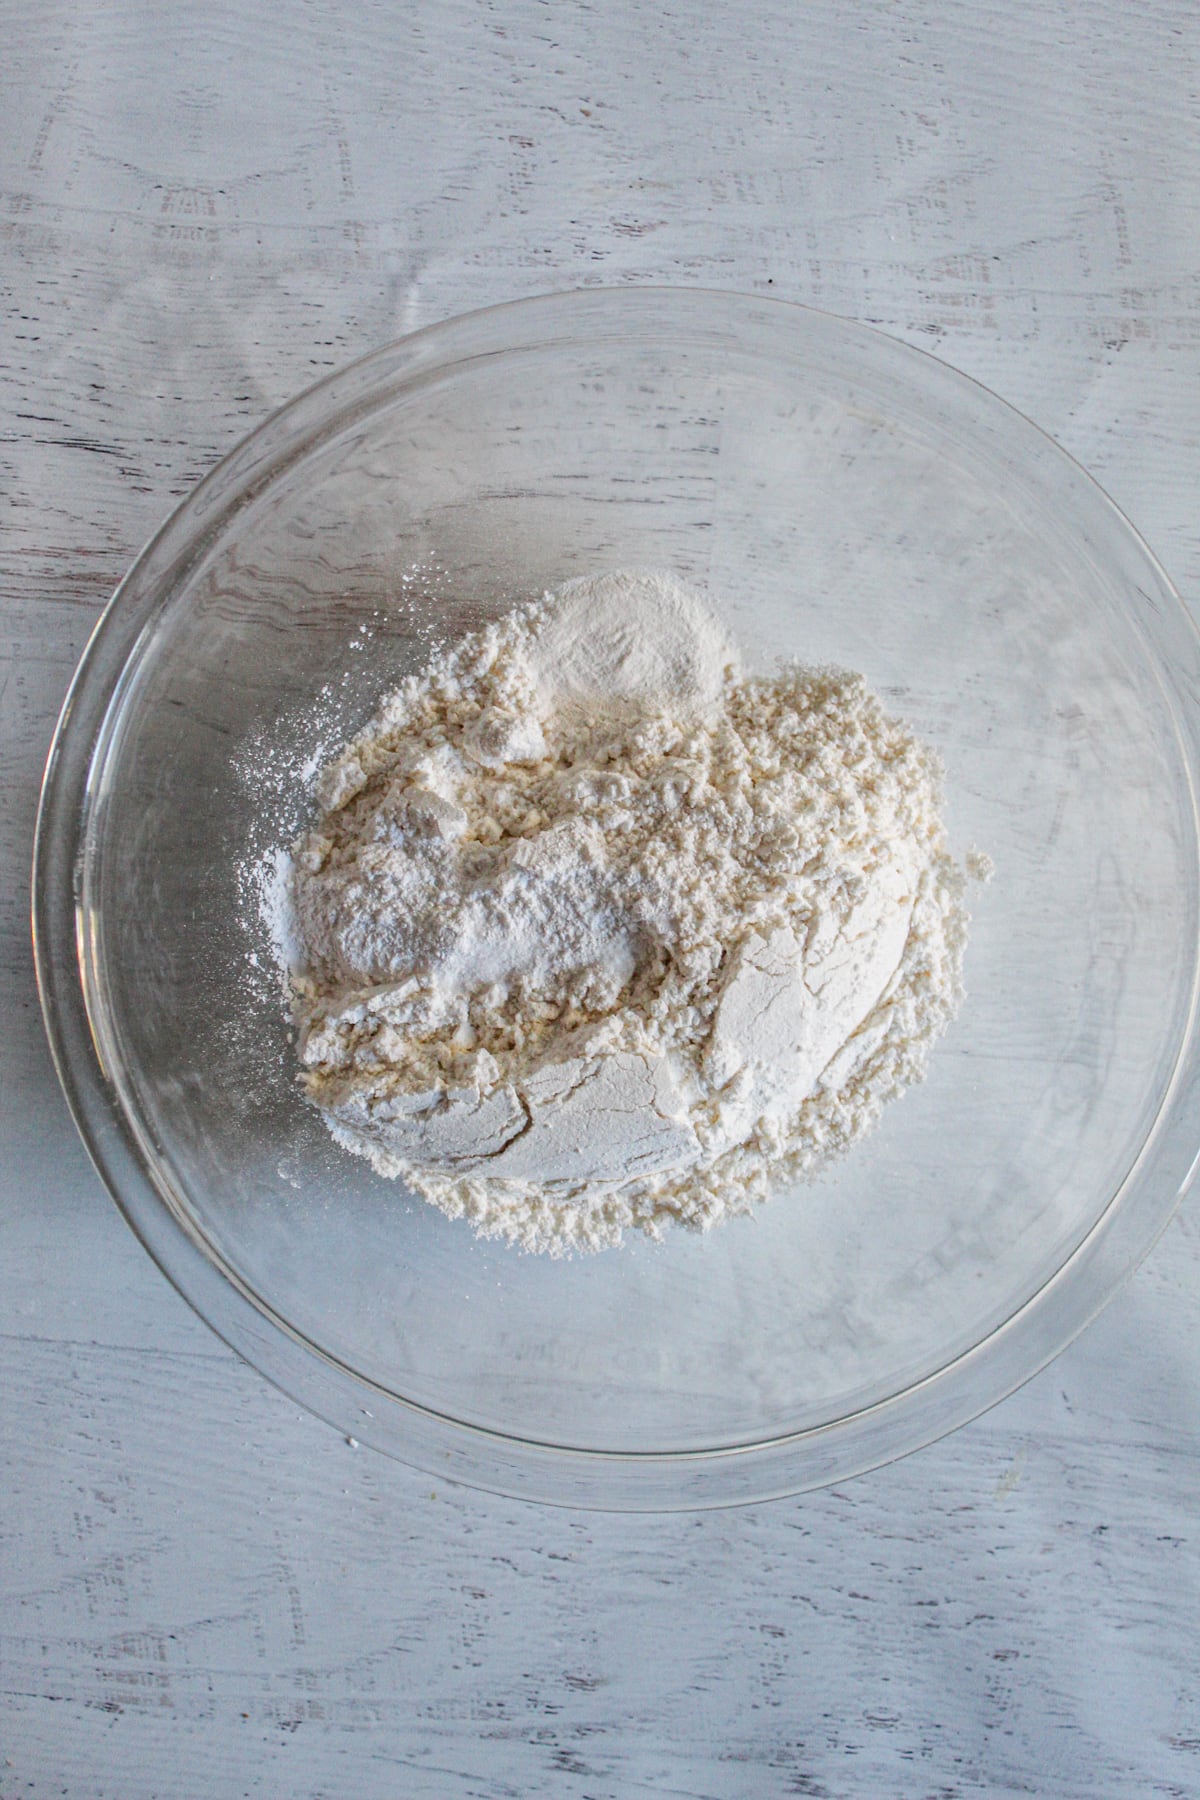
In a medium mixing bowl, stir together the flour mix, baking powder, xanthan gum, and salt. Whisk well to break up any lumps in the flour mix and distribute the leavener evenly.
3) Cream the butter and sugar
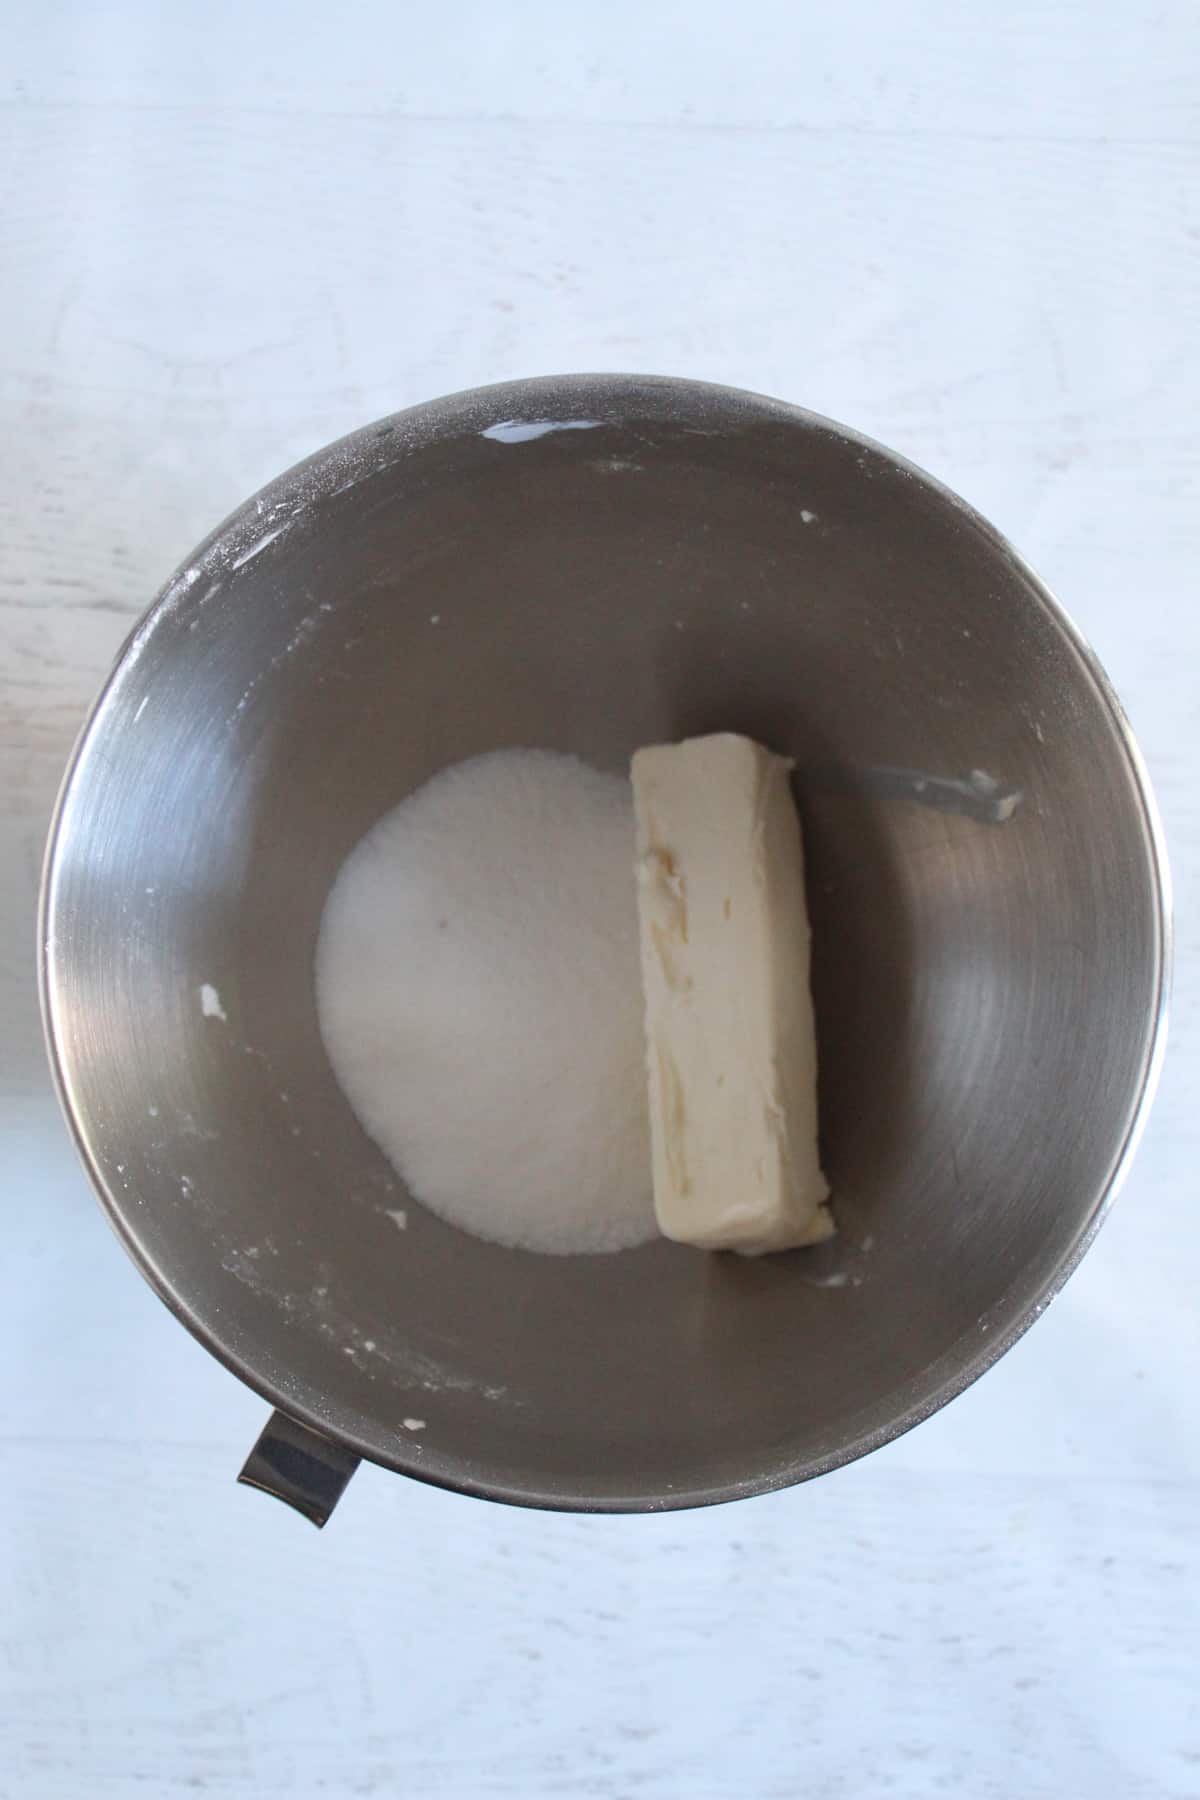
Add the softened vegan butter and sugar to a large bowl. With an electric mixer, beat on low speed for 20 seconds to combine. Stop and scrape down the sides of the bowl. Then beat the mixture again for 30 seconds on medium speed. Doing this helps you get a light, softer crumb.
4) Add in the eggs and milk
One at a time, add the eggs and the milk to the mixture, then beat on medium speed for 20 seconds. Make sure the coconut milk and eggs are not fridge-cold to ensure a smooth emulsion and a better rise.
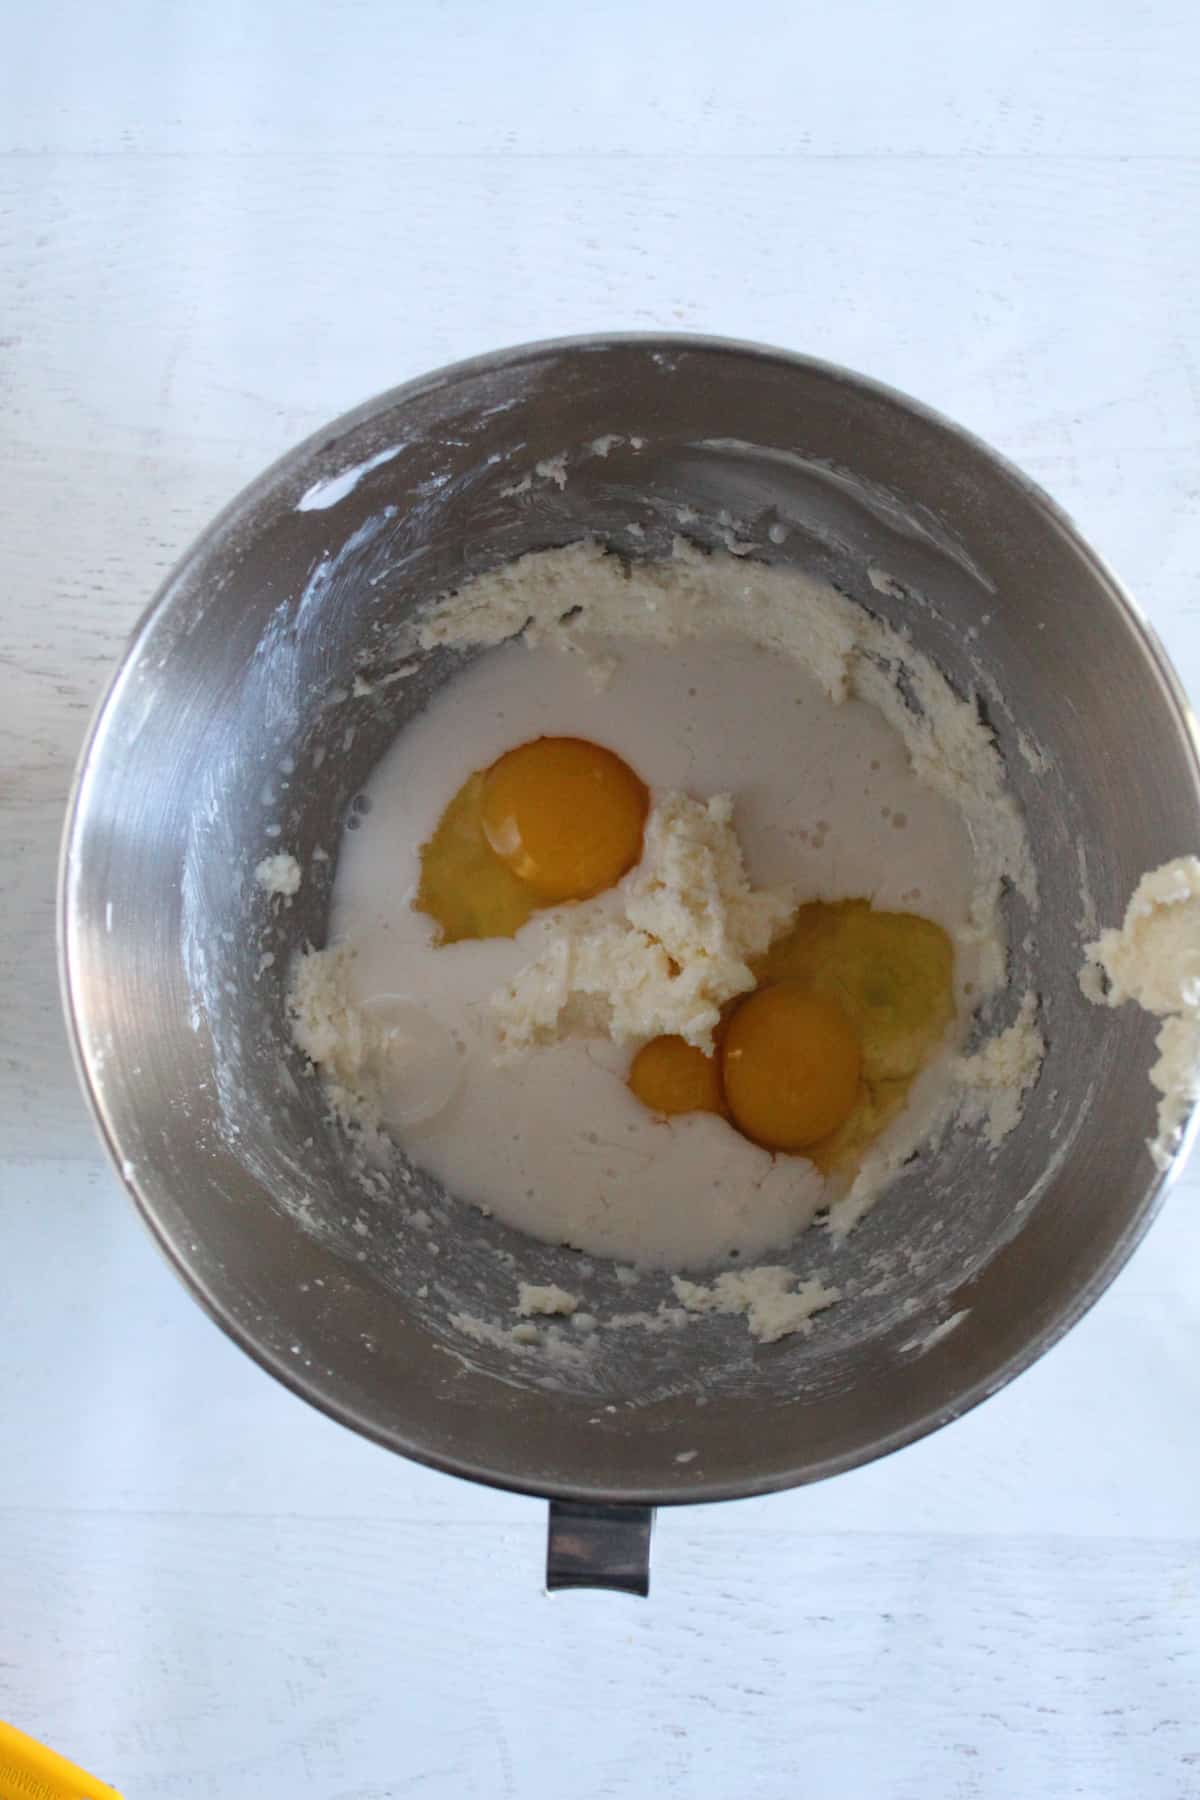
5) Combine the dry and wet ingredients
Pour the dry ingredients into the bowl of wet ingredients and, using a wooden spoon, fold and stir until everything is just combined into a thick batter. Small lumps are fine, but avoid vigorous mixing to keep the crumb tender.

6) Mix in the shredded coconut
Use a large spoon and stir in the shredded coconut so it’s evenly distributed through the flour mix. This helps prevent clumps of coconut and gives a more even crumb.

7) Let the batter rest
Set the batter aside to rest at room temperature for 30 minutes. This gives the flour mix time to absorb moisture, resulting in a better-structured bread.

8) Bake the bread
Scrape the batter into the pan and smooth the top with the wooden spoon. Then bake for 60-65 minutes or until the top is golden brown and a toothpick inserted in the middle comes out clean.
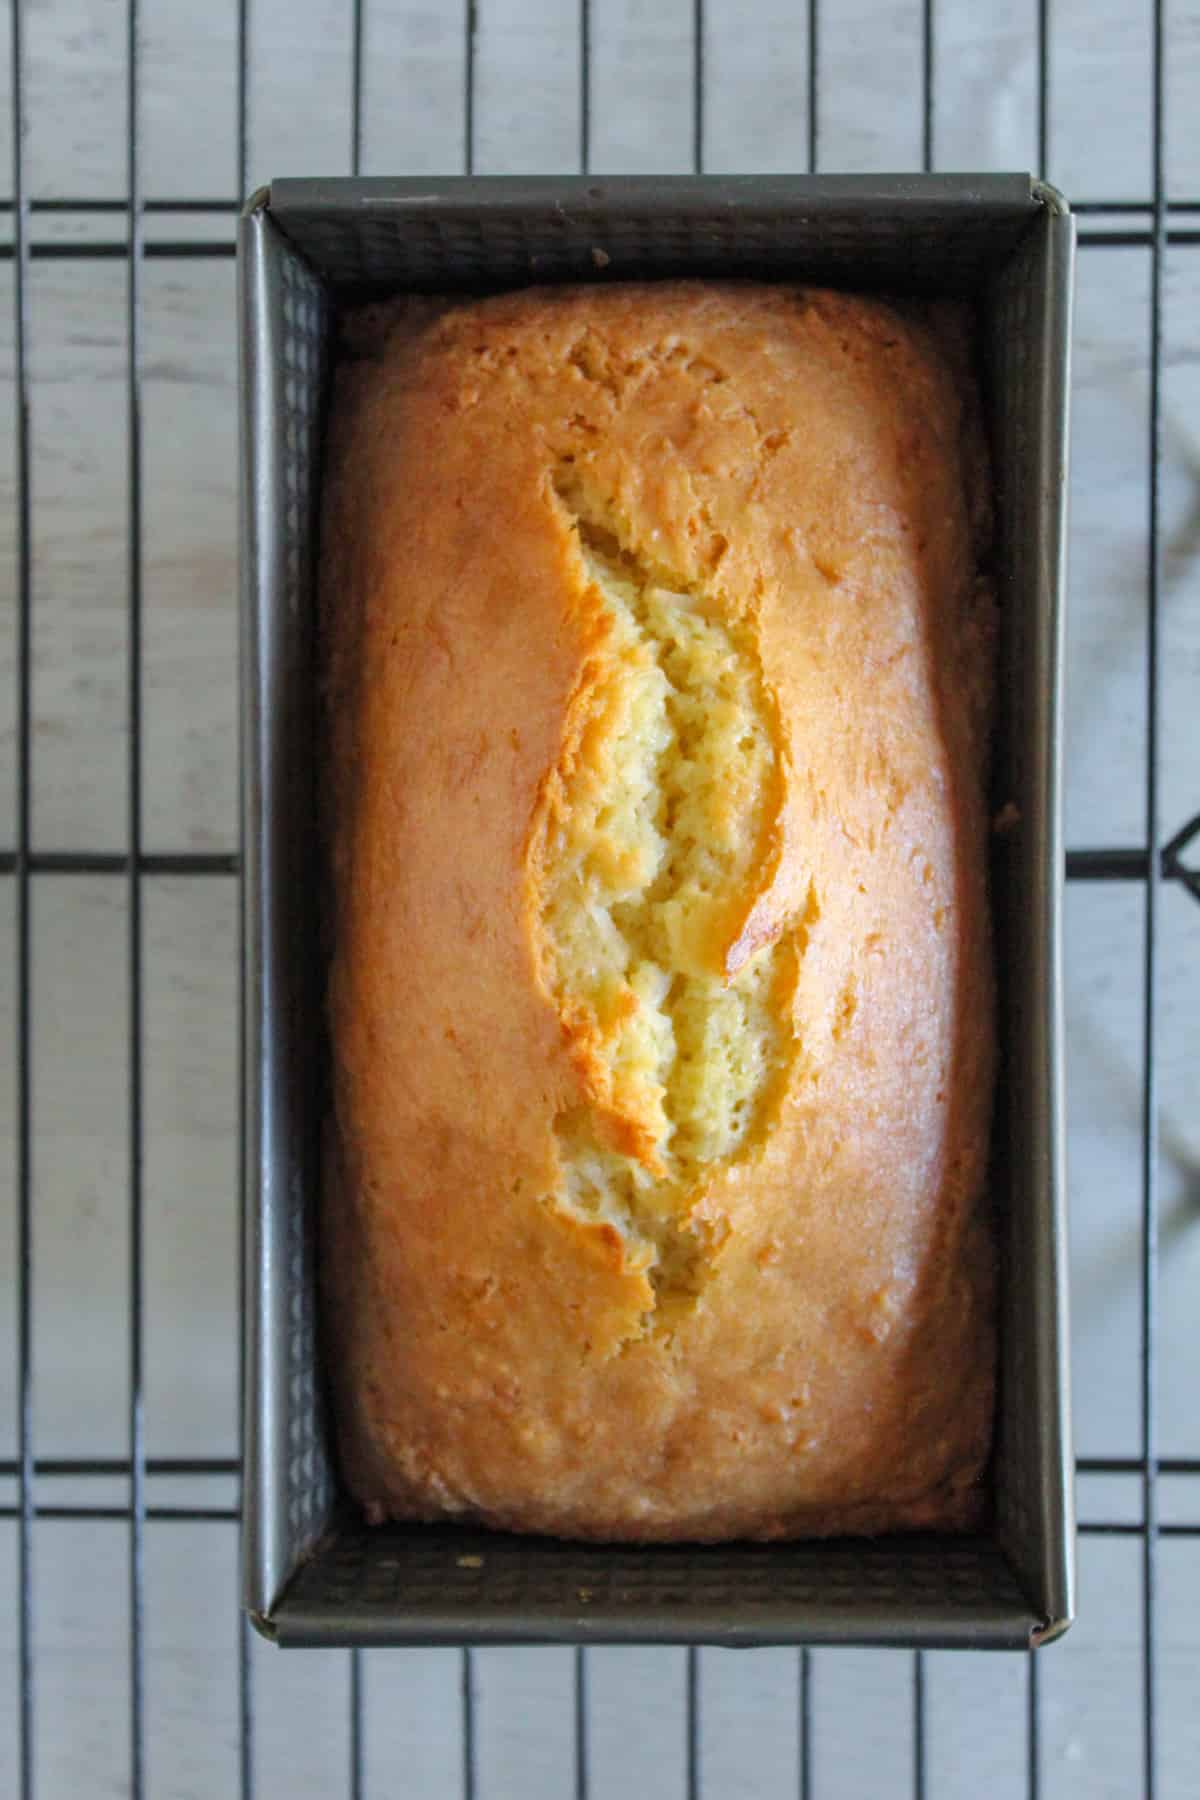
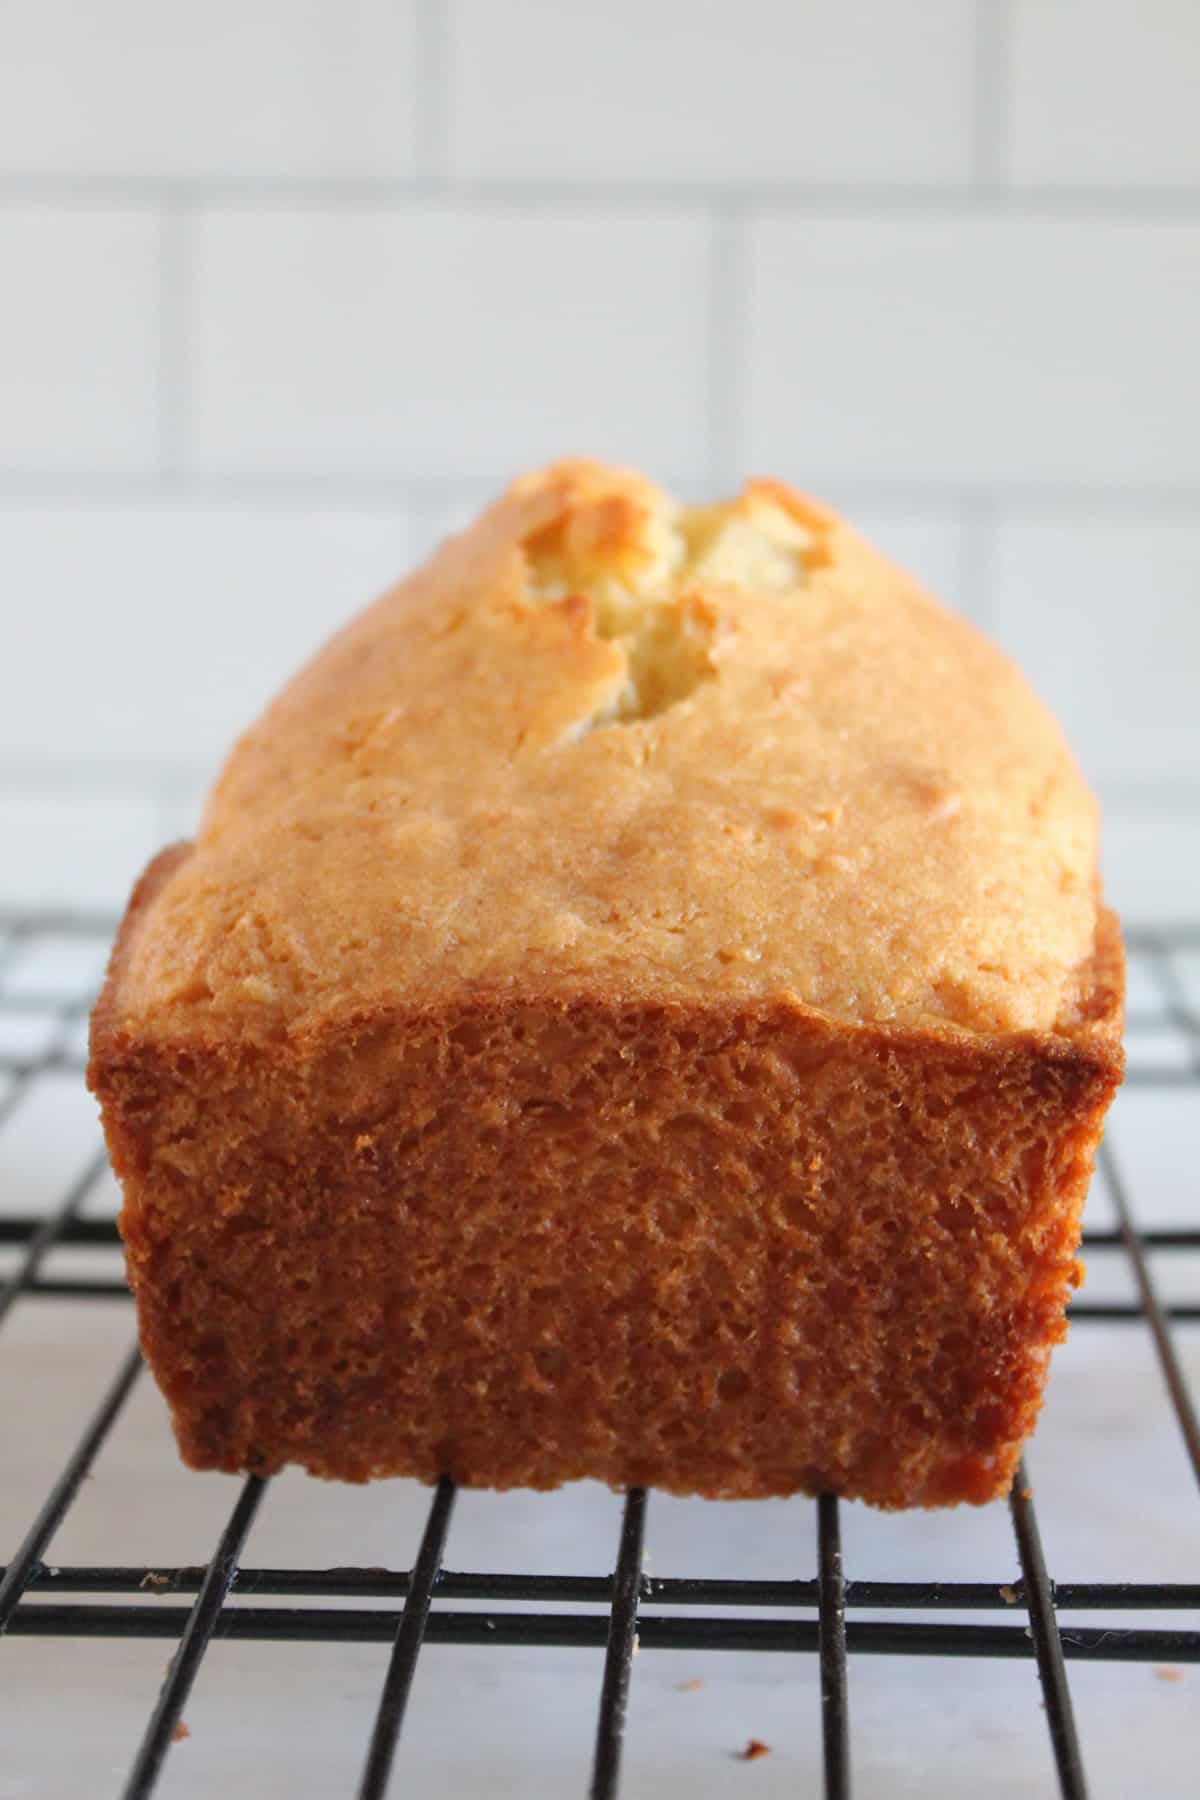
9) Cool the bread
Let the bread cool in the pan for 10 minutes. This helps it set so it doesn’t break when you remove it. Turn the loaf out onto a wire rack and cool for 30–60 minutes before slicing to avoid a gummy texture.
10) Make the glaze
In a small bowl, combine the powdered sugar, 1 tablespoon of the milk, and the butter, then mix until smooth and well combined. Add another tablespoon of milk if needed for a spreadable consistency.
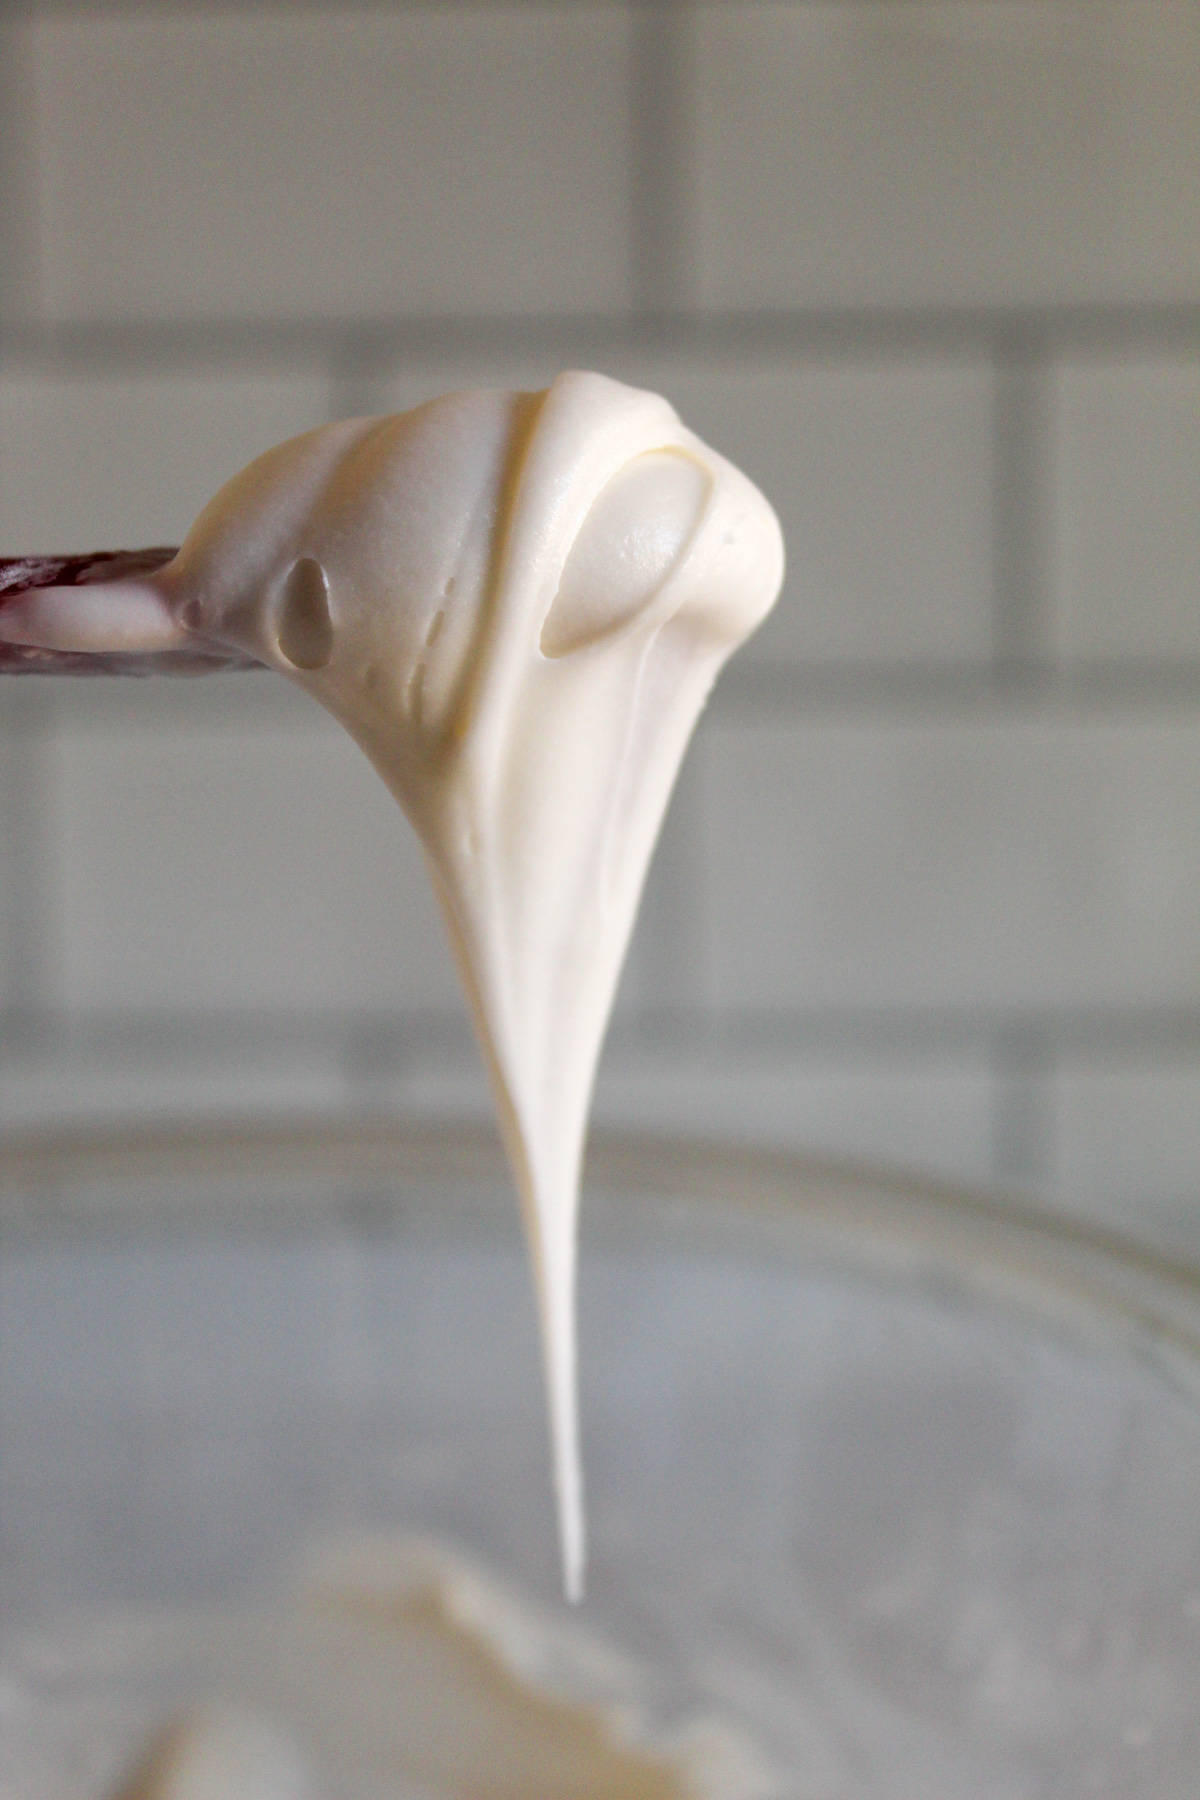
11) Top the bread with the glaze
Spread the glaze over the top of the cooled bread, sprinkle with shreds of coconut, and enjoy.
6 Tips for Success
Keep these helpful tips in mind to get a moist, sliceable coconut bread instead of something crumbly or gummy:
- For the best results, use a metal loaf pan. It yields coconut bread that browns evenly on all sides and on the bottom.
- Aim for a thick, scoopable batter, and make sure it is not as stiff as dough. If it seems too dry, you can add a spoon or two of coconut milk.
- Make sure you use room-temperature eggs and milk for the batter. This way, the butter emulsifies instead of resolidifying.
- Measure your shredded coconut flakes and flour mix by weight to prevent a dried-out loaf.
- Bake on the middle rack and avoid opening the oven for at least the first 25–30 minutes so the center can rise and set.
- Allow the bread to cool in the pan before moving it to a rack. As it gets warm or reaches room temperature, its texture improves, making it easier to slice.
These handy baking gems can help you make a deliciously tender, flavor-packed coconut bread that’s guaranteed to be everyone’s favorite.
Troubleshooting
If your loaf turns out gummy, dense, or sunken, use these fixes. To avoid this, here are the most common issues you need to know and their fixes.
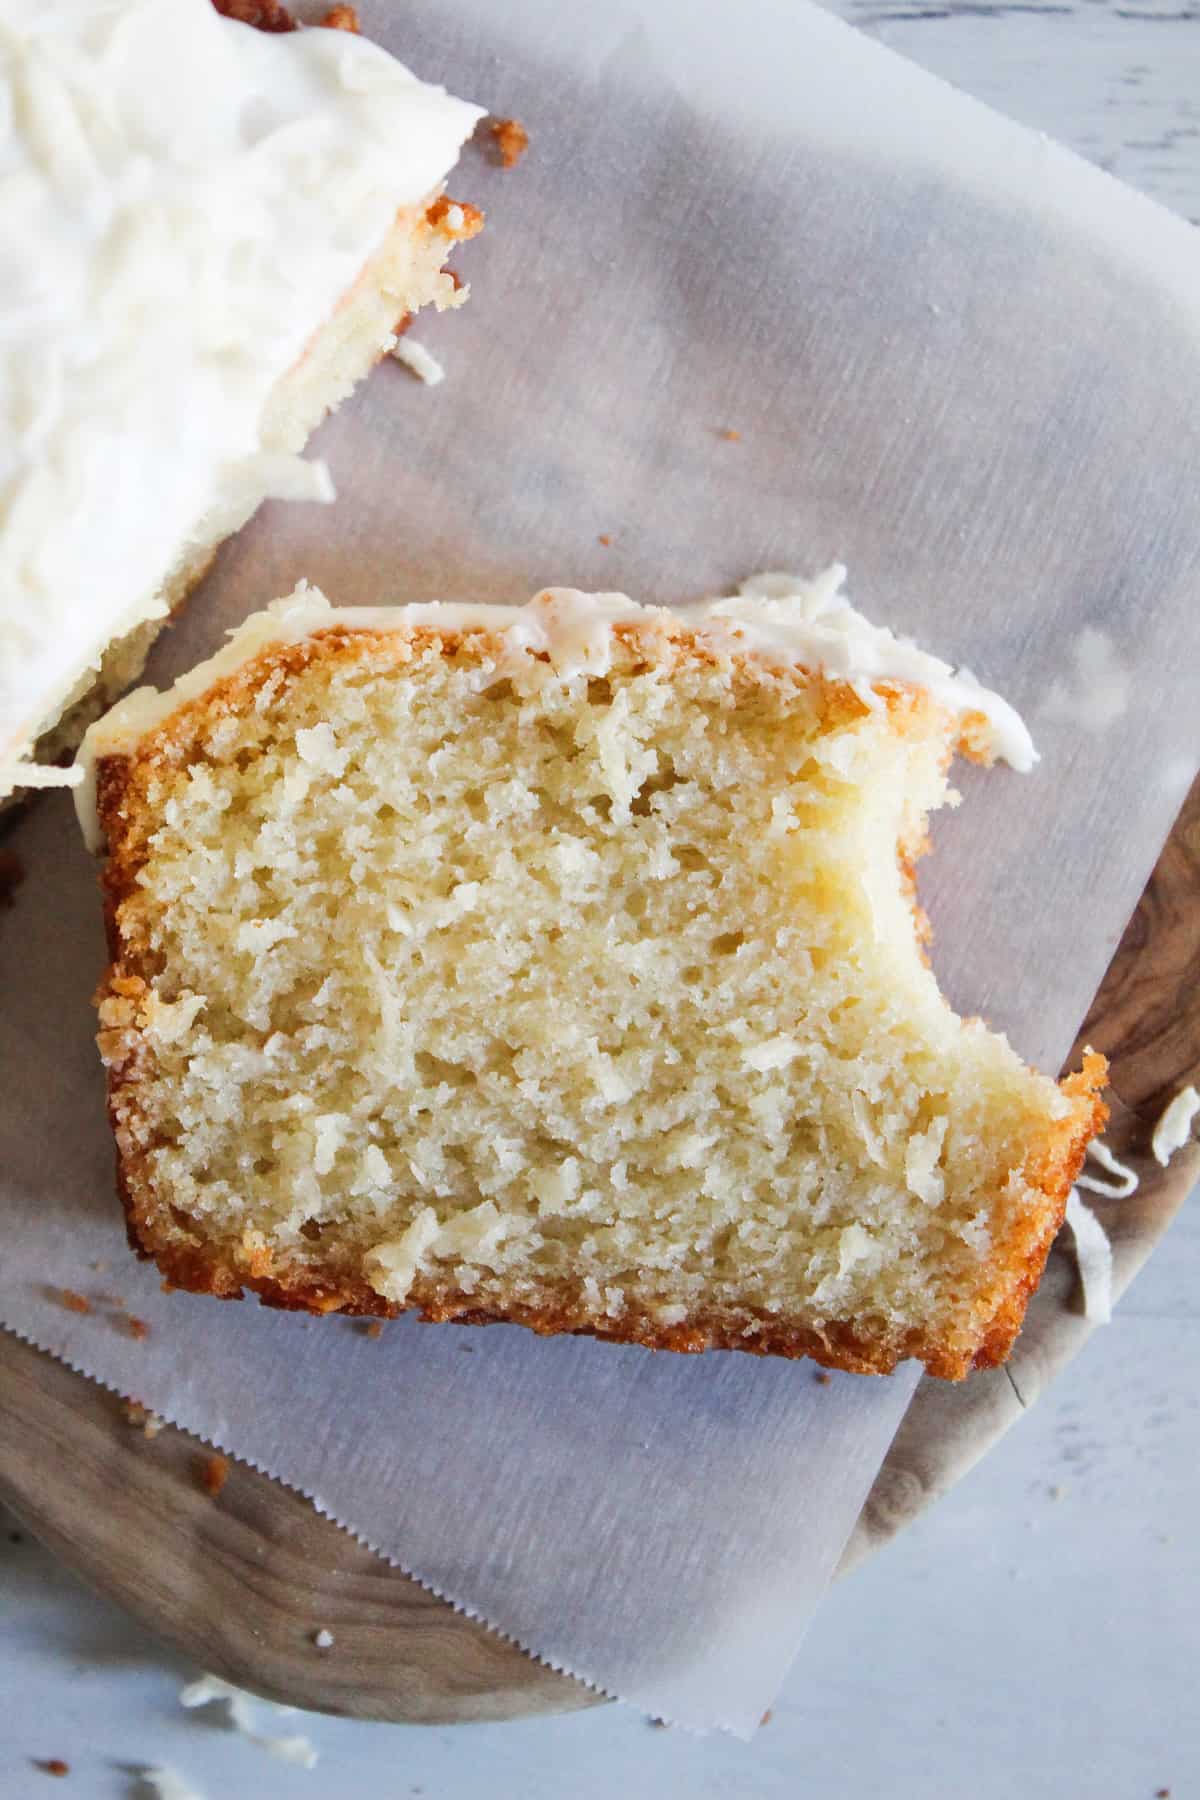
1. Bread is gummy in the center: Too much liquid, underbaking, or slicing while hot can make this happen. Bake longer, reduce the liquid slightly next time, and let the loaf cool fully before cutting so the starches can set and the steam can escape.
2. Bread doesn’t rise much: You likely used a heavy flour mix or old baking powder. Use a lighter gluten-free blend with starches and replace your baking powder if it’s been open for more than 6 months.
3. Bread top collapsing as it cools: Underbaked center, too much leavening, or very wet batter is usually to blame. Extend the baking time until the center is fully set, and avoid increasing the baking powder beyond the recipe.
Once you know the ideal batter consistency and baking time for your oven, future loaves become much more predictable. You will understand the ingredients and how your oven works, which will help you bake tastier loaves without any stress.
Serving Suggestions
One of the best qualities about this coconut bread is its versatility. It’s fancy enough to serve at brunch with a cup of coffee, yet it also makes a great afternoon snack. With this in mind, here are some great ways to enjoy this bread:
- For a quick morning meal, toast thin slices, spread coconut oil or a dairy-free spread on them, and sprinkle with salt.
- To make it even richer, add a thin layer of dark chocolate syrup or melted chocolate over it, then sprinkle with shredded coconut.
- Cut it into little pieces and use it as a base for coconut bread pudding with coconut milk custard and raisins or chopped dates.
- Make it into a full-blown meal and serve it alongside spicy soups like our Spicy Sprouted Lentil Soup, where the bread’s subtle sweetness balances the heat.
5 Easy Variations Of This Recipe
With these simple variations, you can create a variety of flavor profiles from the same base recipe.
- Lemon or lime coconut bread: For a bright flavor, add the zest of 1–2 lemons or limes to the batter with the shredded coconut. Then top this with a thin citrus glaze. This rich version makes a great breakfast or a pairing with tea.
- Chocolate-chip coconut bread: For extra texture and flavor, fold ½–¾ cup dark chocolate chips or chopped dark chocolate into the batter. This fashions this bread into a dessert while keeping the coconut the star.
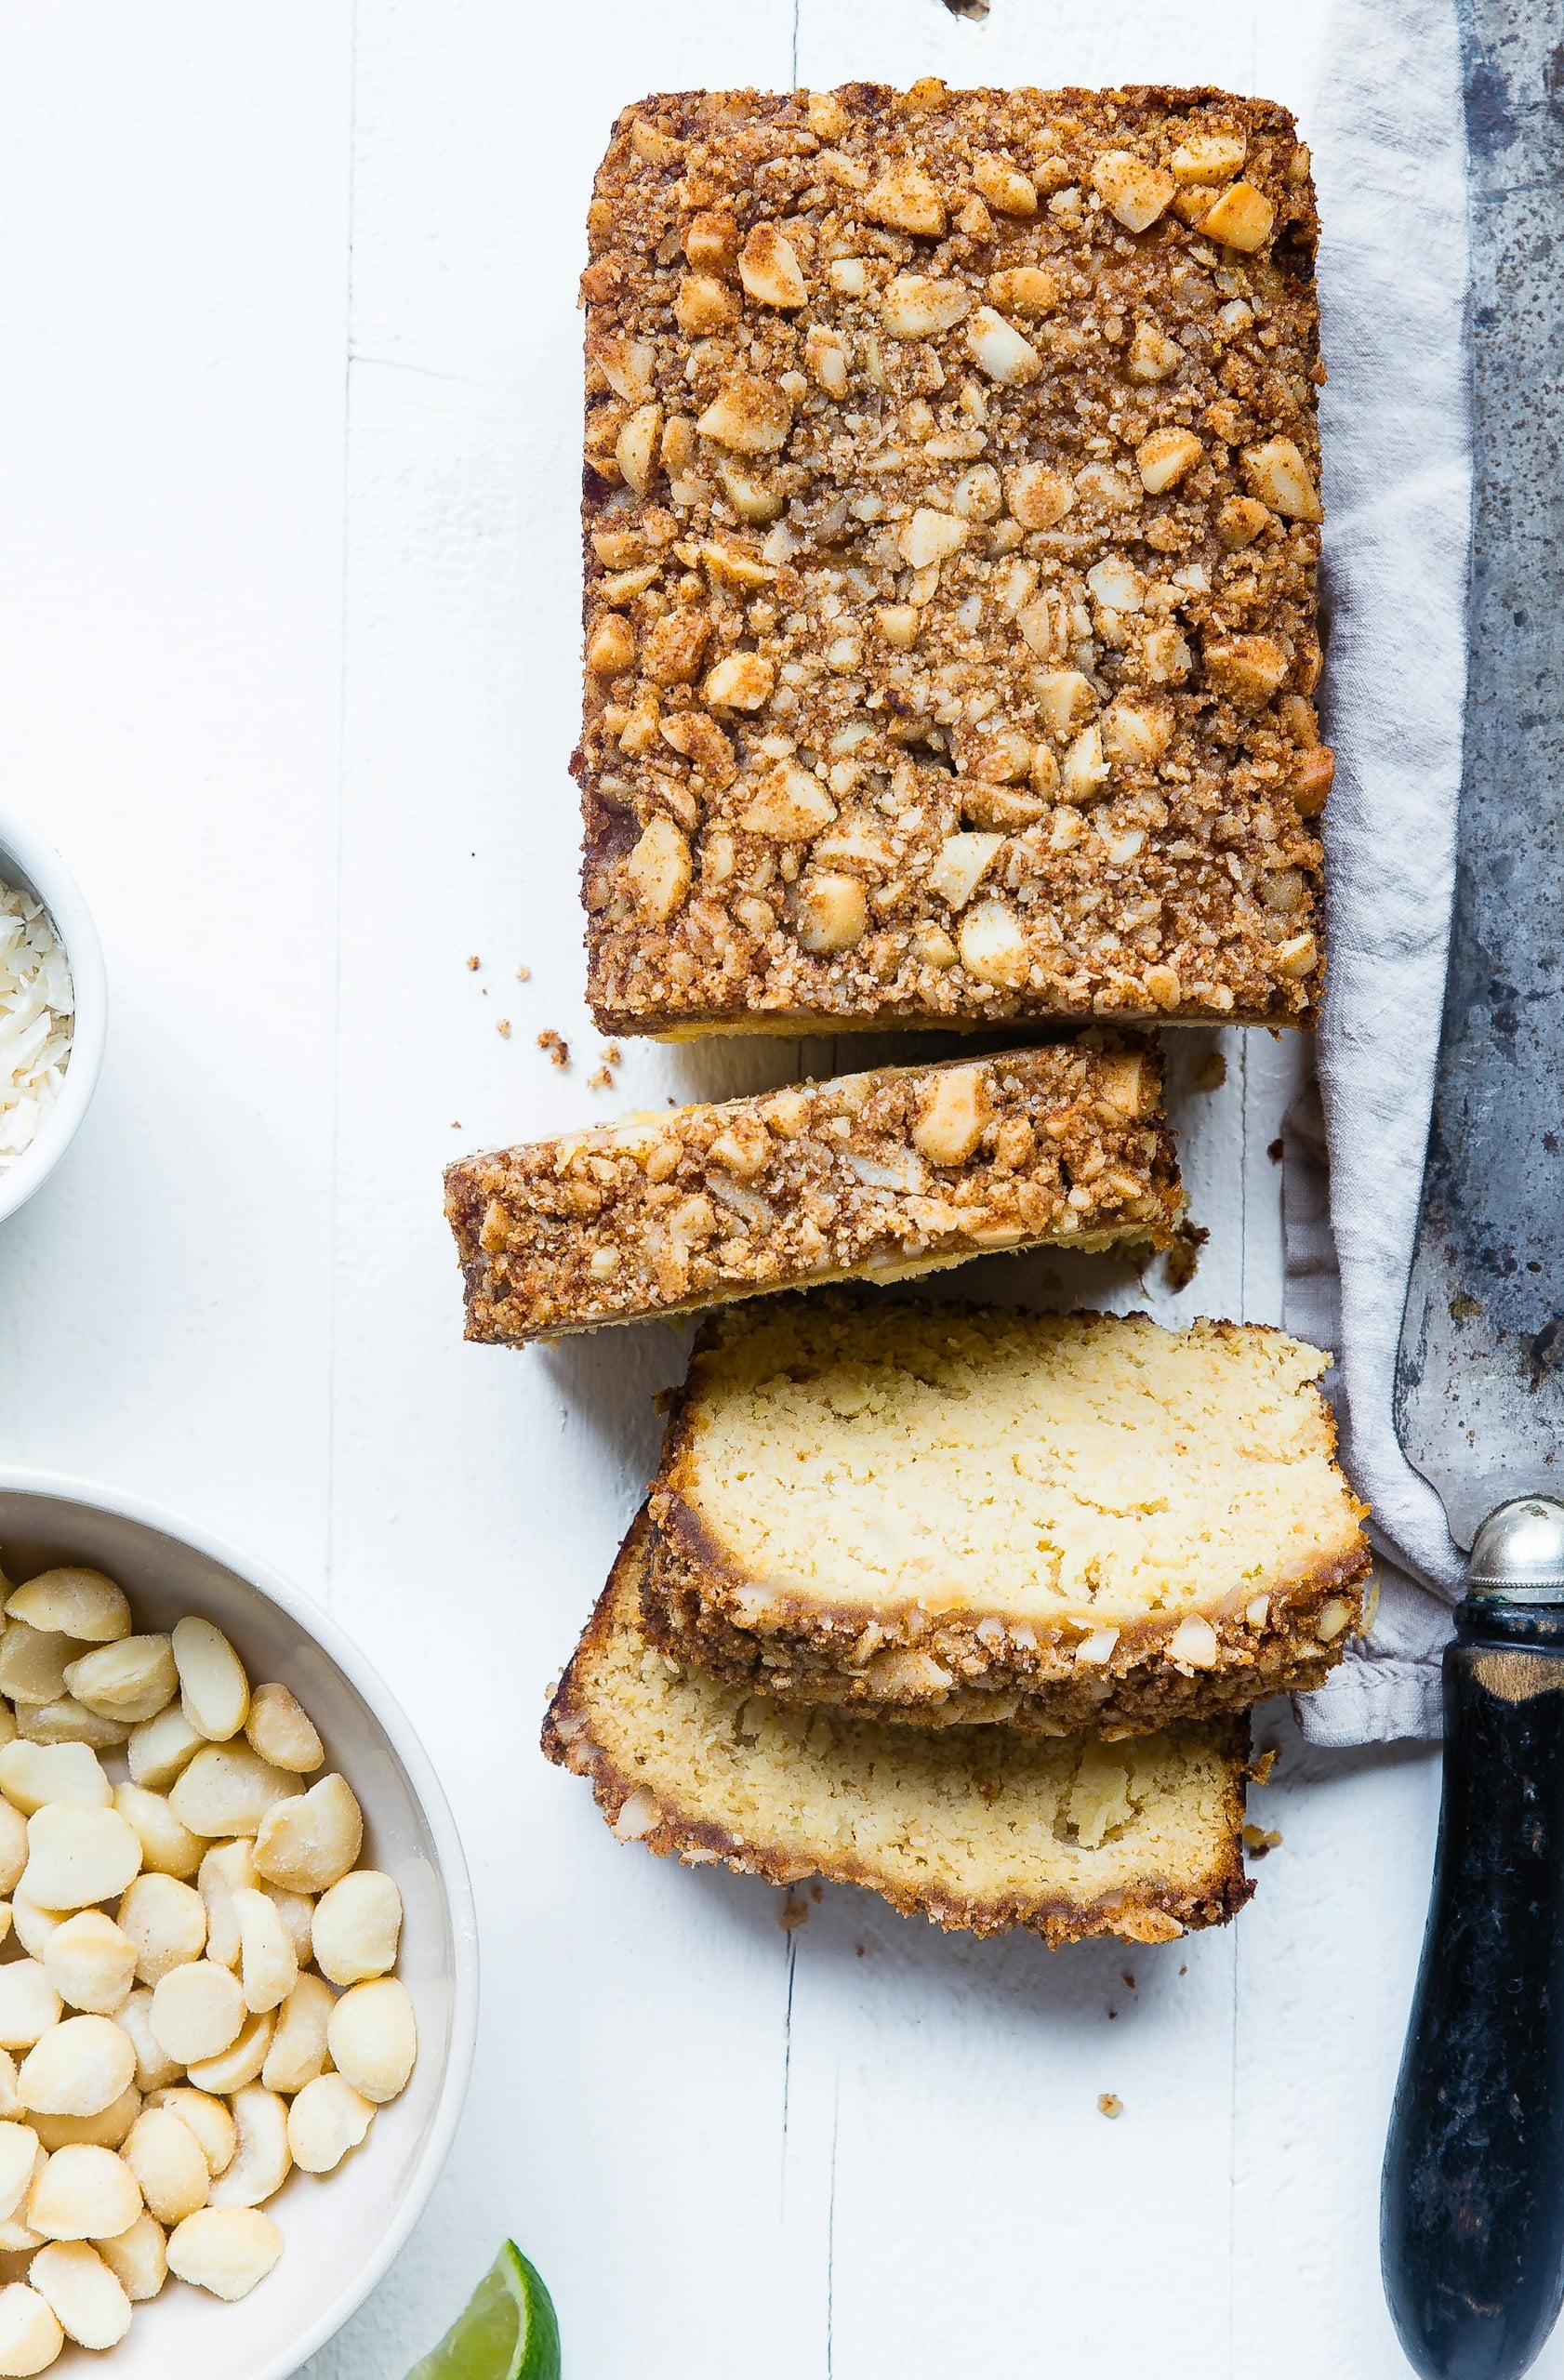
- Nutty or seedy coconut bread: If you want to elevate the base recipe with extra crunch and flavor, this variation is perfect. All you have to add is ½ cup chopped nuts or seeds. You can also press a few nuts or seeds onto the top before baking for a rustic look.
- Tropical fruit coconut bread: For a pina colada flavor, stir in ½–⅔ cup of small-diced pineapple. You can also add dried fruit like mango or a handful of raisins for chew and sweetness.
- Toasted coconut bread: Toast the shredded coconut until lightly golden before folding it into the batter. Reserve a small amount for the glaze.
Storage and Freezing Tips
Keeping this bread properly stored will keep it fresh and tasty for longer, allowing you to enjoy it whenever you want it.
- Room-temperature storage: This bread tastes best after completely cooled. However, if you happen to have any remaining, store in an airtight container at room temperature for up to 3 days.
- Refrigerating: Slice first, wrap each slice in plastic wrap or foil, then put all slices in a resealable bag or airtight container and refrigerate them for up to a week.
- Freezing: This is the best option for quality and convenience. To freeze, place parchment between slices, put in a freezer-safe bag, press out as much air as possible, and store for 2 to 3 months. Thaw at room temperature for 20–30 minutes, then toast or warm briefly in the oven.
Frequently Asked Questions (FAQs)
Here are the questions regarding baking this coconut bread. If you can’t find yours, drop it in the comments.
Can I use coconut flour instead of the gluten-free flour mix?
Coconut flour is not a cup-for-cup substitute for a gluten-free all-purpose flour blend because it absorbs significantly more liquid. Replacing all the flour would require reformulating the eggs, coconut milk, fat, and leavening, so I cannot guarantee the results.
If you still want to experiment, replace only ¼ cup of the gluten-free flour blend with ¼ cup of coconut flour. Check the batter after it rests; if it becomes unusually thick or dry, stir in coconut milk 1 tablespoon at a time until it returns to a thick but easily spreadable quick-bread consistency. The finished loaf may be denser and more delicate than the original.
For the most reliable texture, prepare the recipe with the gluten-free flour blend listed in the recipe card.
Can I make this bread without eggs?
Sure, you can replace the egg in this recipe with a flax egg or chia egg. However, expect a denser, more cake-like crumb, and you may need a bit more xanthan gum to help with structure.
Should I rest the dough?
Definitely. Resting the dough for 30 minutes hydrates the flour and starches, which enhances the bread’s texture.
Is this bread dairy-free?
Certainly. Thanks to the coconut milk used in this recipe, this bread is completely dairy-free.
Can I use unsweetened shredded coconut?
Yes. Unsweetened shredded coconut will make the loaf slightly less sweet and may produce a somewhat drier texture. Use finely shredded coconut and consider adding 1–2 tablespoons of sugar if you prefer the original sweetness.
More Gluten-Free Quick Bread Recipes To Try
Are you looking for other wholesome gluten-free bread recipes you can make in no time? Here are some for you:
- One-Bowl Gluten-Free Banana Bread for a tender, flavorful, and delicious, reliably reliable loaf.
- Sliceable Chia Seed Bread for filling gluten-free toast and sandwiches.
- Savory Cassava Bread Recipe for a grain-free bread to fit multiple food allergies.
- Homemade Millet Bread for a soft, sliceable loaf that works for sandwiches, toast, and everyday meals.
- Sorghum Bread Recipe for a loaf that’s soft, easy to slice, and sturdy enough for sandwiches and toast.
Whether you’re looking for a flavorful loaf that’s guaranteed to be a crowd-pleaser or a quick bread for breakfast sandwiches, these recipes make tasty and satisfying gluten-free quick bread you can enjoy in several ways.
Tell Us About Your Experience
Did you enjoy making this coconut bread? How did it turn out? What are the unique spins you put on this recipe? Leave a comment below and share your baking experience.
Your feedback is valuable to both other readers and me. And if you’d like to try more gluten-free quick bread recipes, you’re welcome to check out the amazing loaves linked above.