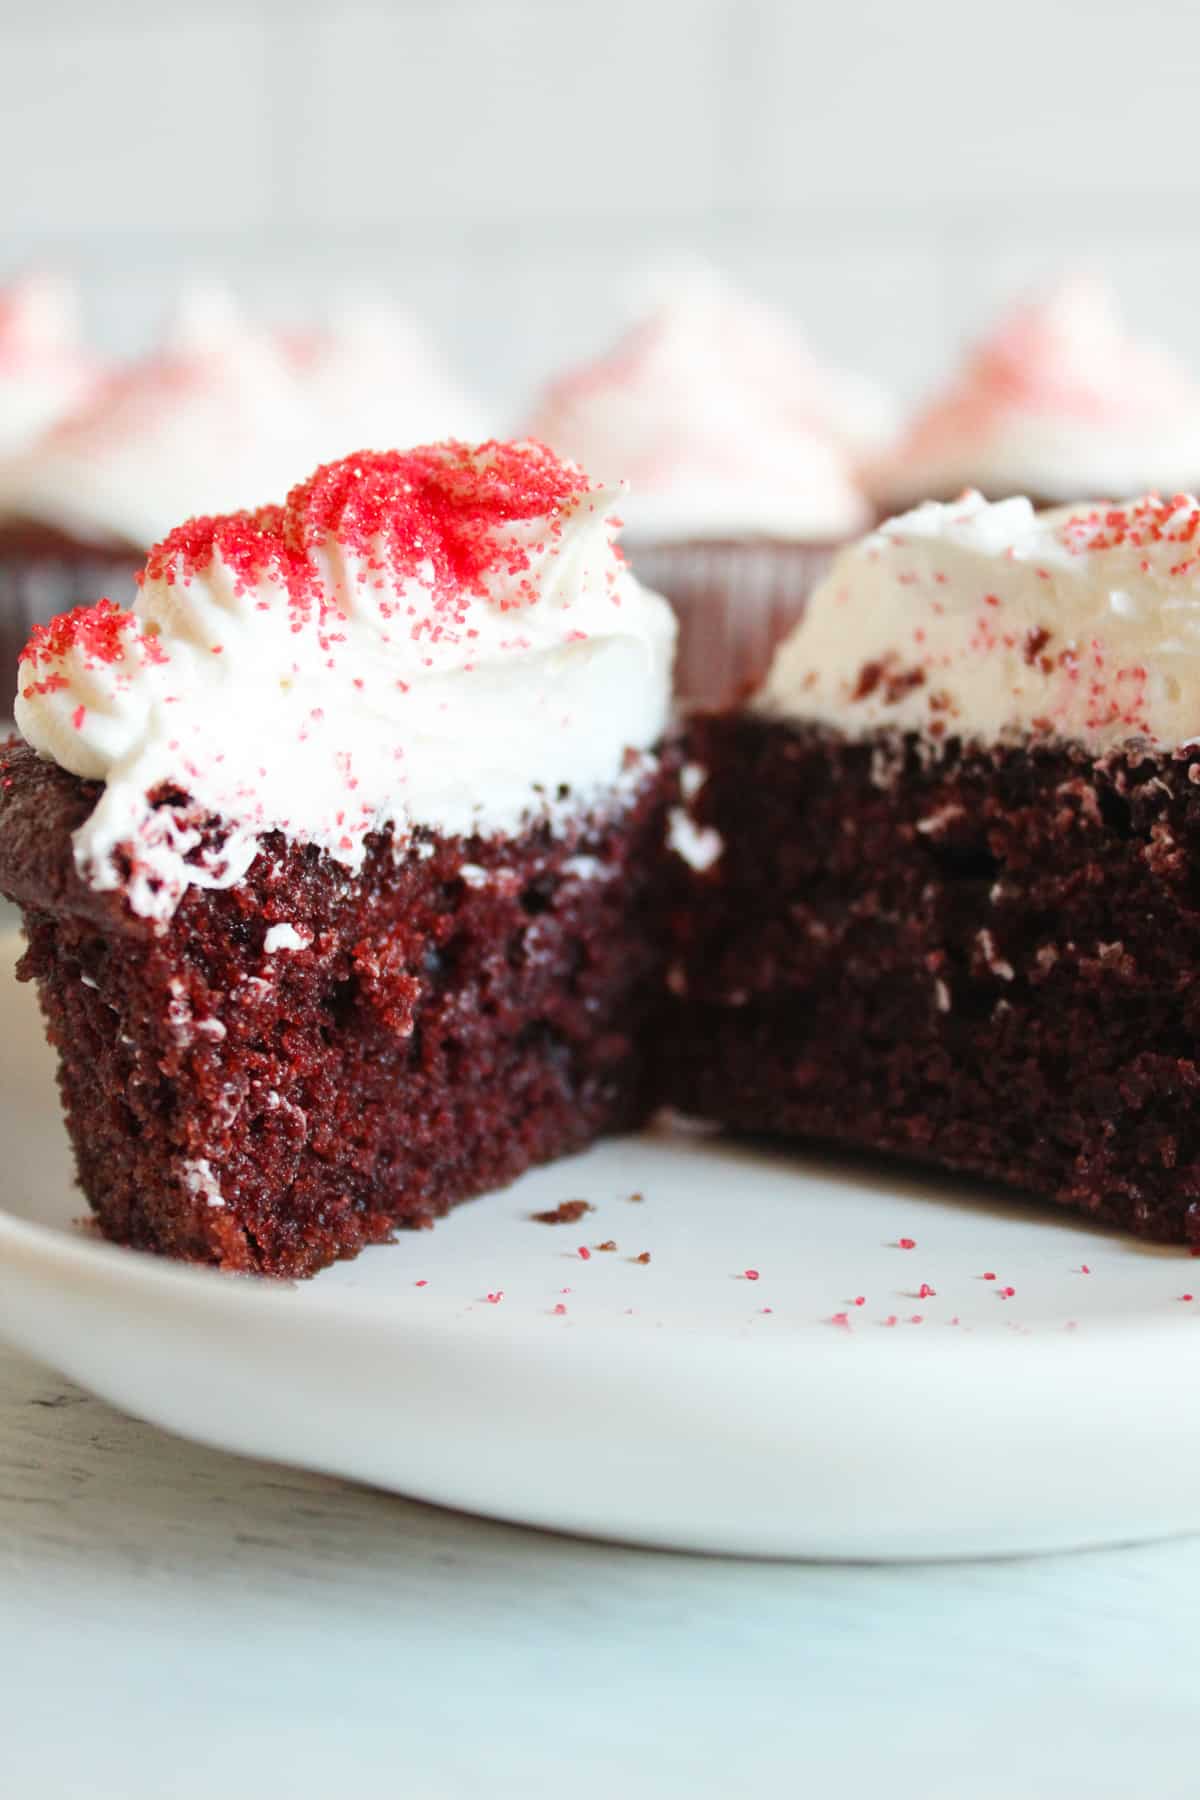
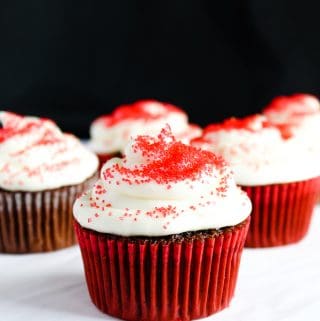
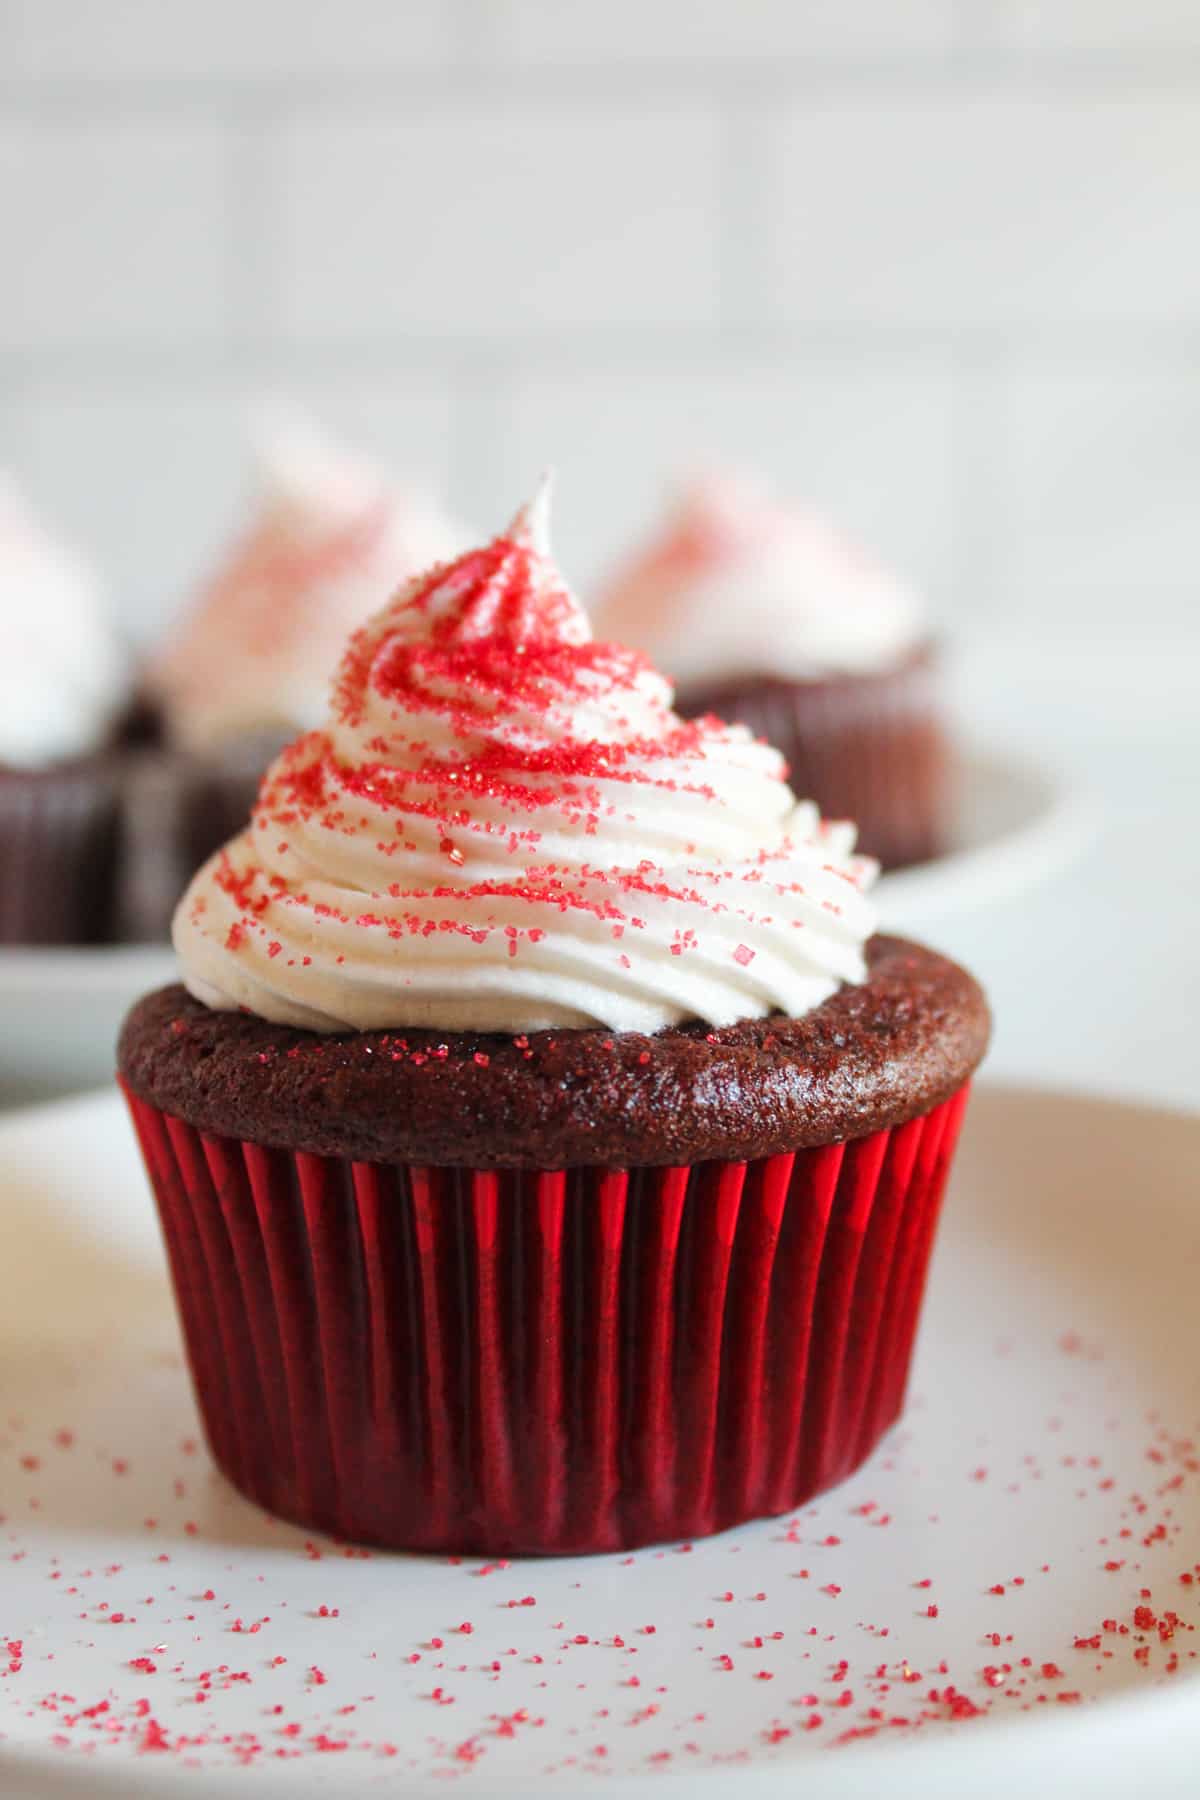
Gluten-free red velvet cupcakes deliver classic flavor and a soft, tender crumb. They avoid the heaviness often found in gluten-free baking. Red velvet offers a mild cocoa flavor balanced by a tang from vinegar and buttermilk, which also creates its signature light texture.
However, texture is usually the greatest issue while baking these cupcakes. Without gluten, your cupcakes could become crumbly or dense if you don’t balance your flour blend and moisture properly. This recipe concentrates on those fine points so you can easily bake cupcakes that stay fluffy and moist.
Table of Contents
After reviewing the recipe overview, you’re ready to try this simple homemade red velvet cupcake recipe. Suitable for everyday baking, birthdays, or holidays, it’s easily finished with regular cream cheese frosting or, for contrast, our light lemon buttercream.
Ingredient Quick Scan List
Before you begin baking, let’s review the key ingredients needed for these cupcakes. This will ensure you have everything ready when you start.
Ingredients for the Cupcakes
Here are the main ingredients that contribute to the cupcakes’ moist texture, mild cocoa flavor, and vivid red color:
- Gluten-free flour blend
- Xanthan gum
- Baking soda
- Baking powder
- Unsweetened cocoa powder
- Salt
- Granulated sugar
- Vegetable oil
- Egg
- Pure vanilla extract
- Red food coloring
- Prepared coffee
Buttermilk Mixture
Meanwhile, the buttermilk mixture adds tanginess and helps keep the cupcakes soft and tender. Simply combine the following:
- Almond milk
- White vinegar
With all your ingredients gathered, you’re ready to mix the batter and bake your cupcakes.
What Makes Gluten-Free Red Velvet Cupcakes Unique?
Although people often confuse red velvet with chocolate cake, the two desserts are actually quite different in both flavor and texture. Red velvet uses only a small amount of cocoa powder, which is why the chocolate flavor stays mild rather than rich.
As a result, the cupcakes have a balanced flavor with subtle cocoa notes and a soft, velvety crumb. Because of this, red velvet stands apart from most chocolate-based desserts. Instead of a strong chocolate taste, you get something lighter and slightly tangy.
In gluten-free baking, this balance becomes even more important. When the ingredients are measured carefully, the cupcakes bake up light, fluffy, and tender rather than dense or crumbly.
The Cocoa + Buttermilk Flavor
Red velvet depends on the perfect mixture of acidic ingredients and cocoa. Cocoa gives it a thin chocolate flavor, while buttermilk adds subtle tang and moisture. Altogether, these ingredients produce a flavor that’s somewhere in between chocolate and vanilla, without giving the typical chocolate dessert taste.
Why Vinegar Is Used
Vinegar and baking soda together lift the batter. This reaction allows the cupcakes to rise and adds to the smooth, velvety crumb we know red velvet for. The acidity makes the cocoa and buttermilk flavor balance stronger.
The Trademark Red Color
Red velvet gets its color from acidic ingredients like vinegar and buttermilk reacting with cocoa powder. Such a reaction could develop a reddish tone. However, several modern recipes create the bright red color generally associated with the dessert by using red food coloring.
Ingredients and Substitutions for Gluten-Free Red Velvet Cupcakes
To further help with substitutions or modifications, here’s what each ingredient contributes to the recipe.

Gluten-Free Flour Blend
A gluten-free flour blend is the base structure of the gluten-free cupcakes. They are a combination of several flours and starches that substitute for the elasticity provided by gluten. If you choose a balanced blend, your cupcakes will bake with a soft crumb.
Xanthan Gum
In gluten-free baking, xanthan gum acts as the binder.
Cocoa Powder
Unsweetened cocoa powder provides the subtle chocolate flavor that makes the red velvet what it is. You only need a small amount, because the cupcakes are meant to have a slight cocoa taste, not a rich chocolate flavor.
Baking Soda and Baking Powder
These leavening agents make the cupcakes rise. When combined, baking soda and the batter’s acidic ingredients react, while baking powder provides extra lift, resulting in a lighter texture.
Sugar
Granulated sugar adds sweetness to the batter and helps keep the cupcakes hydrated as they bake.
Vegetable Oil
Vegetable oil keeps the cupcakes moist.
Egg
Egg gives structure to the batter and helps the cupcakes hold their shape after baking.
Almond Milk and Vinegar
Almond milk and vinegar together make a dairy-free buttermilk substitute, with the acidity activating baking soda for a fluffy crumb.
Vanilla Extract
Vanilla enhances the flavor and balances the cocoa notes in the batter.
Red Food Coloring
Red food coloring gives red velvet its signature color.
Prepared Coffee
Coffee intensifies the cocoa flavor without making the cupcakes taste like coffee.
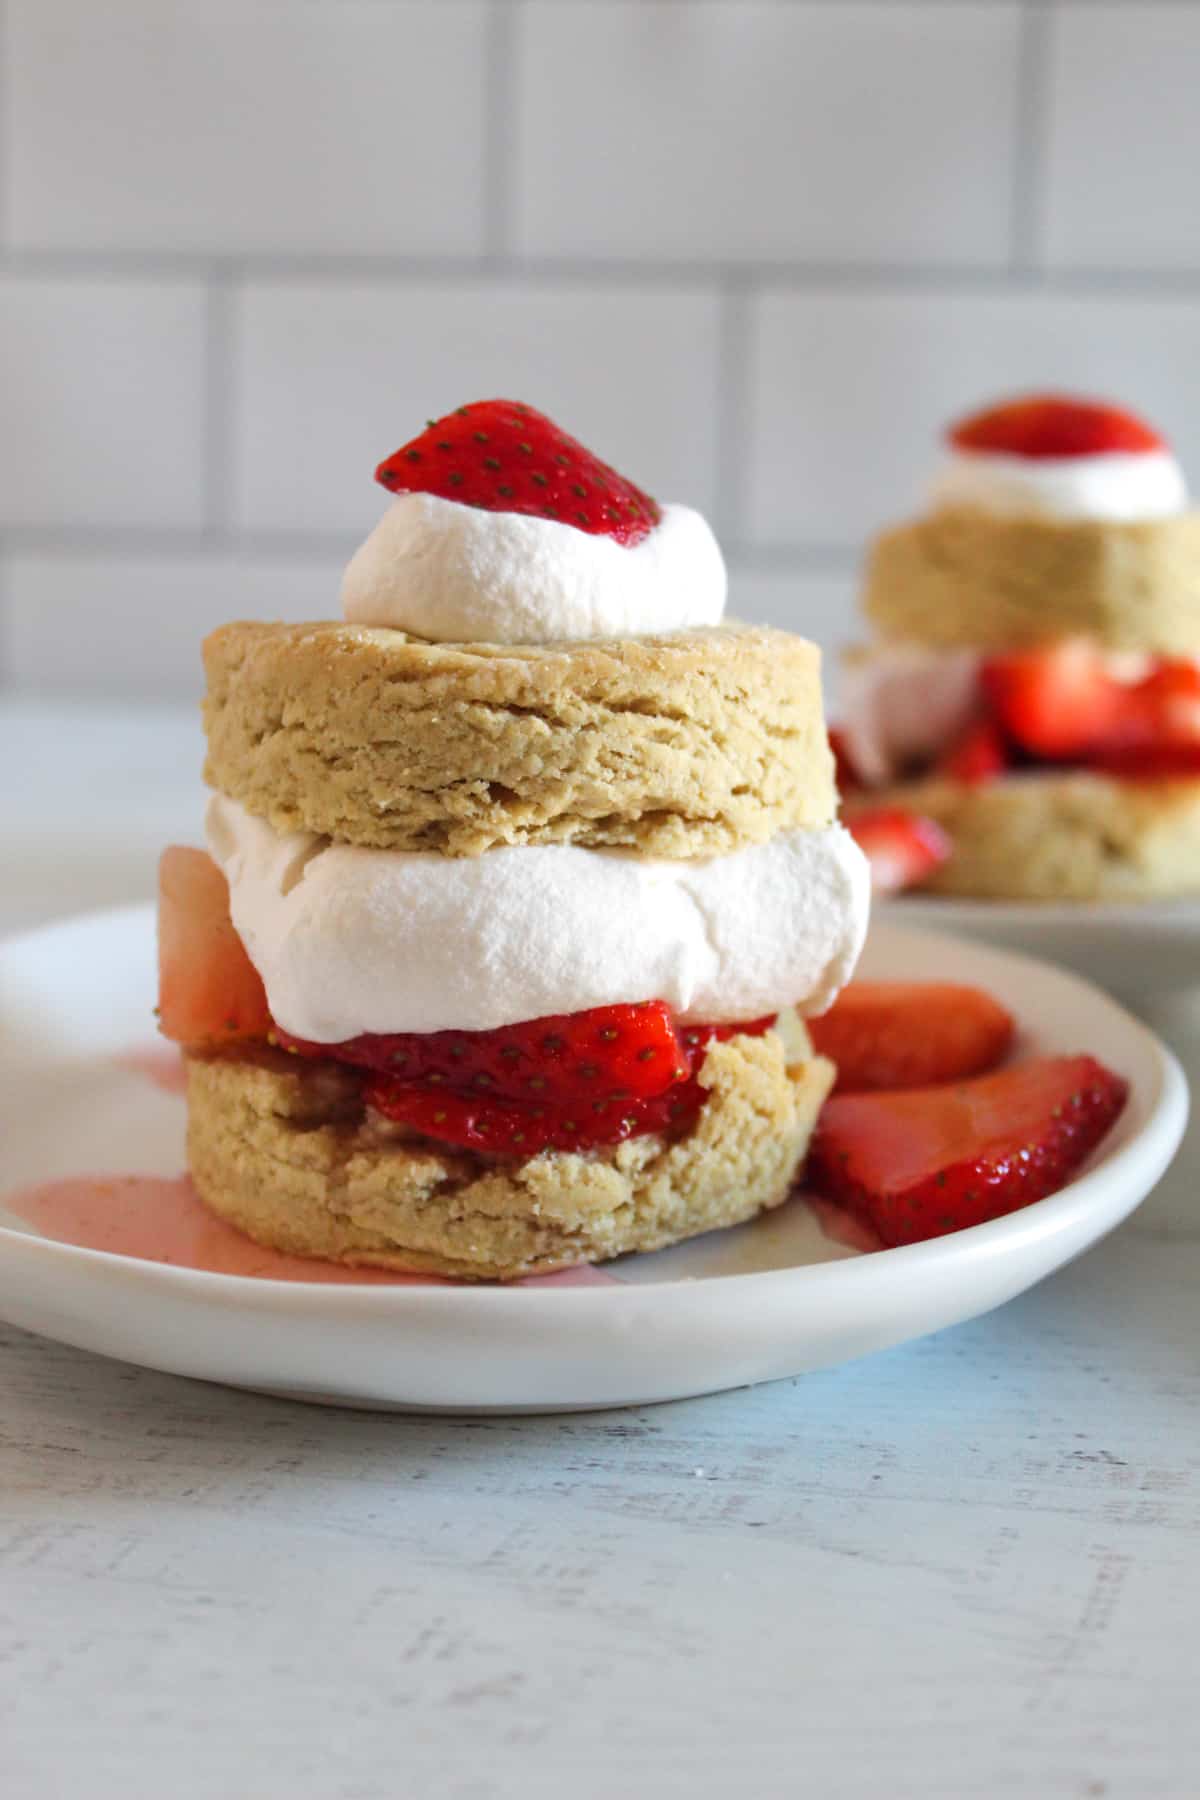
As you become familiar with these ingredients, you may recognize them from other gluten-free desserts, like our gluten-free strawberry shortcakes, where they similarly create a soft texture.
Printable Gluten-Free Red Velvet Cupcakes Recipe Card
Ingredients
Dairy-free buttermilk
- ½ cup almond milk
- 1 teaspoon white vinegar
Cupcakes:
- 130 grams gluten-free flour blend about 1 cup
- 1 teaspoon xanthan gum (omit if included in flour blend)
- ½ teaspoon baking soda
- ½ teaspoon baking powder
- 12 grams unsweetened cocoa about 2 Tablespoons
- ½ teaspoon salt
- 150 grams granulated sugar about 3/4 cup
- ½ cup vegetable oil
- 1 large egg
- 1 teaspoon pure vanilla extract
- 1 ounce red food coloring or gel
- ¼ cup prepared coffee room temperature
Frosting:
- 4 ounces vegan cream cheese softened
- ¼ cup vegan butter room temperature
- 1 teaspoon pure vanilla extract
- 240 grams powdered sugar about 2 cups
Instructions
Cupcakes:
- Make buttermilk by adding the white vinegar to a measuring cup and filling it to 1/2 with almond milk. Set aside for 5 minutes.
- In a medium mixing bowl, combine gluten-free flour blend, xanthan gum, baking soda, baking powder, cocoa, and salt. Mix until combined. Set aside.
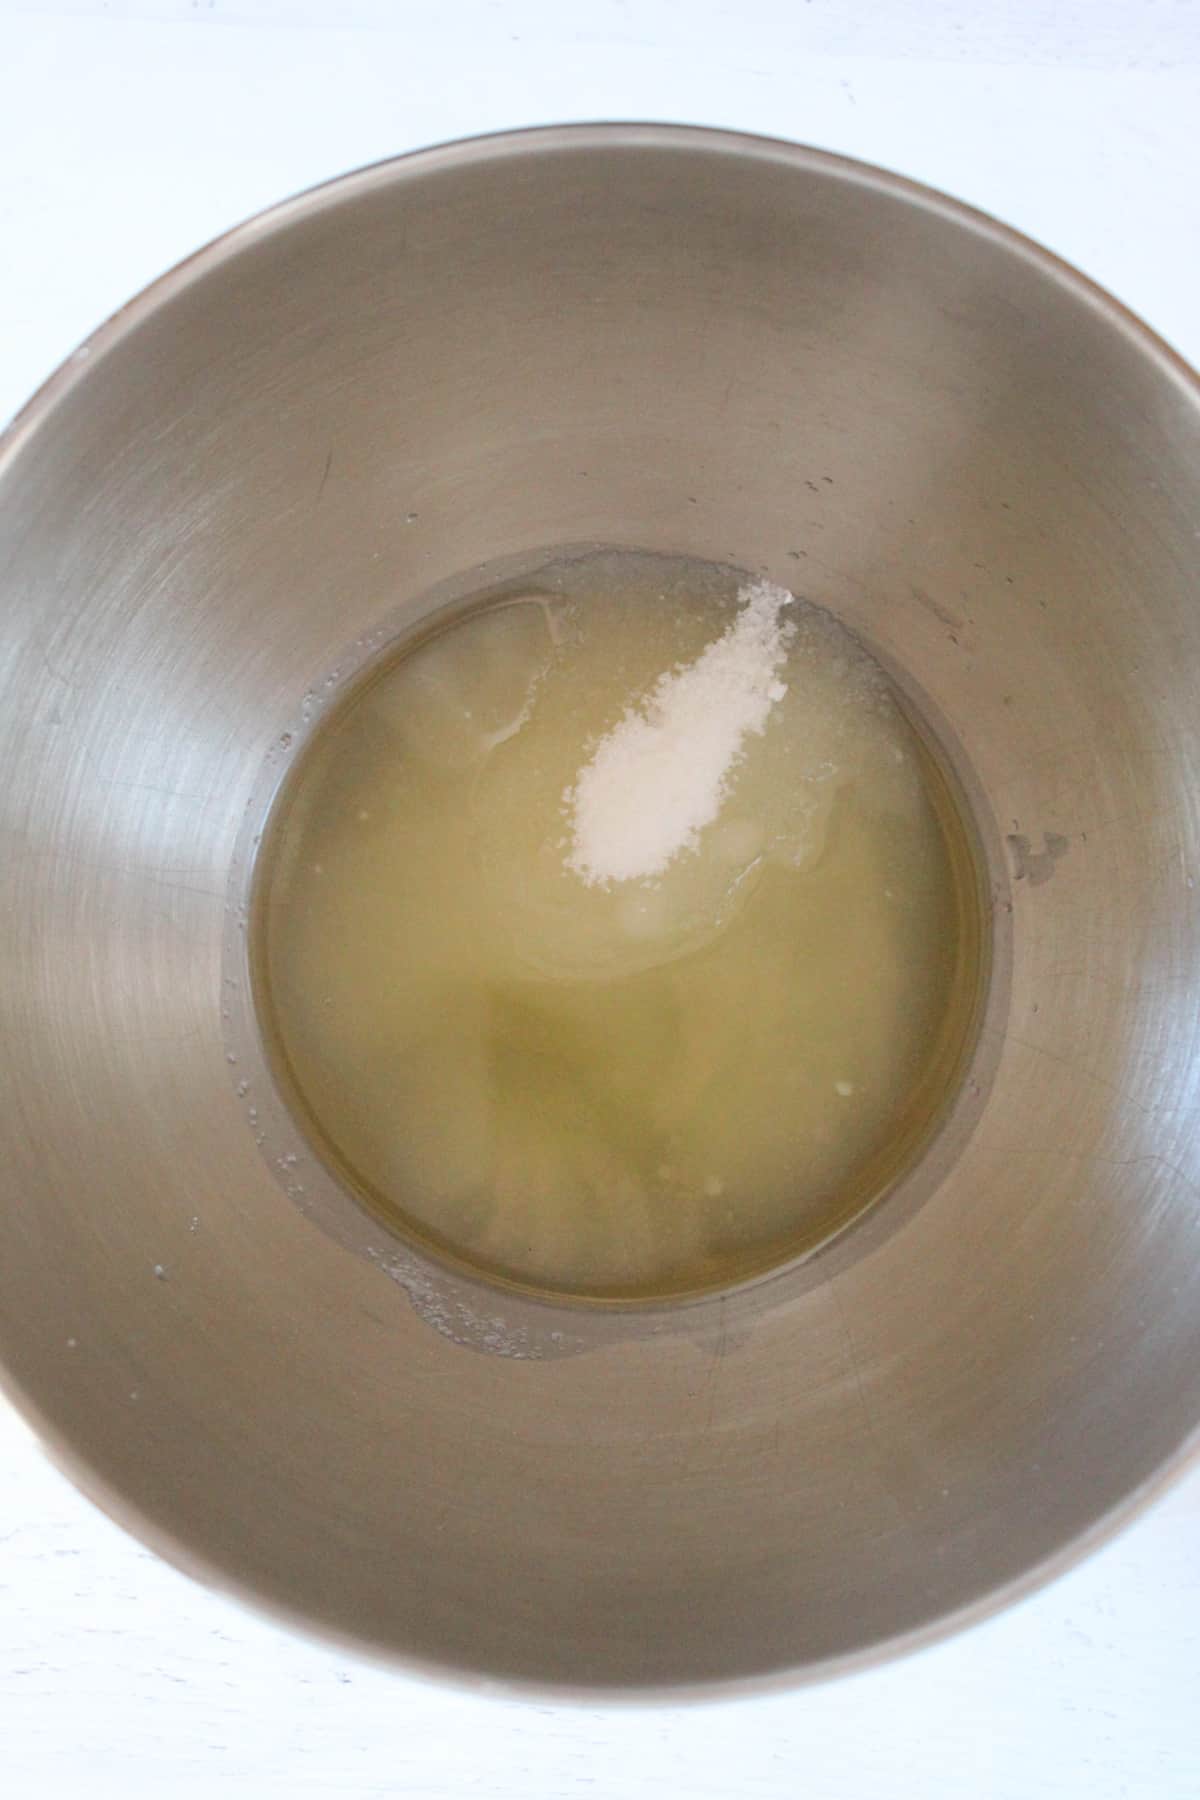
- In a large mixing bowl or bowl of a stand mixer, mix the sugar and oil on low speed for 30 seconds or until combined.
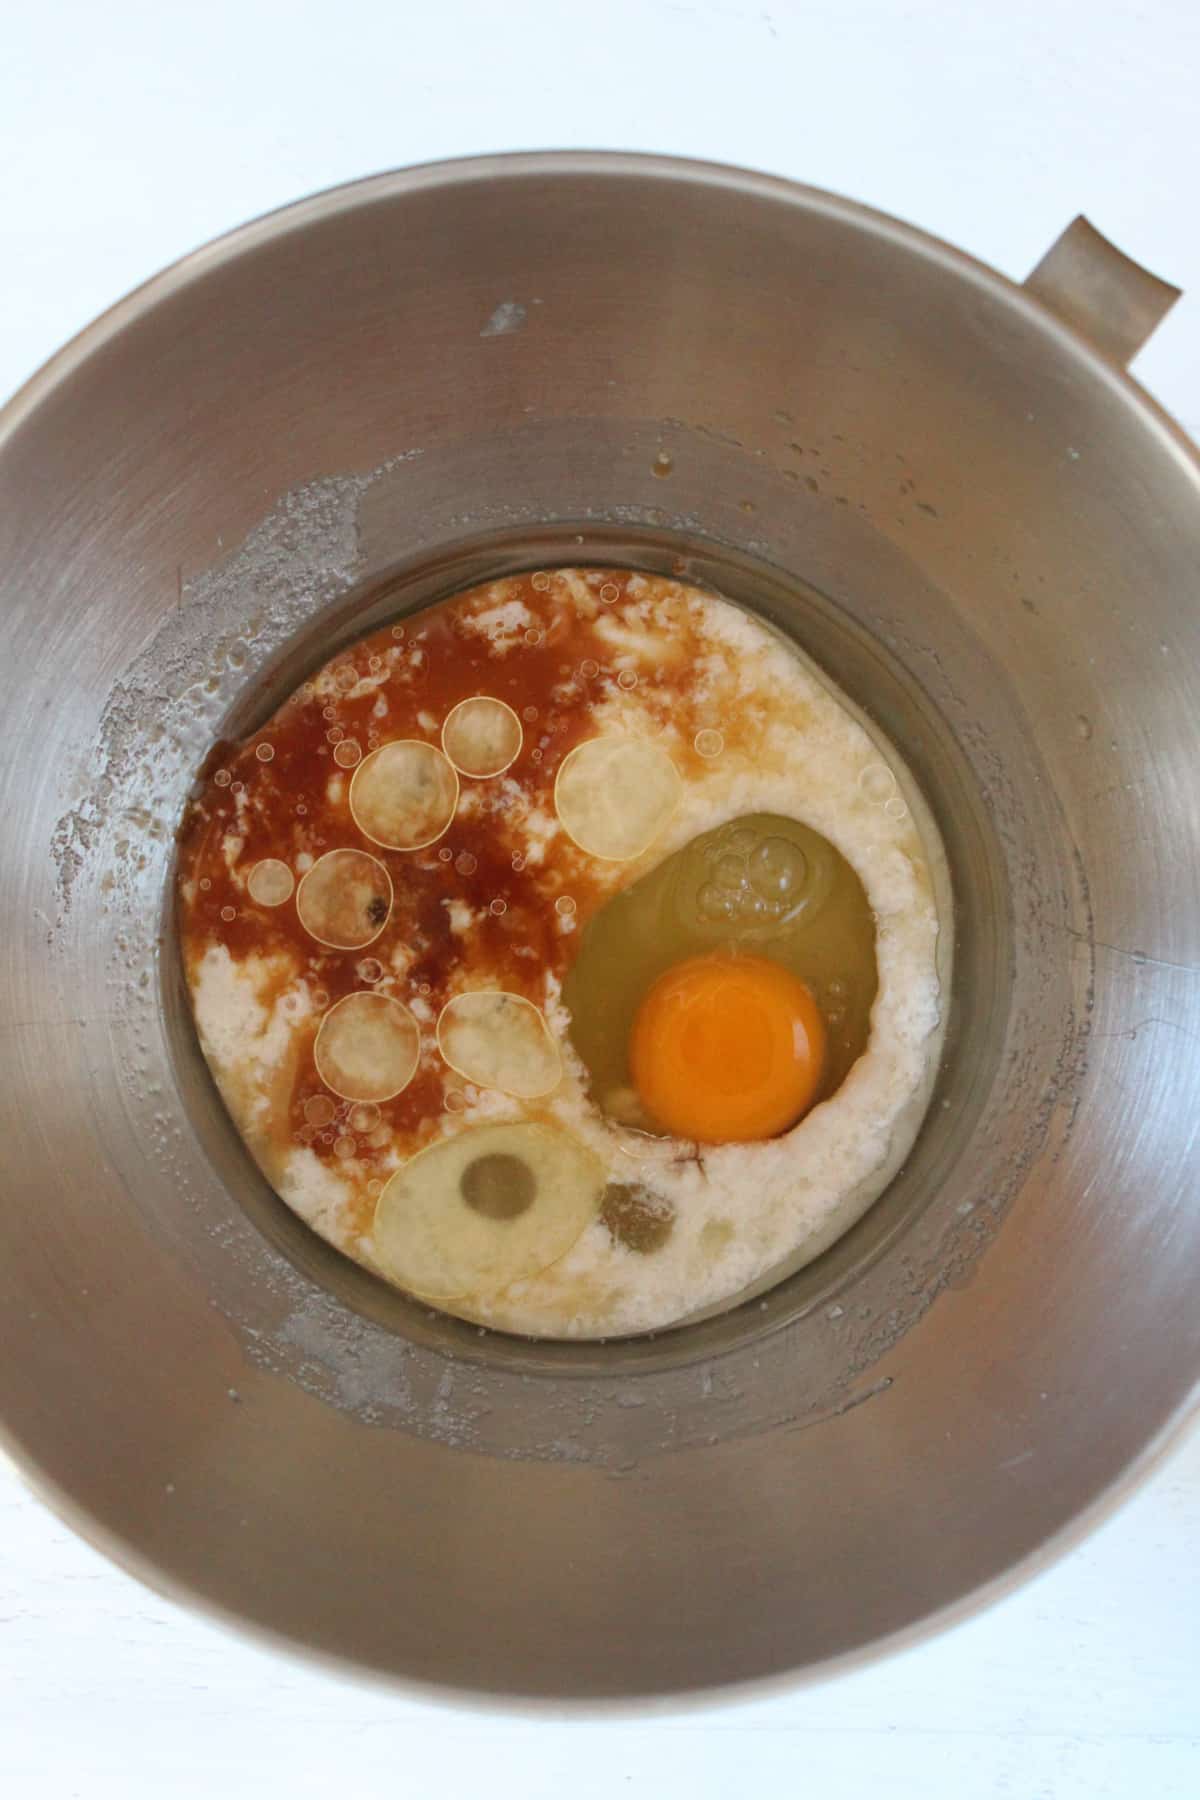
- Add in the egg, buttermilk mixture, vanilla, and red food coloring, mix on low speed for 30 seconds. Stop the machine and scrape down the sides. Turn the mixer to medium and mix for 15 seconds.
- Add the coffee to the sugar mixture and mix on medium speed for 10 seconds.
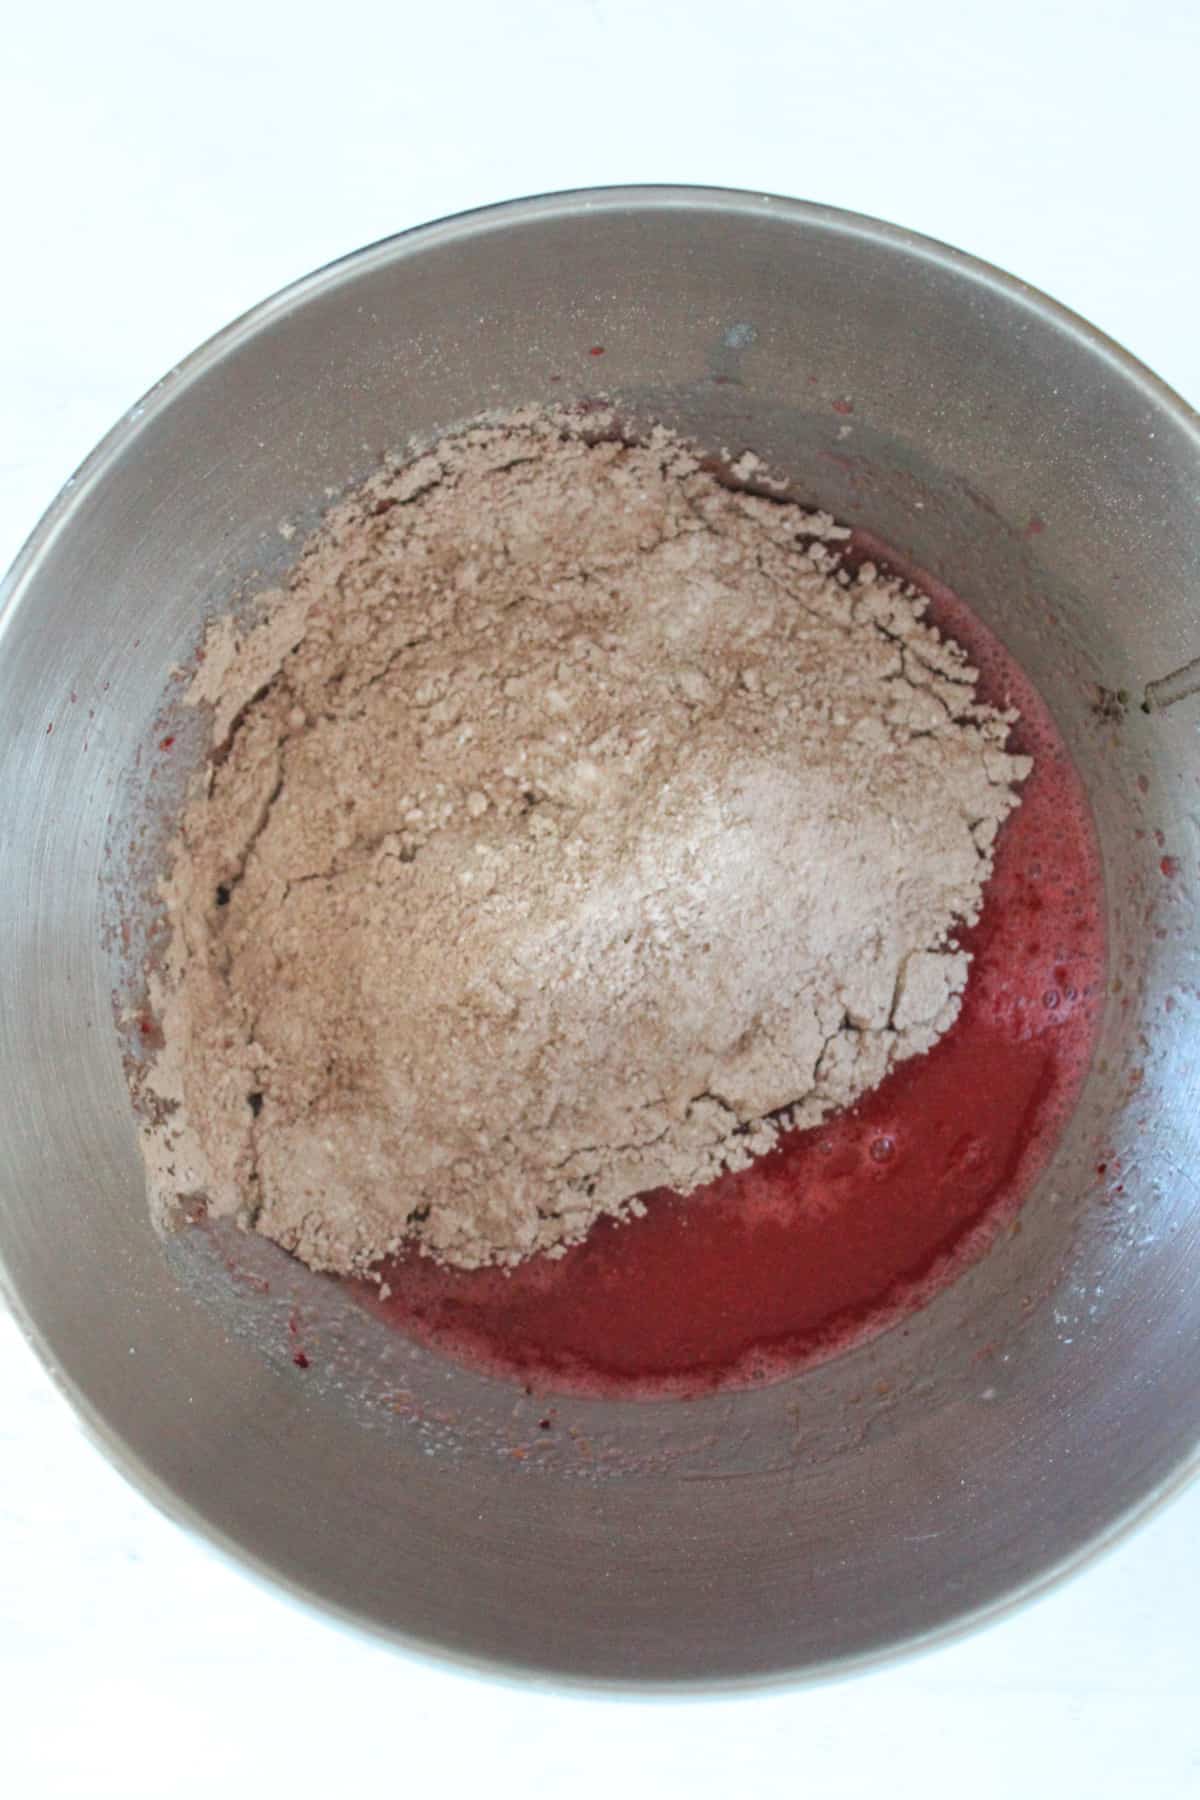
- Add the flour mixture to the wet mixture and mix on low speed for 15 seconds. Scrape down the bowl.
- Turn the mixer to medium speed and mix for 2 minutes.
- Set batter aside to rest for at least 30 minutes.
- Prepare a muffin tin by lining each cup with a paper liner. Preheat oven to 350 F.
- Fill each muffin cup ⅔–¾ full of batter.
- Bake for 20-24 minutes or until a toothpick inserted into the center comes out clean.
- Remove the cupcakes and let them cool on a cooling rack.
Frosting:
- In a medium mixing bowl, beat the softened vegan cream cheese and vegan butter until light and fluffy.
- Add powdered sugar and beat on low speed until combined.
- Add the vanilla extract and beat again until fully combined, about 30 seconds.
- Frost cooled cupcakes.
Notes
Doneness Cues
-
- The tops should spring back lightly when touched.
- A toothpick inserted in the center should come out clean or with a few crumbs.
- The cupcake edges will pull slightly away from the liners.
Success Notes
- Use a balanced gluten-free flour blend for the best structure.
- Do not over-mix after adding the flour.
- Room-temperature ingredients help create a smoother batter.
- Let cupcakes cool fully before frosting.
Storage
- Room Temperature: Store unfrosted cupcakes in an airtight container for up to 2 days.
- Refrigerator: Frosted cupcakes keep for about 4 days.
- Freezer: Freeze unfrosted cupcakes for up to 2 months.
Nutrition (Estimated Per Cupcake)
Estimated using standard recipe nutrition calculators.- Calories: ~285 kcal
- Carbohydrates: ~37 g
- Protein: ~3 g
- Fat: ~14 g
- Sugar: ~24 g
Nutrition
Why This Gluten-Free Red Velvet Cupcake Recipe Works
This recipe shines because it masterfully balances moisture, acidity, fat, and structure. When these stars align, your cupcakes emerge from the oven light, tender, and impossible to resist!
Moisture Balance
To begin, the batter gets moisture and fat from oil, egg, and almond milk. Together, these ingredients help keep the cupcakes soft. Oil is especially helpful because it stays liquid at room temperature, which keeps the crumb tender even after the cupcakes cool.
Acid + Baking Soda Reaction
Next, vinegar and the dairy-free buttermilk mixture react with baking soda. As this reaction happens, carbon dioxide forms and helps the cupcakes rise. Because of this, the batter becomes lighter and develops the airy crumb red velvet is known for.
Oil-Based Crumb
Oil also creates a softer crumb than butter. Instead of firming up as it cools, it coats the flour particles, helping prevent the cupcakes from drying out.
Gluten-Free Flour Structure
Furthermore, a gluten-free flour blend provides the base structure of these cupcakes. At the same time, xanthan gum acts as a binder, helping the batter hold together and trap air during baking.
As a result of these combined elements, the cupcakes rise evenly and keep their soft texture after baking.
This combination of moisture, acidity, and structure allows the cupcakes to rise evenly and keep a soft texture. The same can be said of our moist almond-flour coffee cake recipe.
Essential Kitchen Tools for Making Cupcakes
You don’t need a large collection of equipment to make gluten-free red velvet cupcakes. However, having a few reliable baking tools will help ensure consistent results.
- 12-Cup Muffin or Cupcake Pan – This pan allows the cupcakes to bake evenly while holding the batter in individual portions.
- Cupcake Liners – Paper liners prevent sticking and make it easier to remove the cupcakes once they’ve cooled.
- Mixing Bowls – You’ll need two bowls: one for dry ingredients and another for wet ingredients. This simple step helps the batter mix more evenly.
- Whisk – A whisk helps combine dry ingredients like flour and cocoa powder so the leavening agents are evenly distributed.
- Measuring Cups and Spoons – Accurate measurements are especially important in gluten-free baking. Because of this, using proper measuring tools helps maintain a consistent texture.
- Cooling Rack – After baking, place the cupcakes on a cooling rack. This allows air to circulate, helping them cool evenly and preventing soggy bottoms.
Step-by-Step Instructions for Perfect Cupcakes
Now that you have the ingredients and recipe card in place, follow the steps below to make these cupcakes with a soft crumb and even rise.
Step 1: Preheat the Oven
Preheat your oven to 350°F (175°C). Prepare a 12-cup cupcake pan by lining each cup with a paper liner so the cupcakes can be easily removed after baking.
Step 2: Mix Dry Ingredients
In a medium bowl, whisk together the gluten-free flour blend, xanthan gum, baking soda, baking powder, cocoa powder, and salt. Whisk these dry ingredients thoroughly to ensure the leavening agents are evenly distributed before adding any wet ingredients.

Step 3: Combine Wet Ingredients
In a separate bowl, combine the granulated sugar, vegetable oil, egg, vanilla extract, and prepared coffee. Mix until the mixture appears smooth and very well blended.
Stir until the mixture is smooth and well combined.
Step 4: Add Red Food Coloring
Add the red food coloring to the wet ingredients. Stir thoroughly so the color is evenly mixed throughout, with no streaks remaining.
Step 5: Combine Wet and Dry
Next, add the dry ingredients to the wet mixture and stir until fully combined.
The batter should look smooth, slightly thick, and scoopable.
Step 6: Fill Cupcake Liners
Divide the batter evenly between the cupcake liners, filling each about two-thirds full to allow room for the batter to rise.

Step 7: Bake
Bake for 20–24 minutes in the center of the oven.
The tops spring back lightly when touched, and a toothpick inserted into the center comes out clean.
Step 8: Cool Completely
Then, remove the cupcakes from the pan and place them on a cooling rack. Let them cool completely before frosting so the topping holds its shape.

Step 9: Prepare the Frosting
In a mixing bowl, beat the following ingredients together:

- cream cheese
- butter
- powdered sugar
- vanilla extract
Mix until the frosting is smooth and spreadable.
Step 10: Frost the Cupcakes
Frost each cooled cupcake with a knife or a piping bag.
Step 11: Serve
Finally, once frosted, the cupcakes are ready to serve.
How to Get the Perfect Gluten-Free Red Velvet Color
The gluten-free red velvet cupcakes’ color is obtained from food coloring and the reaction between acidic ingredients and cocoa.
Gel Food Coloring
A small amount of gel food coloring offers an intense red color. Due to its high concentration, it doesn’t thin the batter.
Liquid Food Coloring
Although liquid food coloring has a lower concentration, it still works. However, you may need more to achieve a similar shade, which could slightly increase the batter’s liquid content.
Natural Coloring (Beet Powder)
You can replace artificial dyes with beet powder. But it gives a darker red tone rather than a bright red color.
How Cocoa Affects Color
Natural cocoa powder interacts with vinegar and buttermilk, releasing pigments that give the batter a reddish tone.
For more fruit-based desserts with vibrant color, see our gluten-free strawberry dessert recipes.
Why Gluten-Free Cupcakes Sometimes Fail
Gluten-free cupcakes can sometimes turn out differently than expected because the batter relies on several ingredients working together. For this reason, even small changes in measurement or mixing can affect the final texture.
Cupcakes Too Dense
Most often, dense cupcakes happen when:
- Too much flour is used
- The batter is overmixed.
- There isn’t enough leavening.
To avoid this, measure your flour carefully and mix only until the ingredients are combined.
Cupcakes Sink in the Middle
Cupcakes may sink in the center if they are:
- Underbaked.
- Made with too much leavening.
- Disturbed by opening the oven door too early.
Therefore, bake the cupcakes until the centers are fully set and avoid opening the oven during baking.
Cupcakes Too Dry
Similarly, cupcakes can turn dry when:
- They bake for too long.
- The batter doesn’t contain enough fat or liquid.
In this case, check for doneness a little early and store the cupcakes in an airtight container to keep them moist.
Cupcakes Too Crumbly
Gluten-free recipes depend on binders like eggs or xanthan gum to hold the crumb together.
Cupcakes Stick to Liners
Cupcakes may stick to liners when:
- They are underbaked
- The cupcakes are removed while still warm.
- The liners are of low quality.
In such cases, allow your cupcakes to cool completely before you remove them from the liners.
If you need another gluten-free baked good, try our tasty almond-flour blueberry muffins.
Gluten-Free Red Velvet Cupcake Variations
You can adapt this recipe for several dietary needs or serving styles.
Dairy-Free Red Velvet Cupcakes
Rather than dry milk, you can choose plant-based milk and mix it with vinegar to get a dairy-free buttermilk substitute. Vegetable oil helps retain the cupcakes’ moisture, so extra dairy ingredients aren’t needed.
Vegan Red Velvet Cupcakes
Substitute the egg with flax egg, applesauce, or a commercial egg substitute. Applesauce is popular because it adds moisture and helps bind ingredients in baked goods.
If you need ratios and want to know when this swap works best, read how to use applesauce as an egg replacement in baking.
Mini Red Velvet Cupcakes
Fill each cavity about two-thirds full and bake for 10 to 12 minutes at 350°F, or until the tops spring back slightly.
Red Velvet Layer Cake
You can also bake this batter as a cake. To do so, divide it between two 8-inch round pans and bake until a toothpick inserted into the center comes out clean.
Natural Red Velvet Cupcakes
Choose beet powder or beet juice over food coloring. Note that this choice will give you a darker red tone rather than a bright red color.
Best Frosting for Gluten-Free Red Velvet Cupcakes
Many frostings pair well with cupcakes, depending on your favorite flavor.
Classic Cream Cheese Frosting
The traditional topping for red velvet is cream cheese frosting. The tangy flavor perfectly mixes the sweetness of the cupcakes with the subtle cocoa notes.
Dairy-Free Cream Cheese Frosting
If you want a diary-free version, use diary-free cream cheese and dairy-free butter. The flavor stays subtly tangy, and the cupcakes are suitable for gluten-free diets.
Vanilla Buttercream
Vanilla buttercream produces an extra-sweet, smooth-topped frosting that works well if you prefer a milder frosting.
Chocolate Frosting
Chocolate frosting would give you a stronger cocoa flavor and produce a richer dessert. Do you want a dairy-free option? See our easy & rich dairy-free chocolate frosting recipe.
Reliable Storage and Freezing Tips for Your Gluten-Free Red Velvet Cupcakes
Storing your cupcakes properly will keep them soft and prevent them from drying out.
Storing Cupcakes
Before storing them, allow your cupcakes to cool completely. If they will be eaten soon, put them in an airtight container and at room temperature. If you store your cupcakes this way, they will stay fresh for 2 to 3 days.
However, if you use perishable frosting, such as cream cheese frosting, refrigerate it.
Freezing Unfrosted Cupcakes
It’s easy to freeze unfrosted cupcakes. Once you’ve allowed the cupcakes to cool completely:
- Wrap them tightly in plastic wrap or place them in a freezer bag.
- Store in an airtight container.
You can keep your cupcakes frozen for up to 3 months. But before frosting them, thaw them at room temperature.
Freezing Frosted Cupcakes
You can also freeze your frosted cupcakes. Put the cakes in a deep airtight container to protect the frosting. Freeze them until you need them, then thaw at room temperature before serving.
Red Velvet Cupcakes Nutritional Information
This red velvet cupcake recipe provides fat for texture and satiety, carbohydrates for energy, and small amounts of protein from eggs and flour. The following are value estimates for one cupcake without frosting.
Estimated Nutrition Per Cupcake
| Nutrient | Amount |
|---|---|
| Calories | ~240 kcal |
| Carbohydrates | ~30 |
| Sugar | ~20–24 g |
| Fat | ~11–12 g |
| Protein | ~4 g |
| Fiber | ~1 g |
| Sodium | ~150–200 mg |
A regular red velvet cupcake has approximately 11 g of fat, 4 g of protein, 240 calories, and 30 g of carbohydrates per serving, based on ingredient and portion sizes.
Ingredient Nutrition Notes
Cocoa powder adds small amounts of antioxidants known as polyphenols. NBCI research indicates that cocoa polyphenols have anti-inflammatory and antioxidant properties that may benefit cardiovascular health.
Refined carbohydrates and sugar provide energy, but consume them moderately.
Frequently Asked Questions
The following are common questions bakers ask about baking gluten-free red velvet cupcakes. If you don’t see yours, drop it in the comments, and we will get back to you!
Why Are Red Velvet Cupcakes Red?
Red velvet cupcakes get their color from food coloring. Also, they form during an interaction between acidic ingredients and cocoa powder.
Can I Make Gluten-Free Red Velvet Cupcakes Dairy-Free?
Yes, substitute dairy milk with plant-based milk and mix it with vinegar to create a dairy-free buttermilk substitute. If you don’t see yours, we’d love to hear from you in the comments.
Can I Use Almond Flour Instead of A Gluten-Free Flour Blend?
Almond flour acts differently from gluten-free flour blends. It contains more fat and less starch, which changes the structure. A gluten-free flour blend gives more stable results.
Why Did My Cupcakes Sink?
Common causes include underbaking, over-leavening, opening the oven door too early, and incorrect oven temperature.
Can I Make This Recipe As A Cake?
Yes, you can make this recipe as a cake.
How Do I Keep Cupcakes Moist?
Use oil in the batter, avoid over-baking, and store cupcakes in an airtight container.
Can I Freeze Red Velvet Cupcakes?
Yes, you can freeze unfrosted cupcakes.
What Frosting Works Best?
Cream cheese frosting is the traditional topping. But vanilla buttercream or chocolate frosting also works.
More Gluten-Free Desserts to Try
If you enjoyed these cupcakes, below are a few more recipes that use similar baking techniques and gluten-free ingredients.
- Gluten-Free Spice Cake with Dairy-Free Cream Cheese Frosting – A one-bowl cake flavored with cinnamon, nutmeg, cloves, and allspice, topped with dairy-free cream cheese frosting.
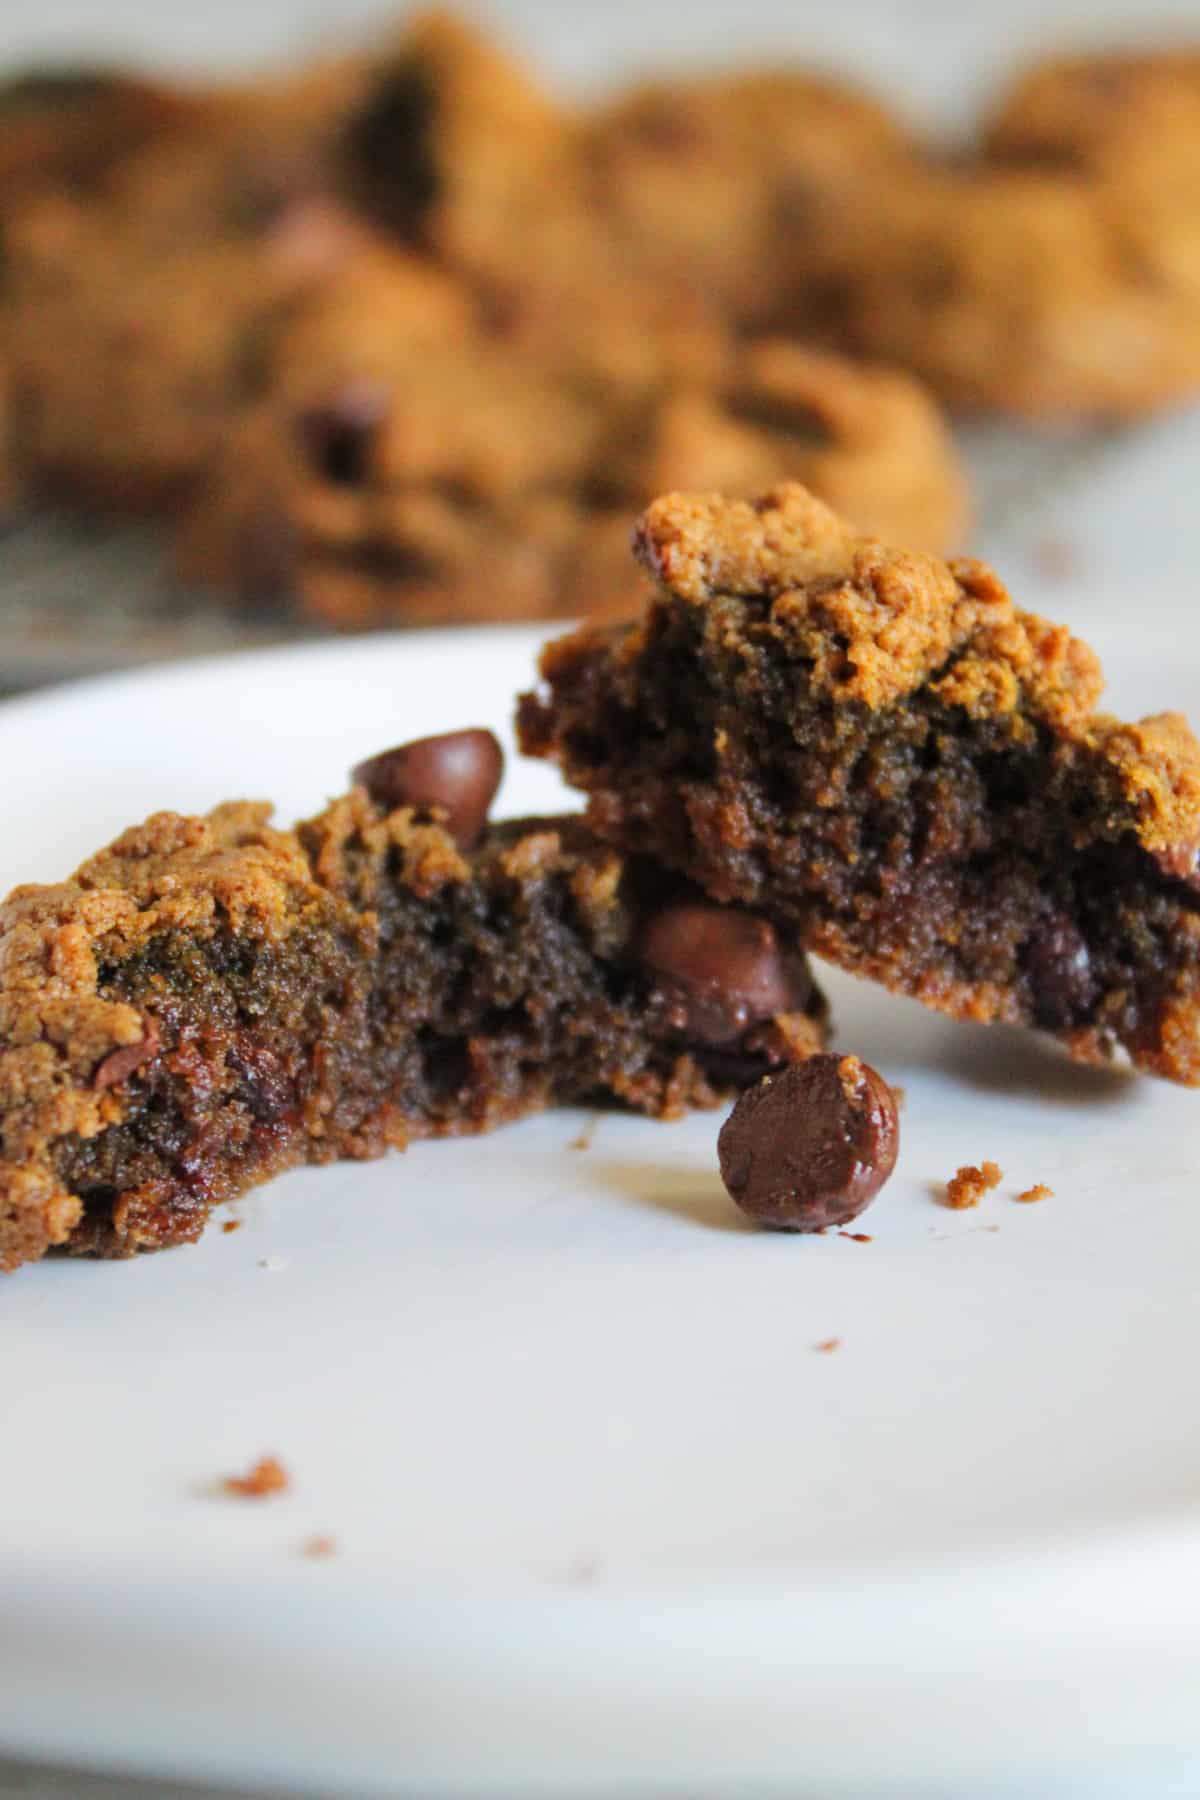
- 8 Ingredient Oat Flour Cake Recipe: Gluten Free & Easy – A simple cake made with oat flour and a small list of ingredients, ideal for quick gluten-free baking.
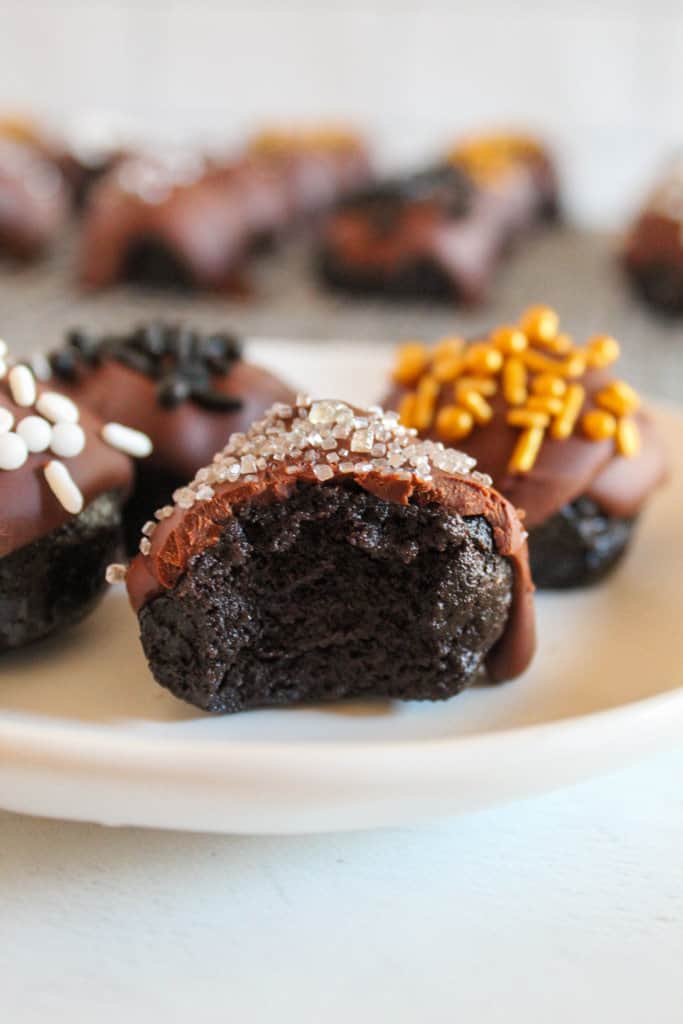
- Easy, 10 Minute Prep Gluten-Free Oreo Balls (Dairy Free) – A no-bake dessert made with crushed cookies and a chocolate coating, ready in minutes.
- How to Make Perfect Valentine’s Chocolate-Covered Strawberries That Look Gift-Ready – A simple guide for making chocolate-dipped strawberries with a smooth finish.
Overall, these cupcakes are still a dessert, but their ingredient balance offers a more thoughtful nutritional profile than many traditional versions.
Flaunt Your Cupcakes
If you try this recipe, share your baking experience in the comments.
Did you try another frosting? Did you test one variation from the recipe? You can help other bakers get better results with your feedback.