Cake oat flour often turns out dense, gummy, or dry, making it difficult to slice cleanly or hold its shape. This happens because oat flour behaves differently from regular flour, yet many recipes treat them the same.
This recipe addresses those issues directly. Next, let’s look at the method and why this approach works, including the exact ratios, mixing technique, and baking time for best results.
Table of Contents
If you’ve tried our Foolproof One-Bowl Oat Flour Banana Bread Recipe, this follows the same reliable system.
Follow each step closely for a cake with a soft, stable crumb that bakes evenly and holds together every time.
Why You’ll Love This Oat Flour Cake
Oat flour cakes can be tricky, but this recipe is built to avoid the usual problems: a gummy center, dry edges, or a crumb that falls apart.
Here are 5 reasons you’ll love it:
- It bakes up soft and moist.
The batter rests before baking, giving the oat flour time to absorb moisture. - It’s made without regular flour.
Oat flour gives the cake a tender texture and a mild, cozy flavor. - It’s dairy-free and egg-free.
Dairy-free yogurt and vegan butter help create moisture and richness without eggs or dairy. - It slices cleanly once cooled.
Letting the cake cool fully helps the crumb set. So it holds together better. - It’s simple but dessert-worthy.
Vanilla cake and cinnamon buttercream keep it easy, familiar, and sweet enough for a celebration.
Ingredients & Substitutions
This oat flour cake uses simple ingredients, but each one plays an important role in the final texture. Because oat flour absorbs moisture differently than regular flour, the balance of flour, yogurt, butter, and optional liquid helps keep the cake soft instead of dry or gummy.
Below is a quick look at what you’ll need, along with a few notes on how each ingredient helps the cake bake up moist, tender, and sliceable.
Ingredient Quick Scan List
Below is a quick look at the ingredients required before we get into the full breakdown.
- Oat flour
- Granulated sugar
- Baking powder
- Baking soda
- Dairy-free yogurt
- Vegan butter
- Vanilla extract
- Salt
- Water
- Cinnamon
- Milk or water
Now, let’s break down why each ingredient matters and what changes if you substitute one.
Oat Flour
This is the base of the cake and determines the final texture. Unlike wheat flour, it does not provide structure on its own, so the recipe relies on a balance between liquid, fat, and binder.
Substituting another flour will significantly change the texture, often resulting in a drier or heavier cake.
Granulated Sugar
Granulated sugar adds sweetness, but also affects moisture and structure. Swapping it with coconut sugar or similar alternatives makes the cake darker and slightly denser, with less moisture retention.
Baking Powder
This is the main lift in the cake. Since there’s no gluten, this is what helps create a lighter texture. Reducing or replacing it will result in a flatter, heavier cake.
Baking Soda
Baking soda helps the cake rise and become soft. It reacts with the yogurt, creating bubbles that make the cake lighter rather than denser.
Dairy-Free Yogurt
Yogurt replaces eggs in this recipe, helping bind everything together while keeping the crumb soft. Using a thinner alternative makes the cake overly soft or unstable, resulting in a slightly gummy center.
Vegan Butter
Butter adds richness and prevents dryness. Replacing it with oils or lower-fat options reduces richness and makes the texture less soft.
Vanilla Extract
Vanilla rounds out the flavor and balances the oat base. Although it doesn’t affect the structure, skipping it will make the cake taste flatter.
Milk or water (optional)
Milk or water is optional and should only be added if the batter feels too thick to spread. Start with 1 tablespoon at a time until the batter is thick but spreadable.
This helps adjust the batter consistency, loosening it when needed to ensure a smooth, well-mixed batter and a soft, even cake texture.
Would you like to look further at how different flours affect structure and texture? Read Oat Flour vs Almond Flour for explanations on why even small swaps can completely change your results.
Tips for Success
Oat flour behaves differently from regular flour, so a few small details make a big difference.
- Use finely ground oat flour.
Fine oat flour creates a softer crumb. Coarse oat flour can make the cake gritty or heavy. - Measure the oat flour carefully.
Too much oat flour can make the cake dense or dry. Use a kitchen scale if possible. - Do not skip the batter rest.
Resting gives the oat flour time to hydrate, which helps prevent a gritty or crumbly texture. - Add extra liquid only if needed.
The batter should be thick but spreadable. If it feels too stiff, add milk or water a little at a time. - Bake until the center is set.
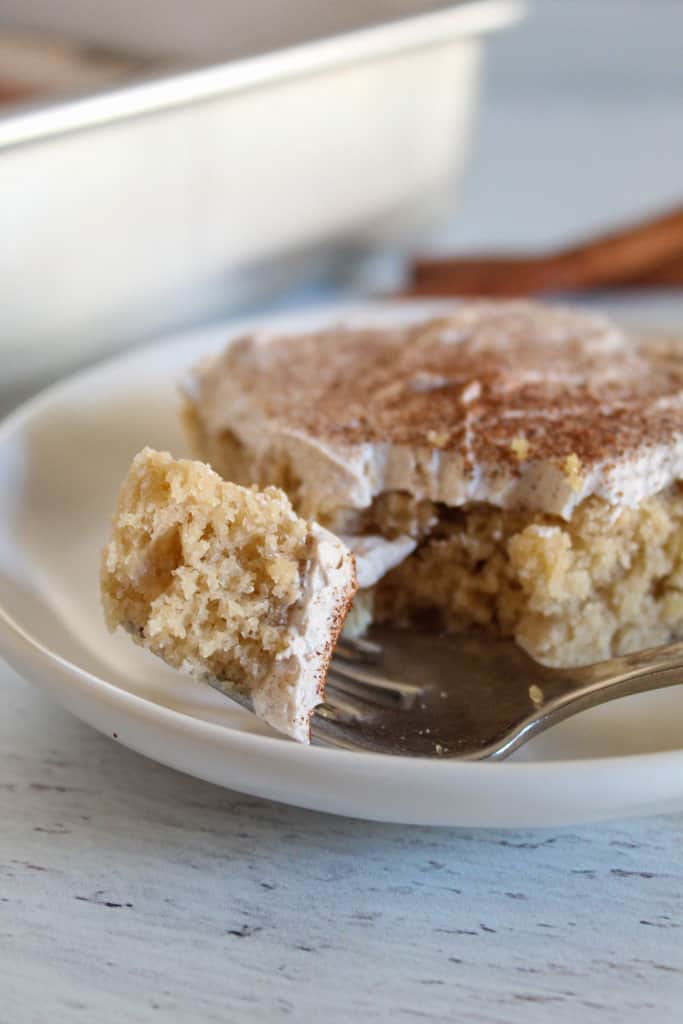
The top should look set, not wet or shiny. A toothpick should come out clean or with a few moist crumbs. - Cool completely before frosting or slicing.
A warm oat flour cake can crumble, and frosting may melt if the cake has not cooled.
Printable Cake Oat Flour Recipe Card
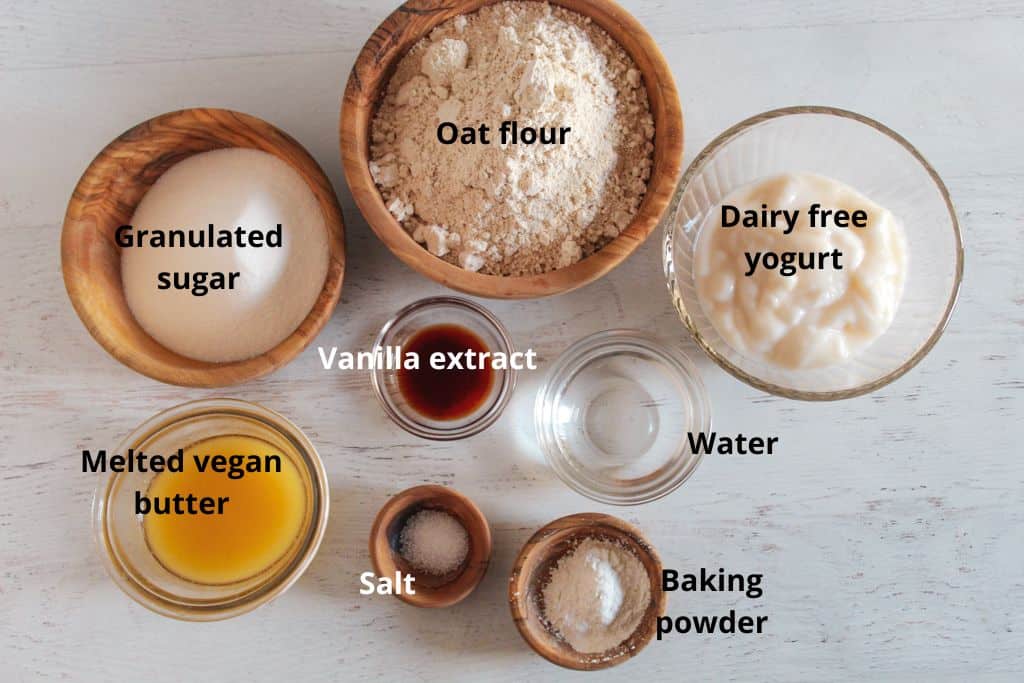
Ingredients
- 2 cups oat flour about 250 grams
- ¾ cup granulated sugar about 200 grams
- 2 Tablespoons baking powder
- ½ teaspoon baking soda
- ½ teaspoon salt
- ¾ cup dairy-free plain yogurt
- ½ cup vegan butter melted
- 1 Tablespoon vanilla extract
Optional
- 2 Tablespoons water or milk (to loosen the batter if it’s too thick)
Instructions
- Preheat the oven to 350°F (175°C). Then line or grease an 8-inch cake pan.
- In a large bowl, combine oat flour, sugar, baking powder, and salt.
- Stir in yogurt, melted vegan butter, and vanilla extract until fully combined.
- Pour the wet ingredients into the dry ingredients. Stir gently until fully combined and smooth.If the batter feels too thick, add 2–3 tablespoons of milk or water, a little at a time, until it becomes slightly pourable.
- Let the batter sit for 30 minutes to allow the oat flour to absorb moisture.
- Pour batter into the prepared pan and bake for 25–30 minutes. Depending on your oven and pan, the cake may need a few extra minutes. Start checking at 25 minutes and continue baking only until the center is set.
- Allow the cake to cool in the pan, then transfer to a wire rack.
- Then frost with cinnamon buttercream frosting.
Notes
Success Tip Notes
- Letting the batter rest is essential to prevent a gritty or dry texture.
- Use finely ground oat flour for a smoother crumb.
- Measure oat flour accurately to avoid density issues.
Doneness Cues
- Edges should be lightly golden.
- The center should be set (not wet or shiny).
- The toothpick inserted should come out clean.
Storage
- Store at room temperature in an airtight container for up to 2–3 days
- Refrigerate for longer freshness (up to 5 days)
- Freeze slices for up to 2–3 months and reheat before serving
Nutrition
Did you make and love this recipe? Give it your review and ![]() rating below! And make sure to follow me on Instagram, Pinterest and Facebook too!
rating below! And make sure to follow me on Instagram, Pinterest and Facebook too!
Why Oat Flour Works in Cakes
Understanding this is what makes your results consistent instead of unpredictable.
Moisture Retention
Oat flour absorbs and holds onto liquid during mixing and baking. This keeps the cake moist rather than drying out. But it also means the batter will look softer than traditional cake batter.
Soft Crumb Formation
Because oat flour doesn’t form gluten, it creates a more tender crumb. Structure comes from the balance of ingredients like yogurt and fat, which help the cake hold together without becoming firm or tough. This same ideology is behind our Fudgy Oat Flour Brownies Recipe.
Where It Goes Wrong
Most issues come from an imbalance. Too much liquid leads to a gummy center; meanwhile, too little fat or binder results in a dry, crumbly texture. Skipping the resting step can also leave the batter under-hydrated.
Types of Oat Flour, And Which to Use
You must understand the different kinds of oat flour before you start baking. The type you choose can directly influence how your oat flour turns out, especially the texture.
Store-Bought vs Homemade Oat Flour
Store-bought oat flour is finely milled and consistent. It produces a smoother batter and a softer, more even crumb, which is ideal for most cake recipes using oat flour.
On the other hand, homemade oat flour, made by blending oats, can work just as well, but only if it’s ground very finely. If it’s too coarse, the cake can turn slightly dense or gritty instead of soft.
Rolled Oats vs Quick Oats
If you’re making your own flour:
- Rolled oats produce a slightly heartier texture.
- Quick oats break down more quickly and produce a finer flour.
The better choice for softer oat flour desserts is quick oats, especially for cakes.
Texture Differences
The following illustrates what to expect:
- Fine oat flour produces a light, soft, cohesive crumb.
- A medium grind produces a cake that is slightly dense but remains moist.
- Coarse grind produces a heavier texture, but less structure.
This is why two identical recipes can yield completely different results depending on the flour’s texture.
Do you want to see how oat flour performs in lighter batters? Check out our Gluten-Free Oat Flour Pancakes. It’s a good example of how grind size affects softness and consistency.
Oat Flour vs Regular Flour in Cakes
Baking with oat flour requires a different approach than regular flour.

Structure Differences
Regular flour builds structure through gluten, whereas oat flour relies on ingredient balance to hold the cake together.
Absorption Rates
Oat flour absorbs more liquid, which affects both batter consistency and final texture.
Substitution Ratios
A direct 1:1 swap doesn’t always work. Recipes using oat flour typically require adjustments in liquid or fat.
Ignoring these differences is one of the main reasons substitutions fail.
If you want a deeper breakdown of how different flours compare and how to swap them correctly, read our Oat Flour Complete Guide and Substitutes.
Step-by-Step Instructions
After learning how the ingredients work, follow the procedures below to bring everything together.
Essential Kitchen Tools for This Recipe
Baking is precise, and even small differences in tools, like pan size or mixing quality, can affect your final result. Hence, ensure you have the right tools in place.
- OXO Good Grips 3-Piece Mixing Bowl Set: Non-slip bowls with pour spouts, ideal for mixing smooth batter.
- OXO Good Grips Balloon Whisk: Durable whisk for evenly blending wet and dry ingredients.
- Wilton 8-Inch Round Cake Pan: A standard cake pan for even baking and proper structure.
- OXO Stainless Steel Measuring Cups and Spoons Set: Accurate measuring tools for consistent baking results.
- Rubbermaid Oven Thermometer: Ensures your oven temperature is accurate for consistent baking.
- Ultra Cuisine Wire Cooling Rack: Allows airflow for even cooling and prevents soggy bottoms.
Step 1: Preheat and Prepare the Pan
Preheat your oven to 350°F (175°C) and grease or line an 8-inch baking dish.

The pan should be evenly coated or lined to prevent sticking. Failing to properly grease the pan can cause the cake to break when removing it.
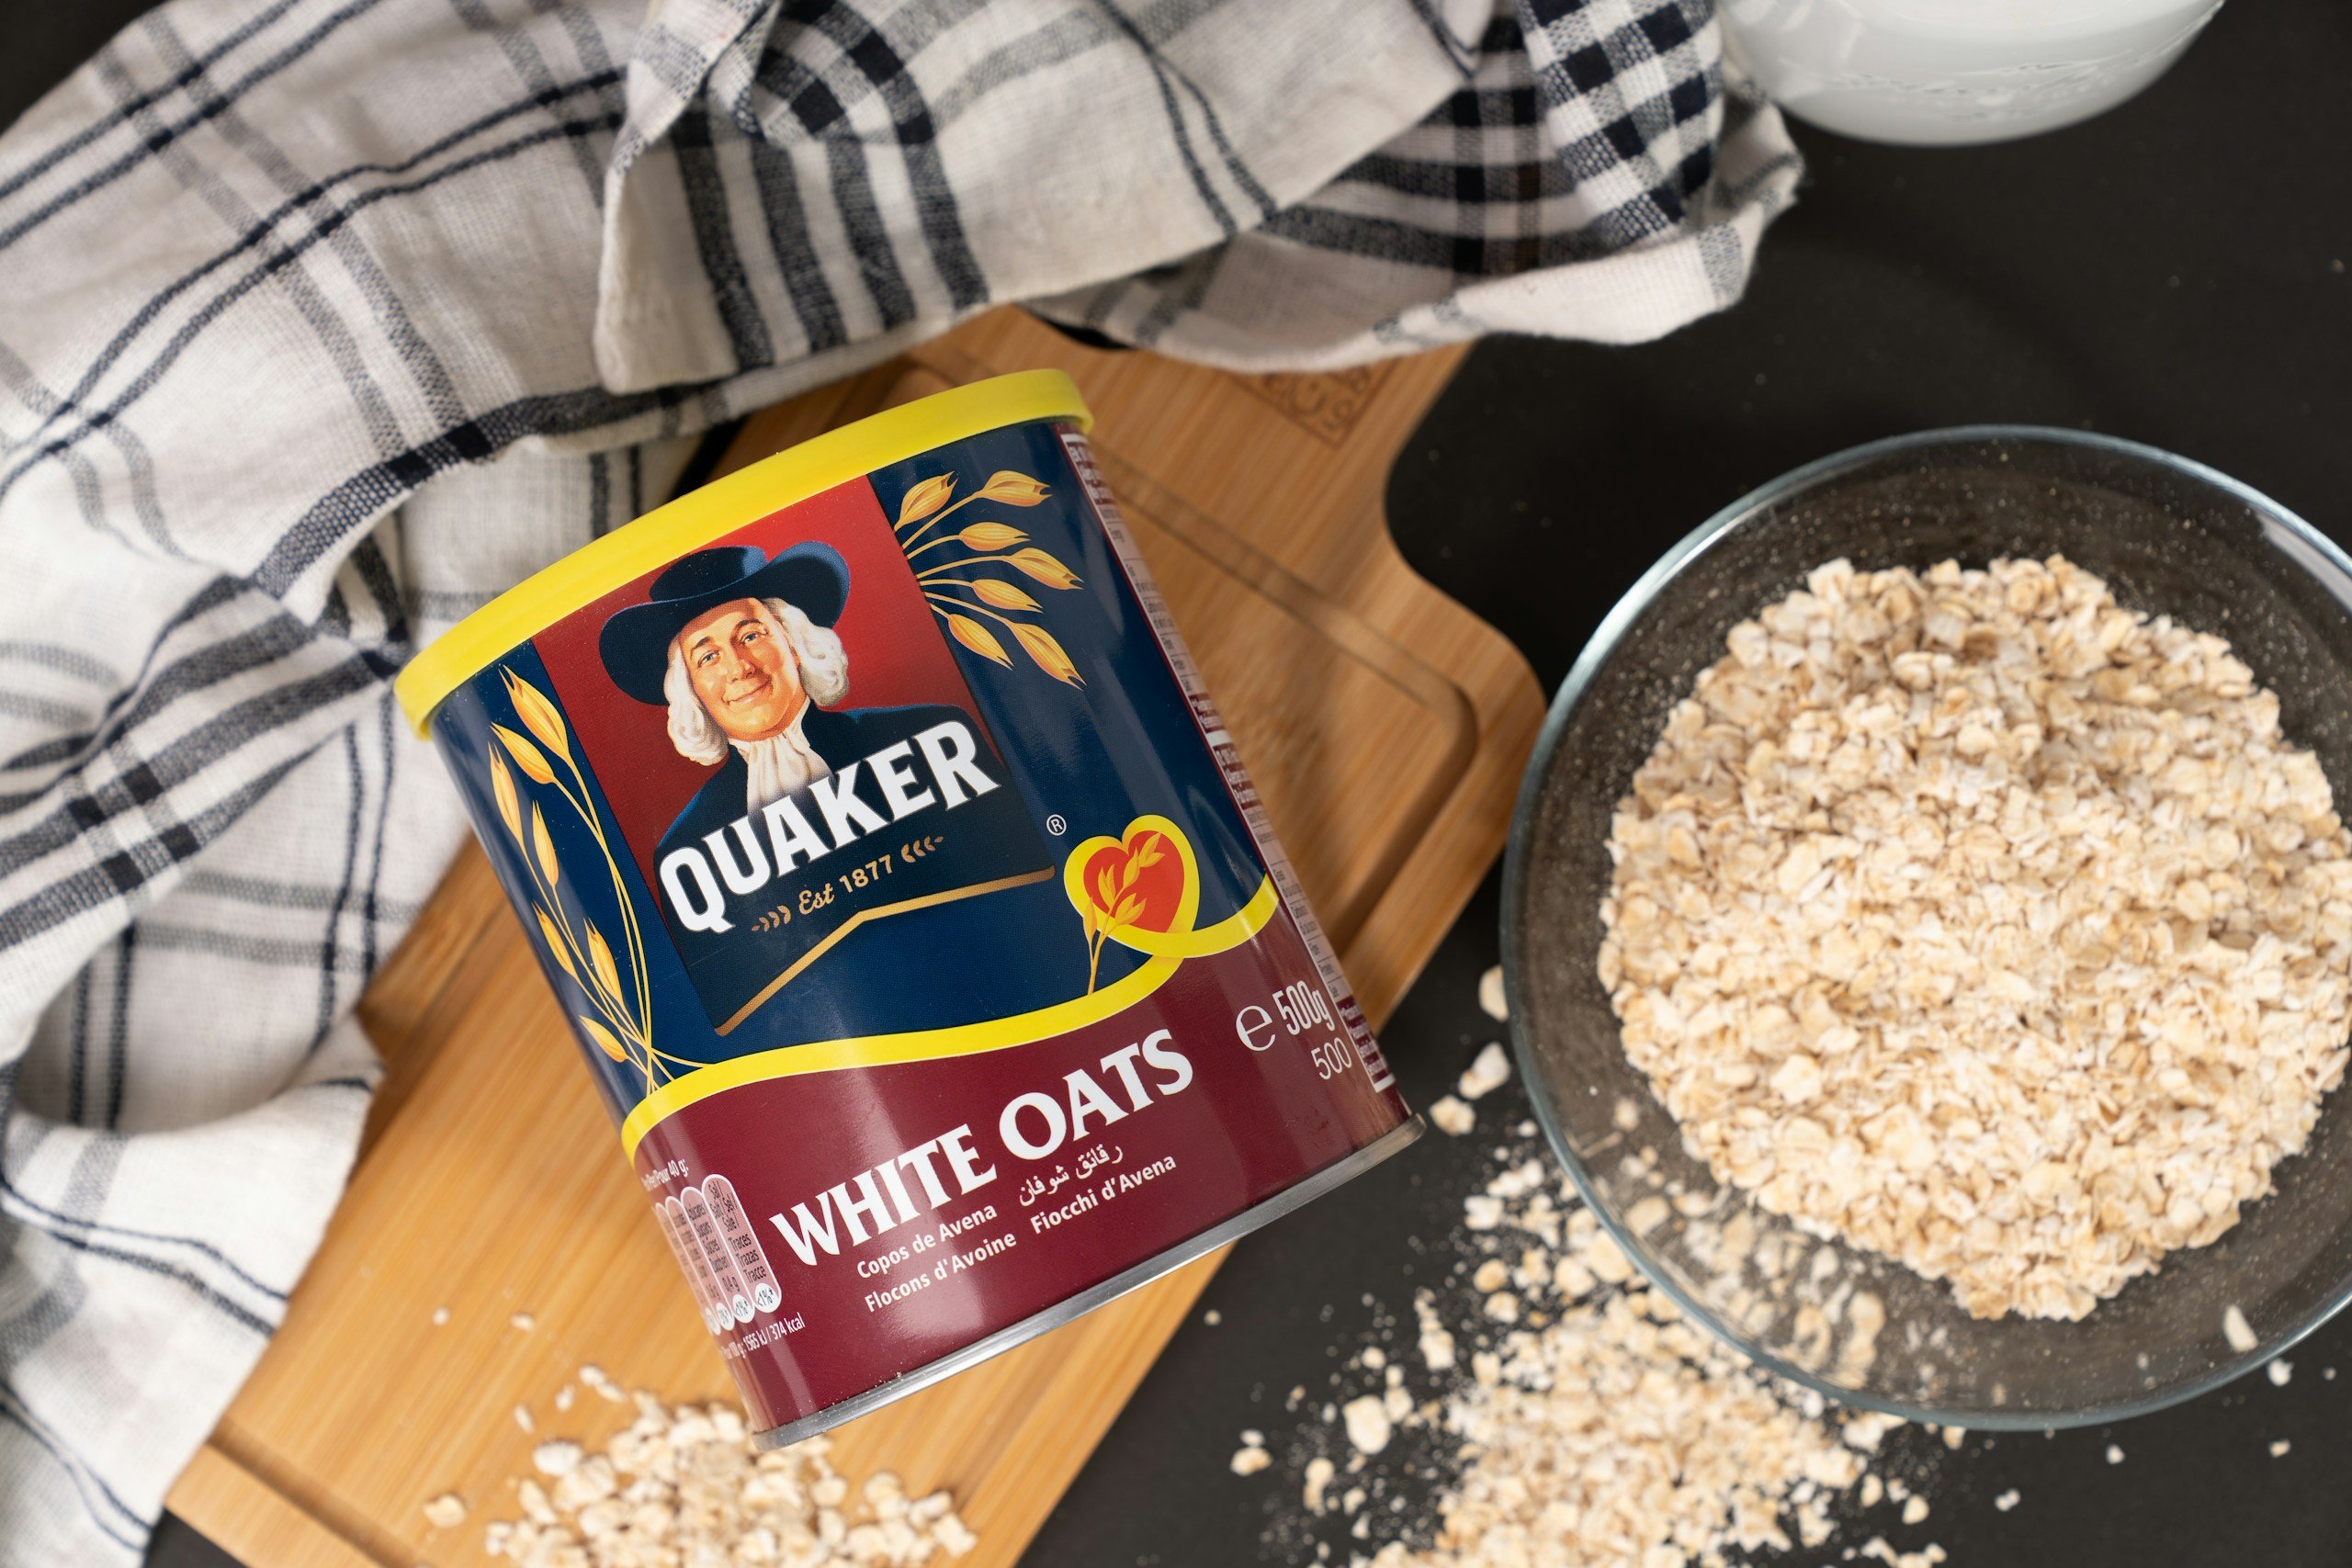
Step 2: Make the Oat Flour (If Needed)
Blend rolled oats into a fine, powdery flour (about 30–60 seconds). The texture should look soft and flour-like, not coarse.
Step 3: Mix Dry Ingredients
Combine oat flour, sugar, baking powder, baking soda, and salt until evenly mixed.
There should be no visible clumps; the mixture should look uniform. Note that uneven mixing leads to an inconsistent rise.
Step 4: Add Wet Ingredients
Add the dairy-free yogurt, melted vegan butter, vanilla extract, and any optional milk or water needed to loosen the batter.
The batter should look thin and slightly runny. Overmixing isn’t the issue here, but incorrect consistency is. You must not try to “thicken” the batter.
Step 5: Rest the Batter (Critical Step)
Let the batter sit for about 10–30 minutes before baking. The batter should thicken slightly as it rests.
Step 6: Bake
Pour the batter into the prepared pan and bake for 25–40 minutes (depending on oven and pan size).
The edges should be lightly golden, and the center should be set (not shiny or wet).
Depending on your oven and pan, the cake may need a few extra minutes. Start checking at 25 minutes and continue baking only until the center is set.
Step 7: Check for Doneness
Insert a toothpick into the center. If it comes out clean, it means it’s ready. If you notice slight crumbs, it is perfect.
However, if the tester comes out wet, the cake needs more time to bake. Note that removing too early causes a gummy center.
Step 8: Cool Properly
Let the cake cool in the pan, then transfer to a rack. The cake should firm up as it cools. Cutting too early results in a crumbly texture.
Step 9: Make the Cinnamon Buttercream Frosting
In a mixing bowl:
- Beat softened butter until smooth and creamy.
- Add powdered sugar gradually, mixing on low.
- Add cinnamon and vanilla extract, then mix until combined.
- Add milk (1 teaspoon at a time) until smooth and spreadable.
The frosting should be light, fluffy, and easy to spread or pipe.
Step 10: Frost the Cake
Once the cake is completely cooled, spread the cinnamon buttercream evenly over the top, or pipe it for a decorative finish.
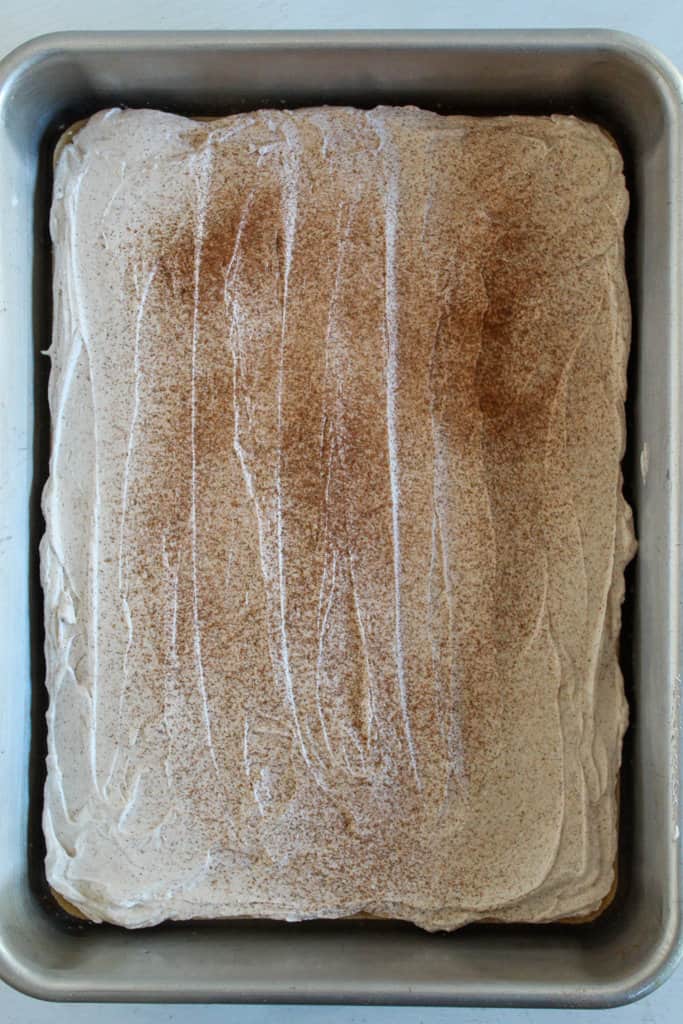
For best results, do not frost a warm cake, as the frosting will melt.
Common Mistakes to Avoid
Before you bake again, run through this quick checklist.
- Overmixing the batter leads to a dense texture.
- Using coarse oat flour creates a gritty crumb.
- Adding extra liquid causes a gummy center.
Problems & Quick Fixes
If your oat flour cake did not turn out as expected, the issue is usually moisture, flour texture, or bake time.
- Cake is gummy: It may be underbaked or have too much liquid. Bake until the center is fully set, and only add extra liquid if the batter is too thick.
- Cake is dense: The oat flour may have been packed into the measuring cup, or the batter may not have rested long enough. Measure carefully and let the batter rest before baking.
- Cake is dry: Too much oat flour or too much time in the oven can dry it out. Use a scale if possible and start checking near the lower end of the bake time.
- Cake falls apart: It may have been sliced too soon. Let the cake cool completely so the crumb has time to set.
- Cake tastes bland: Make sure to use enough vanilla and salt. The cinnamon buttercream also helps add flavor.
- Cake is gritty: The oat flour may be too coarse. Use finely ground store-bought oat flour or blend homemade oat flour until powdery.
- Frosting is melting: The cake is still too warm. Let it cool completely before frosting.
How to Make This Cake Moist Every Time
Once you control a few key variables, moisture stops being a guessing game. This is where consistency comes from.

Ingredient Ratios
Moisture begins with the ratio between oat flour, fat, and liquid.
- Enough fat keeps the crumb soft.
- Enough liquid prevents dryness.
- Too much of either leads to a gummy texture.
If the batter looks slightly soft, that’s normal. Trying to “fix” it usually creates problems.
Mixing Technique
You don’t need complex mixing, just consistency.
- Mix until everything is fully combined.
- Scrape the bowl to avoid dry pockets.
- Avoid unnecessary overmixing.
Bake Timing
Timing is where moisture is either locked in or lost.
- Bake until the center is set, not wet.
- Edges should be lightly golden.
- The toothpick should come out clean or with soft crumbs.
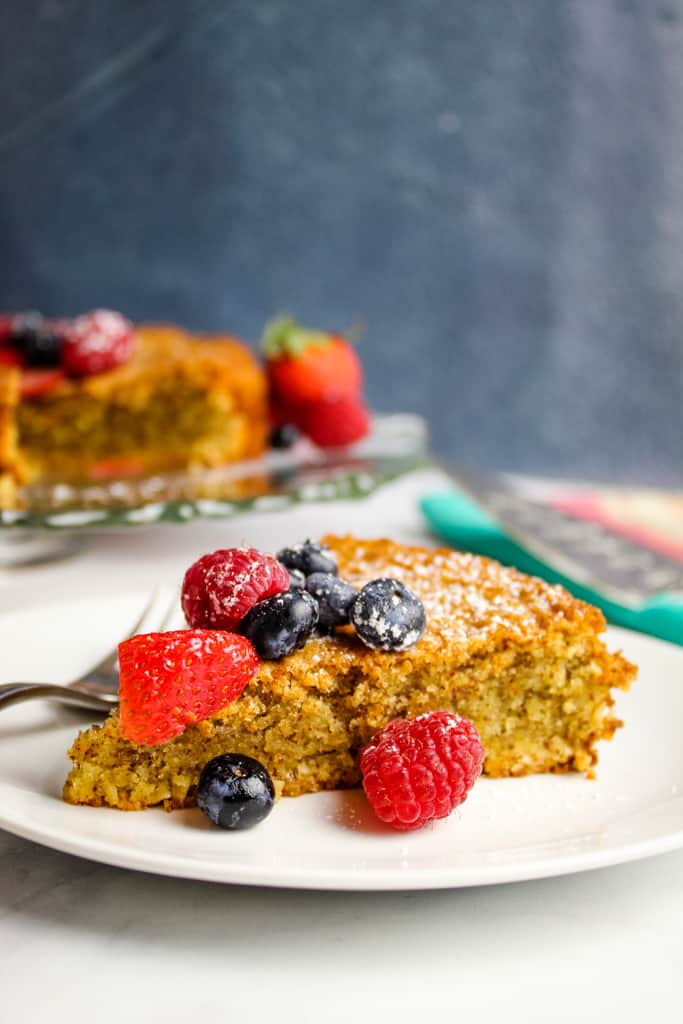
Creative Oat Flour Desserts You Can Try
The base recipe can serve as a foundation for a variety of oat-flour desserts. Small flavor changes can transform the cake completely without affecting the framework.
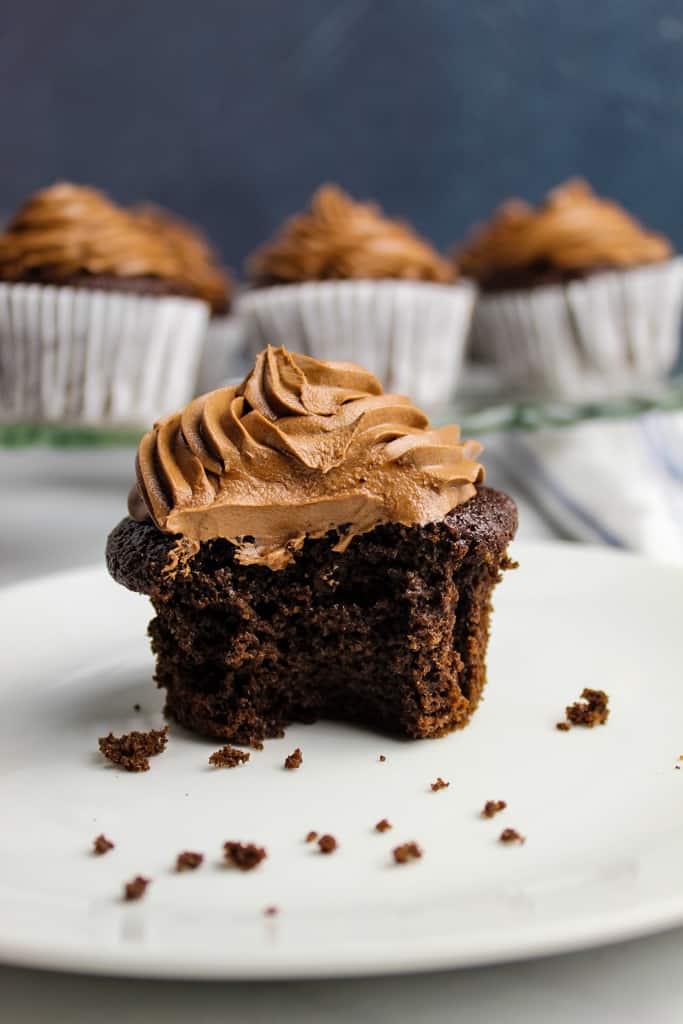
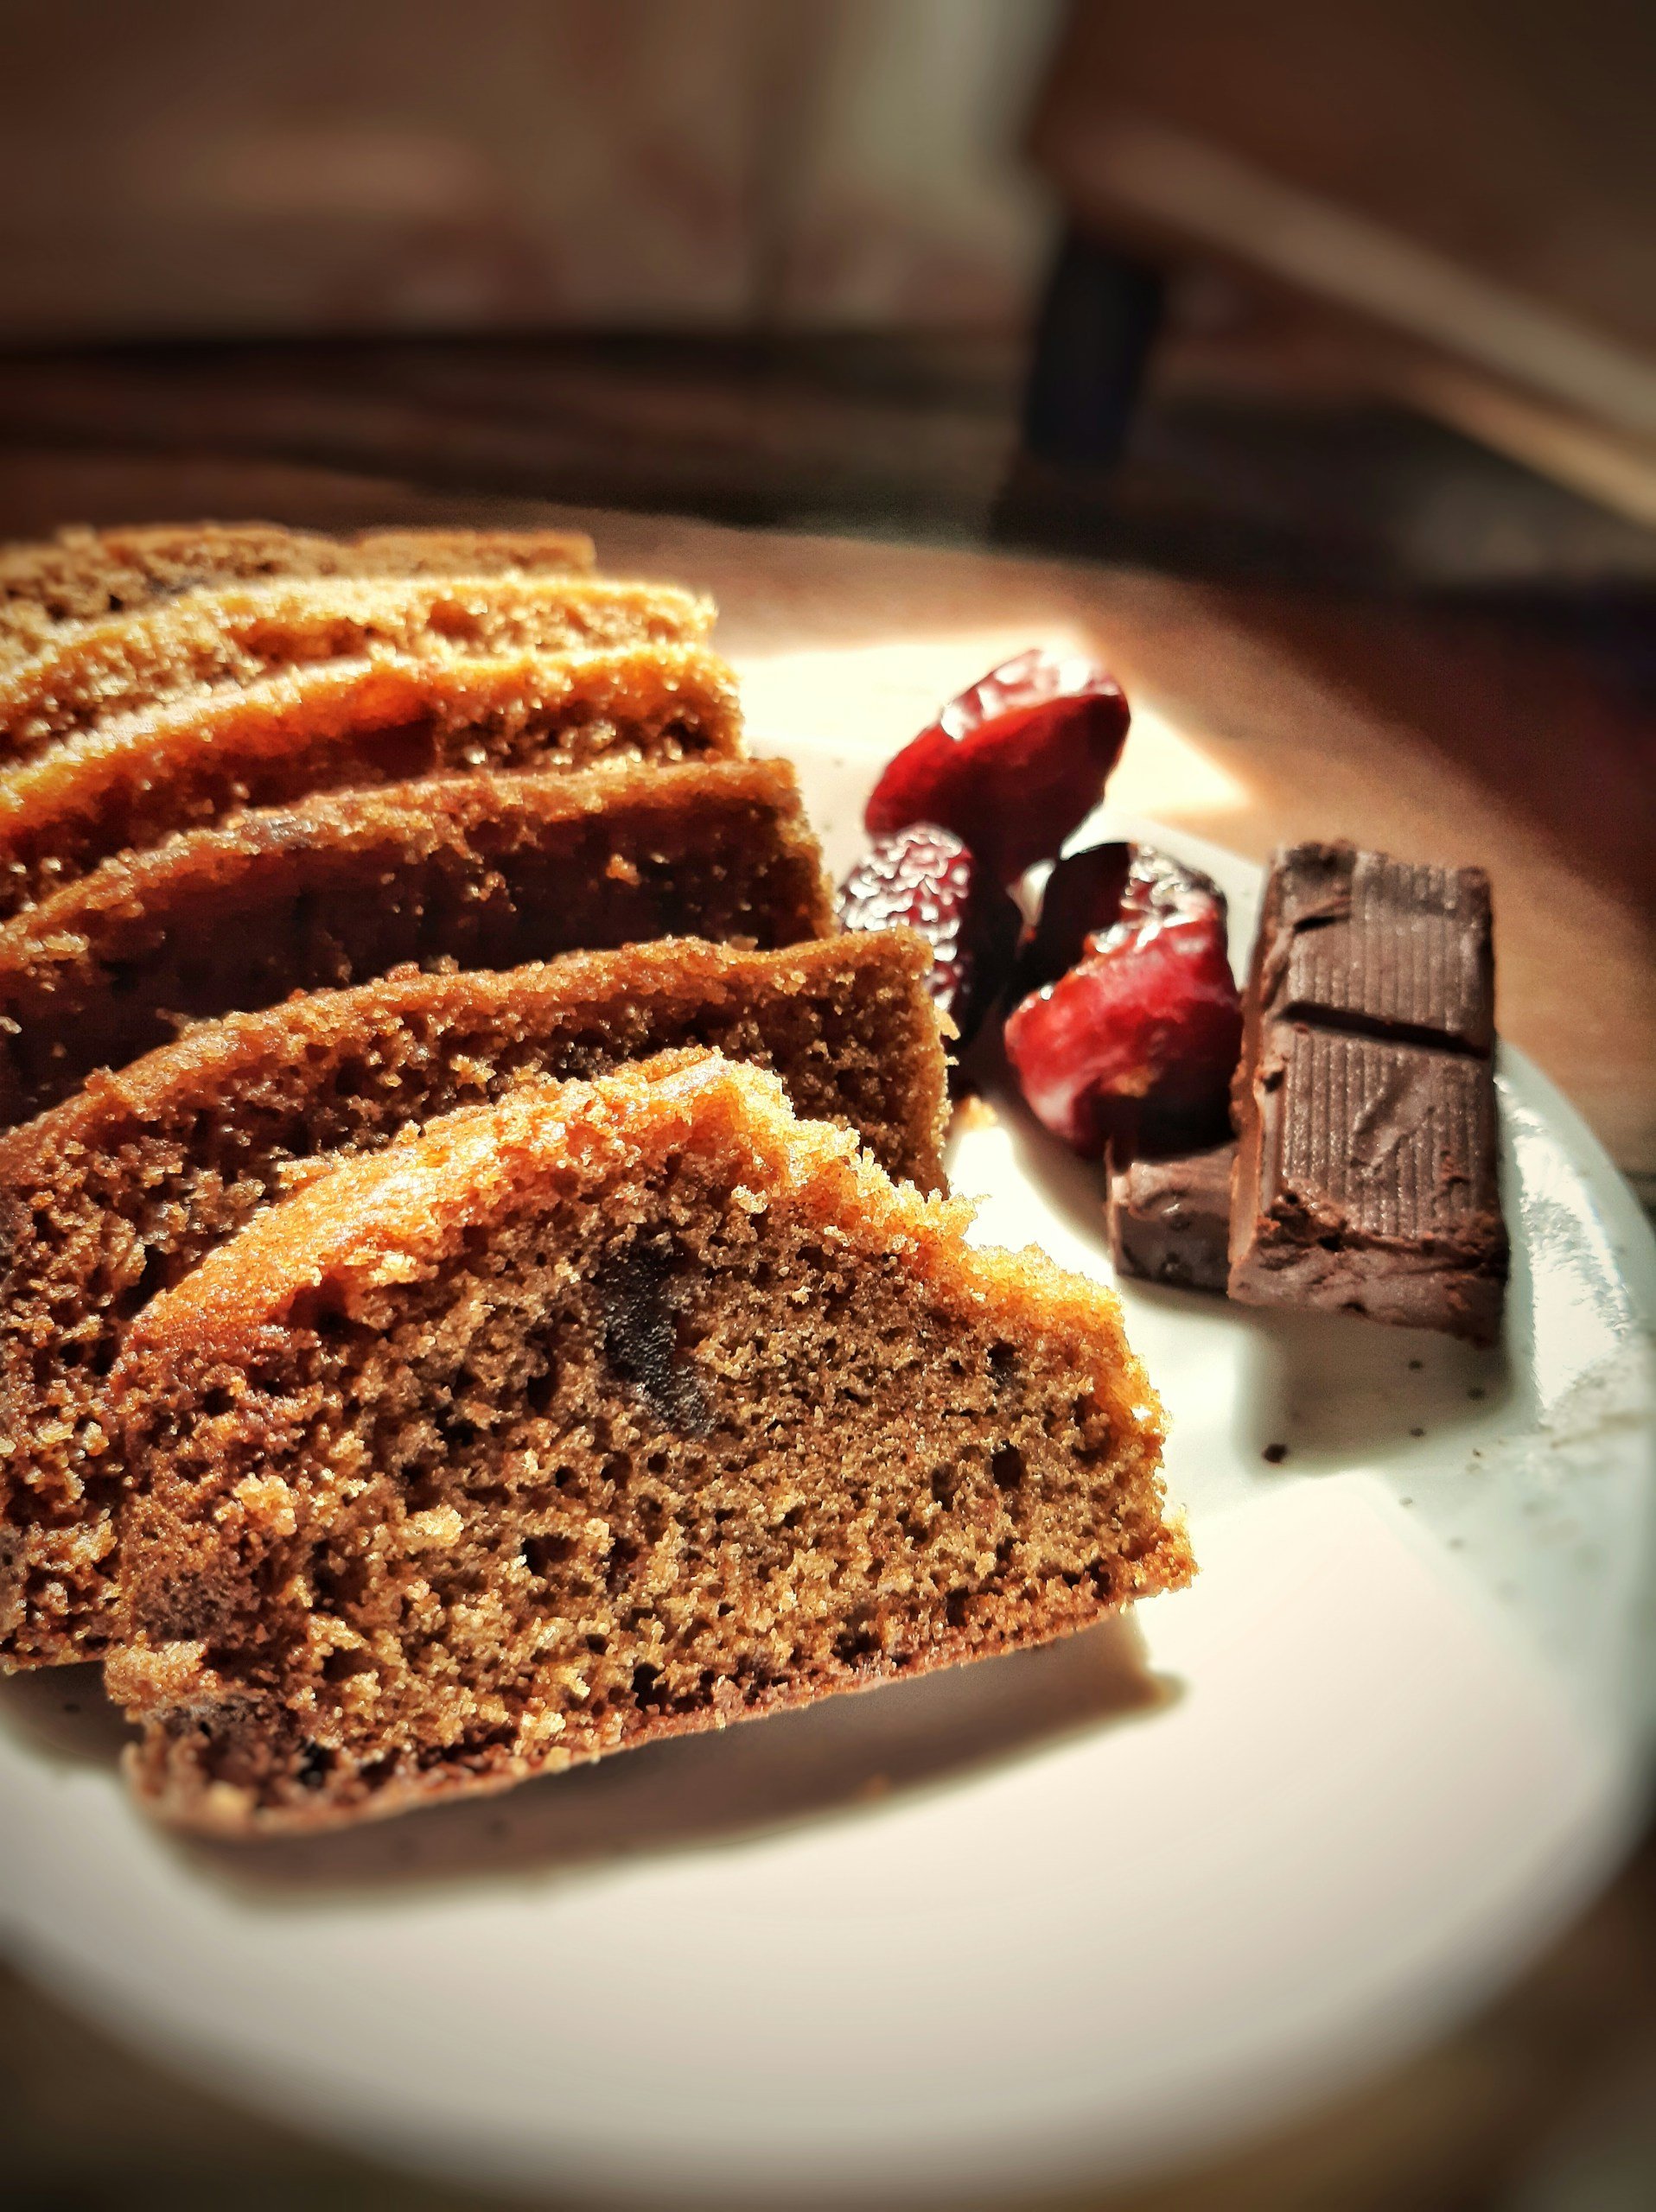
Chocolate Oat Flour Cake
Add cocoa powder to the dry ingredients and slightly increase the liquid to balance it out. This gives you a richer, deeper flavor while keeping the same soft texture. However, you can expect a slightly denser crumb that remains moist when the ingredient ratios are correct.
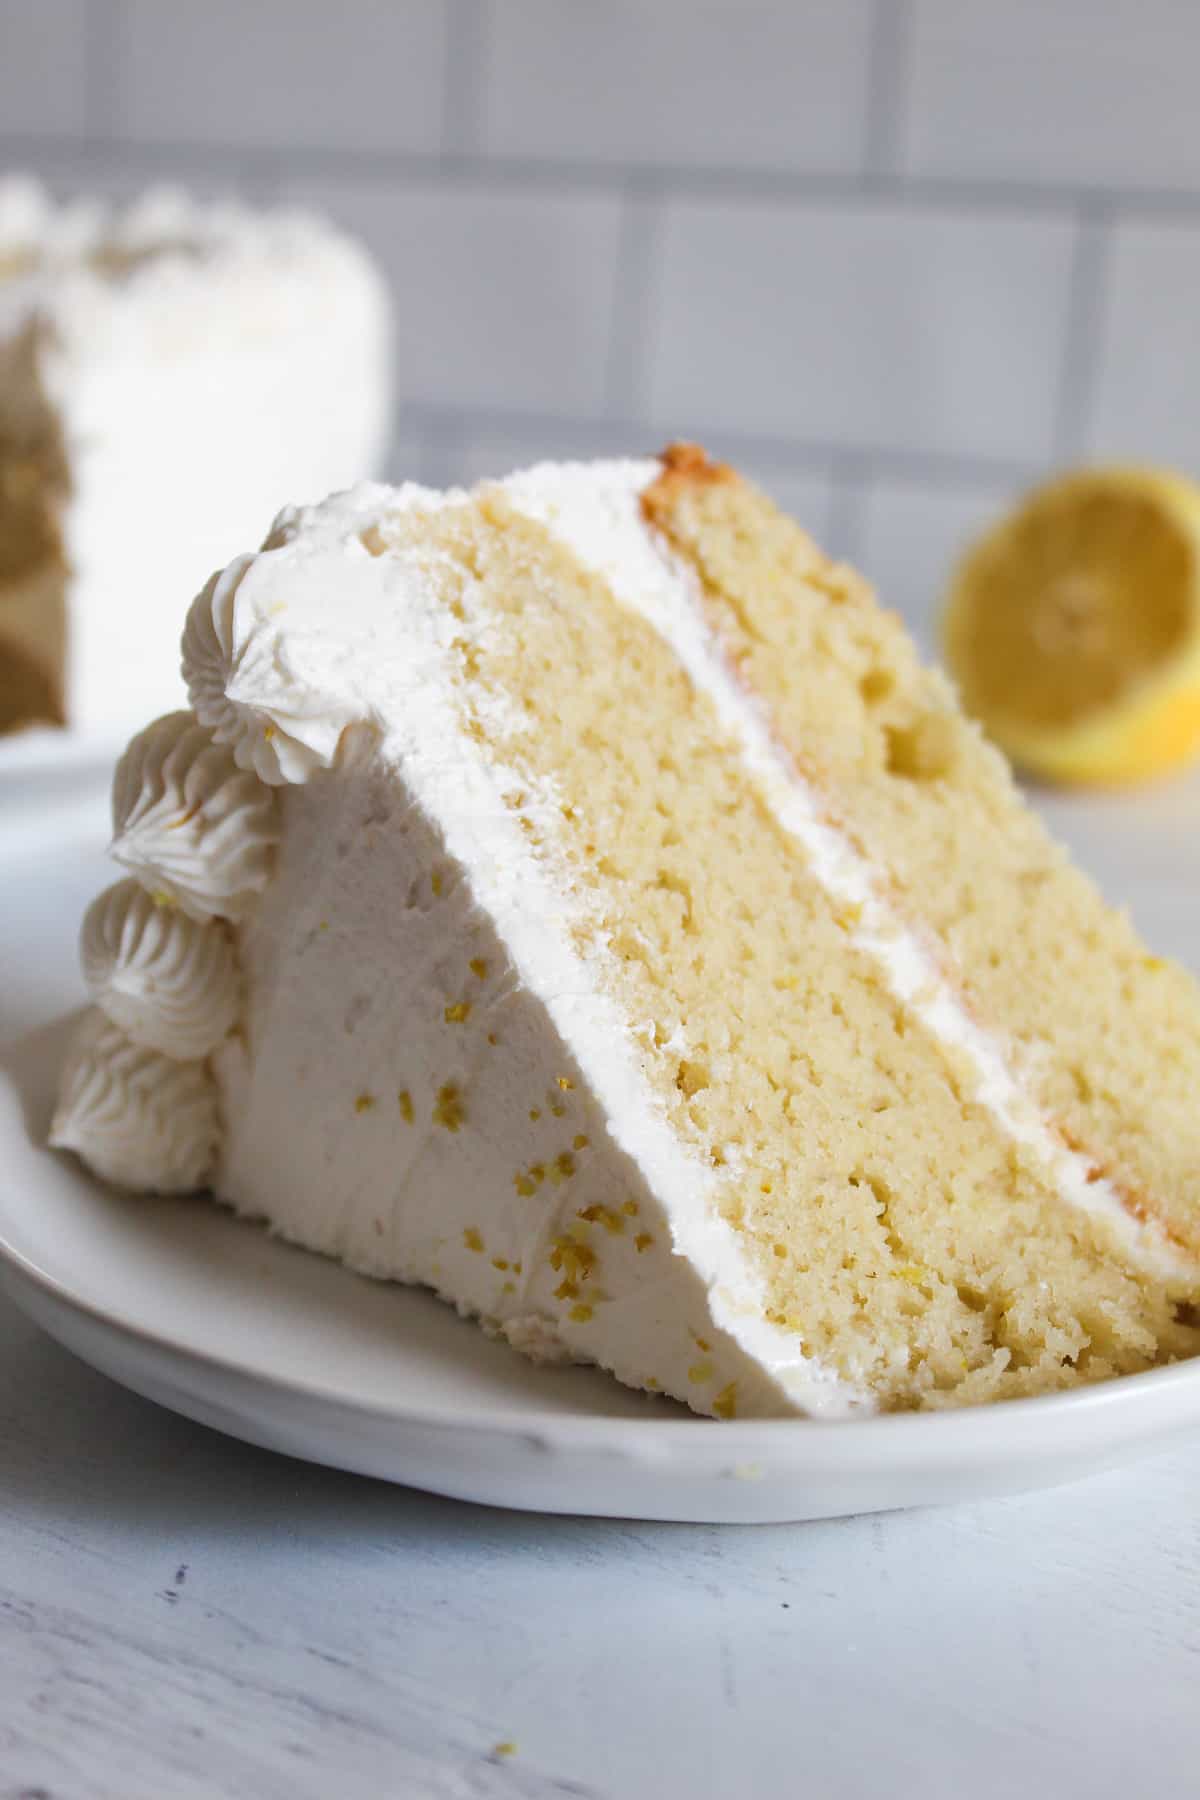
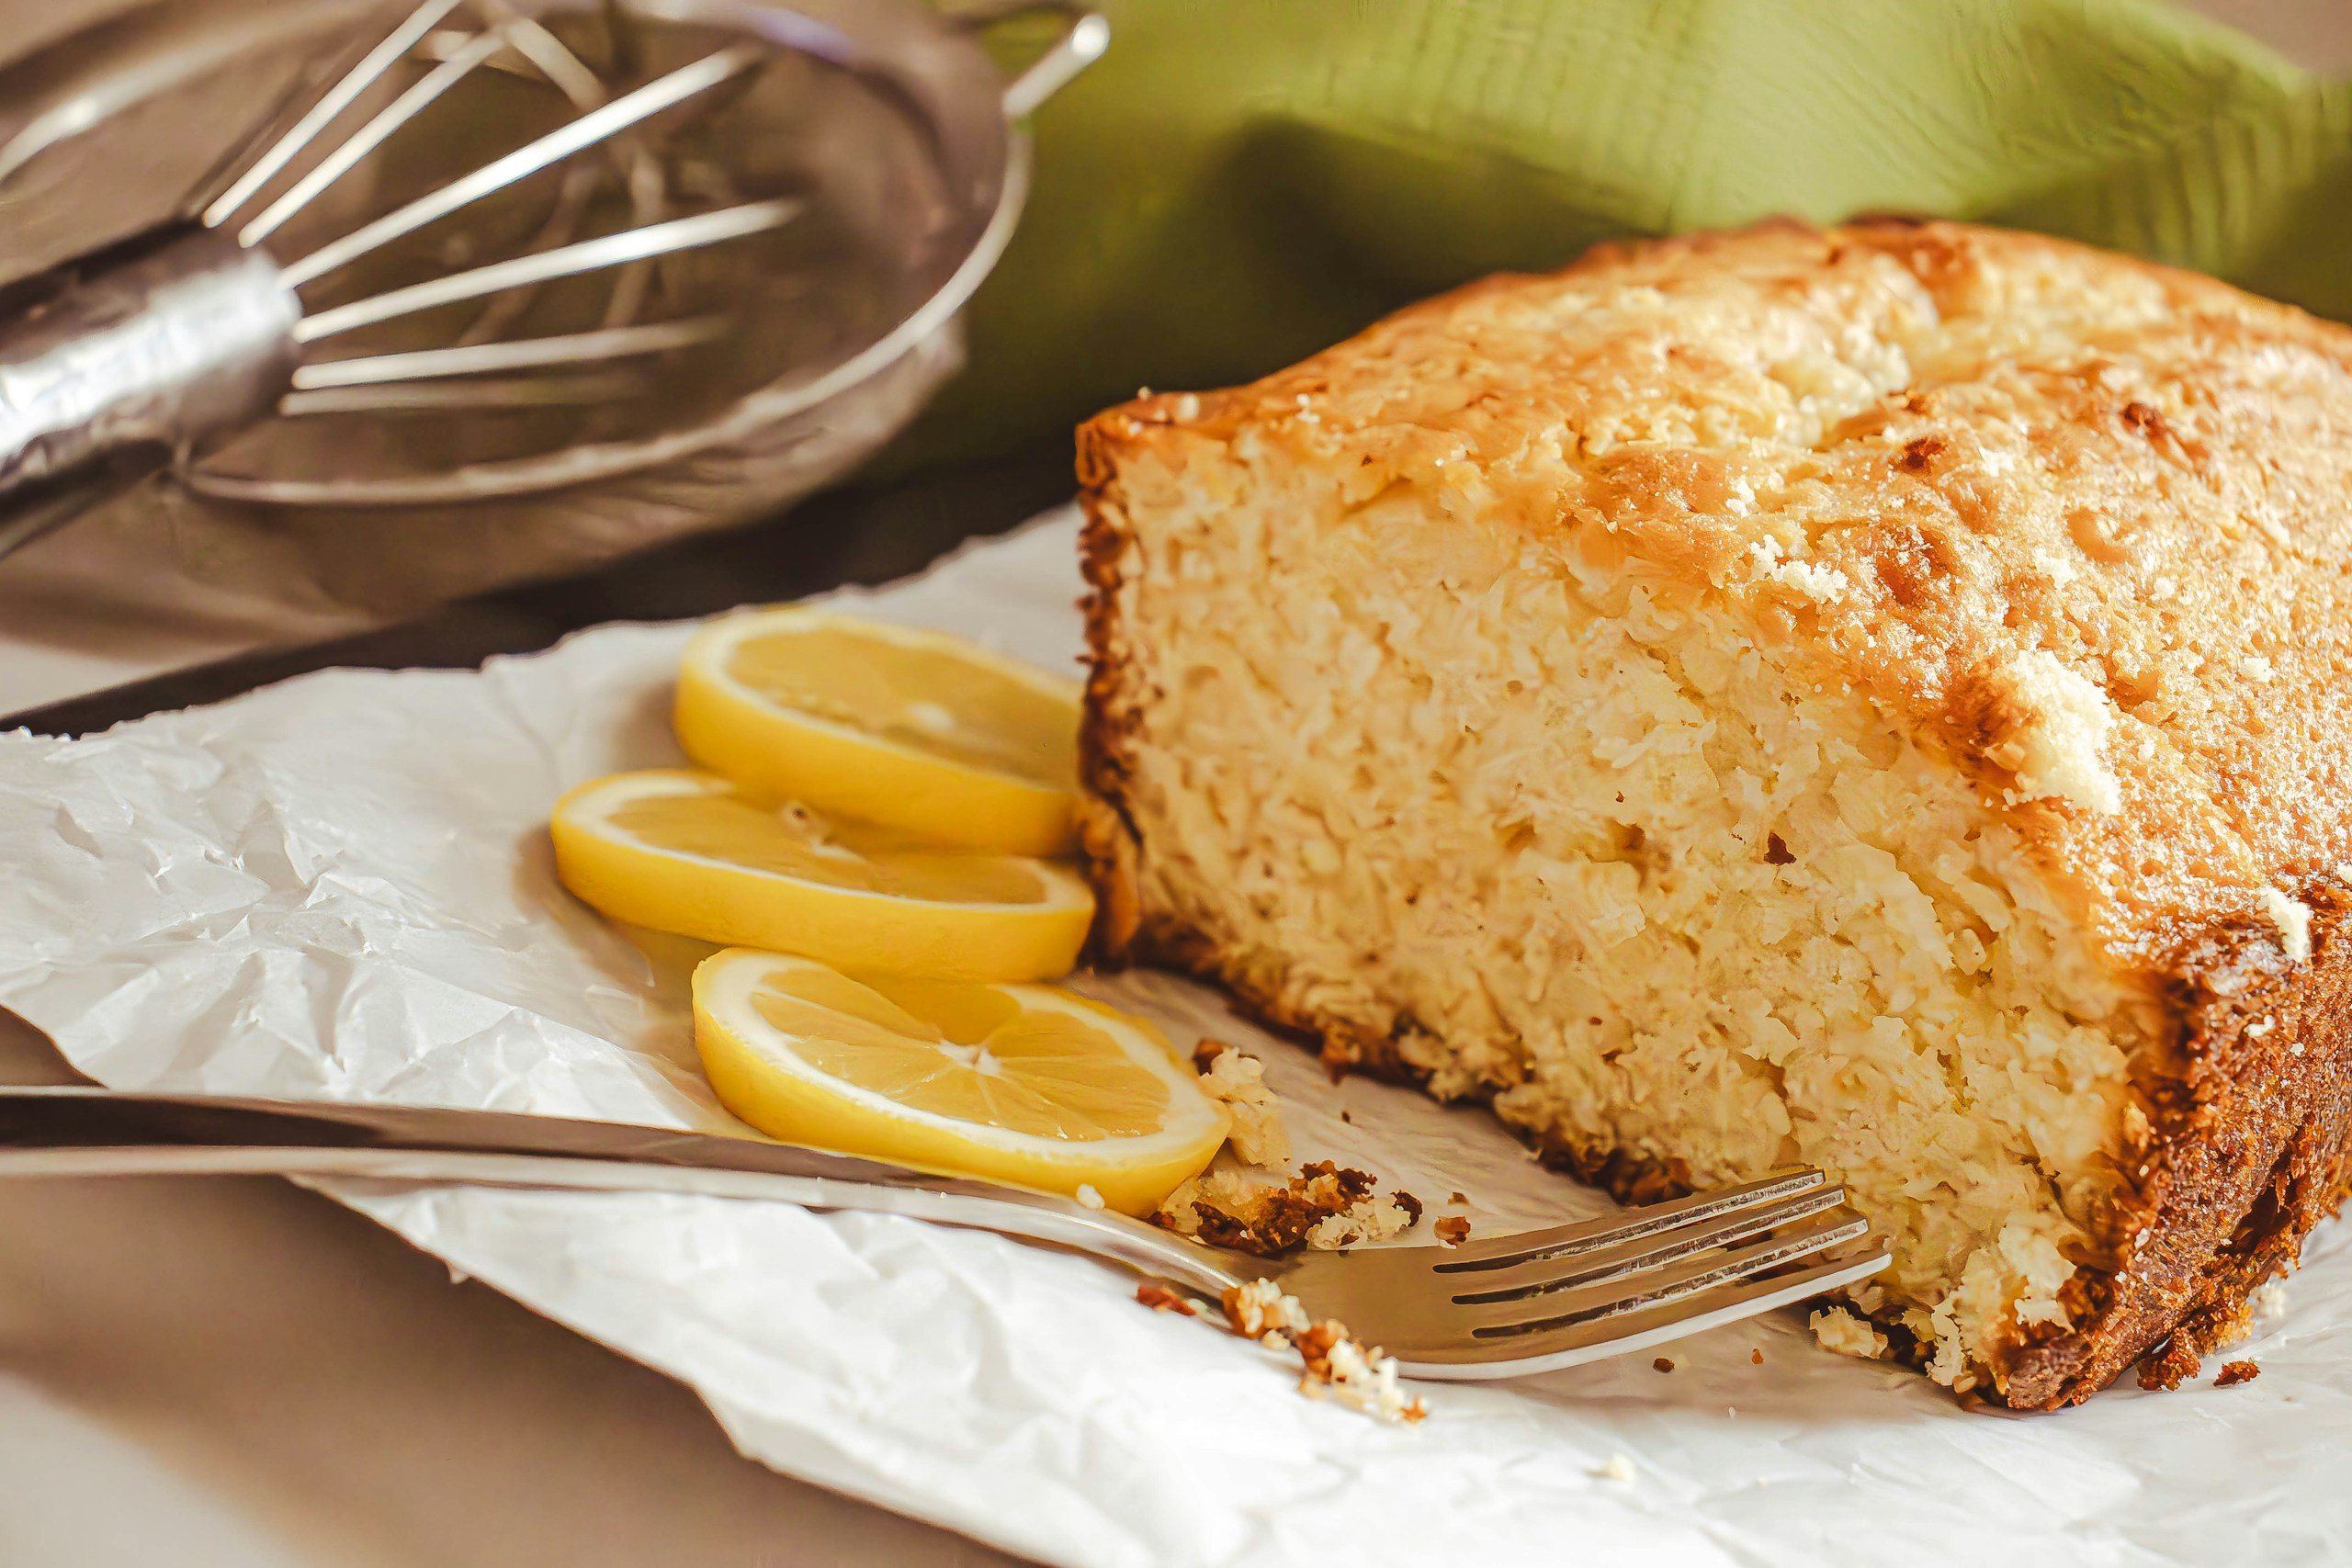
Lemon Cake Oat Flour
Add fresh lemon zest and a bit of lemon juice to the batter to brighten the flavor and cut through the natural heaviness of oat flour. Note that excess liquid from lemon juice can affect the structure, so keep it balanced.
Banana Cake Oat Flour
Mash ripe bananas and fold them into the batter for added moisture and natural sweetness. This variation leans softer and slightly denser, similar to quick breads. Reduce other liquids slightly to avoid a gummy texture.
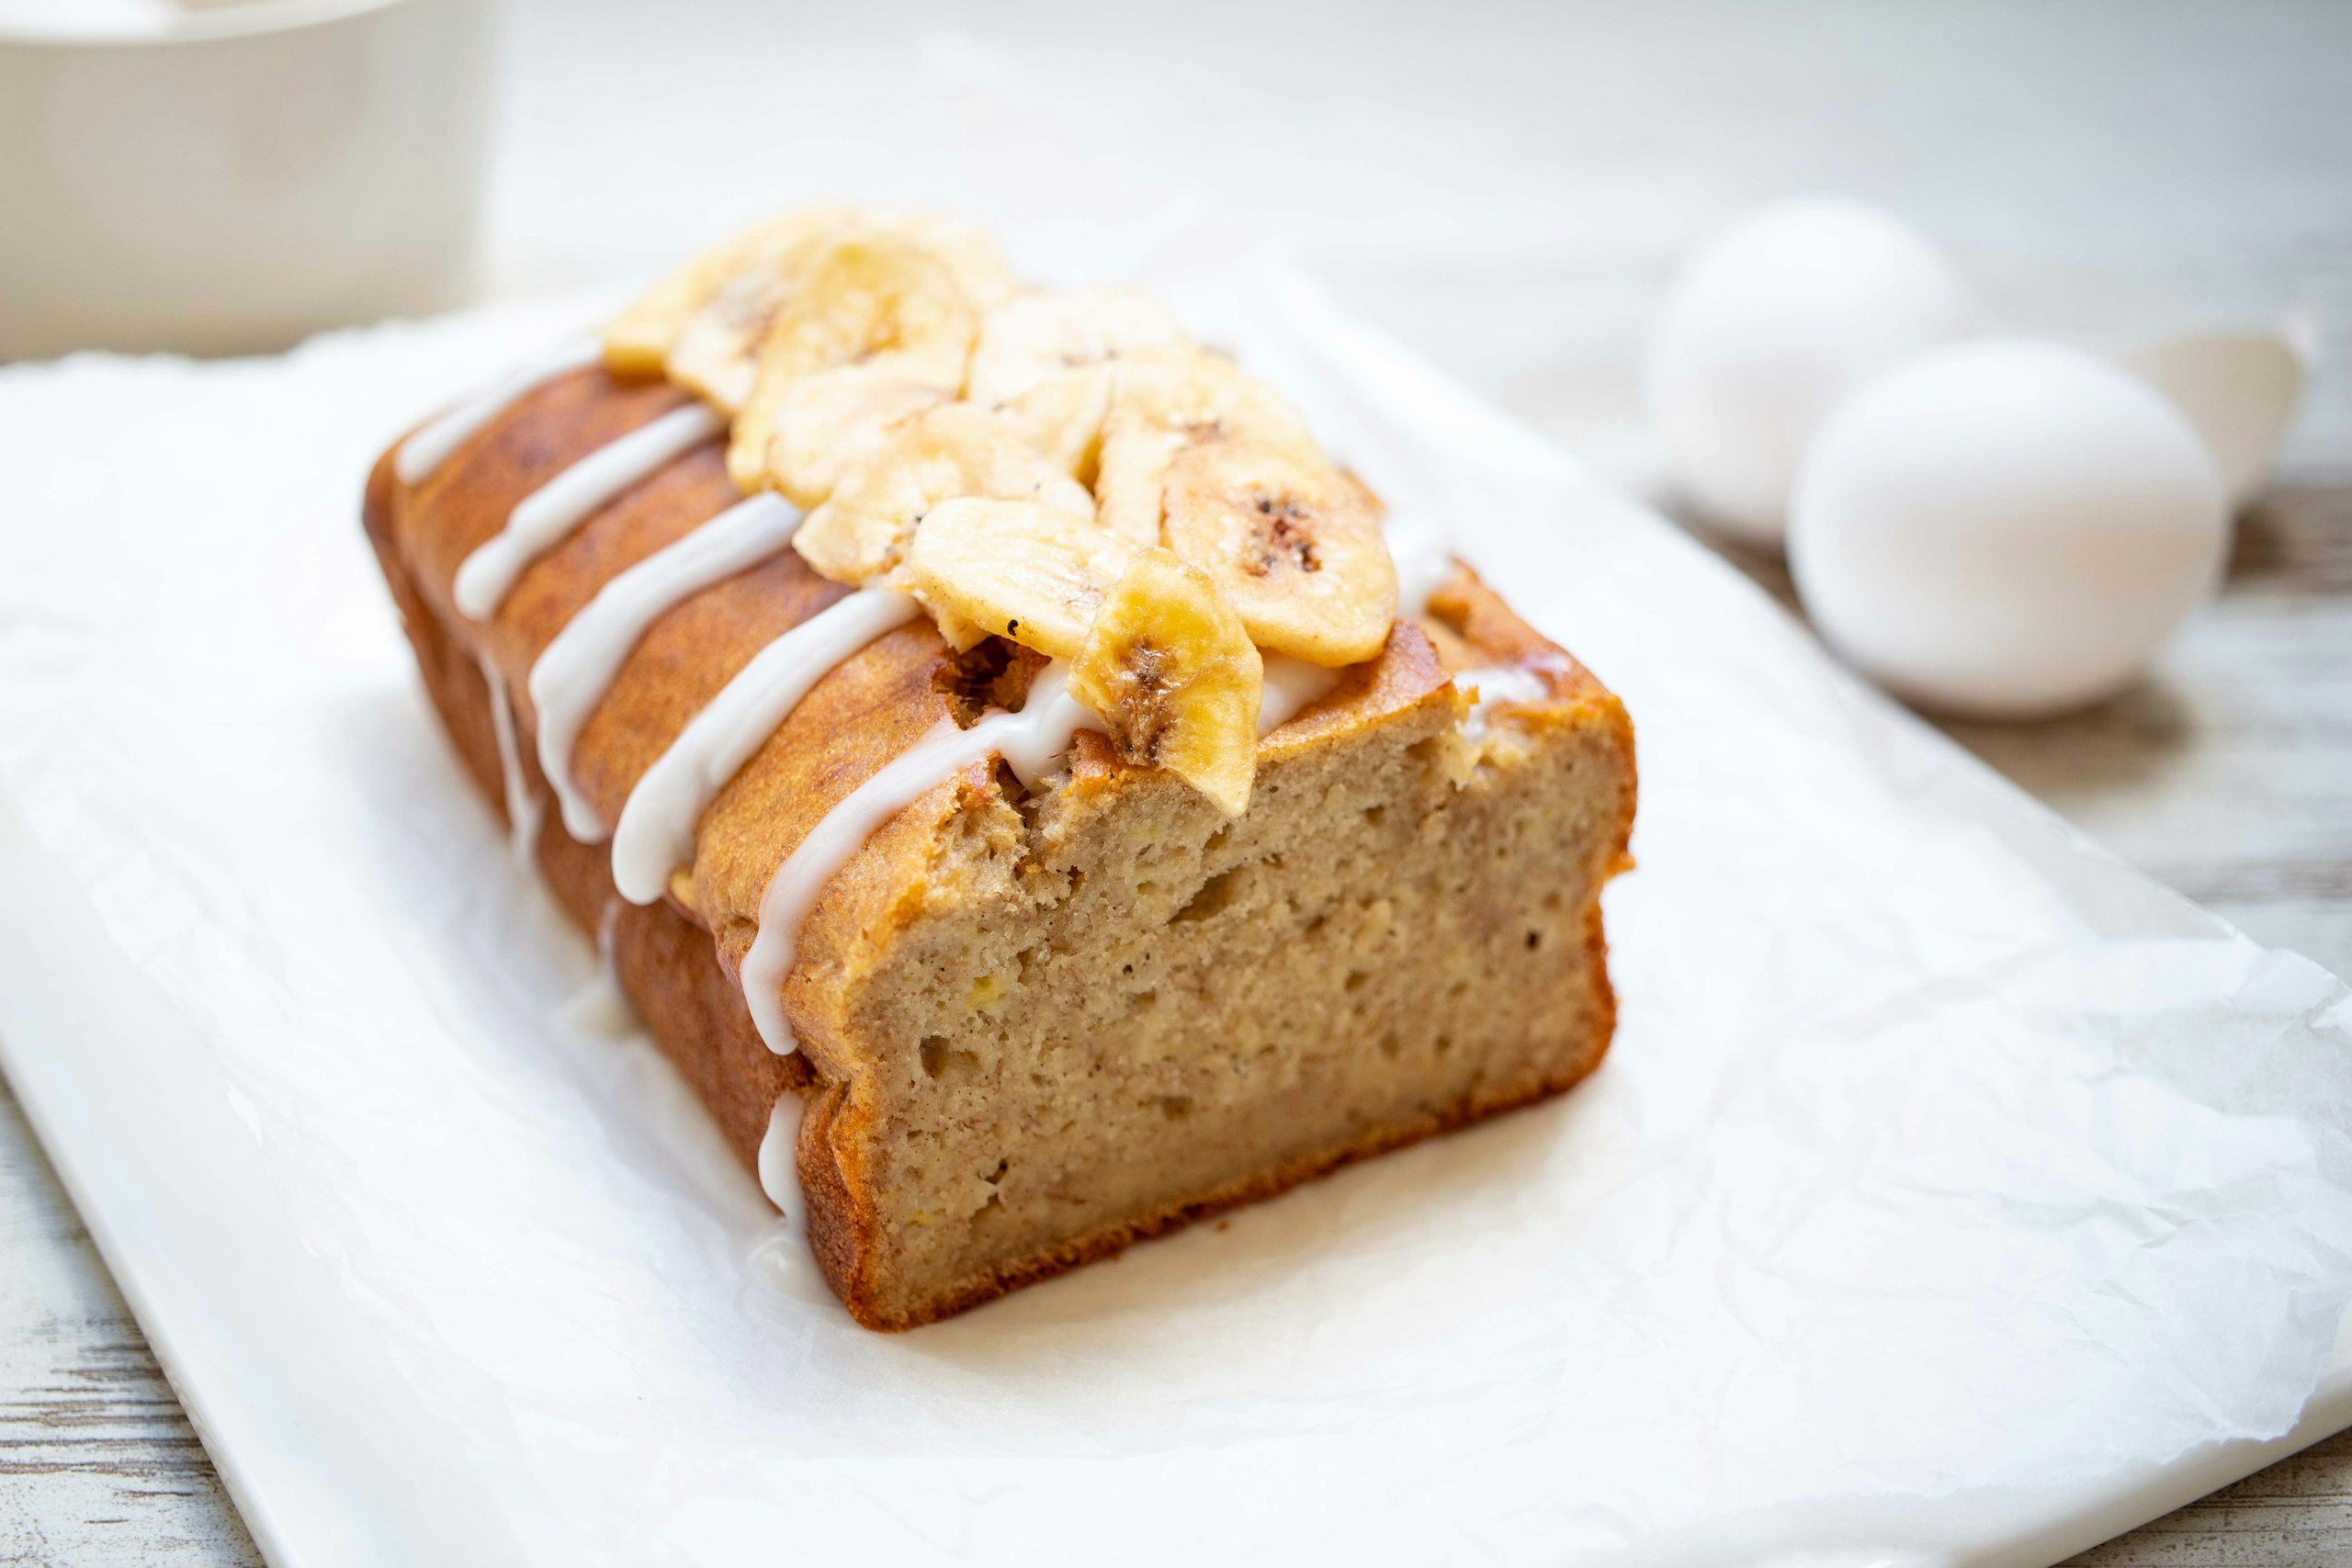
If you enjoy banana-based bakes, try our Easiest Gluten-Free Banana Bread.
Can You Make Cupcakes or Muffins?
Once the base batter is working, you can easily turn this into individual portions. The method stays the same; you’re just adjusting how it bakes.
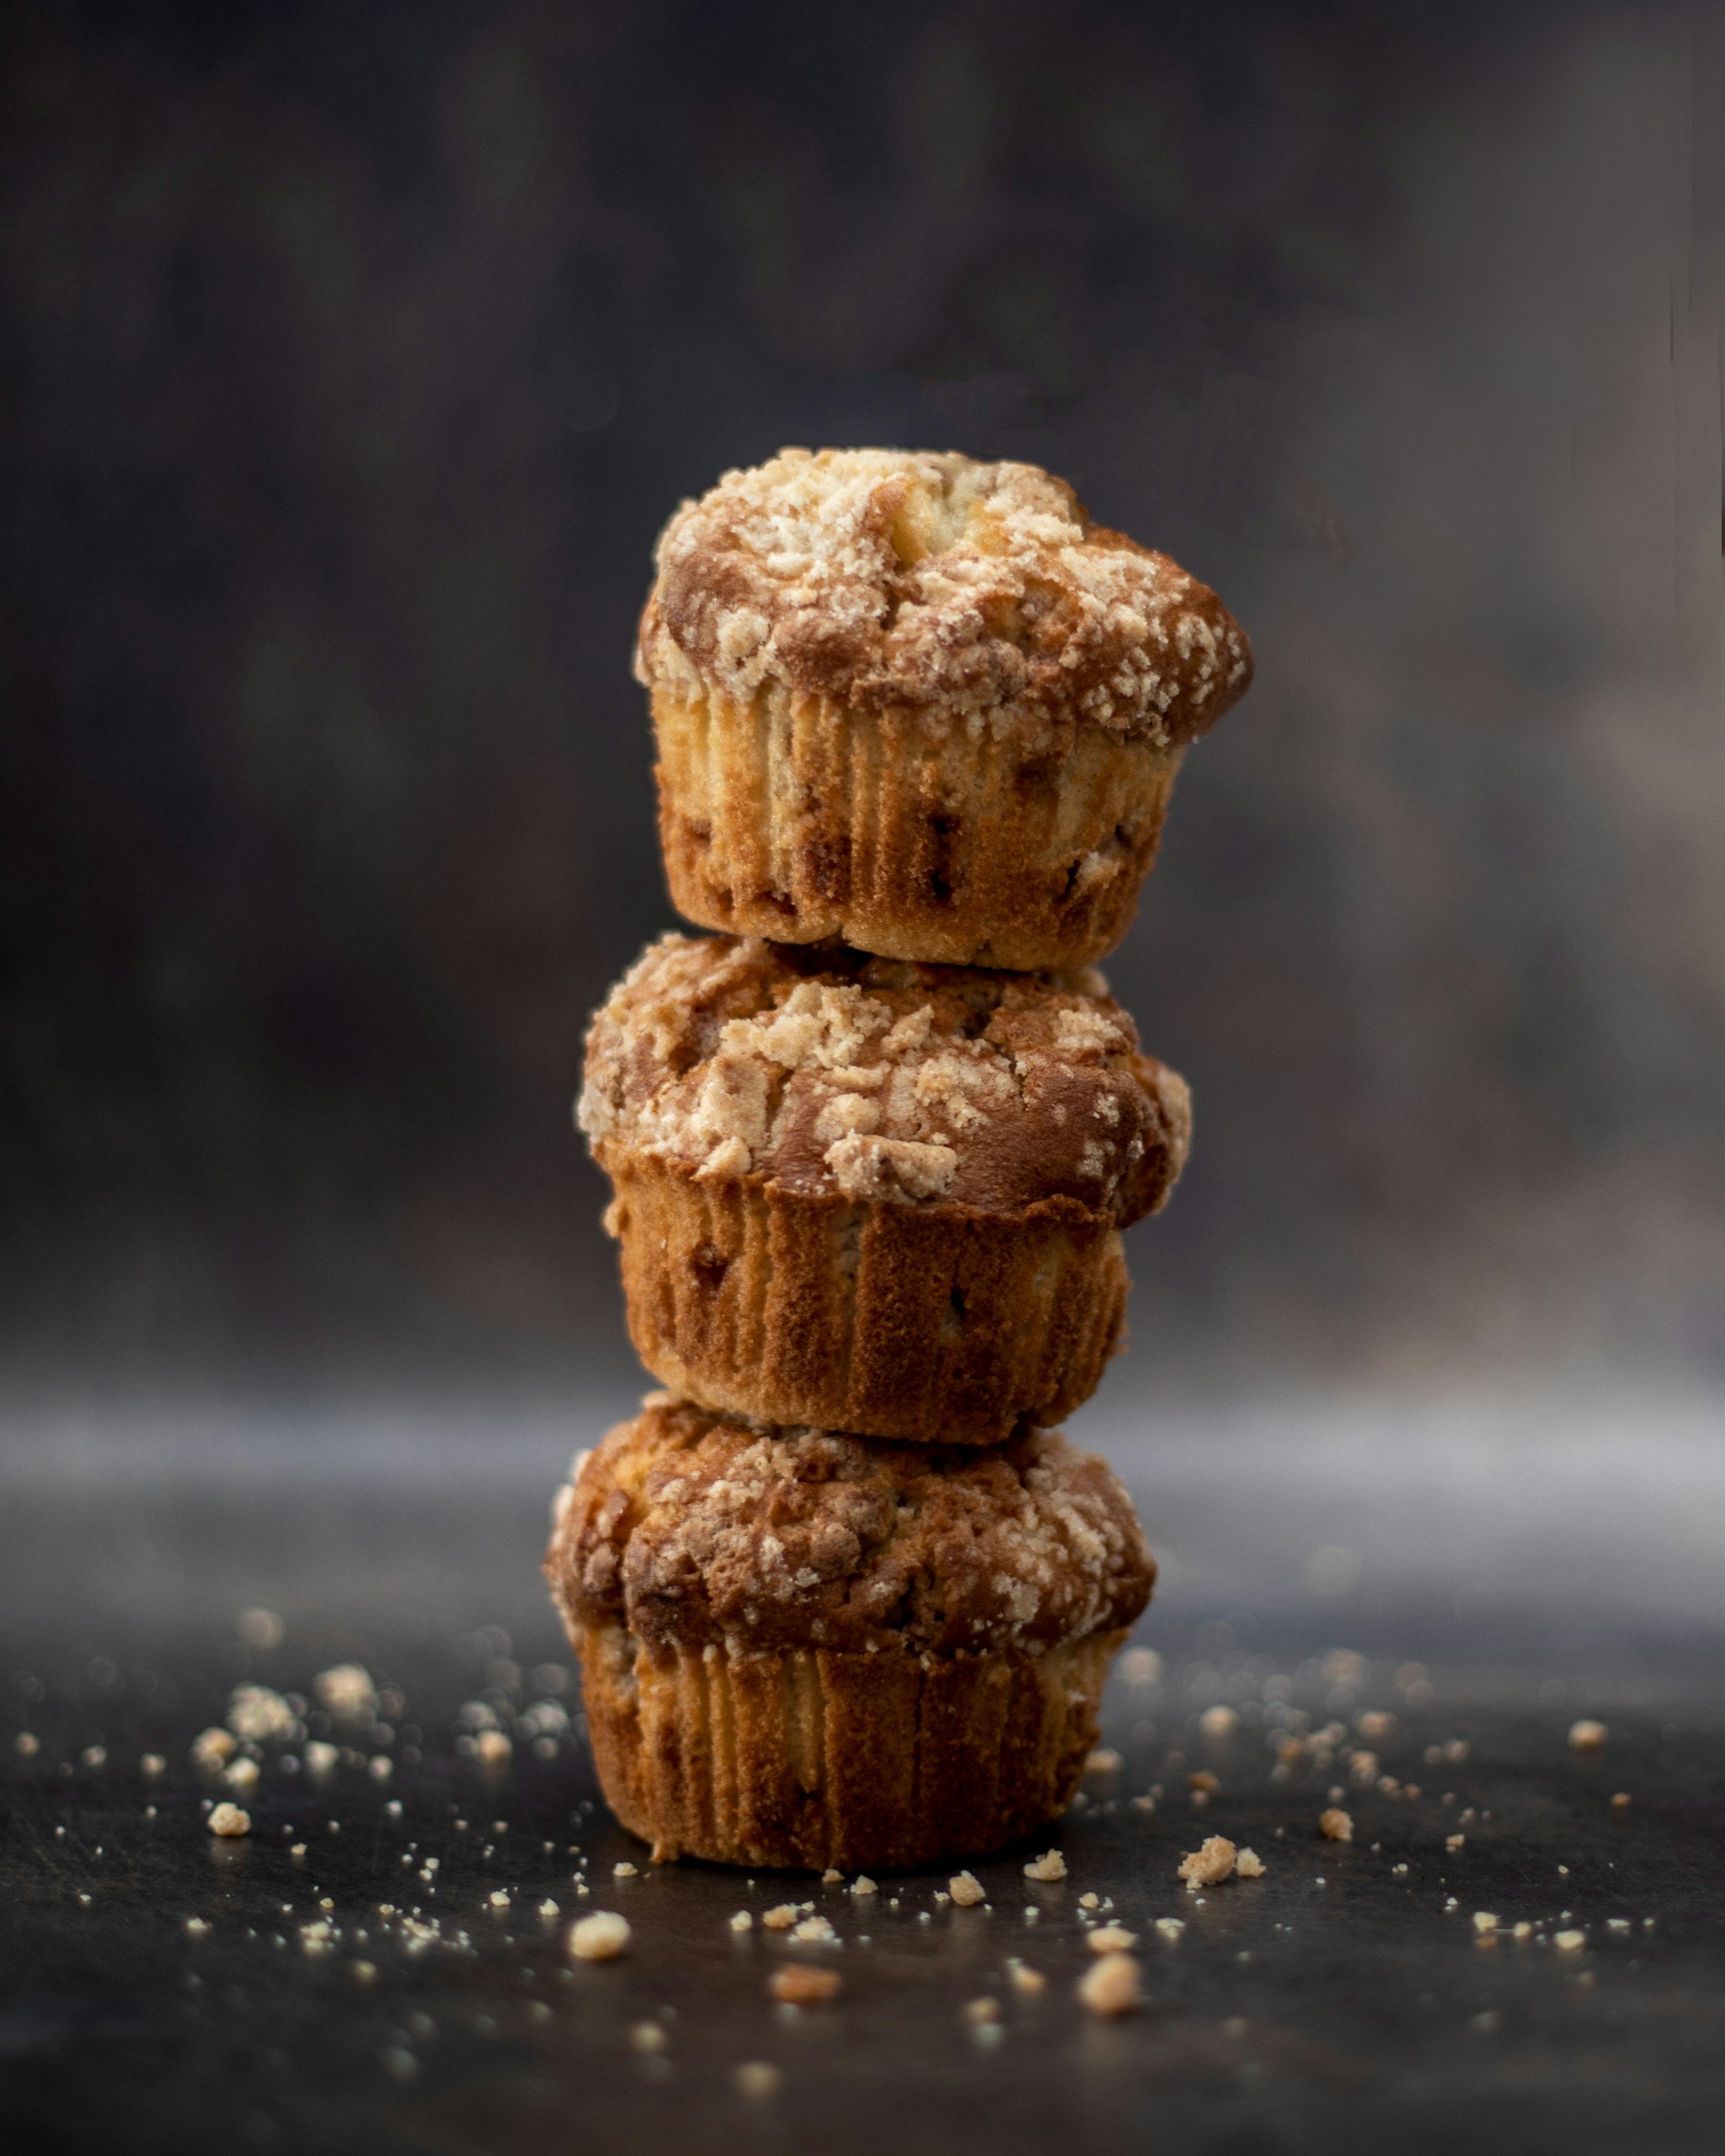
Adjusted Bake Time
Cupcakes and muffins bake faster because they are smaller. Bake at the same temperature, but reduce the baking time to 18–22 minutes.
Also, start checking early because smaller portions overbake quickly and can dry out.
Portion Sizes
Fill each liner about ¾ full. This gives enough room for rise without overflow. Bear in mind that overfilling leads to uneven baking and dense centers.
Texture Differences
Pay attention to the texture differences:
- Cupcakes are lighter and slightly softer.
- Muffins are a bit denser and more structured.
This is because heat distributes more evenly in smaller portions. You’ll still get a moist result, but the crumb will feel slightly different from a full cake.
Should you enjoy this format, try our Easy Oatmeal Chocolate Chip Muffins.
How to Store, Freeze & Reheat Your Cake Oat Flour
Once your cake is baked properly, how you store it determines how long it stays soft and moist.
Prevent Dryness
Oat flour cakes can dry out faster than regular cakes if left exposed. Therefore, always let the cake cool completely before storing and keep it tightly covered to lock in moisture. Note that air exposure, not the recipe, is the main cause of dryness.
Best Storage Method
Store in an airtight container at room temperature for up to 2–3 days. For longer storage, refrigerate for up to 5 days. If refrigerated, let slices come to room temperature before eating to restore softness.
Freezing Tips
Adhere to the tips below to freeze these desserts:
- Slice the cake before freezing for easier portions.
- Wrap each slice individually, then place in a sealed container.
- Freeze for up to 2–3 months.
To reheat, do the following:
- Let it thaw at room temperature or
- Warm briefly in the microwave for a softer texture.
Nutritional Notes
Oat flour adds more nutritional value than traditional cake flour because it contains fiber, plant-based protein, vitamins, minerals, and antioxidants. It is especially known for beta-glucan, a soluble fiber found in oats.
Research shows this type of fiber helps improve gut health and supports beneficial gut bacteria. Basically, this cake keeps you fuller for longer than a typical cake.
That said, this is still a cake with sugar and frosting, so it is best enjoyed as a dessert. The oat flour gives it a heartier texture and a little more staying power than a standard white-flour cake, but it is still meant to be a sweet treat.
Who Is This Recipe For?
This cake works especially well for:
- Gluten-Free Eaters: Oat flour is naturally gluten-free (when certified), making it a practical alternative.
- People Focusing on Balanced Diets: Higher fiber and slower digestion make it more filling and stable.
- Beginner Bakers: This recipe uses simple ingredients and a forgiving method once ratios are understood.
- Anyone looking for Better Dessert Options: It still tastes like cake, but with more nutritional value than typical recipes.
Frequently Asked Questions
Below are some of the most common questions bakers ask about this recipe. If you don’t see yours, ask us in the comments.
Can I Use Homemade Oat Flour Instead of Store-Bought Flour?
Of course, you can, but it must be finely ground. Coarse homemade oat flour will make the cake denser and slightly gritty rather than soft and smooth.
Can I Make This Cake Without Yogurt?
You can, but you’ll need a similar thick substitute (like sour cream or a plant-based alternative). Using a thinner liquid will weaken the structure and may lead to a gummy texture.
Can I Turn This Into A Layered Cake?
Simply double the recipe and divide the batter evenly between two pans. Also, keep an eye on bake time, as thinner layers may bake faster.
Why Does My Cake Get Firmer The Next Day?
Oat flour continues to absorb moisture even after baking. This can slightly firm up the texture over time, especially if stored in the fridge.
Can I Add Mix-Ins Like Chocolate Chips or Nuts?
Fold them in after mixing the batter. But avoid adding too many, as excess weight can affect the framework and make the cake denser.
Is This Cake Suitable for Meal Prep?
It stores well and maintains its texture when properly sealed. You can portion it in advance and reheat as needed without losing moisture.
Related Recipes You Can Try Next
Do you want to keep baking? These are a few options that use similar techniques and deliver consistent results:
- Try Oat Flour Waffles for a quick, soft breakfast option that uses the same moisture balance.
- Make Oat Flour Biscuits (Soft, Fluffy & Easy Recipe) if you want something lighter with a more structured crumb.
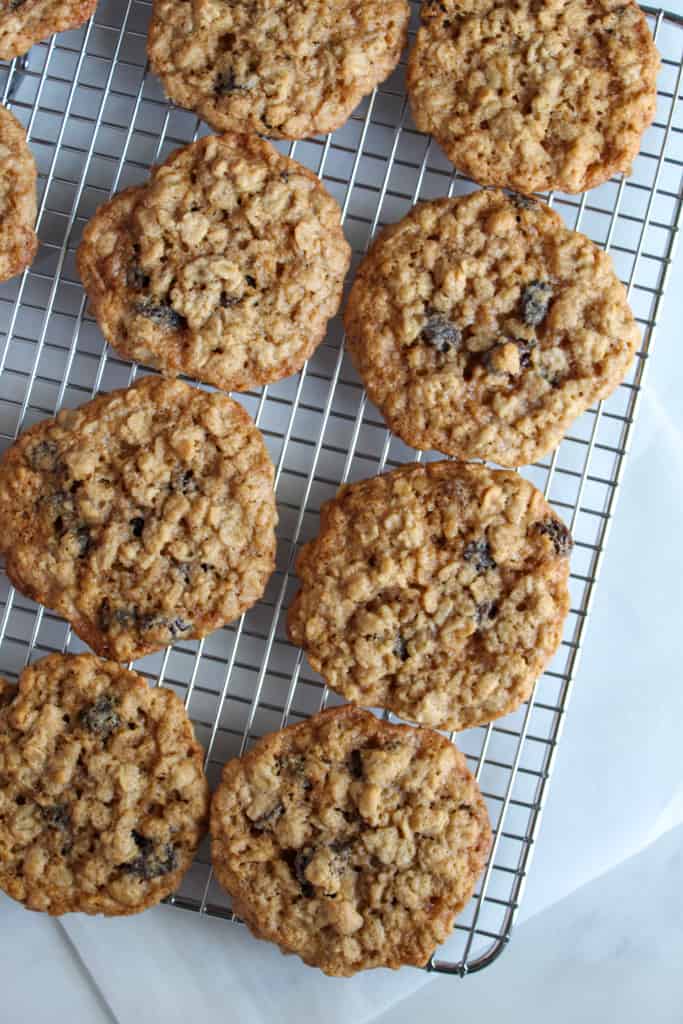
- Bake Oatmeal Flour Chocolate Chip Cookies for a richer, dessert-style treat with a softer texture.
Whether you’re making breakfast, dessert, or a simple baked side, these oat flour recipes are easy ways to keep practicing with a flour that bakes up soft, tender, and flavorful.
Now It’s Your Turn To Try It
Did your cake turn out moist? Did you make any variations or adjustments that worked well?
Scroll down and share your results in the comments. Your experience can help others get better results, too. And if something didn’t turn out right, we can help you fix it.