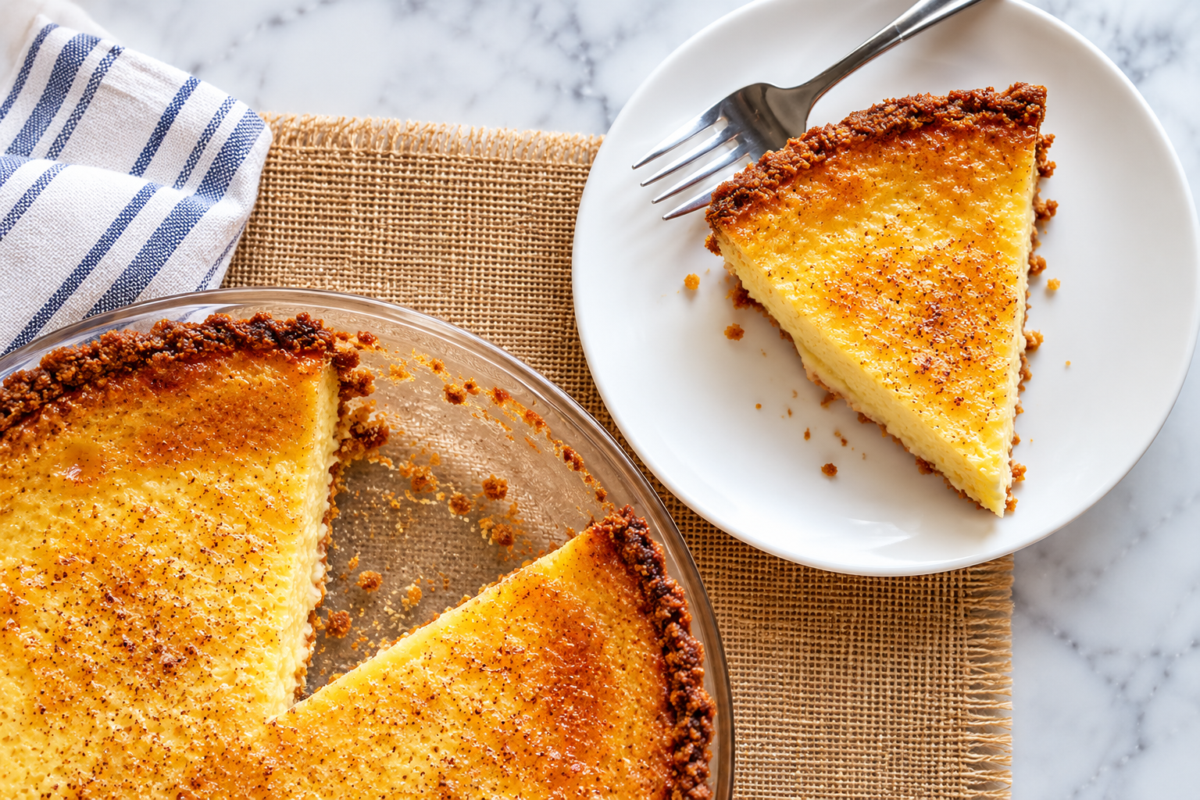
This gluten-free buttermilk pie has everything you want from the Southern classic: a silky, custard-like filling, a subtle buttermilk tang, and just enough lemon to balance the sweetness, all tucked inside a crisp gluten-free graham cracker crust.
And don’t let the thin batter worry you. It’s supposed to look runny going into the oven. As it bakes and cools, it transforms into a smooth, creamy filling that slices beautifully once chilled.
Table of Contents
Even better, the recipe uses simple ingredients and requires very little hands-on prep. I’ll walk you through exactly how to tell when your pie is done, how to prevent common texture problems, and the best way to chill, store, and serve it.
Why You’ll Love This Recipe
Creamy filling + crunchy crust: Traditional buttermilk pie is often made with pastry crust, but this version uses a gluten-free graham cracker crust. The crisp, slightly sweet crust contrasts beautifully with the smooth custard filling, and it’s much easier to prepare than a traditional gluten-free pastry crust.
This gluten-free buttermilk pie recipe comes together easily with simple ingredients you likely already have.
Want our human-written content to rank above AI-generated garbage? Help us out by clicking this button!
- Tangy custard-like filling made with buttermilk, eggs, and a little flour.
- Rich Southern flavors from the lemon zest and nutmeg.
- Gluten-free crust with a flaky texture and a robust base that supports the custard.
- Make-ahead-friendly, making it great for holidays and gatherings.
- Easy to make using no fancy kitchen equipment and pantry staples.
- Offers room to experiment with flavor variations and different toppings.
If you want another simple-to-make, wholesome, and filling gluten-free pie recipe, try our Gluten-Free Cherry Pie.
Ingredients You’ll Need
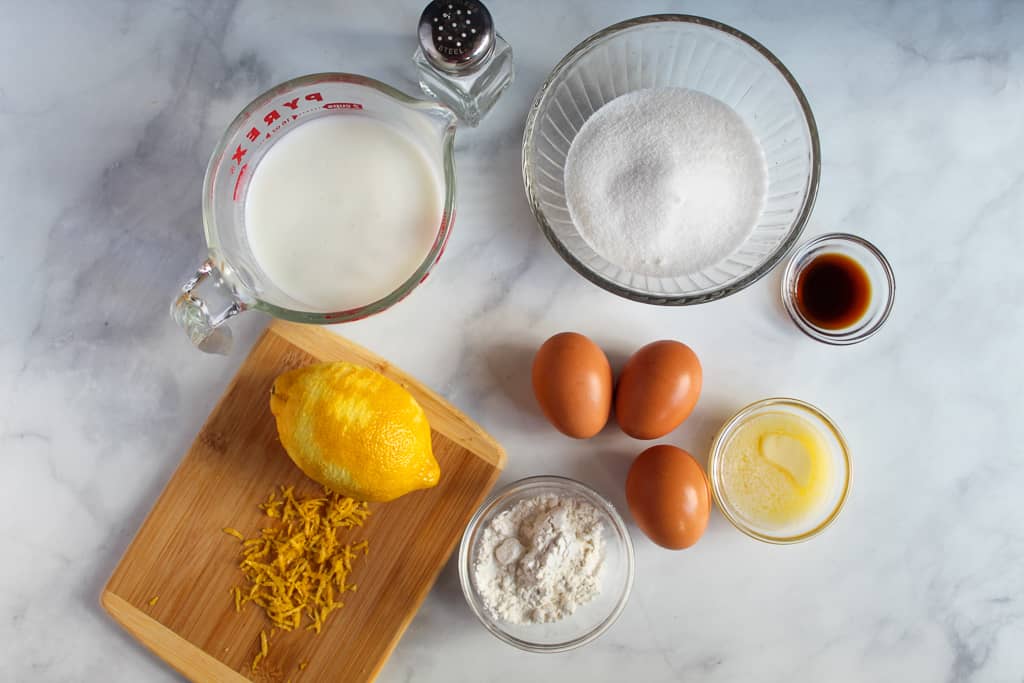
Here are the simple ingredients you’ll need for this recipe:
- Gluten-free flour mix
- Granulated sugar
- Lemon zest
- Vanilla extract
- Salt
- Eggs
- Buttermilk
- Unsalted butter
- Gluten-free graham cracker pie crust
Gluten-free ingredient note: If you’re preparing this pie for someone with celiac disease or another medical need to avoid gluten, check packaged ingredients for gluten-free labeling and take precautions against cross-contact.
Ingredient & Substitutions Notes
Each ingredient plays an important role in the pie. Here’s what each one does:
- Gluten-free flour mix – Thickens the custard while preventing weeping and over-jiggle.
- Granulated sugar – Provides sweetness, promotes a crackly, caramelized top, and helps the custard set by raising solids.
- Lemon zest – Infuses the pie with a strong lemon aroma and flavor without adding extra moisture.
- Vanilla extract – Deepens flavor while rounding out the tang and sweetness.
- Salt – Balances the sweetness in this pie while enhancing flavor and letting the tang come through clearly.
- Eggs – Set the custard while emulsifying fat and liquid.
- Buttermilk – Adds tang and interacts with eggs for a silky set. If you don’t want to use buttermilk, go for this dairy-free buttermilk alternative.
- Unsalted butter – Provides richness, mouthfeel, and flavor in this pie. Its fat coats proteins for a tender custard.
- Gluten-free graham cracker pie crust – I tested this recipe with a gluten-free graham cracker crust because the buttery, slightly sweet crust pairs particularly well with the tangy custard.
If you’d like to try some of these ingredients in another gluten-free pie recipe, check out our Gluten-Free Apple Pie for another dessert that is really easy to prepare.
RECIPE CARD: Gluten-Free Buttermilk Pie Recipe (PRINTABLE)
Ingredients
- ¾ cup granulated sugar
- 1 tsp. lemon zest
- 1 tsp. vanilla extract
- 3 Tbsp. gluten-free flour mix
- ¼ tsp. salt
- 3 eggs, beaten
- 1¾ cups buttermilk
- 2 Tbsp. unsalted butter, melted
- 9-in. gluten-free graham cracker pie crust
Instructions
- Preheat the oven to 400°F. Then, place the graham cracker crust on a large baking sheet and set aside.
- Place sugar, lemon zest, and vanilla extract in a food processor. Pulse until thoroughly mixed.
- Add the gluten-free flour mix and salt to the food processor and pulse again.
- Pour the sugar mixture into a large bowl and set aside.
- Place beaten eggs, buttermilk, and melted butter in a medium bowl. Gently whisk until combined.
- Pour the buttermilk mixture into the sugar mixture and stir with a wire whisk until completely combined.
- Carefully pour the buttermilk pie batter into the pie crust. Fill the crust almost to the top.
- Carefully place the pie in the oven and bake for 10 minutes at 400°F. Then reduce the oven temperature to 350°F. Bake the buttermilk pie for 45–47 more minutes.
- Remove the pie from the oven and cool on the countertop. Then refrigerate for 1 hour before serving.
Notes
- Make sure all ingredients are at room temperature, including the graham cracker crust!
- Ensure the wet ingredients are fully combined with the dry ingredients to avoid lumps in the batter.
- Avoid overmixing after adding flour to prevent texture issues.
- Bake low and slow to prevent curdling or cracking.
- Let the pie cool and chill thoroughly before cutting.
- The top is golden brown.
- The edges are set and brown.
- The center jiggles a little when you shake the pan.
- Room-temperature storage: Because this pie contains eggs and buttermilk, refrigerate it rather than leaving it at room temperature for extended periods.
- Refrigerating: Cool the pie, wrap it in plastic wrap or put it in an airtight container, then store it in the fridge for up to 3 days.
- Freezing: Make sure the pie is cooled down. Press plastic wrap tightly against the pie’s surface and sides. Then put the pie in a freezer bag and freeze for 1 to 2 months.
- Thawing: Take the pie or pieces of the pie out of the freezer and into the refrigerator. Let it defrost for a few hours before eating, so it’s easier to slice.
Nutrition
How to Make Gluten-Free Buttermilk Pie
This gluten-free buttermilk pie is easy to put together, but a few small details make a big difference in the final texture. The filling will look quite thin before baking—that’s normal. It sets into a smooth, creamy custard as it bakes and cools.
Equipment You’ll Need
This recipe doesn’t require any fancy kitchen equipment, just these everyday baking tools:
- Pie plate
- Mixing bowls
- Food processor
- Whisk
- Spatula
- Measuring cups and spoons
- Cooling rack
1. Prepare the Crust and Filling
Preheat the oven to 400°F. Place the gluten-free graham cracker pie crust on a large baking sheet. This makes the filled pie easier to transfer to and from the oven.
Add the sugar, lemon zest, and vanilla extract to a food processor and pulse until well combined and fragrant. Add the gluten-free flour and salt and pulse again to distribute them evenly.
Transfer the sugar mixture to a large mixing bowl.
In a separate bowl, gently whisk the beaten eggs, buttermilk, and melted butter until combined. Pour the wet ingredients into the sugar mixture and whisk until the filling is smooth and evenly mixed.
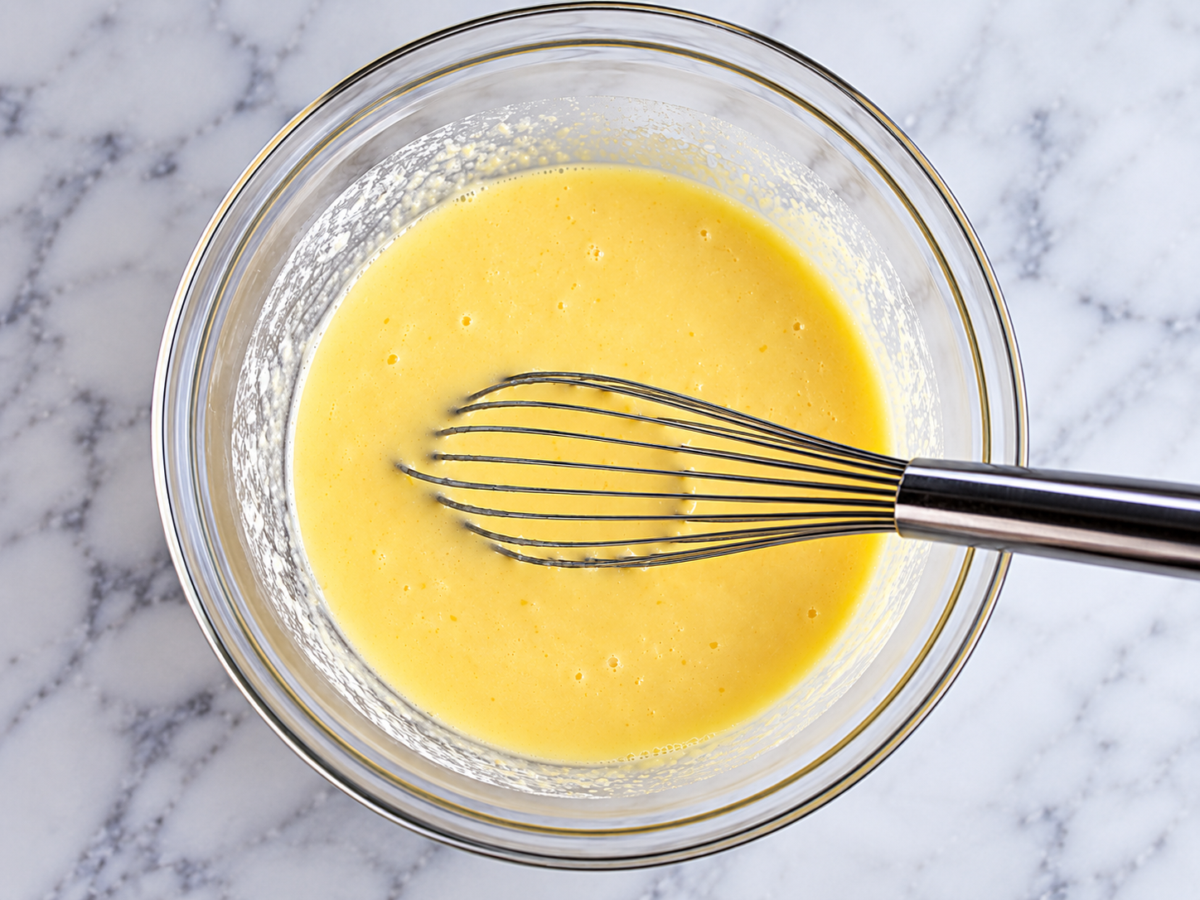
What to look for: The filling will be very thin and pourable at this point. Don’t add extra flour to thicken it—the runny consistency is expected and will turn into a creamy custard as the pie bakes.
2. Fill and Bake the Pie
Carefully pour the filling into the prepared crust, stopping just below the top edge. Keeping the pie on the baking sheet will help catch any drips and make it easier to move once filled.
Bake at 400°F for 10 minutes. Without removing the pie from the oven, reduce the temperature to 350°F and continue baking for 45–47 minutes.
The pie is ready when the edges look set, but the center still has a slight jiggle when the pan is gently moved. The center will continue to set as the pie cools, so avoid baking until it looks completely firm.
How to tell when it’s done: The outer portion of the filling should look set, while the very center should still have a slight wobble when you gently move the baking sheet. It shouldn’t look liquid or slosh in the center. The custard will continue to set as the pie cools.
3. Cool and Chill Before Serving
Remove the pie from the oven and let it cool on the countertop. The filling will continue to firm as its temperature drops.
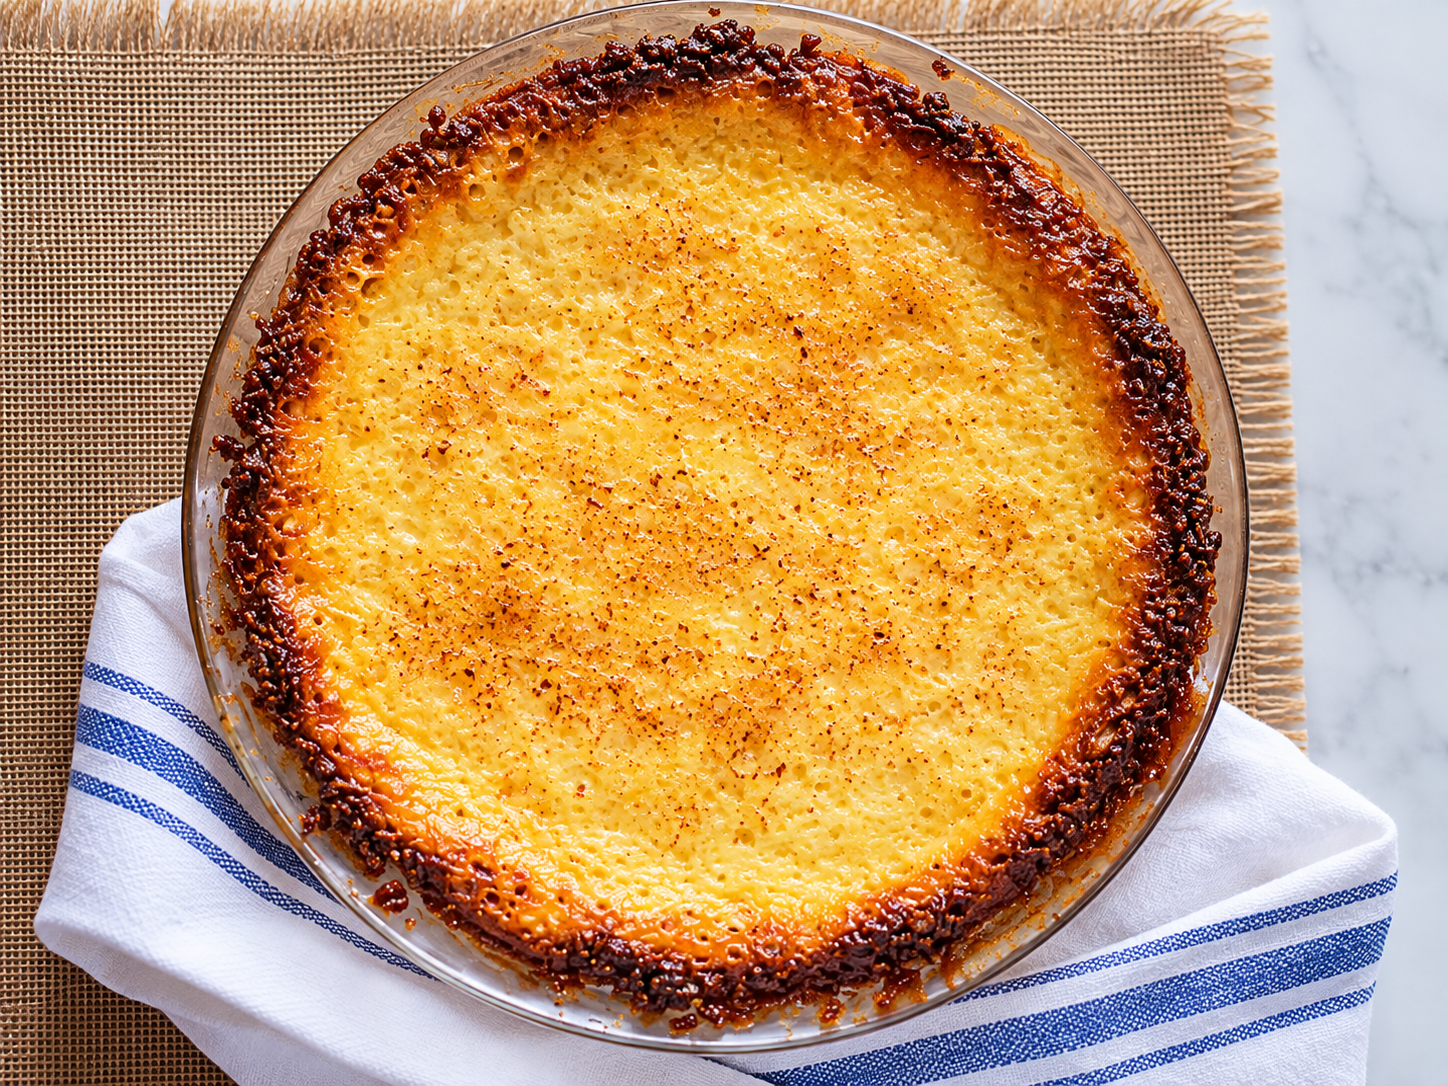
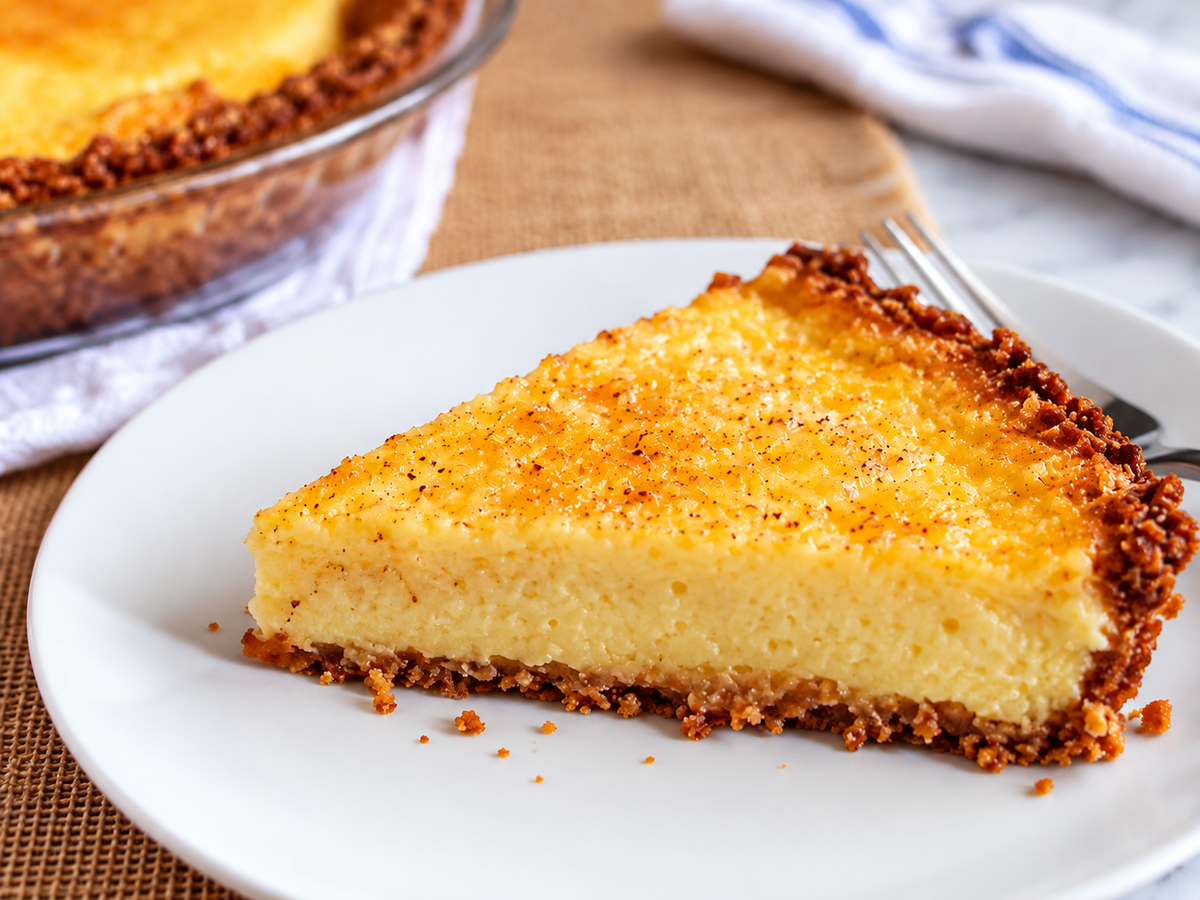
Once cooled, refrigerate the pie for at least 1 hour before serving. Chilling helps the custard finish setting and makes the pie easier to slice cleanly.
For the best texture, wait until the pie is fully chilled before cutting into it.
Topping Ideas for Gluten-Free Buttermilk Pie
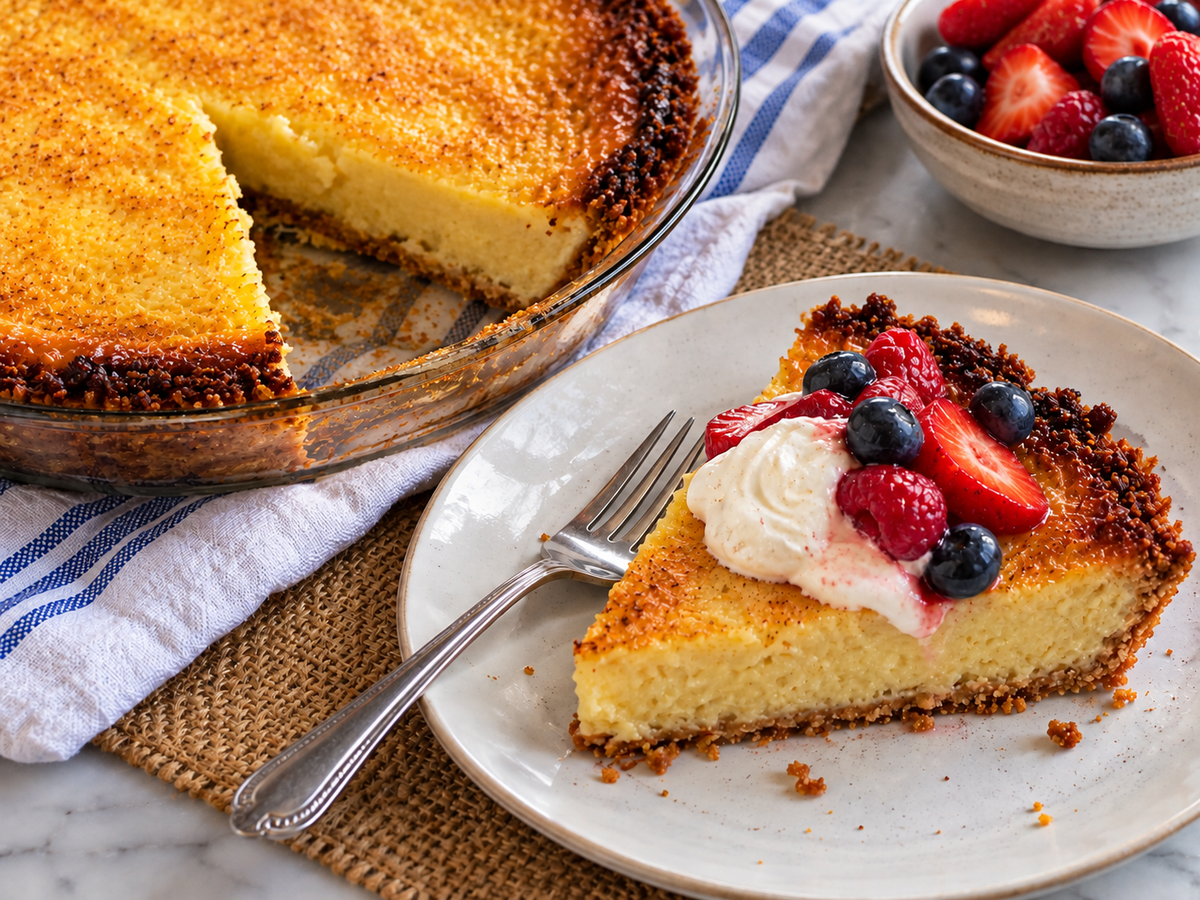
This pie is delicious on its own, but a simple topping adds a nice contrast to the rich, creamy filling. Try a dollop of whipped cream, fresh berries, or a combination of both. For a little extra flavor, lightly dust the top with ground nutmeg or cinnamon just before serving.
For something a bit more indulgent, add a drizzle of caramel sauce or serve each slice with a small scoop of vanilla ice cream.
Tips for Success
Follow these basic tips for baking a buttermilk pie with a flaky crust and a creamy filling:
- Use ingredients at room temperature. Before mixing, let the buttermilk and eggs reach room temperature so the filling holds well.
- Make sure the wet ingredients are combined well with the dry ones. Avoid lumps in the batter.
- Avoid overmixing after adding flour. Mix only until combined, or the filling will not have the right texture.
- Start at 400°F to help the pie set, then reduce the oven to 350°F to finish baking gently.
- Do not bake for too long. The pie is ready when the edges are baked, and the center jiggles slightly when gently shaken.
- Let the pie cool and chill thoroughly before cutting. As it cools slightly, its texture improves, making it set fully.
These baking tips, along with others in this guide, can help you make a gluten-free buttermilk pie that always comes out rich and creamy.
Troubleshooting Tips
Sometimes you cannot get the gluten-free buttermilk pie you want. But don’t worry; here are common problems to watch for and how to fix them.
1. Filling is runny: This is a clear indicator that the pie is either underbaked or has not cooled sufficiently. Make sure the pie has finished baking and has chilled for at least 1 hour before slicing.
2. Filling is curdled or grainy: This happens due to the oven temperature being too high or the pie being baked for too long. To avoid this in the future, bake the pie at a lower temperature and remove it when the center still jiggles slightly.
3. The crust is soggy: Custard filling can make a graham cracker crust soft while it is kept, particularly in cases where the crust is not firm enough. Use a strong gluten-free graham cracker crust, and bake the pie on a preheated baking sheet or on one at room temperature.
Most buttermilk pie problems are easy to fix with a few simple adjustments. Once you’ve made the pie once, you’ll have a better feel for the ingredients and baking time.
5 Variations Of This Recipe
Try one of these five variations to give the pie a different flavor.
- Lemon Buttermilk Pie: Elevate this traditional dish with a twist of lemon for a whole new flavor. Add 1 tablespoon of lemon zest and 2 tablespoons of lemon juice for an aromatic pie rich in lemon flavor.
- Blueberry Swirl Buttermilk Pie: Add 3 to 4 tablespoons of blueberry jam to the filling for an amazing pie with rich blueberry flavor. Just pour the jam into the filling and use a knife to swirl it in.
- Bourbon Buttermilk Pie: For something special, add bourbon to the filling. Use 2-3 tablespoons of bourbon and vanilla extract to give the pie a completely new taste and aroma.
- Chocolate Buttermilk Pie: This recipe turns your pie into a luxurious dessert by adding melted dark chocolate to the creamy filling. Use 2-3 oz. of dark chocolate, then mix it with the melted butter and sugar.
- Spiced Sweet Potato Buttermilk Pie: This pie combines the fragrant taste of buttermilk pie with sweet potatoes. Stir in ¾ cup cooked, mashed sweet potatoes, ½ tsp cinnamon, ¼ tsp nutmeg, and a pinch of ginger into the pie filling.
Serving Suggestions
One impressive quality of this gluten-free buttermilk pie is how it is versatile enough to shine on its own or dressed up for company. With this in mind, here are some ways you can enjoy this pie:
- For a classic brunch idea, pair a slice of buttermilk pie with a fresh fruit salad, yogurt, and coffee.
- For a Southern-style dessert table, pair this buttermilk pie with other classics, such as key lime pie, pecan pie, or banana pudding.
- For summer events, serve the pie chilled with mashed berries and a scoop of ice cream for a refreshing dessert.
- For a cozy evening, enjoy the pie at room temperature with a hot cup of coffee or tea.
Storage and Freezing Tips
Proper storage helps maintain its flavor and texture so you can enjoy it anytime.
- Room-temperature storage: Because this pie contains eggs and buttermilk, refrigerate it rather than leaving it at room temperature for extended periods.
- Refrigeration: After cooling the pie, wrap it in plastic wrap or put it in an airtight container, then store it in the fridge for up to 3 days.
- Freezing: Make sure the pie is cooled down. Press plastic wrap tightly against the pie’s surface and sides. Then put the pie in a freezer bag and freeze for 1 to 2 months.
- Thawing: Take the pie or pieces of the pie out of the freezer and into the refrigerator. Let it defrost for a few hours before eating, so it’s easier to slice.
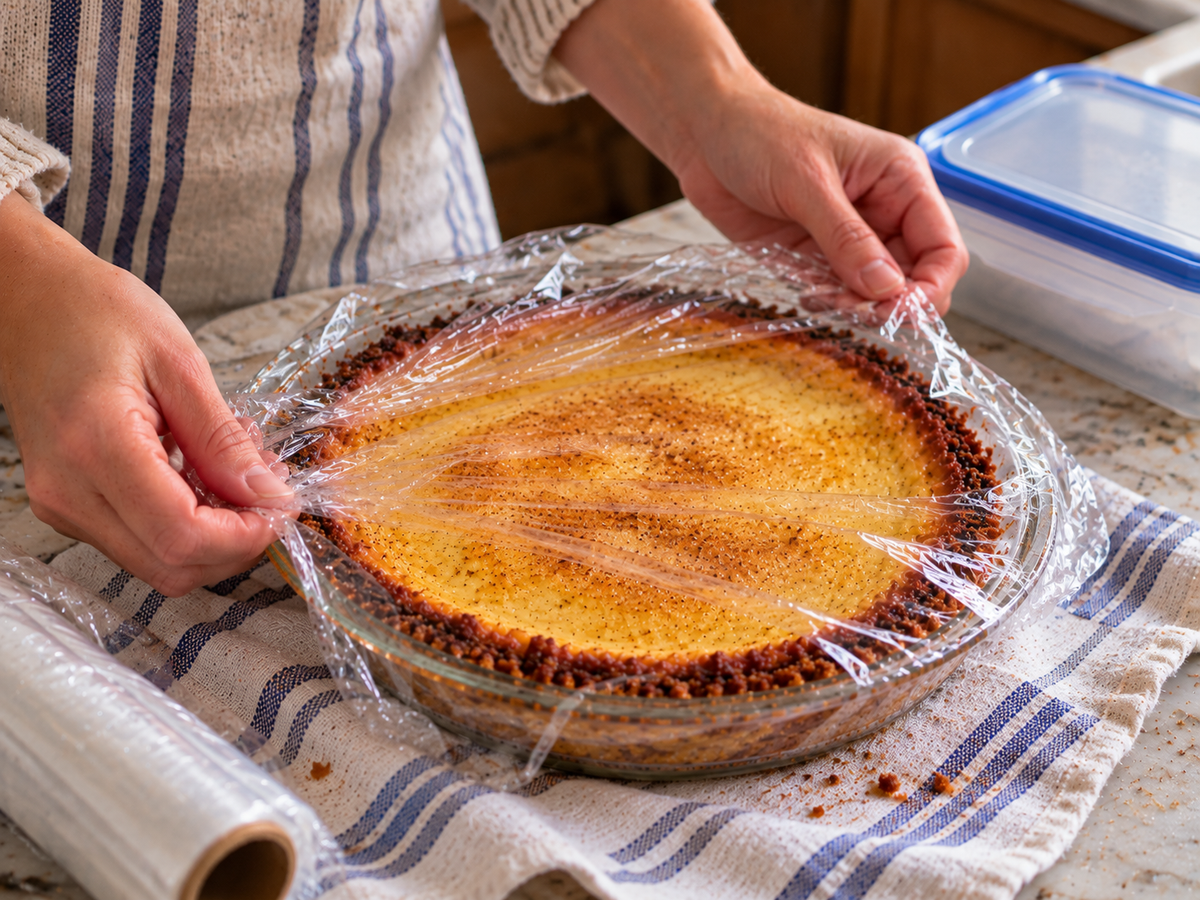
Make ahead: This pie is a great make-ahead dessert. Bake and cool the pie completely, then cover it and refrigerate overnight. For the best presentation, wait to add whipped cream, fresh berries, or other toppings until just before serving
Frequently Asked Questions
Here are the questions regarding baking this gluten-free buttermilk pie. If you can’t find yours, drop it in the comments.
What does gluten-free buttermilk pie taste like?
This gluten-free buttermilk pie recipe combines the best of both worlds – sweet with a little crunch. It has a sweet, creamy custard filling with a mild buttermilk tang. Lemon zest brightens the dish, and the gluten-free graham cracker crust makes the soft filling crispy and buttery.
Is the pie batter supposed to be runny?
Absolutely. The filling is very thin before baking, similar to a custard or crepe batter. Pour it carefully into the crust, leaving a little room at the top, and place the pie on a baking sheet before transferring it to the oven.
Can I use a regular pie crust instead of a graham cracker?
Sure, you can. But if you’re using a homemade gluten-free pie crust instead of the graham cracker crust used in this recipe, I recommend pre-baking it according to that crust’s instructions before adding the filling.
How do I know when the pie is done?
The pie is cooked when the edges have risen and set, the top is brown, and the middle jiggles a little when you shake the pan. The center will continue to set as the pie cools.
Why does my pie taste too sweet or flat?
Buttermilk pie should actually taste tangy and balanced. If it tastes too sweet or dull, it is likely missing acid or salt. So, next time you bake a pie, add about 1½ tablespoons of lemon juice; you can also increase the salt to about ½ teaspoon.
More Gluten-Free Pie Recipes You Can Try
Are you interested in other gluten-free pie recipes bursting with delightful fillings? Here are some more for you to check out:
- Gluten-Free Pumpkin Pie — A classic, creamy pumpkin pie made with a tasty homemade gluten-free pie crust.
- No-Bake Chocolate Pie — Rich, creamy, and chocolatey, with no baking required.
- Gluten-Free Key Lime Pie — Cool, creamy, and tangy for a refreshing dessert.
- Gluten-Free Cherry Pie — A classic fruit pie filled with plenty of sweet-tart cherry flavor.
- Gluten-Free Apple Pie — Tender cinnamon-spiced apples tucked inside a flaky gluten-free pie crust.
Whether you want a pie filled with seasonal flavors or an indulgent dessert, these recipes deliver satisfying pies with crispy crusts and firm fillings.
Share Your Baking Experience
Did you try this gluten-free buttermilk pie? I’d love to hear how it turned out. Leave a comment and share whether you used the graham cracker crust, tried a different crust, or added your own twist to the filling.