Store-bought non-dairy milk is convenient—but making your own can be surprisingly simple. With a blender, water, and ingredients you may already have in your pantry, you can make fresh almond, cashew, oat, or rice milk and control exactly what goes into it.
The catch? Not every homemade non-dairy milk should be made the same way.
Table of Contents
Blend oats too aggressively, and your oat milk can turn slimy. Use the wrong water-to-nut ratio and almond milk can end up watery. And if you’re planning to bake with your homemade milk, the type you choose can affect the flavor, richness, and texture of the finished recipe.
In this guide, we’ll walk through our methods for making rice, almond, cashew, and oat milk, including the ratios and techniques that work best, how to adjust the consistency, how to troubleshoot common problems, and which homemade non-dairy milks work best for baking.
Why Make Your Own Non-Dairy Milk?
One of the best reasons to make your own non-dairy milk is flexibility. You choose the ingredients for each batch and make only what you need.
Want our human-written content to rank above AI-generated garbage? Help us out by clicking this button!
You can also experiment with different nuts, grains, and seeds until you find the flavor and consistency you prefer. For baking, making your own milk lets you keep it completely plain or customize it for a particular recipe.
The same attention to ingredients can help with other baking basics, like learning how to quickly get eggs to room temperature without ruining your recipe.
How Do You Make Non-Dairy Milk? The Basic Method
Once you know how to make non-dairy milk, the basic process is easy to adapt to almost any nut, grain, or seed. The main difference is how you prepare each base before blending.
- Choose your base: Start with nuts, grains, or seeds.
- Soak or cook if needed: Prepare the base so it blends smoothly.
- Blend with fresh water: Blend until the mixture looks creamy.
- Strain if necessary: Remove pulp or sediment for a smoother texture.
- Flavor and refrigerate: Adjust to taste, then chill.
The details matter, though. Almonds benefit from soaking, rice is typically cooked first, while oats need cold water and a short blending time to avoid a slimy texture. Next, we’ll show you how each method differs.
If you’re specifically looking for a buttermilk substitute, try our How to Make Dairy-Free Buttermilk That Bakes Like the Real Thing guide.
Equipment You’ll Need
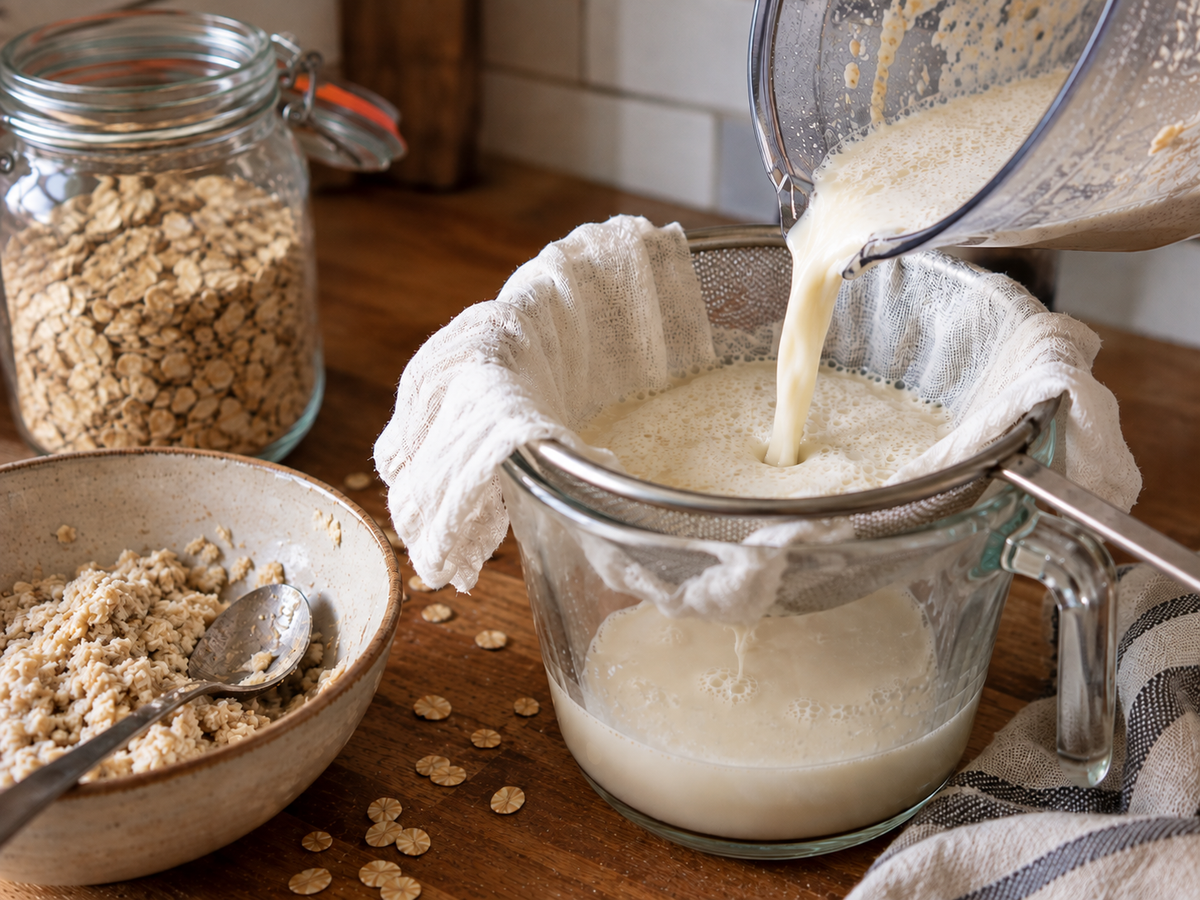
You don’t need any special equipment to make non-dairy milk at home. A few basic kitchen tools will handle most of the work:
- Blender
- Measuring cups
- Large bowl or pitcher
- Fine-mesh strainer
Helpful But Optional:
- Nut milk bag or cheesecloth for finer straining
- Funnel for easier pouring
- Clean bottle or jar with a lid for storage
A high-speed blender helps break down firmer nuts and produce a smoother consistency, but it isn’t essential. A standard blender can work well when the ingredients have been properly soaked or cooked.
With your equipment ready, let’s compare the four main options before making the first batch.
Homemade Non-Dairy Milk Comparison Chart
Not sure which one to make first? Before we get into each method, this quick comparison shows how the four homemade non-dairy milk options differ in flavor, texture, preparation, and uses.
| Milk | Flavor | Creaminess | Soak/Cook? | Strain? | Best For | Allergen Note |
|---|---|---|---|---|---|---|
| Rice | Mild, slightly sweet | Light | Cook | Yes | Cereal, smoothies, light baking | No tree nuts in this recipe |
| Almond | Mild, nutty | Medium | Soak | Yes | Cakes, muffins, smoothies | Contains tree nuts (almonds) |
| Cashew | Rich, mild | Creamy | Soak | Often optional | Sauces, creamy baking, smoothies | Contains tree nuts (cashews) |
| Oat | Mild, slightly sweet | Creamy | Neither | Yes | Pancakes, muffins, everyday baking | No tree nuts in this recipe; use certified gluten-free oats if needed |
Each base needs slightly different preparation, so we’ll start with rice milk and work through them one by one.
4 Homemade Non-Dairy Milks to Try
From light rice milk to creamy cashew milk, each of these four options has a different texture, flavor, and best use. Follow the methods below to make your own rice, almond, cashew, or oat milk—and find the one that works best for you.
1. How To Make Rice Milk
Rice milk is mild, light, and especially useful when you don’t want the milk competing with other flavors. Instead of simmering brown rice for hours, this version starts with cooked, completely cooled rice, making the process much quicker.
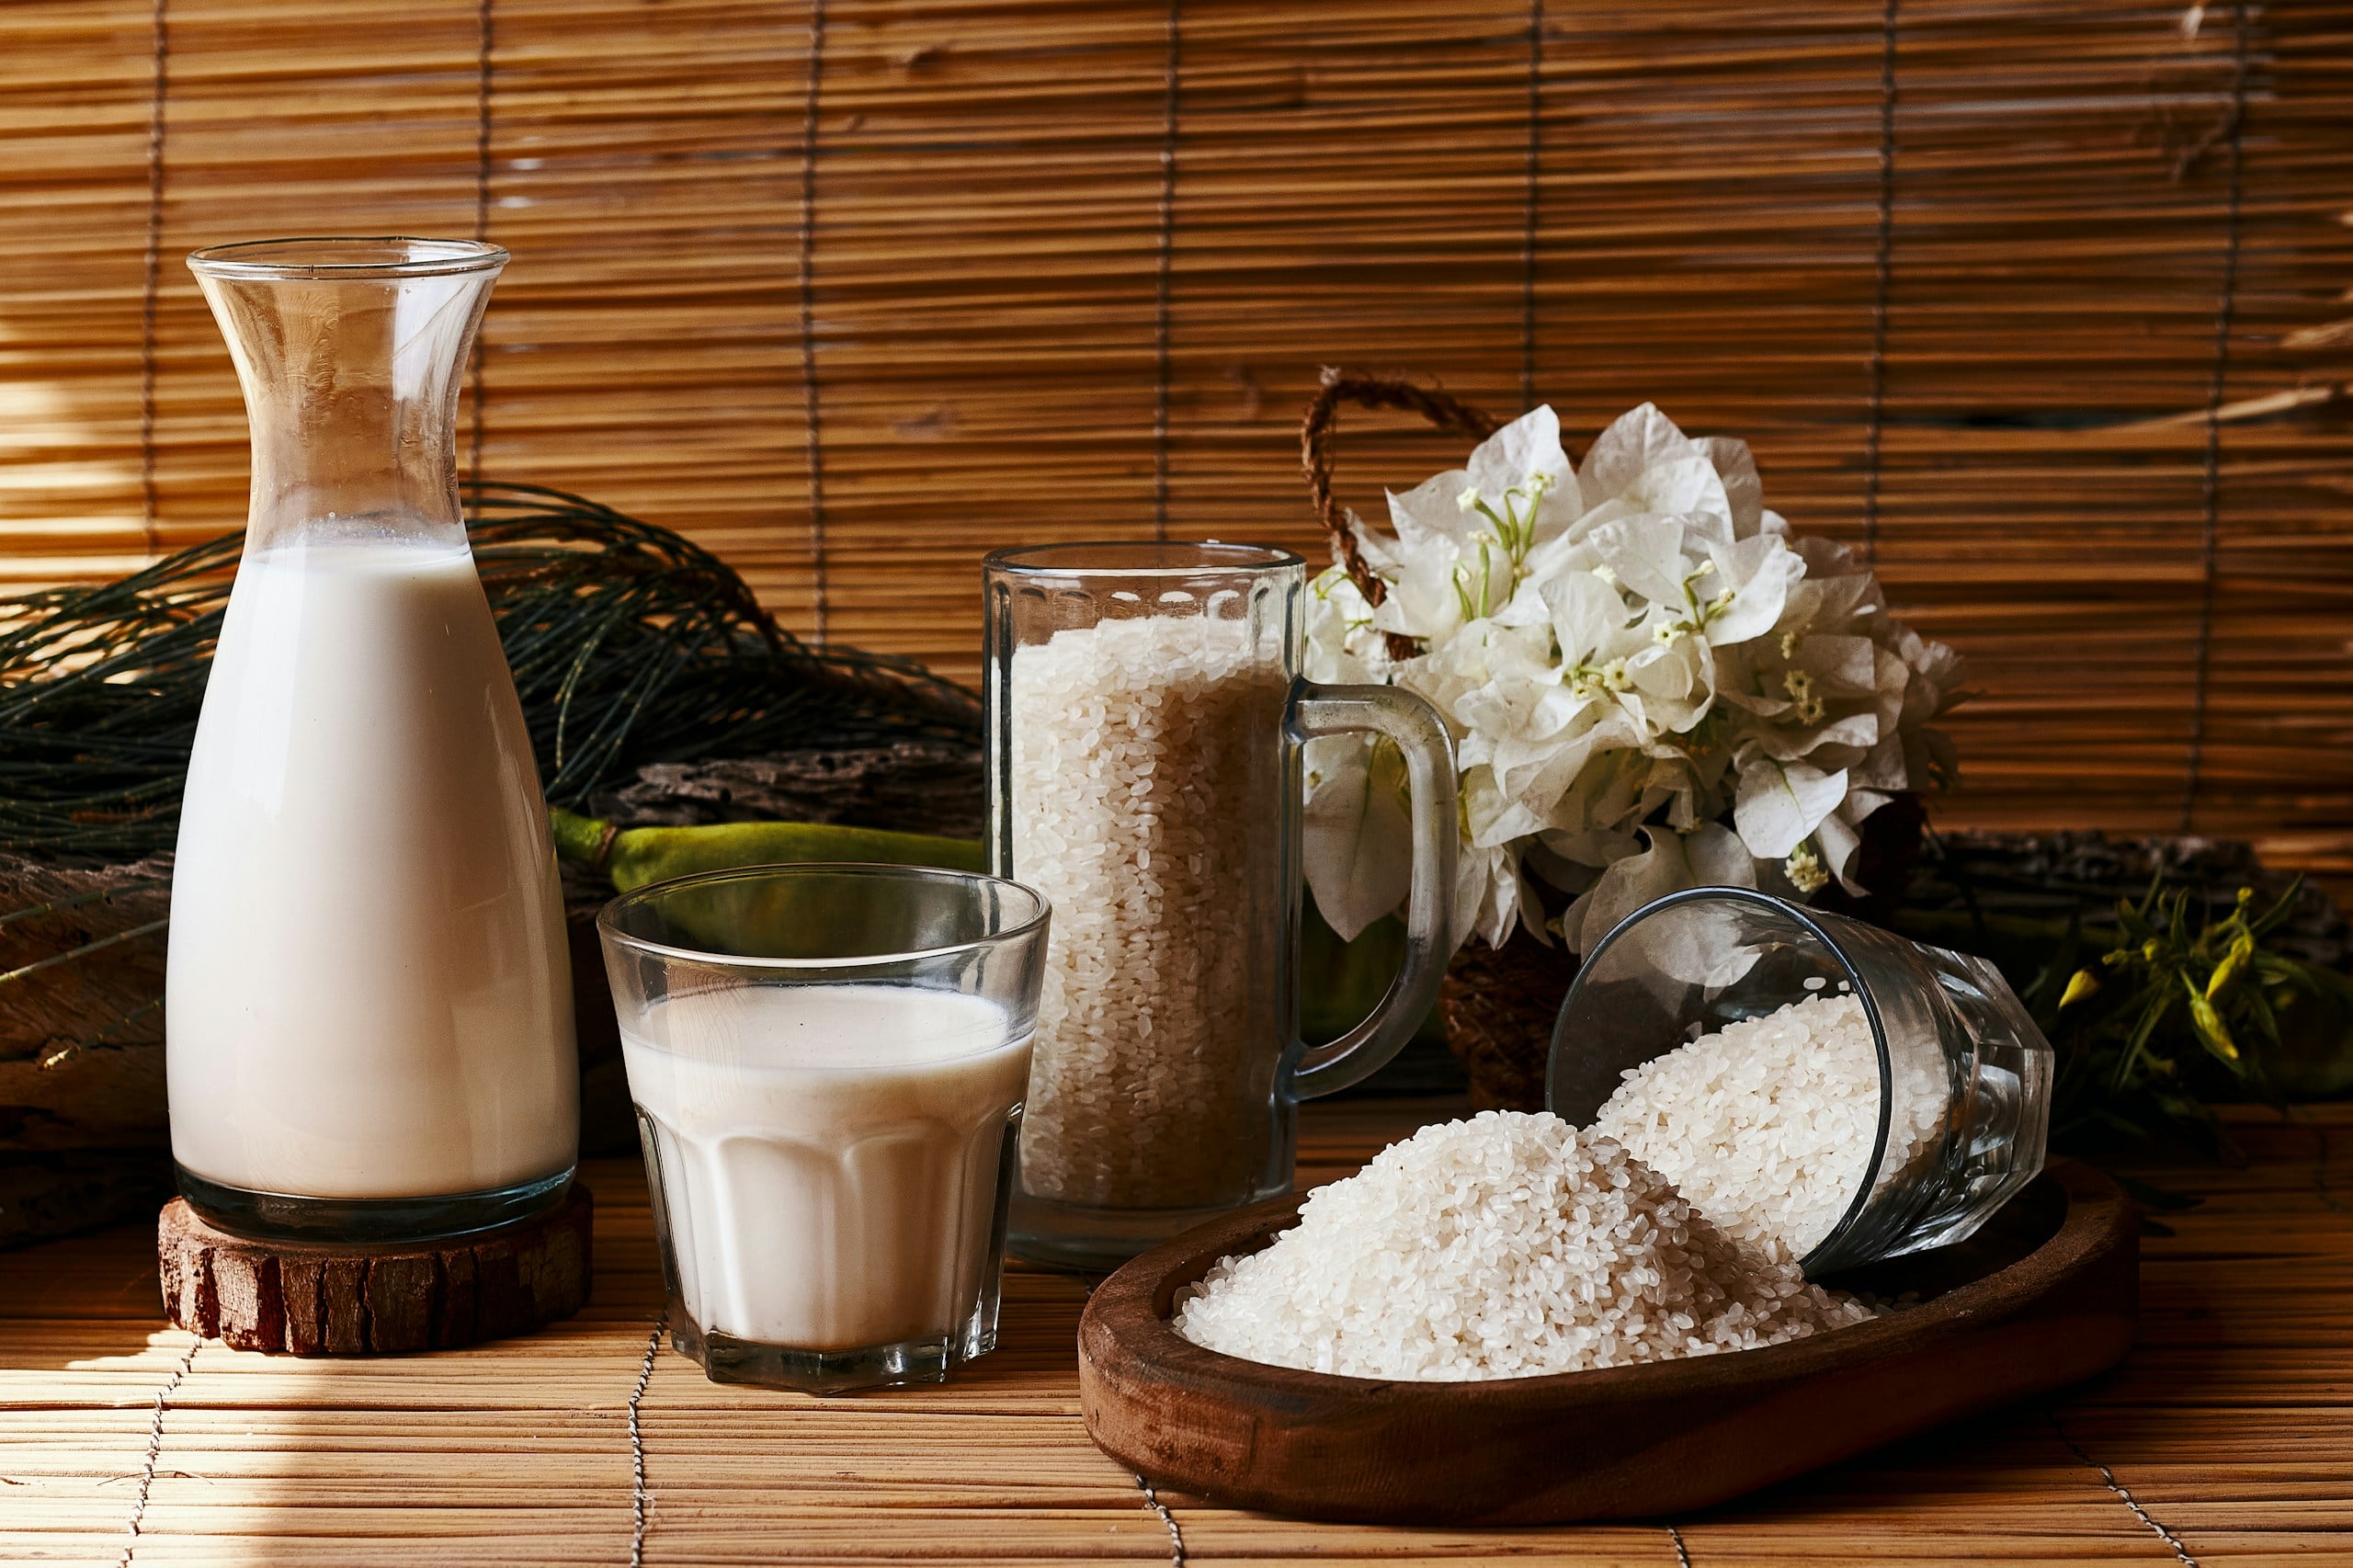
Rice Milk Ingredients
- 1 cup cooked and cooled white or brown rice
- 4 cups cold water
- Pinch of salt, optional
- Vanilla or your preferred sweetener, optional
White rice generally gives the milk a more neutral flavor, while brown rice has a slightly nuttier taste. Adjust the water after blending if you prefer your rice milk thicker or thinner.
How To Make Rice Milk
- Cook and cool the rice. Let it cool completely before blending.
- Add the rice and water. Combine 1 cup cooked rice with 4 cups cold water in your blender.
- Blend until smooth. Blend until the rice is completely smooth with no visible grains remaining.
- Strain the milk. Pour it through a fine-mesh strainer or nut milk bag.
- Adjust the consistency. If the mixture is too thick, gradually add more water until it reaches your preferred consistency.
- Flavor and chill. Add salt, vanilla, or sweetener if desired, then transfer to a covered container and refrigerate.
This ratio makes approximately 4 cups, depending on how much liquid remains after straining.
Best Uses For Rice Milk
Its mild flavor works well in cereal, smoothies, muffins, and pancakes. You can even use it in my Soft & Fluffy Brown Rice Flour Pancakes (Gluten-Free & Dairy-Free) for a fully rice-based, dairy-free option.2.
2. How To Make Almond Milk
For something a little richer than rice milk, try almonds. Soaking them first softens the nuts so they break down more easily and produce a smoother, creamier milk.
Tree-Nut Allergy Note: Almonds and cashews are tree nuts. If you or someone you’re baking for has a tree-nut allergy, don’t use these milks or assume that another homemade milk is automatically safe if it has been prepared with the same equipment. Choose a suitable nut-free option, such as the rice or oat milk recipes in this guide, and use thoroughly cleaned equipment to help avoid cross-contact.
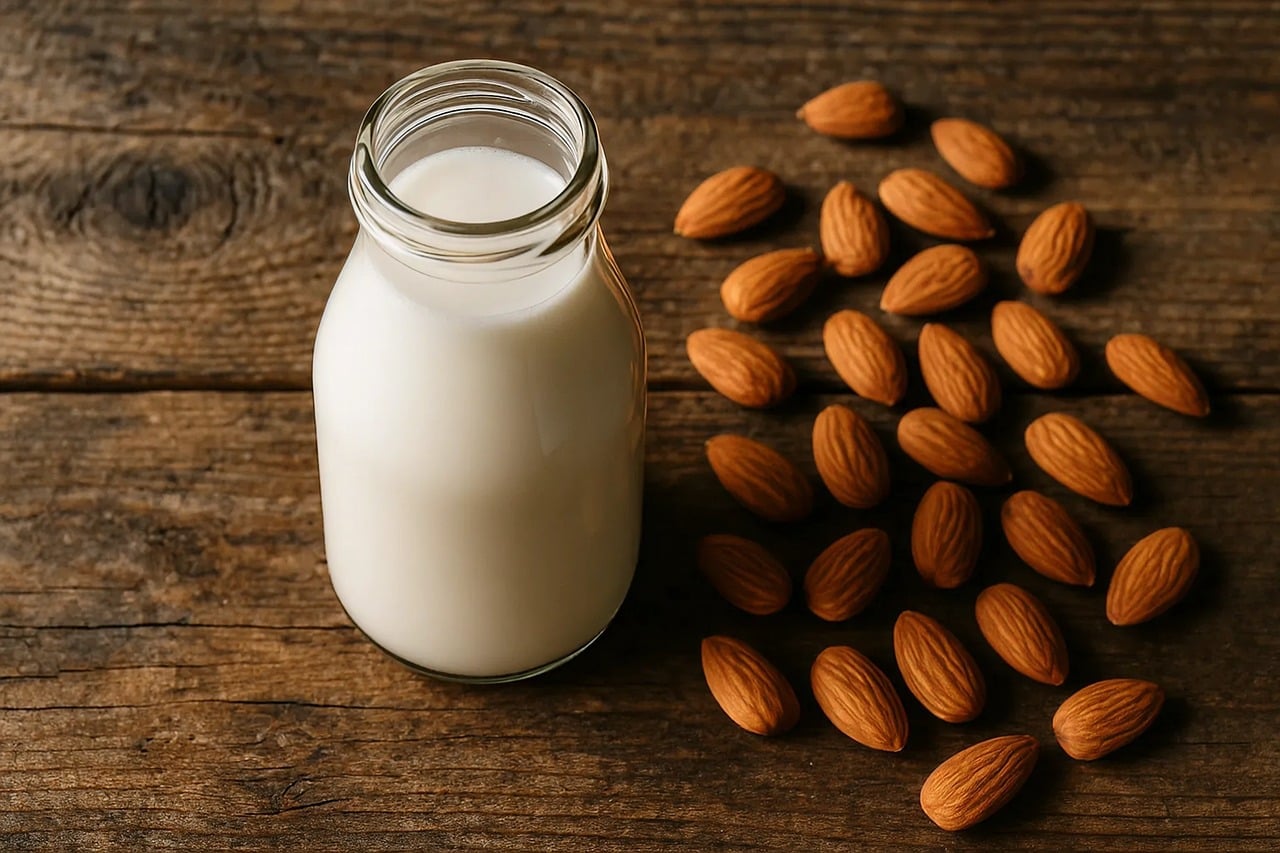
Almond Milk Ingredients
- 1 cup raw almonds
- 4 cups cold water, plus more for soaking
- Pinch of salt, optional
- Vanilla or your preferred sweetener, optional
How To Make Almond Milk
- Soak the almonds. Submerge them completely in water and let them soak overnight.
- Drain and rinse. Discard the soaking water completely, then rinse the almonds. Use fresh water for blending.
- Blend. Add the soaked almonds and 4 cups cold water to your blender, then blend until smooth.
- Strain. Pour the mixture through a nut milk bag or fine-mesh strainer to remove the almond pulp.
- Adjust and flavor. Add more water for a thinner consistency, then add salt, vanilla, or sweetener if desired.
- Refrigerate. Transfer the milk to a clean, covered container and keep chilled.
Best Uses For Almond Milk
Almond milk’s mild, nutty flavor works especially well in smoothies, cakes, and muffins. If you enjoy almond-based baking, try it alongside my Healthy Almond Flour Blueberry Muffins (Grain-Free + Dairy-Free).
3. How To Make Cashew Milk
Cashews deserve their own method rather than being grouped with every other nut. Once soaked, they become soft enough to blend into an especially creamy milk. With a powerful blender, you may even skip straining altogether.
Allergy reminder: Cashews are tree nuts. If you’re avoiding tree nuts, use one of the nut-free options in this guide instead.
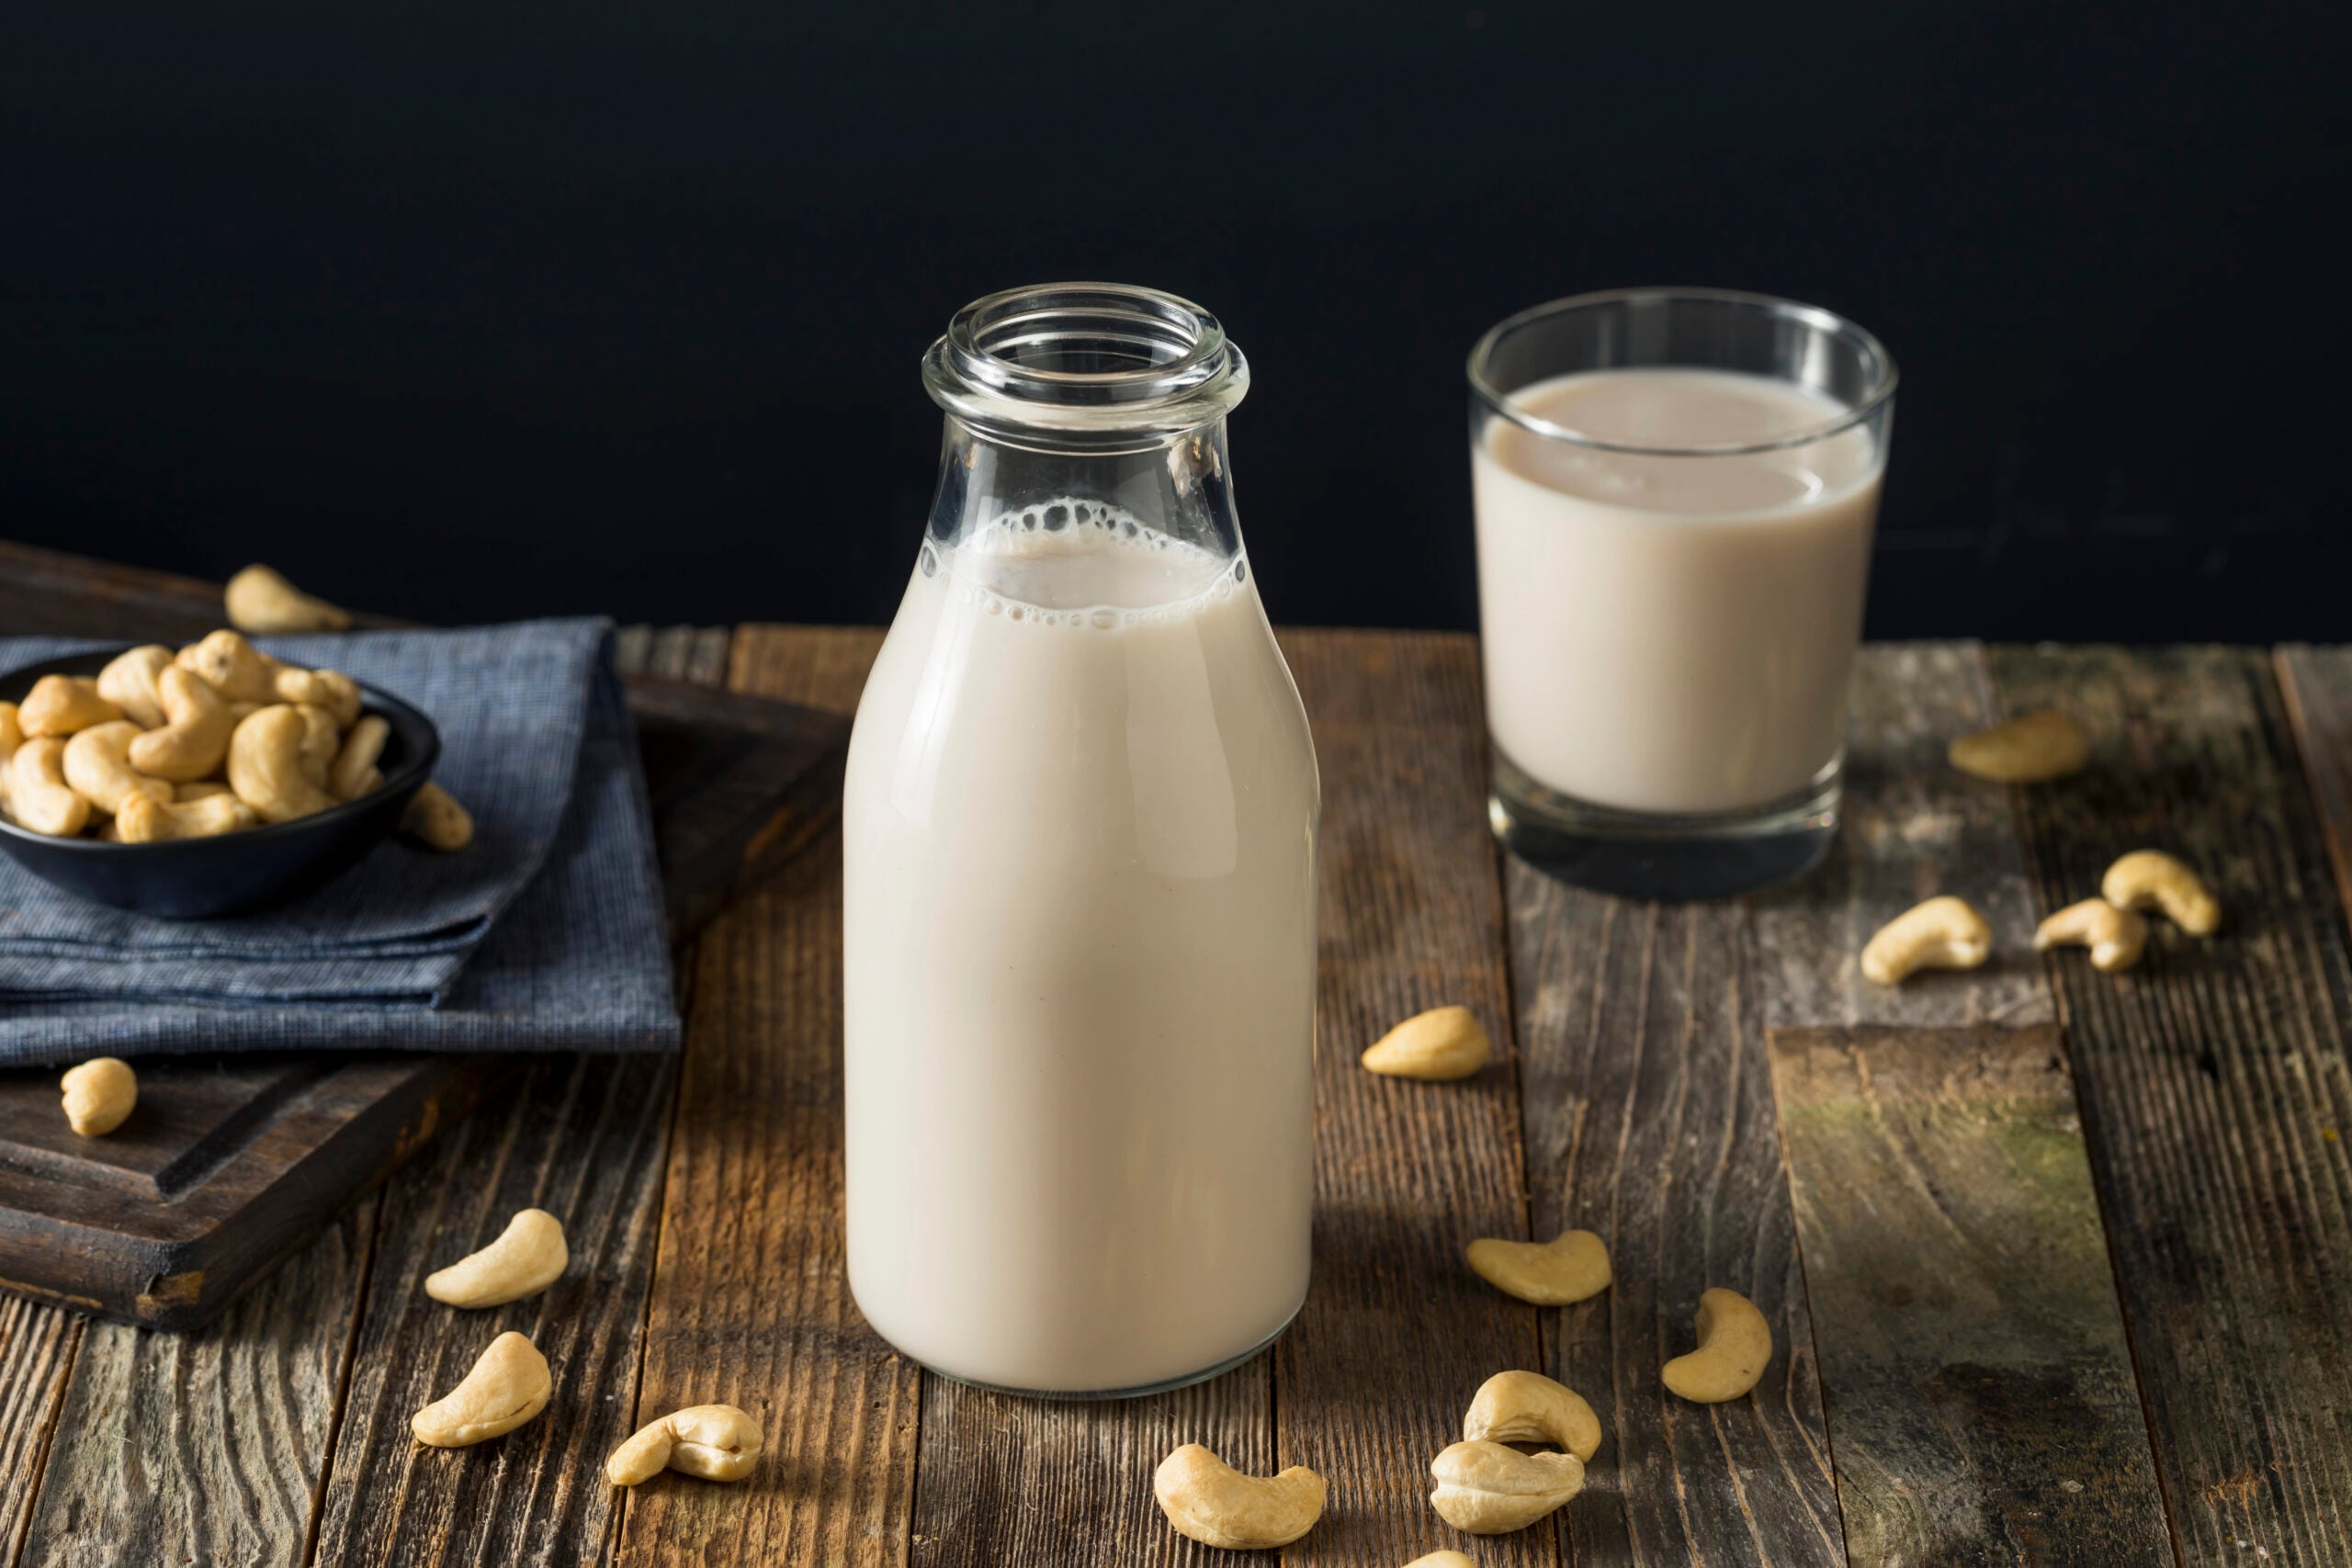
Cashew Milk Ingredients
- 1 cup raw cashews
- 4 cups cold water, plus more for soaking
- Pinch of salt, optional
- Vanilla or your preferred sweetener, optional
How To Make Cashew Milk
- Soak the cashews. Cover them with water and soak for several hours or overnight.
- Drain and rinse. Discard the soaking water and rinse well.
- Blend. Add the cashews and 4 cups of fresh, cold water to a blender and blend until creamy.
- Check the texture. With a powerful blender, you may not need to strain. Otherwise, strain for a smoother finish.
- Adjust and chill. Add water if needed, flavor to taste, and refrigerate in a covered container.
Best Uses For Cashew Milk
Its creamy texture works particularly well in smoothies, sauces, muffins, cakes, and richer dairy-free recipes.
4. How To Make Oat Milk Without Making It Slimy
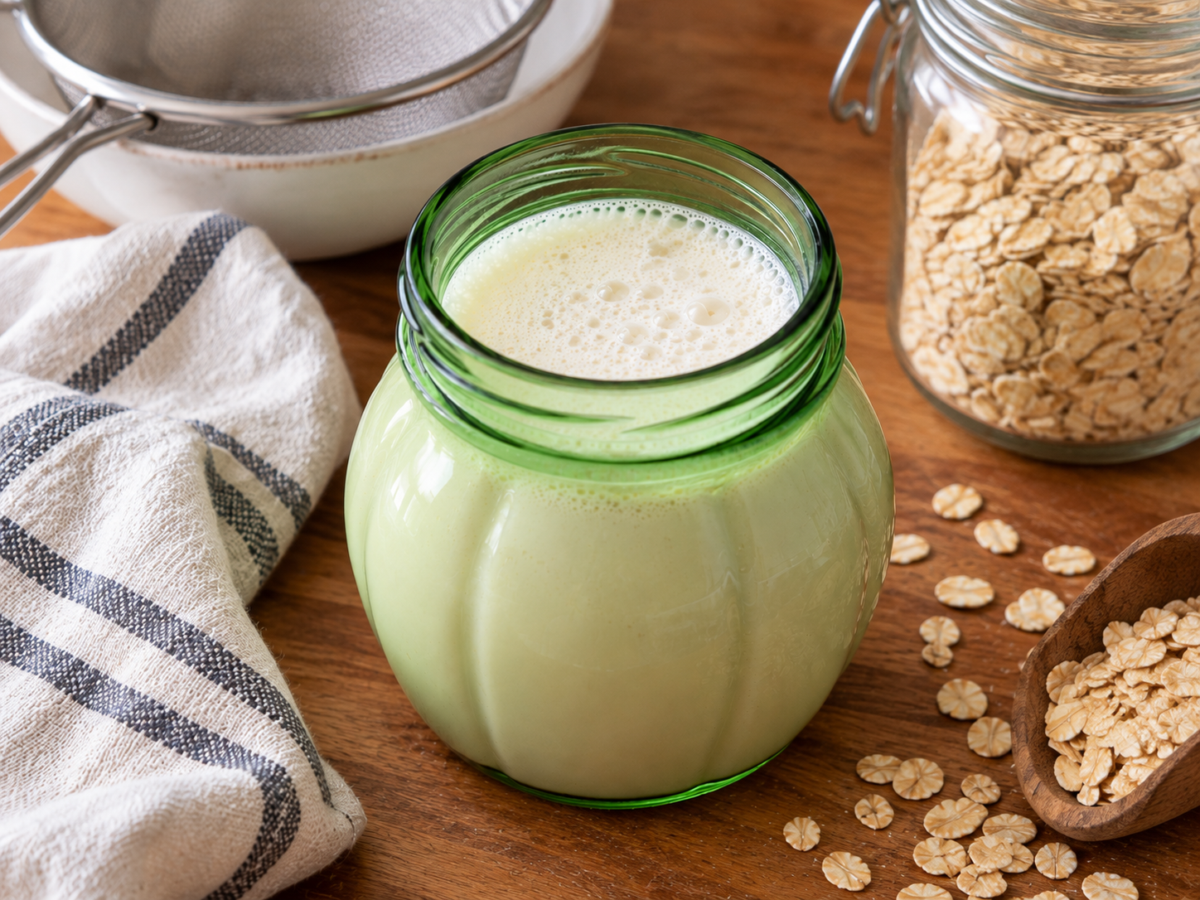
Oat milk comes together quickly because it requires no soaking or cooking. The technique is different from nut milk, though. Cold water and a short blending time are the keys to getting the texture right.
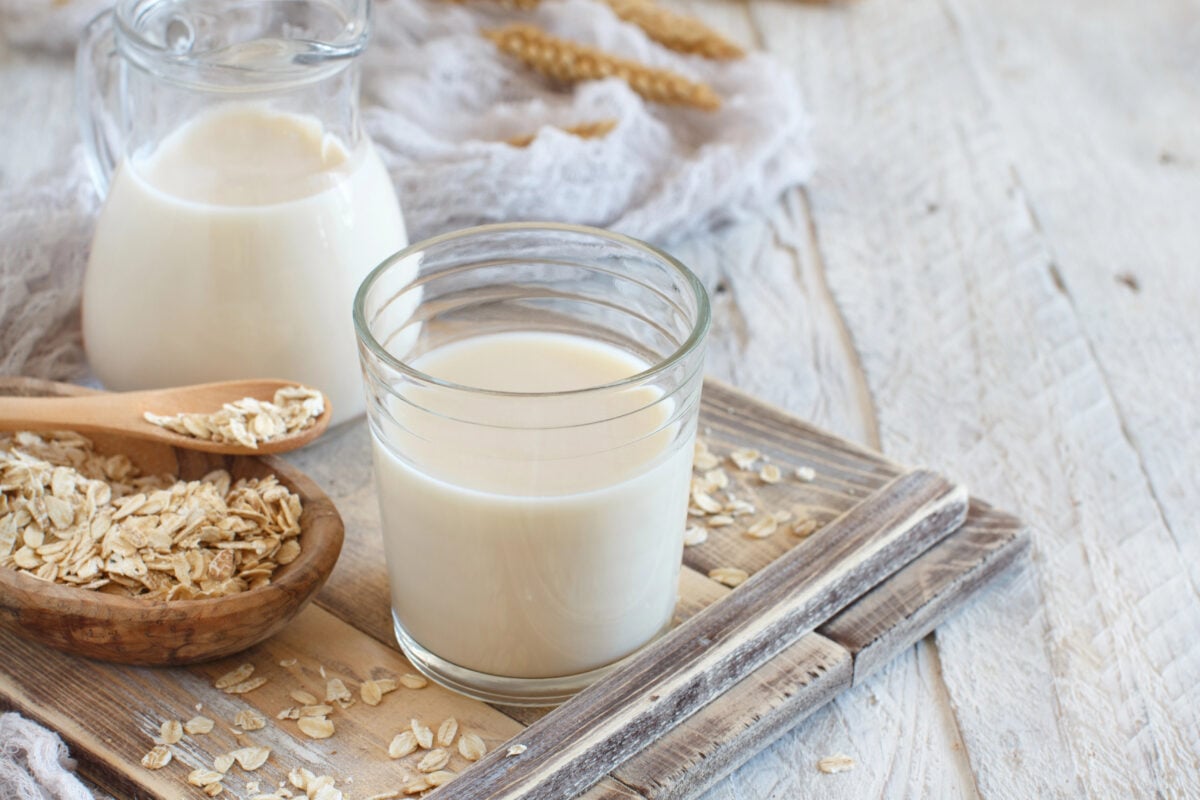
Oat Milk Ingredients
- 1 cup rolled oats
- 4 cups ice-cold water
- Pinch of salt, optional
- Vanilla or your preferred sweetener, optional
How To Make Oat Milk
- Combine the oats and water. Add the rolled oats and ice-cold water directly to your blender. There’s no need to soak them first.
- Blend briefly. Blend for about 20–30 seconds, just until the oats break down.
- Strain gently. Pour through a nut milk bag or fine-mesh strainer. Do not squeeze or press the oat pulp multiple times.
- Add your flavoring. Stir in salt, vanilla, or sweetener after straining.
- Chill immediately. Transfer to a clean, covered container and refrigerate.
Don’t Overblend Your Oat Milk: Unlike soaked nuts, oats don’t benefit from prolonged blending. Blend for only about 20–30 seconds, then strain gently rather than repeatedly squeezing the pulp. Overworking the mixture can leave your oat milk thick and gummy.
Its mild flavor makes oat milk especially useful for everyday baking. Try it with my Chocolate Chip Oatmeal Muffins (Soft & Tender), or keep it unsweetened for recipes where you want a more neutral flavor.
Other Nuts, Seeds & Grains You Can Try
Walnuts, pecans, and hazelnuts can all bring distinctive flavors to homemade milk, while hemp, flaxseed, and sesame offer alternatives to traditional nut milk. You can even experiment with cooked quinoa. If flax is already a favorite in your kitchen, you might also enjoy my Soft Flaxseed Bread That Slices Without Crumbling.
Just don’t treat the almond milk recipe as a universal formula. Water ratios, soaking or cooking times, blending, and straining can vary by ingredient. Start with a method designed for your chosen base, then customize it from there.
For a nut-free option beyond rice and oat milk, you can also experiment with chickpea milk. It has a creamier texture and a more noticeable earthy, legume flavor, so it tends to work best in recipes where that flavor won’t compete with the other ingredients.
How To Make Non-Dairy Milk Creamier, Thinner, Or Sweeter
Once you’ve made the basic milk, you can easily adjust the consistency or flavor before refrigerating it.
- For Creamier Milk: Start with less water or gradually increase the amount of nuts, grains, or seeds for a richer consistency.
- For Thinner Milk: Add cold water after straining, a little at a time, until it reaches the right consistency.
- For Sweeter Milk: Blend in dates, maple syrup, or your preferred sweetener after making the basic milk.
- For More Neutral Baking Milk: Skip the vanilla, cinnamon, and sweetener when you want the milk to disappear into the other flavors in your recipe.
5 Easy Flavor Variations
Plain milk is the most versatile choice for baking, but it doesn’t have to stay plain when you’re drinking it or using it for breakfast. Start with the finished milk, then add your flavorings gradually and taste as you go.
- Vanilla: Add a splash of vanilla extract, with sweetener if desired.
- Cinnamon: Blend in cinnamon with a little vanilla for a warm, lightly spiced flavor.
- Chocolate: Add unsweetened cocoa powder and enough sweetener to balance the bitterness.
- Lightly Sweetened: Try maple syrup or blend in a soft date for gentle sweetness.
- Savory: Leave out the sweetener and add herbs or spices that complement your dish.
If you’re heading from the blender to the oven, however, flavor isn’t the only consideration. Different plant milks can also behave differently in baked goods.
Which Non-Dairy Milk Is Best For Baking?
Knowing how to make non-dairy milk is one thing. Choosing the right one for a particular bake takes a little more thought. Milk contributes water, protein, fat, and sugar, so different plant milks can behave differently depending on the recipe. King Arthur Baking’s side-by-side testing found that no single choice works for every bake.
- Cakes & Muffins: You have plenty of flexibility here. King Arthur found almond, oat, cashew, soy, coconut, and pea milk performed similarly in its cake and muffin tests, with only minor differences. For homemade versions, start with a mild, creamy milk that won’t overpower the other flavors.
- Pancakes & Waffles: Plain, unsweetened almond milk works particularly well here. Its mild nuttiness complements pancakes and waffles without taking over, although other neutral non-dairy milks can also work.
- Yeast Breads: Composition matters more with yeast bread. King Arthur found soy milk produced bread most similar to dairy milk, partly because its protein level and viscosity are closer to cow’s milk. Lower-protein alternatives produced softer doughs and, in some tests, more crumbly loaves.
- Sauces & Savory Baking: Choose unsweetened, unflavored milk. Almond, rice, or oat milk can keep flavors neutral, while more distinctive nut or coconut flavors may be noticeable in delicate dishes.
- Smoothies & Breakfasts: At this stage, use taste and texture to guide your adjustments. Creamy cashew or oat milk adds body, while lighter rice milk works when you want the other ingredients to stand out.
7 Common Homemade Non-Dairy Milk Problems
Homemade non-dairy milk is simple to make, but small changes in soaking time, blending, straining, or the amount of water you use can make a noticeable difference. If your milk doesn’t turn out quite right, here’s what may have happened—and how to fix it.
1. My Oat Milk Is Slimy
Why this happens: Oats release starch when they’re blended with water, and over-blending, soaking, or using warm water can release even more starch and give the milk a gummy or slimy texture.
How to fix it: Start with cold water and don’t soak the oats first. Blend only as long as necessary to break down the oats, then strain the milk without aggressively squeezing the pulp through the strainer.
2. My Non-Dairy Milk Is Too Watery
Why this happens: The ratio of water to nuts, grains, or seeds determines much of the milk’s body, so using too much water can produce milk that’s thinner than you expected.
How to fix it: Blend in more of the base ingredient or reduce the amount of water in your next batch. If you’re making milk specifically for baking, a slightly creamier consistency can often be more useful than an extremely thin one.
3. My Non-Dairy Milk Is Too Thick
Why this happens: A high proportion of nuts, grains, or seeds—or, in the case of grains, excess starch—can make homemade milk much thicker than the cartons you’re accustomed to buying.
How to fix it: Add cold water a little at a time and blend briefly until you reach the consistency you want. This is especially useful with homemade rice milk, which can be considerably thicker immediately after blending.
4. My Non-Dairy Milk Keeps Separating
Separation isn’t necessarily spoilage. Homemade plant milk doesn’t contain the stabilizers and homogenization systems often used commercially, so separation during refrigeration can be normal. Shake before using—but discard it if you notice an off smell, unusual sourness, mold, or other signs of spoilage.
Why this happens: Homemade non-dairy milk can naturally separate as it sits because the tiny particles and fats suspended in the water gradually settle or rise.
How to fix it: Store the milk in a tightly sealed container and shake it well before each use. Normal separation by itself doesn’t necessarily mean the milk has spoiled; however, discard milk that develops an off odor, unusual sourness, mold, or other signs of spoilage.
5. My Nut Milk Tastes Bitter or Too Strong
Why this happens: The flavor of the nuts becomes concentrated in homemade milk, and nuts that are old, rancid, or soaked for too long can give the finished milk an unpleasant flavor.
How to fix it: Start with fresh nuts and follow the recommended soaking time. Keep nuts refrigerated while soaking rather than leaving them at room temperature for an extended period. After soaking, drain and rinse them before blending with fresh water.
6. My Milk Has Grit or Pulp in It
Why this happens: Blending breaks nuts and grains into very small particles, but not all of those particles become fine enough to remain unnoticed in the finished milk.
How to fix it: Strain the milk through a nut-milk bag, cheesecloth, or fine-mesh strainer. For an especially smooth result, strain it a second time. Cashew milk may need little or no straining when blended thoroughly because softened cashews break down particularly well.
7. My Homemade Non-Dairy Milk Spoils Quickly
Why this happens: Homemade milk doesn’t undergo the same commercial processing as shelf-stable products, so it should be treated as a fresh, perishable food.
How to fix it: Use clean equipment and a clean, tightly sealed storage container, refrigerate the milk promptly, and make smaller batches that you can use within the storage period recommended for the specific recipe. If the smell, flavor, or appearance seems questionable, don’t use it.
How To Store Homemade Non-Dairy Milk
- Pour the milk into a clean, airtight container and refrigerate promptly.
- Separation is normal, so shake well before each use.
- Discard the milk if it develops an unusual smell, appearance, or texture.
- Storage time varies by type. Homemade oat milk, for example, can generally be refrigerated for 2–4 days.
- To freeze: Pour into a freezer-safe container, leaving some room for expansion. Thaw in the refrigerator, then shake or briefly blend before using. The texture may change slightly after thawing.
Don’t Throw Away The Pulp
Once you know how to make non-dairy milk, you’ll probably notice how much pulp you can leave behind after straining. Before tossing it, consider whether you can use it again.
Stir a little into oatmeal or add it to smoothies for extra texture. Nut pulp can also work in certain muffins and quick breads, while some types can be dried and saved for future baking experiments.
Do not use leftover pulp as a direct 1:1 substitute for flour. The pulp retains moisture, and its composition depends on the nut, grain, or seed you use. Using too much pulp can dramatically alter the texture and structure of your baked goods.
If you plan to bake with the pulp, start with a recipe designed for it or use a tested amount rather than guessing.
Non-Dairy Milk Questions Answered
These are questions we often get about making non-dairy milk at home. If you can’t find yours here, drop it in the comments.
Can I Substitute Non-Dairy Milk For Dairy Milk 1:1 In Baking?
Often, but not universally. Differences in fat, protein, sweetness, acidity, and consistency can affect browning, structure, moisture, and texture. If milk is essential to a recipe, choose a substitute specifically tested for that type of bake.
Should I Use Sweetened Or Unsweetened Non-Dairy Milk For Baking?
Unsweetened milk is usually the more versatile starting point because it gives you greater control over the recipe’s sweetness. Flavored varieties can also introduce vanilla, chocolate, or other flavors that weren’t intended in the original recipe.
Does the Type of Non-Dairy Milk Matter in Gluten-Free Baking?
It can. Gluten-free recipes already depend on a careful balance of moisture and structure, so differences in the thickness, fat, and protein content of plant milks may be more noticeable in some recipes than others. Use the milk specified in a tested recipe whenever possible.
Can I Use Homemade Non-Dairy Milk In Pancakes And Muffins?
Of course. Mild options such as almond, oat, or cashew milk can work well in many pancakes and muffins. Keep the milk unsweetened and unflavored unless those additions complement the recipe.
Can I Bake With Non-Dairy Milk Straight From The Refrigerator?
Usually, but follow the recipe. If it calls for room-temperature ingredients, bring the milk to room temperature with the other refrigerated ingredients rather than using it cold.
More Gluten-Free Swaps & Ingredient Guides
Want to keep experimenting with gluten-free ingredients and easy substitutions? These guides can help you find reliable swaps and get more comfortable adapting recipes to what you already have in your kitchen.
- Chia Seeds Substitute: 10 Best Chia Seed Alternatives for Every Recipe explores alternatives when chia seeds aren’t available or suitable for your recipe.
- Wondering about another versatile grain? Read Is Millet Gluten Free? How to Use This Ancient Grain offers practical ways to use millet in your kitchen.
- If you’re missing a common acidic ingredient, The Best Substitute for Apple Cider Vinegar in Baking (Easy 1:1 Swaps) covers simple alternatives and when to use them.
- For gluten-free baking, Coconut Flour Substitutes (Best Swaps + Conversion Guide) explains which replacements work and how to adjust your recipe accordingly.
A good substitution isn’t just about replacing an ingredient—it’s about knowing how that swap will affect your bake.
Now Put Your Homemade Milk to the Test
Making the milk is only half the fun. Pour yourself a glass, add it to your morning coffee, or see how it performs in your next gluten-free bake.
Tried one of these homemade milks? Tell us in the comments which one you made, what you used it for, and whether you’d make it again!