Creating the perfect dairy-free chocolate frosting can feel tricky. Often, it turns out too thin, too stiff, or lacks that rich chocolate flavor you want. This often leaves many home bakers frustrated after several tries.
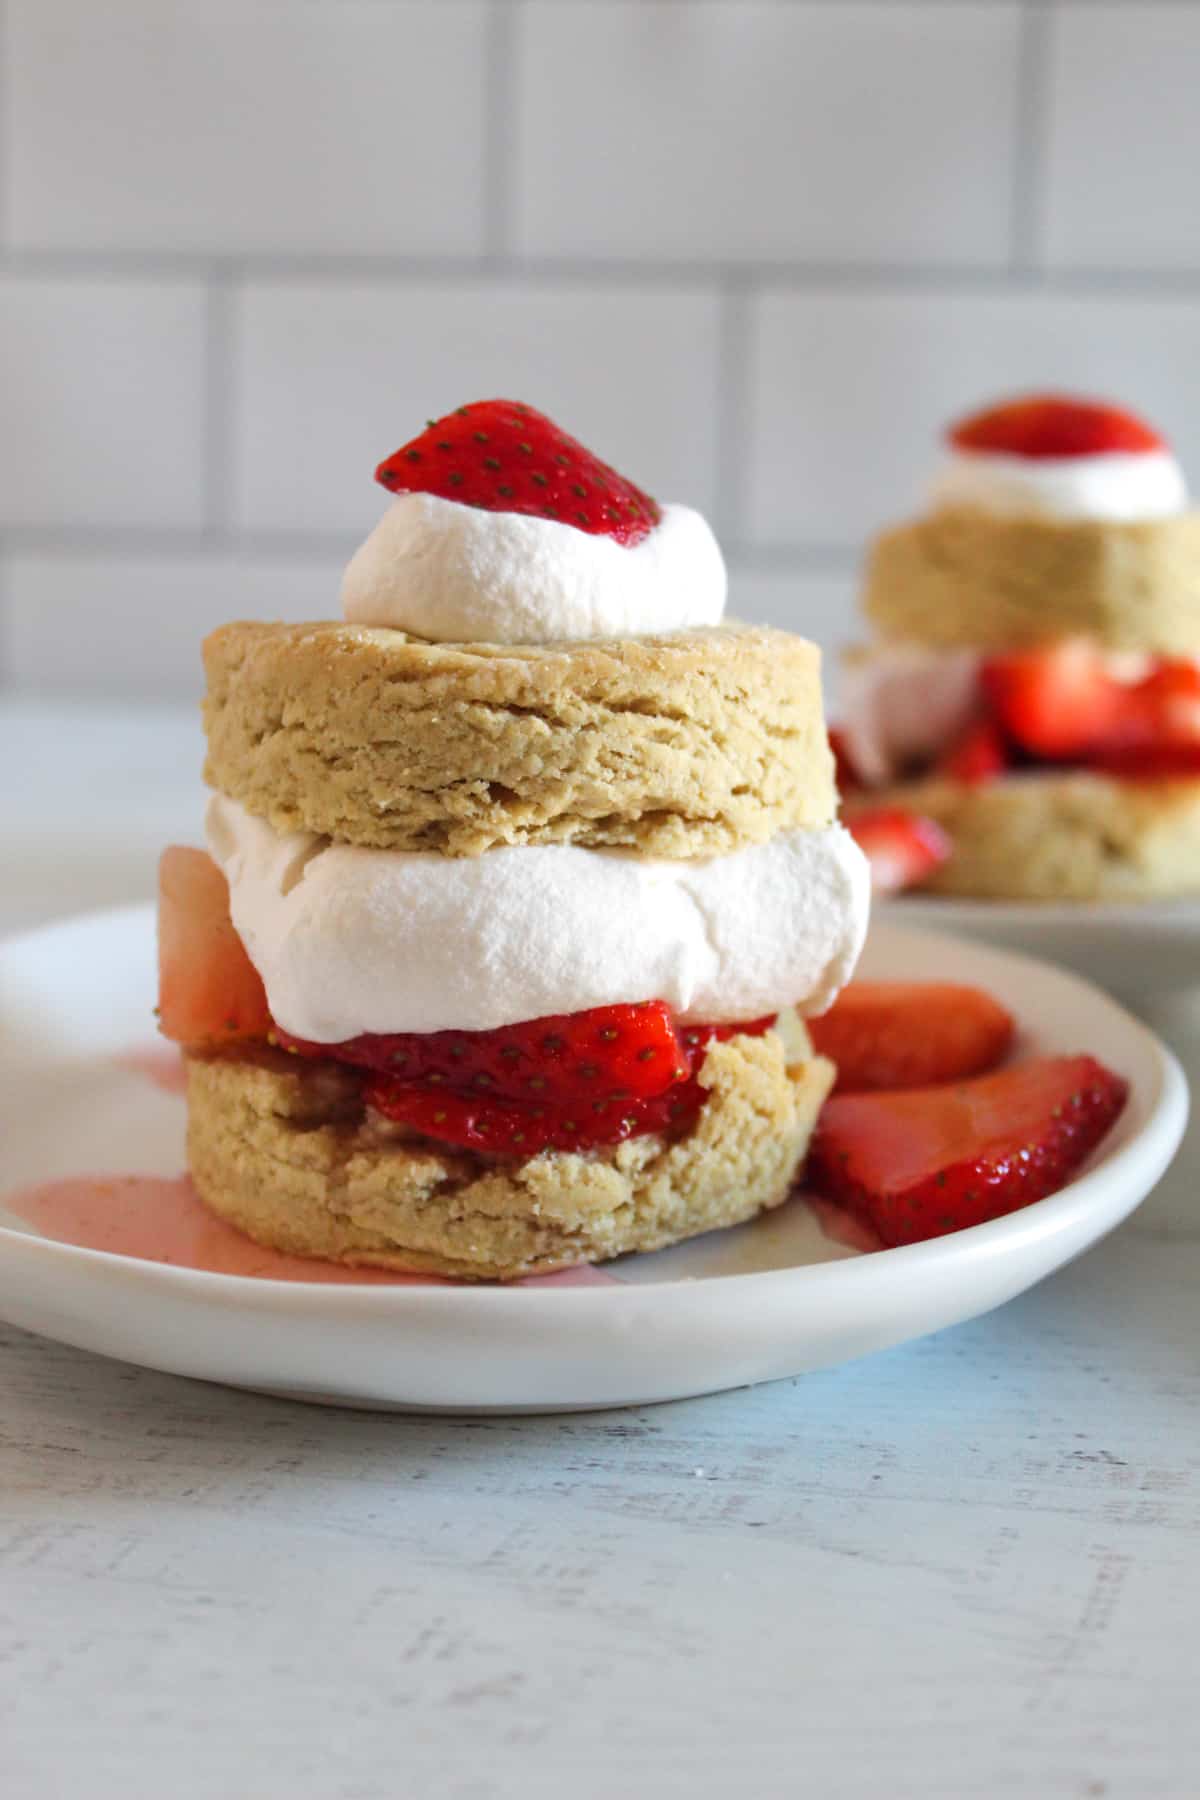
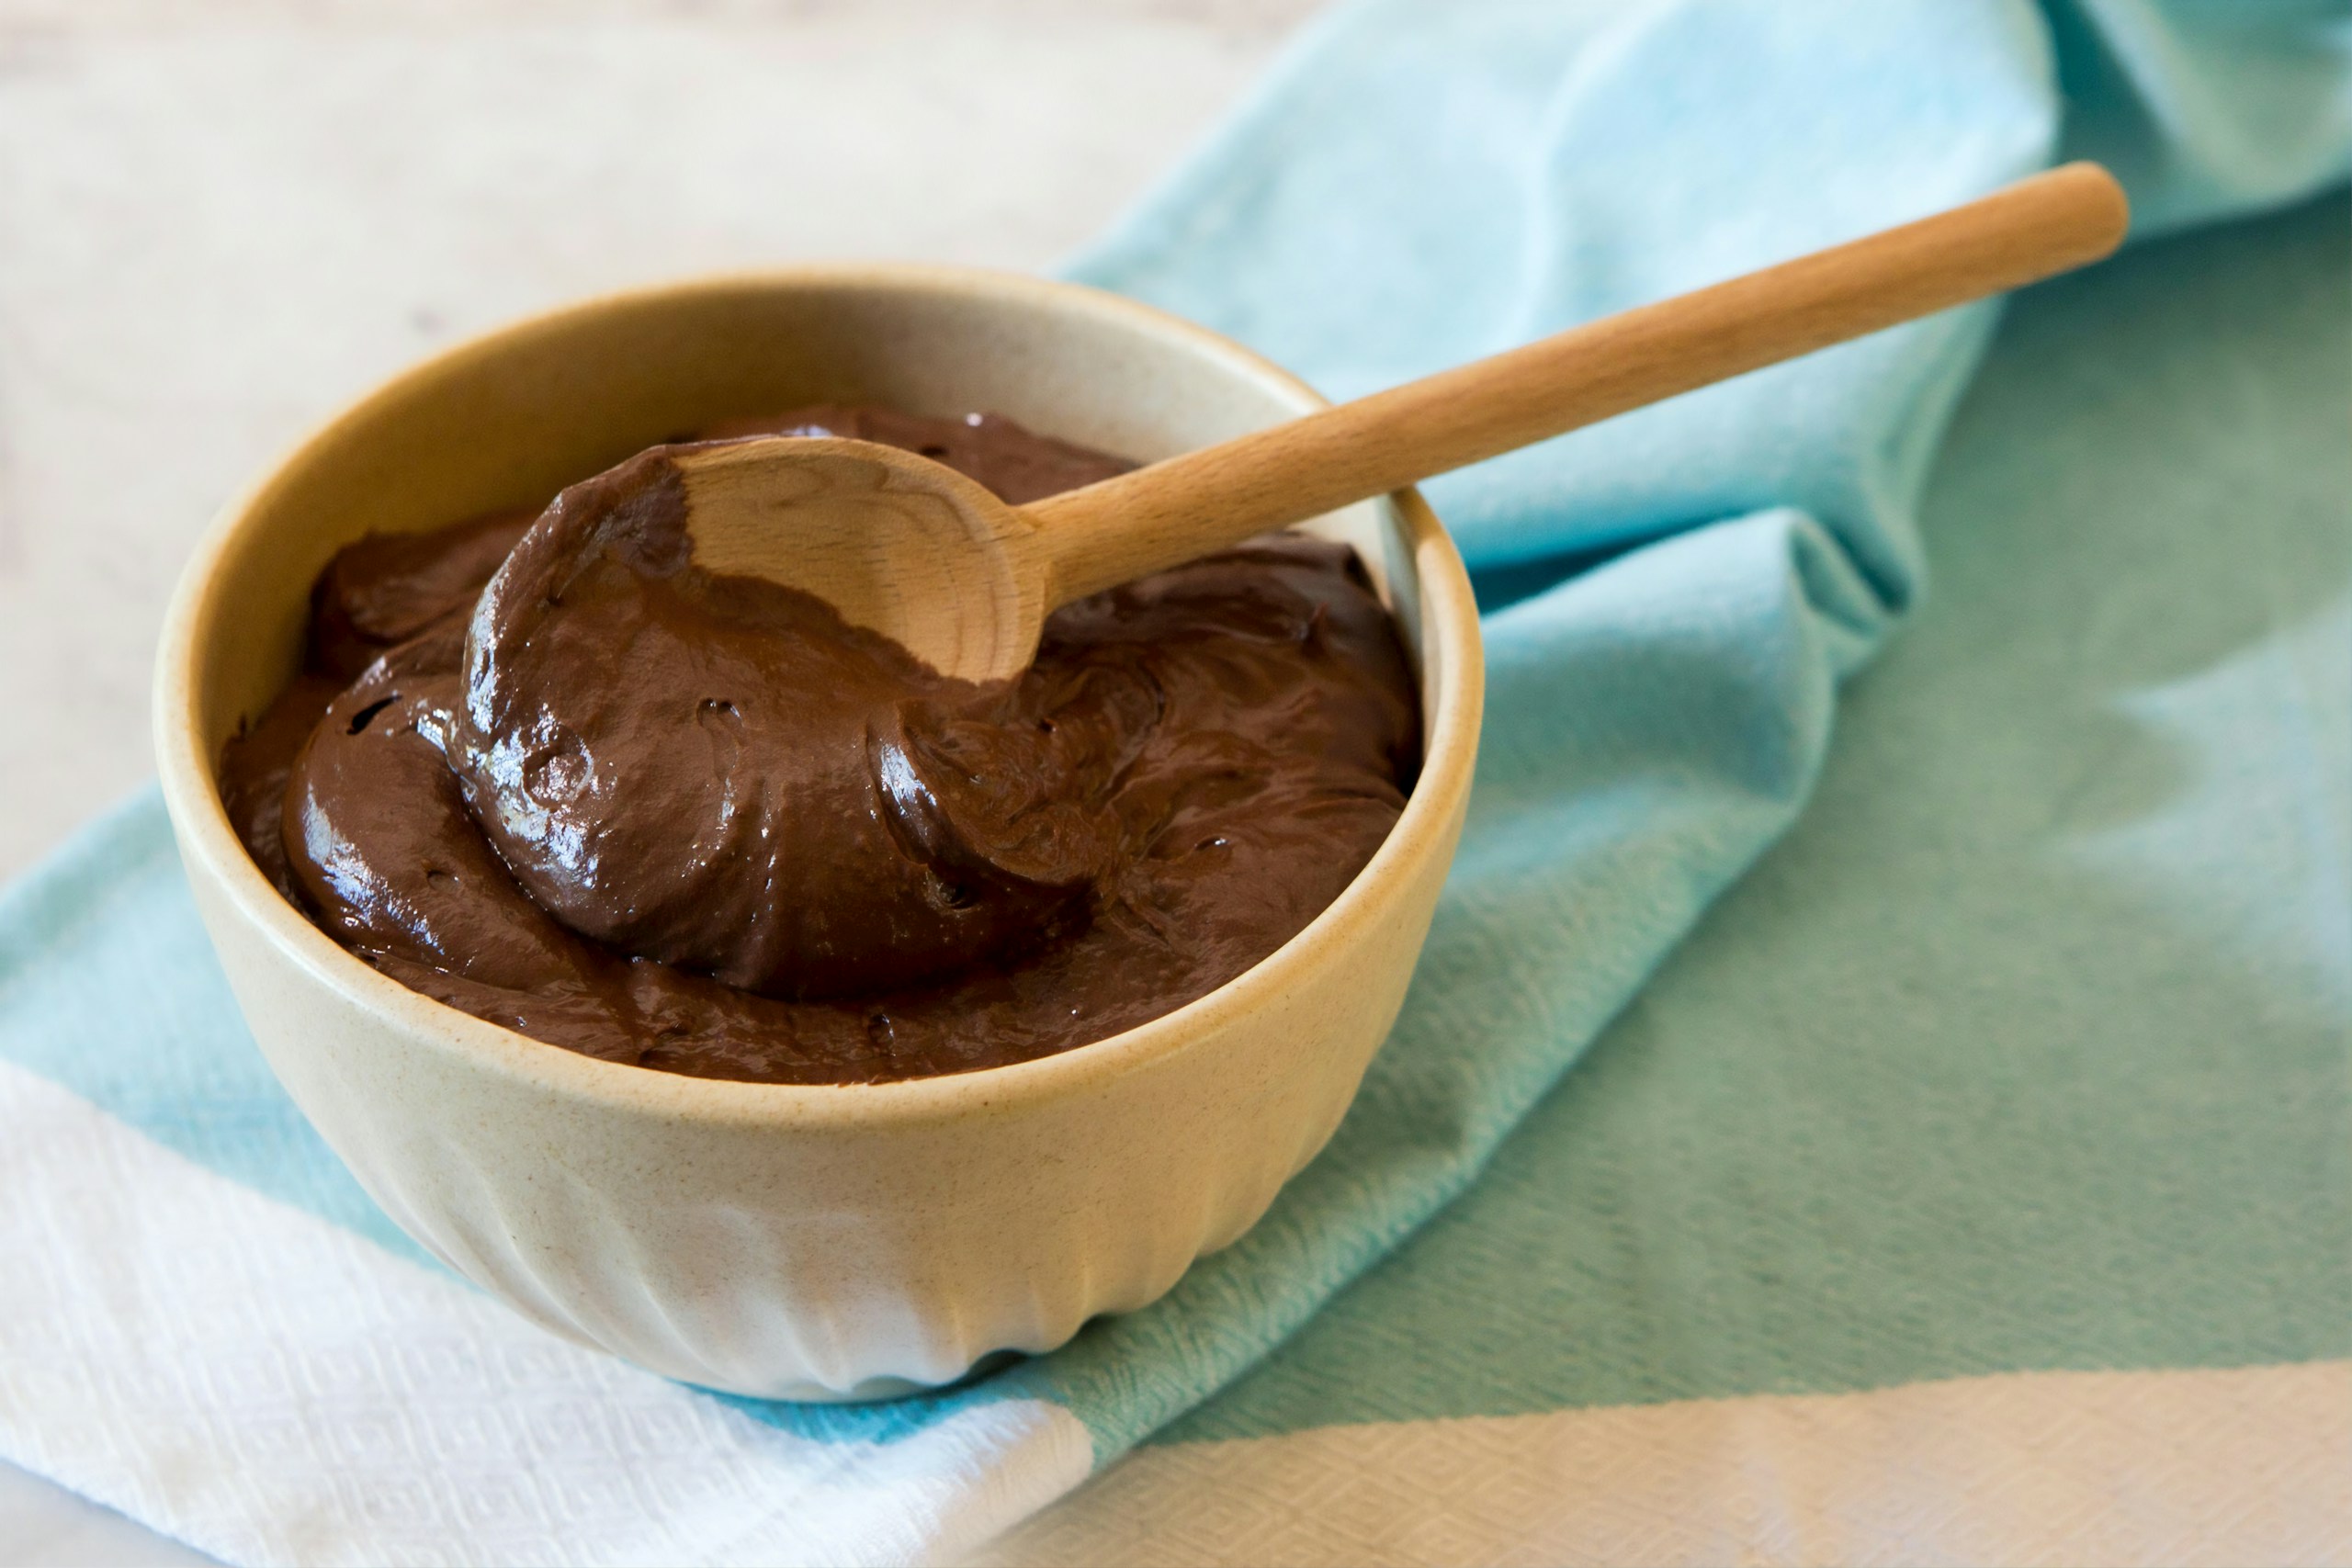
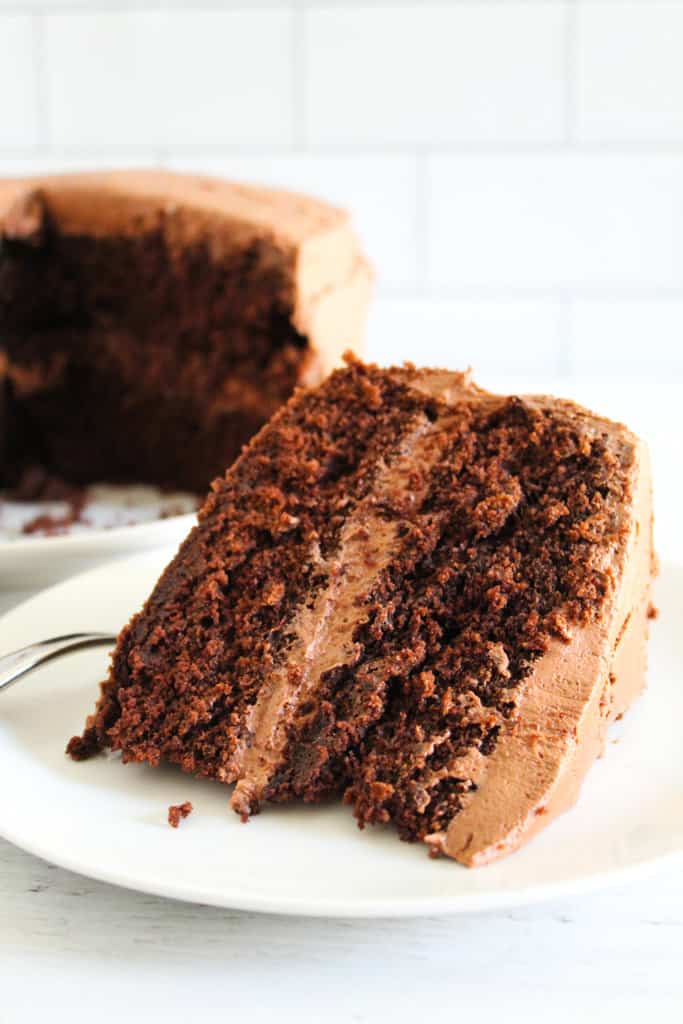
Fortunately, this recipe solves those common problems. It makes a smooth, balanced frosting with deep chocolate flavor. The frosting holds its shape. It’s perfect for spreading or piping on cakes and cupcakes. It also works well as a drizzle or dip for desserts like chocolate-covered strawberries.
Table of Contents
Even better, the method is simple and consistent. By following the steps carefully, you’ll get a frosting that spreads easily, pipes cleanly, and delivers a reliable result every time; no guesswork required.
Quick Frosting Snapshot
Before you start mixing, below is precisely what to expect from this dairy-free chocolate frosting.
| Detail | Info |
|---|---|
| Prep Time | 5–10 minutes |
| Yield | 2½–3 cups |
| Texture | Smooth, fluffy, pipeable |
| Best For | Cakes, cupcakes, brownies |
| Diet | Dairy-free, vegan |
This quick glance will help you measure consistency, quantity, and use before you start, so you end up with the result you crave on your first trial.
Next, we’ll show you the ingredients required for this recipe.
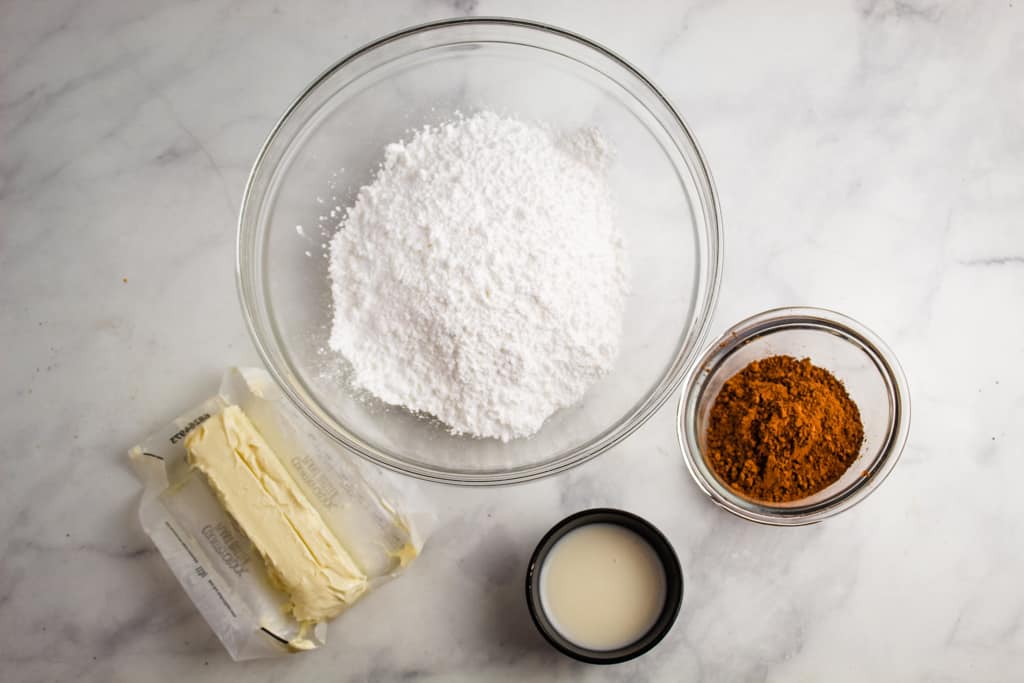
Ingredients You’ll Need
Before you begin mixing, gather all your ingredients. It might seem like a small step, but having everything ready makes the process much smoother and helps you avoid mistakes midway through.
- Cocoa powder
- Dairy-free butter
- Powdered sugar
- Dairy-free milk (almond)
- Vanilla extract (optional)
Once these are within reach, you’ll find the entire process quicker and far more manageable from start to finish.
Ingredients Explained And Substitutions That Actually Work
Every ingredient in this dairy-free chocolate frosting influences texture, stability, and flavor. Knowing their usefulness will help you evade common mistakes and adjust confidently.
Cocoa Powder
Cocoa powder provides the chocolate flavor in this recipe. Natural cocoa offers a sharper, slightly acidic note, while Dutch-processed cocoa yields a smoother, deeper color. Choose based on your preferred flavor.
They are both efficient in this recipe, but Dutch-processed cocoa proved a richer, less bitter frosting.
- Do not substitute cocoa powder, as it is key to both the flavor and the structure of this frosting.
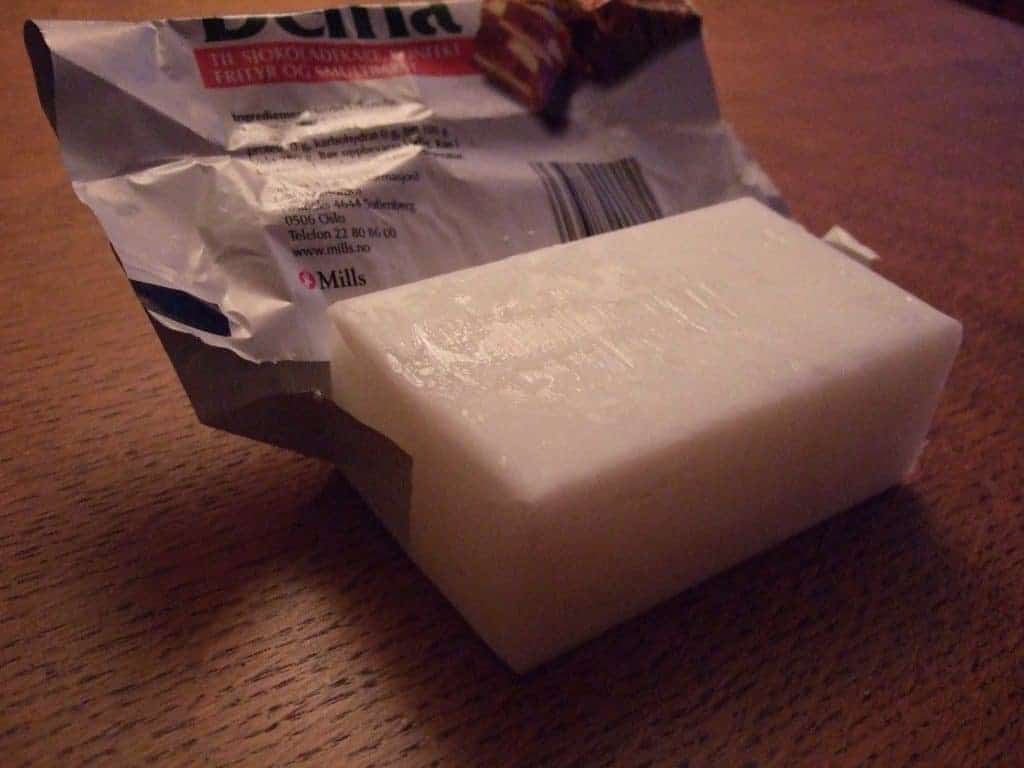
Dairy-Free Butter
Dairy-free butter provides structure to the frosting and helps incorporate air during mixing, making the texture light and creamy.
For the best results, use stick-style vegan butter, which contains less water and helps maintain consistency.
- If substituting, note that spreadable vegan butter and most margarines contain more water and less fat, which can affect the final texture.
Powdered Sugar
Powdered sugar controls sweetness and structure. It thickens the frosting and keeps it in shape while you’re spreading or piping. You can prevent clumping and improve the texture by adding it gradually.
- No Substitute: You won’t get the same consistency from liquid or granulated sugars.
Dairy-Free Milk (Almond)
Almond milk plays a simple yet important role in this frosting; it helps control the consistency. Add it slowly, a teaspoon at a time, until the frosting is smooth and easy to spread.
Add almond milk gradually; a little goes a long way. Too much will result in a runny frosting that’s hard to fix.
If needed, you can use other plant-based milks, though neutral flavors like almond or oat work best to avoid overpowering the chocolate.
Vanilla Extract (Optional)
Vanilla reduces the cocoa’s sharpness and balances the overall flavor. Adding even a little amount will make the frosting taste more balanced.
If you skip vanilla extract, your frosting will be more intensely chocolatey but still workable.
Once you understand the role of every ingredient, you’ll easily control the final outcome, whether you’re layering cakes, frosting cupcakes, or pairing it with recipes like our almond flour chocolate cupcakes.
Download the recipe card in the next section for quick access to the recipe instructions and measurements.
Printable Dairy-Free Chocolate Frosting Recipe Card
Ingredients
- ½ cup dairy-free butter stick-style, softened
- ⅓ cup cocoa powder about 30g
- 2 cups powdered sugar about 210g, sifted
- 3 Tbsp. dairy-free milk almond recommended
- 1 tsp vanilla extract optional
Instructions
- Cream the Butter: In a large bowl, beat the dairy-free butter on medium speed for 2–3 minutes until smooth and slightly fluffy.
- Add Cocoa Powder: Sift and mix in cocoa powder until fully combined and evenly colored.
- Add Powdered Sugar Gradually: Sift and add sugar in batches, mixing on low to avoid clumps, then increase speed.
- Adjust Consistency: Add 1 tablespoon of dairy-free milk at a time until smooth and spreadable. If needed, add another tablespoon of milk until the frosting is easy to spread.
- Whip Until Fluffy: Beat on medium-high for 1–2 minutes until light, airy, and pipeable.
Notes
Doneness Cues (How to Know It’s Ready)
- Smooth, lump-free texture.
- Holds soft peaks when lifted.
- Spreads easily without tearing the cake.
- Holds shape when piped.
Success Tips (Avoid Common Mistakes)
- Use stick-style dairy-free butter for stability.
- Sift powdered sugar if clumpy.
- Add liquid slowly to avoid runny frosting.
- Beat until the mixture is incorporated and fluffy.
- If too soft, chill for 10–15 minutes and rewhip.
Storage & Make-Ahead
- Fridge: Store in an airtight container for 5–7 days
- Freezer: Store up to 2–3 months
- To Reuse: Bring to room temperature and rewhip until smooth
Nutrition Per Serving
- Calories: ~180-230 kcal
- Carbohydrates: ~8–10 g
- Sugar: ~7–9 g
- Fat: ~4–5 g
- Protein: ~0–1 g
Nutrition
Did you make and love this recipe? Give it your review and rating below! And make sure to follow me on Instagram, Pinterest, and Facebook , too!
Best Dairy-Free Butter Options for Frosting
How your frosting holds its shape, spreads, and tastes is directly affected by the type of fat you use.
Vegan Butter Sticks vs Spread
Vegan butter sticks are the most reliable option. Their high fat content and low water content keep the frosting firm and maintain its structure when whipped.
Meanwhile, spreadable versions contain more water. Choosing this option will make your frosting softer and less stable, particularly when piping. If you want consistent outcomes, the better choice is stick-style butter.
Coconut Oil (Pros & Cons)
Coconut oil can be used in this recipe, but it behaves differently from butter.
Pros:
To start with, coconut oil offers a few clear advantages:
- Creates a smooth texture
- Fully dairy-free
Cons:
However, there are a few downsides to keep in mind:
- Melts quickly at room temperature
- Can make frosting too soft
- May add a slight coconut flavor
Choose this option for spreads or simple toppings, but not for detailed piping or warm environments.
Margarine Alternatives
You can replace butter with dairy-free margarines, but results vary depending on the fat content.
Higher-fat options are more effective and provide a more stable frosting. Whereas, lower-fat versions usually break or become too soft. Hence, always observe consistency after mixing and adjust if required.
Quick Comparison of Dairy-Free Butter Options
| Option | Stability | Texture | Flavor Impact | Best Use |
|---|---|---|---|---|
| Vegan Butter Sticks | High | Fluffy, stable | Neutral | Piping, cakes, cupcakes |
| Vegan Butter Spread | Medium–Low | Soft | Neutral | Simple spreading |
| Coconut Oil | Low | Smooth but melts fast | Slight coconut | Light toppings |
| Margarine | Medium (varies) | Slightly soft | Neutral | General use |
Controlling the texture from the onset will be easier if you choose the right base. Doing that alongside proper mixing will get you an outcome similar to our standard creamy buttercream.
How to Make Dairy-Free Chocolate Frosting (Step-by-Step)
Once your ingredients are ready, the procedure is down to controlled mixing and texture adjustments. Follow the steps below closely to get a smooth, stable dairy-free chocolate frosting. But firstly, let’s look at the kitchen tools needed for this recipe.
Essential Kitchen Tools
Use the right tools to get consistent dairy-free chocolate frosting.
- Electric Hand Mixer: For creaming and whipping.
- Mixing Bowl: Large enough to mix without spilling.
- Silicone Spatula: For scraping and even mixing.
- Stainless Steel Flour Sifter: For removing lumps and evenly mixing dry ingredients.
- Measuring Cups & Spoons: For accurate ratios.
- Offset Spatula (Optional): For smooth cake frosting.
- Piping Bag (Optional): For decorating.
Step 1: Cream the Butter
In a large bowl, add the dairy-free butter and mix on medium speed for 2–3 minutes, until smooth and slightly fluffy.

The butter should look lighter in color and soft, not melted or greasy.
Step 2: Add Cocoa Powder
Sift the cocoa powder and mix on low speed until fully combined.
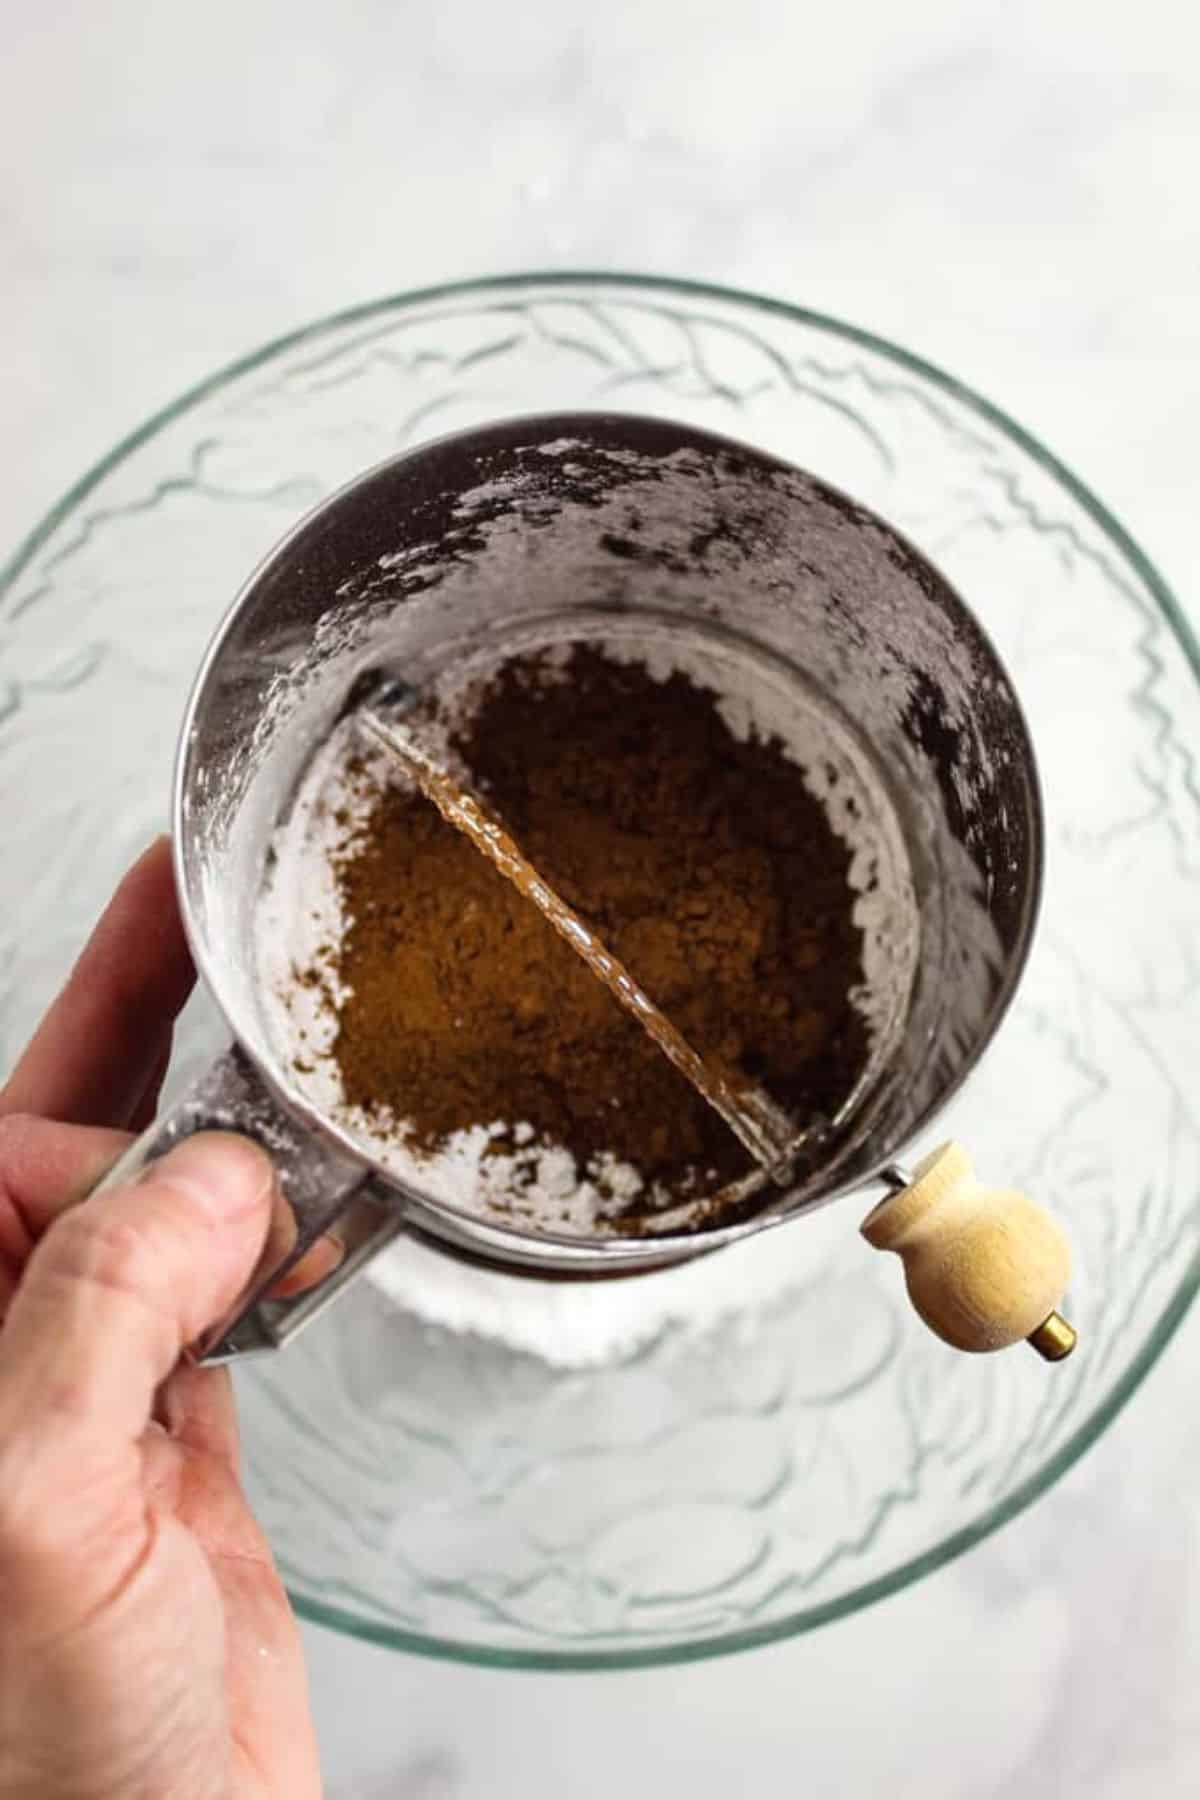
The mixture should turn evenly dark with no dry patches or clumps.
Step 3: Add Sugar Gradually
Add powdered sugar in batches, mixing on low first, then increasing speed as it combines.
Mix for 1–2 minutes per addition to ensure a smooth texture.
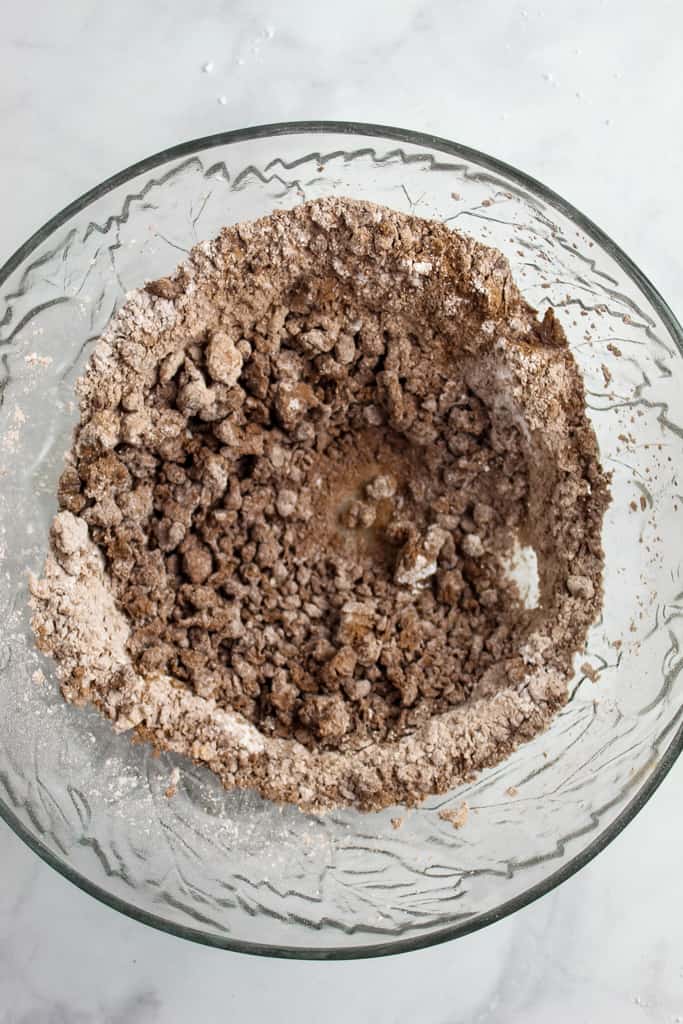
The frosting should start to thicken and come together without graininess.
Step 4: Adjust with Milk
Add dairy-free milk 1 tablespoon at a time, mixing after each addition.
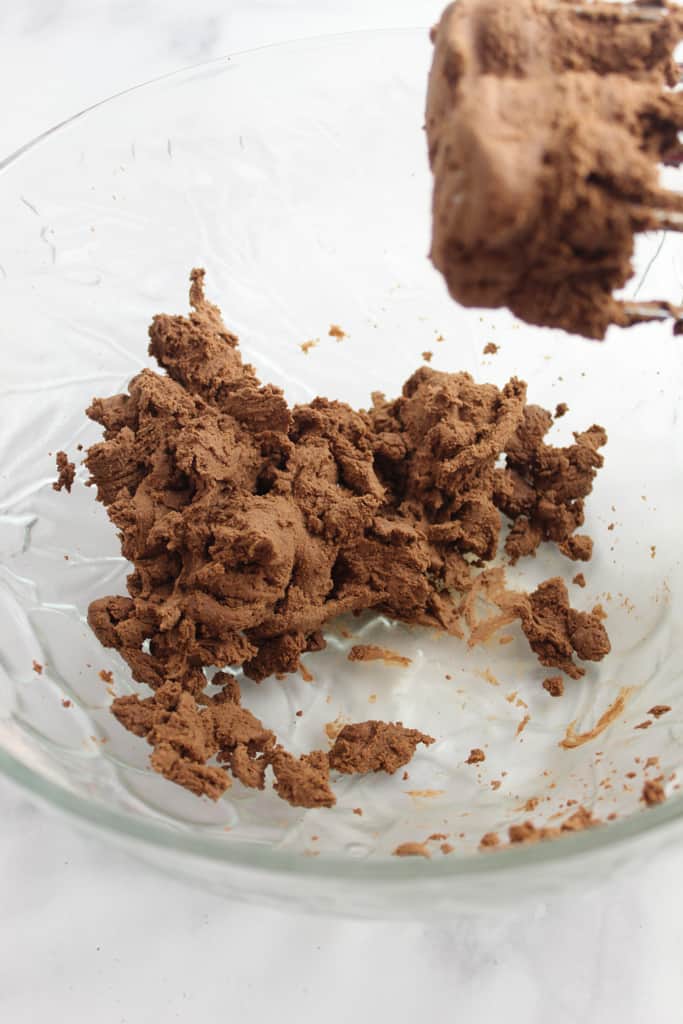
The frosting should loosen slightly and become easier to spread without turning runny.
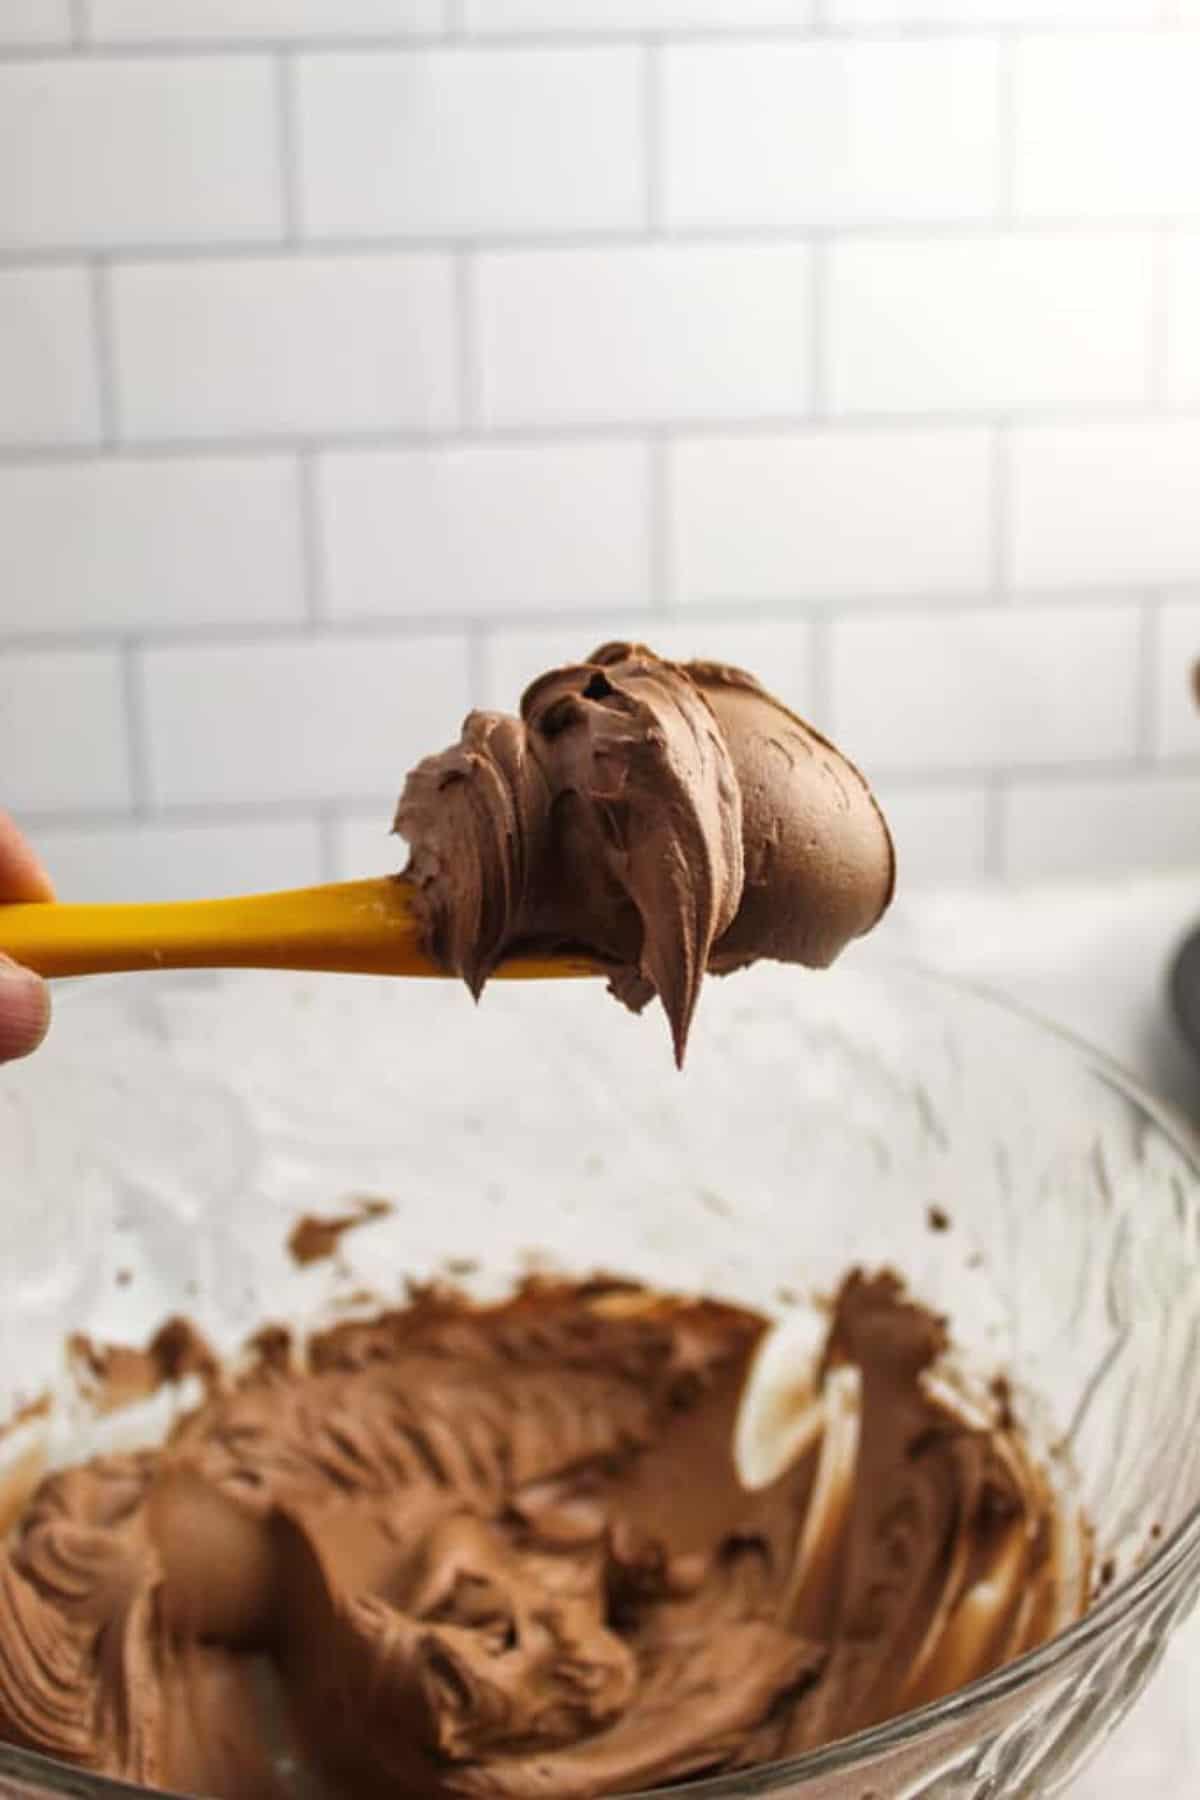
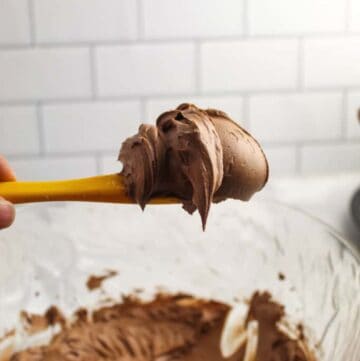
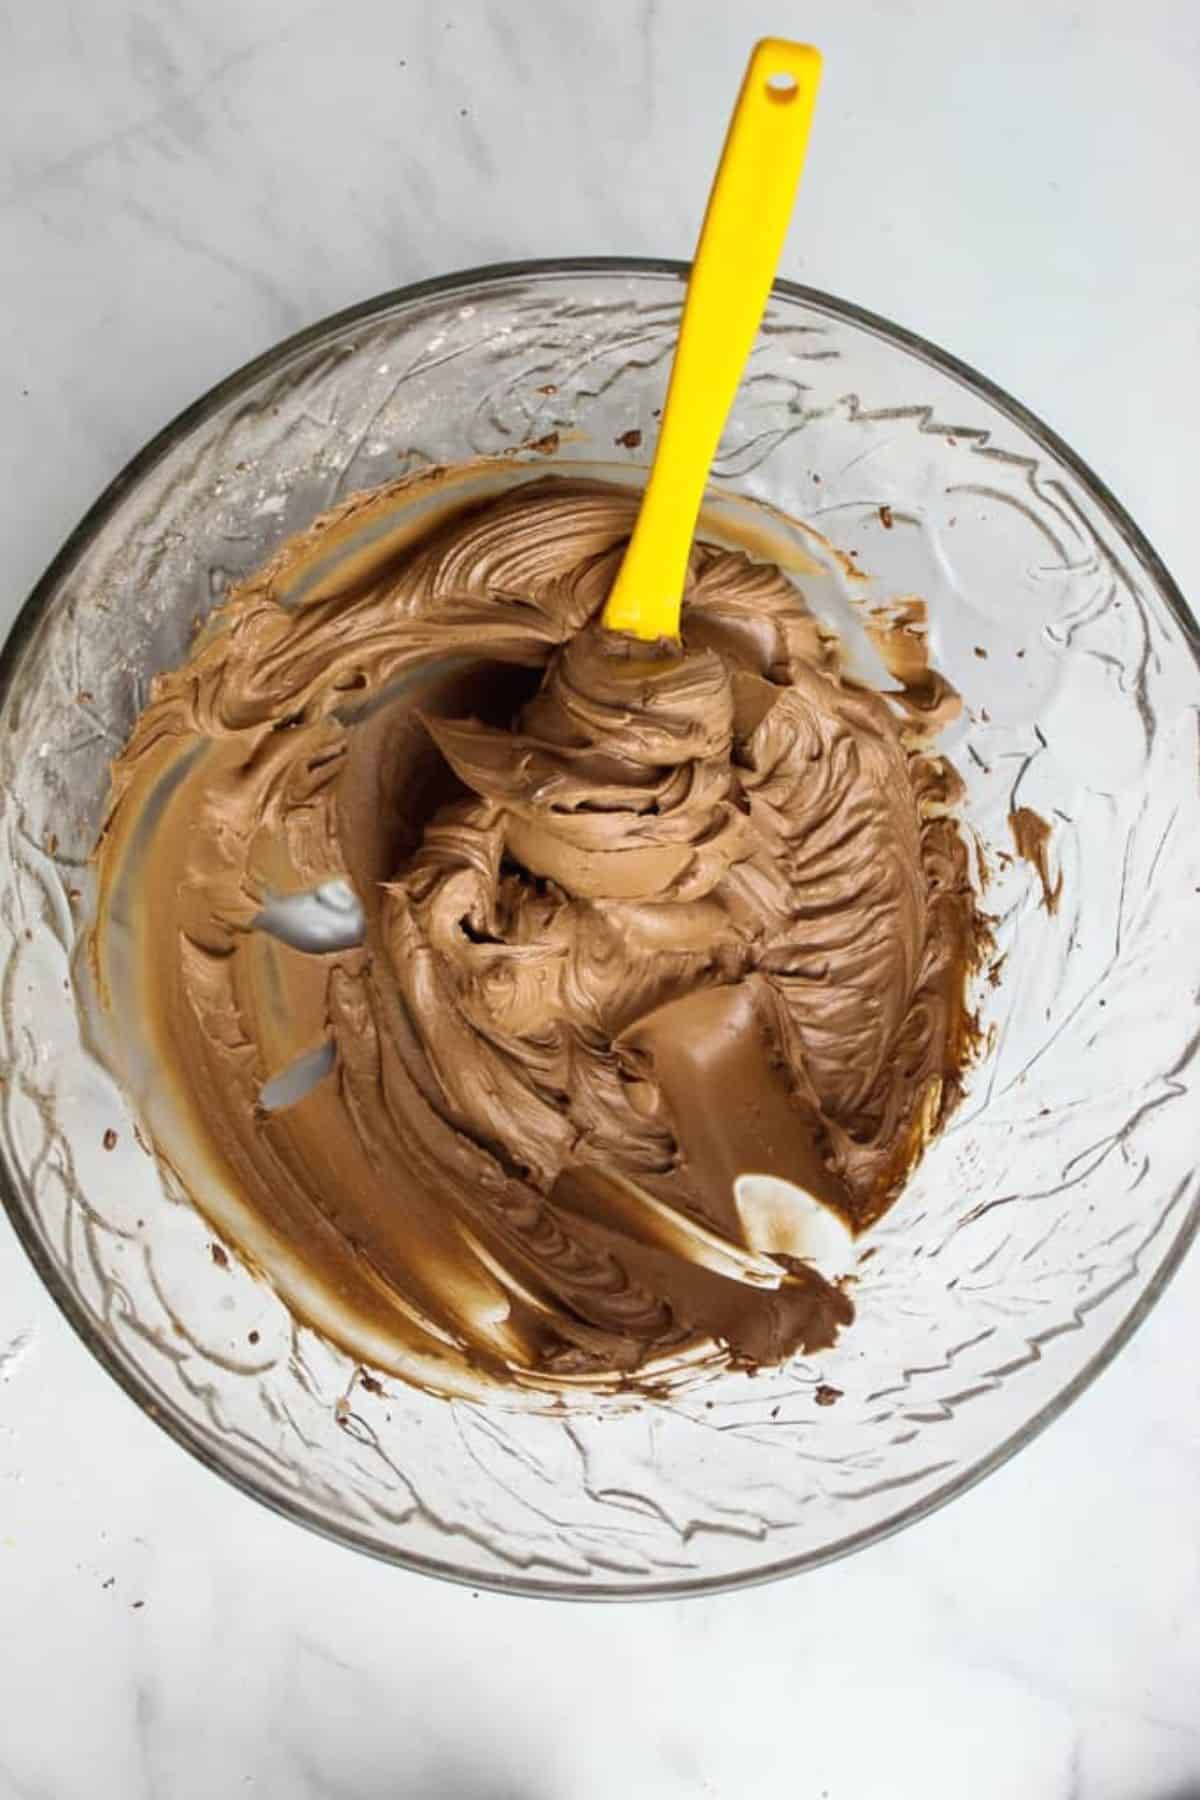
Step 5: Whip Until Fluffy
Increase to medium-high speed and beat for 1–2 minutes.
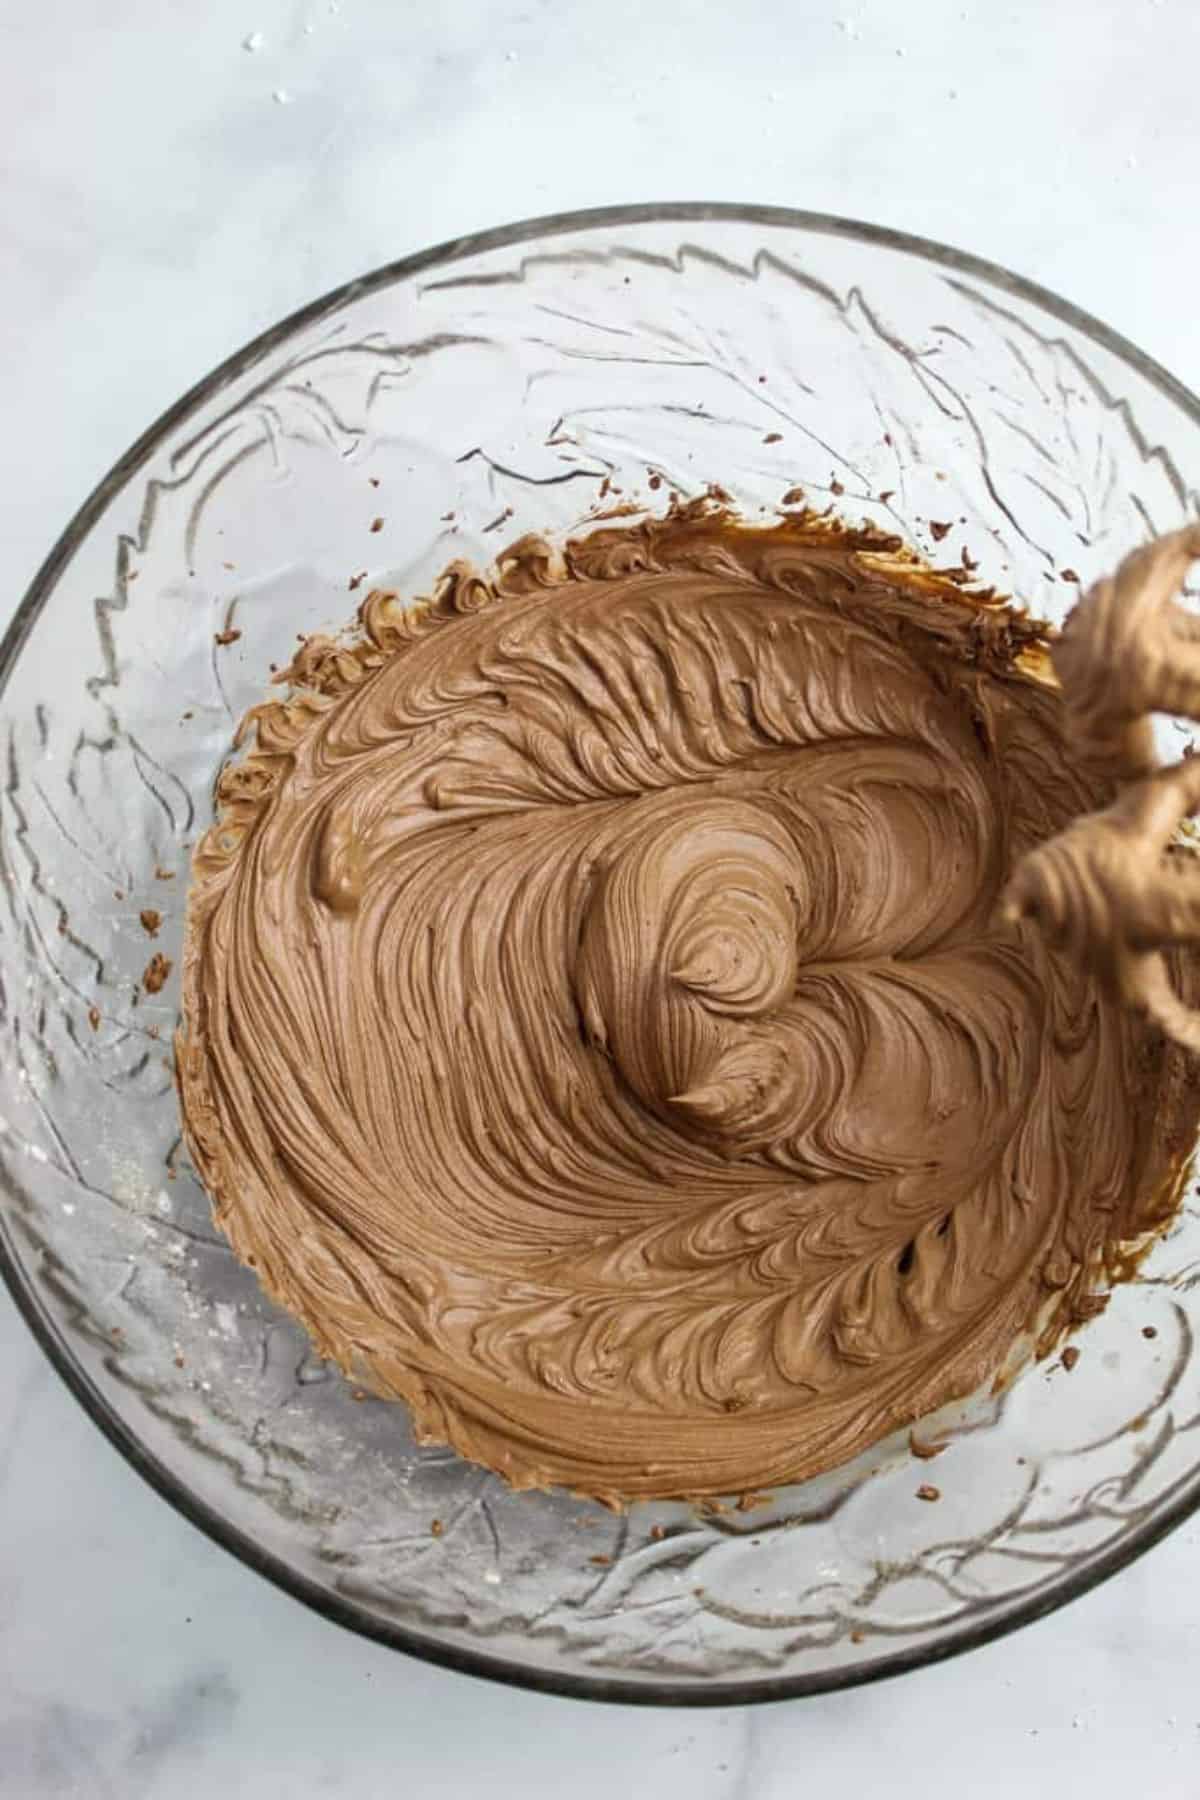
Look out for the following visual cues:
- Smooth and glossy finish
- Holds soft peaks when lifted
- Light, airy texture that spreads or pipes easily
Nutritional Benefits of This Dairy-Free Chocolate Frosting
While this frosting is still a treat, cocoa powder does offer more than just chocolate flavor. When enjoyed in moderation, it provides naturally occurring compounds that may support overall health.
For example, cocoa is rich in flavonoids, antioxidants linked to improved heart health, reduced inflammation, and better blood flow. Some research also suggests these compounds may support brain function and cognitive performance. In addition, cocoa contains minerals like magnesium, potassium, and iron, which play a role in normal muscle and nerve function.
Since this recipe is dairy-free, it also avoids lactose while still delivering a rich, satisfying taste. That makes it a good option for those who need alternatives but don’t want to compromise on texture or flavor.
That said, it’s still a frosting, so it contains sugar and fat. Like most desserts, it’s best enjoyed in moderation as part of a balanced diet rather than a primary source of nutrients.
Who This Recipe Is For
This dairy-free frosting is particularly useful for:
- Vegan Diets: It is made without animal-based ingredients, so it aligns fully with plant-based eating patterns.
- Lactose Intolerance or Dairy Sensitivity: It eliminates dairy while maintaining a similar texture to traditional buttercream.
- Allergy-Conscious Baking: It is a reliable alternative when you need to avoid dairy in shared recipes.
- Flexible Home Baking: It is suitable for you if you want a simple, adaptable frosting that still delivers consistent results.
How to Control the Texture of Your Frosting
You can make small adjustments to improve consistency without restarting.
- Too thick: Add milk gradually
- Too thin: Add powdered sugar
- Grainy: Beat longer or sift sugar
- Too soft: Chill briefly, then rewhip
These adjustments give you full control over consistency, whether you’re frosting cakes, piping cupcakes, or pairing it with desserts like our homemade chocolate pudding recipe.
How to Make Your Frosting Fluffy vs Thick (For Different Uses)
Once your frosting is smooth, you can easily adjust the texture depending on how you plan to use it. Even small tweaks can make a big difference.
Fluffy Frosting
If you’re aiming for a lighter, airier texture, whip the frosting a bit longer on medium-high speed, then add a small amount of extra dairy-free milk.
As a result:
- You get a softer consistency.
- The frosting has a light, airy feel.
- Perfect for spreading or layering cakes.
Thick / Pipeable Frosting
If you need a firmer texture, reduce the liquid slightly and add a bit more powdered sugar instead.
This will result in:
- Frosting that holds its shape when piped.
- More defined edges.
- Ideal for cupcakes and detailed decoration.
The frosting adapts easily across different desserts. You can use it for simple spreads or as structured finishes on recipes like our delicious chocolate fudge cake.
How To Make This Frosting Your Own
This dairy-free frosting is easy to customize once you understand the base. You can completely change the flavor and how it complements different desserts with just a few adjustments.
Dark Chocolate Frosting
If you want a deeper, less sweet flavor, use Dutch-processed cocoa or increase the cocoa slightly. This is the best option when you want a richer finish or a stronger chocolate profile.
Mocha Frosting
Add 1 to 2 teaspoons of espresso powder to boost the chocolate flavor without making the frosting coffee-like.
Ganache-Style Frosting
Add melted dairy-free chocolate to get a smoother, denser texture. Doing this will give you a more luxurious finish and a subtle shine.
Less Sweet Version
Slightly minimize powdered sugar and balance with a pinch of salt or extra cocoa. Doing this cuts the sweetness without affecting the structure too much.
Keto / Low Sugar Option
Use a powdered sugar option designed for baking. However, the texture may vary, so adjust the liquid and mixing time as needed.
These variations enable you to adjust the intensity or sweetness of the chocolate’s flavor. This becomes particularly crucial when you’re using different chocolate types, since some are very bitter and others are subtly sweet, as explained in our Unsweetened vs Bittersweet Chocolate guide.
The Best Ways to Use This Dairy-Free Chocolate Frosting
Once you’re done preparing your frosting, it becomes a versatile finish you can use across several desserts. Its smooth texture and stable structure make it easy to spread, layer, or pipe.
Cakes
It is perfect for layering and covering cakes, particularly rich bases like our flourless chocolate cake recipe. A stable frosting, such as the one in this recipe, will help balance the texture and flavor of this flourless cake.
Cupcakes
This frosting pipes cleanly and holds shape. That’s why it is ideal for decorating cupcakes or adding simple swirls with a smooth finish.

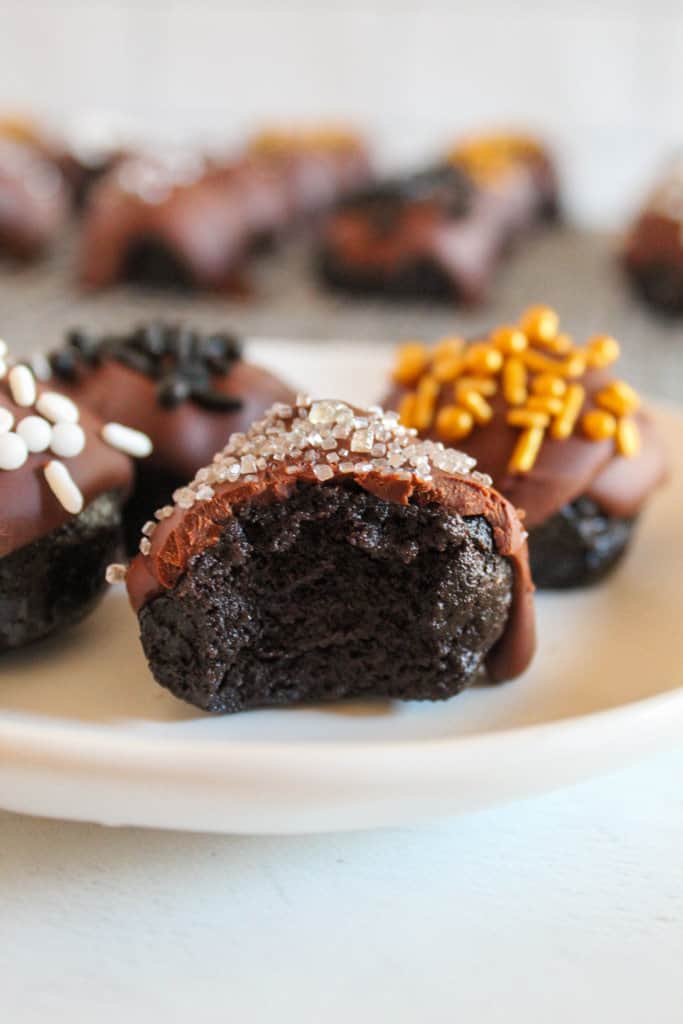
Brownies
This recipe adds a soft, creamy layer over dense bakes like our flourless brownies.
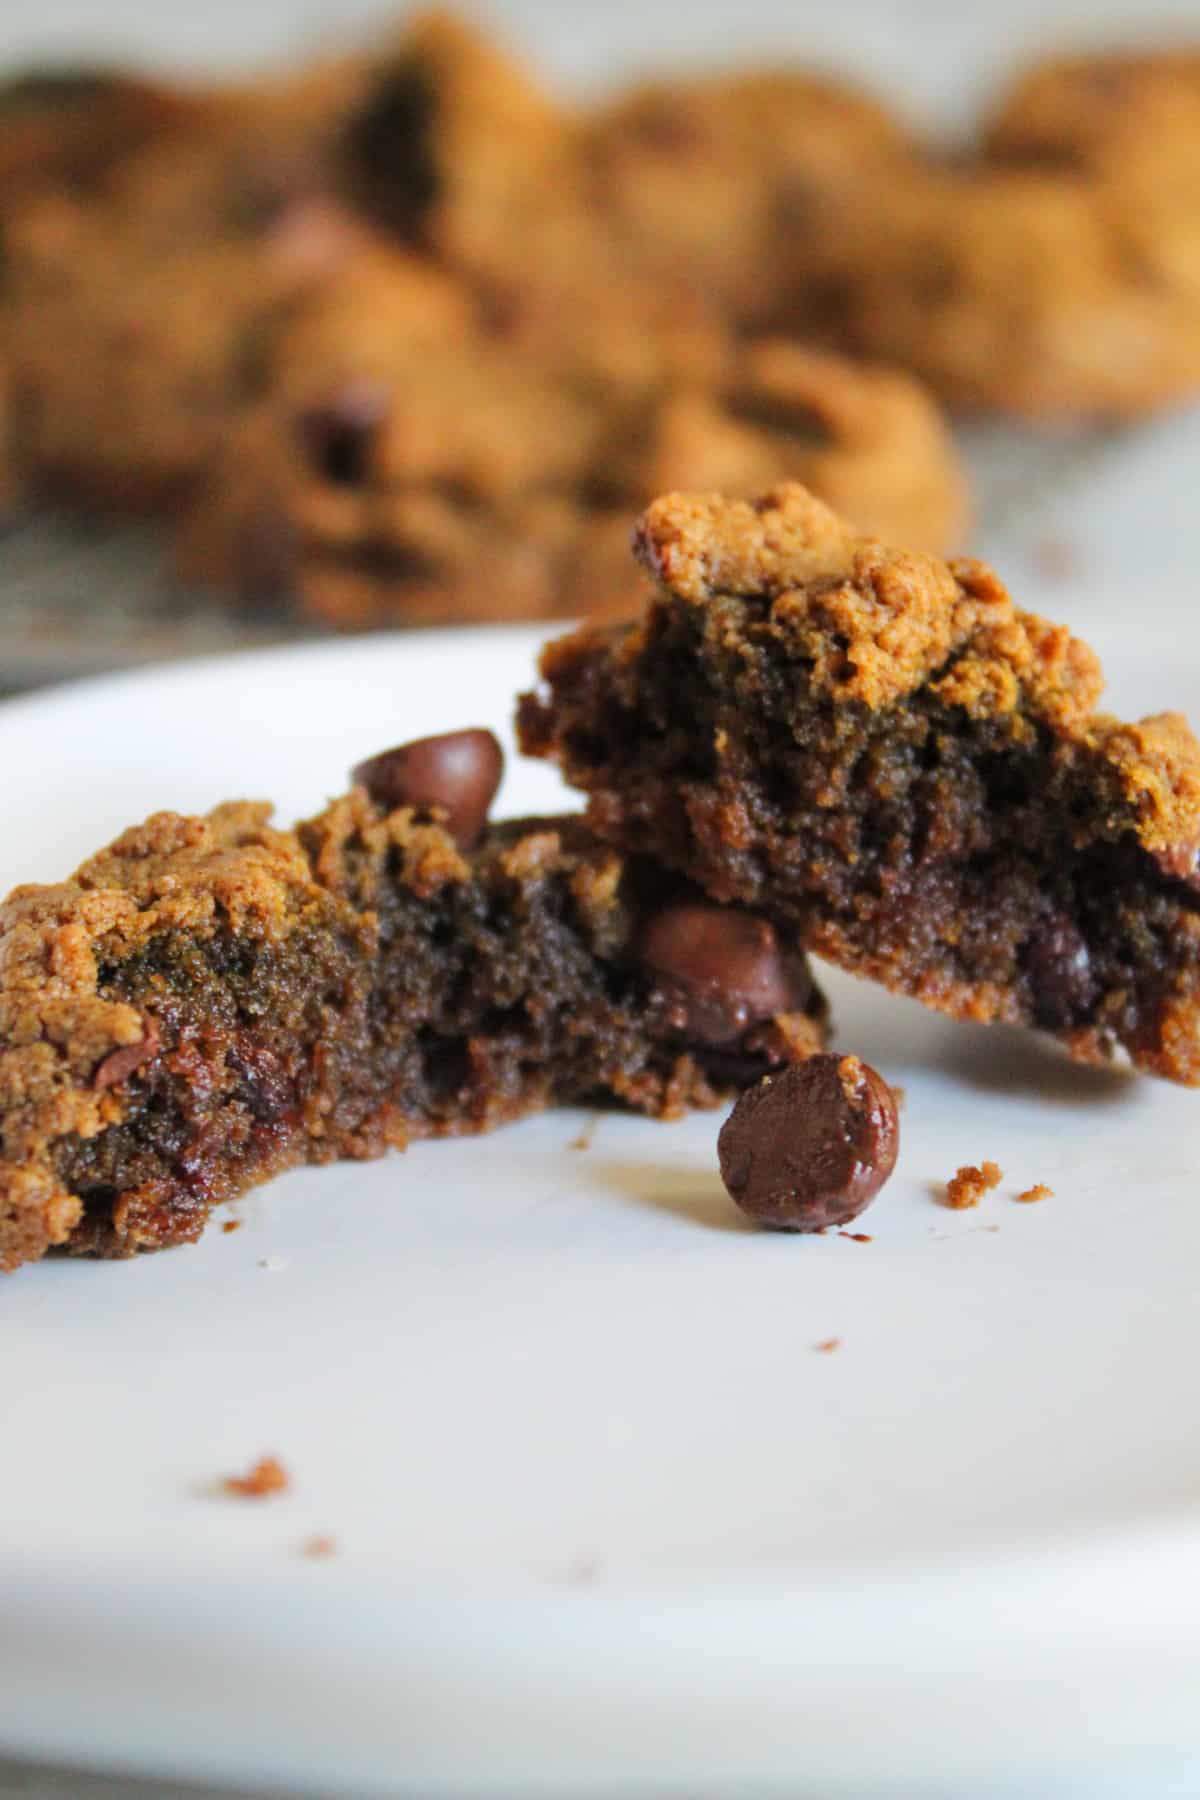
Cookies
This frosting serves as a filling or topping for cookies, including options like our chocolate cake mix cookies. A light frosting, such as the one in this recipe, enhances these cookies without overpowering them.
How to Store, Freeze & Make this Recipe Ahead
Do you have leftover dairy-free chocolate frosting, or would you like to prepare it in advance? Proper storage will keep the texture smooth and usable.
| Method | Time |
|---|---|
| Fridge | 5–7 days |
| Freezer | 2–3 months |
How to Store
Place the frosting in an airtight container and refrigerate. This keeps the texture consistent and prevents drying.
How to Freeze
Store in a sealed container or freezer-safe bag. Then, thaw overnight in the fridge before use.
How to Re-Whip
Bring the frosting to room temperature, then beat on medium speed for 1–2 minutes. This restores the texture.
Texture Recovery Tips
Even the best frosting can sometimes need a little adjustment. Here’s how to fix common texture issues:
- If it’s too firm after chilling, add a small amount of dairy-free milk to it and mix.
- If it’s too soft after thawing, chill it briefly, then rewhip it.
- If separated, beat it until it comes back together.
How to Handle Common Dairy-Free Chocolate Frosting Problems
Little things can affect the outcome of your frosting, even when you bake according to the instructions. But the good news is that most of these issues can be fixed easily with a quick adjustment.
Too Sweet
Is your frosting tasting too sweet? Balance it with a little addition of cocoa powder or a pinch of salt. Then, mix it again until everything is well mixed. Doing this will deepen the chocolate flavor and reduce overall sweetness without altering the texture excessively.
Melting
When the frosting is melting or losing shape, it’s either because the room temperature is warmer than normal or the mixture is too soft. To resolve this, place it in the fridge for 10 to 15 minutes, then rewhip it. Doing this firms it up and restores a stable, workable consistency.
Separating
If your frosting looks split or uneven, the butter you used may be too warm or not fully incorporated. In such situations, let it cool for a little bit, then beat it again until it’s smooth. Doing this brings the mixture back together into a consistent texture.
Not Fluffy
If your frosting feels dense rather than light, you probably need to mix it more. Beat it at medium-high speed for another 1 to 2 minutes. As air gets in, the texture will become lighter, smoother, and easier to spread or pipe.
Frequently Asked Questions (FAQs)
Below are questions we often get about making dairy-free chocolate frosting. If you don’t see yours, feel free to ask in the comments.
Can You Make Chocolate Frosting Without Dairy?
Yes! This recipe uses plant-based butter and milk alternatives, which means you can achieve the same smooth, creamy texture as traditional frosting. As a result, it works well for vegan or dairy-free baking.
What Is the Best Dairy-Free Butter?
For consistent results, stick-style vegan butter works best. Using this type helps your frosting hold its shape and maintain a stable texture.
Can I Pipe This Frosting?
Absolutely. When properly mixed, the frosting becomes smooth and firm enough to pipe. In fact, it’s ideal for cupcakes, layered cakes, or any detailed decoration.
Why Is My Frosting Runny?
This usually happens when too much liquid is added or if the butter used is too soft. To fix it, chill briefly or add a little more powdered sugar until it reaches the right consistency.
Can I Reduce the Sugar?
You can slightly reduce sugar, but keep in mind that this may affect both the texture and stability of the frosting.
Why Is My Frosting Not Fluffy?
This usually happens when too much liquid is added or if the butter used is too soft. To fix it, chill briefly or add a little more powdered sugar until it reaches the right consistency.
Can I Use A Different Plant-Based Milk?
Yes, oat or soy milk is a good alternative. Just make sure to choose a neutral-flavored milk to avoid altering the frosting’s taste.
How Long Does It Last in the Fridge?
Stored properly in an airtight container, it lasts about 5–7 days. This makes it convenient for baking ahead or for leftovers.
Can I Make It Ahead of Time?
Yes! You can prepare the frosting in advance and store it in the fridge or freezer. Then, rewhip or gently bring it back to room temperature before using.
Related Recipes You’ll Love
Now that you have a smooth, reliable frosting, the next step is pairing it with the right base.
- Try it with a soft, tender cake like the Moist Almond Flour Coffee Cake Recipe.
- For piping and decorating, it pairs well with recipes like Gluten-Free Red Velvet Cupcakes.
- Use it across a range of bakes, including collections like Gluten-Free Fall Baking Recipes.
Whether you’re frosting cupcakes, layering cakes, or planning your next seasonal bake, these recipes give you plenty of delicious ways to put it to use.
Share Your Dairy-Free Chocolate Frosting Experience
Now that you’ve made this smooth, rich dairy-free chocolate frosting, we want to hear from you!
Did you spread it on cakes, pipe it on cupcakes, or use it in another dessert? Did you try any of the flavor variations or adjust the texture to suit your recipe?
Leave a comment below with your results, tips, or questions. Your feedback not only helps others achieve the perfect dairy-free frosting but also helps us make this recipe even better.