Gluten-free lemon pound cake recipes often yield dry, crumbly cakes that lack lemon flavor.
However, there is a silver lining. Our dairy-free lemon pound cake has a moist texture, a tender crumb, and bright lemon flavor from fresh lemon juice and zest.
Table of Contents

This guide covers everything you need to consistently make a gluten-free lemon pound cake: ingredients, baking tips, troubleshooting advice, storage methods, and variations.
Why You’ll Love This Gluten-Free Lemon Pound Cake Recipe
- Completely gluten-free and dairy-free
- Bright lemon flavor from fresh juice and zest
- Moist texture that stays soft for days
- Easy loaf cake for beginners
- Freezer-friendly
- Perfect for spring and summer gatherings
Why This Recipe Works
Making a gluten-free lemon pound cake with a moist texture and sturdy crumb comes down to ingredient balance.
- Dairy-free buttermilk, lemon juice, and vegan butter work together to keep the loaf moist.
- Vegan butter creates the rich texture expected in a traditional pound cake.
- Lemon juice reacts with baking soda to help create a tender crumb.
- A measure-for-measure gluten-free flour blend provides structure without making the cake heavy.
- Eggs add binding, lift, and stability.
- Resting the batter before baking allows the gluten-free flour to fully hydrate, improving the final texture.

What Happened During Testing
While testing this recipe, I found that balancing moisture and structure was the biggest challenge. Some early versions turned out dry and crumbly, while others were too dense or gummy.
The best results came from combining dairy-free buttermilk, fresh lemon juice, vegan butter, and a 30-minute batter rest. That combination produced a moist loaf with a tender crumb that still sliced cleanly.
Are you a fan of gluten-free lemon recipes with a soft texture and bright citrus flavor? See our Tender Lemon Chia Seed Muffins (Gluten-Free & Dairy-Free) for another easy dairy-free baking option.
Is This a Gluten-Free Lemon Cake or a Lemon Pound Cake?
Many people searching for a gluten-free lemon cake recipe are actually looking for a lemon loaf or pound cake. Although both desserts share a bright lemon flavor, their textures and overall eating experiences are quite different.
This recipe is a true lemon pound cake. It has a denser crumb, richer texture, and a simple lemon glaze rather than a fluffy cake topped with frosting.
Gluten-Free Lemon Cake vs Lemon Pound Cake
The table below shows a straightforward comparison of the two cakes.
| Feature | Lemon Cake | Lemon Pound Cake |
|---|---|---|
| Texture | Light and fluffy | Dense and rich |
| Crumb | Soft and airy | Tight and buttery |
| Sweetness | Moderate | Richer |
| Typical Frosting | Buttercream | Lemon glaze |
| Best for | Birthday and celebrations | Coffee, brunch, and dessert |
Which One Should You Make?
Choose a gluten-free lemon cake for a light, fluffy dessert that’s ideal for layering and frosting.
However, choose this gluten-free lemon pound cake if you prefer a richer texture, a tighter crumb, and a more concentrated lemon flavor. It’s a great option for brunches, afternoon coffee, spring gatherings, or an easy make-ahead dessert.
If you enjoy lemon baked goods that pair well with coffee or tea, our Gluten-Free Lemonade Scones are another simple way to enjoy bright citrus flavor.
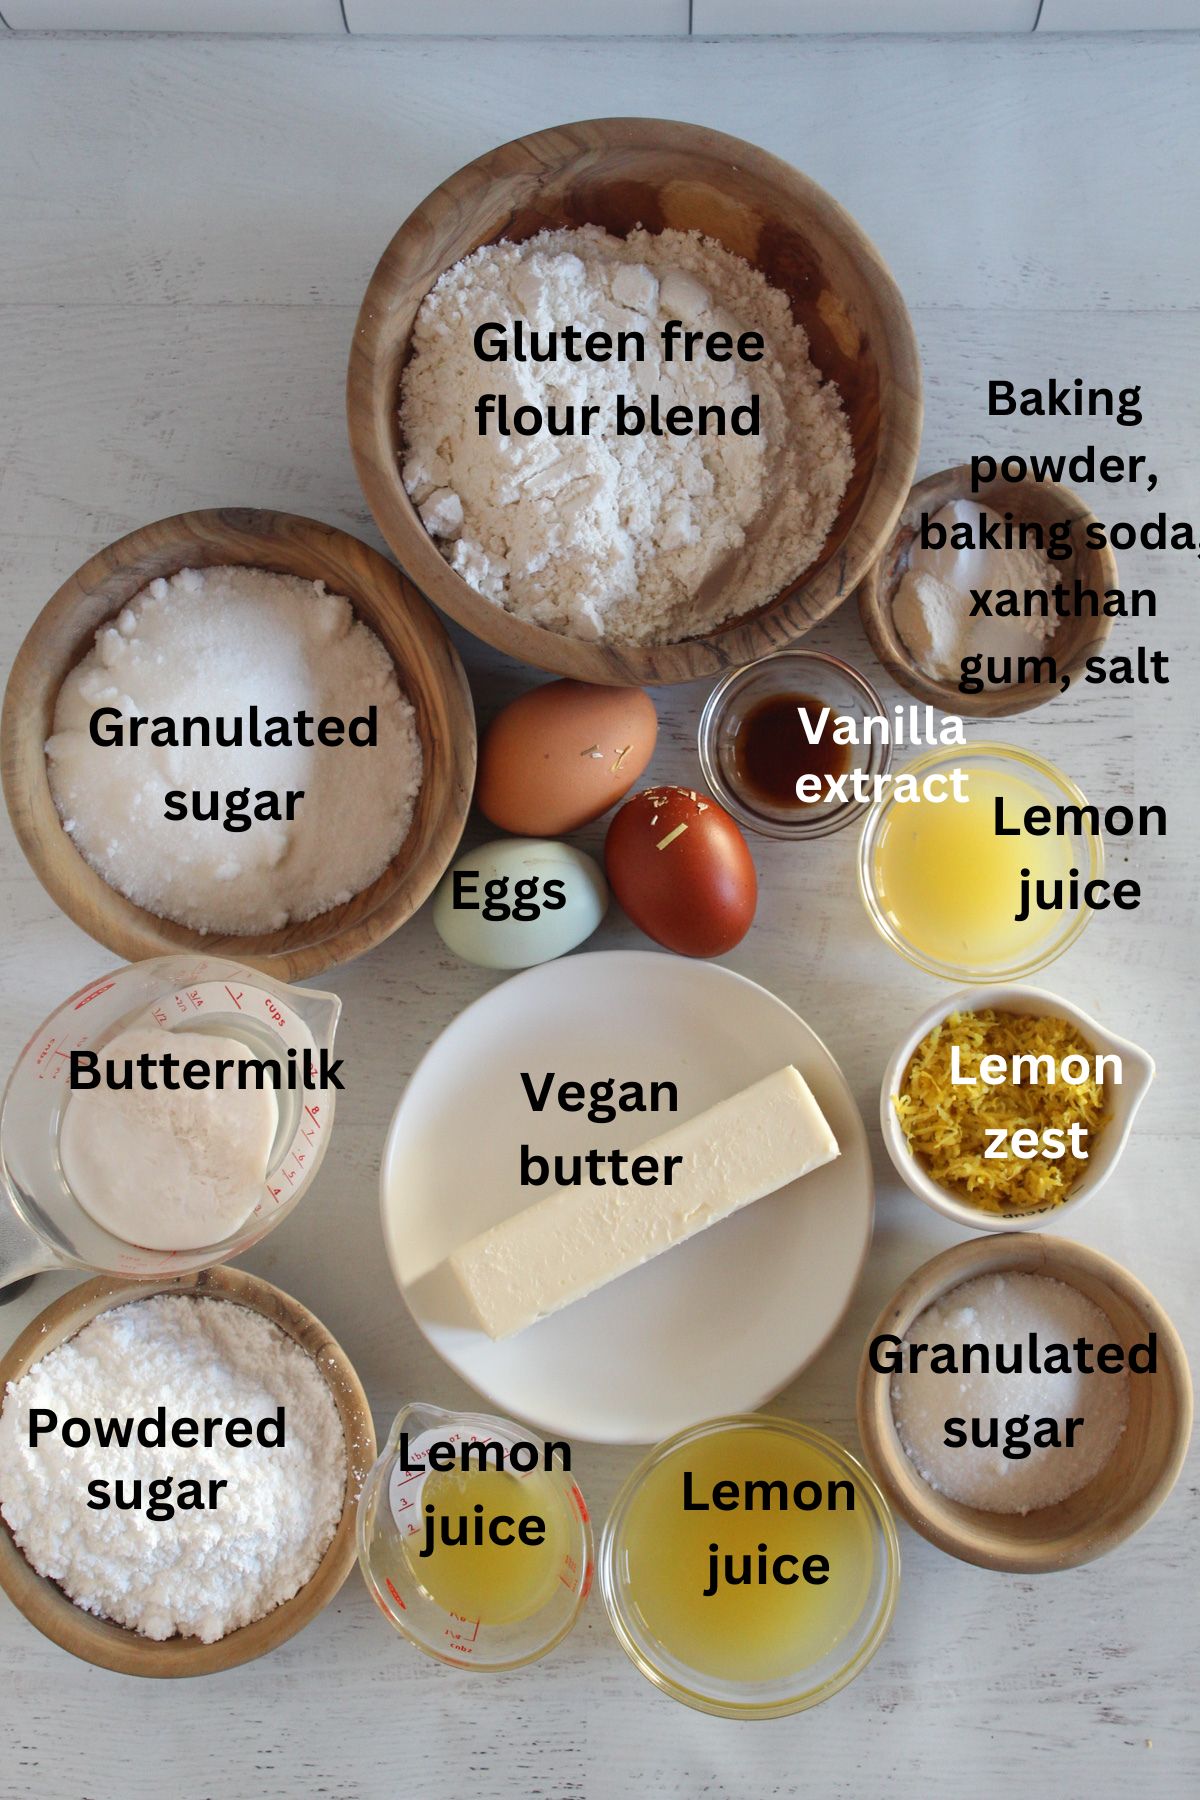
Ingredients Quick Scan List
Gather the following ingredients before you begin:
- Vegan butter
- Granulated sugar
- Eggs
- Lemon zest
- Gluten-free flour blend
- Xanthan gum
- Baking powder
- Baking soda
- Salt
- Fresh lemon juice
- Dairy-free buttermilk
- Vanilla extract
- Granulated sugar
- Fresh lemon juice
- Powdered sugar
- Fresh lemon juice
Ingredients and Substitutions Notes
This gluten-free lemon pound cake recipe relies on the following key ingredients for its texture, structure, and lemon flavor.
- Vegan Butter: Vegan butter gives this loaf its rich flavor and dense pound cake texture. I tested vegan butter against oil and preferred the results with vegan butter because it produced a more traditional pound-cake crumb. Use stick-style vegan butter for best results.
- Granulated Sugar: Sweetens the cake and helps retain moisture. I do not recommend reducing the amount significantly, as this can affect both texture and flavor.
- Eggs: Provide structure, stability, and lift. I have not tested an egg substitute for this recipe, so I recommend using real eggs for the most reliable results.
- Lemon Zest: Provides most of the lemon flavor in this cake. Avoid bottled zest products and use fresh lemons whenever possible.
- Gluten-Free Flour Blend: Provides the cake’s structure. Use a measure-for-measure gluten-free flour blend.
- Xanthan Gum: Improves texture and helps hold the cake together. If your flour blend already contains xanthan gum, you may not need any additional xanthan gum.
- Baking Powder and Baking Soda: These leavening agents help the loaf rise and create a tender texture. Always check that they are fresh before baking.
- Salt: Balances sweetness and enhances flavor.
- Fresh Lemon Juice: Adds acidity and bright lemon flavor. I recommend fresh juice rather than bottled for the strongest flavor.
- Dairy-Free Buttermilk: Adds moisture and tenderness. If needed, use a dairy-free milk mixed with an acid.
- Vanilla Extract: Vanilla rounds out the lemon flavor and adds depth to the finished cake.
For the Lemon Syrup
- Granulated Sugar: Sweetens the syrup and helps lock in moisture.
- Fresh Lemon Juice: Adds additional lemon flavor throughout the cake.
For the Lemon Glaze
- Powdered Sugar: Creates a smooth glaze.
- Fresh Lemon Juice: Adds lemon flavor and thins the glaze to the proper consistency.
If you prefer a lighter cake texture, try our Best Gluten-Free Lemon Cake (Soft, Moist & Easy), which has a softer crumb than this gluten-free lemon pound cake.
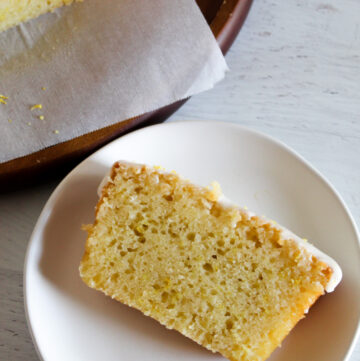
Printable Gluten-Free Lemon Pound Cake Recipe Card
Ingredients
Pound Cake:
- 8 Tablespoons vegan butter softened
- 1 cup granulated sugar 200 grams
- 3 large eggs
- ¼ cup grated lemon zest about 4 lemons
- 1½ cups gluten-free flour blend 200 grams
- ½ teaspoon xanthan gum
- ½ teaspoon baking powder
- ½ teaspoon baking soda
- ½ teaspoon salt
- 2 Tablespoons fresh lemon juice
- ½ cup dairy free buttermilk with almond milk or coconut milk
- 1 teaspoon pure vanilla extract
Lemon Syrup:
- ¼ cup granulated sugar 50 grams
- ¼ cup lemon juice
Lemon Glaze:
- 1 cup powdered sugar 105 grams
- 1-2 Tablespoons fresh lemon juice
Instructions
For pound cake:
- Step 1: Prepare the PanSpray an 8 x 4½-inch loaf pan with non-stick spray. Then line it with parchment paper, leaving excess hanging over the sides for easy removal.
- Step 2: Cream the Butter and SugarIn the bowl of a stand mixer fitted with the whisk attachment, beat the vegan butter and granulated sugar until combined, about 1 minute.
- Step 3: Add the Eggs and Lemon ZestAdd the eggs one at a time, mixing well after each addition. Then mix in the lemon zest.
- Step 4: Combine the Dry IngredientsIn a separate bowl, whisk together the gluten-free flour blend, xanthan gum, baking powder, baking soda, and salt.
- Step 5: Combine the Wet IngredientsIn a measuring cup or small bowl, whisk together the lemon juice, dairy-free buttermilk, and vanilla extract.
- Step 6: Mix the BatterAdd half of the flour mixture to the butter mixture and mix on low speed until combined. Afterwards, add the buttermilk mixture and mix again.Then add the remaining flour mixture and mix until incorporated.
- Step 7: Rest the BatterAllow the batter to rest for 30 minutes.
- Step 8: BakePreheat the oven to 350°F (177°C).Then transfer the batter to the prepared loaf pan and bake for approximately 50 minutes.
- Step 9: CoolCool the cake in the pan for 5 minutes before removing.
Prepare syrup:
- Step 10: Prepare the Lemon SyrupCombine the sugar and lemon juice in a microwave-safe bowl. Then, microwave the juice for about 1 minute or until the sugar dissolves completely.Now, remove the cake from the pan and place it on a serving plate. Then spoon the syrup evenly over the warm cake.Afterwards, allow the cake to cool completely.
Prepare glaze:
- Step 11: Prepare the Lemon GlazeWhisk together the powdered sugar and 1 tablespoon lemon juice.Add additional lemon juice, 1 teaspoon at a time, until a thin drizzle consistency is reached.Drizzle over the cooled cake, then slice and serve.
Notes
- Bring all ingredients to room temperature before mixing.
- Add eggs one at a time for a smoother batter.
- Alternate the dry and wet ingredients as directed to maintain structure.
- Spoon the lemon syrup over the cake while it is still warm.
- Wait until the loaf is completely cool before glazing.
- Use a sharp serrated knife for clean slices.
Doneness Cues
Use these visual and texture cues to determine when your gluten-free lemon pound cake is fully baked:- A toothpick inserted into the center comes out clean or with a few moist crumbs.
- The top springs back lightly when pressed.
- The edges begin pulling slightly away from the sides of the pan.
- The center no longer appears wet or shiny.
Storage
- Room Temperature: Store covered for up to 3 days.
- Refrigerator: Store in an airtight container for up to 1 week.
- Freezer: Wrap individual slices or the entire loaf tightly and freeze for up to 3 months.
- To Thaw: Defrost overnight in the refrigerator or bring to room temperature before serving.
Nutrition
Did you make and love this recipe? Give it your review and rating below! And make sure to follow me on Instagram, Pinterest, and Facebook , too!
Essential Kitchen Tools
You’ll need the following equipment to make this recipe successfully:
Dietary Notes & Allergens
This recipe is gluten-free and dairy-free, but it does contain eggs. Depending on the dairy-free butter and milk you choose, it may also contain tree nuts.
For anyone with celiac disease or a gluten intolerance, use certified gluten-free ingredients and take care to avoid cross-contact from shared utensils, pans, measuring cups, or work surfaces.
How to Make Gluten-Free Lemon Pound Cake
Following the steps below in order helps create the dense yet tender texture that makes this gluten-free lemon pound cake so reliable.
Step-by-Step Instructions
Follow these visual steps for the best texture, rise, and bright lemon flavor. Each stage helps create a moist, tender gluten-free pound cake that slices cleanly.
Step 1: Prepare the Loaf Pan
Before mixing the batter, prepare the pan to ensure the cake releases easily after baking.
Spray an 8 x 4½-inch loaf pan with non-stick spray and line it with parchment paper, allowing the paper to hang over the sides.
The parchment should cover the bottom and long sides of the pan to make it easier to remove the cake after baking.
Step 2: Cream the Butter and Sugar
With the pan ready, begin building the cake’s structure by creaming the butter and sugar.
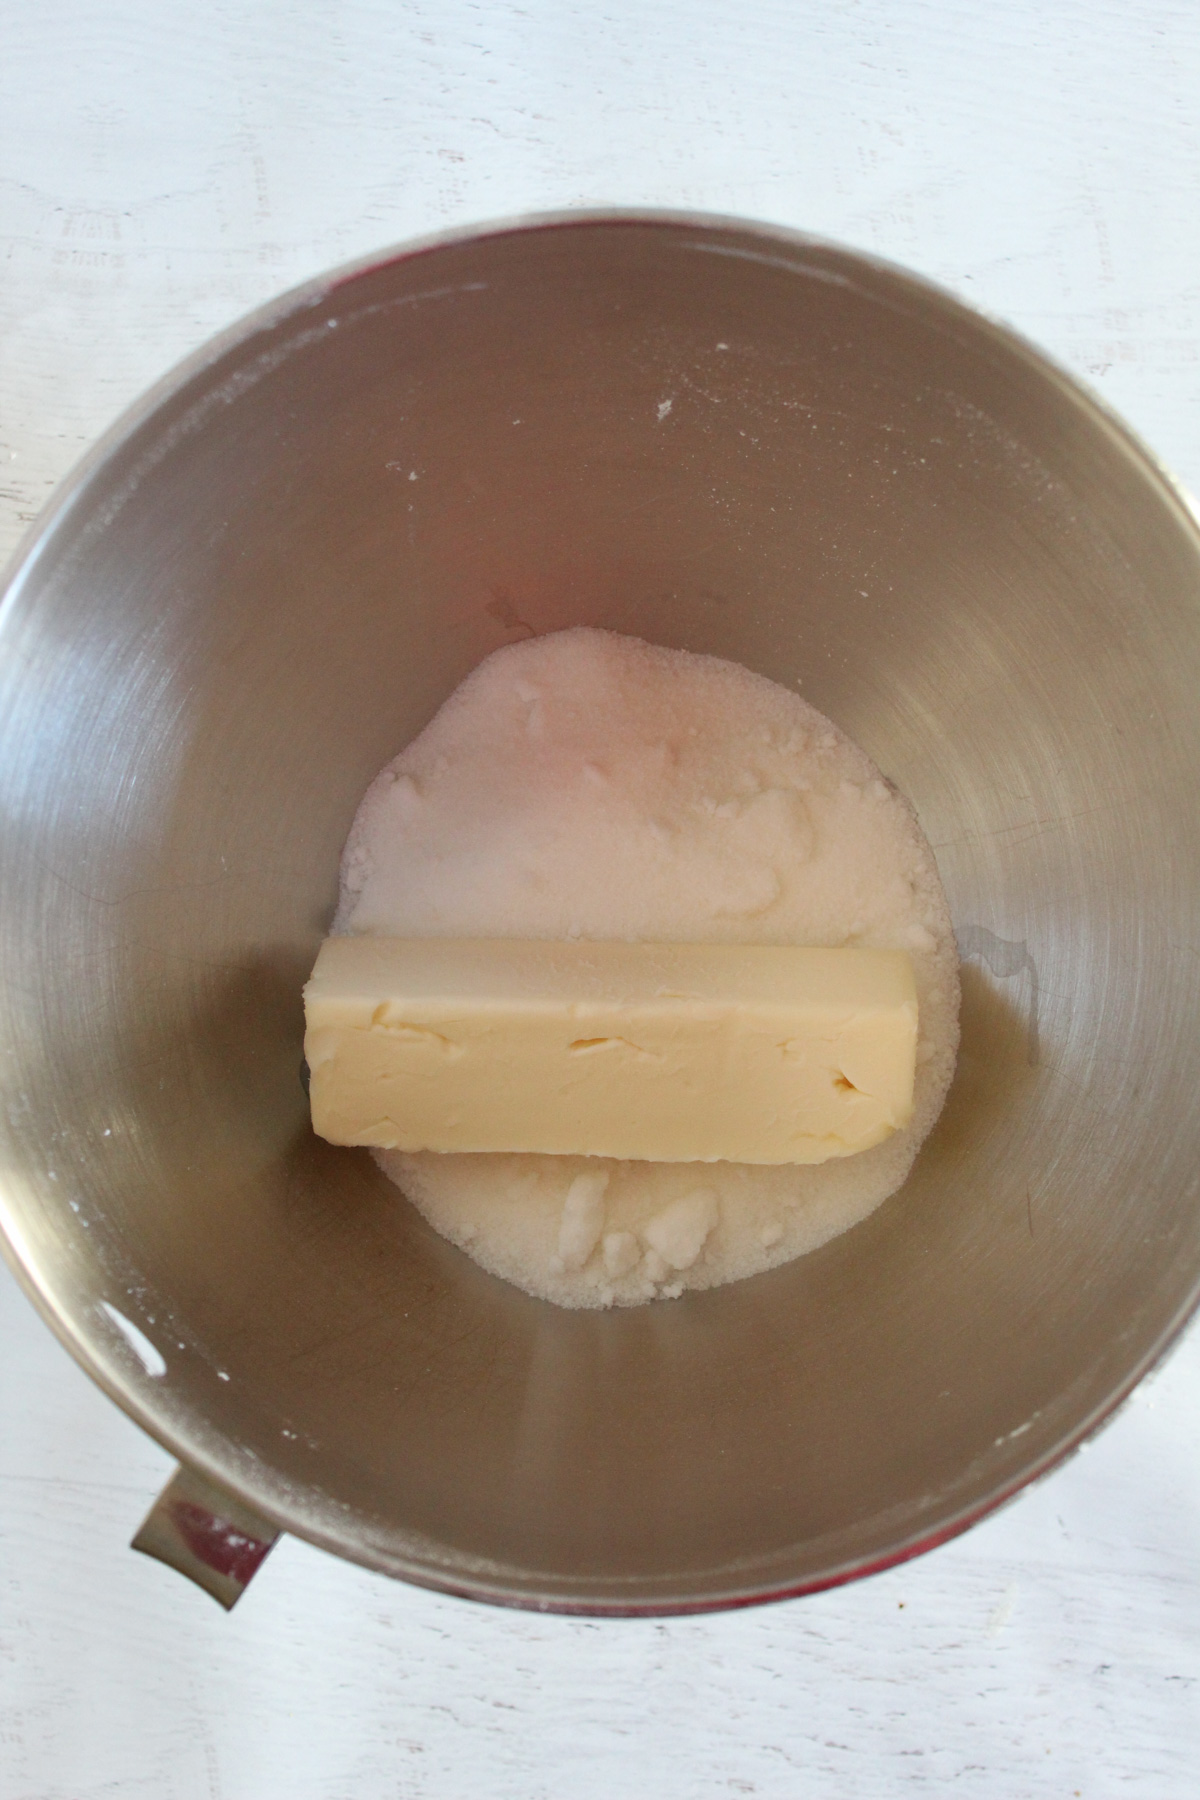
Beat the softened vegan butter and granulated sugar until fully combined, about 1 minute.
The mixture should appear lighter in color and smooth, with no large butter pieces remaining.
Step 3: Add the Eggs and Lemon Zest
Once the butter and sugar are well combined, add the remaining flavor-building ingredients.
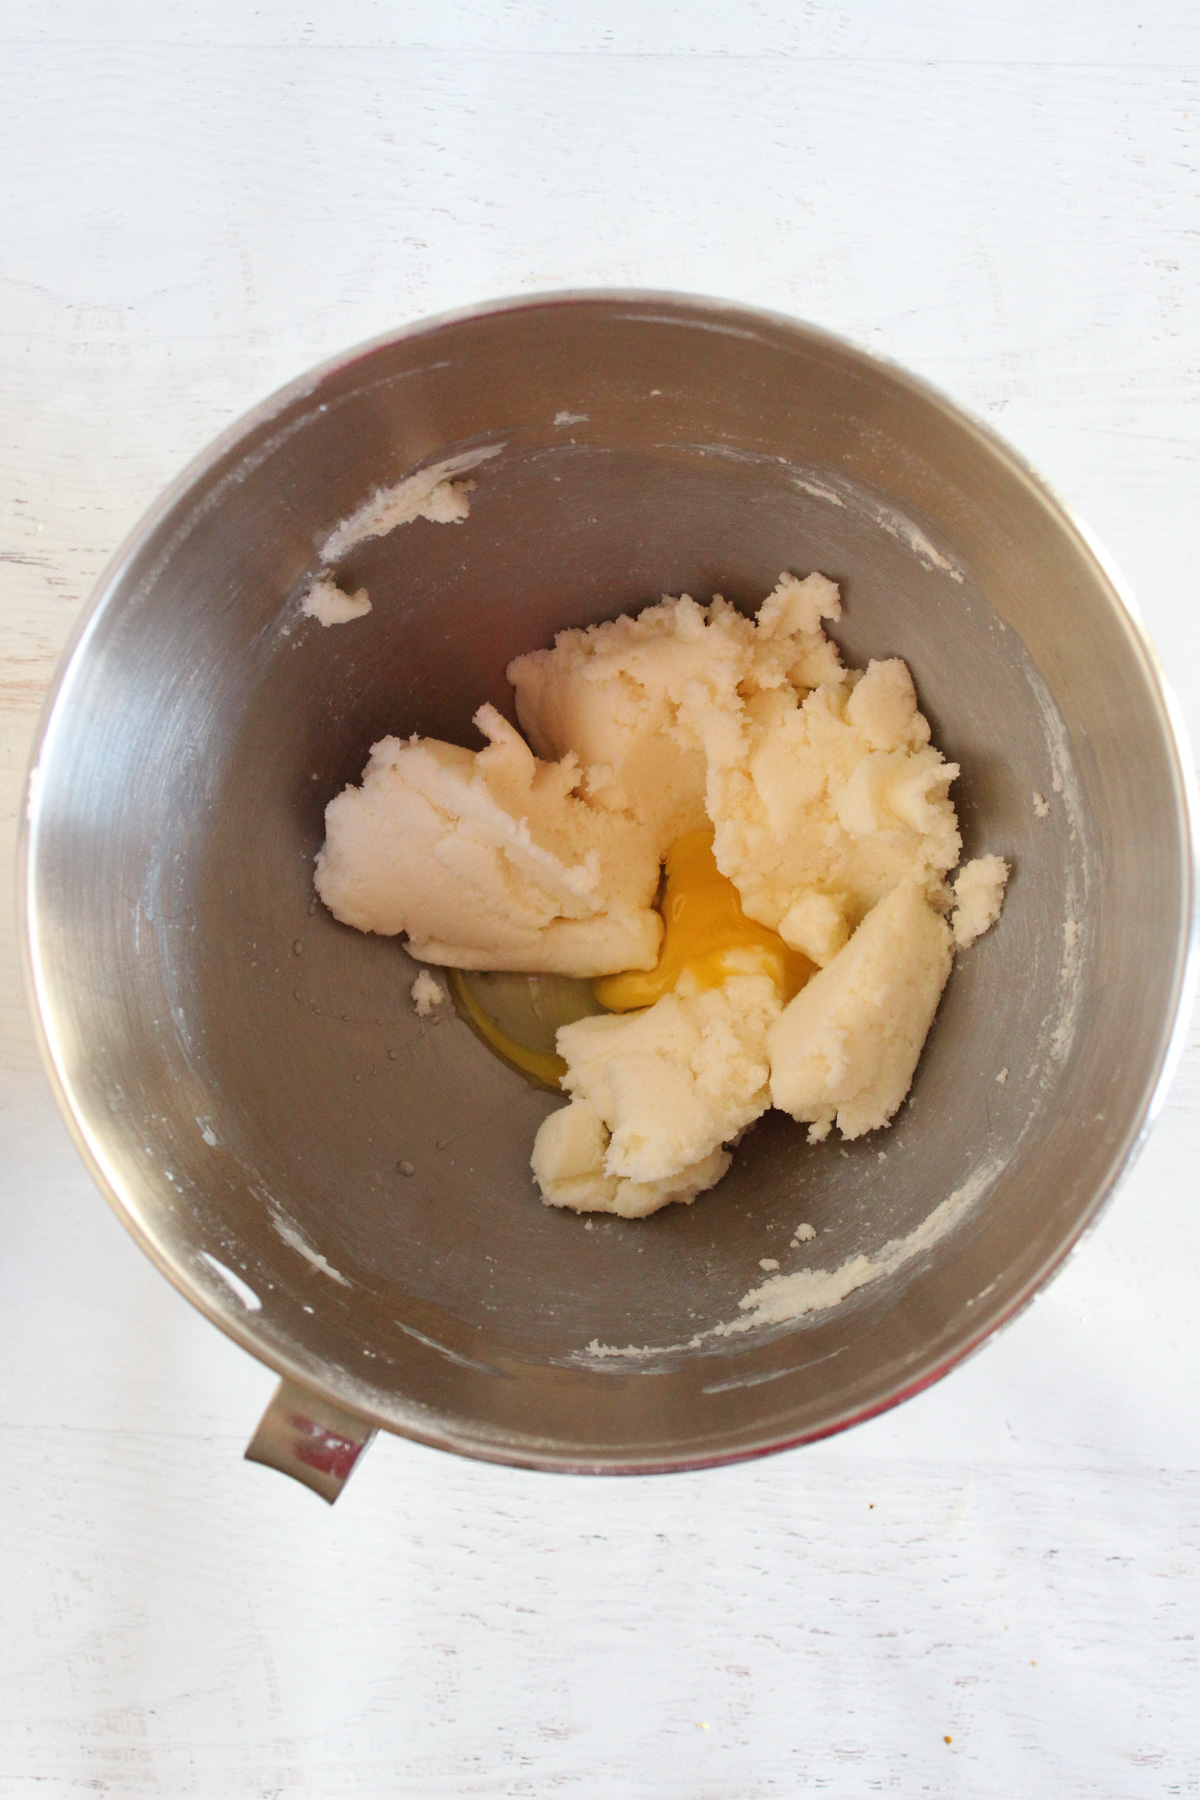
Add the eggs one at a time, mixing well after each addition.
Then, mix in the lemon zest until evenly distributed.
The batter should look smooth and creamy, with no streaks of egg.
Step 4: Combine the Dry Ingredients
While the wet mixture rests briefly, prepare the dry ingredients separately for even distribution.
In a separate bowl, whisk together the gluten-free flour blend, xanthan gum, baking powder, baking soda, and salt.
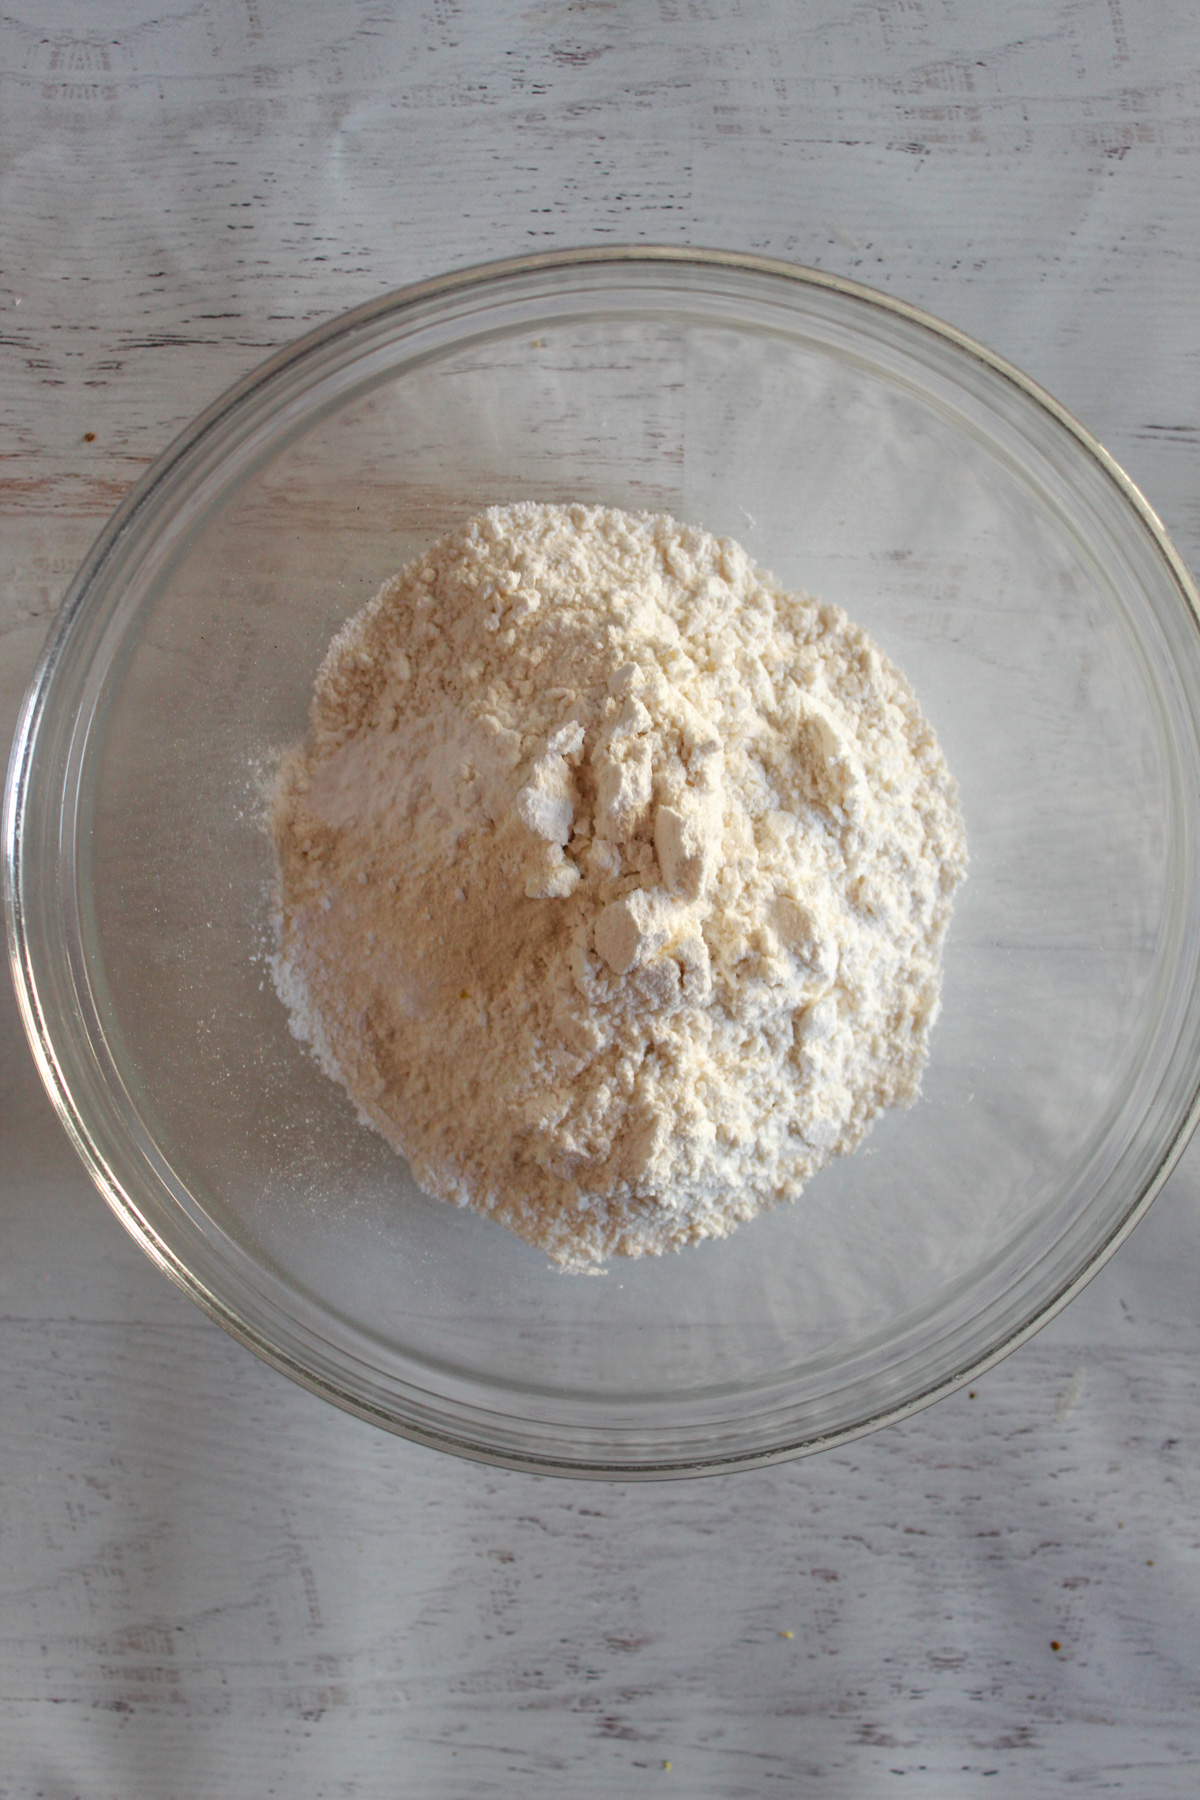
The dry ingredients should appear evenly combined with no visible clumps.
Step 5: Combine the Wet Ingredients
Next, prepare the liquid ingredients that will help create a moist, tender crumb.
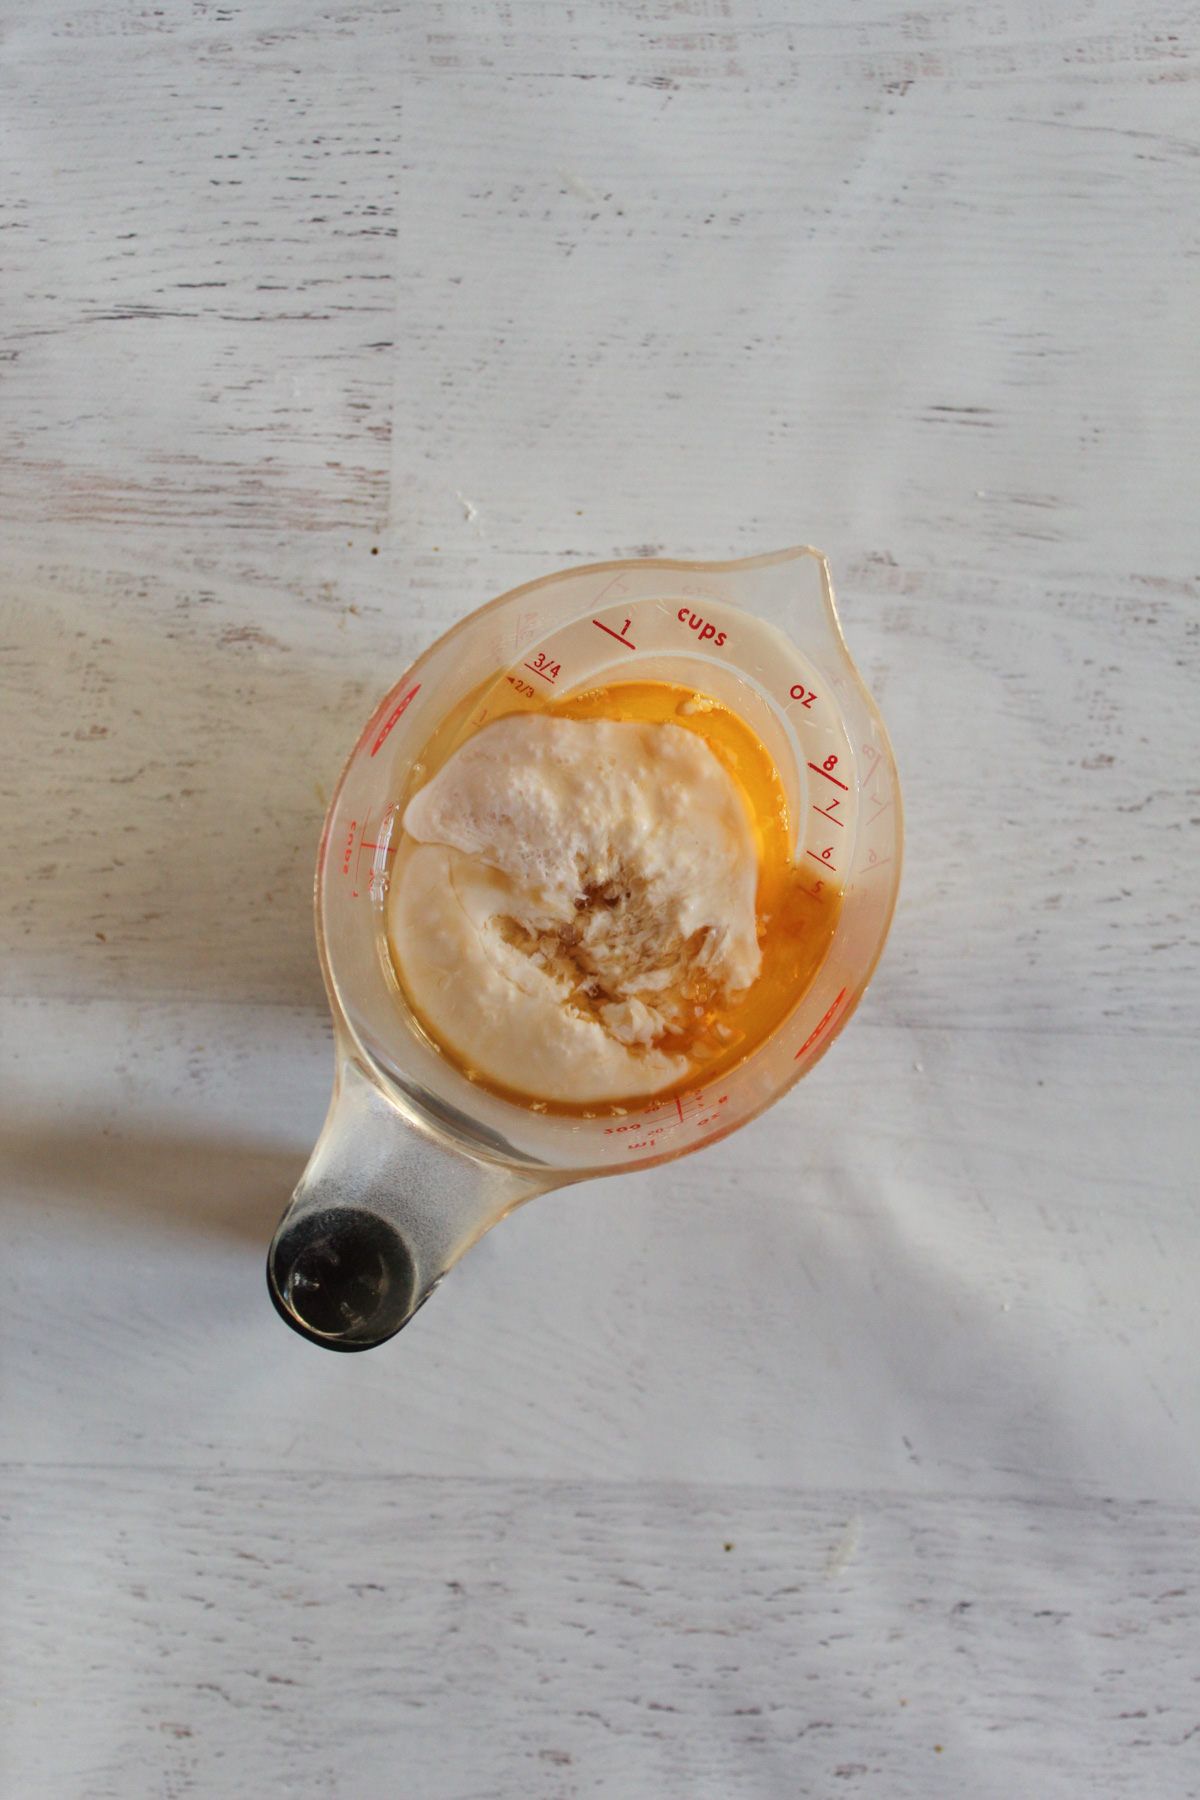
In a small bowl or measuring cup, whisk together the lemon juice, dairy-free buttermilk, and vanilla extract.
The mixture should be fully blended and uniform in appearance.
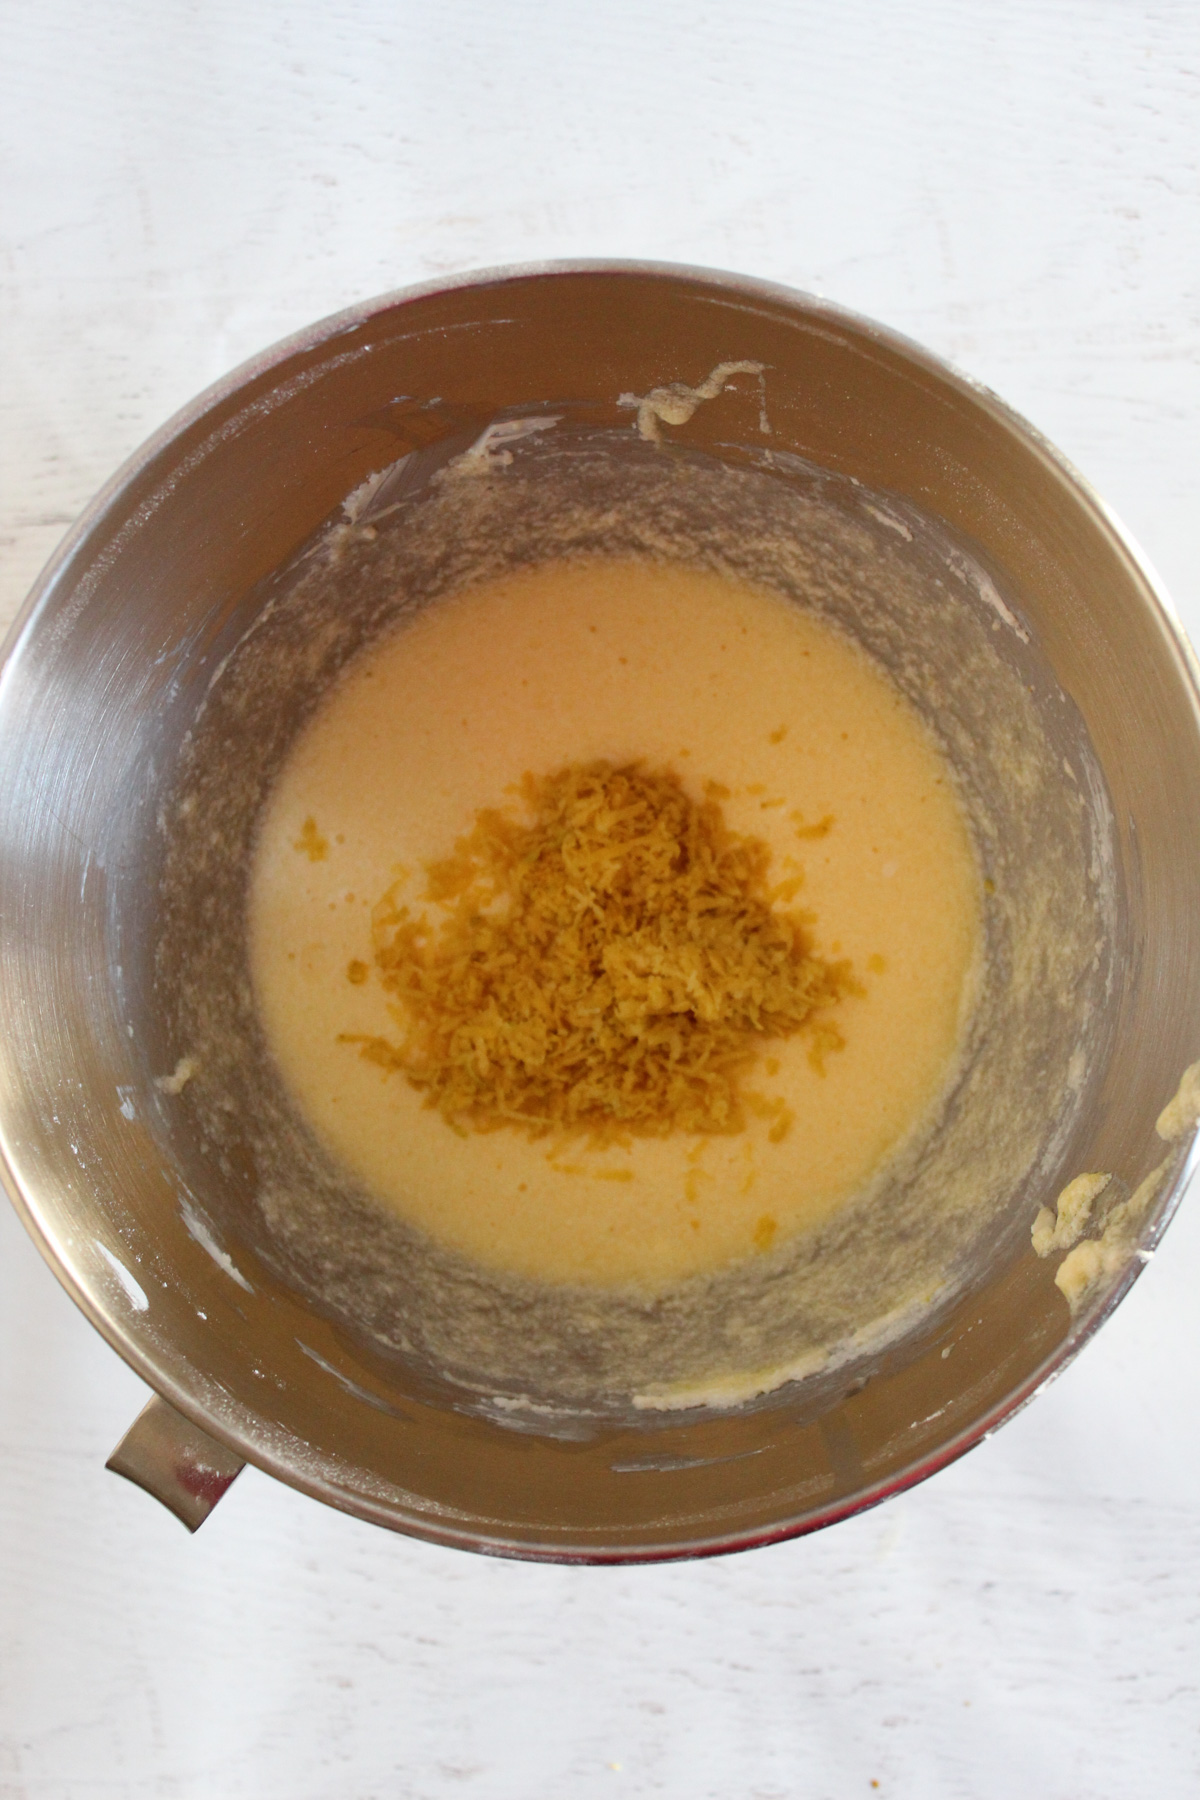
Step 6: Mix the Batter
Add half of the dry ingredients to the butter mixture and mix on low speed until incorporated.
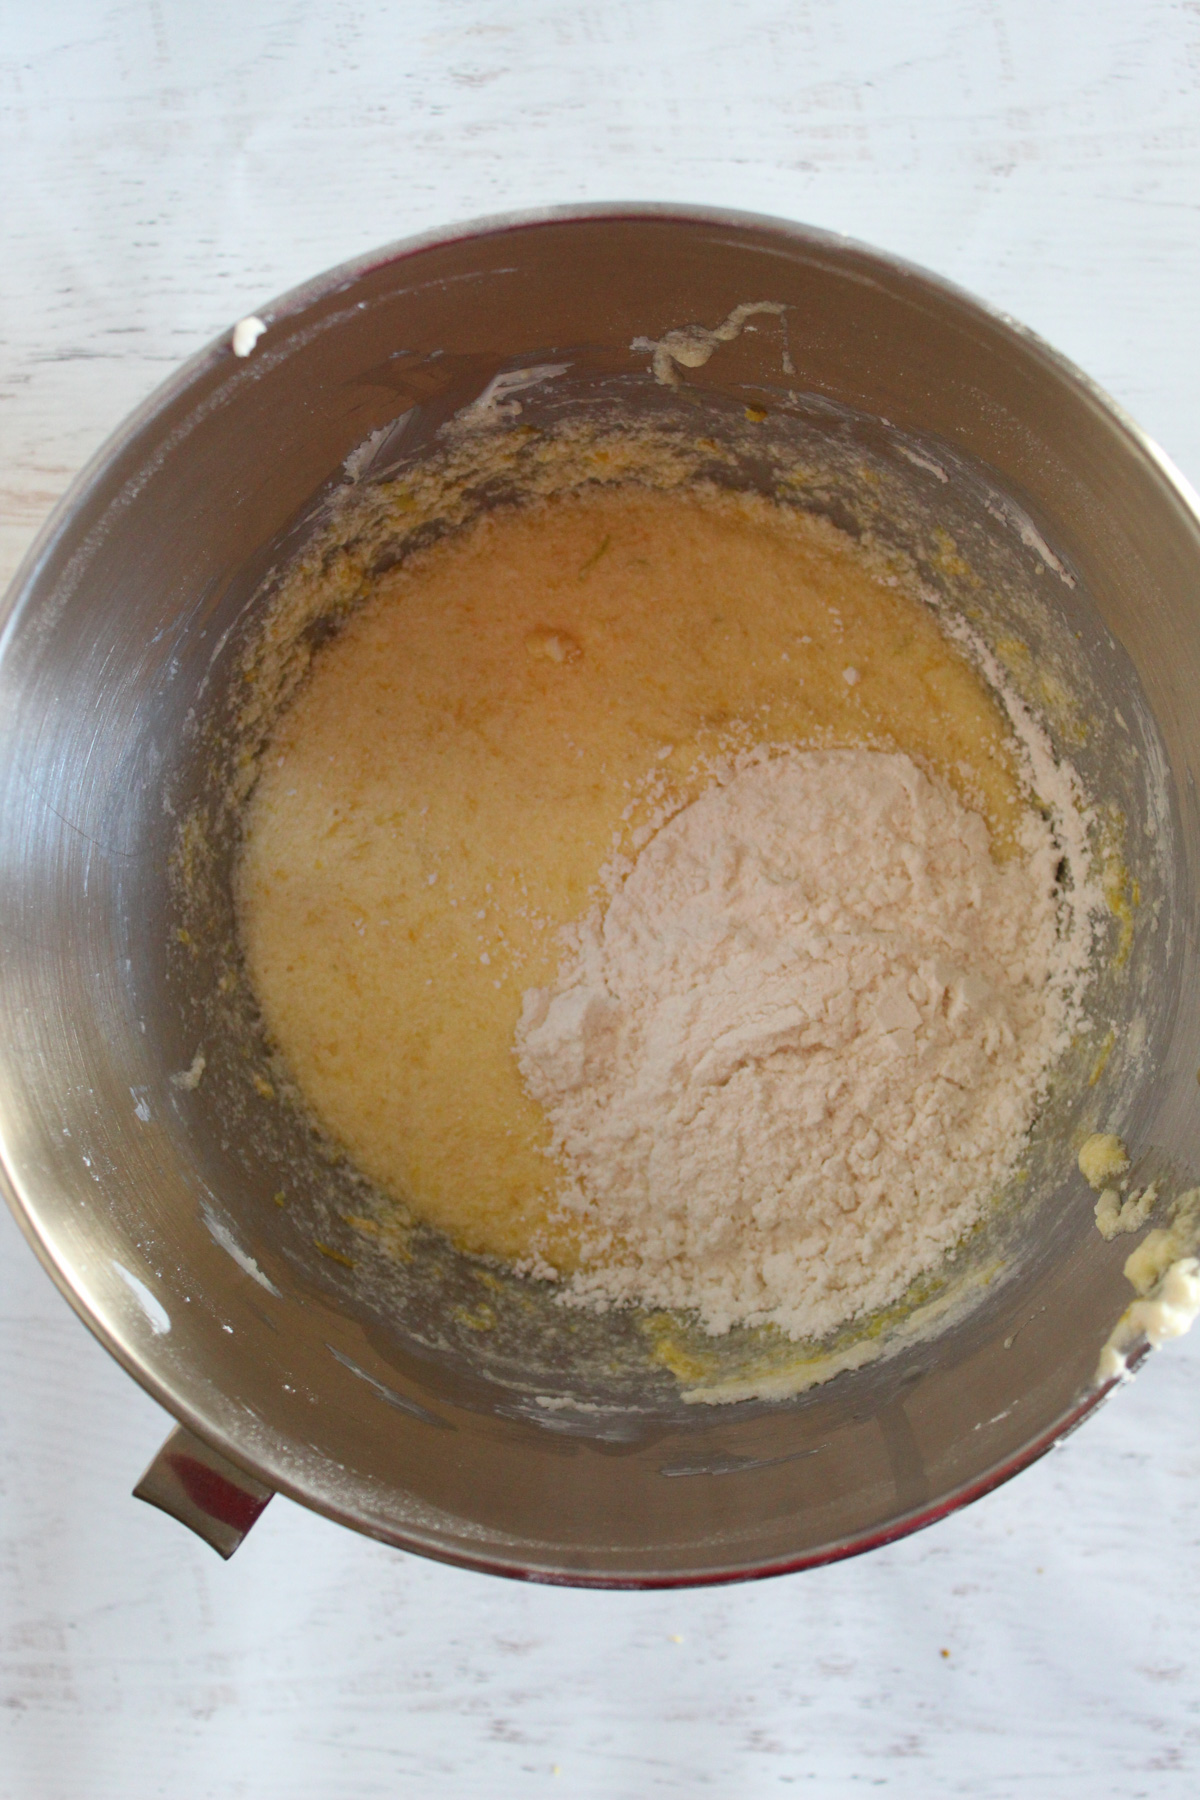
Then, add the buttermilk mixture and mix again.
Afterwards, add the remaining dry ingredients and mix until no dry flour remains.
The batter should be thick, smooth, and spreadable, with no dry pockets of flour.
Step 7: Rest the Batter
Let the batter rest for 30 minutes before baking.
This resting period allows the gluten-free flour to hydrate, thereby improving the final texture. Gluten-free batters often benefit from resting before baking.
The batter may thicken slightly during the resting period.
Step 8: Bake the Pound Cake
Preheat the oven to 350°F.
Then, transfer the batter to the prepared loaf pan and smooth the top.
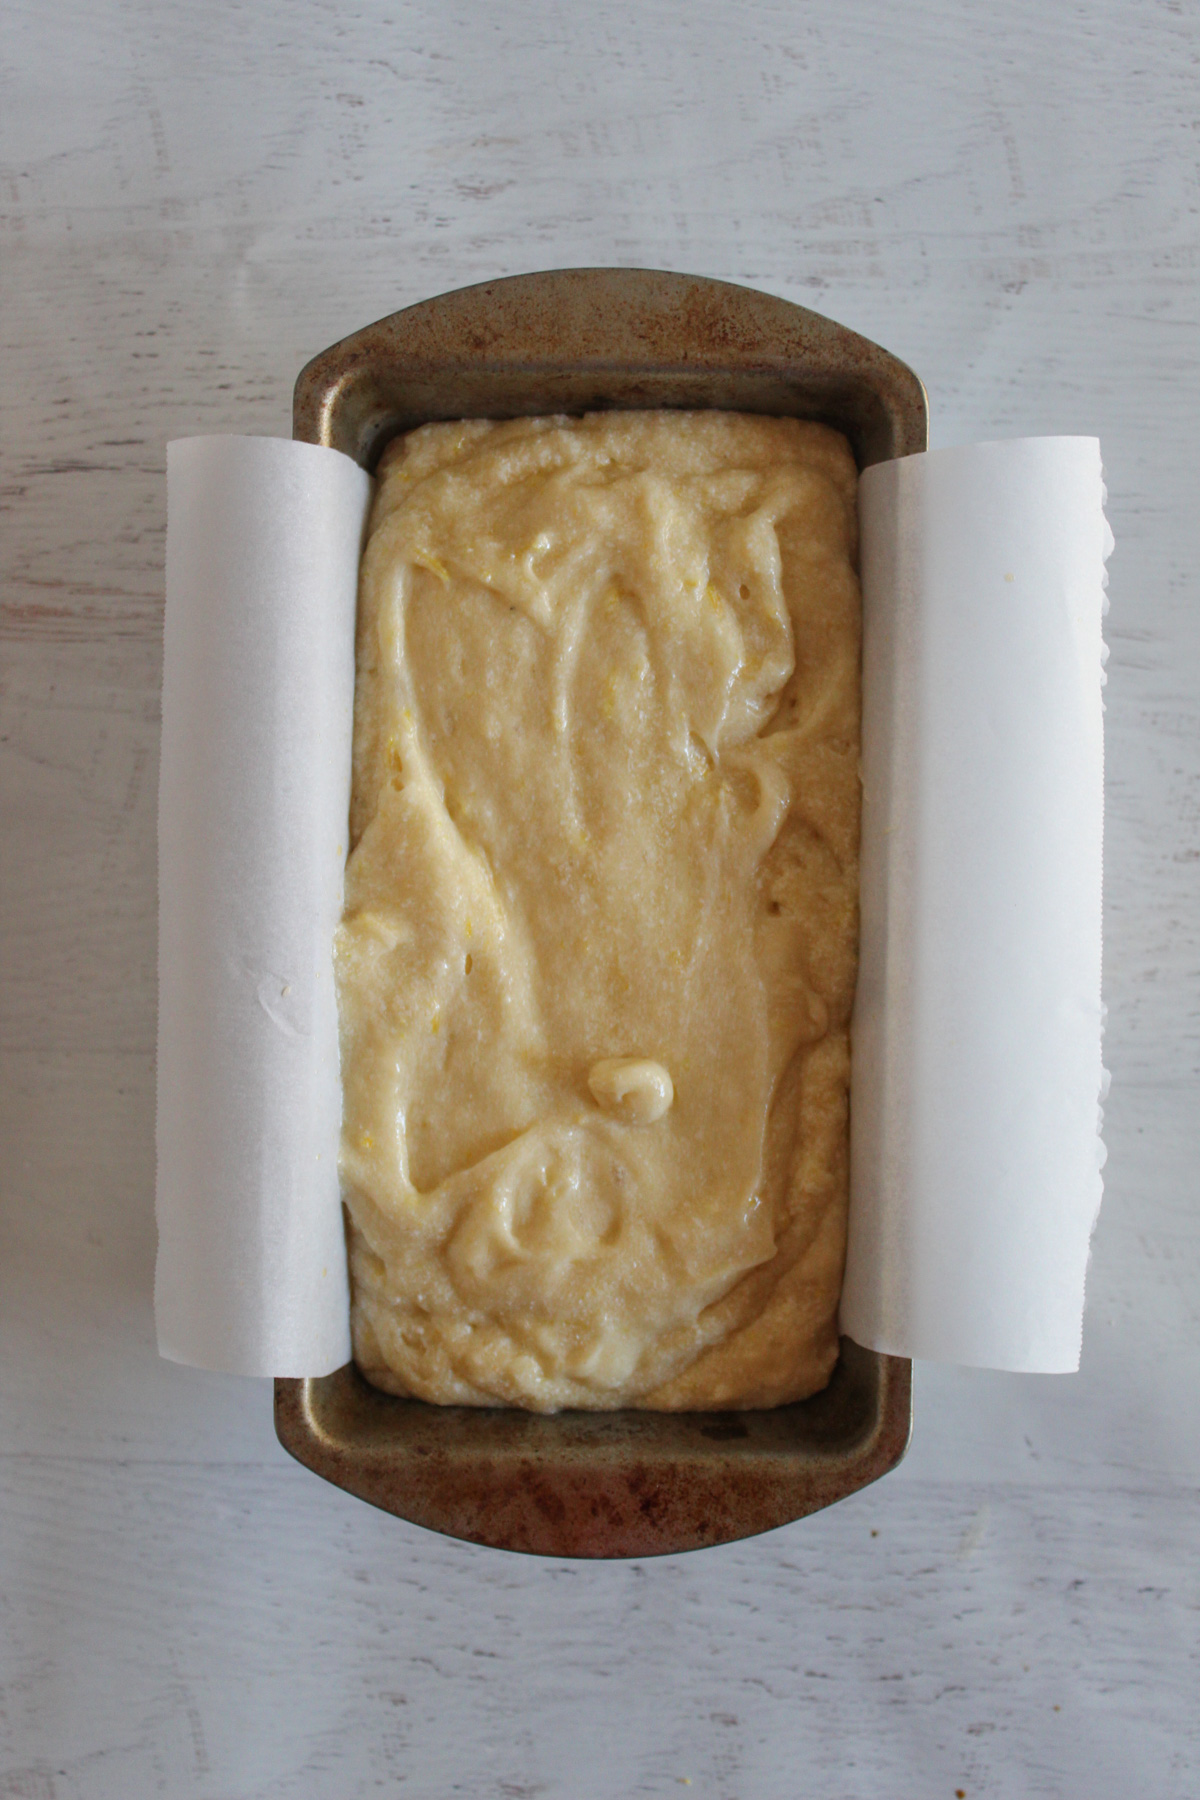
Bake for approximately 50 minutes.
Look out for the following visual cues:
- The top should be lightly golden.
- The center should no longer appear wet or shiny.
- The cake should pull slightly away from the sides of the pan.
- The center should spring back when gently pressed.
Step 9: Check for Doneness
As the baking time nears completion, confirm that the cake is fully baked before removing it from the oven.
Pay attention to the following doneness cues:
- Insert a toothpick or cake tester into the center of the loaf.
- The edges should begin pulling away from the pan
- A few moist crumbs are fine.
- Wet batter means the cake needs more time to bake.
- The center should feel set and spring back lightly when touched.
Step 10: Cool in the Pan
Place the pan on a cooling rack and let the cake cool for 5 minutes.
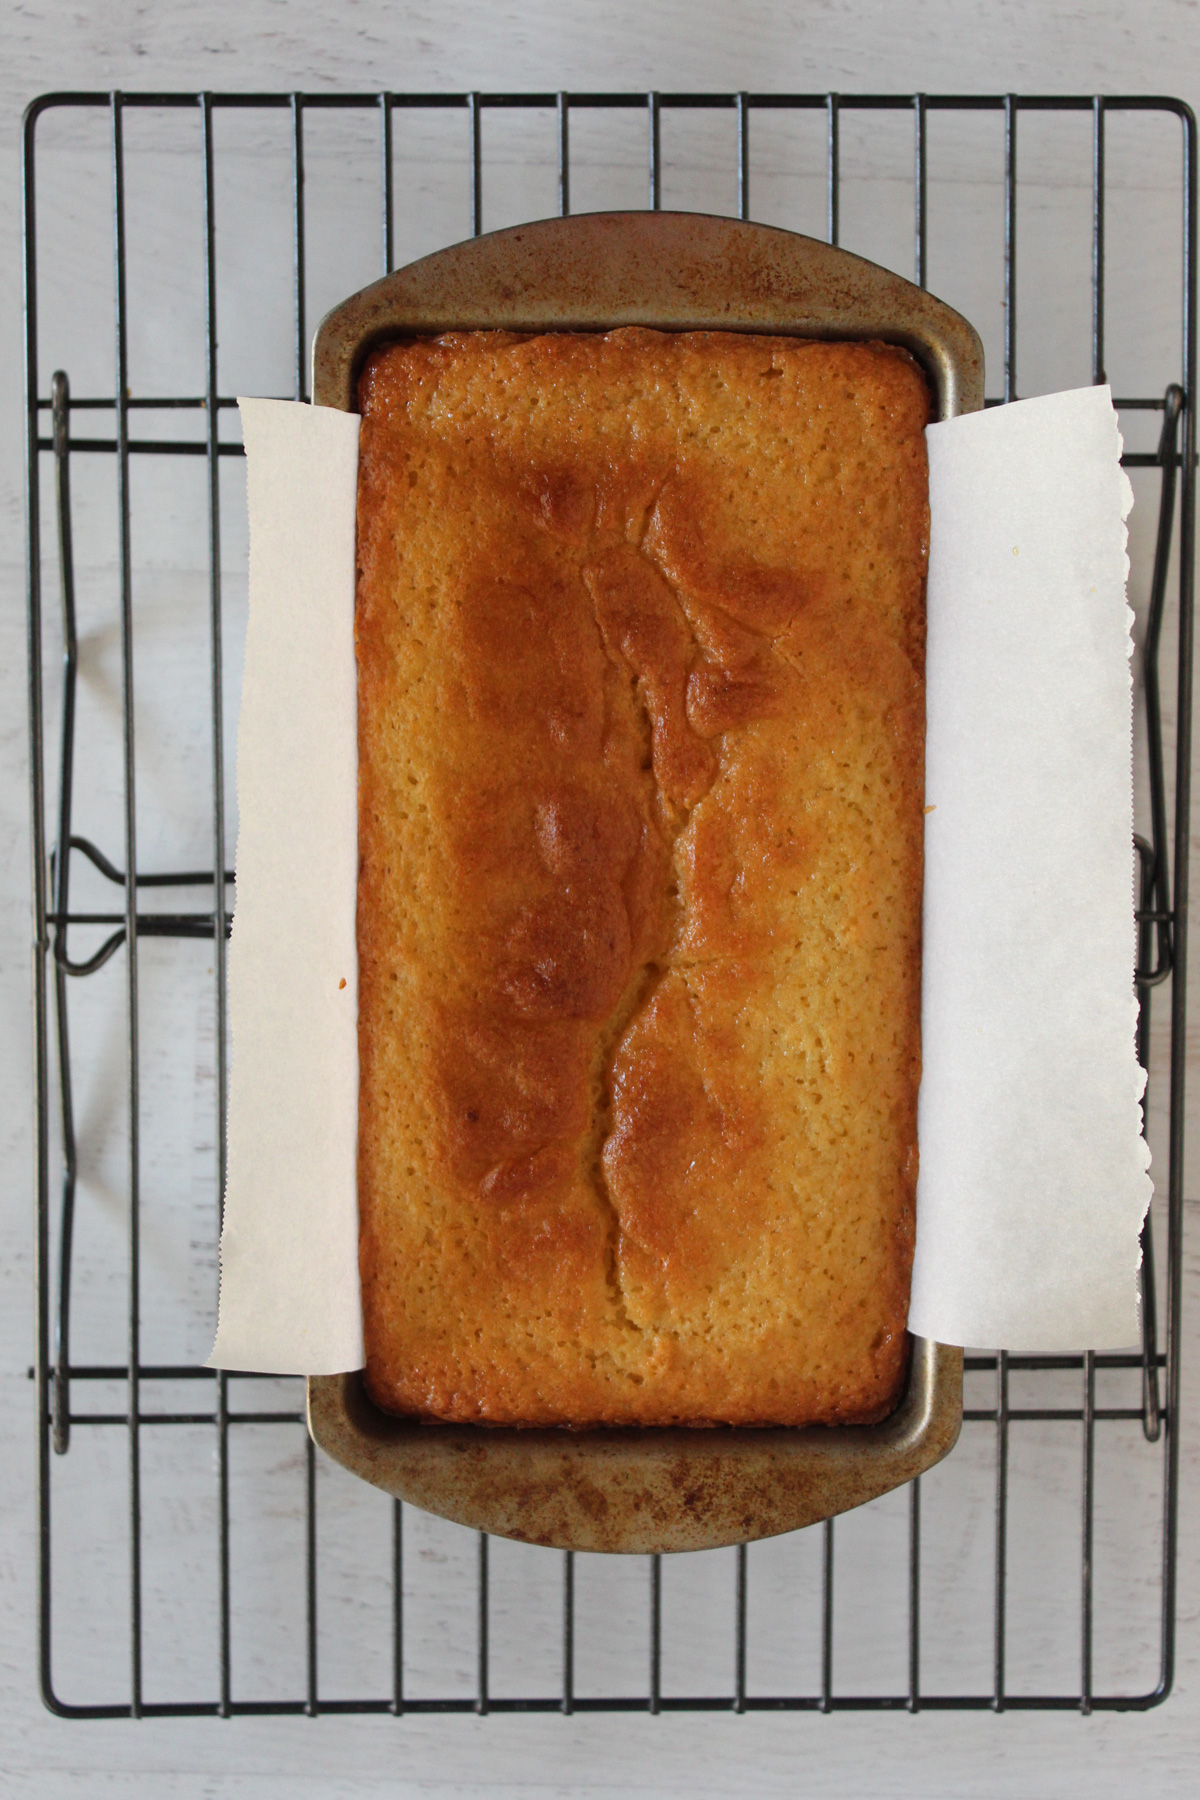
The loaf should feel stable enough to remove without cracking.
Step 11: Make the Lemon Syrup
While the cake is still warm, combine the sugar and lemon juice in a microwave-safe bowl. Heat until the sugar dissolves completely.
Afterwards, remove the cake from the pan and place it on a serving plate.

Then spoon the syrup evenly over the warm loaf.
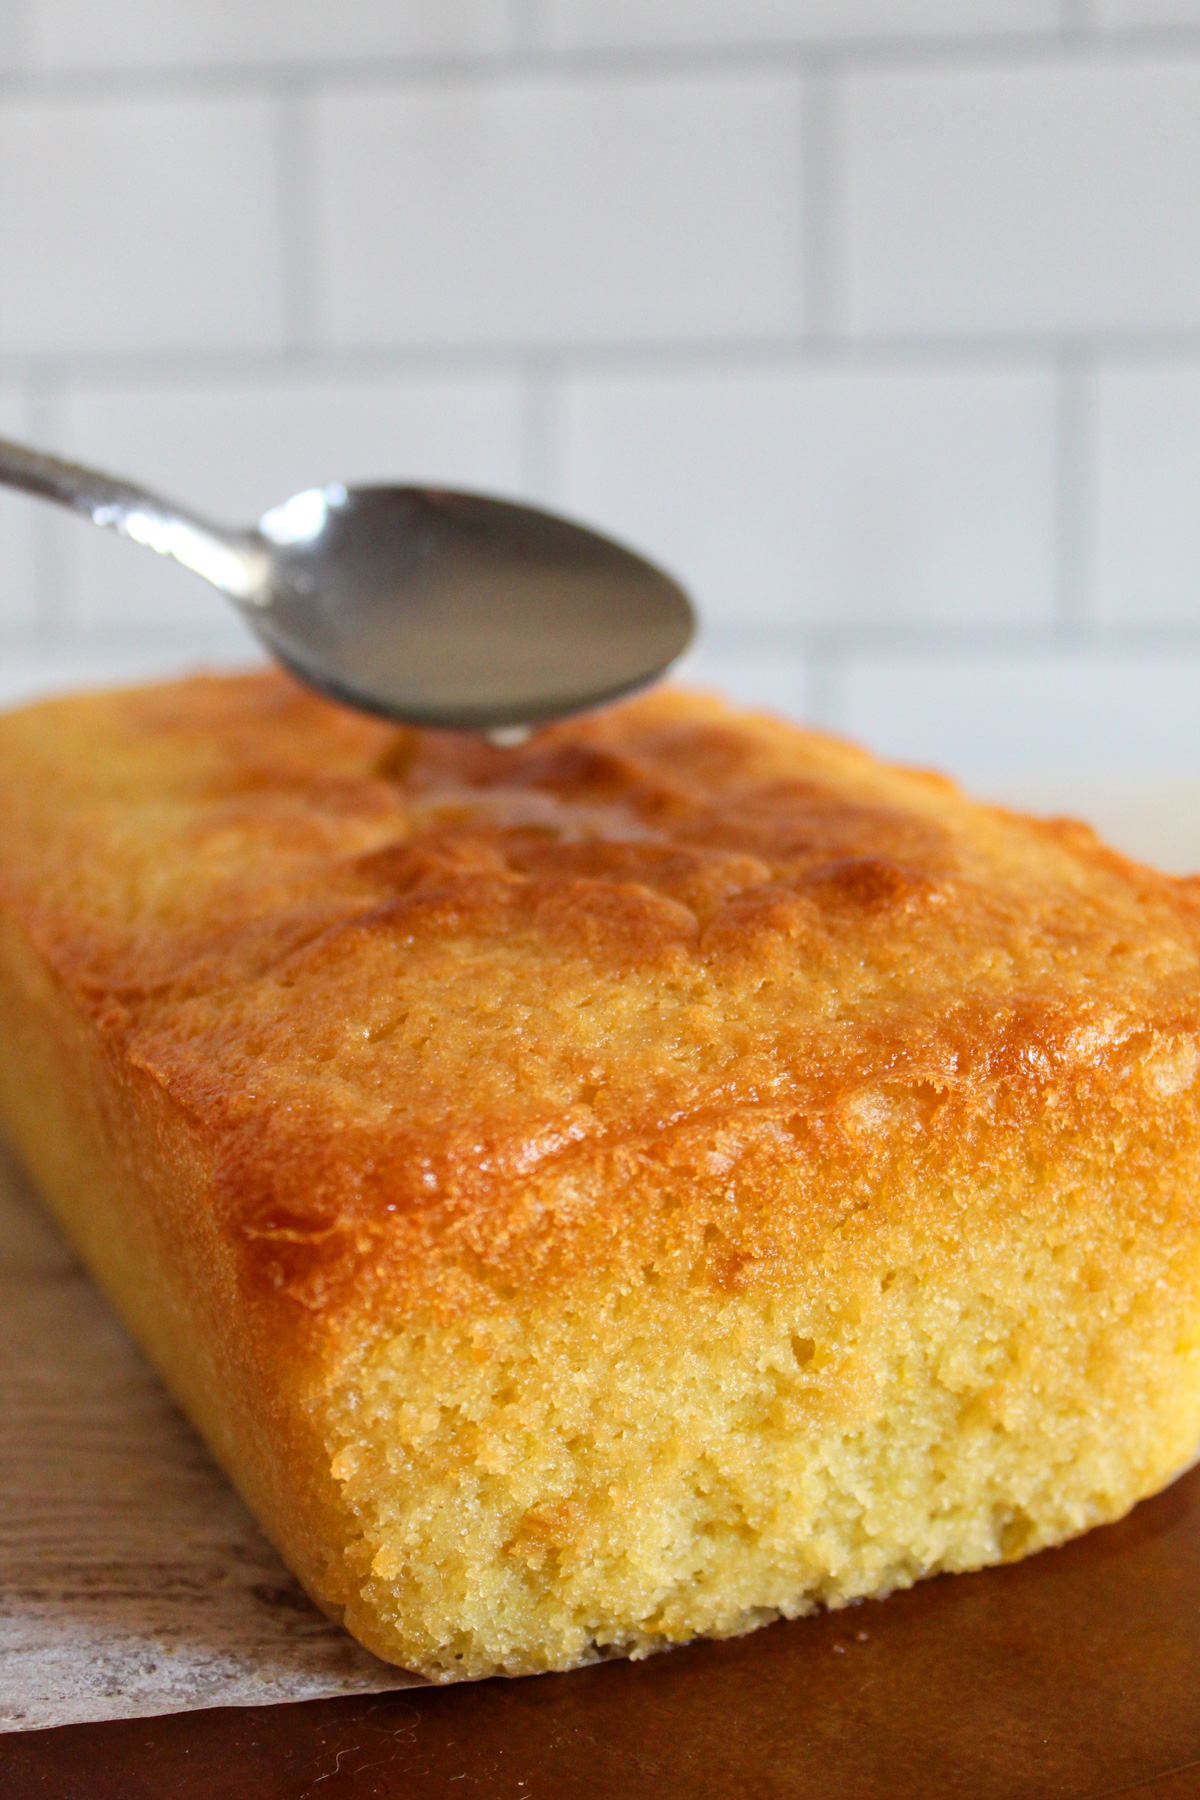
The syrup should be absorbed into the cake rather than pooling on the surface.
Step 12: Cool Completely
Allow the cake to cool completely before glazing.
The loaf should feel cool to the touch. Applying the glaze too early can cause it to melt and run off.
Step 13: Prepare the Lemon Glaze
Whisk together the powdered sugar and lemon juice until smooth.
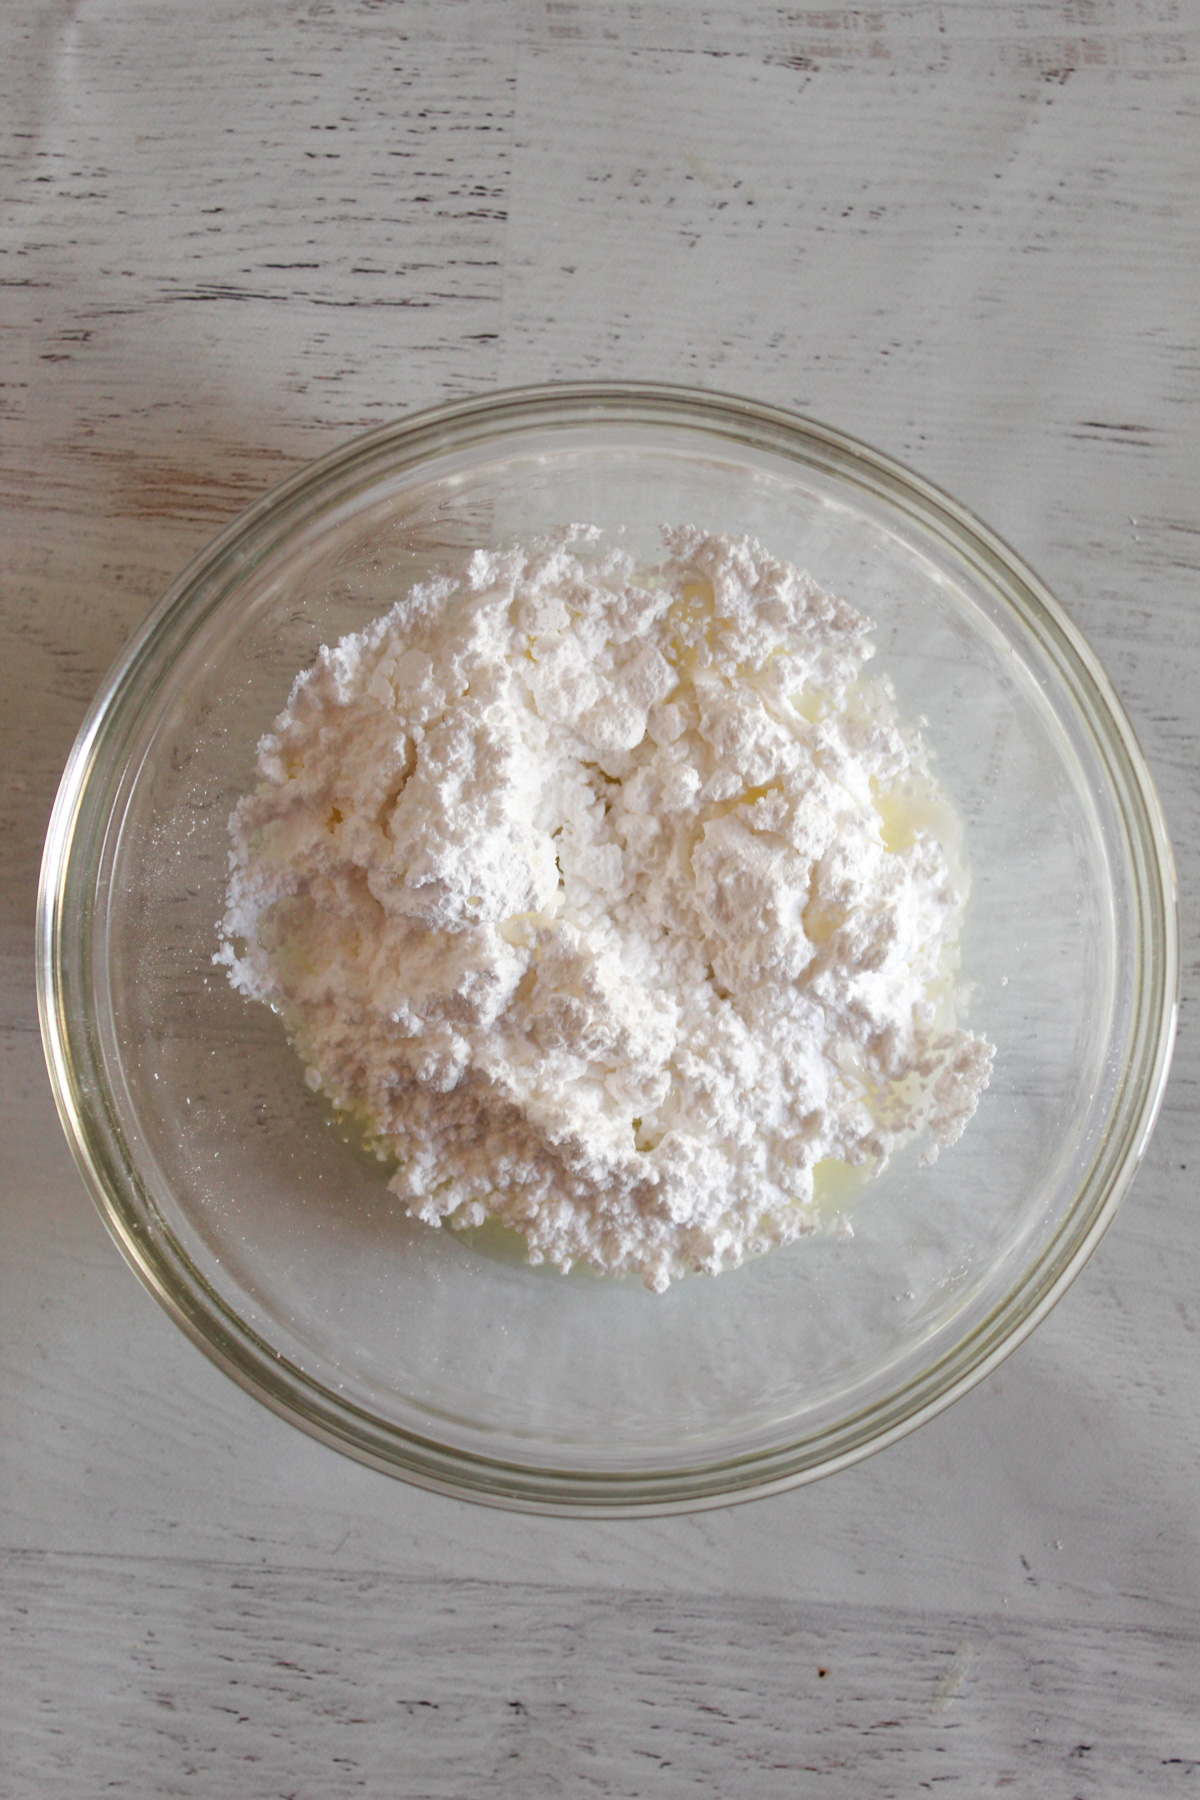
Afterwards, add additional lemon juice as needed to create a thin drizzle consistency.
The glaze should flow easily from a spoon yet still coat the cake’s surface.
Step 14: Glaze, Slice, and Serve
Drizzle the glaze over the cooled pound cake and allow it to set for several minutes before slicing.

The glaze should lightly firm up on the surface while remaining soft enough to cut cleanly.
Tips for Baking This Cake Successfully
Following the tips below can help you achieve the best texture, flavor, and appearance every time.
- Measure the flour carefully.
- Use room-temperature ingredients.
- Don’t overmix the batter.
- Let the batter rest.
- Use fresh lemons.
- Add the eggs one at a time.
- Follow the mixing order.
- Apply the syrup while the cake is warm.
- Cool completely before glazing.
- Check for doneness early.
Troubleshooting Gluten-Free Lemon Pound Cake
If your lemon pound cake doesn’t turn out as expected, use the chart below to identify the most common causes and solutions.
| Problem | Likely Cause | Solution |
|---|---|---|
| Dry cake | Too much flour or overbaking | Measure flour carefully and check for doneness early. |
| Sinking center | Undercooked center | Bake until a toothpick comes out clean or with a few moist crumbs. |
| Gummy texture | Underbaking or excess liquid | Verify doneness and allow the cake to cool completely before slicing. |
| Flat loaf | Expired baking powder or baking soda | Use fresh leavening agents. |
| Crumbly cake | Too much flour or insufficient moisture | Measure ingredients accurately and let the cake cool before slicing. |
| Weak lemon flavor | Not enough lemon zest or fresh juice | Use fresh lemons and don’t skip the lemon syrup or glaze. |
What to Serve With Gluten-Free Lemon Pound Cake
These easy variations below allow you to customize this gluten-free lemon pound cake while keeping the same reliable base recipe.
1. Add Fresh Berries
For a fruity twist, fold ¾ to 1 cup of fresh blueberries, raspberries, blackberries, or chopped strawberries into the batter before baking. Not only do the berries add natural sweetness, but they also pair beautifully with the bright lemon flavor.
2. Top with Coconut Whipped Cream
If you prefer a lighter dairy-free topping, serve each slice with coconut whipped cream. The creamy texture balances the citrus notes while allowing the lemon flavor to shine through.
3. Serve with Tea
This pound cake pairs especially well with Earl Grey, English Breakfast, chamomile, green tea, or lemon ginger tea. The citrus flavor complements both black and herbal teas.
4. Pair with Coffee
If you’re serving the loaf for breakfast or brunch, enjoy it with hot coffee, espresso, cold brew, or a dairy-free latte. The rich, pound-cake texture makes it an excellent coffee companion.
5. Add Dairy-Free Vanilla Ice Cream or Lemon Buttercream
Turn the loaf into a more indulgent dessert by serving it with dairy-free vanilla ice cream. For an even richer option, top each slice with our 4-Ingredient Lemon Buttercream.
Do you enjoy lemon desserts? Then you should try these Easy 8-Ingredient Gluten-Free Lemon Cranberry Muffins for another gluten-free recipe with fresh citrus flavor.
Storage, Freezing & Make-Ahead Tips
Proper storage helps maintain the moist texture and fresh lemon flavor of this gluten-free lemon pound cake.
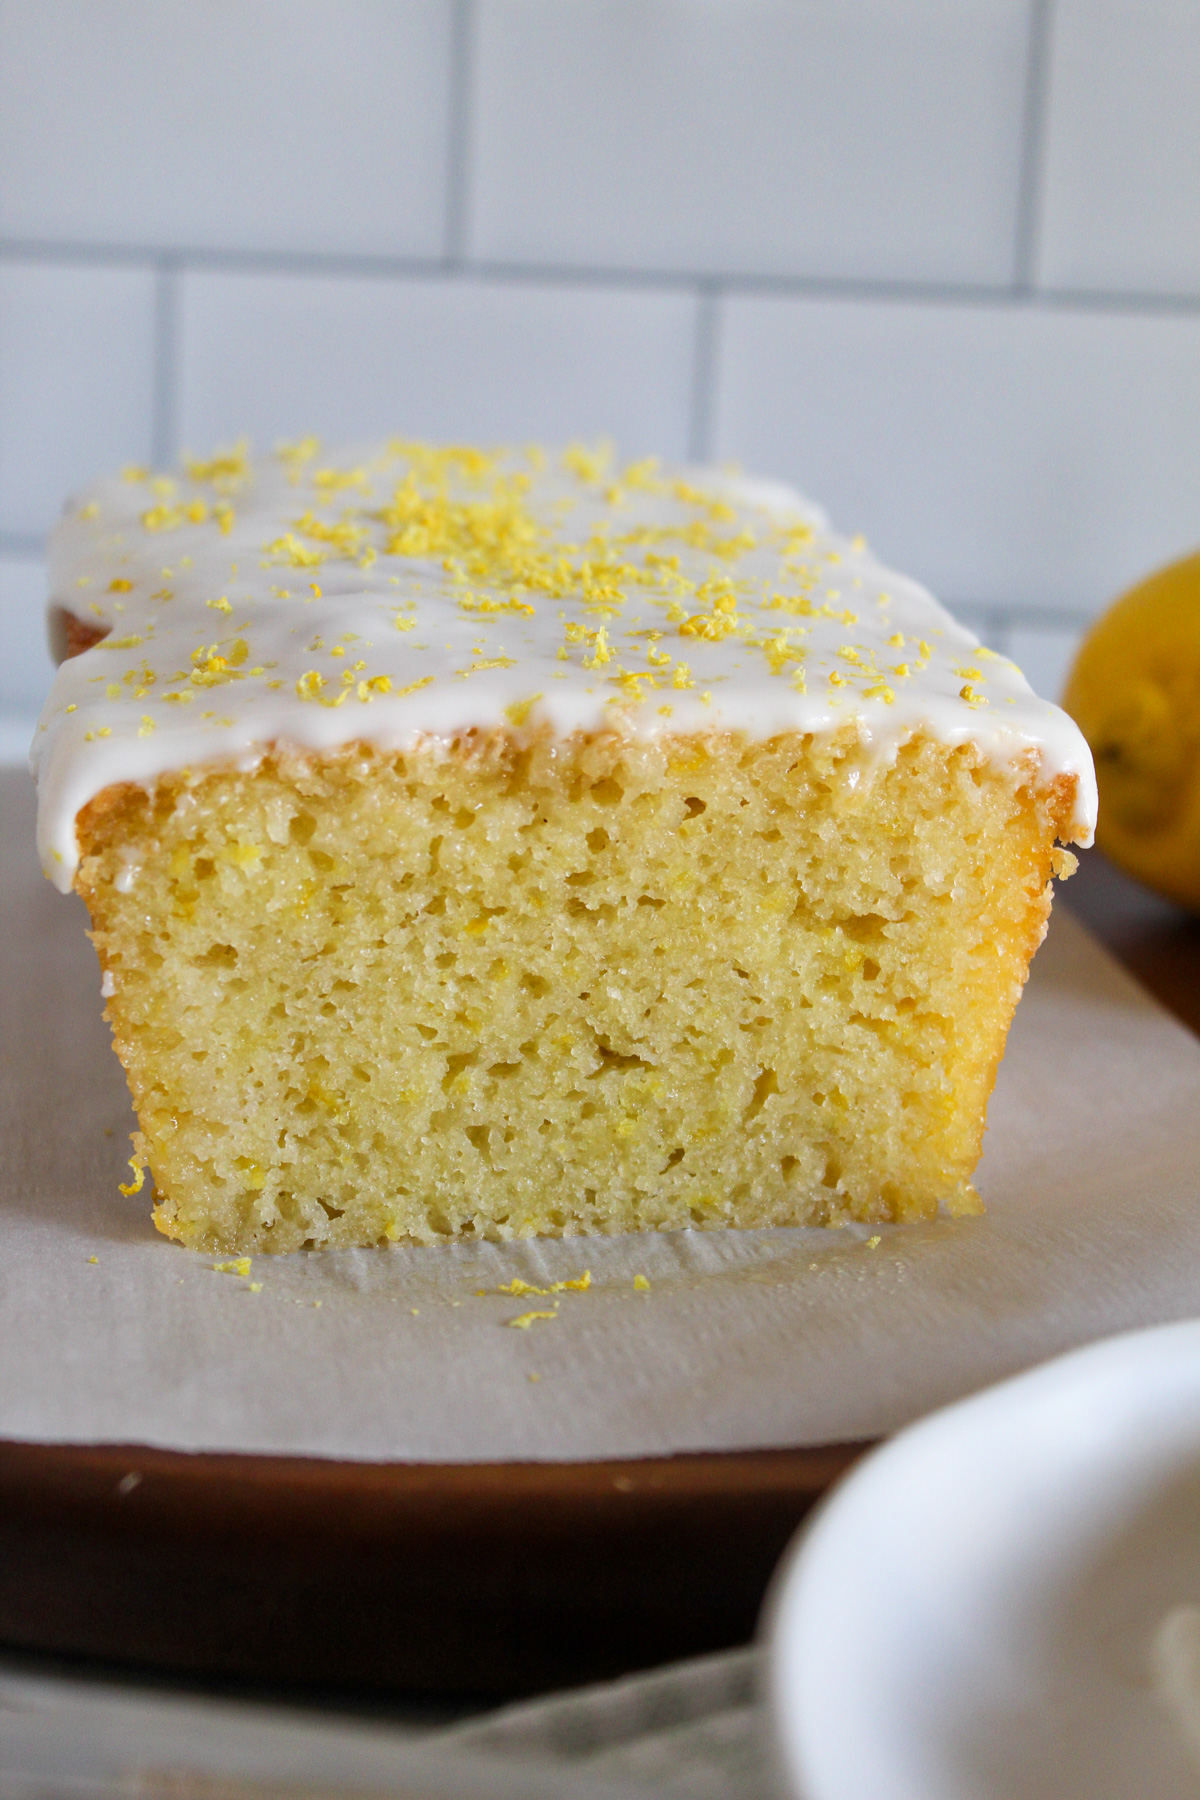
Room Temperature Storage
Once the loaf has cooled completely, store it in an airtight container at room temperature for up to 3 days. Keeping the cake covered helps prevent it from drying out.
Refrigerator Storage
If you need to store it longer, transfer the pound cake to an airtight container and refrigerate it for up to 1 week. Before serving, allow the slices to come to room temperature. As a result, the texture will be softer and more enjoyable.
Freezing Instructions
For even longer storage, freeze the cake. First, wrap individual slices or the entire loaf tightly in plastic wrap. Then, place it in a freezer-safe container or storage bag. When stored properly, the cake can be frozen for up to 3 months.
How to Thaw
To thaw, transfer the cake to the refrigerator overnight or leave it at room temperature for 1 to 2 hours before serving. Once thawed, the loaf should retain its moist texture and lemon flavor.
Make-Ahead Tips
This gluten-free lemon pound cake is a great make-ahead dessert for brunches, holidays, and special occasions. In fact, I often bake it 1 to 2 days in advance because the lemon flavor becomes even more pronounced over time.
For the best presentation, prepare the glaze and drizzle it over the cake on the day you plan to serve it. Meanwhile, you can make the lemon syrup ahead of time and refrigerate it until needed. This simple step helps keep the glaze looking fresh while allowing you to spread out the prep work.
Frequently Asked Questions
Before you start baking, here are answers to some of the most common questions readers ask about this gluten-free lemon pound cake. If you don’t see your question below, leave it in the comments, and we’ll be happy to help.
Why Does Gluten-Free Pound Cake Need to Rest Before Baking?
Resting the batter gives the gluten-free flour time to absorb moisture before it goes into the oven. This simple step helps improve the cake’s texture, reduces grittiness, and creates a more tender crumb.
Can I Make This Recipe Without the Lemon Glaze?
You can. The cake is delicious on its own, especially with the lemon syrup. However, the glaze adds an extra layer of bright lemon flavor and sweetness, enhancing the overall dessert.
Does This Pound Cake Taste Better the Next Day?
In my testing, the loaf was often even better on the second day. As it rests, the lemon syrup continues to absorb into the crumb, creating a moister texture and a more pronounced lemon flavor. Store the cake covered at room temperature overnight for the best results.
Can I Make This Cake for Someone Who Doesn’t Need a Gluten-Free Diet?
Definitely. This recipe was developed to deliver the rich texture and bright lemon flavor you’d expect from a traditional pound cake, making it a crowd-pleasing option for both gluten-free and non-gluten-free eaters.
Why Did My Lemon Glaze Soak Into the Cake?
This usually happens when the cake is still too warm. For the glaze to sit neatly on top, allow the loaf to cool completely before drizzling it over the surface. If the cake is warm, the glaze can melt and absorb into the crumb.
Can I Bake This Gluten-Free Lemon Pound Cake in a Different Pan?
Sure, you can. While I recommend an 8 x 4½-inch loaf pan for the best results, you can use a 9 x 5-inch loaf pan if needed. Keep in mind that the cake will be slightly shorter and may bake a little faster, so start checking for doneness a few minutes early.
More Gluten-Free Dessert Recipes You’ll Love
If you’re looking for more gluten-free desserts to add to your baking rotation, try one of these reader favorites next:
- The Best Gluten-Free Lemon Blueberry Muffins: Soft, moist muffins packed with fresh lemon flavor and juicy blueberries.
- Best Classic Coffee Cake Recipe with Cinnamon Streusel Topping: A tender cake topped with buttery cinnamon streusel, perfect for breakfast, brunch, or dessert.
- Soft Gluten-Free Sugar Cookies You Can Roll, Cut & Decorate: A versatile sugar cookie recipe that holds its shape and is ideal for holidays and special occasions.
- Almond Flour Brownies (Fudgy, Gluten-Free Recipe): Rich, chocolatey brownies with a fudgy texture and simple ingredients.
Whichever one you choose, you’ll have another easy, crowd-pleasing gluten-free dessert ready for your next baking day.
Did You Make This Gluten-Free Lemon Pound Cake?
Now it’s your turn to bake. If you try this gluten-free lemon pound cake recipe, we’d love to hear how it turned out. Leave a comment below and let us know:
- Did you make any substitutions?
- Did you try one of the variations?
- How did you serve it?
- Was the lemon flavor strong enough for your taste?
Your feedback helps other readers and may answer questions they have before baking.