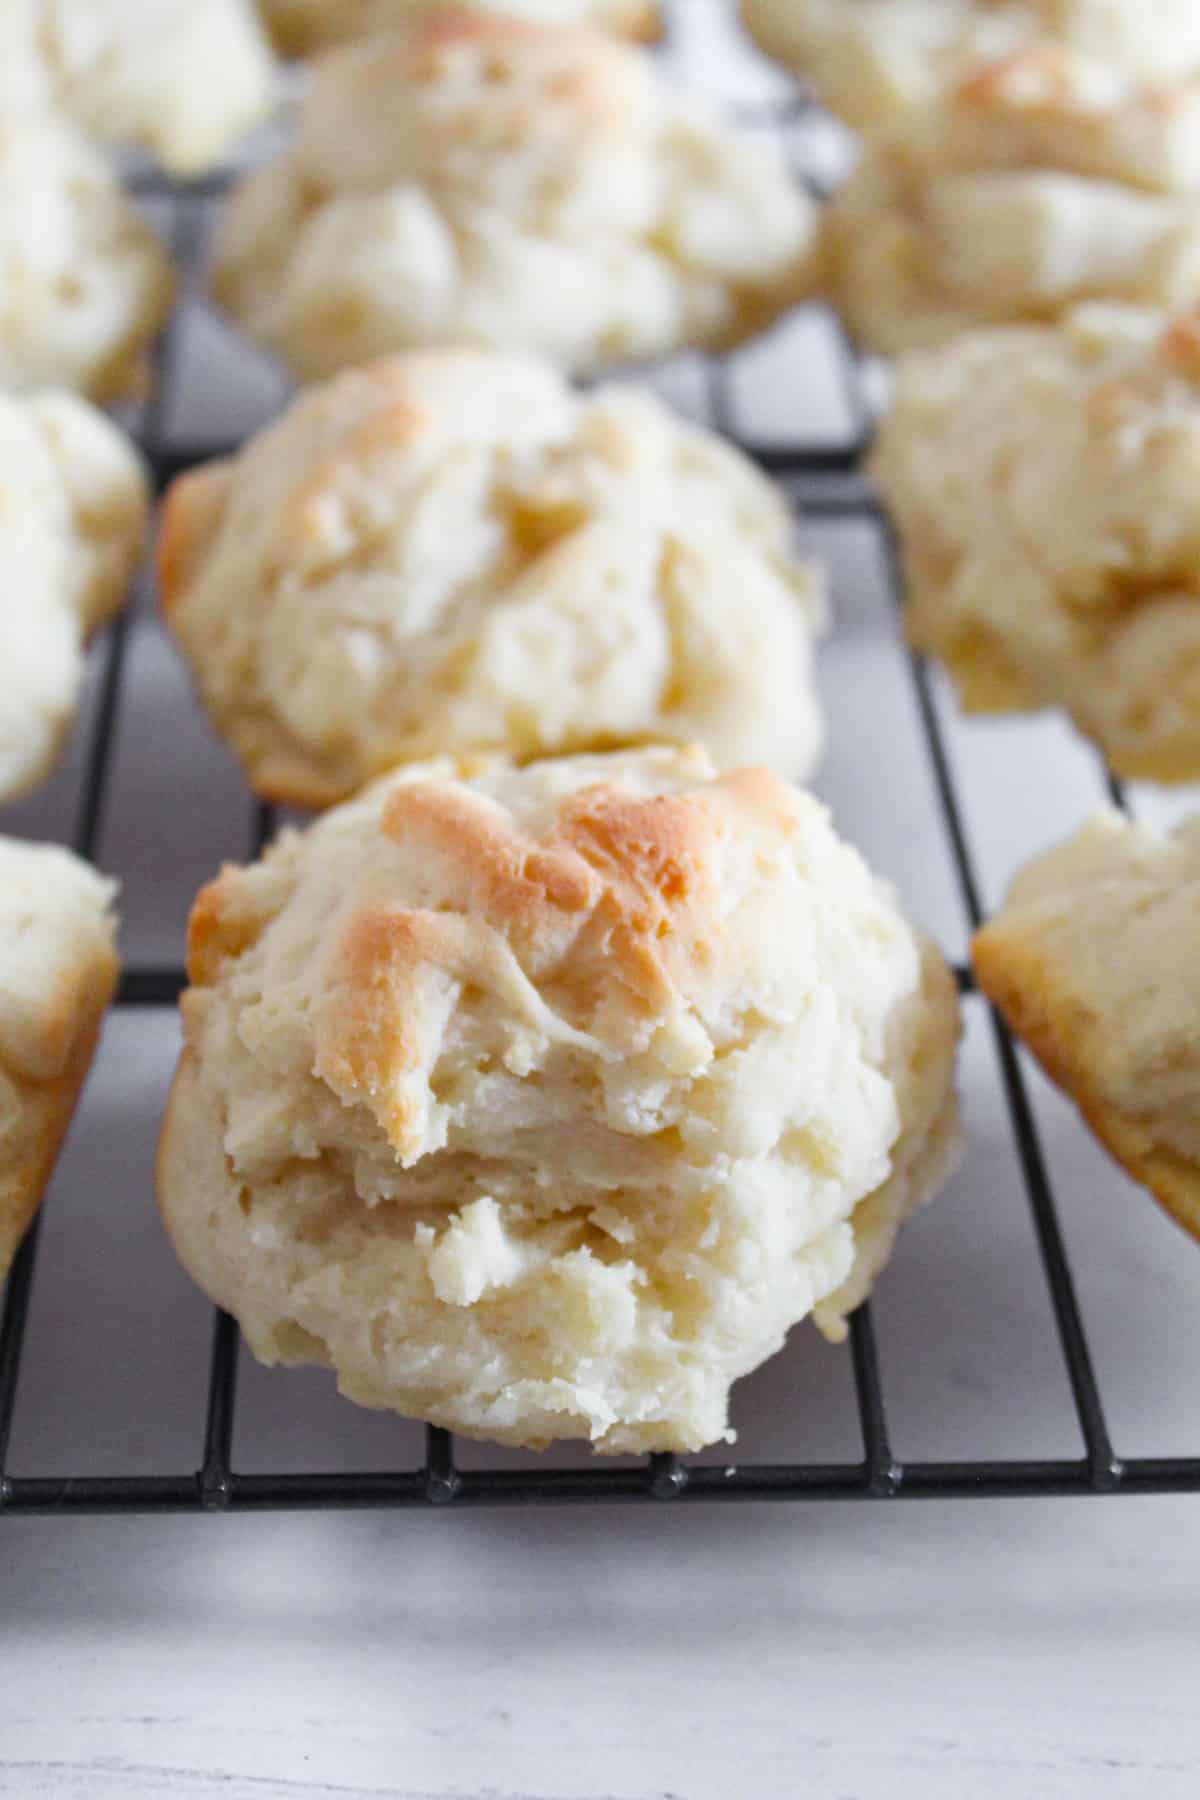
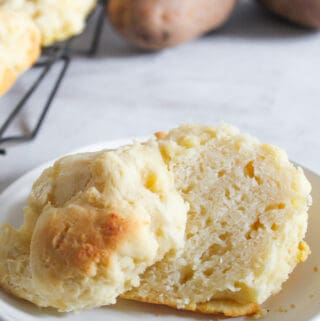
Craving those soft, fluffy potato rolls everyone pulls apart at the dinner table, but need them completely gluten-free? These gluten-free potato buns bake up tender, golden, and surprisingly light, with a soft interior that doesn’t taste “gluten-free” at all.
They’re simple enough for a family dinner, special enough for holidays, and perfect for using up leftover mashed potatoes. If you’ve struggled with dense or dry gluten-free rolls before, this recipe gives you the exact texture cues and bake targets you need to get them right.
Table of Contents
Gluten-Free Potato Buns at a Glance
Regardless of where you’re at in your gluten-free baking journey, these potato buns need to be on your go-to recipe list. This recipe isn’t complicated, so the aroma of freshly baked gluten-free rolls can soon fill your kitchen! Here are a few more reasons you’ll love these buns:
- You can make part of the recipe ahead of time! The potatoes can be baked, mashed, and then refrigerated until you are ready to make the buns.
- These rolls are so versatile – they make wonderful potato burger buns as well.
- The recipe requires just 25 minutes of prep time.
- Potatoes are gluten-free and keep these buns tender and flavorful.
Equipment for Potato Buns
Most of these tools should sound familiar if you do a lot of baking, especially gluten-free baking.
- Digital Kitchen Scale
- Small Mixing Bowl or Measuring Cup
- Medium Mixing Bowl
- Stand Mixer with Mixing Bowl
- Rubber Spatula (for scraping the sides of the bowl)
- Flat Metal Turner (for removing buns from baking dish)
- 9X13 Baking Dish (also called a casserole dish)
- Measuring Cups and Spoons
- Cooking Spray
- Cooking Thermometer
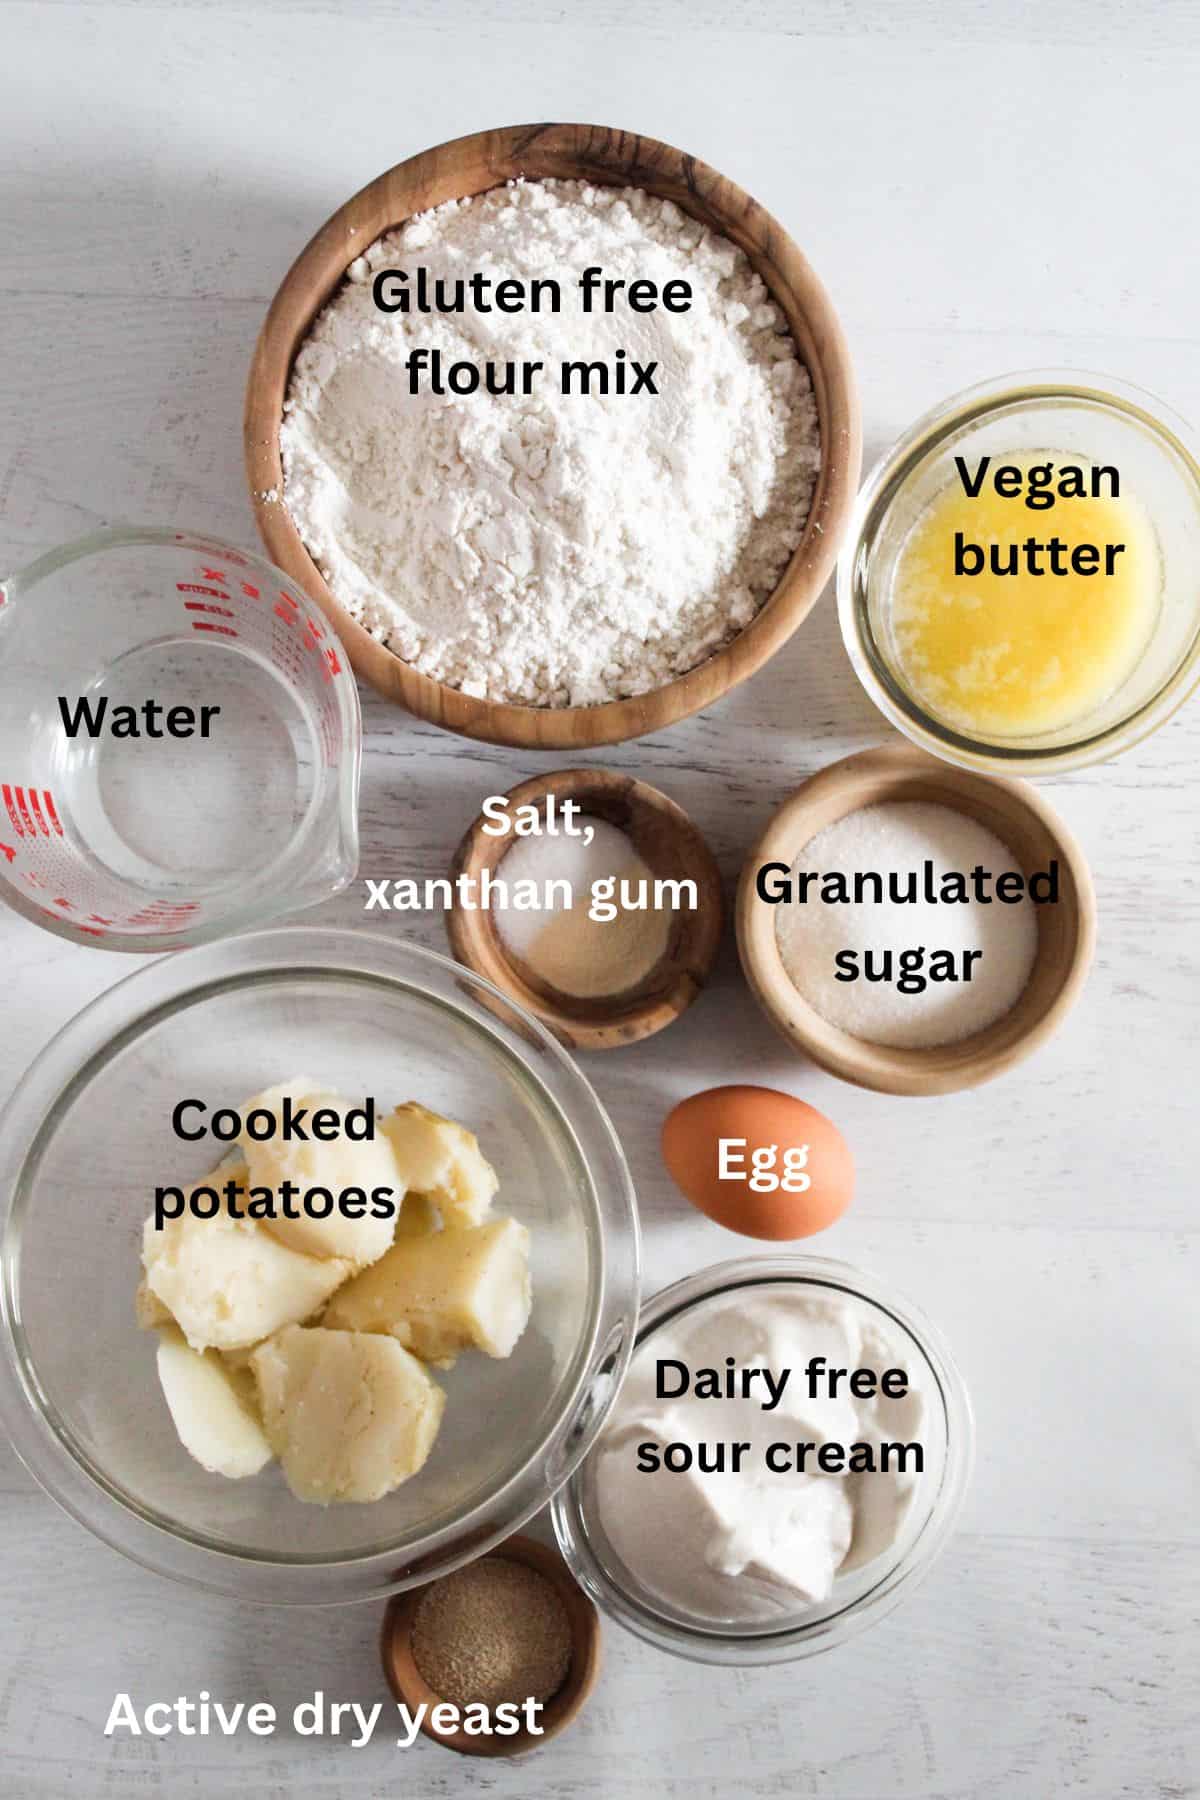
Ingredients for Gluten-Free Potato Buns
It can sound intimidating to make buns that are both gluten-free and dairy-free. It really is easier than you’d think, though. It just requires precise measurements for some dry ingredients to get the buns’ texture exactly right, which is a major reason I insist on using the digital kitchen scale for most gluten-free recipes.
Let’s start by looking at the ingredients you’ll need for these potato buns.
- Warm water
- Active dry yeast
- Sugar
- Cooked potatoes
- Egg
- Dairy-free sour cream
- Vegan butter
- Gluten-free flour mix
- Salt
- Xanthan gum
Key Ingredient Roles for Gluten-Free Potato Buns
Curious about these ingredients for gluten-free potato buns? Here’s what each of these ingredients adds to this recipe!
Warm Water
1/4 cup warm water
Warm water helps activate the yeast before you add it to the dough. The trick is to get the water hot but not too hot.
According to the Exploratorium’s page on the proper temperature for yeast, the water used to activate dry yeast should be between 105 and 115 degrees Fahrenheit (41-46 degrees Celsius). If the water is hotter than 130 degrees Fahrenheit (55 degrees Celsius, it will kill any variation of baker’s yeast.
I’ll aim for 110 degrees Fahrenheit (43 degrees Celsius) when heating water for dry yeast. If you use a thermometer to measure the water’s temperature, make sure it’s waterproof! Some meat thermometers, like this TempPro Lightning model, do have a waterproof rating.
Active Dry Yeast
1 packet, or 2 1/4 teaspoons, active dry yeast
Yeast is a biological leavening agent that metabolizes sugar to produce the carbon dioxide bubbles that make these buns rise. Like most leavening agents, yeast needs time and the correct conditions to work.
- If the water is too hot, it will kill the yeast.
- If the water is too cold, the yeast might not activate properly.
- If there’s not enough sugar or too much salt, or the dough isn’t allowed to rest long enough, you likely won’t get the full rising power of the yeast.
The video below explains everything you ever (and never) wanted to know about yeast.
So it’s finicky, mostly because it’s a living organism. It’s also the best leavening agent for a “bread-like” baked good, such as these buns. Handle yeast correctly, and you’ll get nice, fluffy potato buns!
Sugar
50 grams (about 1/4 cup) sugar
Sugar gives the yeast something to metabolize, allowing it to make the dough rise. Unlike baking powder and baking soda, which rely on an acid to work, yeast relies on having enough sugar.
Cooked Potatoes
175 grams cooked potatoes (about 2 average-sized baker potatoes)
Potatoes provide a lot of the starch needed to thicken the dough and retain moisture. Cooking them helps unlock the starch so it is incorporated in the dough more thoroughly.
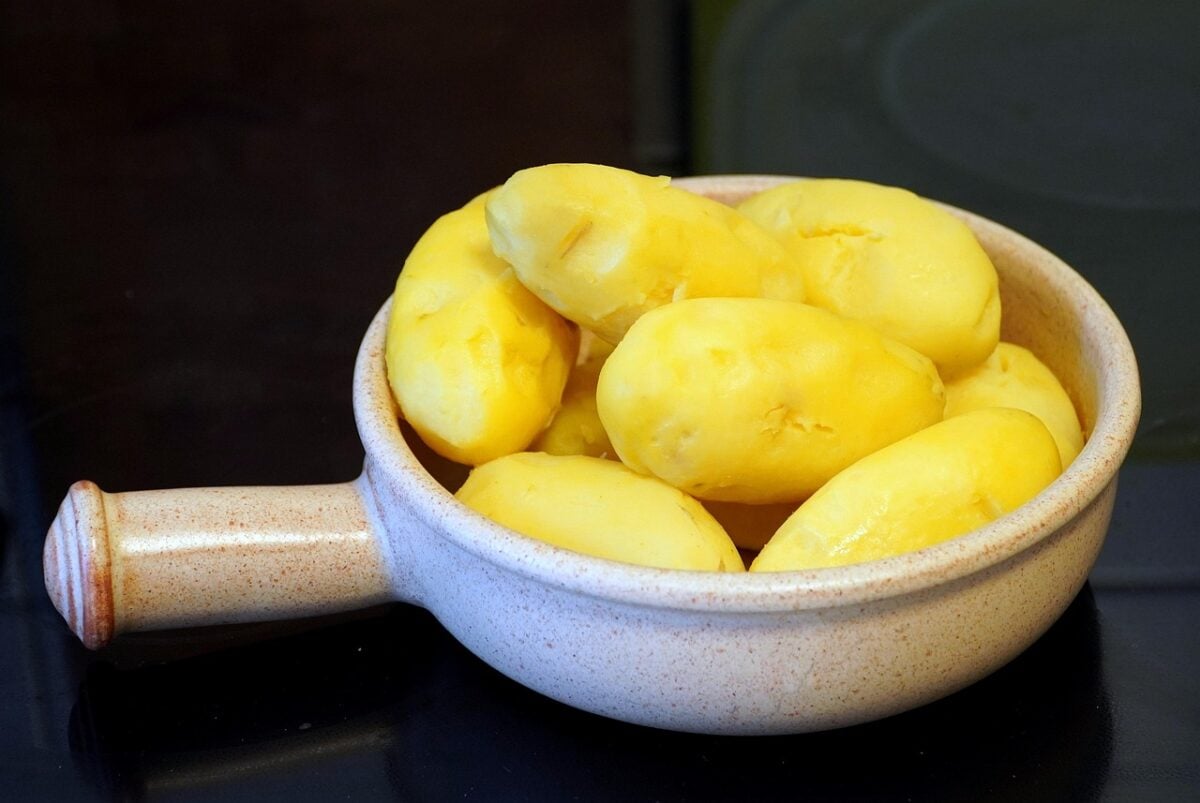
How to cook the potatoes: Peel 2 potatoes and place them in a pot with enough cold water to cover them. Bring to a boil and let the potatoes boil for about 20 minutes. They are done when they are tender enough for a fork to pierce them easily. No need to mash them a ton since they will be mixed with the rest of the ingredients in a mixer.
Egg
1 egg
Eggs are a common binder in baking. They interact with the dry ingredients to prevent the finished baked good from becoming too dry and crumbly.
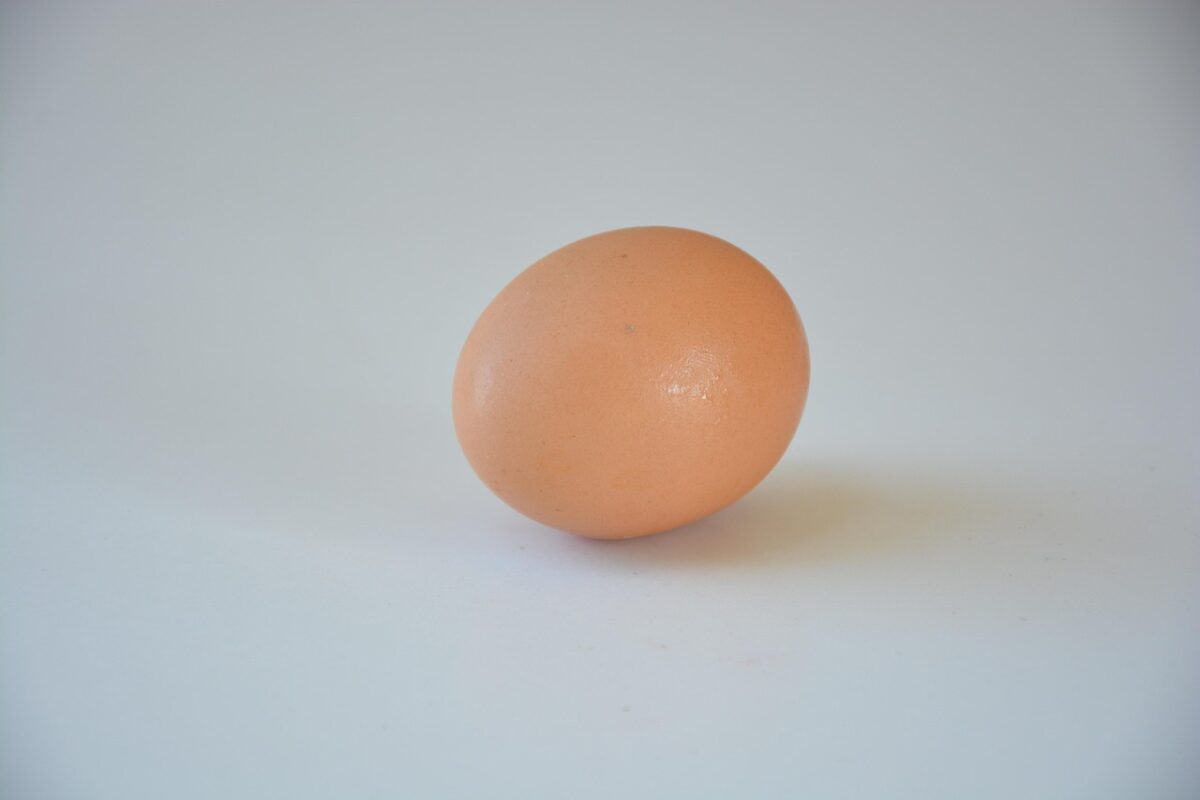
The proteins in egg whites will denature, or uncurl, while baking. This allows them to bond with neighboring proteins in the buns, creating a web that traps air bubbles. So the egg white helps create the light, fluffy texture by preventing the carbon dioxide generated by the yeast from escaping so easily.
The egg yolks also contribute an emulsifier that interacts with fat and water particles to prevent fat from separating from the water in the dough and forming large clumps.
Dairy-Free Sour Cream
1 cup dairy-free sour cream
Dairy-free sour cream adds creamy richness and moisture to the potato buns.
Vegan Butter
4 tablespoons melted vegan butter
Vegan butter adds the vegetable-based fats needed to give these buns a little extra richness and moisture.
Gluten-Free Flour Blend
390 grams gluten-free flour blend
I use this recipe for gluten-free flour blend because it contains everything needed to replace wheat flour without adding xanthan gum. (Here, we don’t need to include the xanthan gum with the flour blend because we add it to the potato buns separately.) The trick to replacing wheat flour is to avoid using a single-flour replacement, because only one grain, like rice or corn, is unlikely to contain everything needed to replace the gluten in wheat flour.
The gluten-free flour blend I use for this recipe contains white rice flour, brown rice flour, tapioca powder, cornstarch, and potato flour. (Yes, more potato – it really is good for adding more binding and moisture retention power to the dough.) This gives you everything you need in a flour blend that replaces the gluten-loaded wheat flour.
If you would rather buy some gluten-free flour, you basically want to look for three things on the label:
- The flour should be certified gluten-free. This means the flour is not only free of gluten-containing grains but has also been made in a facility that guarantees that it can’t be cross-contaminated with grain dust or other environmental components that might contain gluten. The FDA provides guidance on handling, processing, and labeling requirements for “certified gluten-free” packaged food, such as gluten-free flour mixes.
- The flour contains a mix of gluten-free grains that can replace the gluten in wheat flour.
- The flour mix does not contain xanthan gum; if it does, leave it out of this recipe.
Salt
1 teaspoon salt
Salt adds a little flavor to the buns and also helps control the yeast’s action. Too much salt can harm the yeast; just enough can keep it from working too fast.
Xanthan Gum
1 teaspoon xanthan gum
Xanthan gum is a common thickener and binder in gluten-free recipes. It’s basically meant to do everything that gluten can do.
What to remember about xanthan gum: Don’t use too much! Recipes will rarely call for more than one teaspoon. Xanthan gum is a refined dietary fiber that can produce a laxative effect if consumed in large amounts and can affect digestive systems that are sensitive to dietary fiber, especially hard.
Printable Gluten-Free Potato Buns Recipe Card
Ingredients
- 1/4 cup water warmed to 110F – can use water from cooking potatoes
- 2 1/4 teaspoons active dry yeast 1 packet
- 175 grams plain mashed potatoes about 1 cup
- 50 grams granulated sugar about 1/4 cup
- 1 egg
- 1 cup dairy free sour cream
- 4 Tablespoons vegan butter melted and cooled slightly
- 390 grams gluten free flour blend about 3 cups
- 1 teaspoon salt
- 1 teaspoon xanthan gum
Instructions
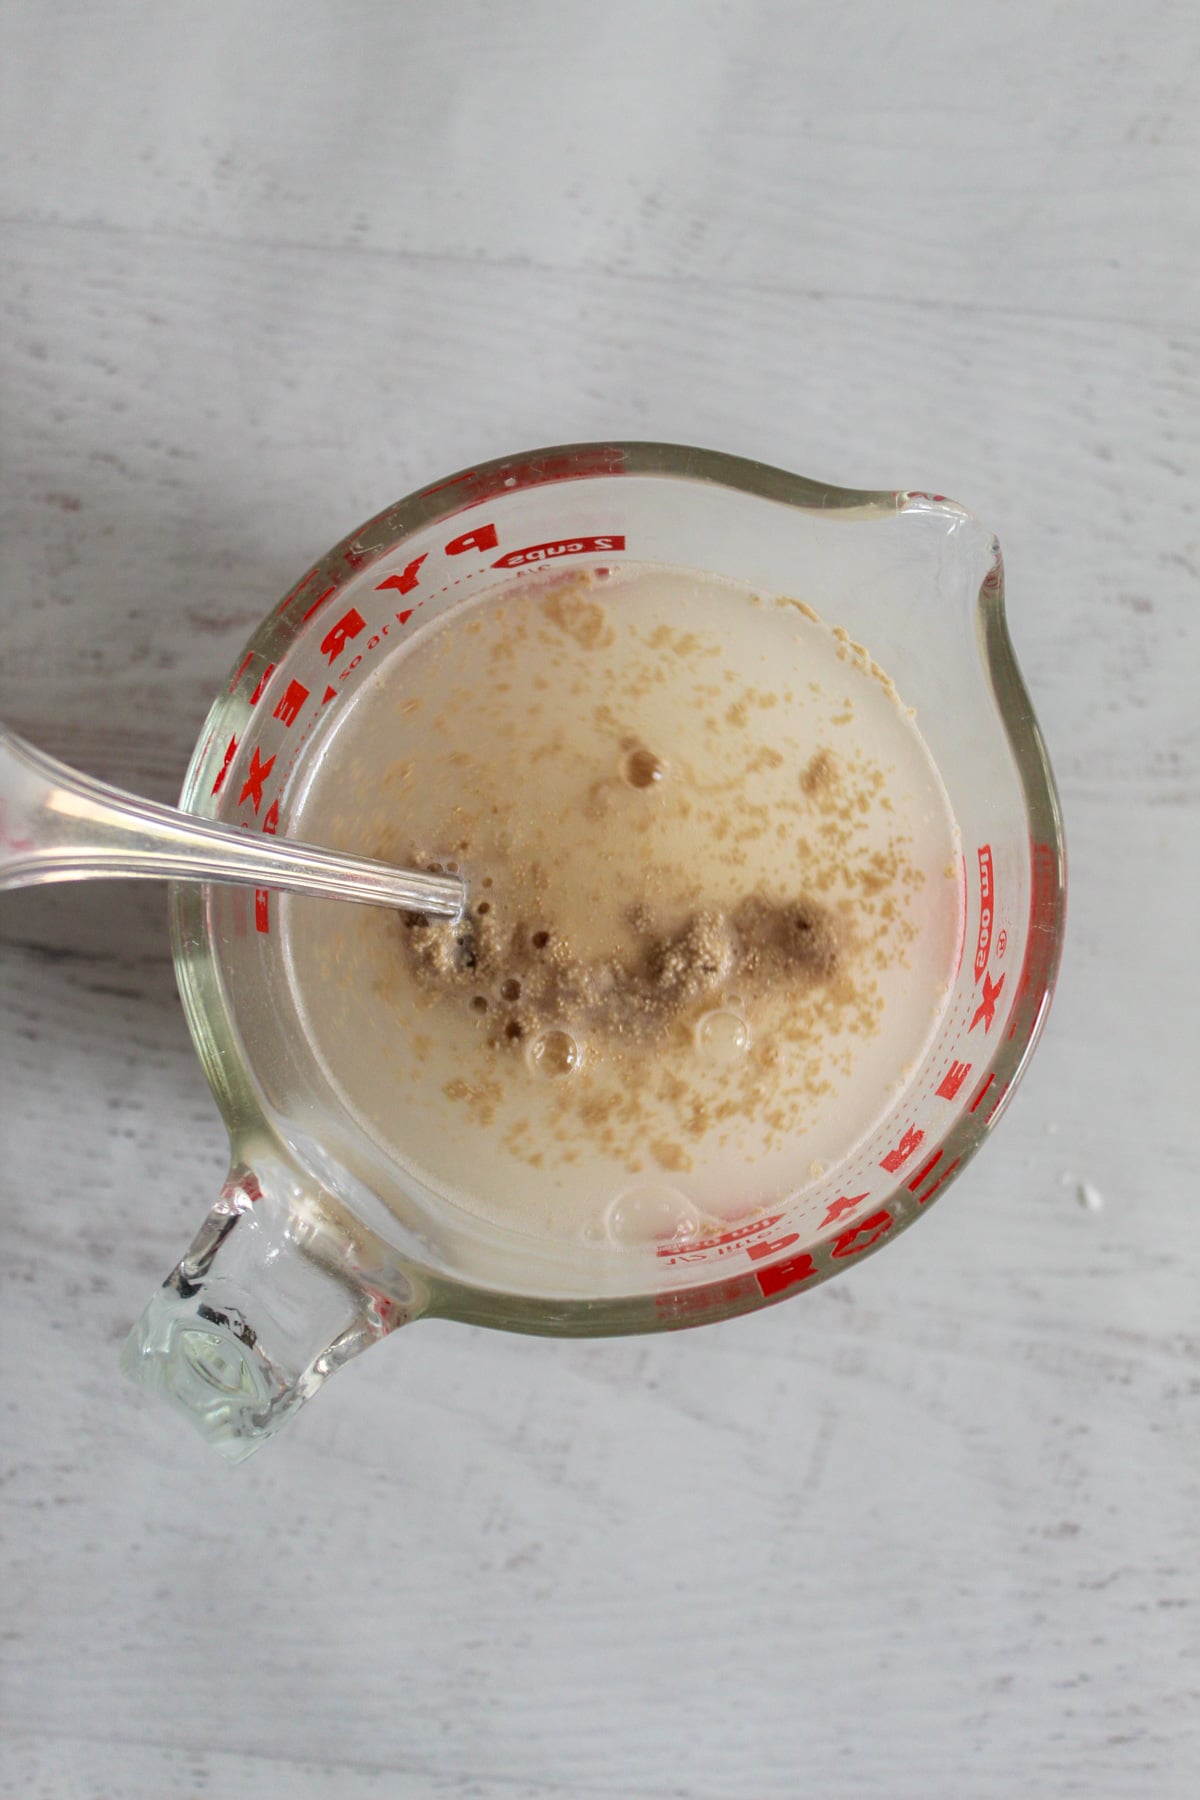
- In a small bowl or measuring cup, mix together the water and yeast. Set aside to proof for 5 minutes.
- In the bowl of a stand mixer, combine mashed potatoes, sugar, and egg. Mix on low for 1 minute, until incorporated.
- Add the sour cream, melted butter, and yeast mixture to the potato mixture. Mix for 30 seconds on medium speed, until just incorporated.
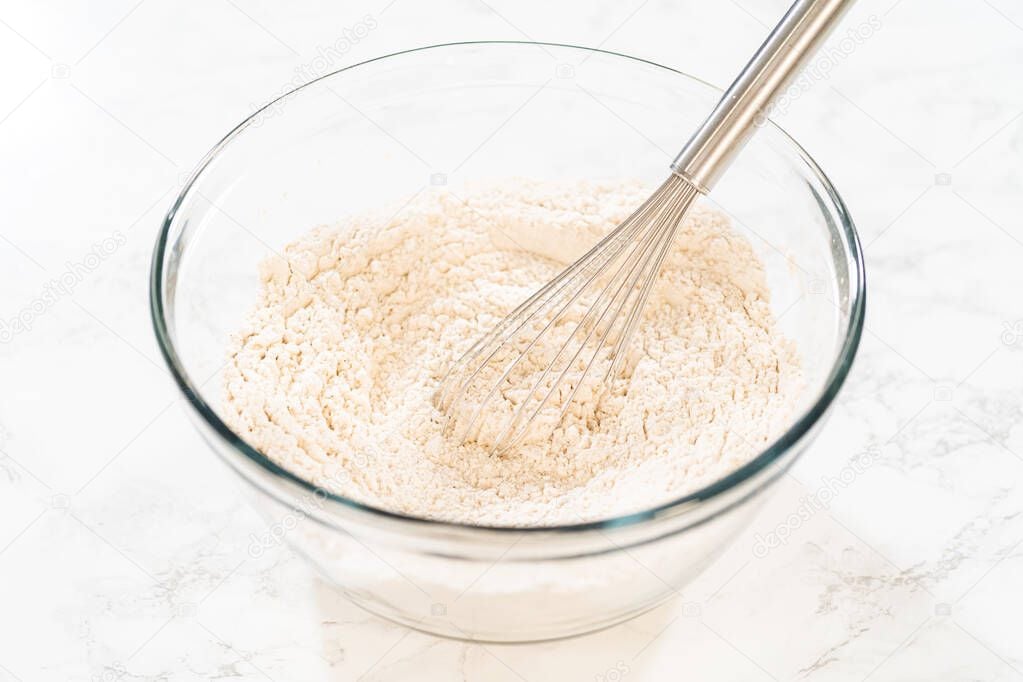
- Mix the gluten-free flour blend, xanthan gum, and salt in a medium bowl until evenly mixed.
- Add the flour mixture to the potato mixture. Mix on medium speed for 3 minutes.
- While the stand mixer is combining the flour mixture with the potato mixture, prepare a 9″ x 13″ baking dish by spraying it generously with cooking spray.
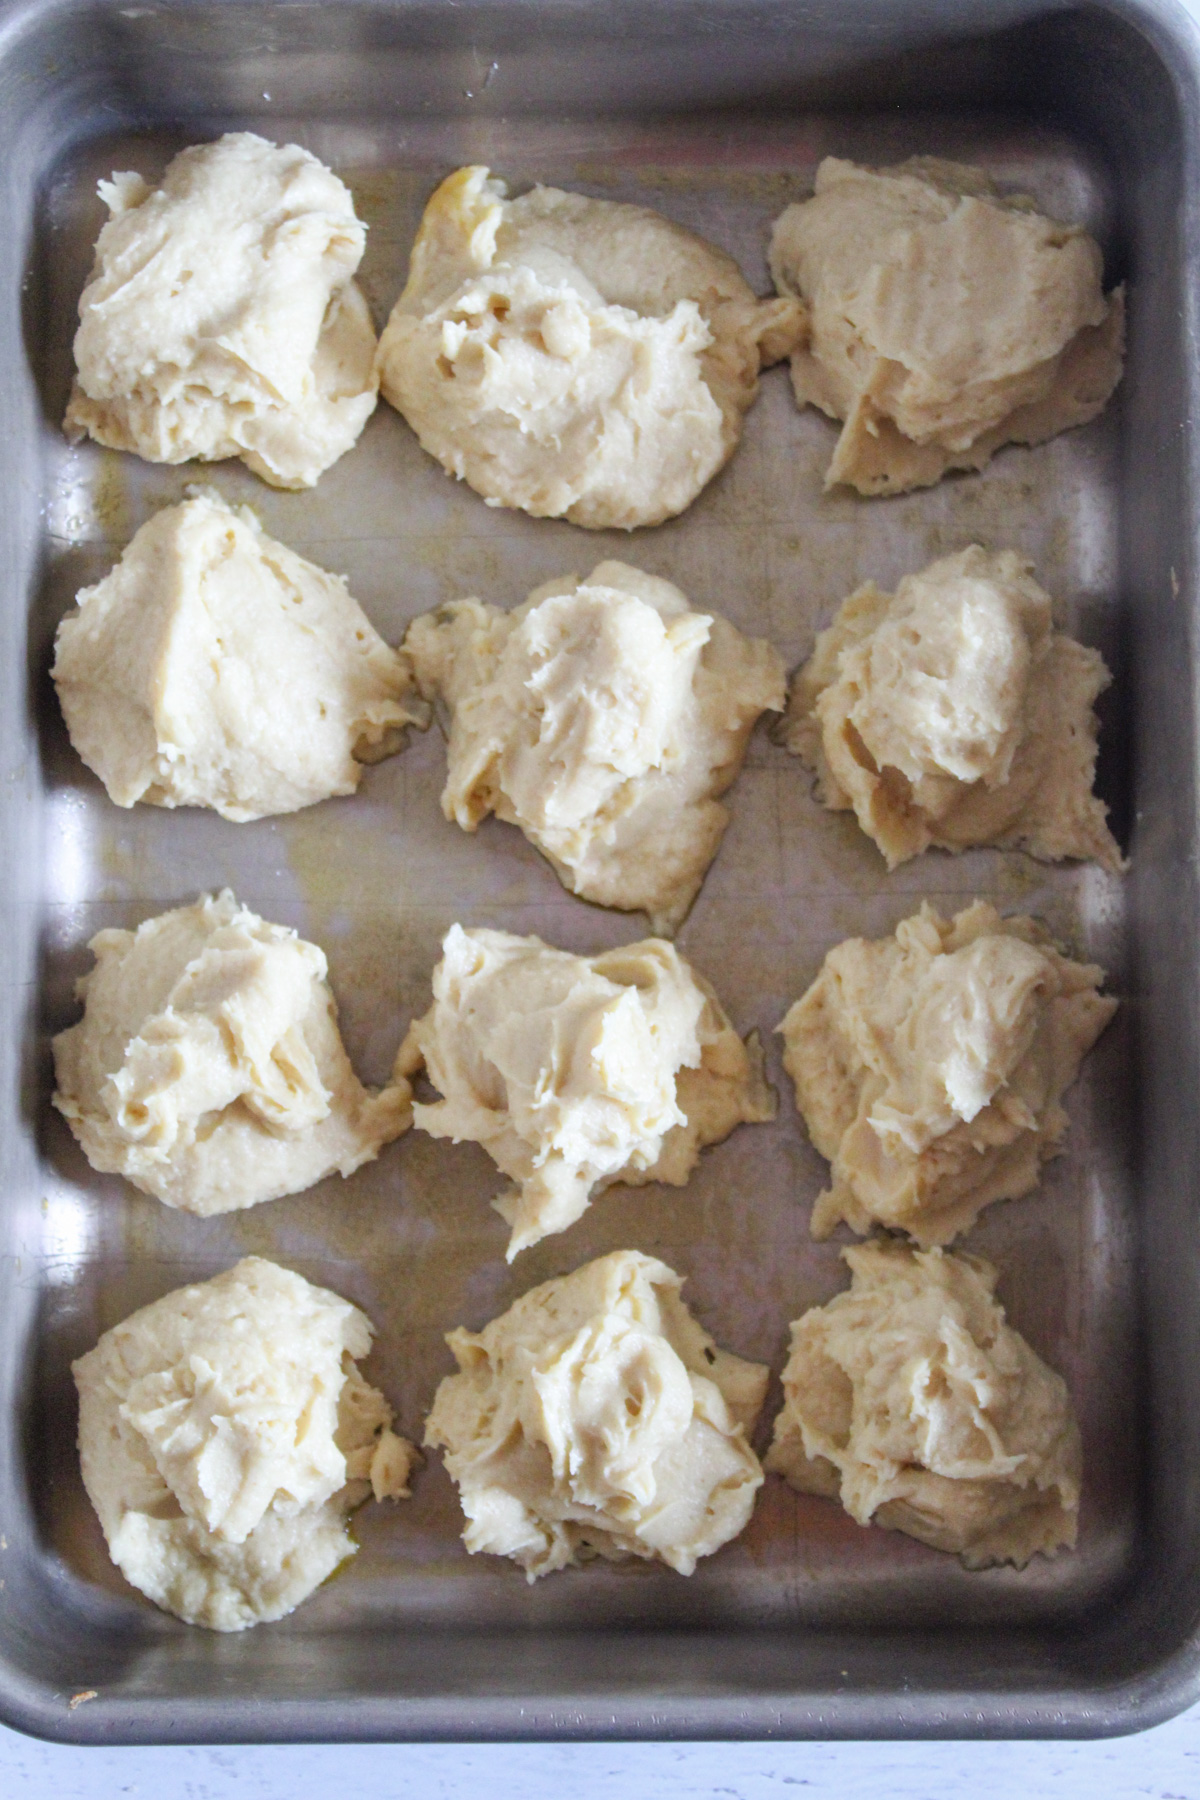
- Using a large spoon or 1/4-cup measuring cup, portion the batter into buns. Dust your hands with a little gluten-free flour. Roll the batter portions into balls with your hands. Arrange the batter balls into 4 rows of 3 balls each in the baking dish. Make sure they’re evenly spaced in the pan to give them room to rise.
- Cover the rolls with a towel. Let them rise in a warm place for 50-65 minutes, until the rolls have risen by 50%. Toward the end of the rise time, preheat the oven to 375 F.
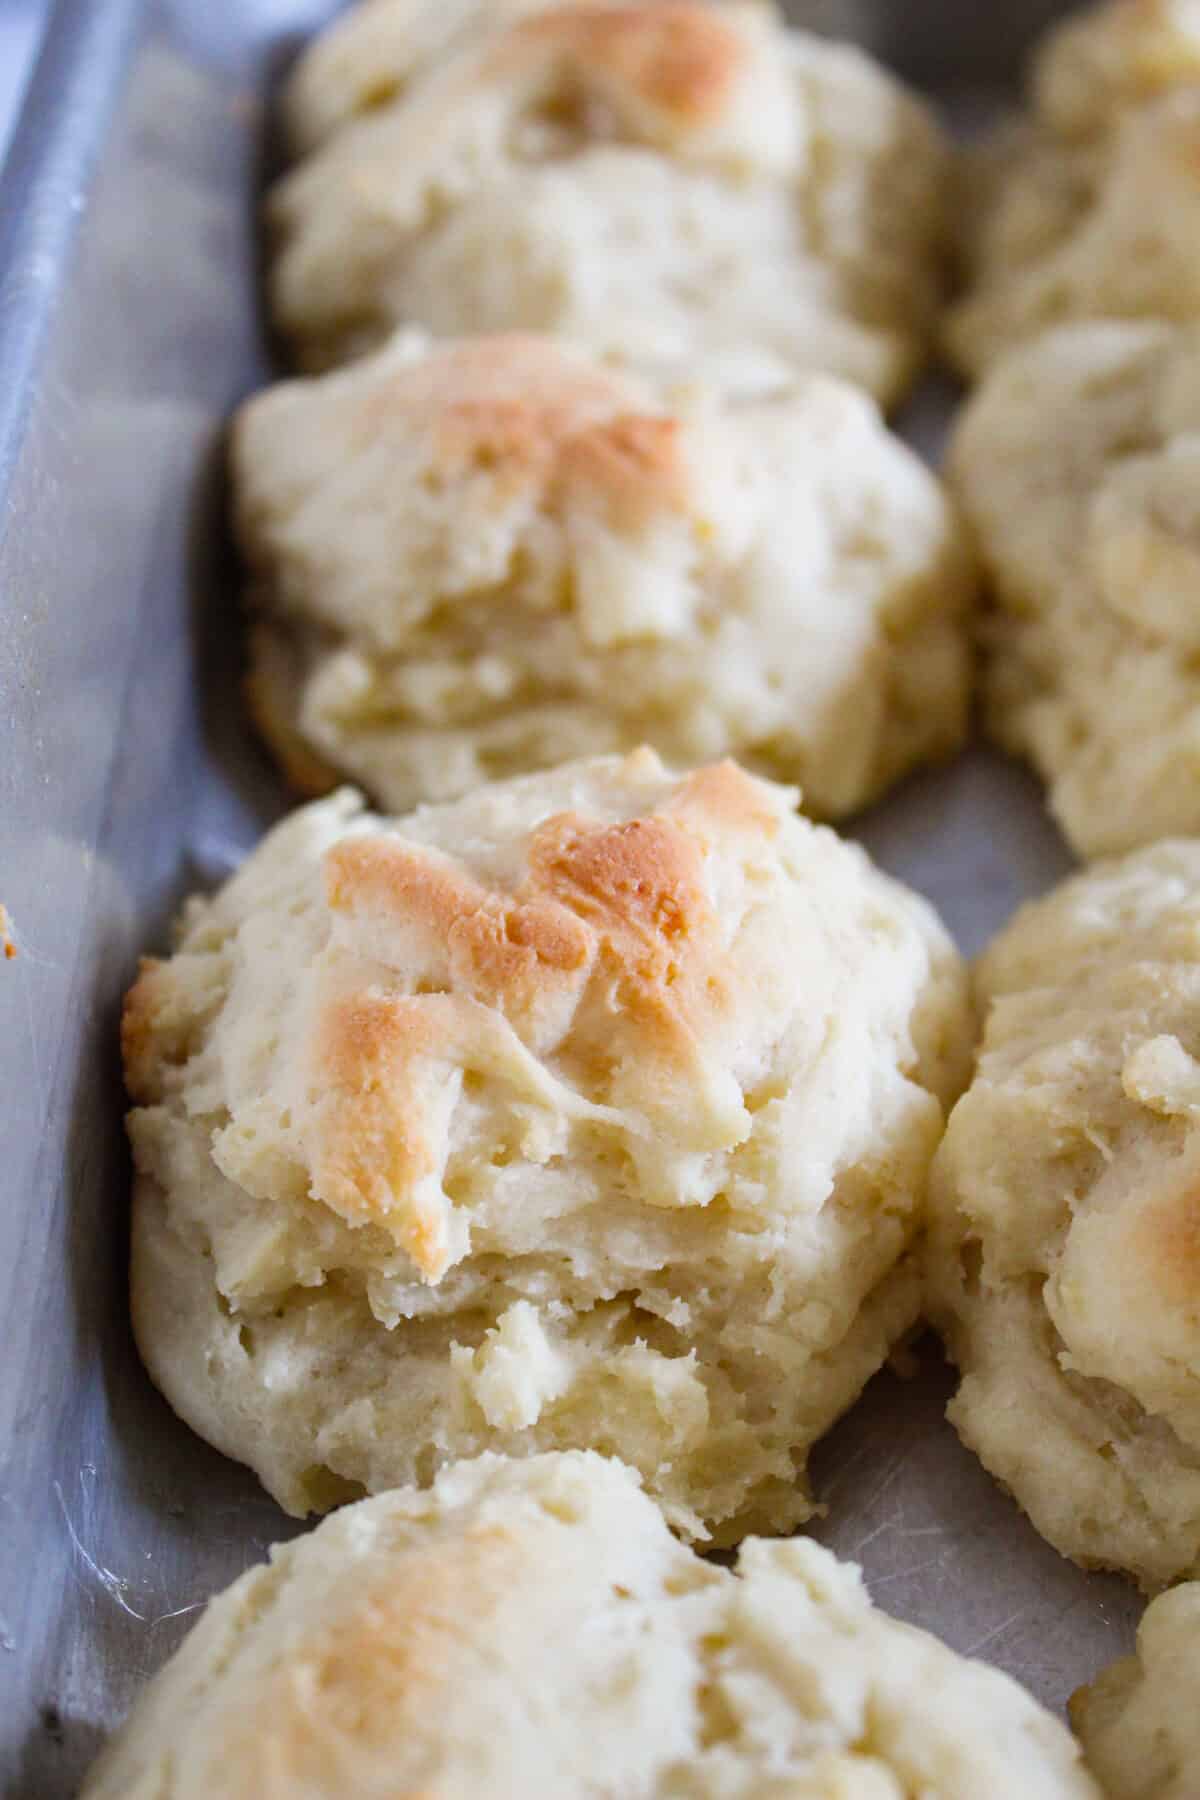
- Bake in the preheated oven for 25 – 30 minutes or until an instant-read thermometer inserted into the center of a roll reads 205-210 degrees Fahrenheit (96 to 104 degrees Celsius).
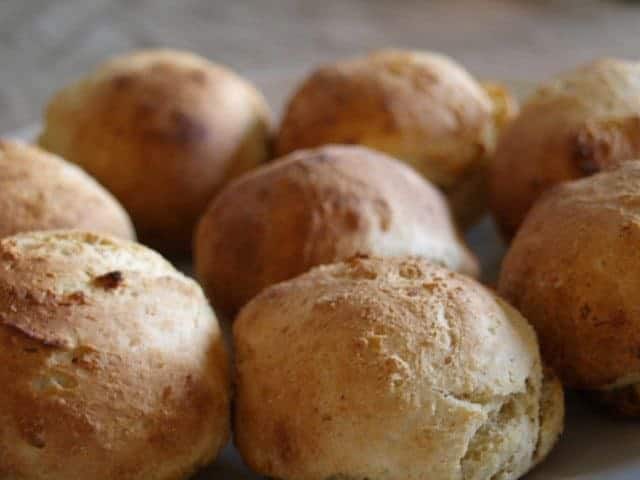
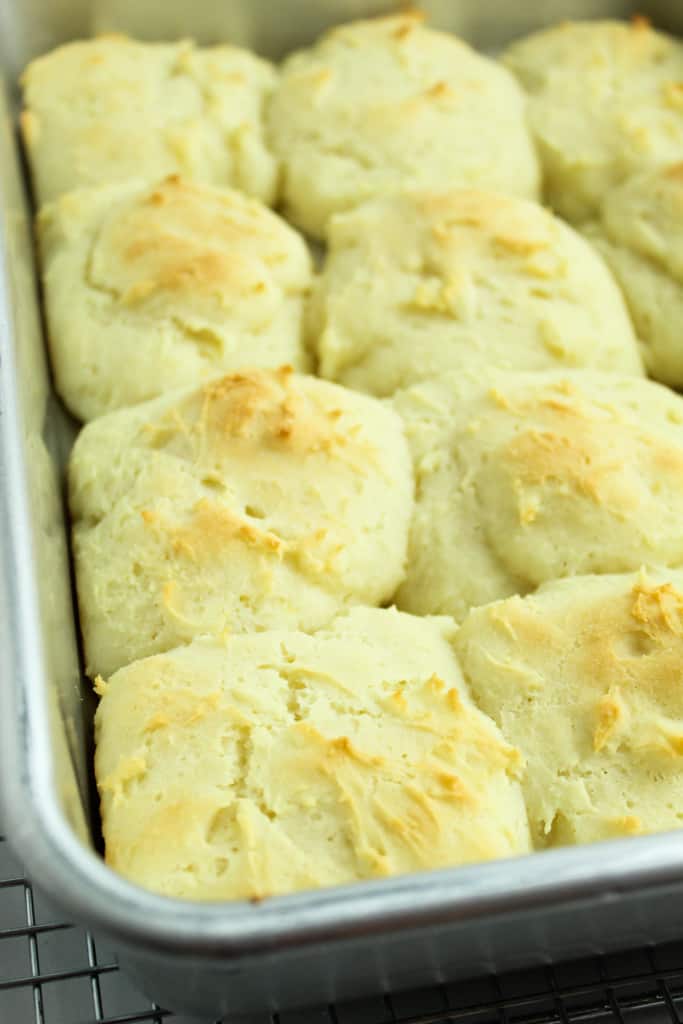
- Let the rolls cool in the pan for 5 minutes, then use the turner to transfer them to a cooling rack and let them cool until they are cool enough to handle without burning your fingers. This lets the buns’ interior finish setting. Serve warm.
Nutrition
Did you make and love this recipe? Give it your review and rating below! And make sure to follow me on Instagram, Pinterest, and Facebook , too!
Step-By-Step Method for Making Gluten-Free Potato Buns
Let’s jump right into making these gluten-free potato buns!
Step One: Proof Yeast
In a small bowl or measuring cup, mix together the water and yeast. Set aside to proof for 5 minutes.
Step Two: Mix Cooked Potatoes, Sugar, and Egg
In the bowl of a stand mixer, combine mashed potatoes, sugar, and egg. Mix on low for 1 minute, until incorporated.
Step Three: Add Dairy-Free Sour Cream, Melted Vegan Butter, and Yeast Mixture
Add the sour cream, melted butter, and yeast mixture to the potato mixture. Mix for 30 seconds on medium speed, until just incorporated.
Step Four: Mix Gluten-Free Flour Blend, Xanthan Gum, and Salt
Mix the gluten-free flour blend, xanthan gum, and salt in a medium bowl until evenly mixed.
Step Five: Add Flour Mix to Potato Mix
Add the flour mixture to the potato mixture. Mix on medium speed for 3 minutes.
Step Six: Prepare Baking Dish
While the stand mixer is combining the flour mixture with the potato mixture, prepare a 9″ x 13″ baking dish by spraying it generously with cooking spray.
Step Seven: Form Buns
Using a large spoon or 1/4-cup measuring cup, portion the batter into buns. Dust your hands with a little gluten-free flour. Roll the batter portions into balls with your hands. Arrange the batter balls into 4 rows of 3 balls each in the baking dish. Make sure they’re evenly spaced in the pan to give them room to rise.
Step Eight: Let Balls Rise
Cover the baking dish with a towel. Let the balls sit on your counter at room temperature for 50-65 minutes until they have risen by 50%.
If you have a cat, keep the cat off your counter while the buns rise. (Yes, I did have to give that little hooligan a bath. I do wish I had thought to get a picture, though.)
Step Nine: Preheat Oven
While the buns are rising, preheat the oven to 375 degrees Fahrenheit (190 degrees Celsius).
Step Ten: Bake Buns
Bake in the preheated oven for 25 – 30 minutes or until an instant-read thermometer inserted into the center of a roll reads 205-210 degrees Fahrenheit (96 to 104 degrees Celsius).
Step Eleven: Let Rolls Cool
Let the rolls cool in the pan for 5 minutes, then use the turner to transfer them to a cooling rack and let them cool until they are cool enough to handle without burning your fingers. This lets the buns’ interior finish setting. Serve warm.
How To Store Potato Buns
These yeast rolls should be stored in an airtight container. They will last for several days or may be frozen for longer storage.
Freeze them in an airtight container, and defrost as many as you need in the refrigerator overnight. They can be warmed up in the microwave for 15 seconds once thawed. Rolls may also be defrosted in the oven for 15 minutes at 350 degrees Fahrenheit (176 degrees Celsius).
Substitutions for This Gluten-Free Potato Bun Recipe
You can replace the dairy-free sour cream with a dairy-based sour cream. Dairy butter can also replace the vegan butter. The buns just won’t be dairy-free.
To make an egg replacement, mix 1 tablespoon of flaxseed meal with 3 tablespoons of water. Let it sit for a few minutes until it forms a gel.
Psyllium husk powder is the best replacement for xanthan gum. Feel free to read up on xanthan gum alternatives with this handy guide to xanthan gum replacements.
I used russet potatoes for this recipe, but Yukon Gold potatoes will work too.
Variations for Potato Buns
This recipe also makes great hamburger buns. You’ll just need to measure out larger portions into the 9″x13″ baking pan.
Instead of 3 rows of 4, use 2 rows of 4, or about 1/2 cup of batter for each bun. Flatten them slightly and smooth the tops. After letting them rise by 50%, bake at 375F for 25-30 minutes or until an instant-read thermometer registers between 205-210F.
On a semi-related note, it’s easy to double or triple this recipe to make more hamburger buns or potato rolls.
Pro Tips
Here are a few pro tips to help your rolls turn out soft, fluffy, and consistent every time.
1. Use room temperature ingredients
I can’t stress how important this is for a successful roll. The only ingredients that should be a little warmer than room temperature are the mashed potatoes and the cooking water. Let all refrigerated ingredients sit out to warm up while you get everything ready.
2. Check the dough’s consistency
The dough should reach a cake batter-like consistency. After mixing, you can check by scooping a spoonful. It should be soft but hold its shape on the spoon.
3. Portion the dough evenly
To portion the dough into equal portions, scoop it with a large serving spoon or a 1/4-cup measuring cup.
4. Don’t neglect the rise time!
The rest time is crucial for these rolls to have the perfect rise and texture when they bake. Let the rolls rest for 50-65 minutes, until they have risen by 50%, before popping them into the oven. They will likely not hit the top of the pan.
Gluten-Free Potato Buns FAQs
It’s common for us to get questions, especially from people who are new to gluten-free baking! Below are answers to some common ones.
If you still have a question about these buns, or gluten-free baking in general, feel free to ask in the comments section below, and we’ll do our best to answer as soon as possible.
Why didn’t my gluten-free potato rolls rise?
This happens most often when conditions are less than optimal for the yeast to work. The water could have been too hot or too cold for the yeast to activate properly. The ingredients or the room could have been too cold for the yeast to properly turn sugar into carbon dioxide bubbles. These buns need an adequate rise time for the yeast to fully work. The yeast might have gotten too little sugar or too much salt.
Why is my dough too wet or sticky?
Gluten-free dough is often softer and stickier than traditional bread dough, so I’ll usually dust my hands with a little gluten-free flour before working with it. If it looks more like batter than dough, add a small amount of gluten-free flour blend until it is easier to handle. Be careful not to add too much, or the rolls can turn dense.
Why are my potato rolls dense instead of fluffy?
Dense rolls are often caused by too much flour, not enough rise time, or underactive yeast. Measure the dry ingredients carefully, preferably by weight, and let the dough rise until it has increased in size by 50%. Baking before the dough is fully risen can lead to a heavy texture.
Why did my rolls turn out gummy inside?
Gummy centers usually mean the rolls were underbaked or not cooled long enough. Bake until the tops are golden and the centers are fully set. When the buns are done, an instant-read thermometer inserted into the center of a roll should read 205-210 degrees Fahrenheit (96 to 104 degrees Celsius). Let the rolls cool on a wire rack so steam can escape and the crumb can finish setting.
Why did my rolls fall or sink after baking?
This can happen if the dough overproofs before going into the oven or if the rolls are slightly underbaked. If they rise too long, the structure may weaken and collapse. Try baking them as soon as they look puffed and ready, rather than waiting until they are overly expanded.
Why are my gluten-free potato rolls dry?
Dry rolls are often caused by too much flour or baking them too long. Since gluten-free flour blends absorb moisture differently, even a little extra flour can change the texture. Measure carefully and remove the rolls from the oven as soon as they look firm and golden on top.
More Delicious Gluten-Free Roll Recipes
If you enjoyed these rolls, there are plenty of other gluten-free options to try, depending on the texture and flavor you want. From soft dinner rolls to richer, more flavorful variations, these recipes can help you find the right fit for any meal or occasion.
- Best Buttery Gluten-Free Crescent Roll Recipe
- Pull-Apart Gluten-Free Parmesan Rolls
- Gluten-Free Yeast Rolls
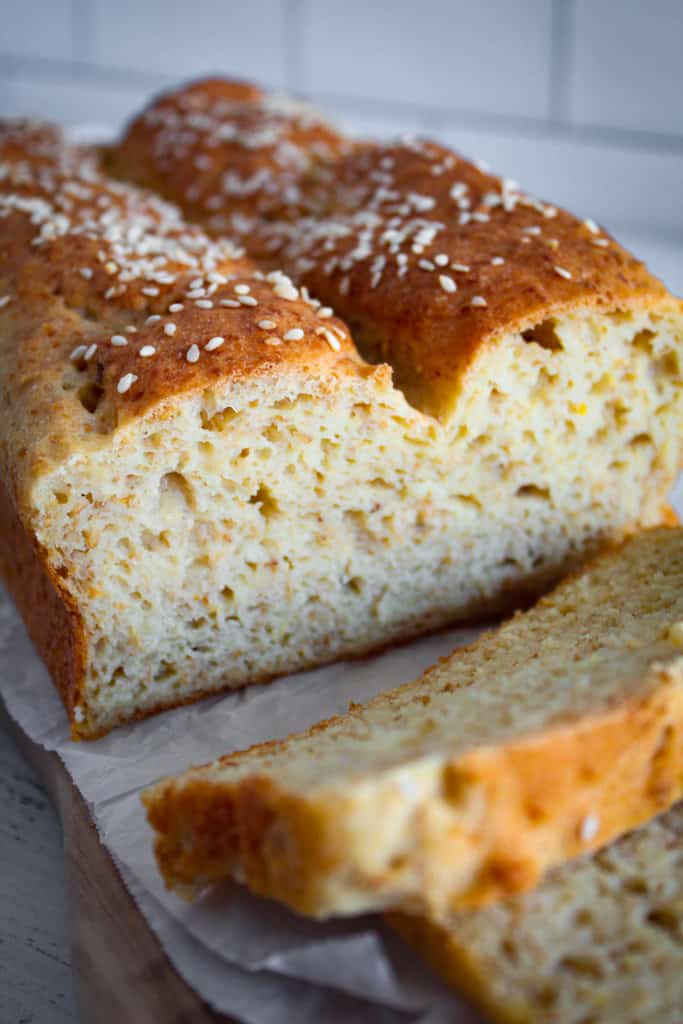
- Gluten-Free Sesame Seed Rolls
- Gluten-Free Sourdough Bread Rolls
- Gluten-Free Hot Cross Buns
Whether you’re looking for something buttery, savory, seeded, or lightly sweet, these gluten-free roll recipes give you more ways to bake homemade bread that fits your taste and needs.
Tried This Recipe?
Share your results, favorite variations, or any tips you discovered in the comments—I’d love to hear how these gluten-free rolls turned out for you.