Nothing beats a satisfying breakfast that’s quick to make and easy to enjoy on busy mornings. If you’ve been looking for that, this gluten-free breakfast sandwich is about to become your new favorite.
Instead of relying on dry store-bought bread or frozen breakfast sandwiches, you can enjoy soft, cheese-loaded buns made with almond flour, which make the perfect base for fluffy eggs, melted cheese, and your favorite breakfast protein.
Table of Contents

Even better, these sandwiches are ideal to make in bulk and are freezer-friendly so that you can have breakfast at home in no time.
Why You’ll Love This Recipe
Unlike breakfast sandwiches that rely on store-bought gluten-free bread, this version starts with homemade cheesy almond flour buns that bake in about 17 minutes.
This easy breakfast recipe makes a sandwich that is quick, satisfying, and easy to make, with simple ingredients you might already have in your pantry.
Want our human-written content to rank above AI-generated garbage? Help us out by clicking this button!
- Soft, cheesy buns – These gluten-free sandwich buns are sturdy enough to hold eggs, cheese, and your favorite breakfast protein without falling apart.
- Protein-packed – Scrambled eggs and your choice of breakfast protein make these sandwiches filling and satisfying.
- Simple to make – Use basic ingredients and everyday kitchen equipment to prepare the buns and fillings.
- Easy to customize – Add your favorite proteins, vegetables, cheeses, and other fillings to make each sandwich your own.
- Great for breakfast or brunch – Prepare them for busy mornings, weekend breakfasts, or family brunches.
- Freezer-friendly – Make a batch ahead of time and freeze them for a convenient breakfast when you need it.
Just 7 Ingredients
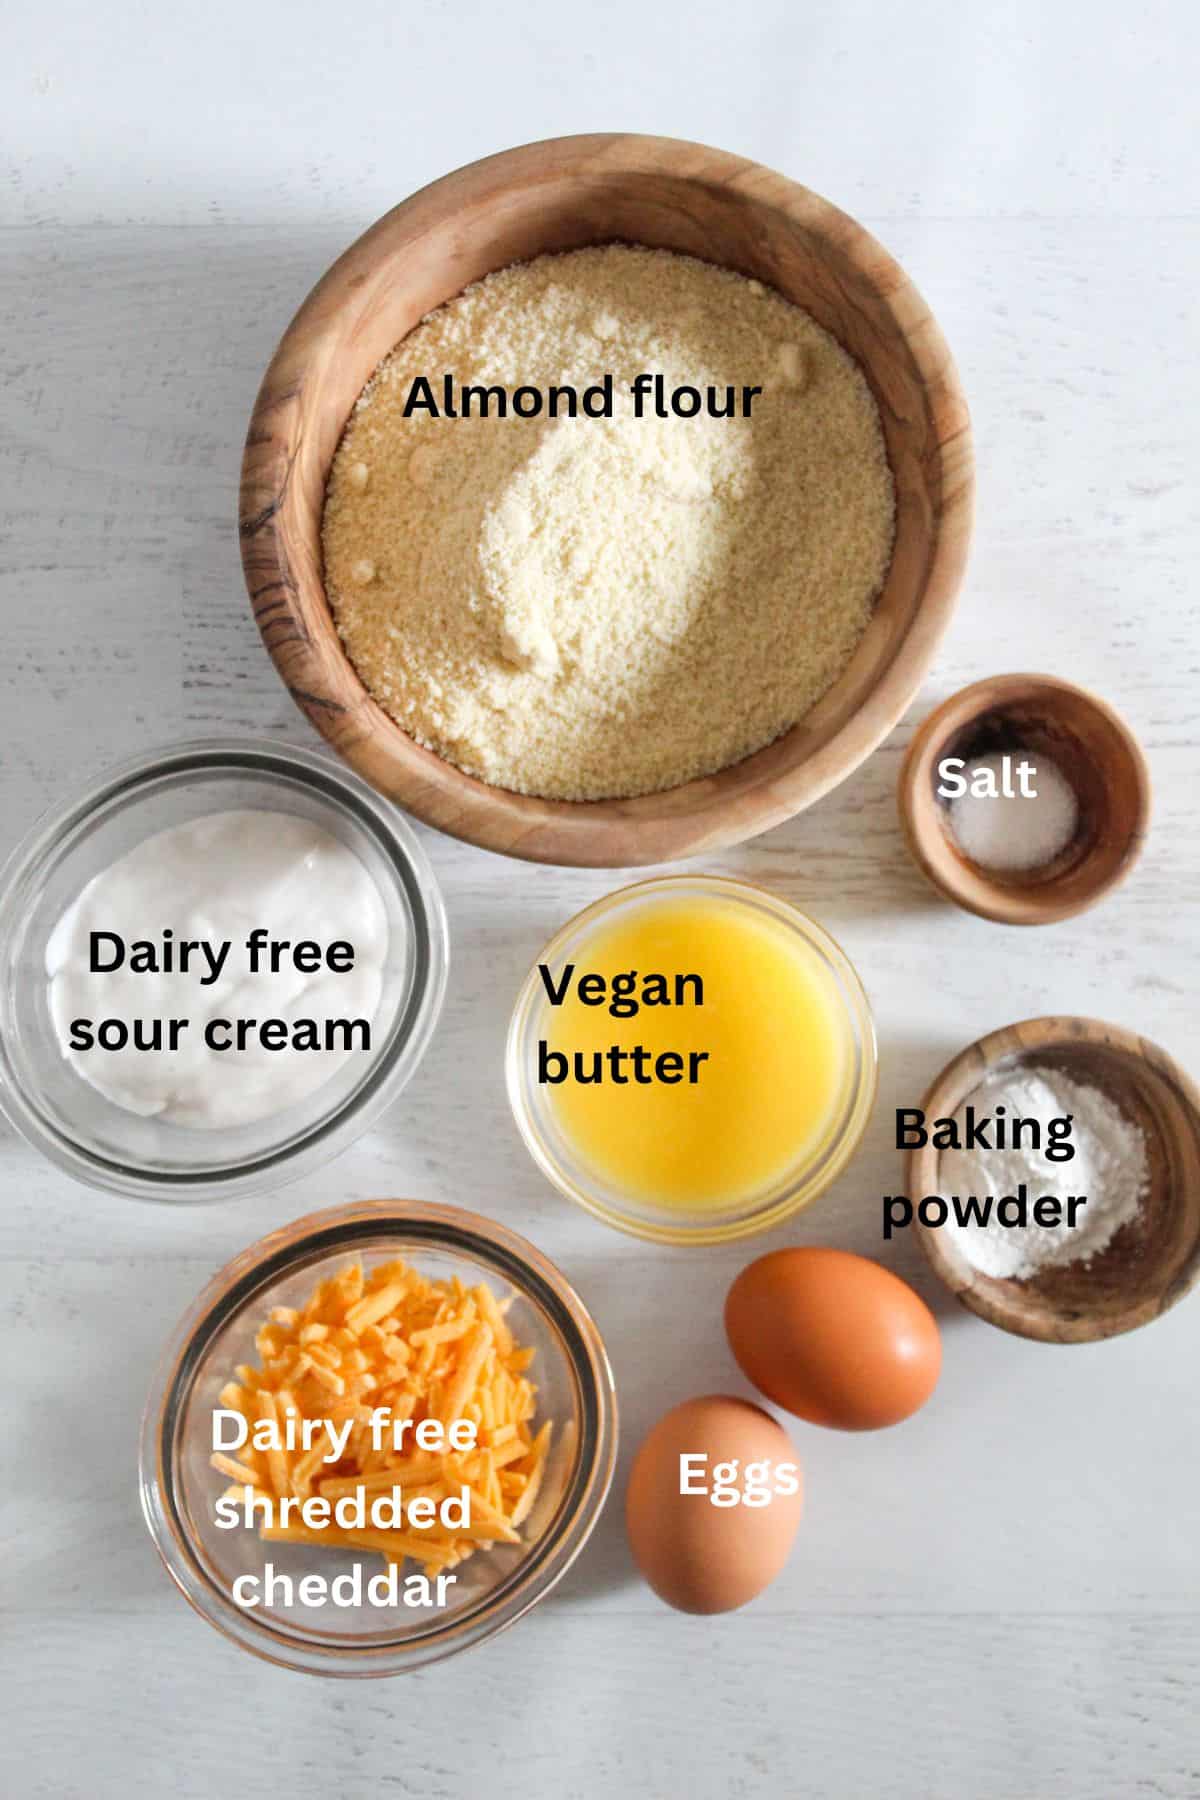
Here are the simple ingredients this recipe requires:
- Almond flour
- Salt
- Baking powder
- Eggs
- Vegan sour cream
- Vegan butter
- Vegan shredded cheddar cheese
Gluten-free tip: If you’re preparing these sandwiches for someone who needs to strictly avoid gluten, check that packaged ingredients such as baking powder, vegan cheese, plant-based meat, and cooking spray are labeled gluten-free, and use clean cookware and utensils to minimize cross-contact.
Ingredient Notes and Substitutions
Making the perfect gluten-free breakfast sandwich starts with understanding each ingredient’s role. With this in mind, here’s what each ingredient contributes:
- Almond flour and baking powder: Almond flour adds structure, moisture, tenderness, and a slightly nutty flavor to the bun, while baking powder helps provide rise and an airy texture. If needed, try these almond flour alternatives.
- Eggs and salt – Divide eggs between the buns and the scrambled filling. They help bind, enrich, and add moisture to the buns while also providing the scrambled egg filling for the sandwich. Salt enhances the overall flavor and can be reduced or omitted if needed.
- Vegan sour cream and vegan butter: Vegan sour cream helps soften the bun and balances the savory fillings, while vegan butter adds richness and improves the bun’s texture and mouthfeel. Regular sour cream or buttermilk can replace the vegan sour cream, and regular butter works well in its place.
- Vegan shredded cheddar cheese: Adds creaminess, saltiness, and a satisfying melt to the sandwich. You can substitute regular shredded cheddar, reduced-fat white cheddar, or mozzarella if preferred.
You can use many of these ingredients along with a few other pantry staples in this Almond Flour Cornbread Recipe. You’ll get a delicious bread with golden edges and a tender crumb.
What Do the Gluten-Free Breakfast Buns Taste Like?
These homemade gluten-free breakfast buns are soft, savory, cheesy, and slightly rich, with a tender texture from the almond flour, sour cream, and melted butter. The shredded cheddar adds extra flavor without overpowering the eggs or other sandwich fillings.
Unlike a traditional English muffin, these buns aren’t meant to be chewy or crusty. They’re tender enough to bite through easily but sturdy enough to hold scrambled eggs, cheese, vegetables, or your favorite breakfast protein.

RECIPE CARD: Gluten-Free Breakfast Sandwich (PRINTABLE)
Ingredients
Bread
- 145 grams almond flour, about 1½ cups
- ¼ teaspoon salt
- 1 tablespoon baking powder
- 2 eggs
- ⅓ cup vegan sour cream
- 4 tablespoons vegan butter, melted
- ⅓ cup vegan shredded cheddar cheese
Instructions
- In a large bowl, combine the almond flour, salt, and baking powder, and mix well until evenly combined.
- In a small bowl, mix the eggs, sour cream, and melted butter with a hand mixer or whisk until completely combined.
- Pour the wet ingredients into the dry mixture and stir until just combined.
- Fold in the shredded cheddar cheese and let the batter rest briefly.
- Preheat your oven to 400°F and grease a jumbo muffin tin with nonstick cooking spray.
- Divide the batter evenly among the 6 muffin cups and bake for 14-17 minutes.
- Let the buns cool before slicing so they firm up and hold together better.
- Make the filling: In a mixing bowl, crack the eggs, season with salt and pepper, and whisk well.
- Heat a nonstick skillet over medium heat and cook the eggs gently until just set and still soft.
- Cook any protein of your choice separately and warm it through.
- Slice the cooled bun in half. Then layer the bottom bun with scrambled eggs, cheese, and your chosen protein.
- Top with the other half of the bun and serve warm.
Notes
- Use fine almond flour to avoid gritty buns.
- Bring your butter, sour cream, and eggs to room temperature.
- Allow the batter to sit for a while.
- Use a jumbo muffin pan to get nice-sized sandwiches.
- Don’t overfill the molds to prevent cracks in the buns.
- Cook the eggs over low heat to prevent them from being rubbery.
- The top is lightly golden.
- The center feels firm and springs back gently when pressed.
- A toothpick inserted in the middle comes out clean.
- It is warm in the center.
- Stable when lifted.
- Firm enough that the bun does not compress or split.
- Room temperature storage: Cool the buns completely, then store them loosely covered at room temperature for 1–2 days if your kitchen is cool and dry.
- Refrigerating: Store separately in the fridge for about 3- 4 days.
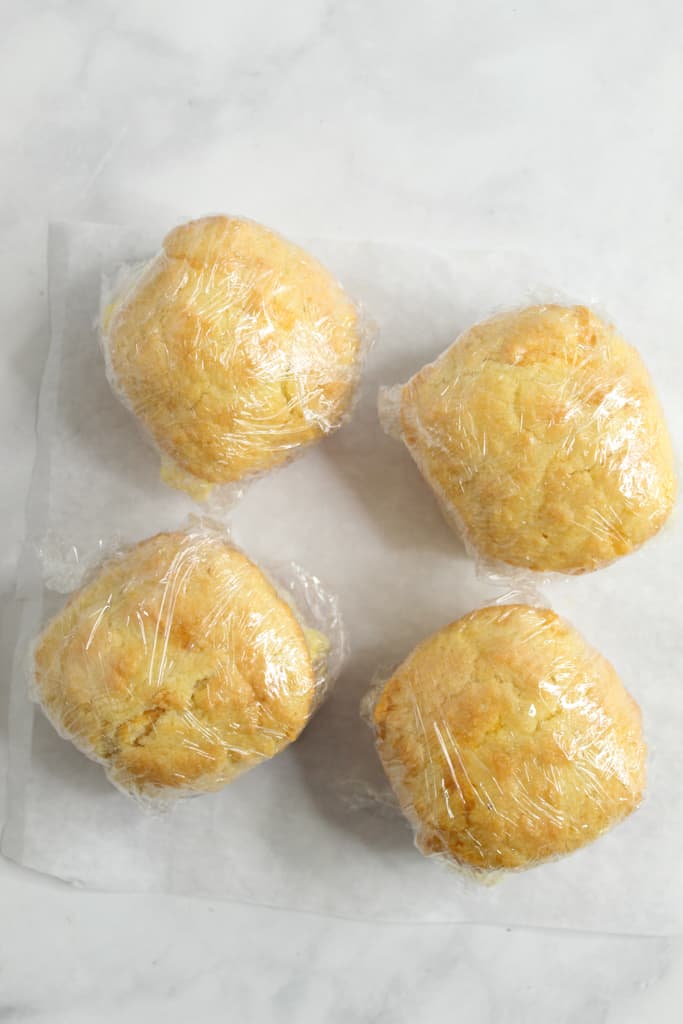
- Freezing: Cool the bun and fill it. Wrap the sandwich in parchment paper or aluminum foil, put it in the freezer bag, and store for 1-2 months.
- Thawing: Thaw your sandwich overnight in the refrigerator, then reheat in a toaster oven, oven, or skillet until hot throughout.
Nutrition
Did you make and love this recipe? Give it your review and rating below! And make sure to follow me on Instagram, Pinterest, and Facebook , too!
How to Make Gluten-Free Breakfast Sandwiches
From making the bun to assembling the fillings, making this gluten-free breakfast sandwich is quite simple and stress-free. With these easy-to-follow instructions, you’ll have a satisfying sandwich in no time.
Equipment You’ll Need
Easy to make with basic kitchen equipment:
- Muffin pan
- Nonstick skillet
- Whisk
- Spatula
- Mixing bowls
- Knife
- Cutting board
1) Mix the dry ingredients
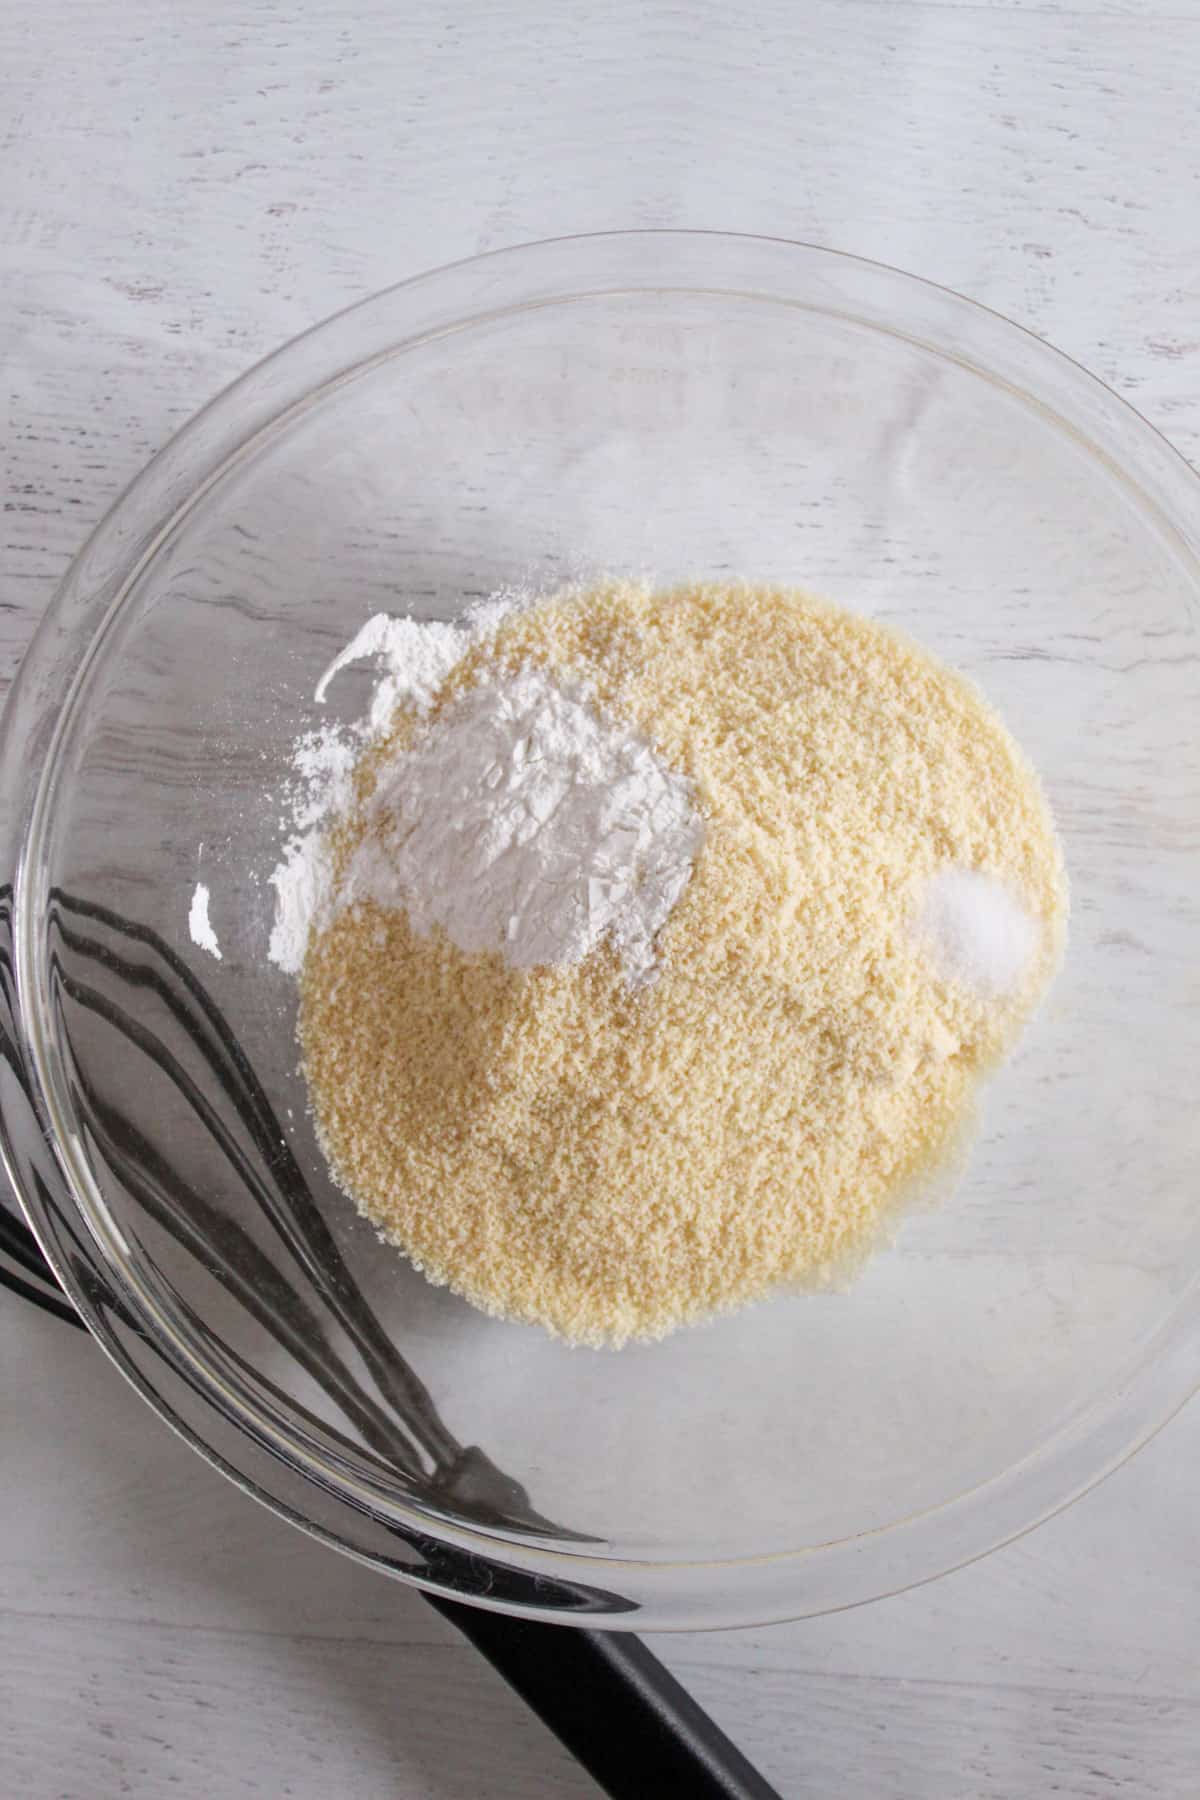
In a large bowl, combine the almond flour, salt, and baking powder, and mix well until evenly combined. Whisking ensures that the leavening is distributed evenly.
2) Mix the wet ingredients
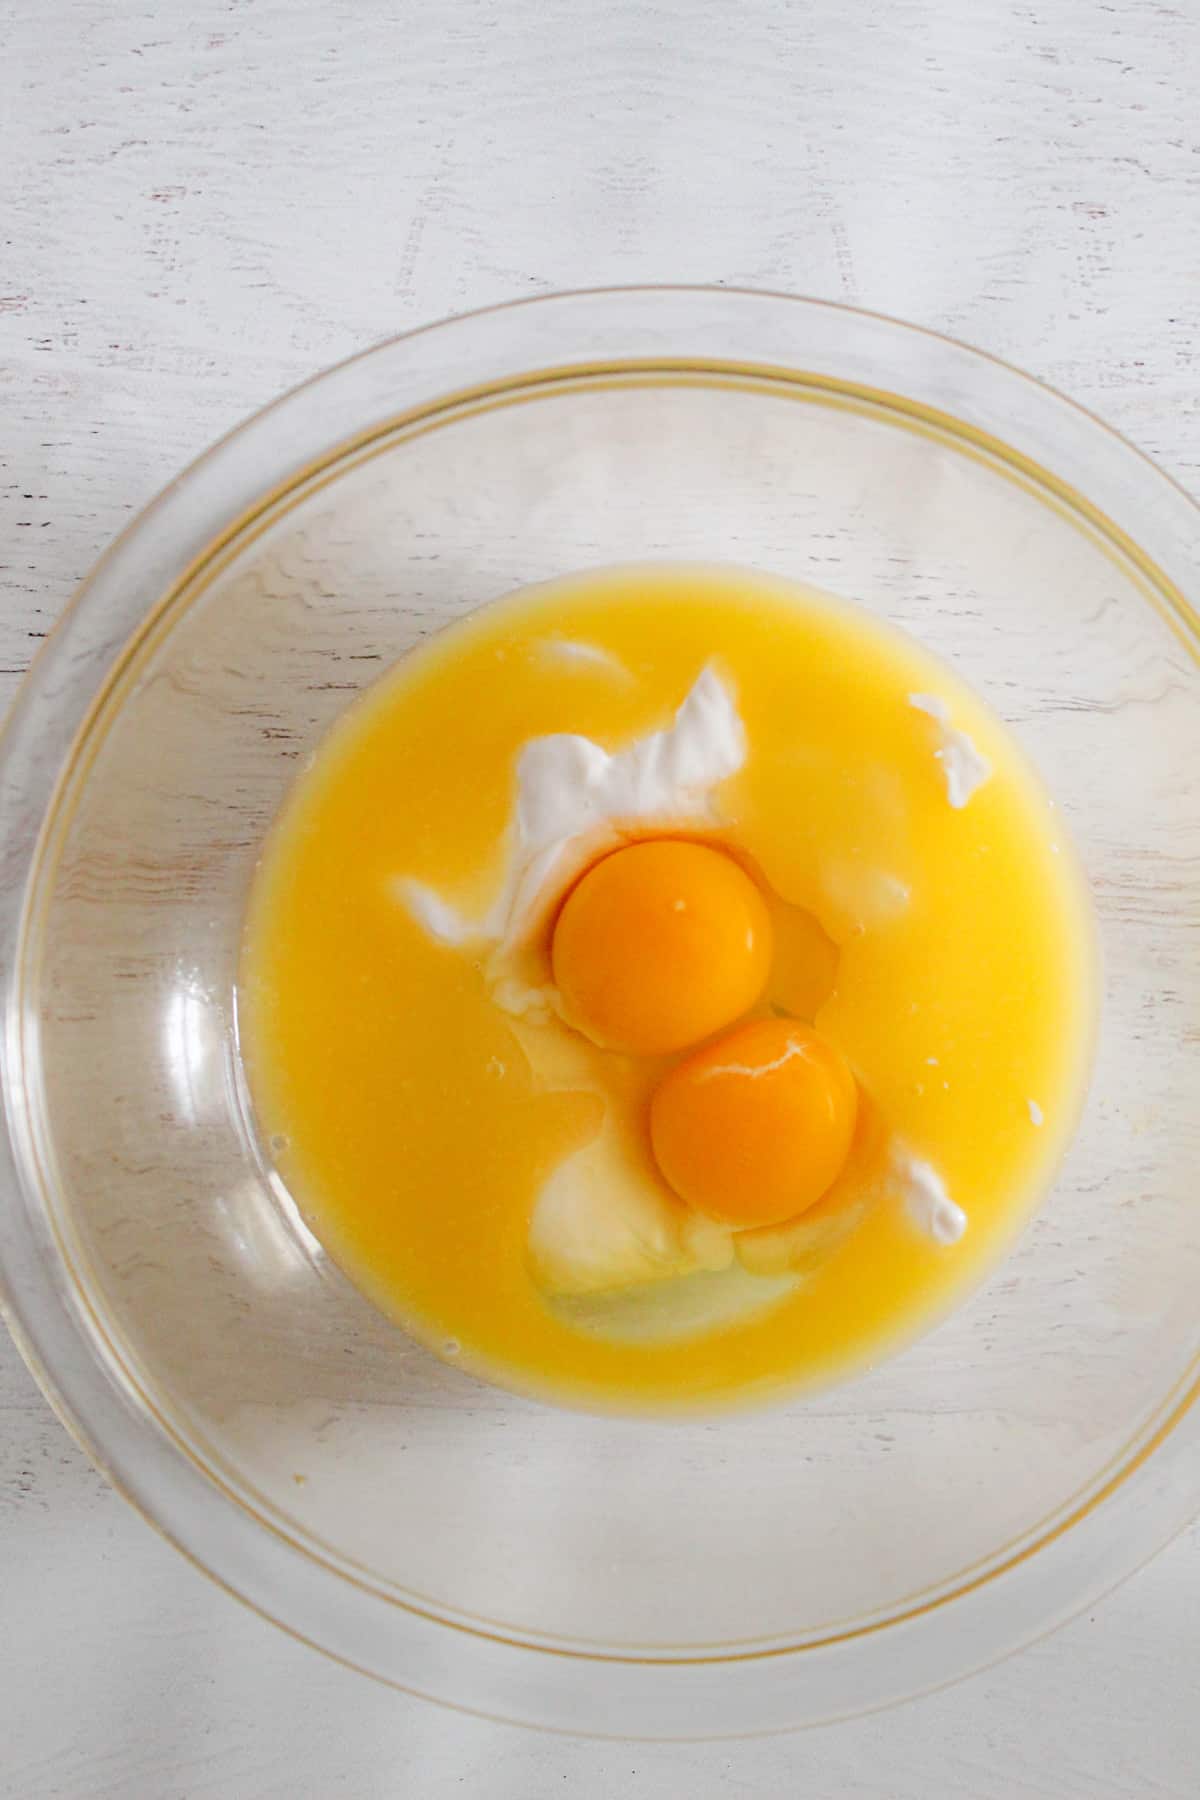
In a separate bowl, combine the eggs reserved for the buns with the vegan sour cream and melted vegan butter. Whisk until smooth and well combined.
3) Combine the dry and wet ingredients
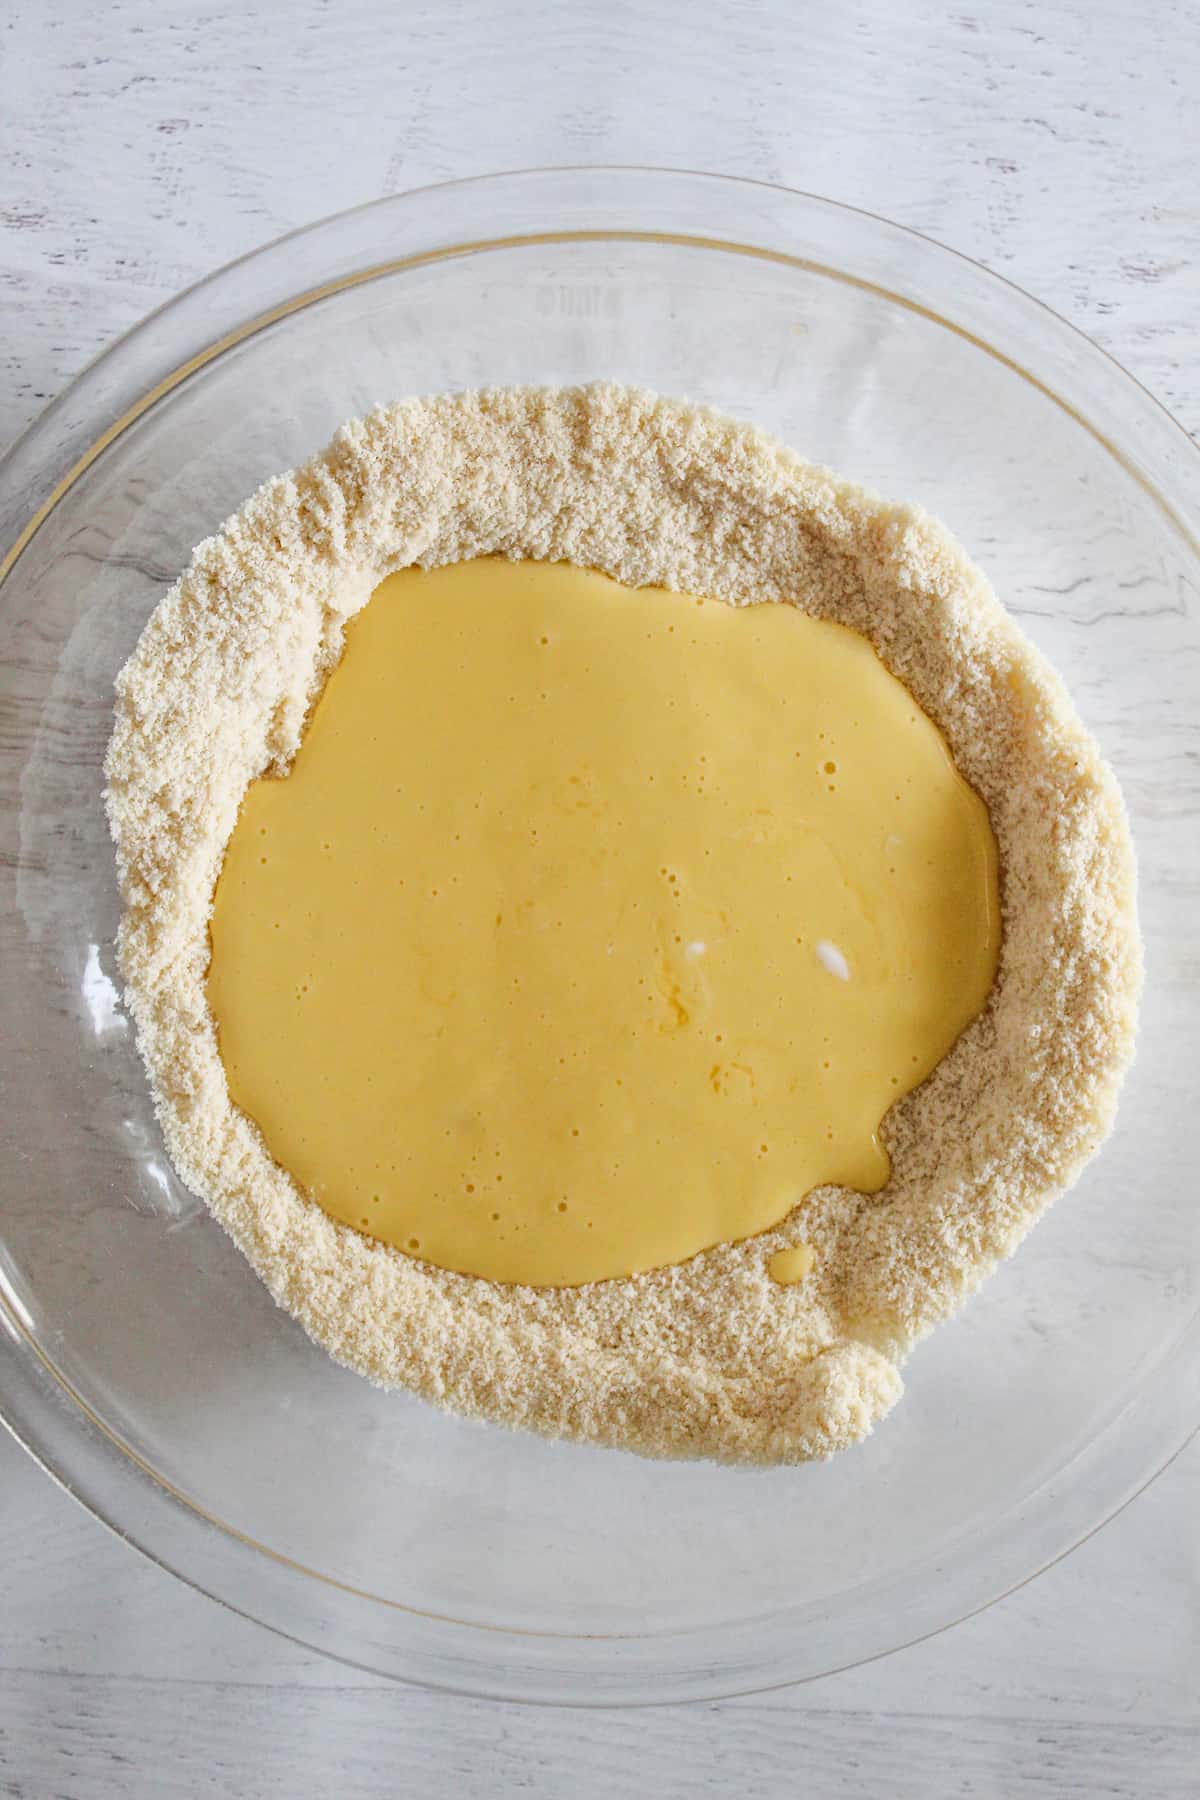
Pour the wet ingredients into the dry mixture and stir until just combined. The mixture should be thick, more like a scoopable batter than a pourable one.
4) Add the shredded cheese
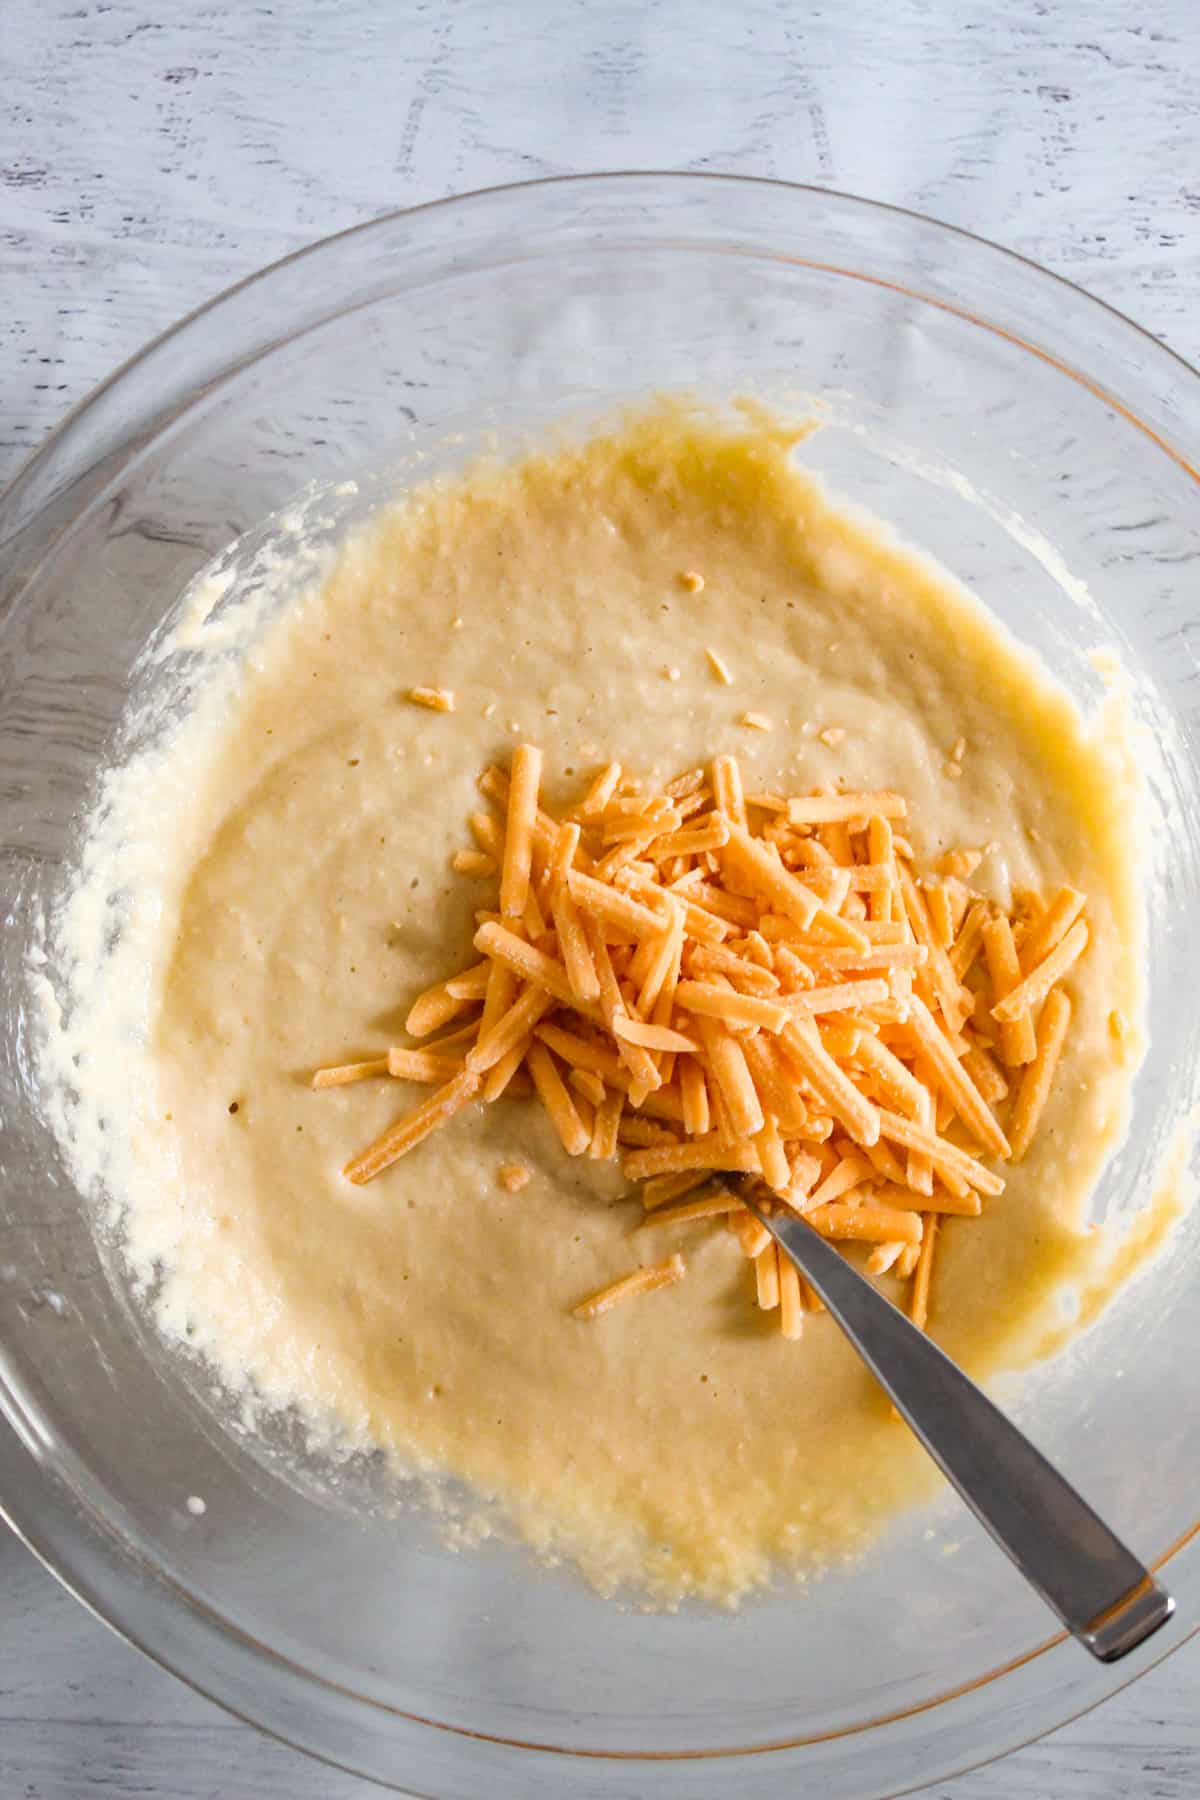
Fold in the shredded cheddar cheese and let it rest briefly while the oven preheats.
5) Prep the oven and pan
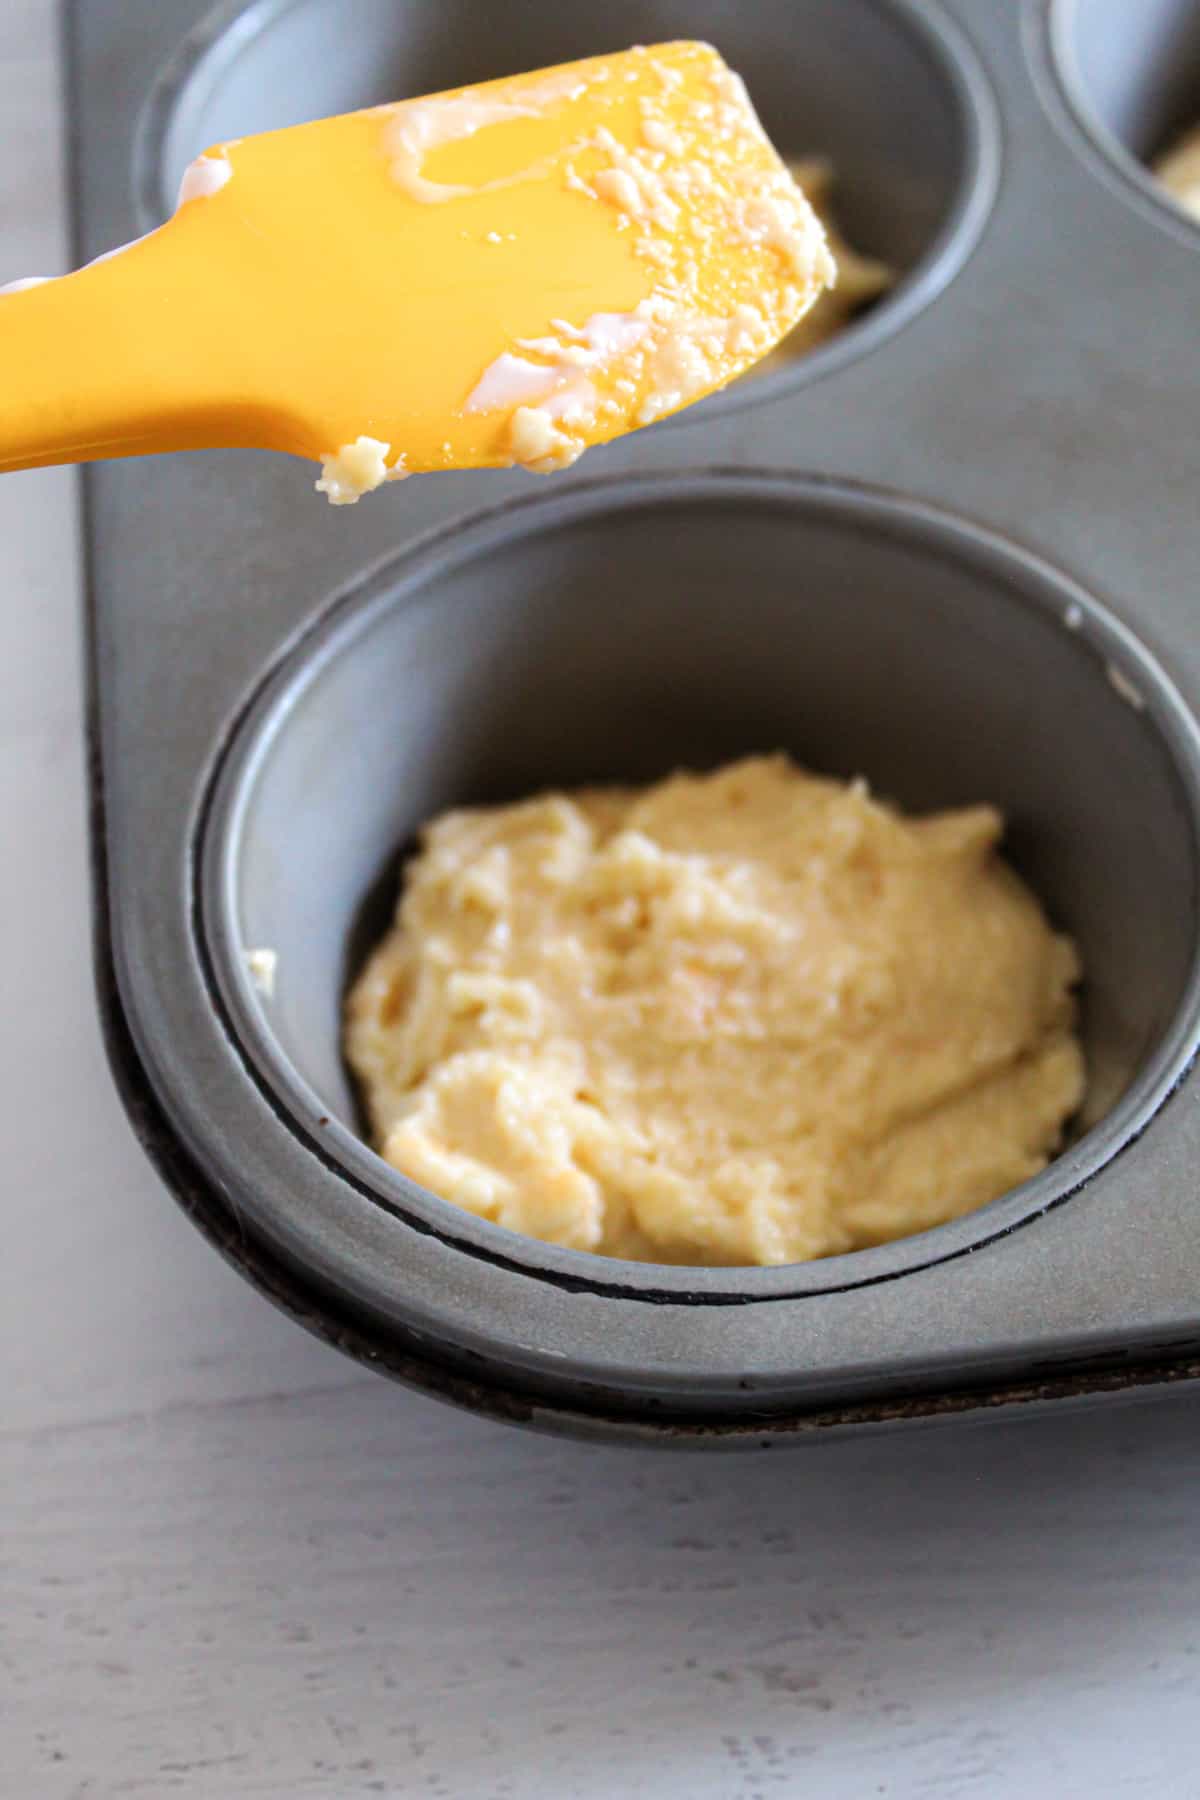
Preheat your oven to 400°F and grease a jumbo muffin tin thoroughly with nonstick cooking spray to prevent sticking and promote even baking.
6) Bake the buns
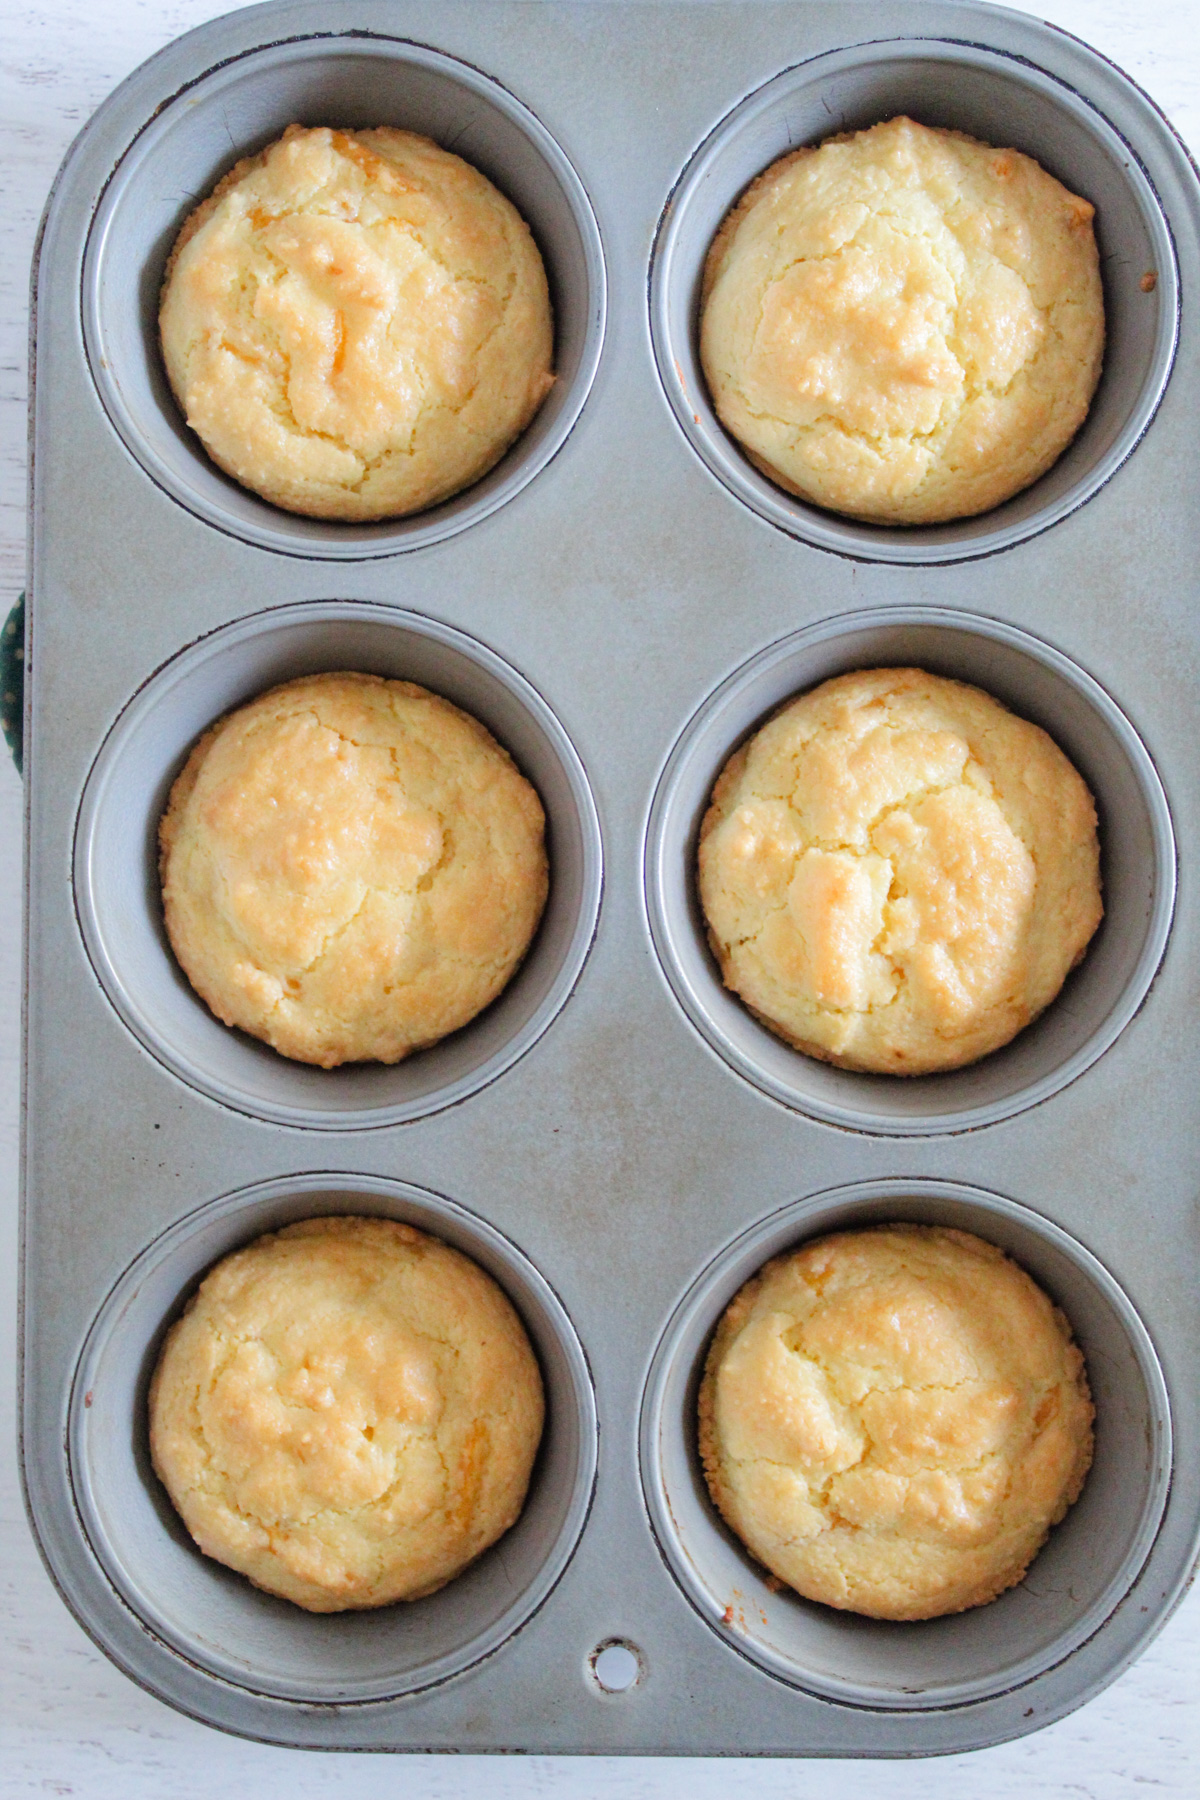
Divide the batter evenly among the 6 muffin cups and bake for 14-17 minutes, or until golden brown and set in the center.
7) Let the buns cool
Let the buns cool before slicing so they firm up and hold together better. In the meantime, prepare the sandwich fillings.
8) Whisk the eggs
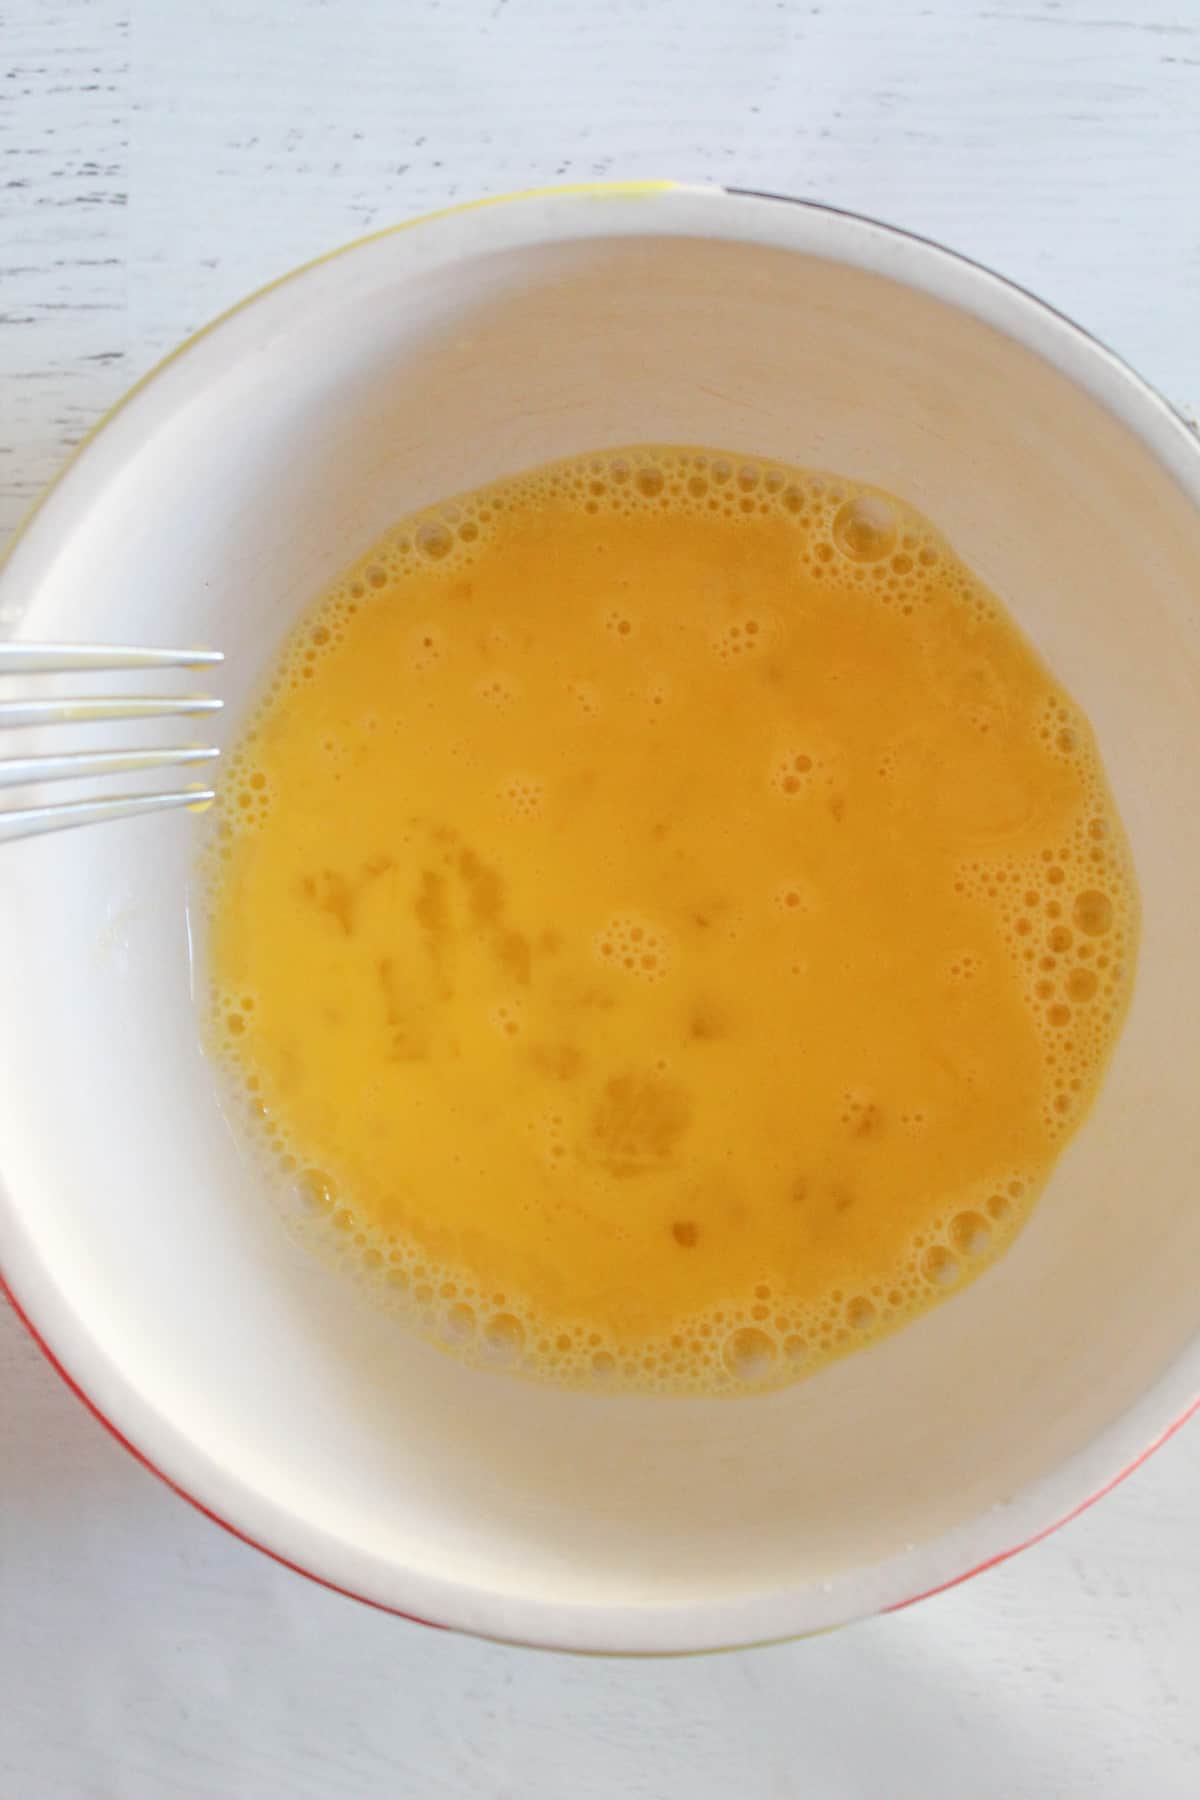
Crack the eggs reserved for the sandwich filling into a small bowl. Season with salt and pepper, then whisk until the yolks and whites are fully combined.
9) Cook the eggs
Heat a nonstick skillet over medium-low heat. Pour in the beaten eggs and gently stir with a spatula until just set, still soft and slightly creamy. Avoid overcooking, as the eggs will continue to firm up slightly after leaving the heat.
10) Assemble the sandwich
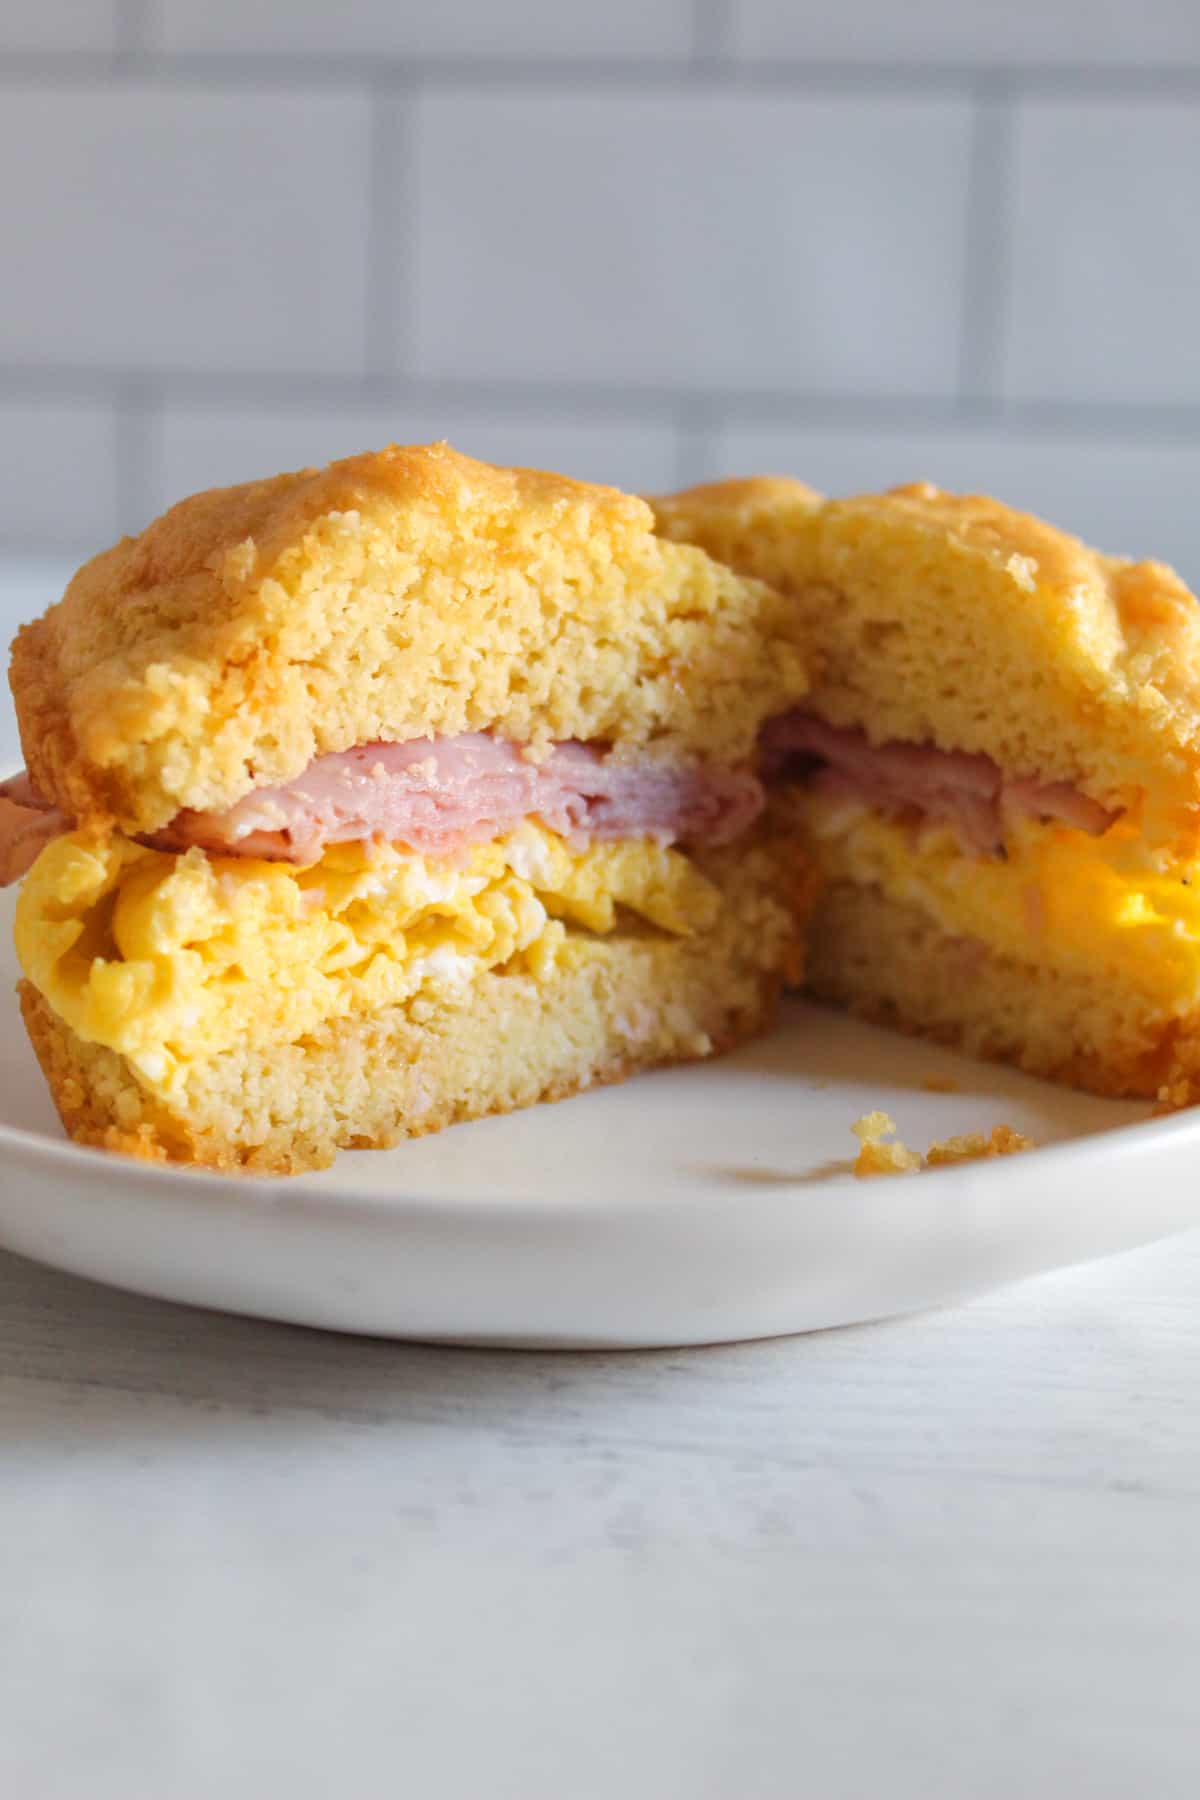
Slice each cooled bun in half. Place the scrambled eggs on the bottom half, followed by your cooked breakfast protein and shredded vegan cheddar cheese. If needed, briefly warm the assembled filling in a skillet or toaster oven to help the cheese melt. Add any desired fresh toppings, then place the top half of the bun over the filling and serve warm.
Tips for Success
Keep these tips in mind while preparing a great breakfast sandwich that holds together well and turns out delicious:
- Carefully measure your almond flour. Spoon it into the measuring cup and level it rather than packing it down.
- Ensure that your butter, sour cream, and eggs are at room temperature. This will ensure the ingredients work well together.
- Mix the batter just until combined. Overmixing can make your bun too dense.
- Allow the batter to sit for a while. This allows the almond flour to absorb the moisture in the mixture before baking.
- Use a jumbo muffin pan to get nice-sized sandwiches.
- Don’t overfill the molds to prevent cracks in the buns.
- Cook the eggs on low heat to prevent them from being rubbery.
- Grate the cheese finely so it melts more quickly and covers the eggs well.
Using these baking tips and others in this guide can help you get the gluten-free breakfast sandwich you desire, with a sturdy bun and well-assembled fillings.
Troubleshooting Tips
If your buns or assembled sandwiches don’t turn out as expected, these troubleshooting tips can help you identify and fix common issues. But there’s no need to worry; below are some common issues you might encounter along the way.
- Bun falls apart when sliced: Let the bun cool completely before slicing. Use fine almond flour and measure the ingredients accurately, especially the eggs and sour cream, to maintain the right moisture and structure.
- Bun is wet in the center: You may have underbaked the bun, added too much moisture to the batter, or sliced it before it cooled completely.
- Greasy sandwich: Your chosen protein may be the culprit, or you may have used too much vegan butter. Drain cooked protein and use only enough butter to coat the pan or enrich the bun.
- Watery sandwich: Excess moisture from the eggs or other fillings may be the issue. Drain cooked toppings, avoid overloading the vegan sour cream, and assemble just before serving.
Gluten-Free Breakfast Sandwich Filling Ideas
These fillings pair well with the cheesy almond-flour buns and add variety to your breakfast sandwich.

- Bacon, egg, and cheddar: For a classic breakfast, add crispy bacon to the scrambled eggs, along with shredded cheddar and a little vegan sour cream, if desired. The smoky bacon and sharp cheddar complement the mildly nutty bun, while the sour cream adds moisture and tang.
- Avocado, tomato, and spinach: For a fresher, lighter sandwich, go for this filling. Stuff the bun with scrambled eggs, mashed avocado, sliced tomatoes, baby spinach, cheddar cheese, black pepper, and lemon juice. Pat the tomato dry before adding it so its juice does not soften the bun.
- Sausage, egg, and pepper jack: To make this sandwich heartier, fill the bun with cooked breakfast sausage or plant-based sausage, folded egg, and sautéed onions and peppers, then top with vegan sour cream.
- Mushroom, spinach, and garlic: Fill the bun with sautéed mushrooms, wilted spinach, scrambled eggs or tofu scramble, cheddar cheese, and vegan sour cream for a flavorful, veggie-packed sandwich. Cook the mushrooms until their liquid evaporates before assembling.
- Ham, cheddar and apple: For a sweet-and-savory version of this sandwich, include warm ham or turkey ham, melted cheddar, and thin apple slices, with the vegan sour cream mixed with mustard, when filling the bun.
Serving Suggestions
The subtle, nutty taste and firm, toasting-friendly quality of this sandwich bun make it ideal for sweet and savory pairings. With this in mind, here are some delightful ways to enjoy this sandwich:
- Use it as the base for a simple vegetable salad like our cucumber-tomato-avocado salad.
- For a satisfying breakfast or brunch plate, serve this sandwich with crispy air fryer potato chips, baked sweet potatoes, or plantains.
- Pair this sandwich with a bowl of our Italian vegetable soup or vegan tomato cream soup for a lunch-style serving.
- Make it more refreshing by serving it with fresh fruit such as orange wedges, pineapple, berries, or sliced mango.
Storage and Freezing Tips
Proper storage helps maintain flavor and texture, so you can enjoy it anytime you want.
- Room-temperature storage: If you’re storing the buns before assembling the sandwiches, let them cool completely and keep them in an airtight container at room temperature for 1–2 days.
- Refrigeration: For assembled sandwiches, wrap each one tightly or place them in an airtight container and refrigerate for up to 3–4 days. For the best texture, add fresh toppings such as avocado or sour cream just before serving.
- Freezing: Let the buns and fillings cool completely before assembling the sandwiches. Wrap each sandwich individually in parchment paper or foil, then place them in a freezer-safe bag or container for up to 1–2 months. Label the package with the date.
- Thawing and reheating: Thaw the sandwiches overnight in the refrigerator. Reheat in a toaster oven, oven, or skillet until heated through. Add sour cream, avocado, fresh vegetables, or other fresh toppings after reheating.
Frequently Asked Questions (FAQs)
Here are the questions regarding making this gluten-free breakfast sandwich. If you can’t find yours, drop it in the comments.
Can I use almond meal instead of almond flour?
Sure, you can. However, the bun will usually have a coarser texture and may be more fragile. Fine almond flour gives a smoother, more cohesive crumb and is the better choice for this sandwich.
Can I make the sandwich vegan?
Definitely, to make the sandwich fully vegan, use a tested egg substitute or tofu scramble, plant-based cheddar, and confirm that the vegan butter and sour cream are dairy-free.
How do I make the egg fit the bun?
Cook the egg in a small nonstick skillet or inside an egg ring. Alternatively, bake the beaten eggs in a greased muffin tin and use one egg patty per sandwich.
Why is the cheddar not melting?
The shreds are too large, or the filling is not hot enough. Use finely shredded cheese and place it directly on the hot egg or cooked filling. Cover the skillet briefly so the trapped heat melts the cheese evenly.
Can I replace the vegan sour cream?
Absolutely. You can use plain, unsweetened vegan yogurt, dairy sour cream, or a thick spread such as sunflower butter, hummus, or mashed avocado. Choose an unsweetened yogurt so the bun does not taste sweet.
More Gluten-Free Sandwich Bread Recipes To Explore
Are you interested in gluten-free bread recipes that work well for sandwiches and toast like the one above? Here are some you can explore:
- Protein-Packed Gluten-Free Peanut Butter Sandwich Bread for a tasty twist that works well for making a sweet snack or dessert.
- Beginner-Friendly Gluten-Free Sandwich Bread for a soft, tender loaf that slices well and holds together for sandwiches.
- Chia Seed Bread for a sliceable loaf that is great for gluten-free toast and sandwiches
- Gluten-Free Italian Bread for a loaf with a light crumb and crisp crust like traditional Italian bread.
- Gluten-Free Buckwheat Bread for a delicious bread with a great structure for slicing and toasting.
You can make an easy breakfast toast or a wholesome sandwich with these recipes, which feature sturdy loaves that hold a variety of fillings together.
Share Your Experience With Us
If you tried this recipe, I’d love to hear about your experience. Leave a comment below and let me know how your buns turned out or how your sandwich came together. Your feedback and unique twists help both other readers and me.