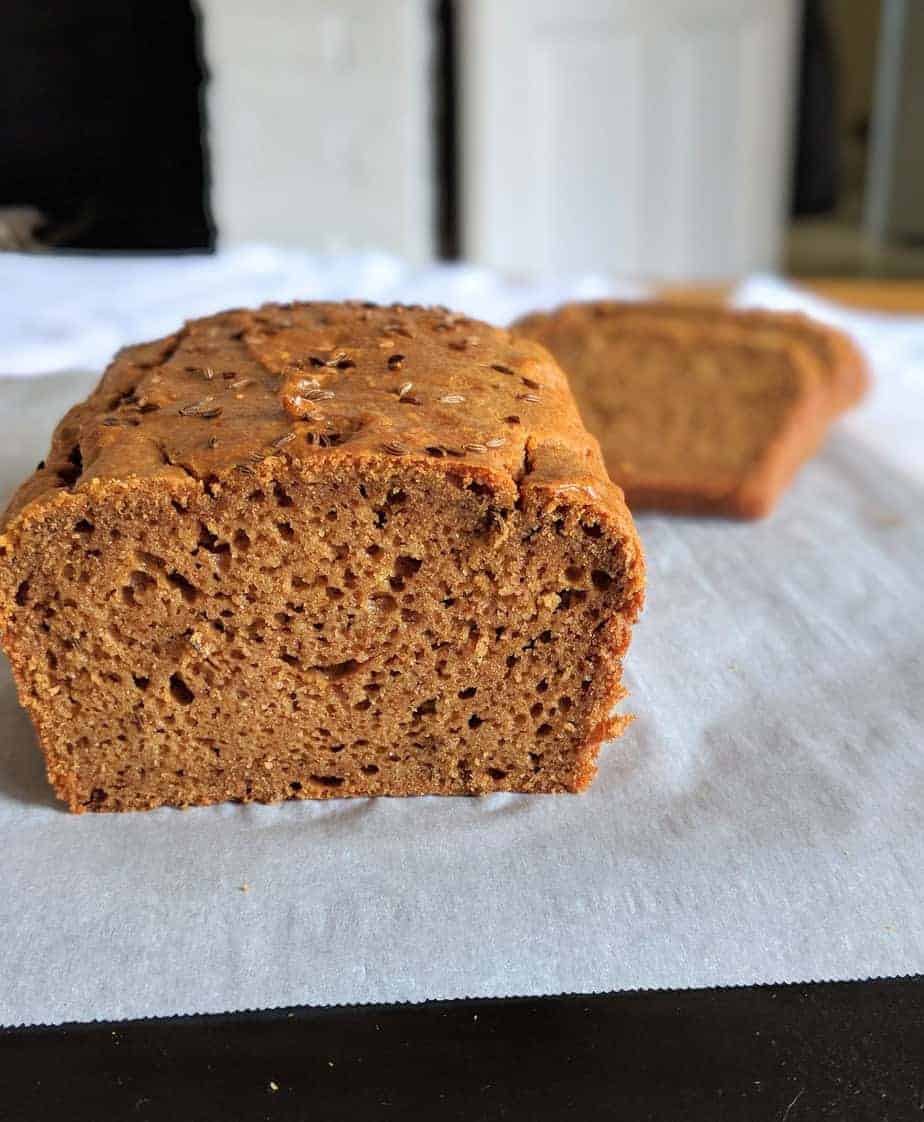
Has your gluten-free brown bread ever turned out heavy, under-set in the center, or fallen apart when sliced? These issues are common when the balance of moisture and binding isn’t right.
We’ve designed this recipe to control those variables, so you get a loaf that holds its shape, slices cleanly, and stays consistent. You’ll also learn how to adjust the same base into a more traditional Irish-style version.
Table of Contents
Would you like to try a different approach? See our Make-Ahead, Flour-Free Gluten-Free Bread.
Quick Ingredient Snapshot
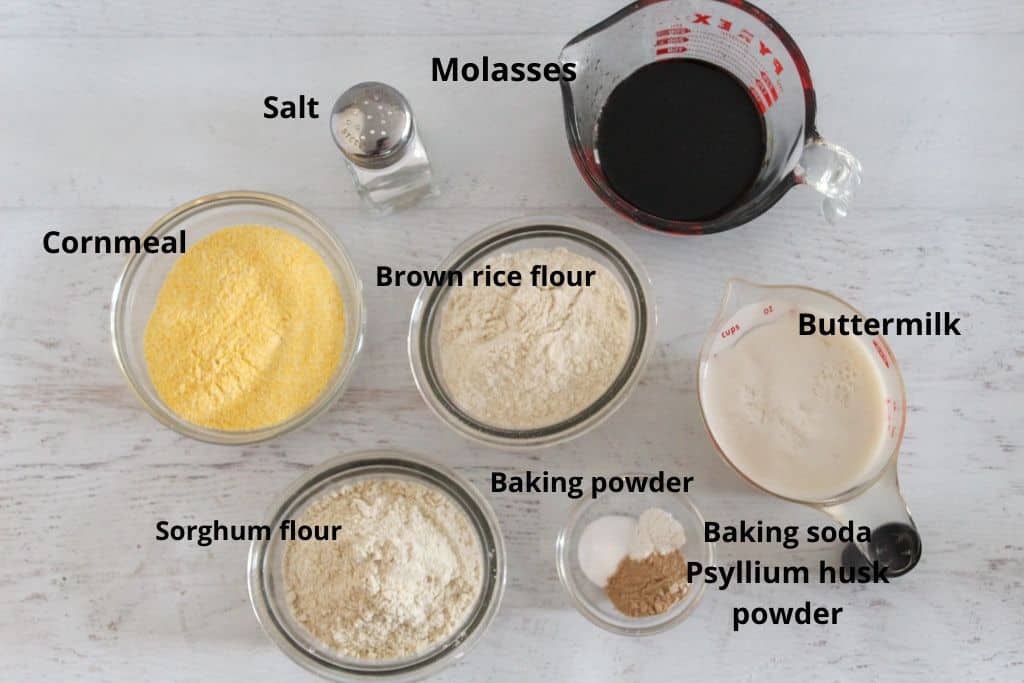
The following are the requirements for this recipe:
- Gluten-free cornmeal
- Sorghum flour
- Brown rice flour
- Baking soda and baking powder
- Salt
- Psyllium husk powder
- Buttermilk
- Dark molasses
How the Gluten-Free Brown Bread Ingredients Work And Their Substitutions
You’ve gotten the basics, now it’s time to learn the actual purpose of each ingredient and the right adjustments when necessary.
Gluten-Free Cornmeal
Cornmeal provides the bread’s trademark coarse texture and subtle bite. It’s the reason brown bread feels different from standard loaves.
- Swap: Reduce it slightly if necessary, but substituting it completely removes that classic texture.
Sorghum Flour
The softness this bread is known for is obtained from sorghum flour. It prevents dryness and adds a mild, slightly sweet flavor. Check out our Sorghum Flour Baking Guide for comprehensive reasons it’s so good for baking.
- Swap: Use oat flour, but expect a softer, more delicate crumb and less structure.
Brown Rice Flour
This flour balances everything out. The support and stability it offers prevent the loaf from collapsing.
- Swap: White rice flour works, but the bread will be lighter and less hearty.
Psyllium Husk Powder
This key binder replaces gluten by holding the dough together and allowing clean slicing.
- No Substitute Recommended: Without it, the bread becomes fragile.
Baking Soda + Baking Powder
These create lift in a dough that doesn’t have gluten or yeast. Too much of this mixture produces a bitter taste; whereas, too little makes the loaf heavy.
Salt
It balances the sweetness and enhances flavor. Skipping it makes the bread taste flat.
Buttermilk
It adds moisture and a slight tang, making the crumb softer. It also reacts with baking soda, helping the batter rise better.
- Dairy-Free Option: Use plant milk and vinegar. This option creates a slightly less rich result, but still works.
Dark Molasses
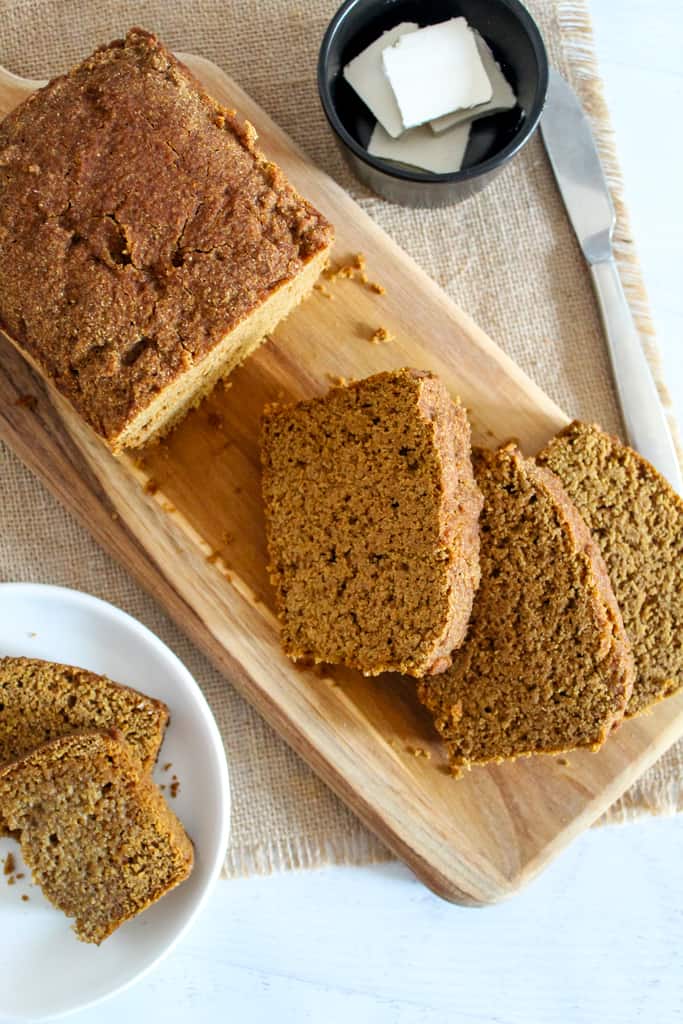
Molasses defines the flavor, color, and moisture level of this bread. It creates a darker loaf with a slightly sweet profile and helps keep the crumb soft after baking.
Reducing it makes the bread lighter in taste and closer to a traditional gluten-free Irish brown bread.
However, replacing part of it with honey or maple syrup gives a milder flavor, but reduces depth.
Quick Sweetness Adjustments
- More molasses makes it richer, darker, and moister.
- Using less molasses makes the bread more like traditional gluten-free Irish brown bread (more savory and less sweet).
Printable Gluten-Free Brown Bread Recipe Card
Ingredients
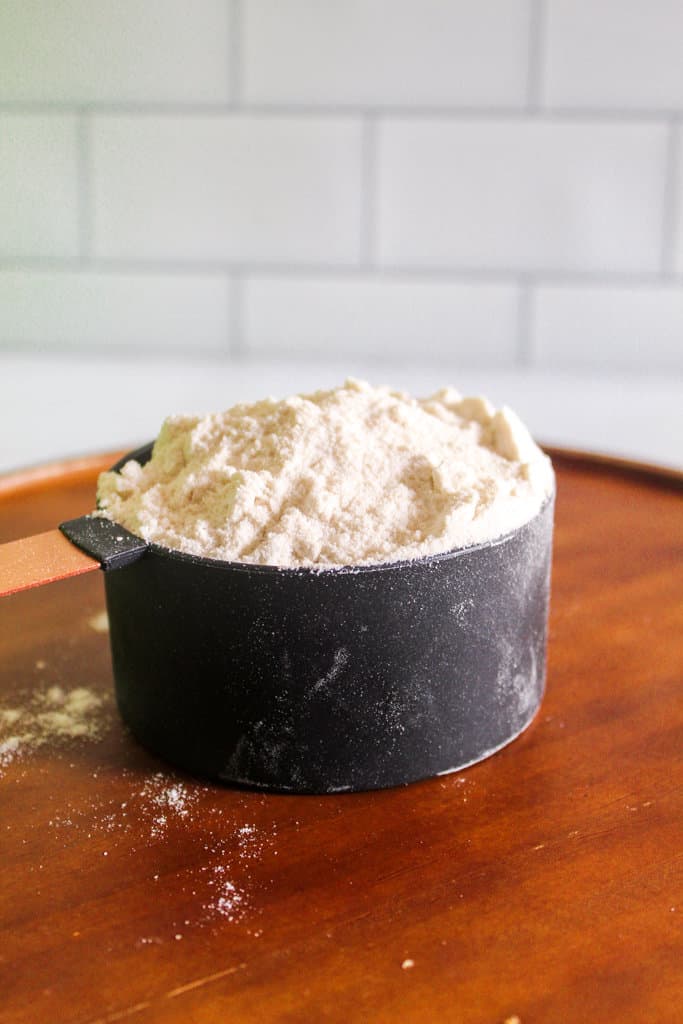
- 120 grams gluten-free cornmeal about 3/4 cup
- 95 grams sorghum flour about 3/4 cup
- 107 grams brown rice flour about 3/4 cup
- ½ teaspoon baking soda
- ½ teaspoon baking powder
- ½ teaspoon salt
- 1 teaspoon psyllium husk powder
- 1 cup buttermilk
- ½ cup dark molasses
Instructions
- In the bowl of a stand mixer, combine all dry ingredients until evenly blended.
- Pour in buttermilk and molasses. Mix on low until a thick, smooth batter forms.
- Scrape the bowl and mix on medium for 2 minutes.
- Set batter aside for 30 minutes until slightly thickened.
- Preheat the oven to 325° F. Adjust the oven racks so the bread bakes on the lowest rack. Grease or spray an 8" x 4.5" loaf pan with cooking spray.
- Spread the batter evenly into the prepared pan and smooth the top.
- Place the pan in a larger dish and add warm water to the dish. Add about 6 cups of water to the baking pan.
- Cover the whole pan with another sheet of foil.
- Bake on the lowest rack for 90-100 minutes. Internal temp should reach ~195°F.
- Before removing from the pan, let it rest 10 minutes, then cool completely before slicing.
Notes
- Skipping rest time results in a weak structure.
- No steam environment creates a dry, dense loaf.
- Too much liquid results in an under-set interior.
- Cutting while hot makes the bread fall apart.
Doneness Cues
- The internal temperature should be ~195°F (90°C).
- It should have a firm top and no wet center.
- Insert a toothpick into the bread; it should come out clean when the bread is fully baked.
- The bread should pull slightly from the edges.
- If it’s underbaked, the center will be gummy.
- Use caution when removing the foil, as the steam will be very hot and come out quickly. Remove the loaf pan from the steamer and let it cool on a wire rack for 10 minutes.
Storage
- Room Temp: 2–3 days (wrapped well)
- Fridge: Up to 5 days (can dry slightly)
- Freezer: Up to 2 months (slice before freezing)
Reheat:
Toast slices or warm them in the oven to restore moisture.Nutrition
Boston Brown Bread vs Irish Brown Bread
You must understand the difference between these two breads before you decide on the direction to take. Regardless of their similarities, they serve entirely different purposes, particularly when working toward a gluten-free Irish brown bread recipe or a gluten-free wheaten bread style.
Key Differences
Let’s examine the key difference between these two types of bread.
Sweet vs Savory
Boston brown bread is slightly sweeter because of the molasses. Meanwhile, Irish brown bread is more neutral, sometimes lightly nutty, and designed to pair with savory foods.
Molasses vs Buttermilk
Boston-style relies on molasses for flavor, color, and moisture. On the other hand, Irish brown bread emphasizes buttermilk, giving it a subtle tang and a lighter taste.
Texture (Dense vs Crumbly)
Boston brown bread is moist and dense, often steamed. In contrast, Irish brown bread is drier and more fragile, with a softer, more bread-like bite.
When to Choose Each
Let’s look at the best moments to choose the two bread options below.
Boston Brown Bread
- Best for breakfast or snacks.
- Pairs well with butter, honey, or jam.
- Slightly sweet, more filling.
Irish Brown Bread / Wheaten Style
- Better for lunch or dinner.
- Works with soups, stews, and savory spreads.
- More traditional everyday bread.
Are They Interchangeable?
They are similar in structure but differ in flavor and use. Boston brown bread is sweeter and denser, while Irish brown bread is more neutral and better suited to savory meals.
Reducing the molasses in the recipe and shifting towards a savory profile can give it a gluten-free wheaten bread profile.
Do you want a recipe even closer to a classic loaf texture? Try our Gluten-Free Buckwheat Bread Recipe; it’s bread machine-friendly and foolproof.
Why This Gluten-Free Brown Bread Recipe Works
The results stop feeling random once you get the mechanics behind this loaf. This recipe is built around the four key factors below.
Moisture Balance
The liquid-to-flour ratio is carefully balanced to fully hydrate the batter without making it too wet. The resting step allows the flours to absorb moisture evenly, helping prevent an under-set center.
Molasses Impact
Molasses retains moisture and softens the crumb. Adjusting it changes the flavor profile toward either a sweeter or more neutral loaf.
Steam Baking Method
Steam slows surface drying, allowing the center to cook at the same rate as the outside. This results in a more even texture throughout.
Structure Without Gluten
Psyllium, combined with sorghum and brown rice flour, creates a stable framework that holds moisture and allows clean slicing.
Should you want to explore a yeast-based version that builds structure differently, see our Gluten-Free Pumpkin Yeast Bread. It uses fermentation rather than steam to achieve a lighter crumb.
Step-by-Step Instructions
Learning what goes into the batter and why this recipe works is only part of the process; having the right tools and following the method correctly are what ensure a successful bake.
Before you begin, make sure you’re set up with the proper equipment, as each tool plays a role in achieving the right texture, structure, and consistency.
Essential Kitchen Tools You Actually Need
Using the right tools makes each step easier and more consistent. In gluten-free baking, especially, small differences in equipment can significantly affect the final result.
- Loaf Pan (8.5 x 4.5 inch): This is the exact size the recipe is built for, ensuring even baking and proper structure. Using a different size can lead to undercooked centers or dry edges.
- Large Mixing Bowl: A spacious bowl gives you enough room to mix thoroughly, helping distribute moisture evenly and preventing dry pockets in the batter.
- Hand Mixer or Stand Mixer: Proper mixing is essential in gluten-free baking; using a mixer helps achieve a smooth, fully hydrated batter rather than an uneven, lumpy one.
- Deep Baking Dish / Roasting Pan: Creating a steam bath keeps the bread moist and helps it bake evenly without drying out.
- Heavy-Duty Aluminum Foil: Traps steam and prevents the top from drying too early, helping avoid a dense or cracked loaf.
- Kitchen Thermometer (Optional but Useful): This removes guesswork by letting you confirm doneness. Around 195°F means the center is fully cooked, not gummy.
Step 1: Combine the Dry Ingredients
Add cornmeal, sorghum flour, brown rice flour, baking soda, baking powder, salt, and psyllium husk into a bowl. Mix until fully combined.

The color should be even, with no visible streaks.
Step 2: Add Liquids and Start Mixing
Pour in the buttermilk and molasses, then mix on low speed for about 30 seconds.
The mixture should form a thick batter (not kneadable dough) that is slightly sticky but smooth.
Step 3: Build Structure with Proper Mixing
Stop and scrape down the bowl, then mix on medium speed for 2 minutes.
This step ensures even hydration of the flours and activates psyllium’s binding properties.
Step 4: Rest the Batter (Do Not Skip)
Let the batter sit for 30 minutes. During this time, it should thicken slightly, and the surface will become less glossy.
Step 5: Prepare the Pan and Oven
Preheat your oven to 325°F (160°C) and grease an 8.5 x 4.5-inch loaf pan thoroughly to prevent sticking.
Step 6: Transfer and Level the Batter
Pour the batter into the pan and smooth the top evenly. The surface should be flat, with no large air pockets.
Step 7: Cover the Loaf Pan
Tightly cover the pan with foil. This step traps moisture and prevents early crust formation.
Step 8: Set Up the Steam Environment
Place the loaf pan inside a larger pan and add warm water until it reaches a few inches up the sides of the larger pan. Be careful not to let water spill into the batter.
Step 9: Seal and Bake
Cover the entire setup with foil and bake on the lowest oven rack for 90–100 minutes.
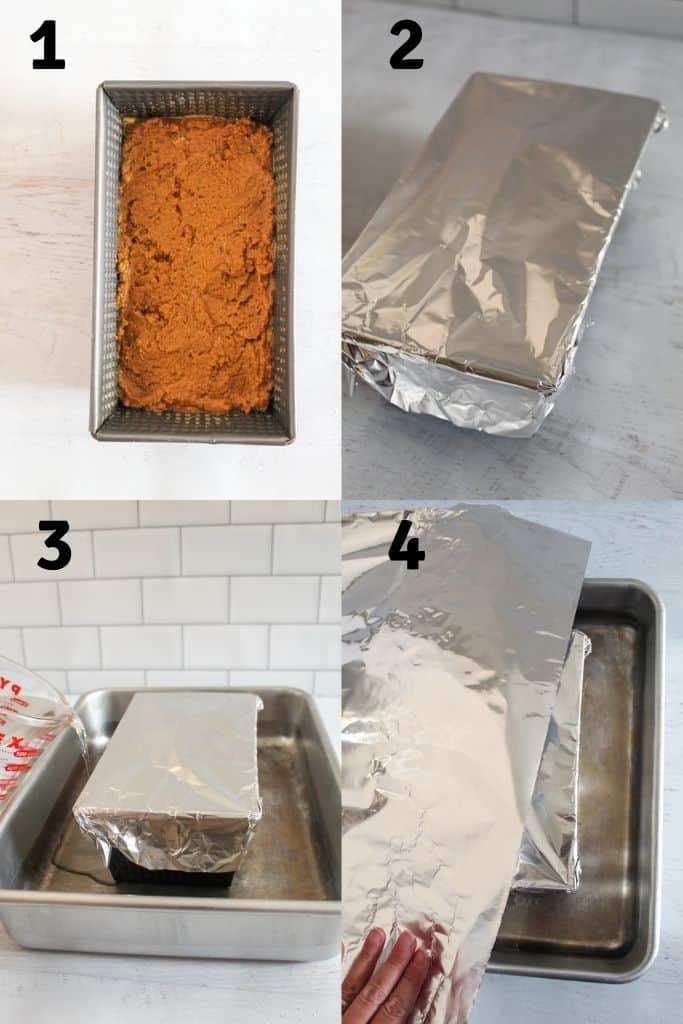
This allows for slow, even cooking while the steam prevents browning.
Step 10: Check for Doneness
Carefully remove the foil (watch for steam). The bread is done when the internal temperature reaches about 195°F, the top feels firm, and a skewer inserted in the center comes out clean.
Step 11: Cool in the Pan
Let the bread sit for about 10 minutes before removing. Note that the structure is still setting at this stage.
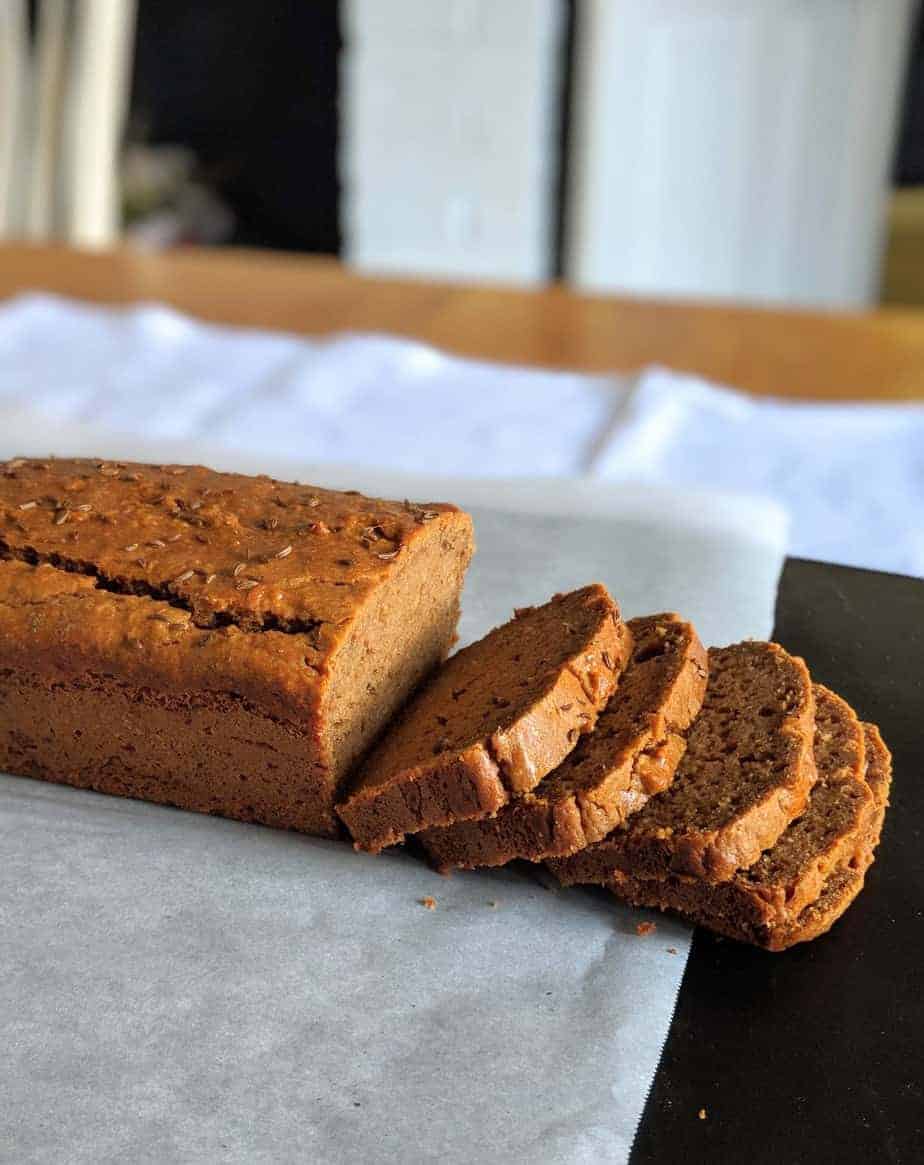
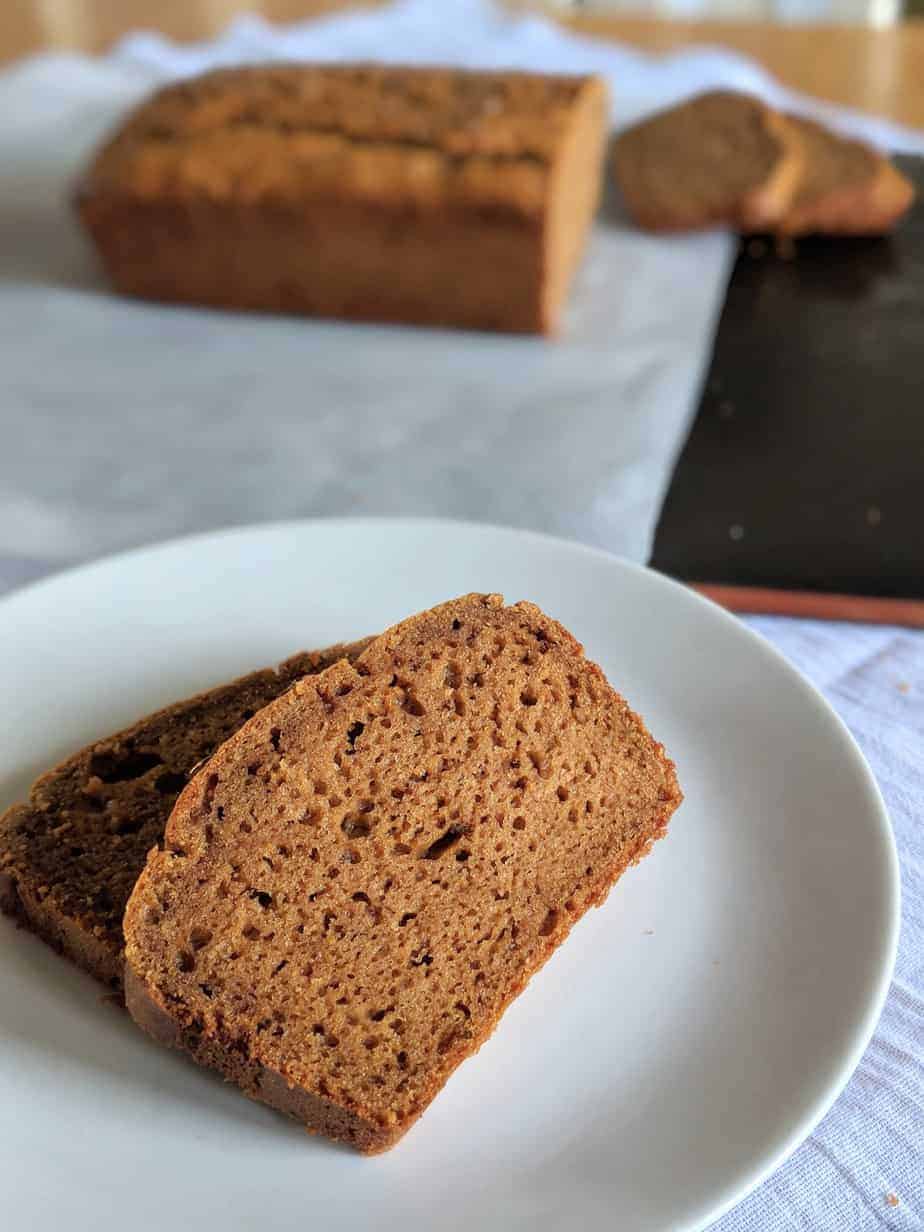
Step 12: Cool Completely Before Slicing
Transfer to a wire rack and let it cool completely. The final texture should be moist but firm, and the bread should slice cleanly without crumbling.
Common Mistakes And How to Fix Them
Small variations can affect the result even when you follow the recipe properly. This section guides you in identifying exactly what happened and explains how to fix it during your next bake.
Why Is My Bread Gummy?
This usually means the center hasn’t fully set. Bake until the internal temperature reaches ~195°F. Also, let it cool completely before slicing.
For a deeper breakdown, see Why Is My Gluten-Free Bread Gummy? It covers the exact science behind this problem.
Why Did It Collapse?
This occurs when the structure isn’t strong enough to hold its shape after baking. Resolve this by measuring liquids carefully and mixing thoroughly.
Why Is It Too Dense?
A tight, heavy loaf usually means limited rise. To fix this issue, check leavening freshness and ensure the batter is thick but not stiff.
Why Does It Taste Bitter?
Imbalance in leavening or molasses causes bitterness. Fix this by measuring baking soda precisely and mixing evenly.
How to Make This Gluten-Free Brown Bread Recipe More Like Irish Brown Bread
As long as you’ve mastered the loaf, a new recipe isn’t required to get a result closer to a standard Irish gluten-free brown bread. What’s required is a shift in the balance of flavor and texture.
Reduce or Remove Molasses
Cutting molasses reduces sweetness and gives the bread a more neutral flavor.
Choose Buttermilk Flavor
Keeping buttermilk as the dominant flavor adds a subtle tang and balances the loaf.
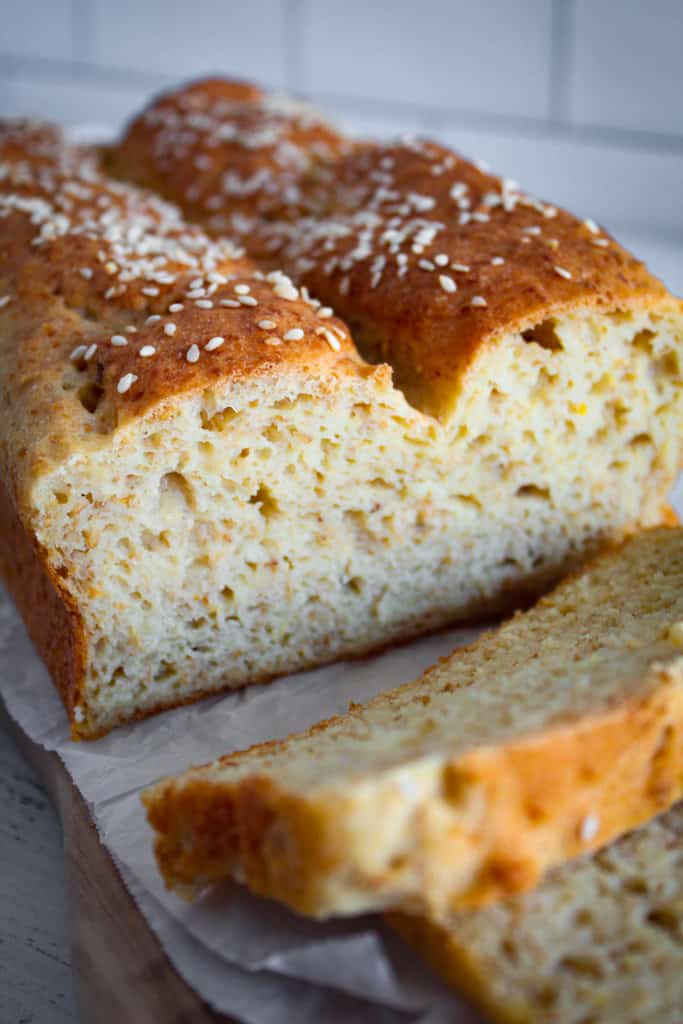
Add Seeds for Texture
Seeds introduce a slightly firmer bite and a more rustic finish.
Reduce Overall Sweetness
A less-sweet profile makes the bread better suited to savory pairings.
Try our Gluten-Free Irish Soda Bread if you want a fully traditional approach from the start.
Best Gluten-Free Flours for Brown Bread
The flour combination you choose directly controls the framework, texture, and how close your result is to a standard brown bread.
Oat Flour
Oat flour produces a softer, more tender crumb. It adds a mild, subtly sweet flavor and reduces dryness.
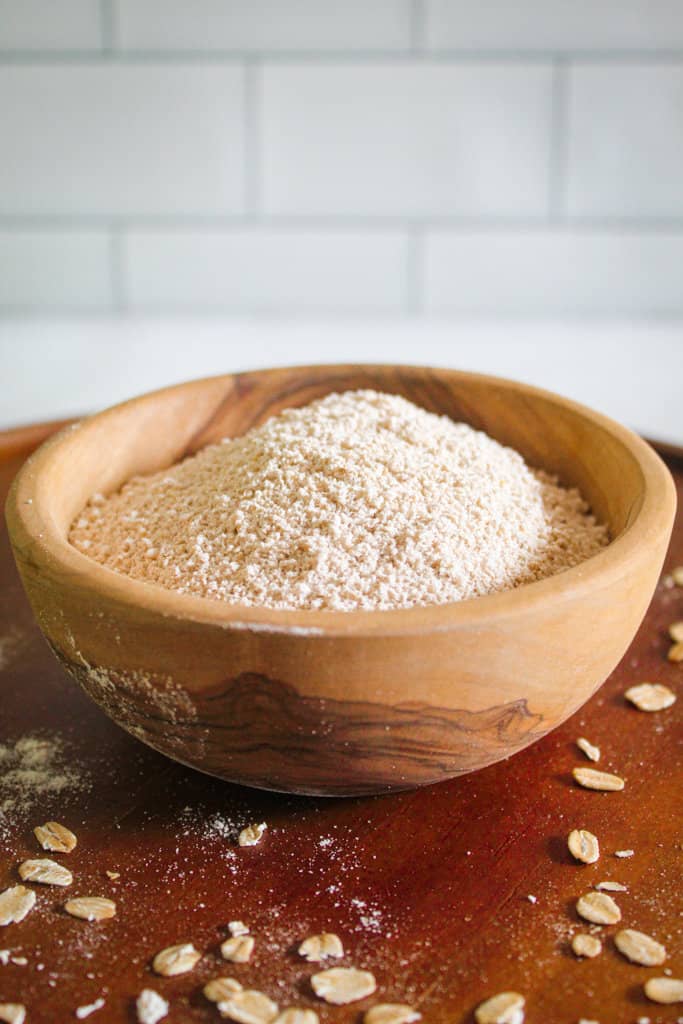
Regardless, it lacks structure on its own. If you don’t balance it properly, the bread can become too delicate or slightly crumbly.
Best Combination
Oat flour works best when paired with a stronger flour, such as brown rice or sorghum. You will get softness without losing stability.
Are you comparing your options? Check out our guide on Oat Flour vs Almond Flour for a comprehensive take on how oat flour behaves in different recipes.
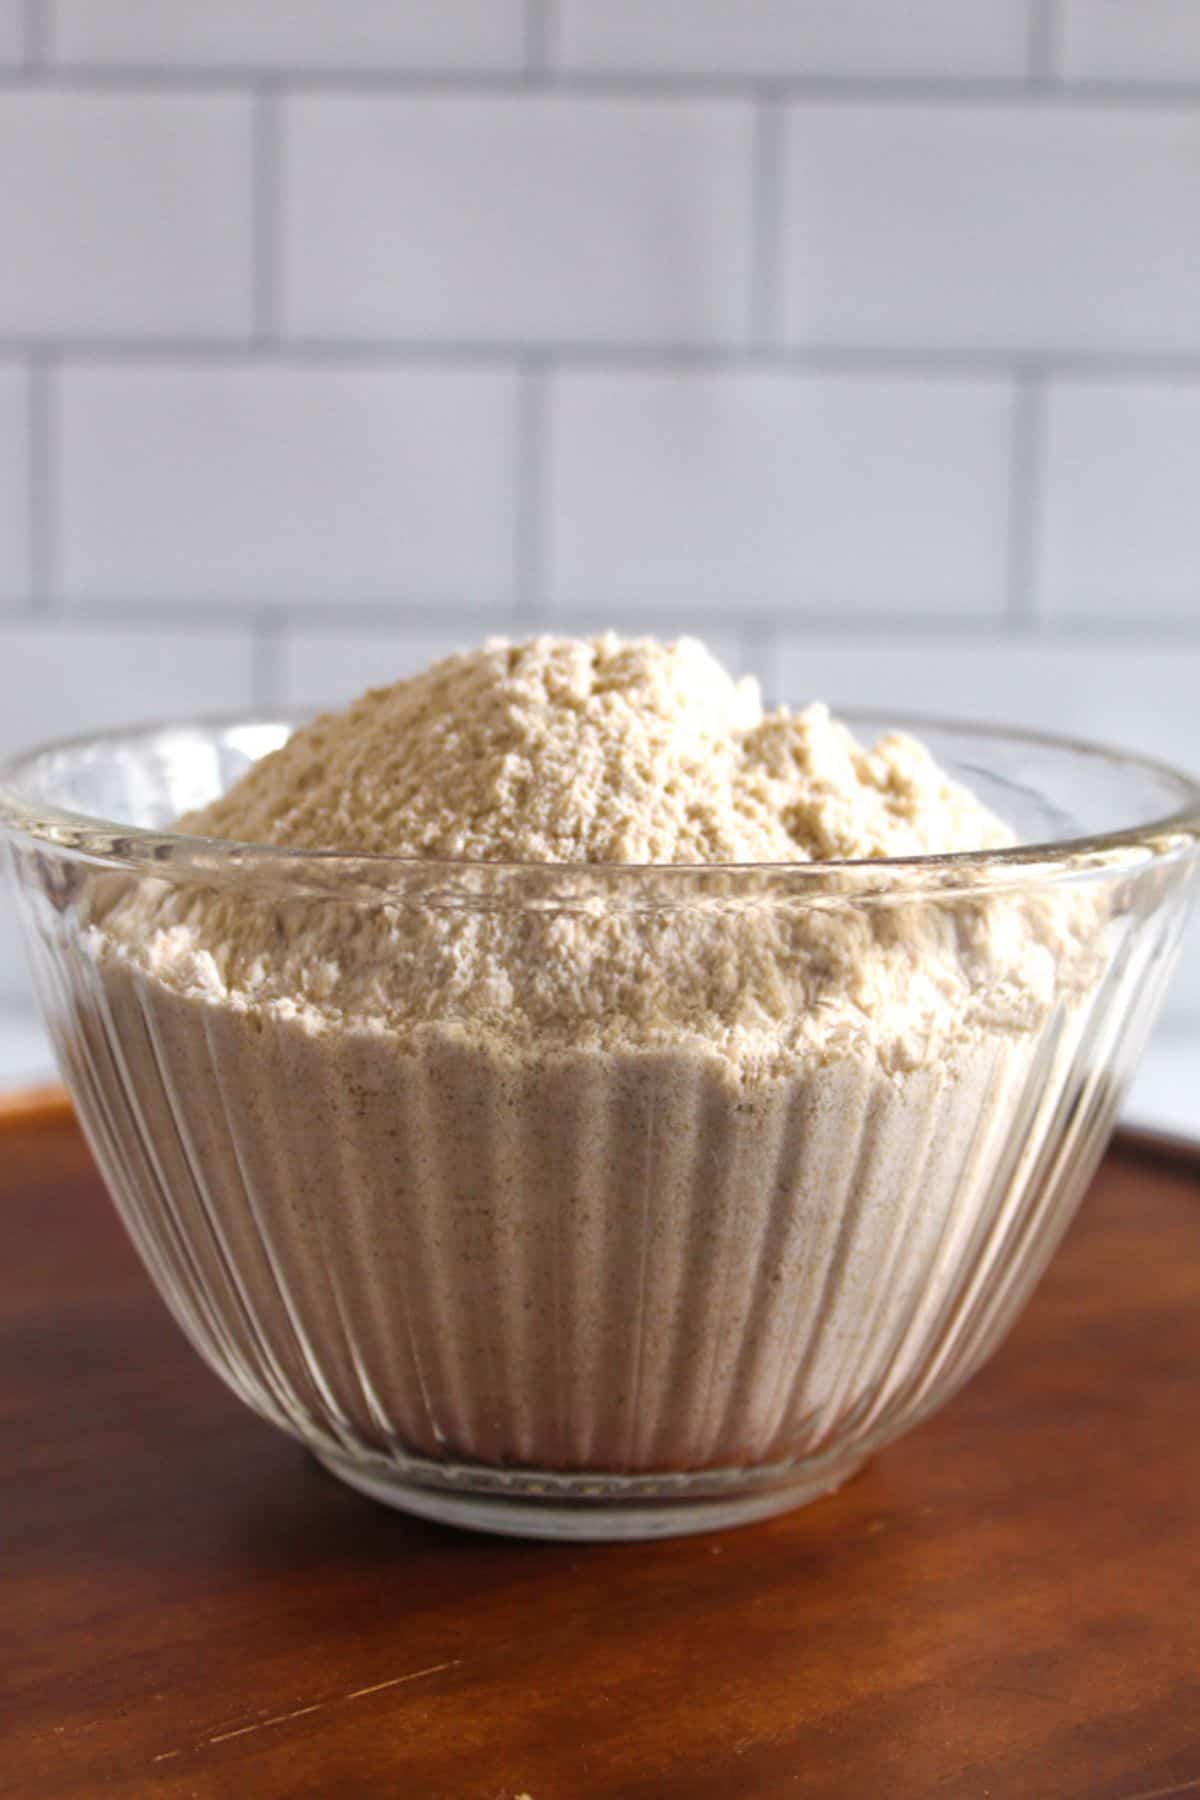
Sorghum Flour
Sorghum flour provides a soft, balanced crumb and helps retain moisture.
Best Combination
Used with brown rice flour, it helps keep the bread light rather than heavy.
Brown Rice Flour
Brown rice flour adds firmness and helps the bread hold its shape.
Best Combination
Balancing it with sorghum helps avoid a dense texture.
Pan Size and Baking Time Chart
Shape and size change how heat moves through the batter. And that directly impacts texture, moisture, and bake time. Below is a quick guide to help you adjust easily and accurately:
| Pan Type | Time | Result |
|---|---|---|
| Loaf pan | 90 to 100 minutes | Standard loaf, moist and sliceable |
| Coffee can | 100 to 110 minutes | More traditional, dense, and uniform texture |
| Muffins | 25 to 35 minutes | Lighter, softer, quicker bake |
A loaf pan offers the most balanced outcome and is exactly what the recipe is designed for. However, coffee can create a tighter, more compact crumb, closer to the standard Boston brown bread. On the other hand, muffins bake faster and come out lighter, but with less of that classic dense texture.
If you change the pan, rely on doneness cues rather than time alone to check if the bread is ready.
How to Store, Freeze, and Reheat This Gluten-Free Brown Bread
After baking your bread properly, keeping it that way is the next challenge. Gluten-free bread usually dries out faster than traditional bread. Therefore, how you store and reheat it makes an obvious difference.
How to Prevent Dryness
Store the bread tightly wrapped in an airtight container once fully cooled. This helps maintain moisture during storage.
Freezing (Best for Long-Term Storage)
Freezing the bread is the best way to preserve its freshness and quality. Practice the following to freeze it properly:
- Slice the bread before freezing.
- Wrap slices individually or place parchment between them.
- Store in a sealed freezer bag.
Following these tips allows you to take out only what you need without thawing the entire loaf. Also, the bread can be stored for about 2 months without significant loss of texture.
Best Reheating Methods
Toasting restores structure; meanwhile, gentle oven warming softens the crumb without drying it out.
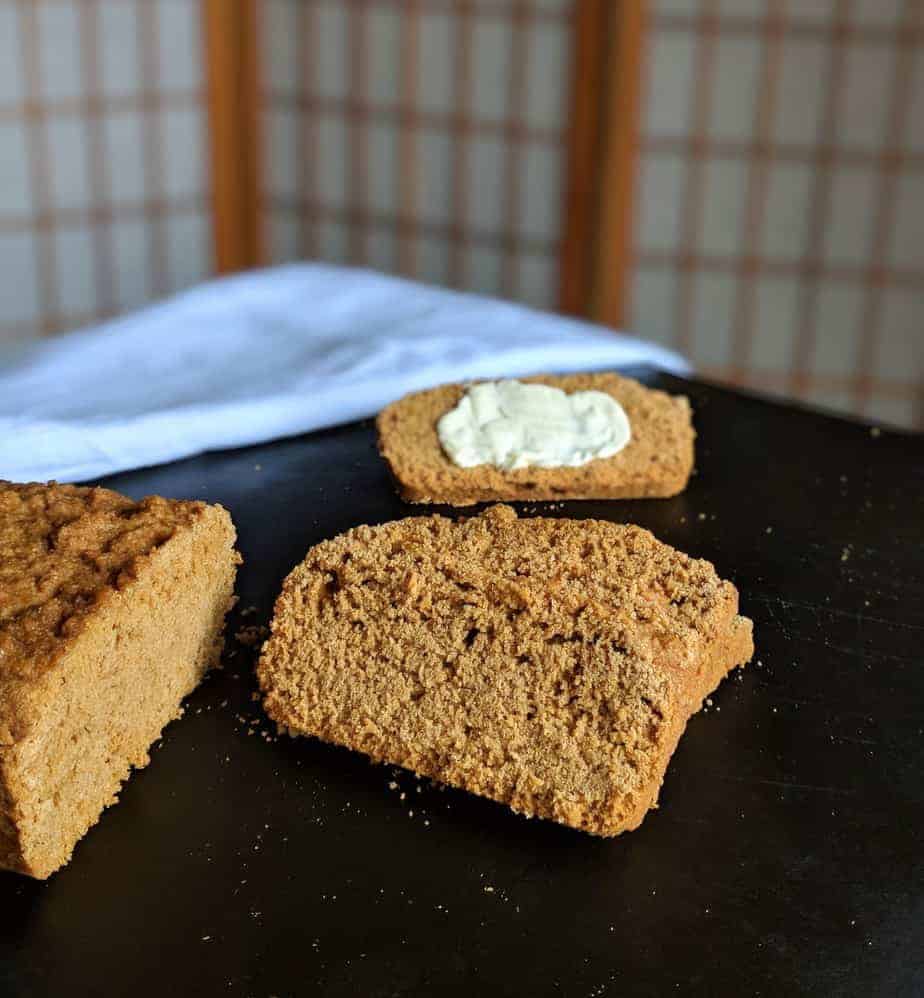
What to Serve With Your Gluten-Free Brown Bread
While serving your loaf, the right pairing brings out the texture and flavor, whether you keep it simple or build it into a full meal.
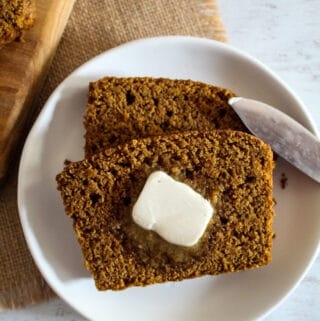
Butter and Honey
Warm slices with butter are the easiest place to start. The richness melts into the bread, and honey adds the exact sweetness required to balance the deeper flavors.
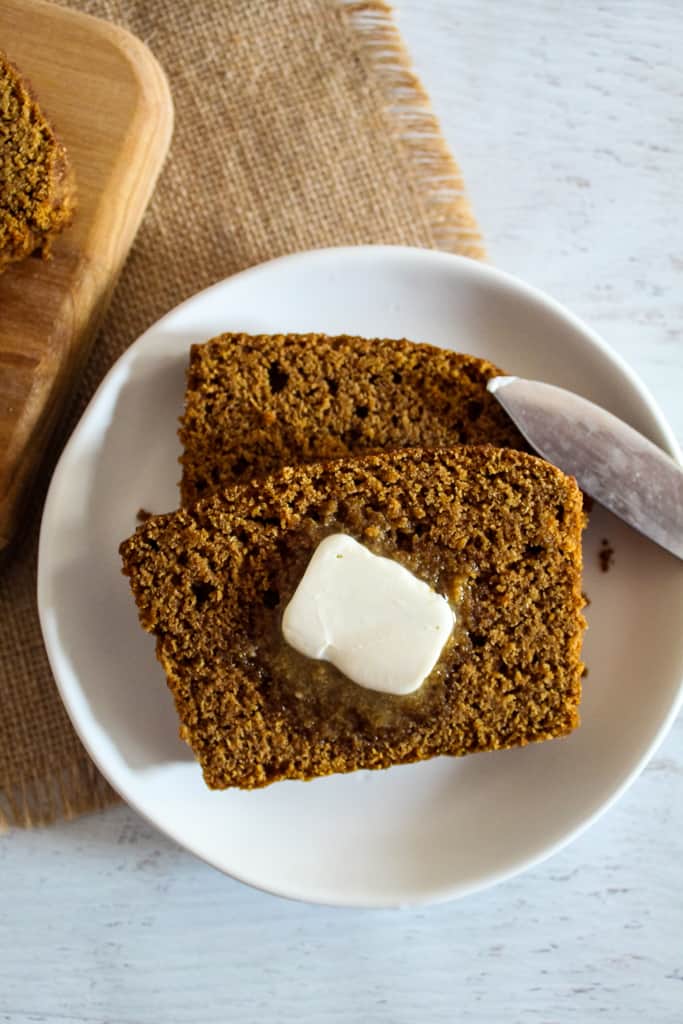
This option is the best when you’re maintaining the Boston-style profile with molasses still in the recipe.
Soups and Savory Dishes
Adjusting the loaf to a more neutral, Irish-style flavor allows it to pair naturally with savory meals.
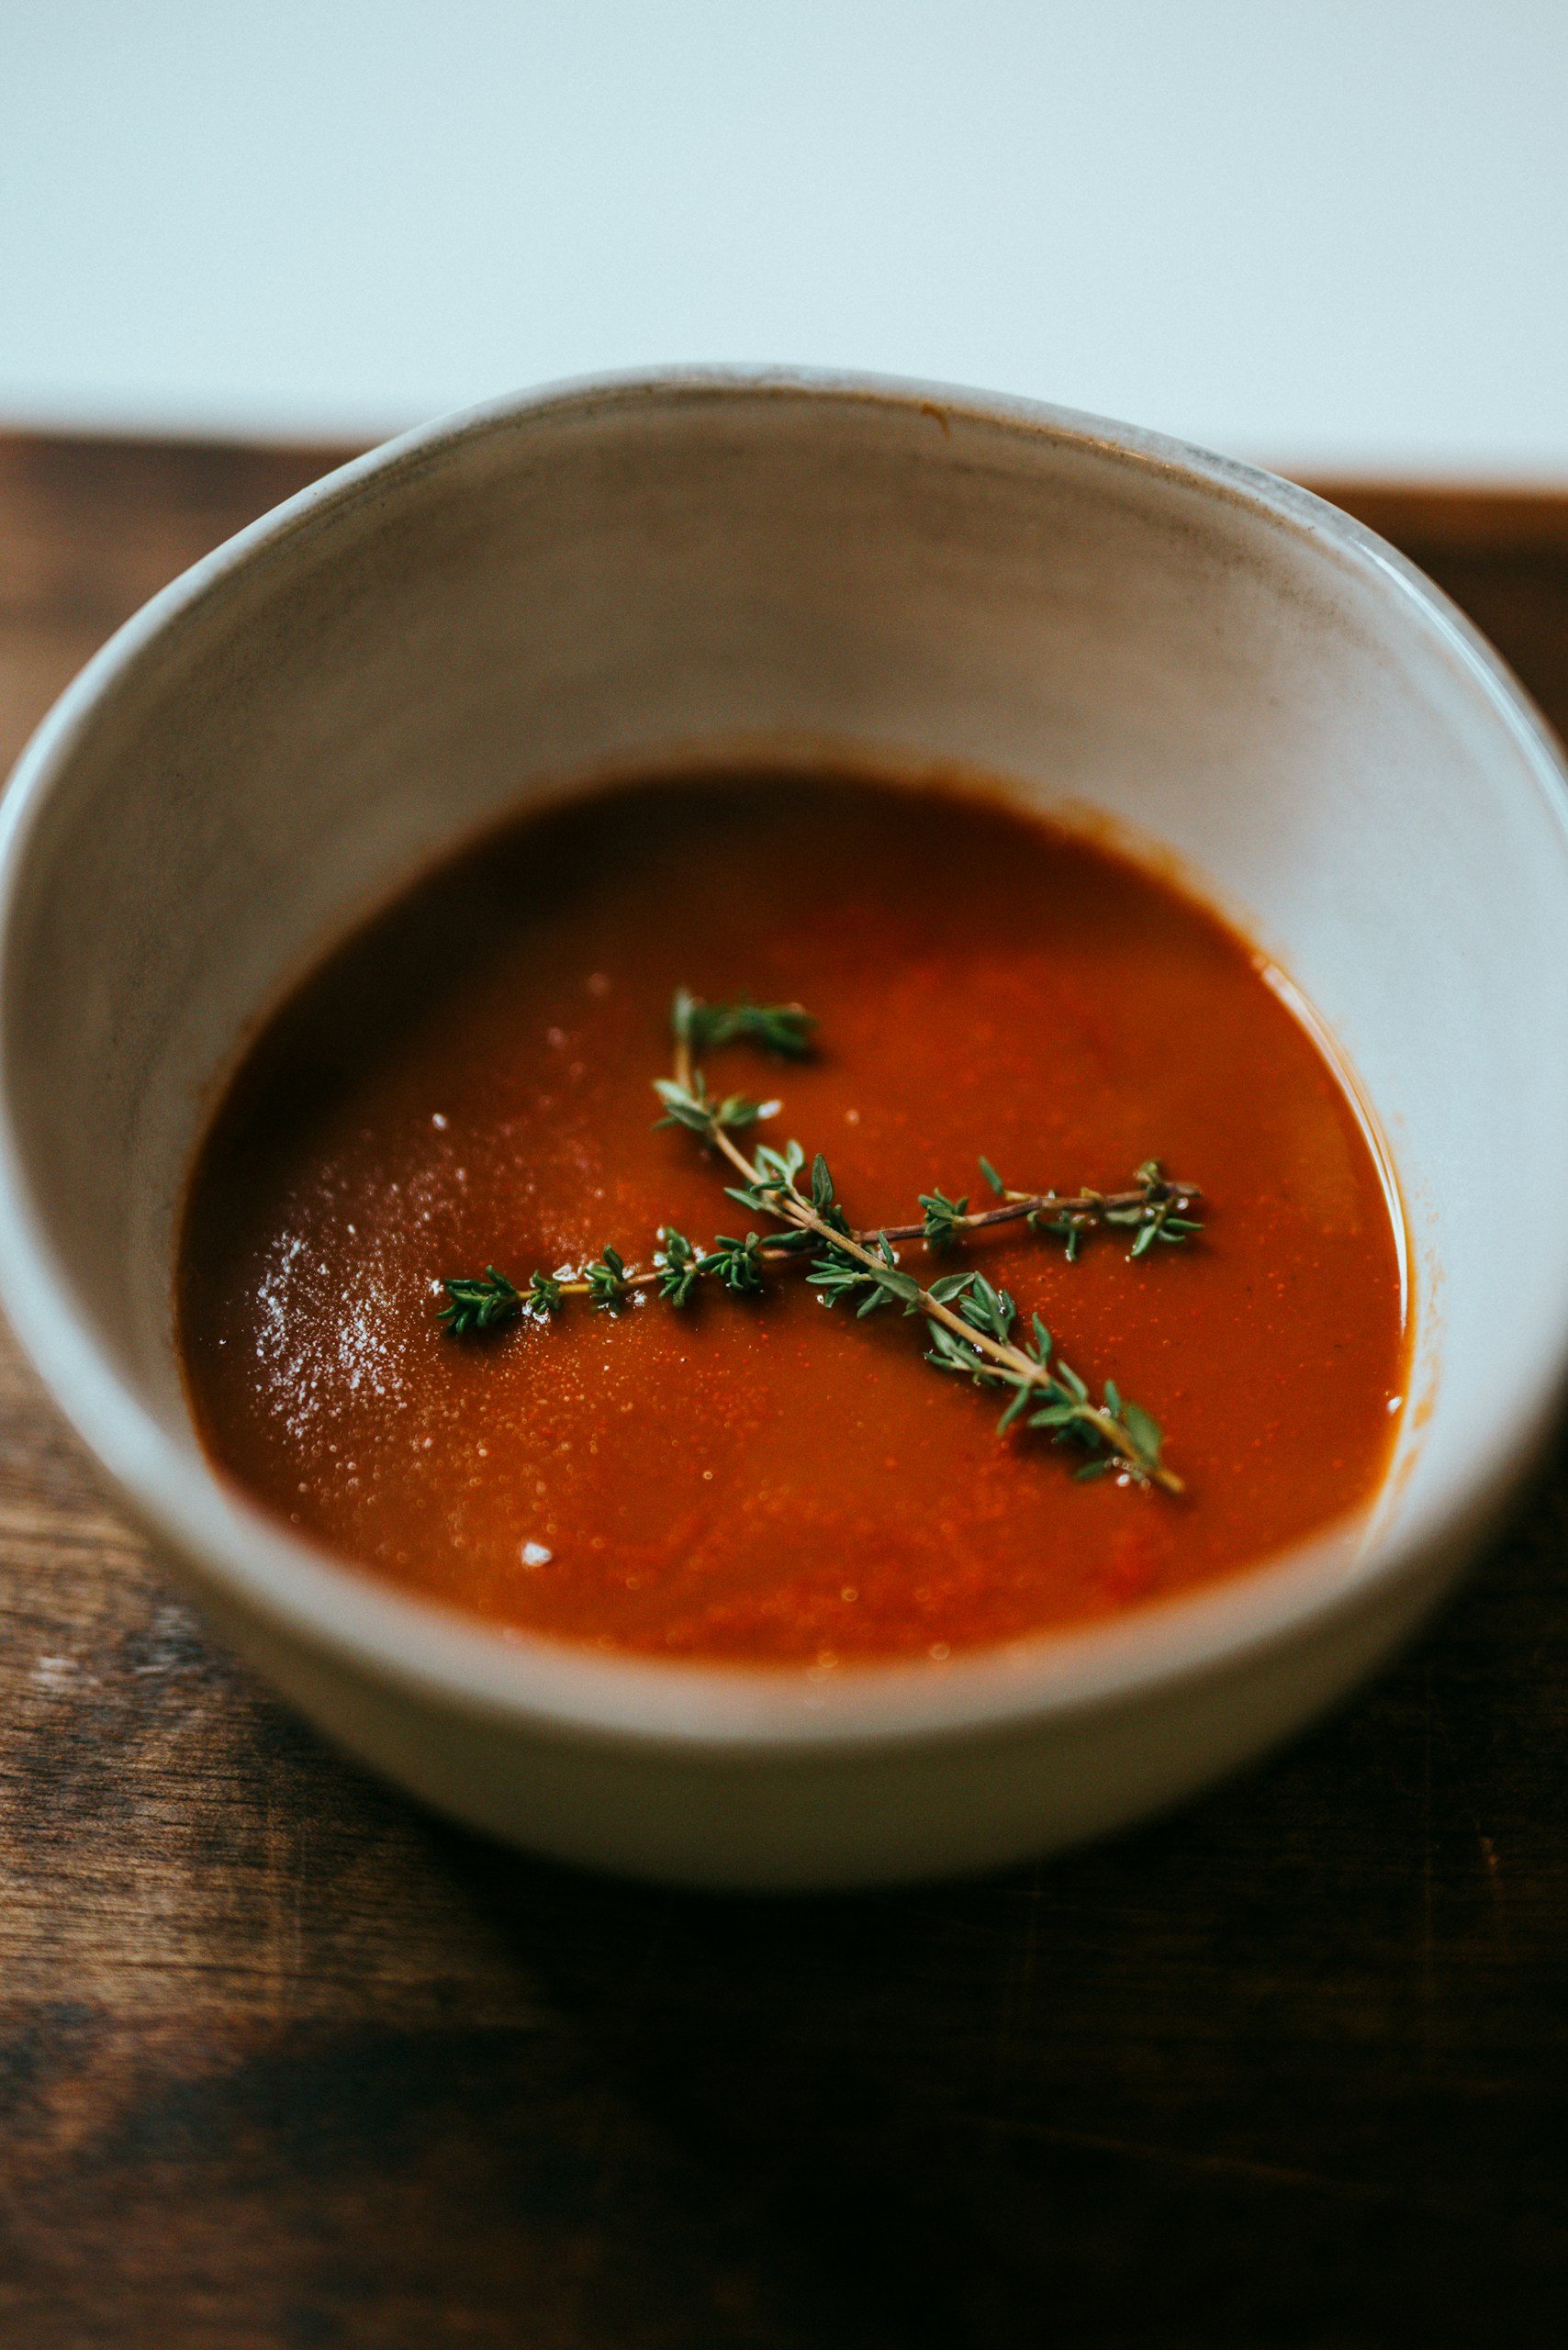
- Thick soups
- Stews
- Simple broths
The bread holds up well when dipped and adds substance without overpowering the dish.
Breakfast Pairings
Brown bread also fits easily into breakfast. It’s filling, slightly sweet (or neutral, depending on your version), and versatile.
- Toast with butter or jam.
- Serve alongside eggs.
- Pair with yogurt or fruit.
Nutritional Benefits of This Gluten-Free Brown Bread
Beyond its distinct flavor, this bread also stands out for its nutritional benefits. It’s built from simple, whole ingredients that contribute more than just calories.
Naturally Gluten-Free and Digestible
This recipe is fully gluten-free, making it suitable for people with celiac disease or gluten sensitivity.
A strict gluten-free diet is the only effective way to manage these conditions, improving digestive health and nutrient absorption over time. Because this bread avoids overly processed blends, it also tends to be easier to tolerate.
Rich in Fiber and Gut Support
Sorghum and whole-grain flours contribute dietary fiber, which supports digestion and helps maintain gut health. Studies show sorghum can positively influence the gut microbiome due to its fiber content. This makes the bread more filling and helps prevent rapid spikes in hunger.
Steady Energy from Whole Grains
Cornmeal, sorghum, and brown rice flour provide complex carbohydrates, which release energy more gradually than refined starches.
This supports better energy levels throughout the day, rather than quick spikes and crashes.
Naturally Low in Fat
The base recipe contains minimal fat, making it a lighter option you can customize with toppings as needed.
Who Is This gluten-free Brown Bread Recipe For?
This bread isn’t limited to one diet. It can meet a variety of needs depending on how you use it.
Gluten-Free Diets
If you need a reliable everyday loaf without gluten, this recipe provides structure without relying on additives or commercial mixes.
Beginners in Gluten-Free Baking
The method is structured to reduce common failures such as gumminess or collapse, making it easier to achieve consistent results.
Those Wanting a More Traditional Bread Option
With a few simple changes, you can adapt this recipe to make gluten-free bread that closely resembles traditional Irish brown bread, making it perfect for savory dishes and everyday enjoyment.
Anyone Looking for a Simple, Whole-Ingredient Bread
Do you want to avoid heavily processed gluten-free products? This recipe offers a straightforward alternative with recognizable ingredients and proven nutritional value.
Frequently Asked Questions
Below are questions we frequently get about this recipe and gluten-free brown bread in general. If you can’t find yours, ask in the comments.
Can I Make This Bread Without Psyllium Husk?
Psyllium husk is the main binding ingredient in this recipe. Without it, the bread will likely turn out crumbly and fall apart when sliced. There isn’t a direct substitute that provides the same structure, so it’s best not to skip it.
Can I Bake This Bread Without A Steam Bath?
You can, but the result will be different. Without steam, the bread tends to develop a dry outer layer while the inside may remain undercooked. The steam method ensures even cooking and a moist texture throughout.
Why Does My Bread Stick To the Pan?
This usually happens when the pan isn’t greased properly or the bread hasn’t cooled long enough. Letting the loaf sit for at least 10 minutes before removing it helps it release more easily.
Can I Make this Recipe Vegan?
Make it vegan by replacing buttermilk with plant-based milk mixed with vinegar. The texture will still be pleasant, but it may be slightly less rich than the original.
How Do I Get A Lighter Texture Instead of a Dense Loaf?
A lighter texture comes from proper mixing, correct hydration, and fresh leavening agents. You can also bake the batter as muffins instead of a loaf for a softer, less dense result.
Related Recipes To Try
Customize this recipe in many ways based on your preferences or desired results. You can go for a softer texture, more nutrition, or a completely different method.
- Are you looking for something lighter and more flexible? Try Soft Gluten-Free Vegan Bread. It’s a good option if you want a softer crumb without relying on traditional binders.
- For something with a nutritional boost and a slightly sweet twist, Easy Omega-3 Loaded Cinnamon Bread adds extra flavor while still keeping the structure manageable.
- If your goal is a more everyday loaf, Beginner-Friendly Gluten-Free Sandwich Bread is designed for regular use.
- And should you want to take things further, our Perfect Gluten-Free Sourdough Bread introduces fermentation, which completely changes both flavor and texture.
Tell Us How Yours Went
Did your bread turn out heavy or perfect? What flour worked best for you? Share your results, tweaks, or questions in the comments. Your experience can help others get better results on their next bake. Whether it worked exactly as expected or needed a few adjustments, we’d love to hear how it turned out.