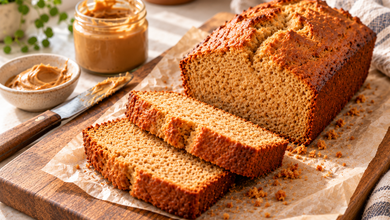
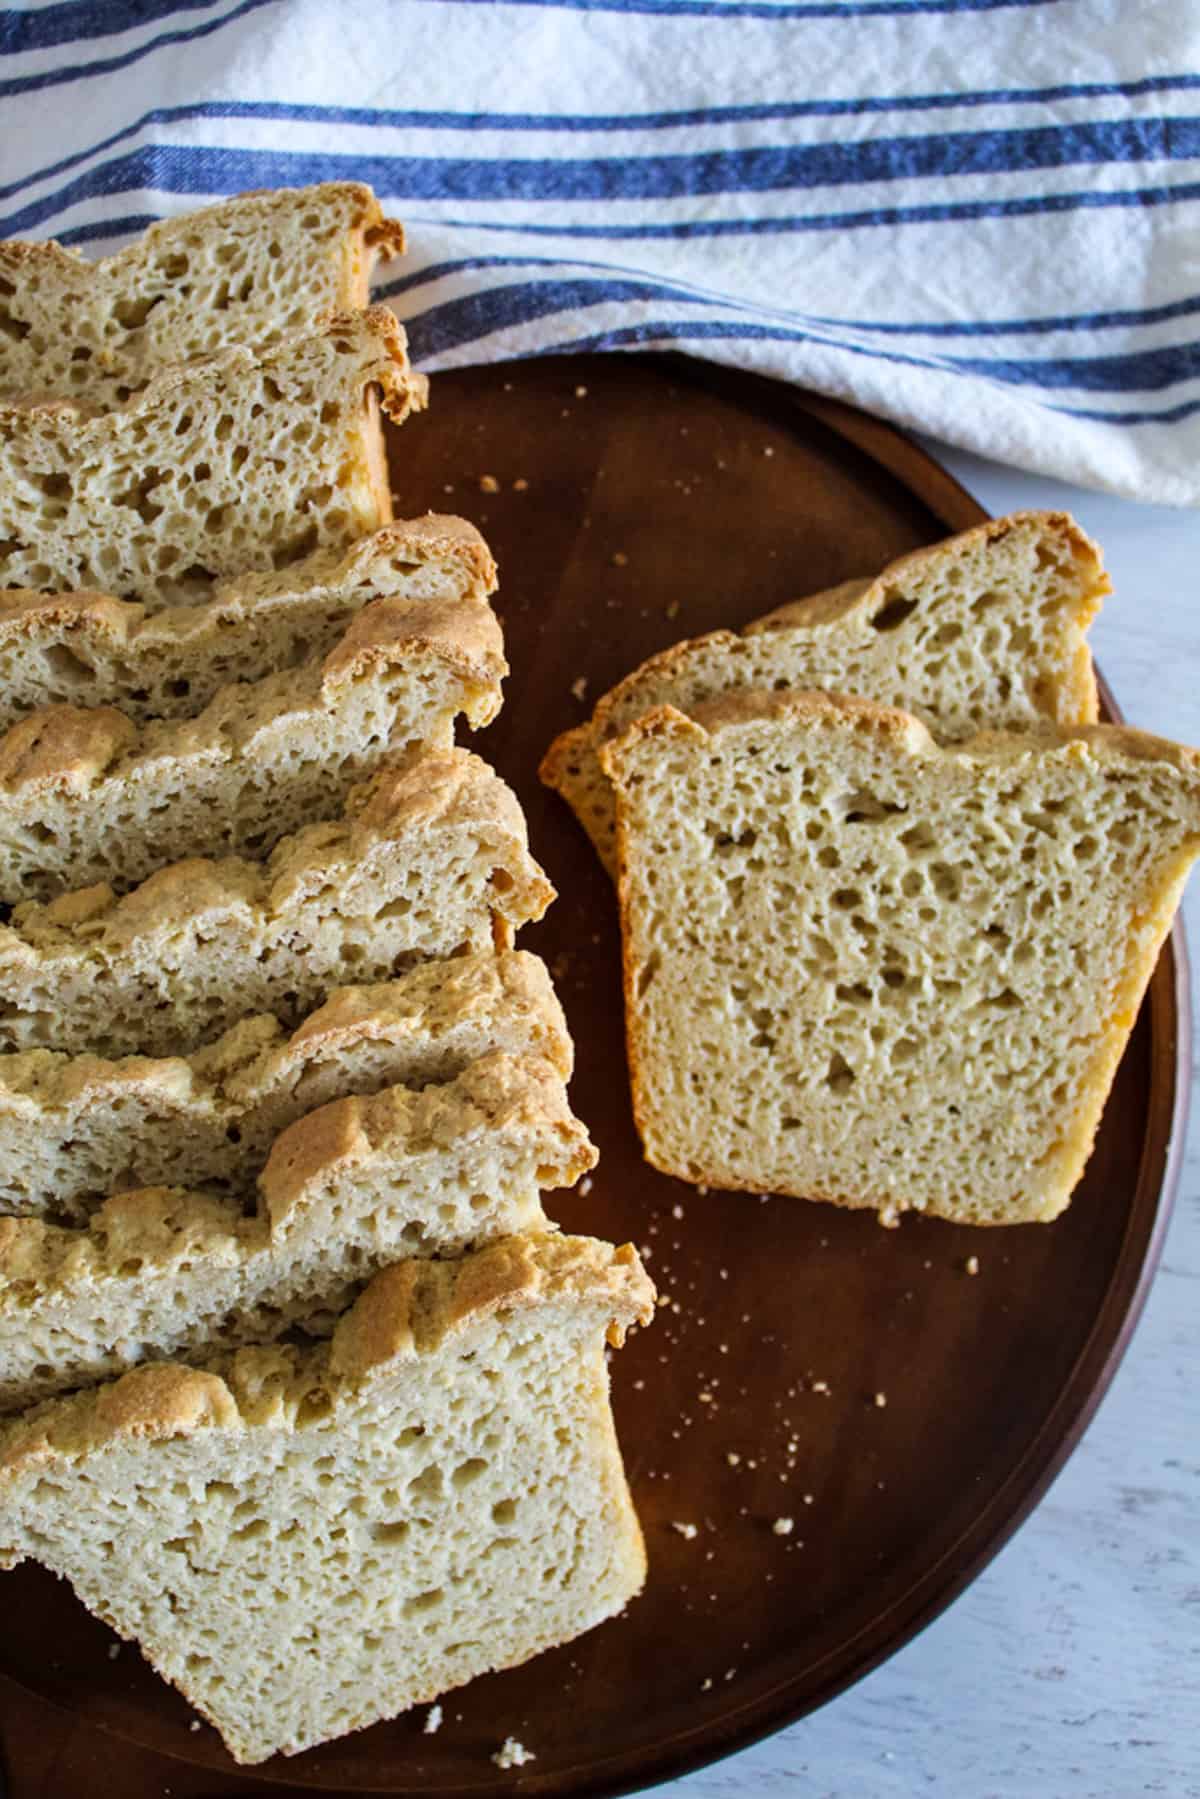
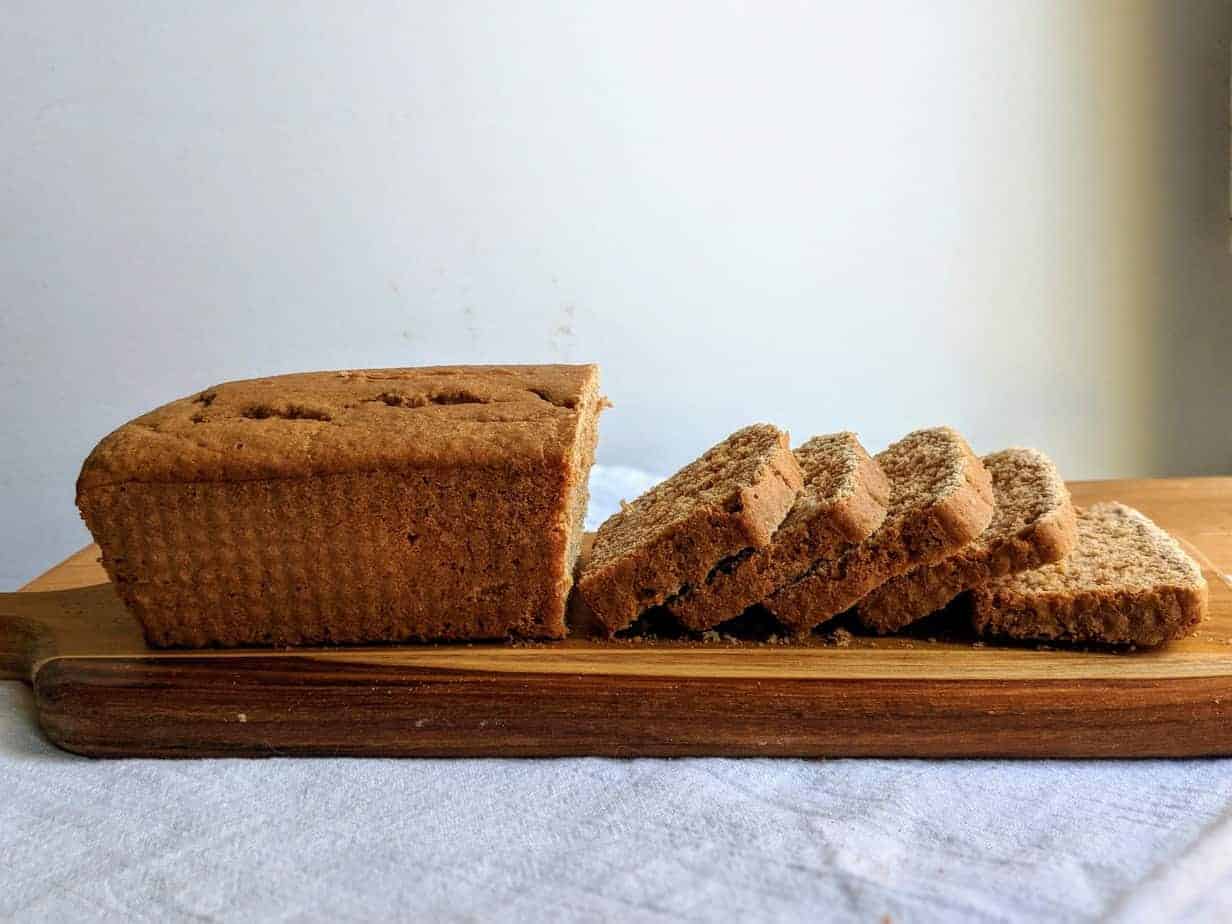
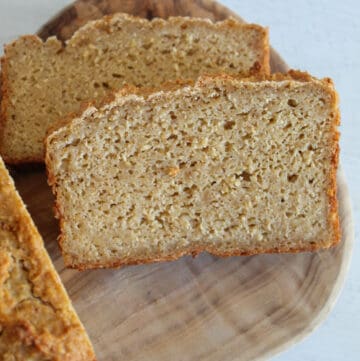
Looking for a soft, hearty alternative to traditional wheat bread? This gluten-free oatmeal bread is easy to make, perfectly sliceable, and packed with wholesome ingredients.
This gluten-free oatmeal bread recipe yields a delicious loaf with a fluffy, tender texture, combining simple pantry ingredients with an easy baking method.
Table of Contents
Whether you want to make sandwiches or a classic toast, this recipe delivers the perfect loaf. Mix, rest, and bake, and you’ll have your very own delightful gluten-free bread without any stress.
Why You’ll Love This Recipe
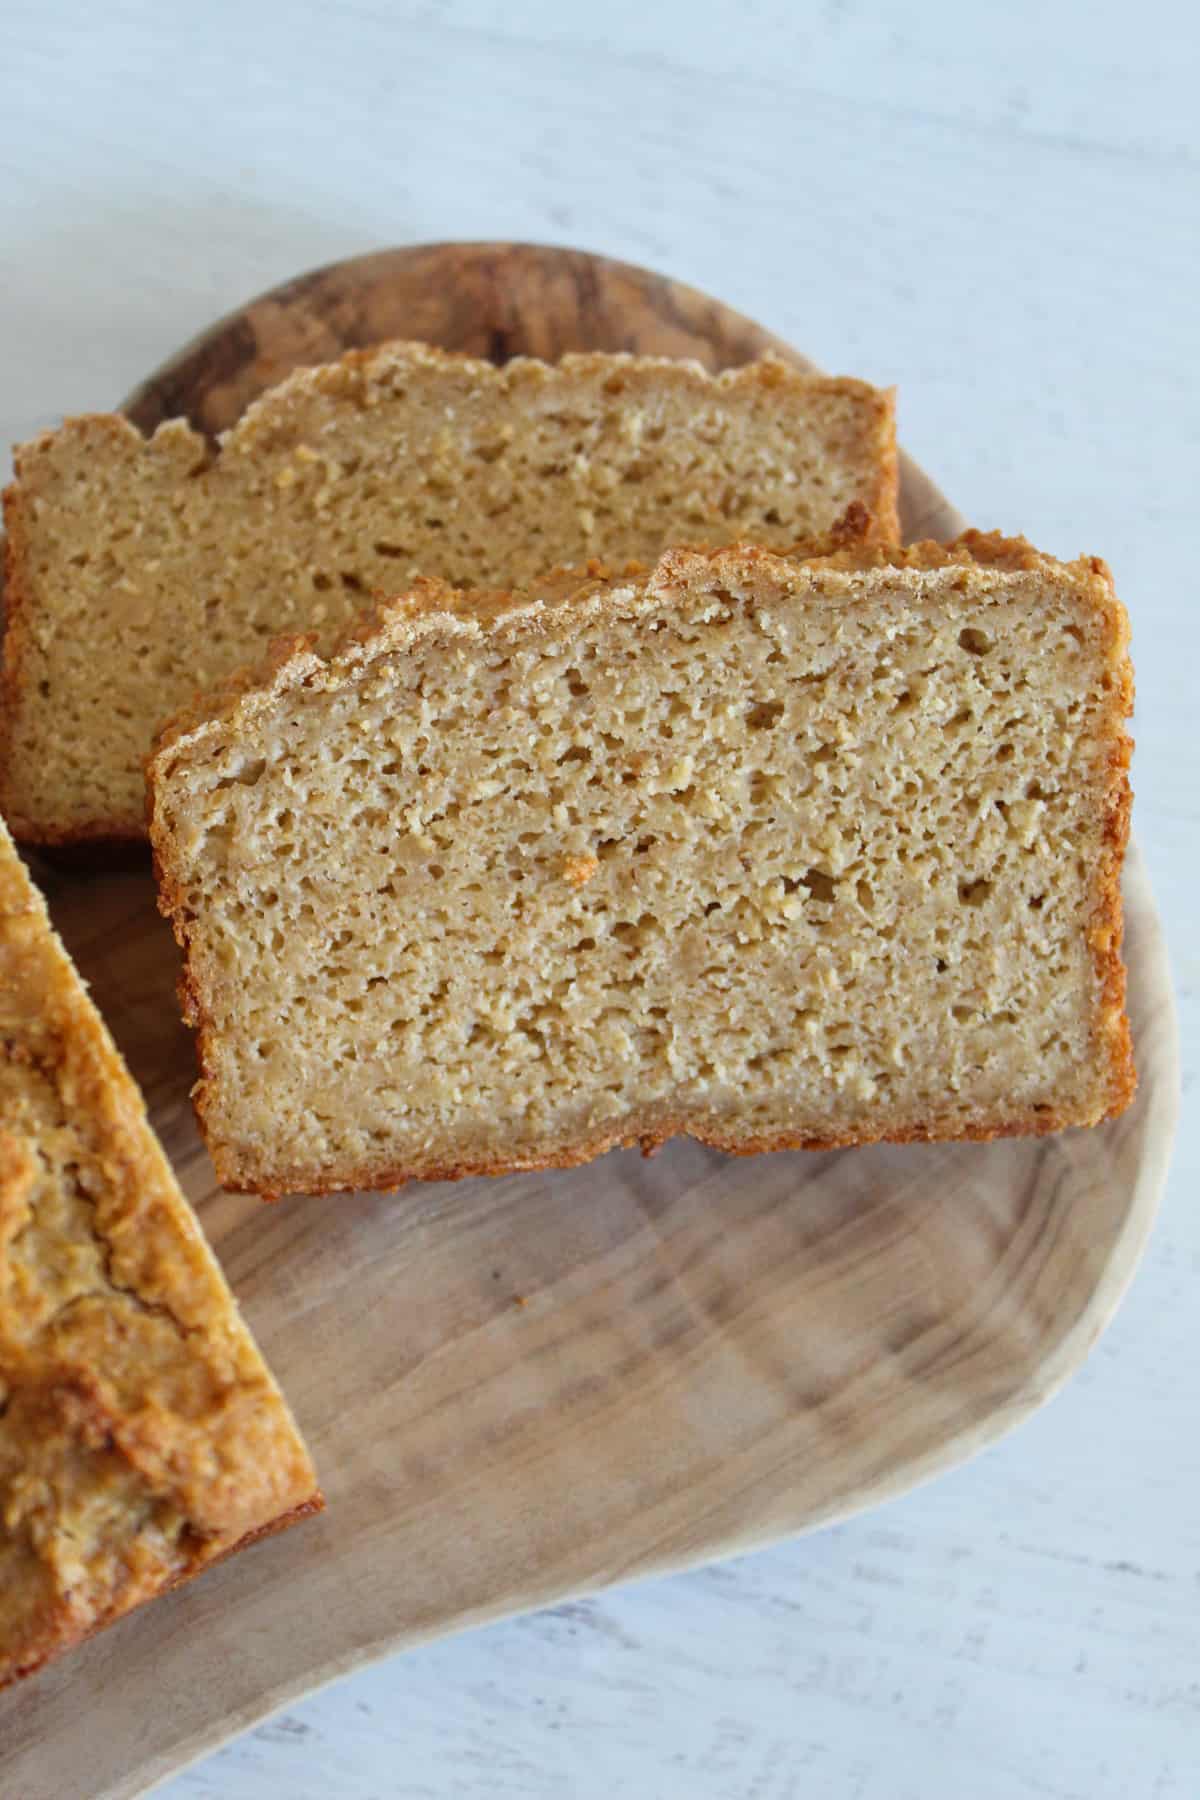
This unique gluten-free oatmeal bread recipe comes together easily with simple ingredients you likely already have in your pantry.
- Made with wholesome gluten-free oats for a hearty, satisfying loaf.
- Delicious taste with a subtle nutty flavor and some sweetness from toasted oats.
- Soft, tender slices that won’t crumble when cut.
- Filling and nourishing, oats contribute soluble fiber and a steady, satisfying feel.
- Easily versatile, as it can be served as a sweet dish or a savory delicacy.
- No-knead and blender-friendly, reducing effort while still delivering reliable results.
- Offers room to experiment with different toppings, such as sesame or chia seeds.
If you want another simple-to-make, wholesome, and filling gluten-free bread recipe, try our Chia Seed Bread.
Want our human-written content to rank above AI-generated garbage? Help us out by clicking this button!
Ingredients You’ll Need
Here are the simple ingredients you’ll need for this recipe:
- Gluten-free oats
- Tapioca starch
- Salt
- Almond milk
- Warm water
- Vegetable oil
- Active dry yeast
- White sugar
- Honey
- Eggs
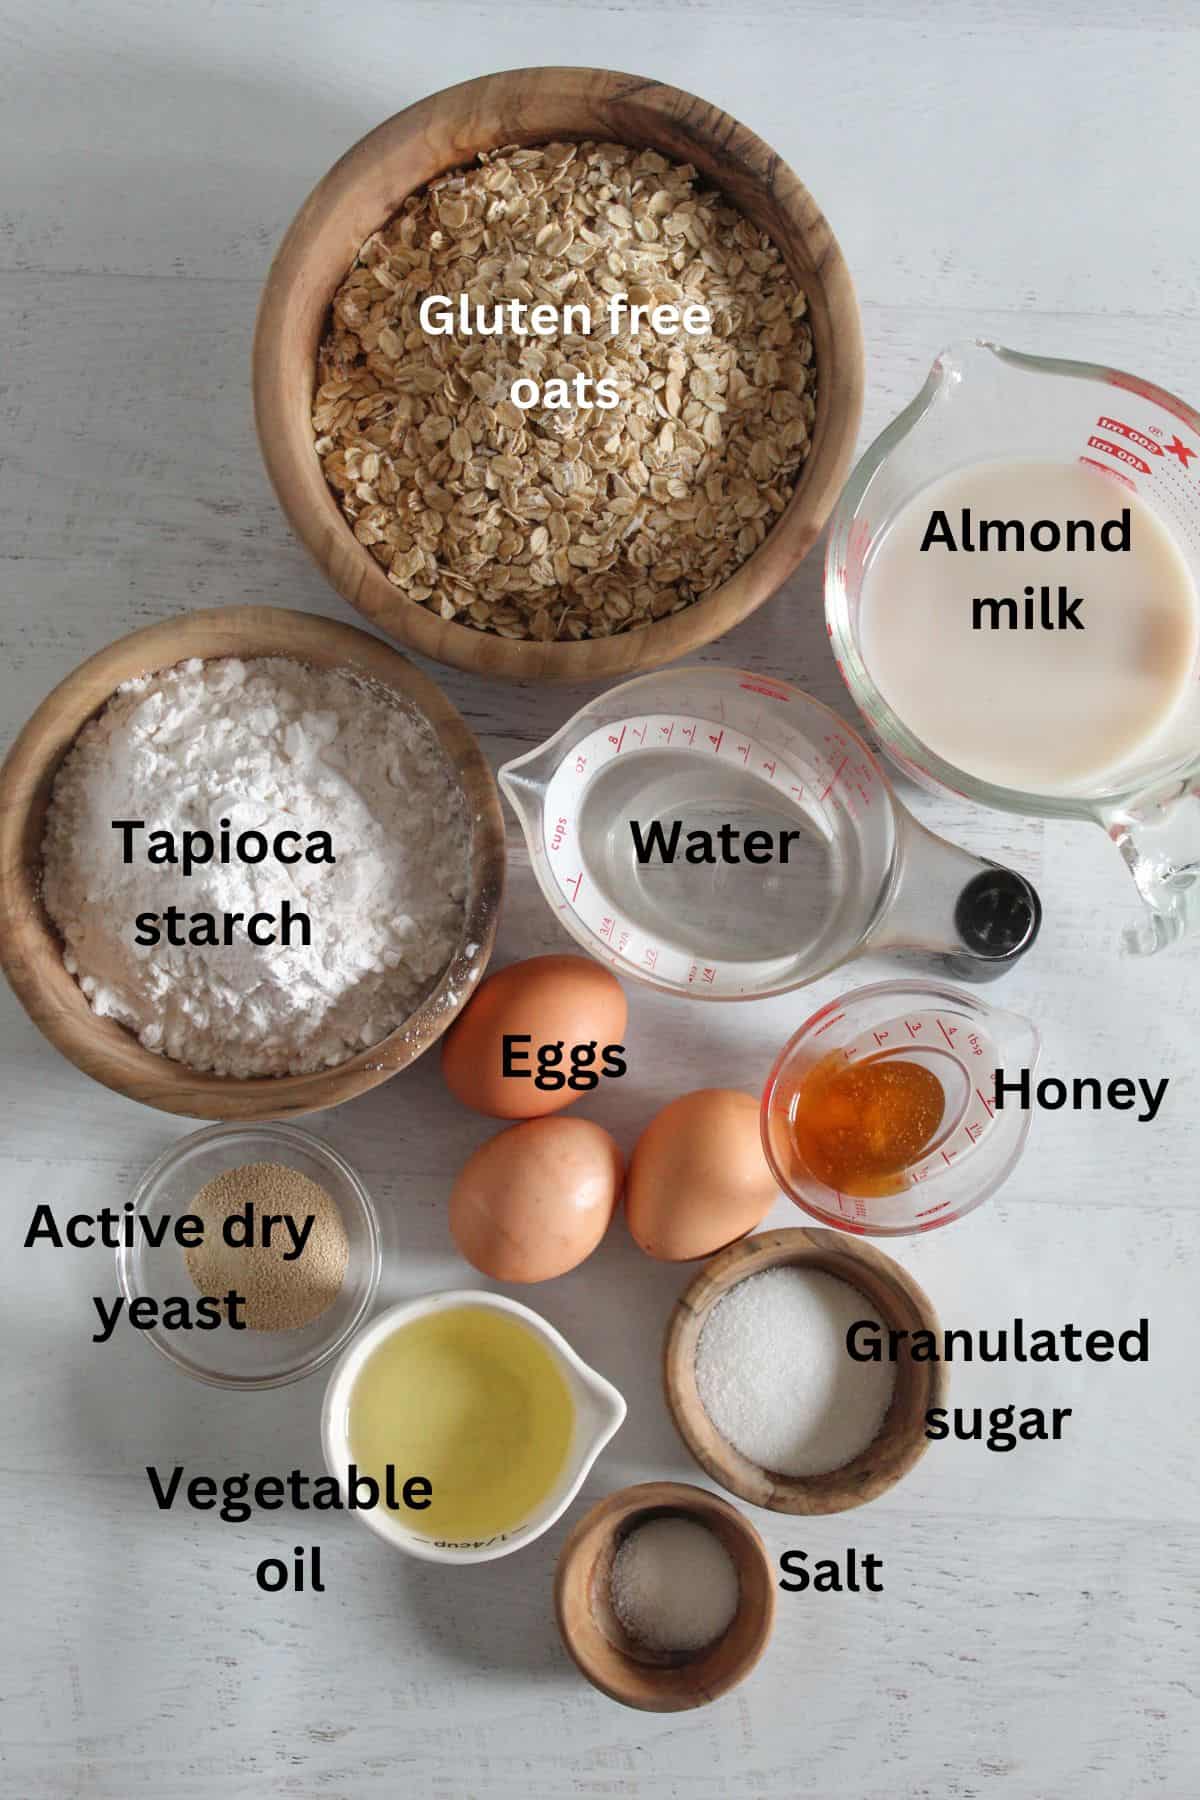
Ingredient Substitutions
Understanding the role each ingredient plays in this recipe makes baking a perfectly fluffy gluten-free oatmeal bread easier. With this in mind, here’s the role of each ingredient:
- Gluten-free oats: The foundation of this bread, oats provide structure, moisture, and a soft, hearty crumb while adding fiber. Don’t substitute them, as they’re essential to the recipe.
- Tapioca starch: Adds elasticity, lightness, and a soft, chewy texture by replacing some of the structure normally provided by gluten. Cornstarch, potato starch, or arrowroot starch are all suitable substitutes.
- Salt: Enhances the flavor, balances the sweetness, and strengthens the dough’s structure.
- Almond milk: Adds moisture and a subtle nutty flavor that complements the oats. Oat milk or coconut milk are excellent alternatives.
- Water: Activates the yeast, softens the oats, and helps bring the dough together.
- Vegetable oil: Creates a tender crumb and helps keep the bread fresh. If needed, replace it with canola oil, peanut oil, or melted coconut oil.
- Active dry yeast: Leavens the bread, creating a light texture and classic homemade bread flavor.
- White sugar: Feeds the yeast, promotes browning, and keeps the loaf soft. If you prefer, replace it with coconut sugar or another granulated sweetener.
- Honey: Adds moisture, enhances the flavor, and helps create a beautifully golden crust. Maple syrup makes an excellent substitute.
- Eggs: Provide structure, help the loaf rise, and keep it soft instead of dense or crumbly. Chia eggs, flax eggs, or another suitable egg replacer can be used if needed.
If you’d like to try these ingredients in another version of this gluten-free oatmeal bread recipe, check out our Oatmeal Roll recipe for soft, cozy rolls that pair beautifully with soups and stews.
RECIPE CARD: Gluten-Free Oatmeal Bread (PRINTABLE)
Ingredients
- 193 grams gluten-free oats ,about 2 cups plus 2 Tablespoons
- 175 grams tapioca starch ,about 1⅛ cups
- 1 ½ teaspoons salt
- 1 ¼ cups almond milk
- ¼ cup vegetable oil
- 1 Tablespoon active dry yeast
- 1 Tablespoon white sugar
- ⅓ cup water warmed
- 1 Tablespoon honey
- 3 large eggs
Instructions
- Preheat your oven to 350°F and bake the oats spread on the baking sheet for 10-12 minutes until lightly golden.
- In a food processor, combine the toasted oats, tapioca starch, and salt. Process for about 4 minutes until a fine flour forms.
- Transfer the flour mixture into the bowl.
- Using a small pot, heat the milk and oil just to a rolling boil.
- Immediately remove from the heat and pour it into the bowl with the dry ingredients.
- Mix on medium speed until fully combined, about 30 seconds – 1 minute.
- Let the mixture sit for 20 minutes to cool.
- In a small bowl or measuring cup, combine the yeast, sugar, and water. Stir to combine and let sit for 5 minutes to proof.
- Add the proofed yeast mixture and the honey to the stiff batter, then mix for about 30 seconds on medium speed.
- Add the eggs and mix on low-medium speed for 1 minute.
- Use the spatula to combine the mixtures until a smooth yet thick mixture forms.
- Let the batter sit for 15-30 minutes, until it hits the top of the rim.
- Prepare a 10 x 4-inch or 9 x 5-inch baking pan by spraying it with cooking spray and dusting it with gluten-free flour.
- Using a rubber spatula, scrape the batter down and scoop it into the prepared pan. Smooth the top with the spatula and sprinkle with extra oats if you like.
- Using a spatula, scrape the batter down and scoop it into the prepared pan.
- Shortly before the dough has finished rising, preheat the oven to 350°F if it isn't already heated and bake for 45-50 minutes, until the top is golden brown.
- Remove from the oven and let the bread cool in the pan for about 10 minutes.
- Transfer to a wire rack to let it cool completely before slicing.
- Slice and enjoy!
Notes
- Ensure the oats you use are certified gluten-free.
- Weigh your oats and starch on a kitchen scale for more accurate measurements.
- Use room-temperature eggs and almond milk for a well-risen bread.
- Allow the batter to rest after mixing to hydrate the flours.
- Do not forget to grease the pan thoroughly and dust it with gluten-free flour.
- Avoid opening the oven too early, as it can cause the loaf to collapse.
- The top is golden brown.
- A toothpick inserted in the middle comes out clean.
- The top starts to pull away from the sides of the pan.
- The loaf’s center reads approximately 208°F to 212°F on a digital thermometer.
- Room temperature storage: After cooling, store all slices at room temperature in an airtight container in a cool, dry, shaded place for only 1-2 days.
- Refrigerating: Avoid storing the slices in the refrigerator, as it can accelerate staling and dry the crumb.
- Freezing: Wrap each slice properly, place them on parchment paper, put them in a freezer bag or an airtight container, and freeze for 1-3 months.
- Thawing: Pop the slices straight from the freezer into the toaster or onto a pan with a bit of oil.
Nutrition
Did you make and love this recipe? Give it your review and rating below! And make sure to follow me on Instagram, Pinterest, and Facebook , too!
How to Make Gluten-Free Oatmeal Bread
This gluten-free oatmeal bread recipe comes together without any stress. Just follow these simple instructions, and you’ll have a moist and tender bread with a satisfying flavor:
Equipment You’ll Need
This recipe doesn’t require any fancy kitchen equipment, just these everyday baking tools:
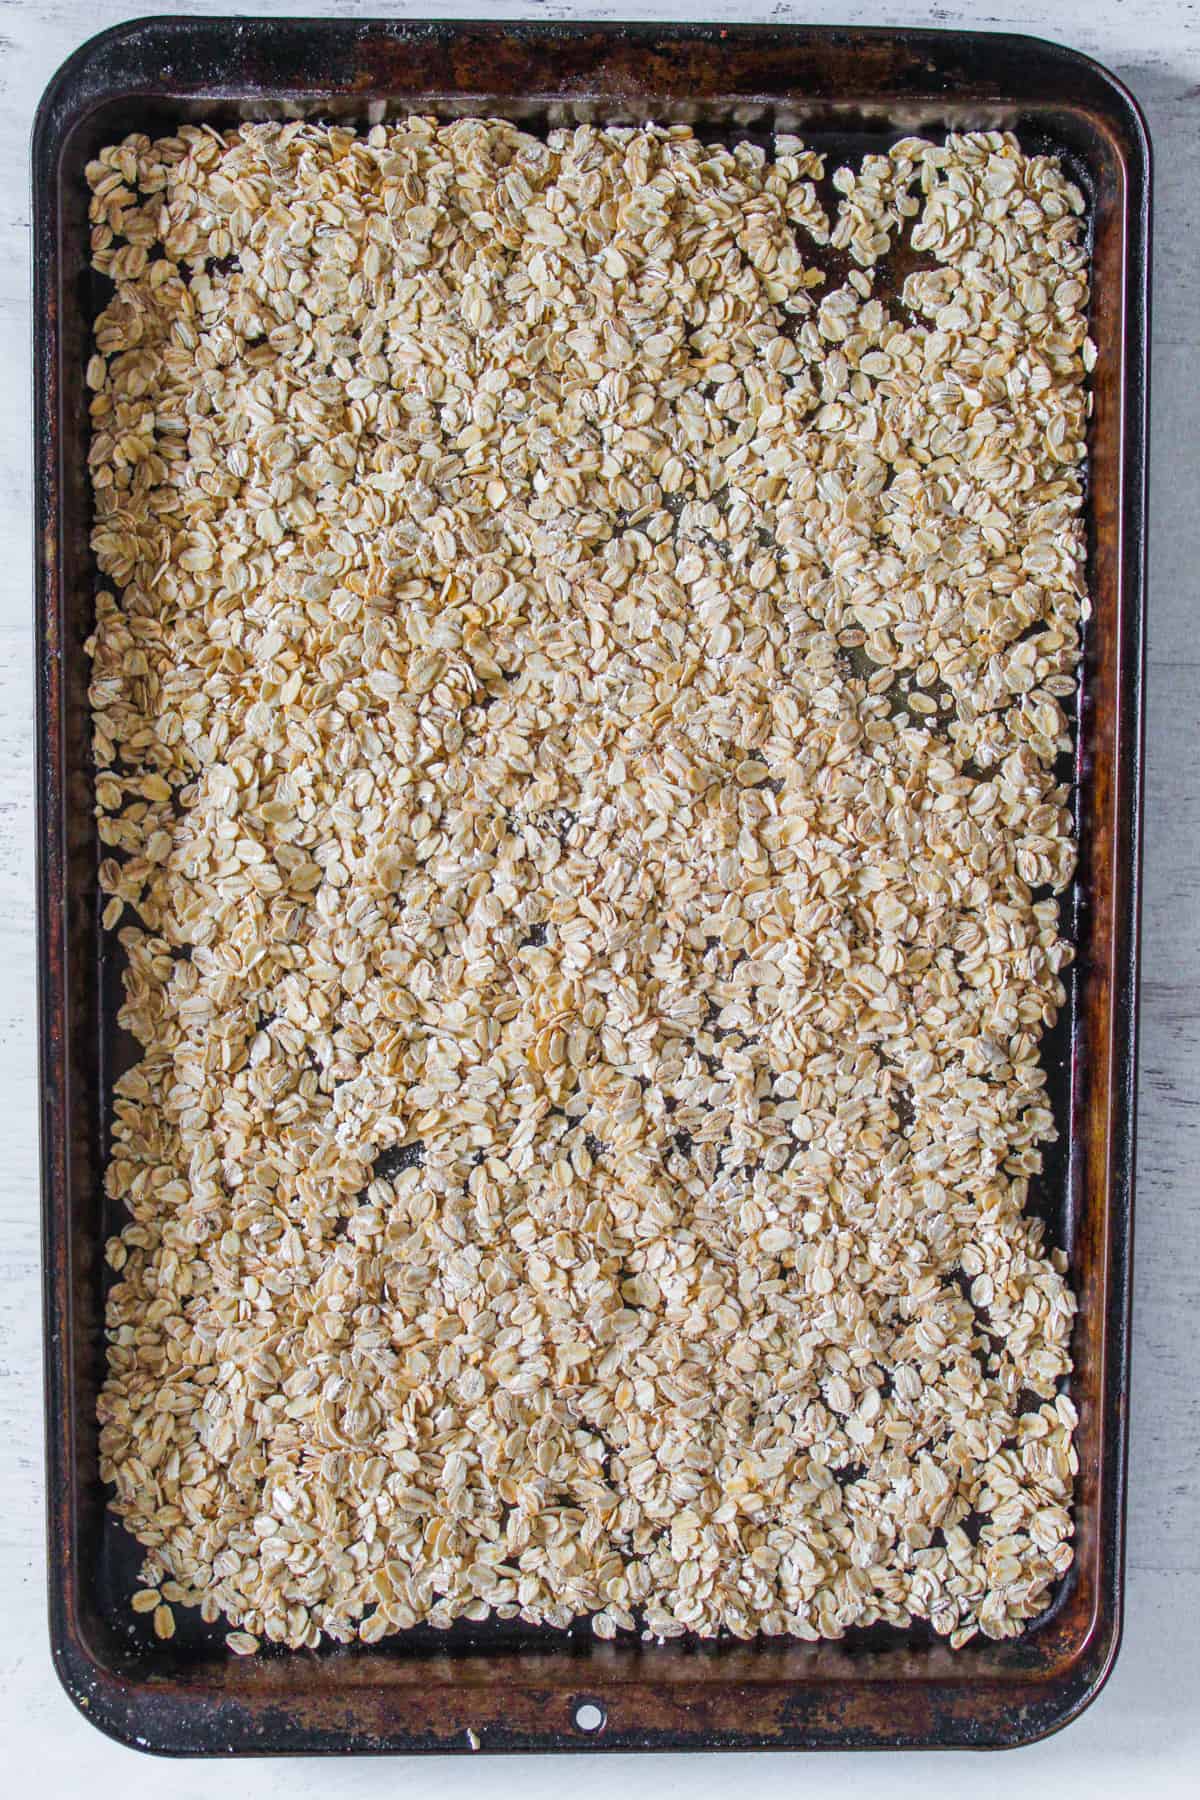
1) Toast the oats
Preheat your oven to 350°F. Spread the oats in an even layer on a baking sheet and toast for 10–12 minutes, stirring occasionally, until lightly golden and fragrant. Let them cool completely, reserving a small handful for topping if desired.
2) Make the oat flour
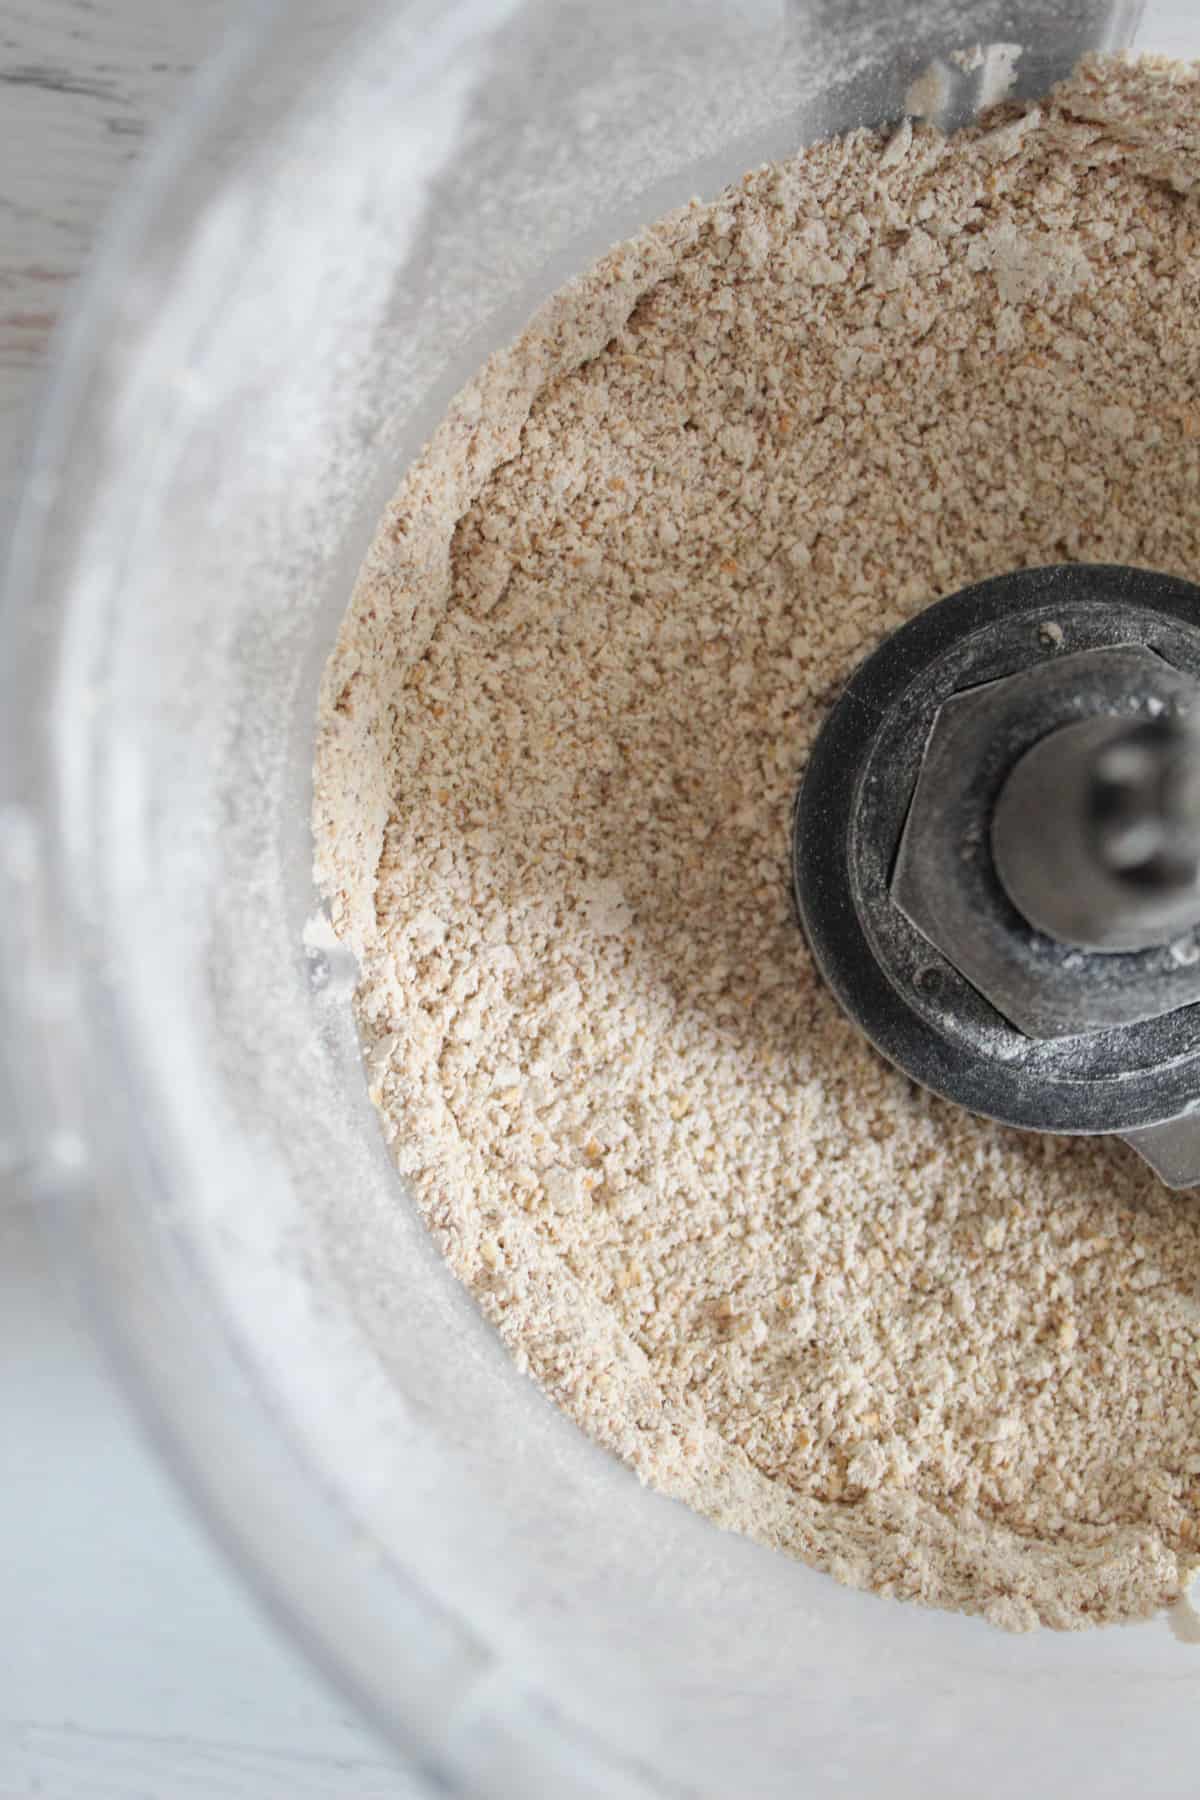
Transfer the cooled oats to a food processor with the tapioca starch and salt. Process for about 4 minutes, scraping down the sides as needed, until the mixture resembles a fine flour.
3) Heat the liquids
While the oat flour is processing, combine the almond milk and vegetable oil in a small saucepan. Heat just until the mixture comes to a gentle boil, then immediately remove it from the heat.
4) Build the dough base
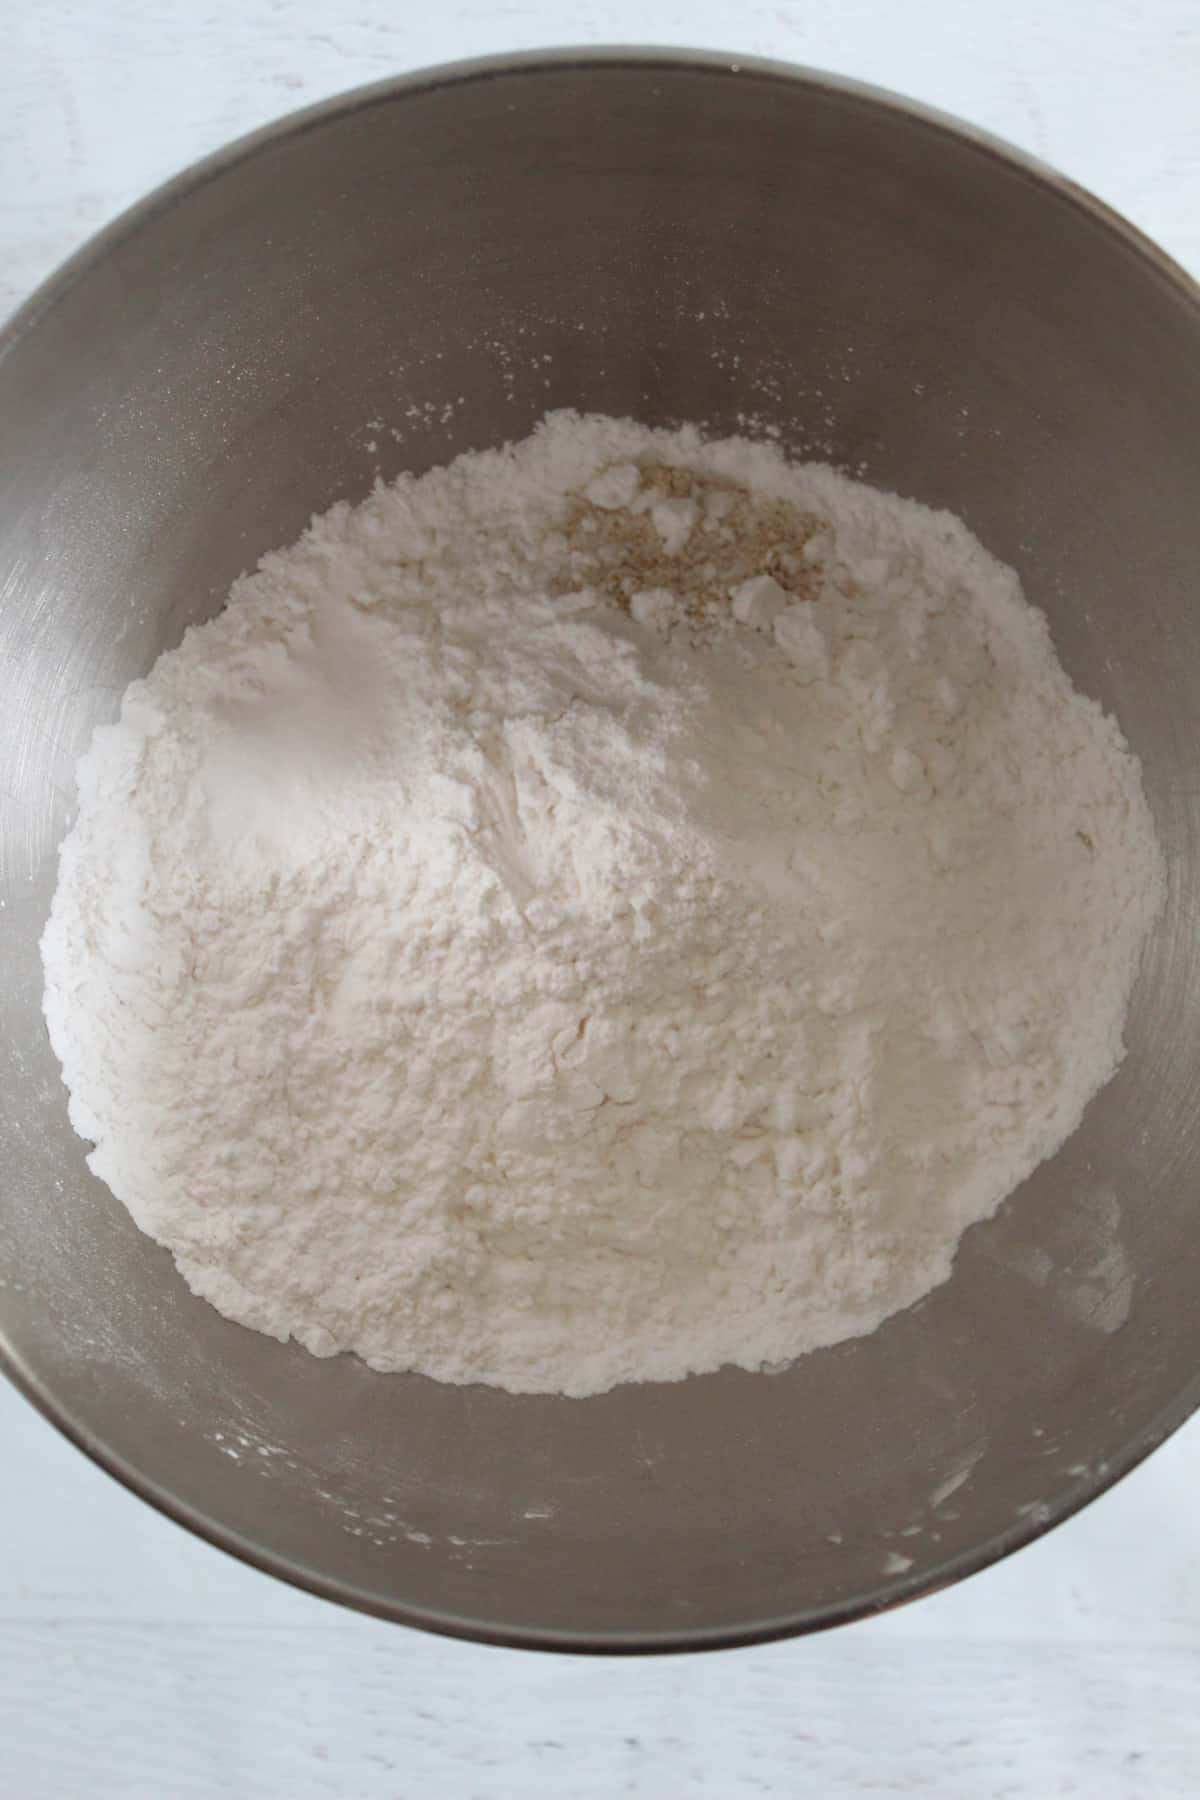
Pour the hot milk mixture into the food processor with the oat flour and process until fully combined. The mixture will be thick and firm; this is exactly what you want. Let it rest for 20 minutes to cool and give the oats time to absorb the liquid fully.
5) Activate the yeast
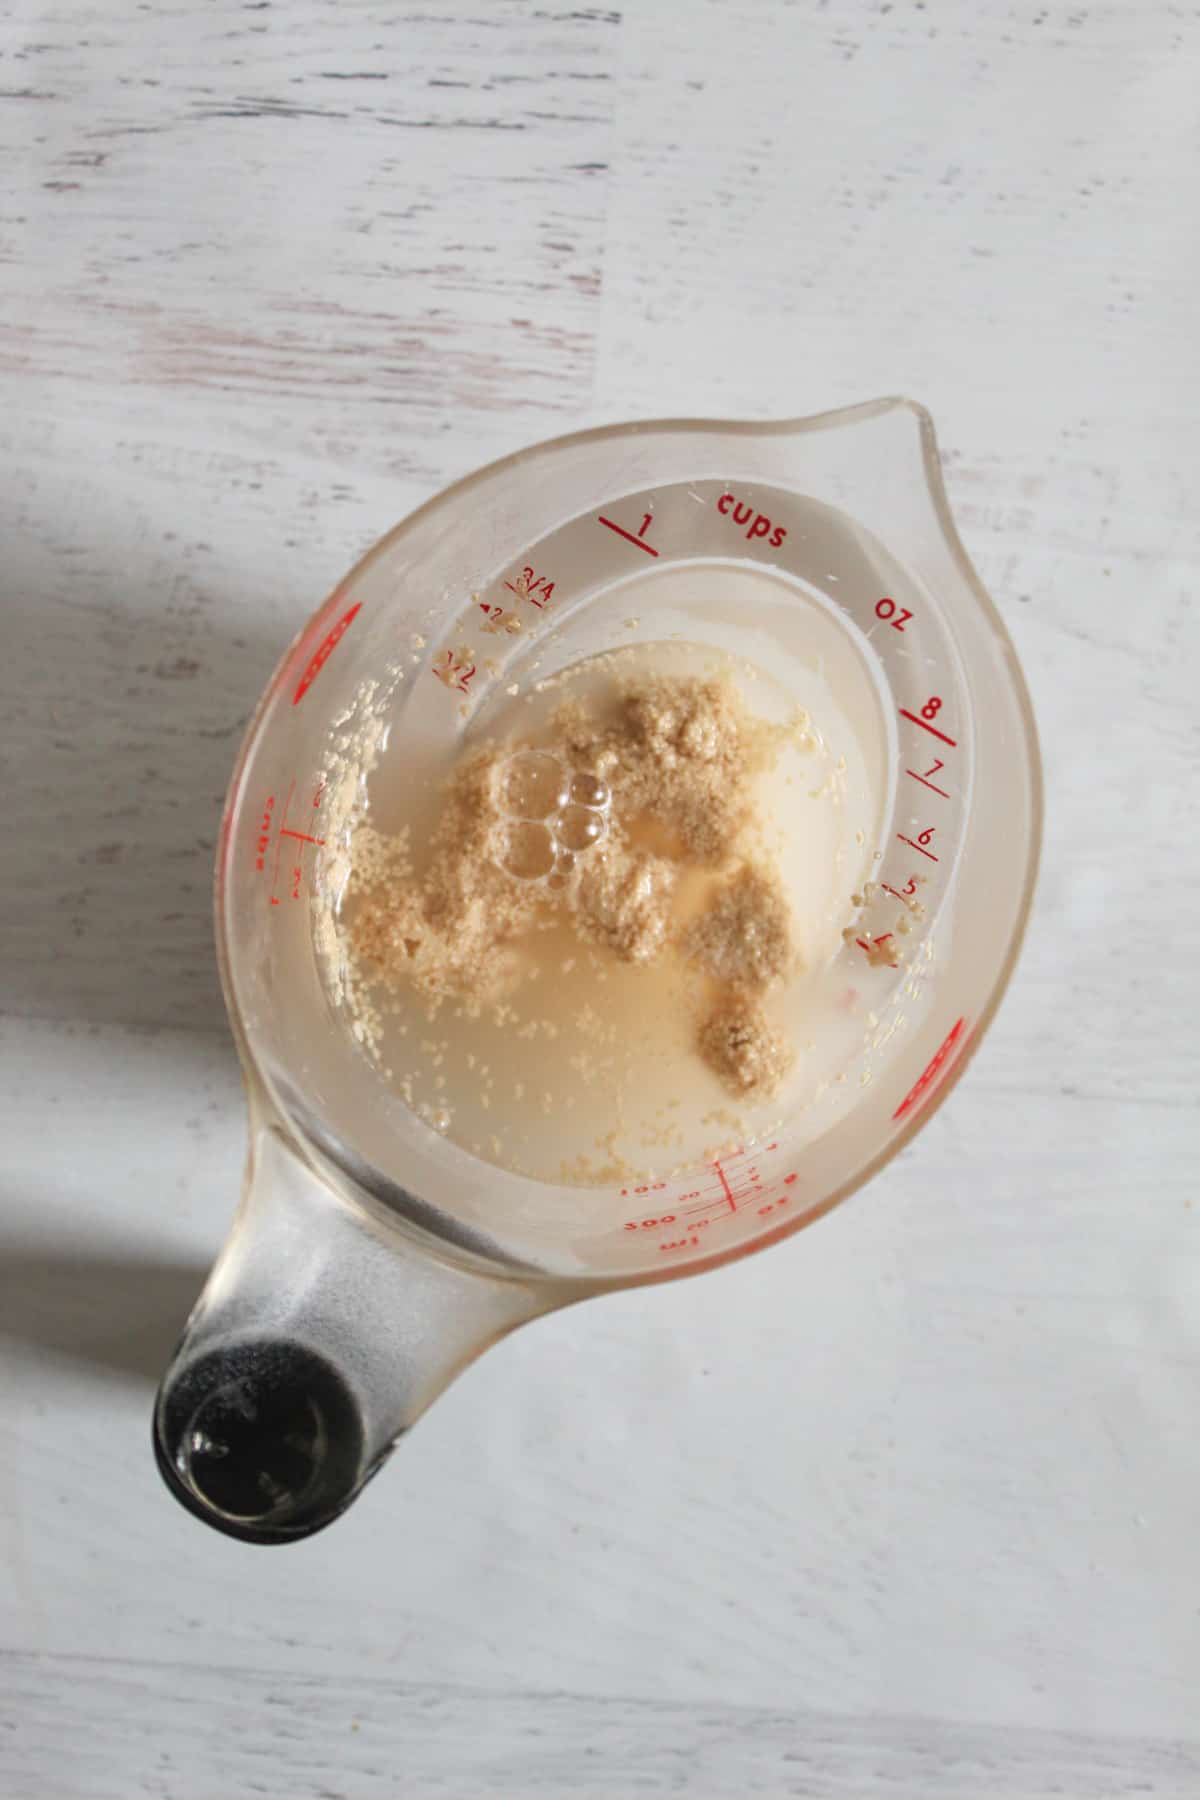
As the dough base cools, combine the warm water, yeast, and sugar in a small bowl. Stir gently and let the mixture stand for about 5 minutes, or until it becomes foamy.
6) Finish the dough
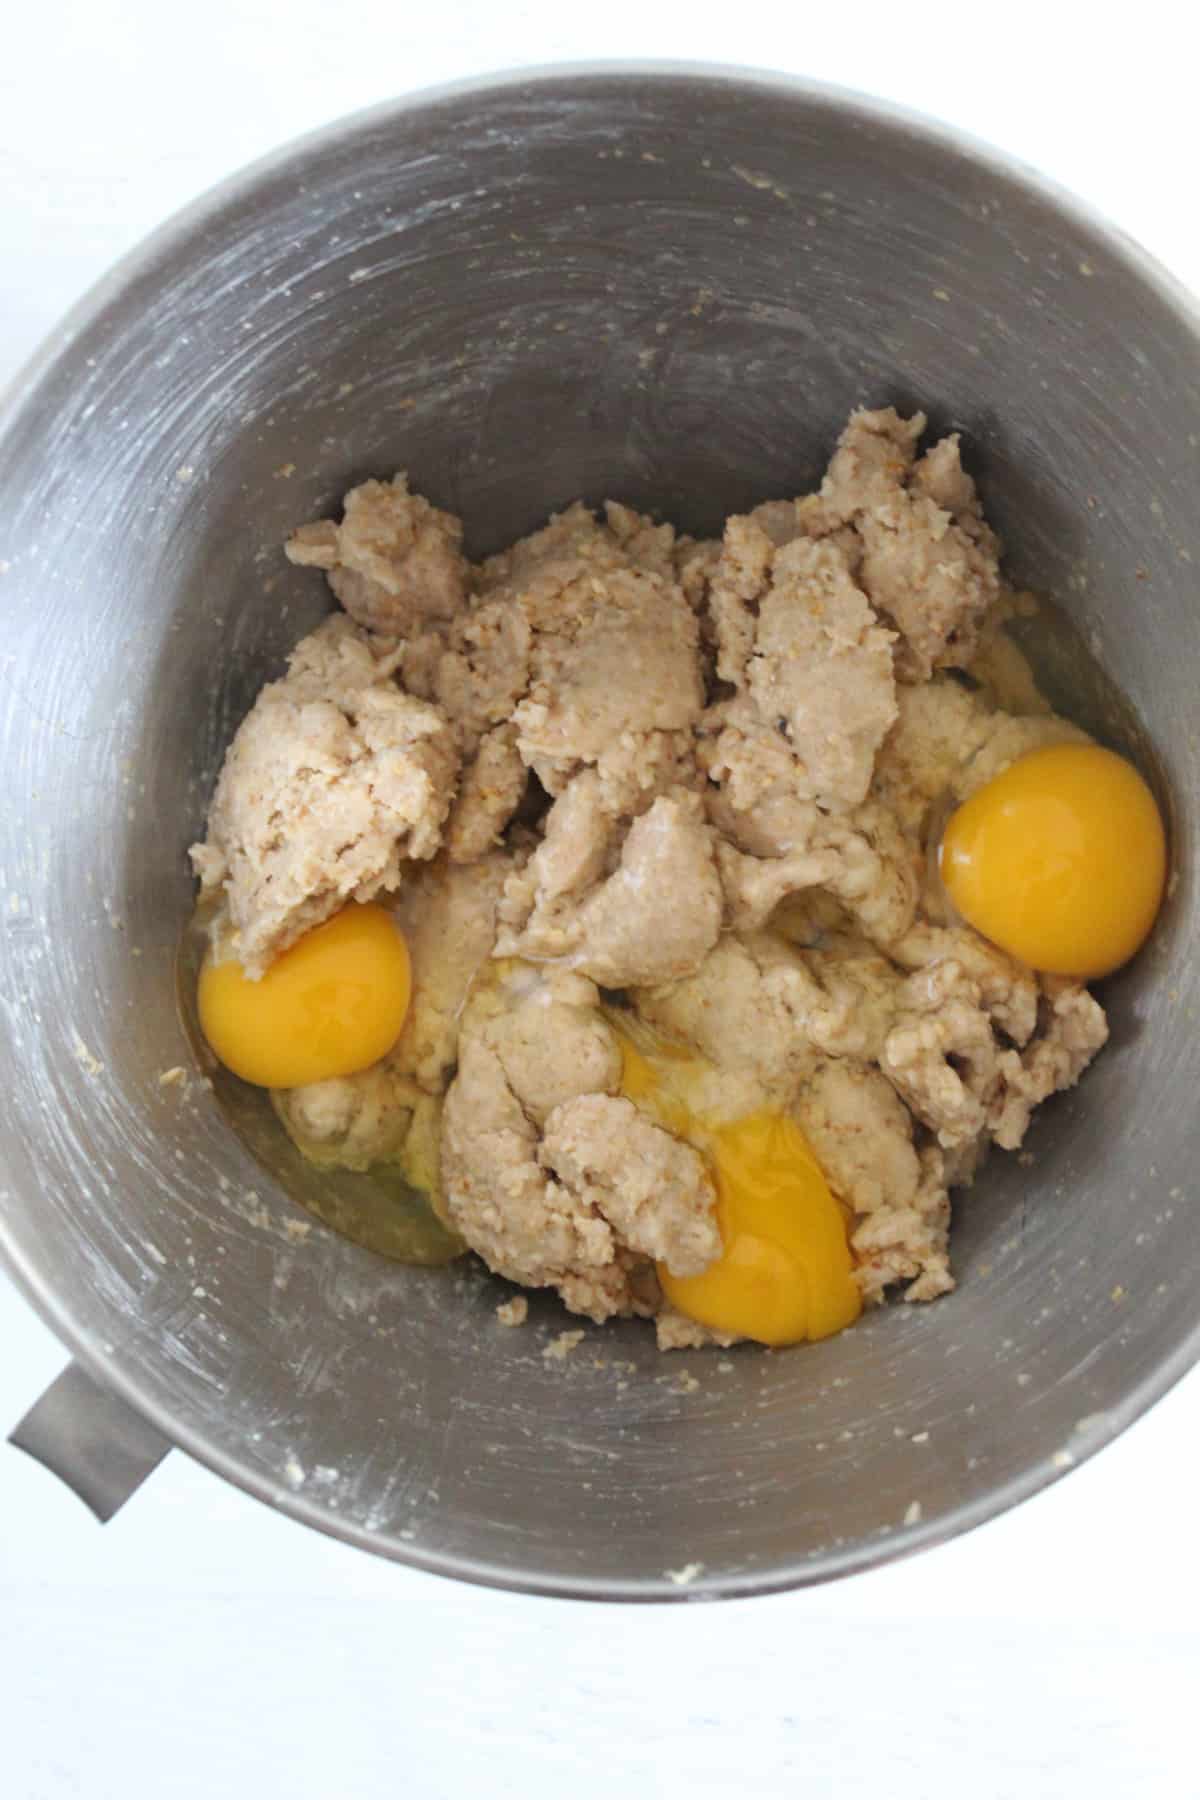
Add the activated yeast mixture and honey to the dough base and mix for about 30 seconds. Scrape down the sides of the bowl, then add the eggs and mix for another minute until fully incorporated. The dough will be thick and sticky rather than smooth and kneadable like traditional wheat bread.
7) Prepare the loaf pan
Lightly grease a 10 × 4-inch or 9 × 5-inch loaf pan and dust it with gluten-free flour to prevent sticking.
8) Add the batter to the pan
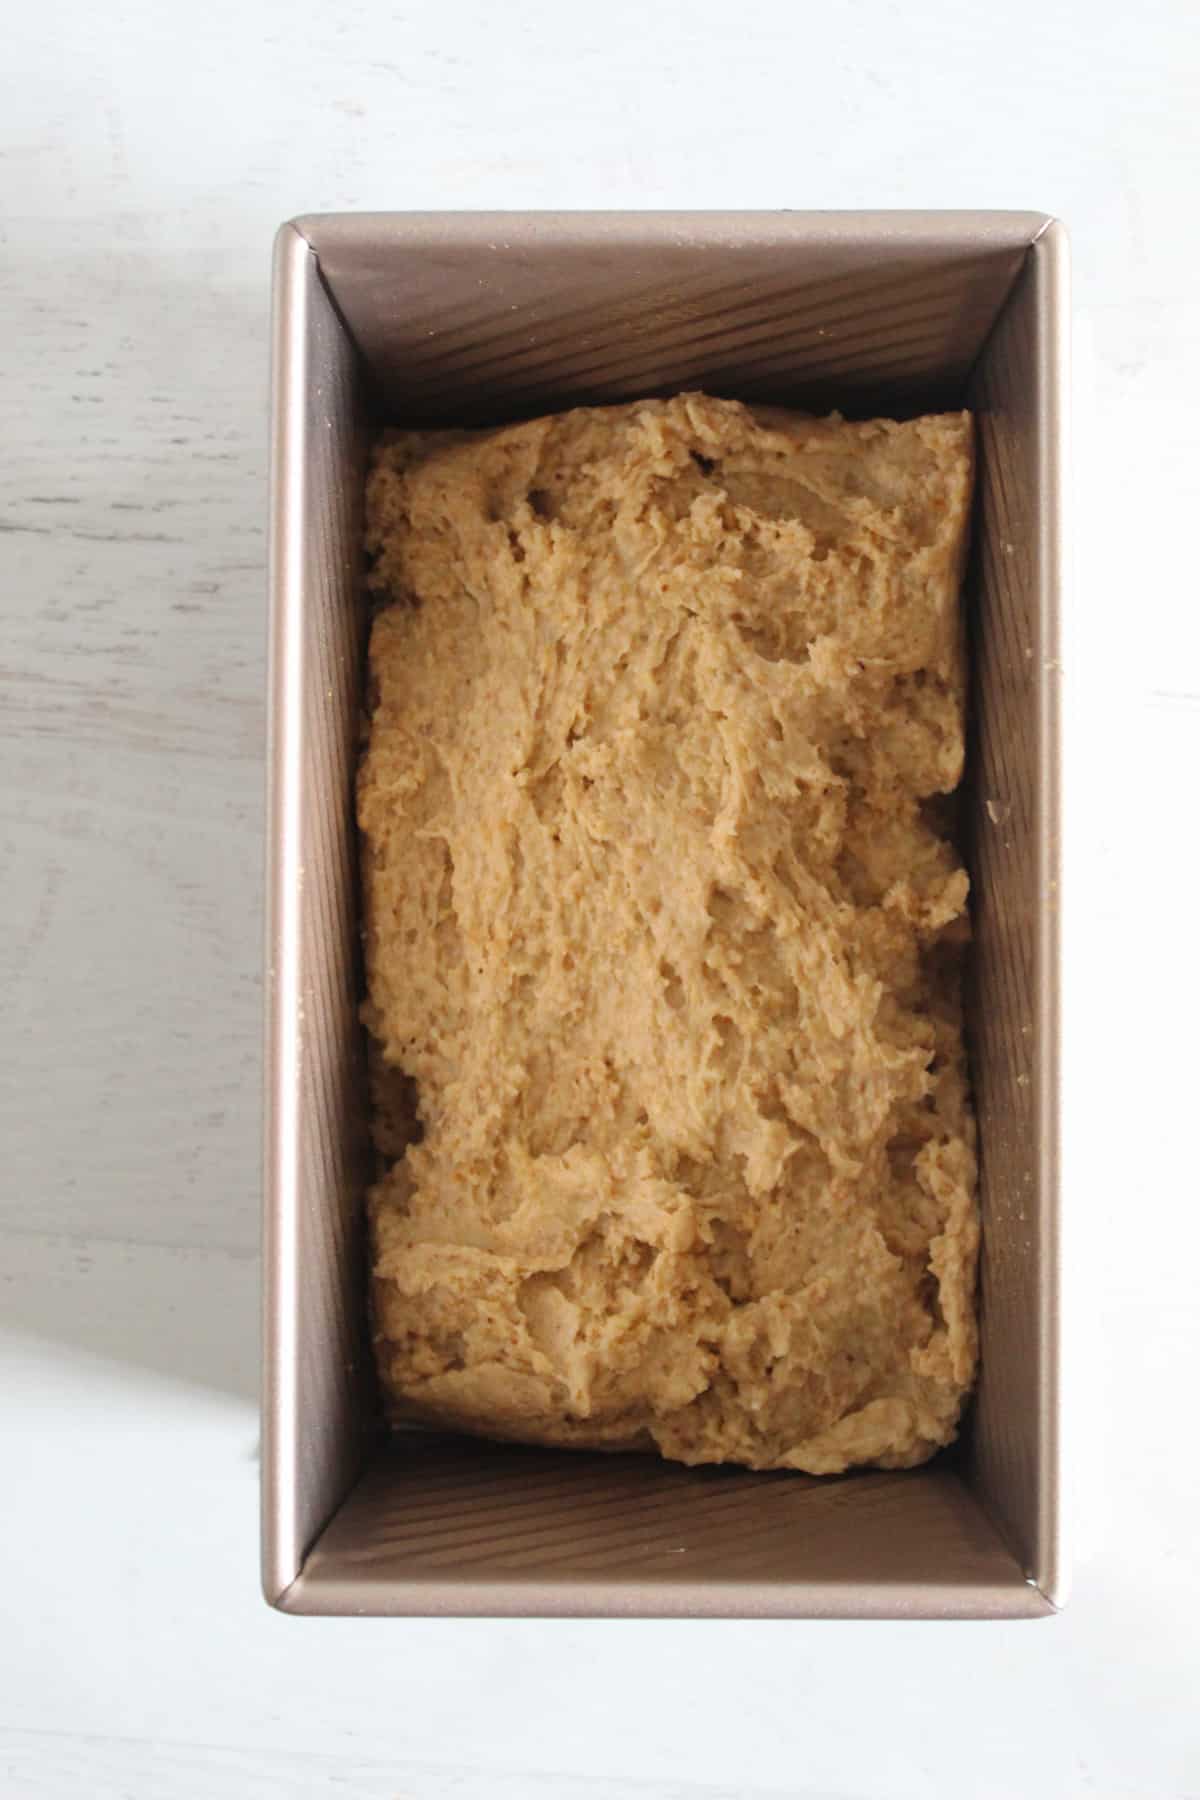
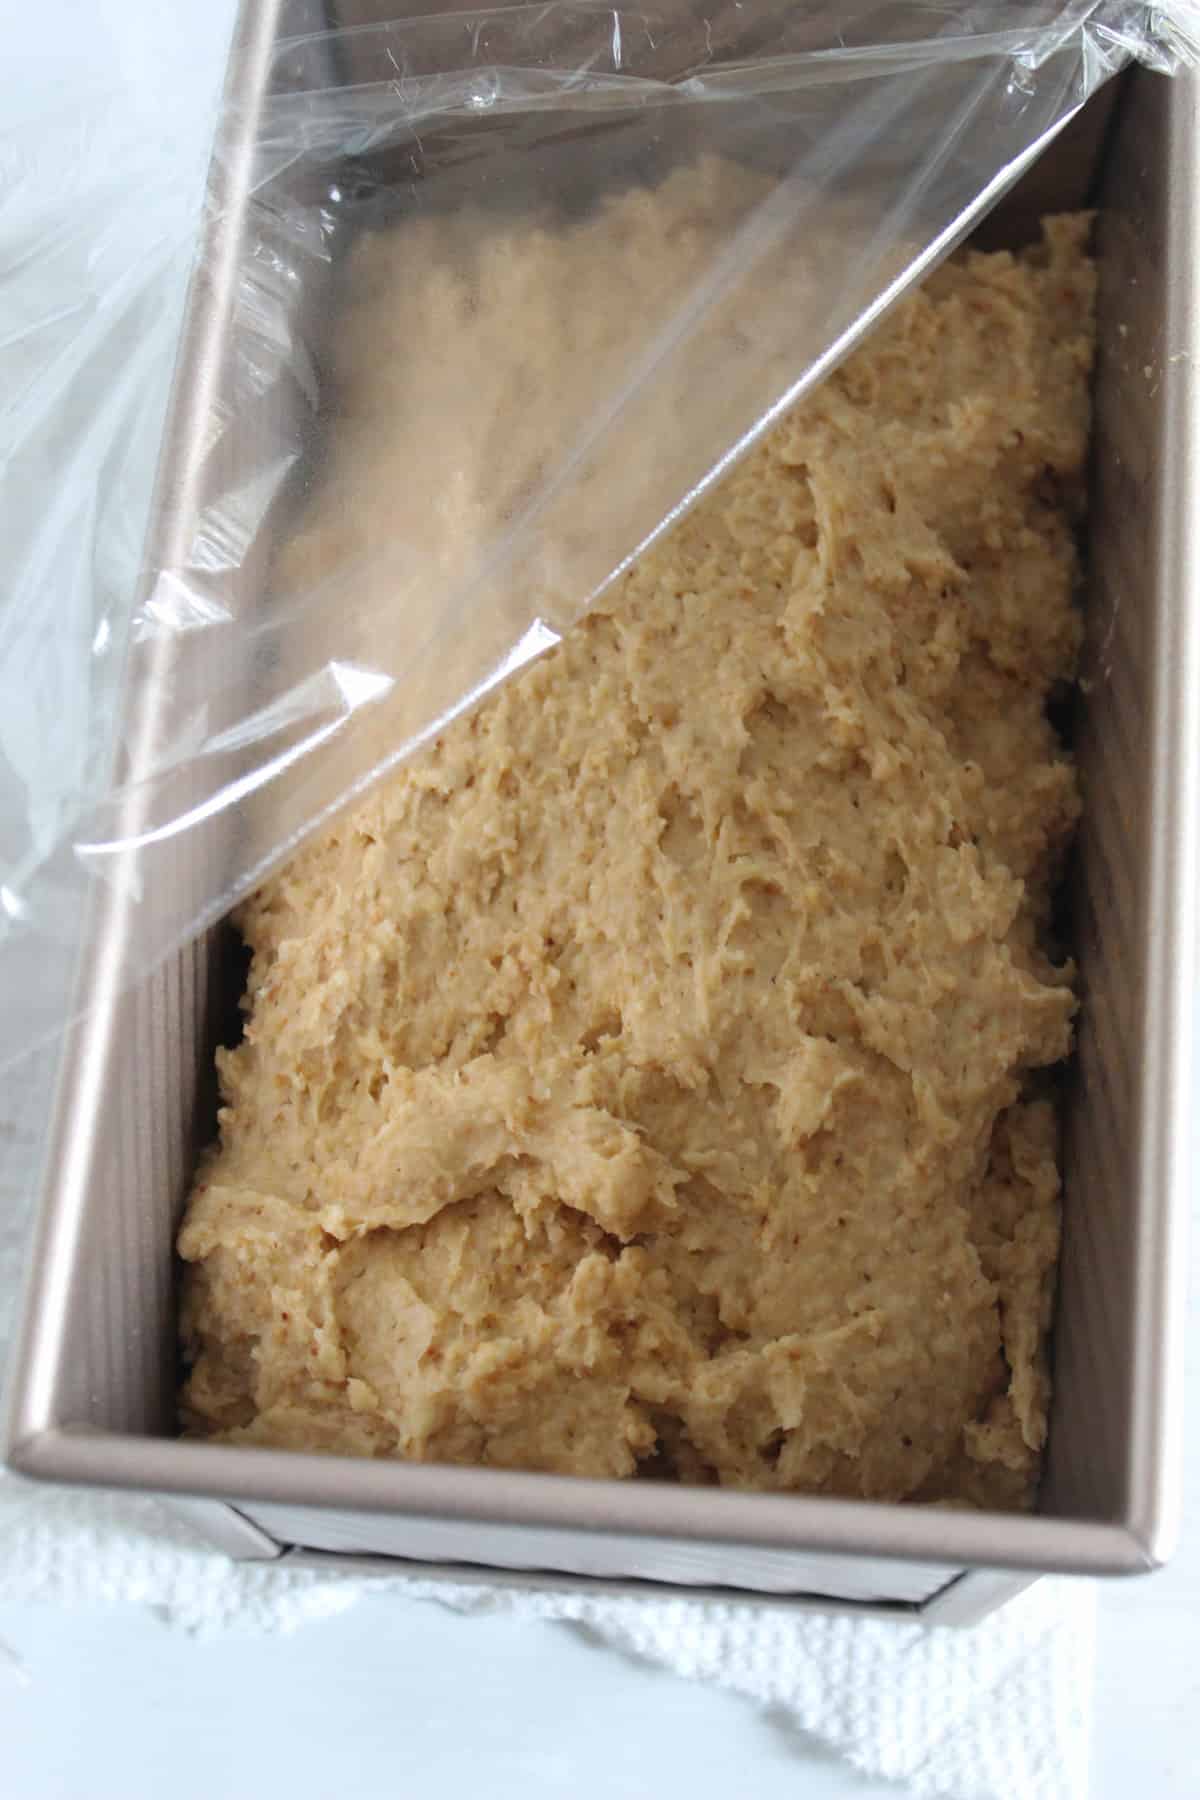
Using a rubber spatula, transfer the dough to the prepared pan and smooth the top. Sprinkle with the reserved toasted oats, if desired, for added texture and a beautiful finish.
9) Let the dough rise
Cover the pan loosely and let the dough rise in a warm, draft-free place until it reaches the top edge of the pan, about 15–30 minutes, depending on the temperature of your kitchen.
10) Bake the loaf
Preheat the oven to 350 F and bake for 45–50 minutes, until the top is golden brown. You can remove it from the oven when the top starts to pull away from the sides of the pan or when the center of the loaf reads approximately 208°F to 212°F on a digital thermometer.
11) Cool before slicing
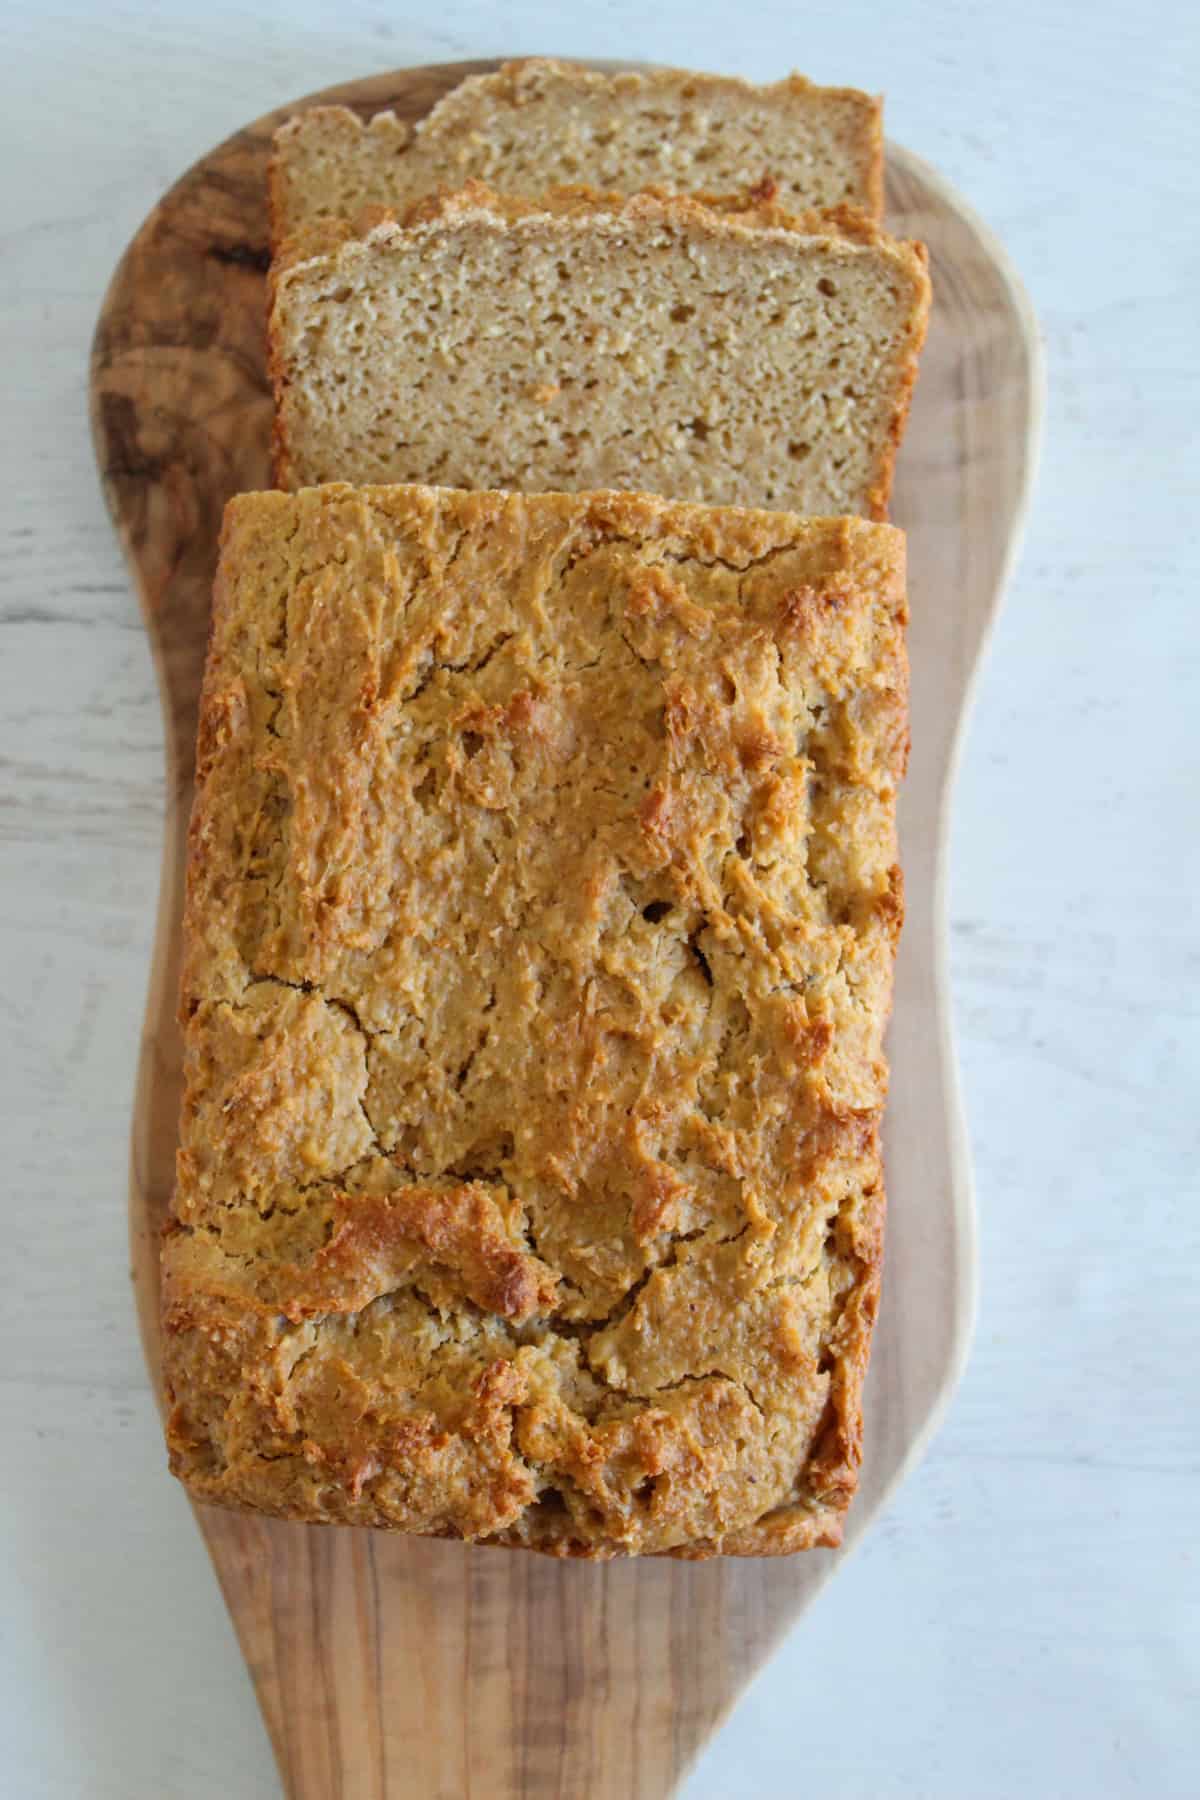
Remove the bread from the oven and let it cool in the pan for 10 minutes. Then transfer it to a wire rack and cool completely before slicing. Allowing the loaf to cool fully helps the crumb set and prevents a gummy texture.
12) Serve and enjoy
Slice the bread and enjoy it plain, toasted, or topped with butter, jam, nut butter, or your favorite sandwich fillings.
Expert Baking Tips
Hold on to these simple tips to bake an oatmeal gluten-free bread that will turn out incredibly tender and delicious:
- Ensure you use certified gluten-free oats. Certification ensures that oats undergo testing and are safe, with little to no gluten.
- Use a kitchen scale for more accurate measurements of flour and starch. Gluten-free oats pack differently than wheat, so scooped cups easily lead to dense loaves.
- Use room-temperature eggs and almond milk. This helps the ingredients combine easily.
- Allow the batter to rest after mixing. This allows oats and starch to hydrate fully.
- Grease the pan thoroughly and dust it with gluten-free flour. It prevents the loaf from sticking and ensures clean edges.
- Avoid opening the oven too early, as it can cause the dough to collapse due to temperature fluctuations.
These baking tips, along with others in this guide, can help you achieve the gluten-free oatmeal bread you desire, with the smoothest surface and highest rise.
Troubleshooting Tips
There are times when you cannot get the gluten-free oatmeal bread that you want. But don’t worry; here are typical problems that you should keep in mind to solve them.
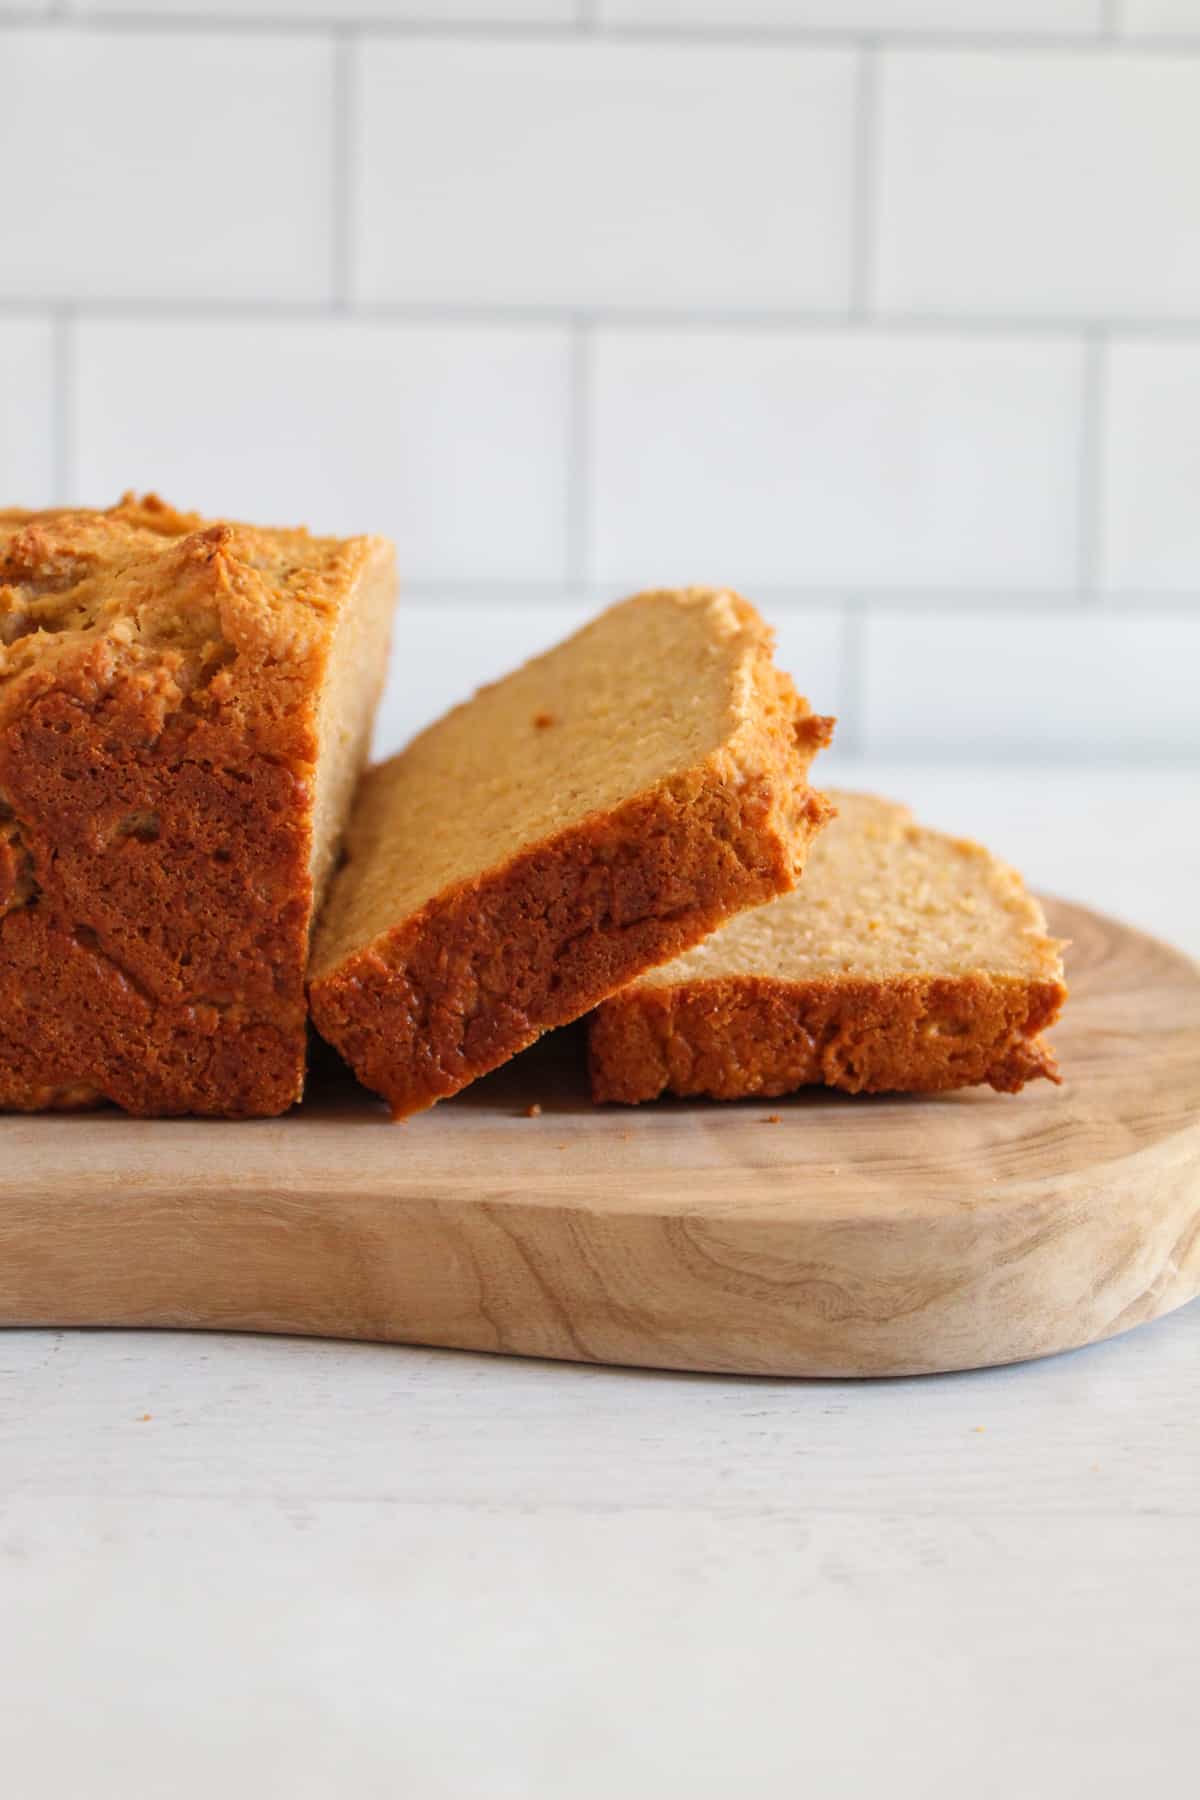
- Gummy or undercooked interior: Underbaking, too much moisture in the mixture, or short resting time are usually what cause this. In this case, you can bake it longer at a lower temperature, reduce the moisture, or rest the dough before baking, then cool before slicing.
- Loaf is dense and low-rising: This could happen because of insufficient proofing, too weak yeast, too much flour, or cold ingredients. Make sure the yeast is fresh, give the yeast dough enough time to rise, use a balanced oat-tapioca flour ratio, and use room-temperature eggs and liquids.
- Slices are crumbly: Too little binding agent, too little hydration time, or overbaking are the causes. In this case, add enough eggs, let the mixture hydrate fully, and bake until the loaf is golden brown on top.
- Loaf is dry: This is either from insufficient fat or liquid content or an excessive use of flour. Try adding some oil instead of water, and make sure to follow proper technique when measuring flour and oats.
Most problems are easy to fix with a few simple adjustments. Once you’ve baked this bread once, you’ll become more familiar with the dough, your ingredients, and your oven, making future loaves even better.
5 Delicious Variations Of This Recipe
With these creative variations, you can create a wide range of flavor profiles from the same base recipe.
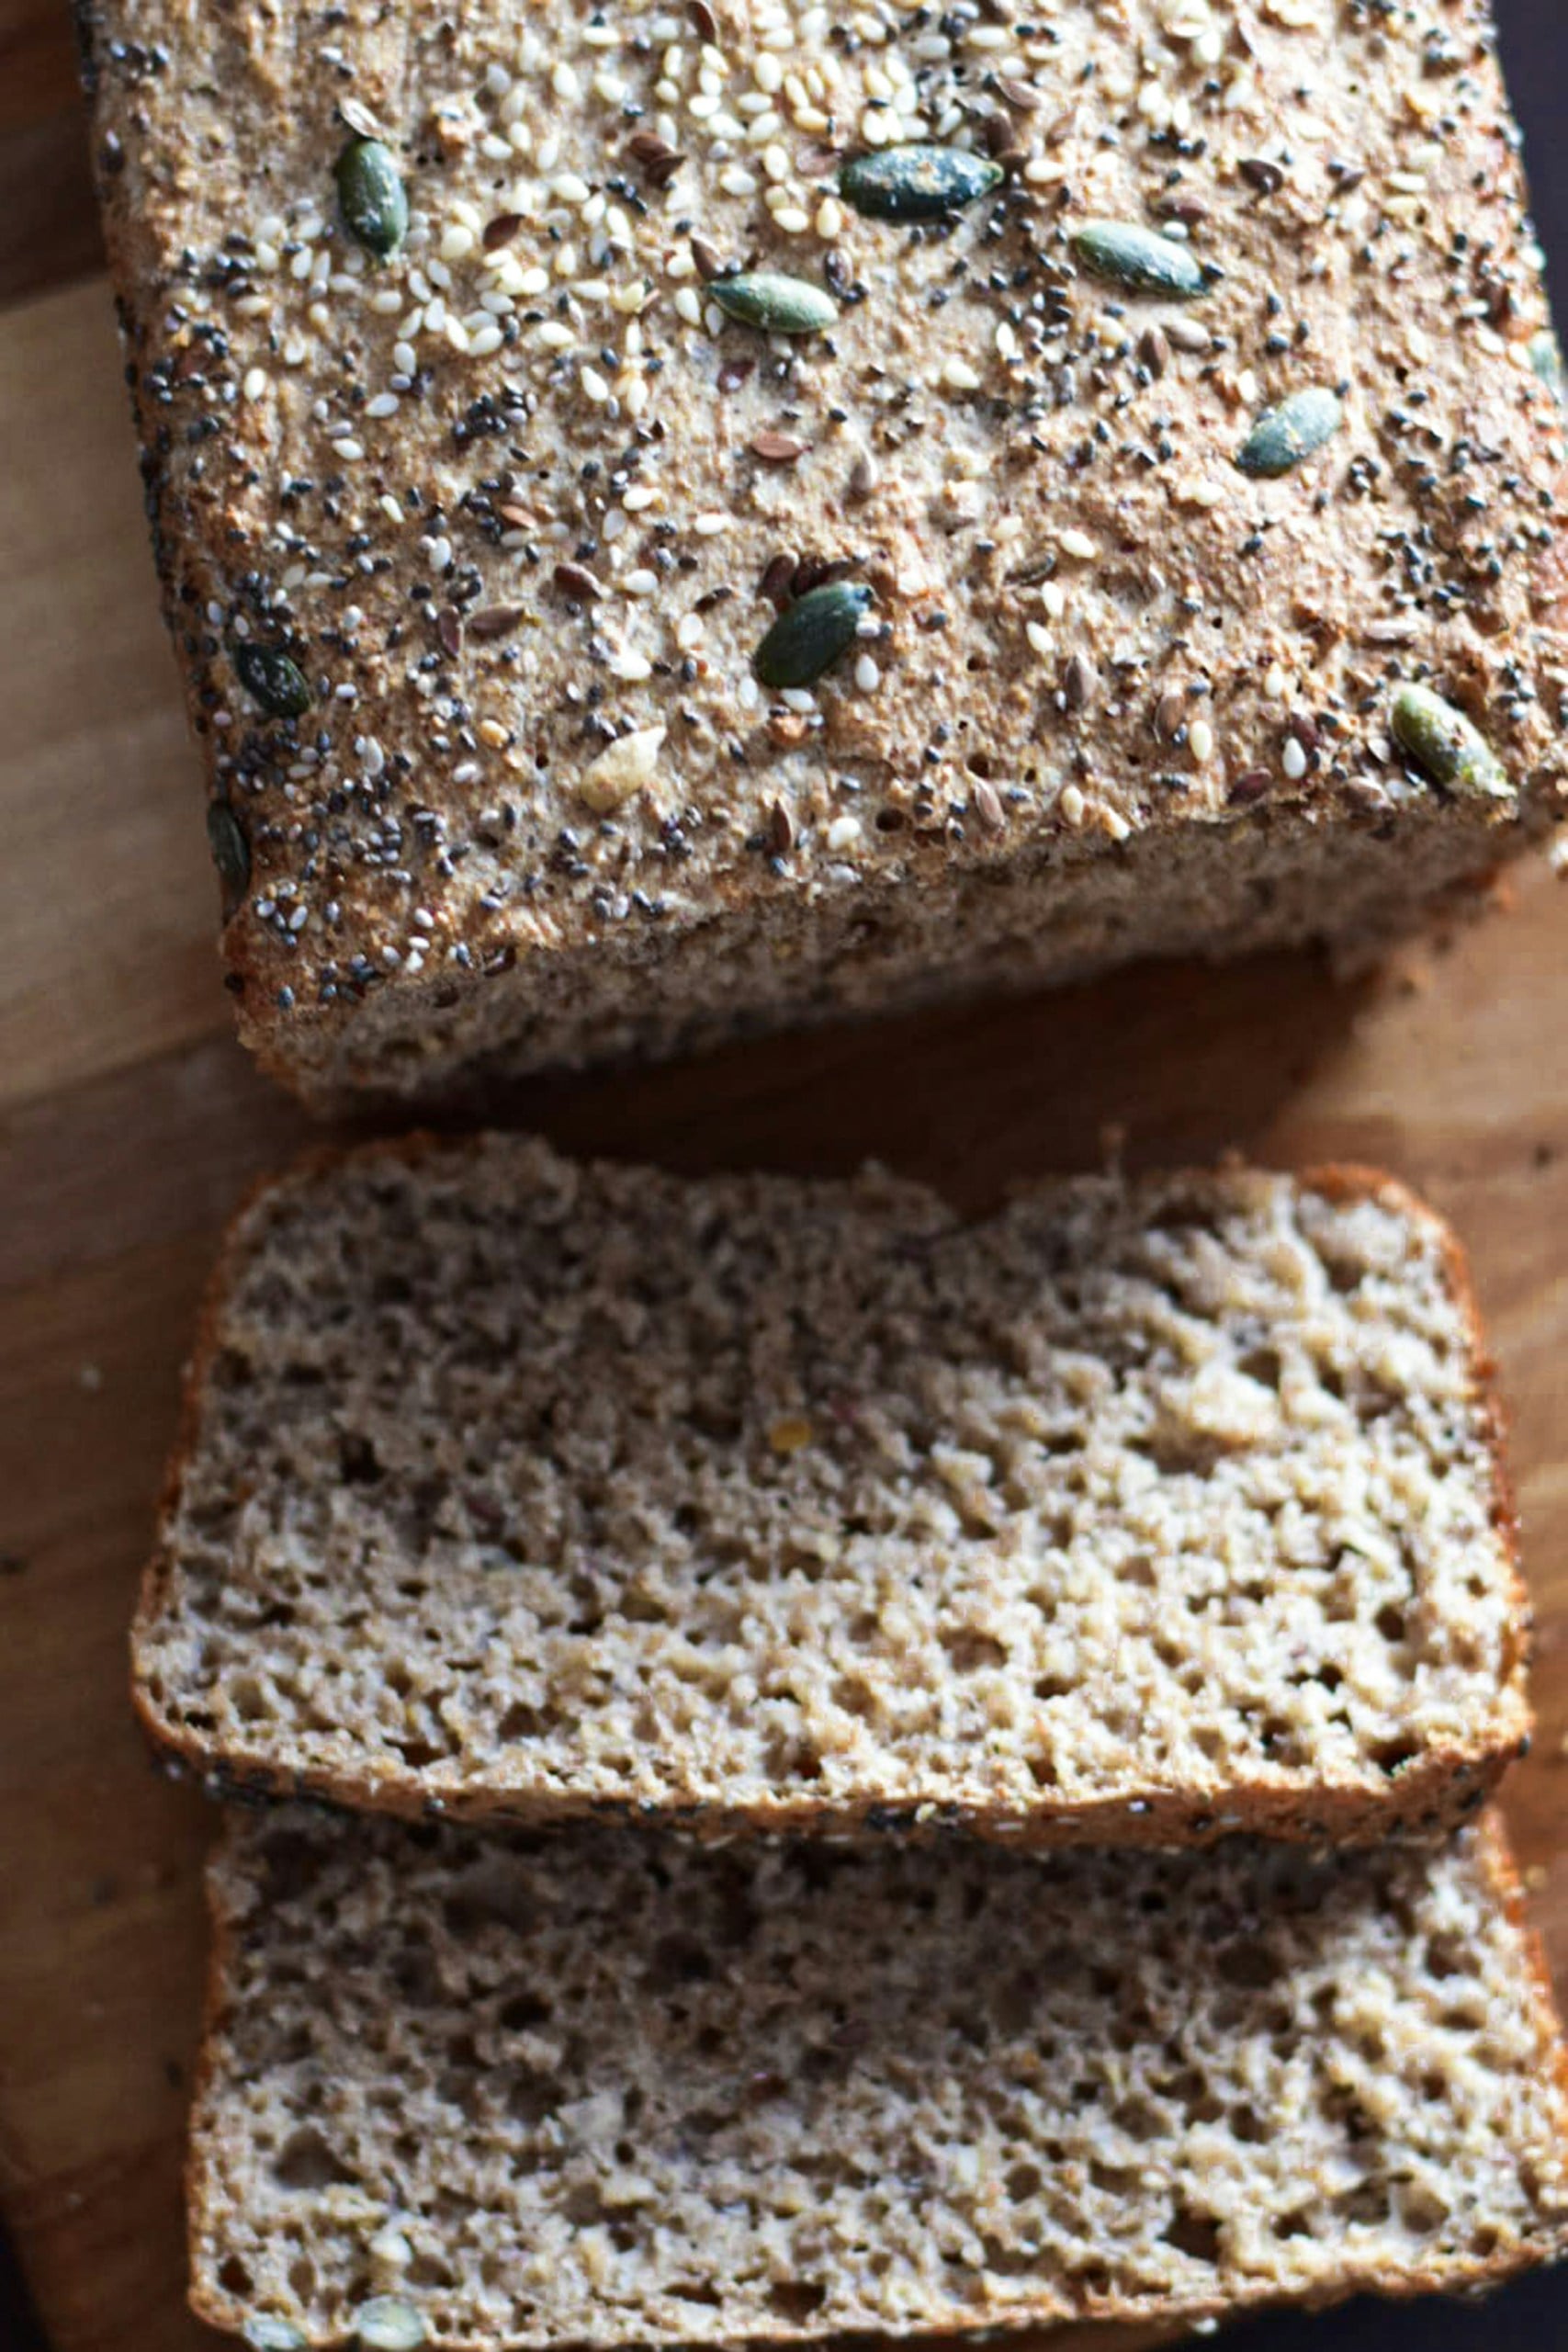
- Cinnamon raisin honey oatmeal bread: For a warm, aromatic loaf perfect for toast or French toast, add cinnamon, raisins, and a touch more honey to the dough. The scent of cinnamon plus the intense sweetness of honey creates a delicious loaf of bread.
- Fruit-studded yogurt oatmeal bread: If you’d like to add more moisture to this delicious loaf, this version works great. Fold in diced peaches, berries, or chopped apples plus yogurt and enjoy it as a snack bread.
- Banana-almond breakfast loaf: To make this loaf richer and naturally sweetened, use mashed ripe bananas as part of the sweetener, and mix in almonds for extra richness and protein.
- Herb and garlic oat loaf: For a variation that pairs well with soups and stews, use thyme, rosemary, or other spices you like, along with garlic powder, to make a delicious, savory table bread.
- Cheesy oatmeal bread: Include shredded or vegan cheese while mixing in flour to make a fragrant loaf that pairs well with eggs or salad.
Serving Suggestions
One standout quality of this gluten-free oatmeal bread is how easily it can serve as both a sweet and a savory loaf. With this in mind, here are some delightful ways to enjoy this loaf:
- Take the classic breakfast route and enjoy toasted slices of gluten-free oatmeal bread with nut butter, banana slices, and honey.
- For a perfect light breakfast or snack, combine this gluten-free oatmeal bread with yogurt and fresh fruit.
- You can make open-faced sandwiches with this bread by topping it with tuna salad, grilled chicken, roasted vegetables, or our roasted red pepper hummus.
- Get creative and spread mashed avocado, salt, pepper, or soft-boiled eggs on slices of toasted gluten-free oatmeal bread.
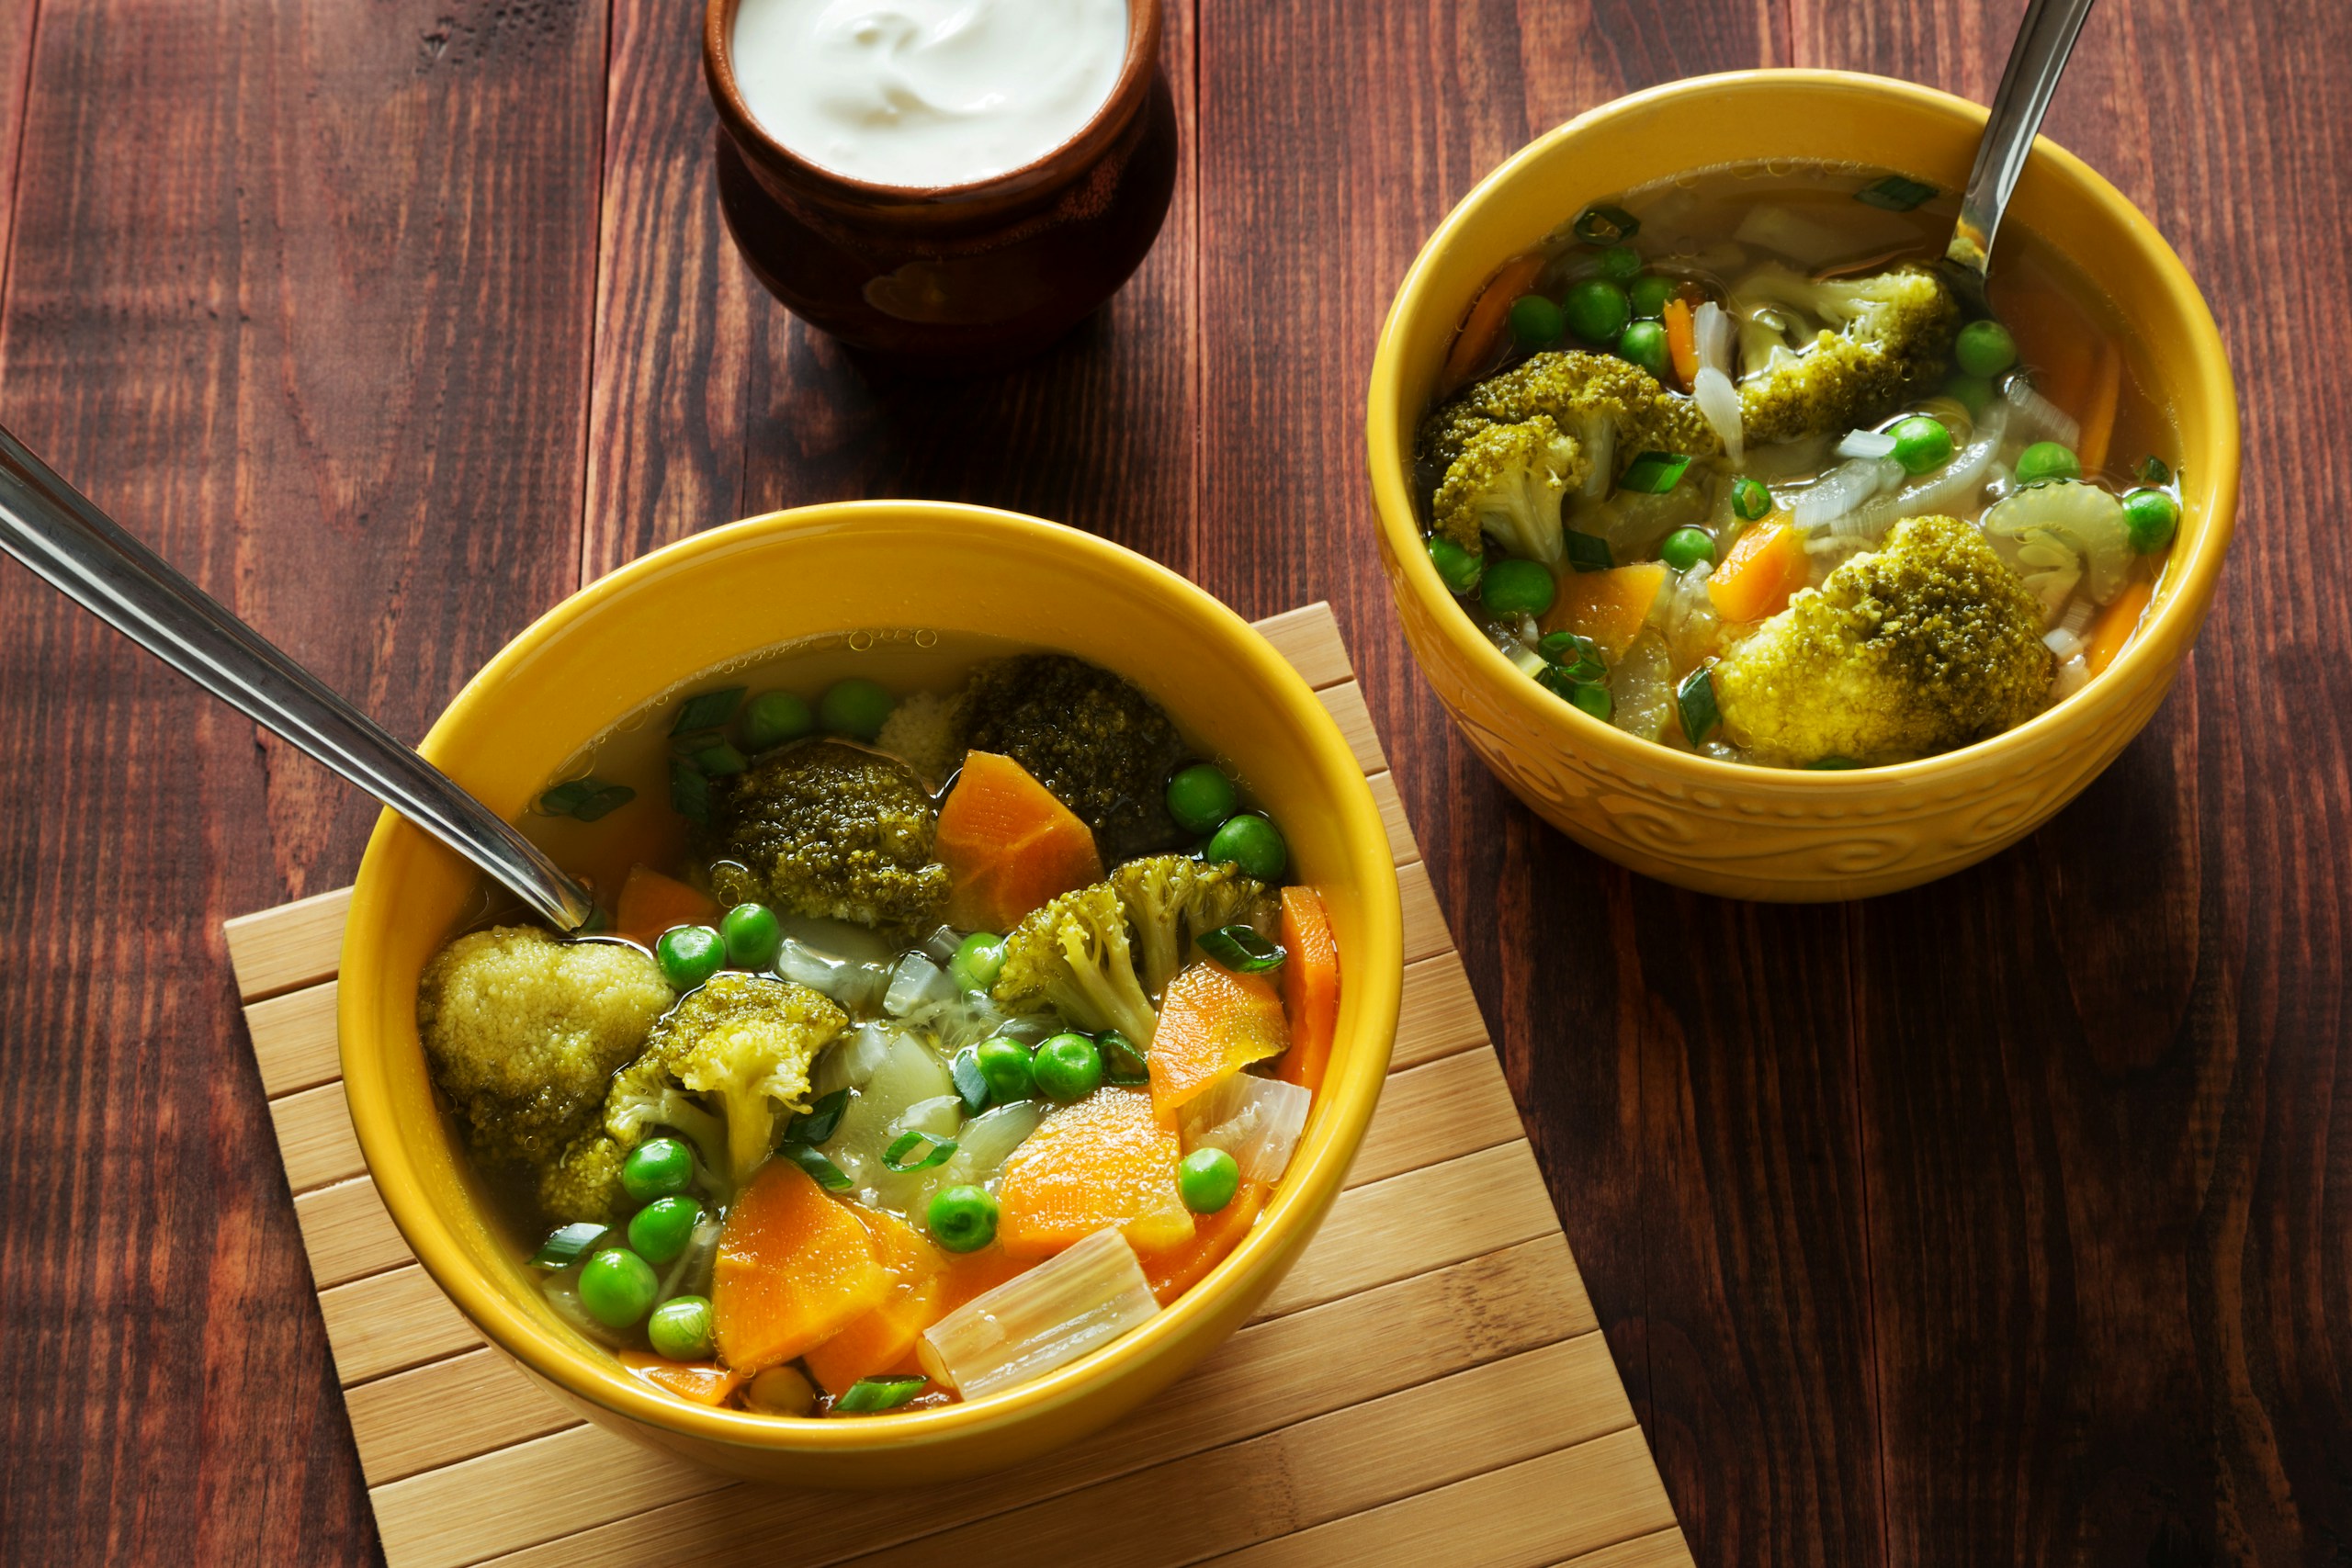
- For a filling dish, accompany breakfast toast with this loaf with Spicy Sprouted Lentil Soup or Italian Vegetable Soup.
How to Store and Freeze Gluten-Free Oatmeal Bread
Properly storing this gluten-free oatmeal bread helps maintain its flavor and texture, allowing you to savor it anytime you want.
- Room-temperature storage: This bread tastes best on the day it is prepared. But if you keep any leftovers, store all slices at room temperature in an airtight container in a cool, dry, shaded place for only 1-2 days.
- Refrigeration: It is not recommended to refrigerate gluten-free bread, as it will accelerate staling and dry the crumb.
- Freezing: Wrap each cooled slice properly, and place them on parchment to prevent them from sticking together. After that, put them in a freezer bag or an airtight container, press out any excess air, and freeze for 1-3 months.
- Thawing: You can pop the slices straight from the freezer into the toaster or onto a pan with a bit of oil. For sandwiches, thaw slices at room temperature still wrapped, then lightly toast or warm if desired.
Frequently Asked Questions (FAQs)
Here are the questions regarding baking this gluten-free oatmeal bread. If you can’t find yours, drop it in the comments.
Is this oatmeal bread gluten-free?
Sure, Oats are naturally gluten-free, but they may become cross-contaminated during processing. To keep this bread gluten-free, use certified gluten-free oats and choose ingredients labeled gluten-free.
Can I substitute the oats with another flour?
Absolutely not. Oats are an essential ingredient in this oat bread, so swapping them would completely change the recipe. If you don’t want to use oats, have a look at this buckwheat bread or this gluten-free white bread. They are both equally delicious loaves of bread.
Why did my loaf sink in the middle?
A sunken loaf is usually caused by overproofing, too much moisture, or opening the oven too early. It can also happen if the bread isn’t fully baked. For the best results, let the dough rise only until it reaches the top of the pan, preheat your oven thoroughly, and bake until the center reaches 208–212°F.
Can I use instant yeast instead of active dry yeast?
Yes. You can substitute instant yeast for active dry yeast in equal amounts. Unlike active dry yeast, instant yeast doesn’t need to be proofed first and can be mixed directly with the dry ingredients. If you use instant yeast, the dough may rise a little faster, so keep an eye on it to avoid overproofing.
How wet should my dough be?
The dough should be thick and sticky, more like a thick cake batter than traditional kneadable bread dough. If it feels dry enough to knead, it’s likely too dry and may bake into a dense, crumbly loaf.
Can I skip the tapioca starch?
Absolutely not. Tapioca starch provides the elasticity and structure that oats alone can’t. Without it, the loaf is more likely to be dense, crumbly, and difficult to slice.
More Wholesome Oatmeal Recipes You Can Try
Are you interested in other wholesome gluten-free recipes bursting with the goodness of oats? Here are some more for you to check out:
- Gluten-Free Oatmeal Apple Muffins – Tender, fluffy muffins that are easy to make and perfect for meal prep.
- Easy Oatmeal Chocolate Chip Muffins – Indulgent, delicious treats bursting with the goodness of chocolate chips.
- Banana Oatmeal Muffins – Soft, satisfying muffins with banana and oats that make an easy breakfast or grab-and-go snack.
- Gluten-Free Oatmeal Rolls – Hearty, dairy-free rolls made with oats that are perfect alongside dinner or for making small sandwiches.
- Gluten-Free Oatmeal Raisin Cookies – Soft, chewy oatmeal cookies filled with raisins for a cozy gluten-free take on the traditional favorite.
Whether you want a quick breakfast to whip up or a snack bursting with seasonal flavors, these recipes deliver satisfying and nutritious treats you can enjoy anytime.
Share Your Baking Experience
If you tried this gluten-free oatmeal bread recipe, I’d love to hear how your loaf turned out. Please leave a comment to let me know about your baking experience or what unique spin you put on the recipe.
Your feedback will go a long way for other readers and me. Also, if you’d like to explore other super-tasty oatmeal recipes, check out the links above.