Whether you are gluten free because you have health issues or because you feel it is best for your health in the long run, it is a big change, and one that can get expensive! One of the biggest expenses can be flour. Depending on where you shop, gluten-free flour can cost $3-4 a pound (or more). To make it worse, when baking, you often need more than one kind of flour, which can get even more expensive and put you off of baking forever!
A way to reduce this cost is to grind your own gluten-free flour, and it’s not as expensive, hard, or time-consuming as you might think.
Equipment for Flour Grinding
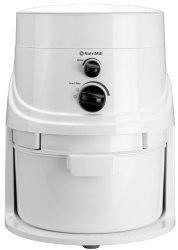
Of course, flourmills were made for grinding. And they work great. They grind even the toughest kinds of grains down to powder. However, they can get quite expensive – the lowest price for the electric kind is still over $200 – and they can also take up valuable kitchen counter space.
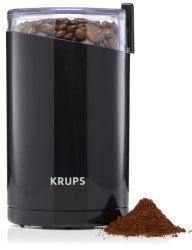
Instead, you can try a coffee or spice grinder, a food processor, or even a blender (often blenders come with grinder attachments, but blenders still work well for grinding without them).
Grains, Nuts, etc. for Grinding
Even if you just have a coffee or spice grinder, these items will grind nicely:
- Oats, cashews, and sunflower seeds can be made into a nice flour within a minute.
- Almonds and hazelnuts take about 1-2 minutes to grind into flour. Make sure you stir it around about 30 seconds into the grinding so it doesn’t clump up.
- Coconut flour is easy to make, after the coconut meat has been dried out. Let it dry out by itself or spread it out on a cookie sheet and then put it inside a 200 degree oven for several hours (the amount of time it takes depends on how much you are trying to dry out).
The following will grind up in a spice grinder, although they will take a bit longer (a grinder or blender that has 200 or 250 watt power is best for these):
- Millet, rice, quinoa, and buckwheat will probably take about 3 minutes of grinding to make flour. Millet, rice, and quinoa will make for a flour with a sandy texture, but the store-bought types of these flours are sandy as well.
Here are some other tips to keep in mind when you want to buy whole foods for grinding into flour:
- Buying your gluten-free grains in bulk is a great way to save money. However, you should avoid buying in bulk from those open bins in the health food store. You never know where the scoop in the gluten-free bin has been, and it might even be cross-contaminated with wheat. Look for huge sacks of grains at oriental markets or warehouse clubs, or even online (even with shipping charges, buying online often ends up being cheaper).
- Whole grains don’t go rancid as quickly as their flours do.
- If you have whole grains in your pantry, you not only have them available for flour, but they are there in case you want to use them whole in recipes.
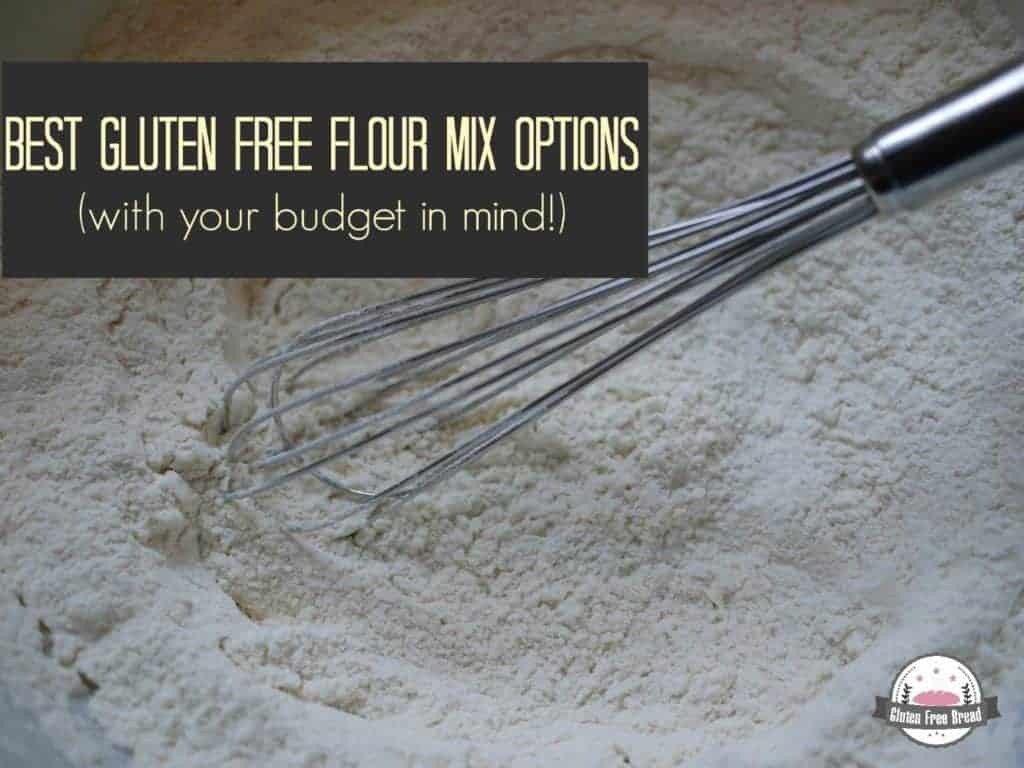
But what about a flour blend?
Of course, if you like to bake you have probably come across the term “gluten-free flour blend.” Don’t panic! Instead of spending a fortune on a blend from your store, you can make this at home as well.
You’ll need…
3 cups brown rice flour
1 cup tapioca starch or tapioca flour
1 cup millet flour
1 cup potato starch
Makes 6 cups.
All you have to do is mix the ingredients in a bowl and store the mixture in an air-tight container. It does not need to be refrigerated. It can be substituted for regular flour in most recipes. If you want to use the mixture in baking (and unless the recipe says otherwise), for every 2 cups of the blend you use, add ½ teaspoon of xanthan gum or ¾ teaspoon of guar gum.
Once you try grinding your own gluten-free flour, you’ll find that it is easy, and much cheaper than buying a bunch of different kinds of prepared flour at the store.