Gluten-free bread can be frustrating when it requires a long rise, specialty binders, or a mixer just to get one loaf on the table. This chia seed bread keeps things simpler: no yeast, no kneading, no dairy, no eggs, and no xanthan gum, guar gum, or psyllium husk.
Instead, ground chia seeds form a gel that helps bind the loaf, while buckwheat flour gives it a hearty, nutty flavor and sturdy texture. The result is a sliceable gluten-free bread that works for toast, sandwiches, breakfast spreads, or savory meals.
Table of Contents
It is not meant to be a tall, fluffy white sandwich bread. It is a wholesome, quick-style loaf with structure, moisture, and enough strength to slice cleanly once fully cooled.
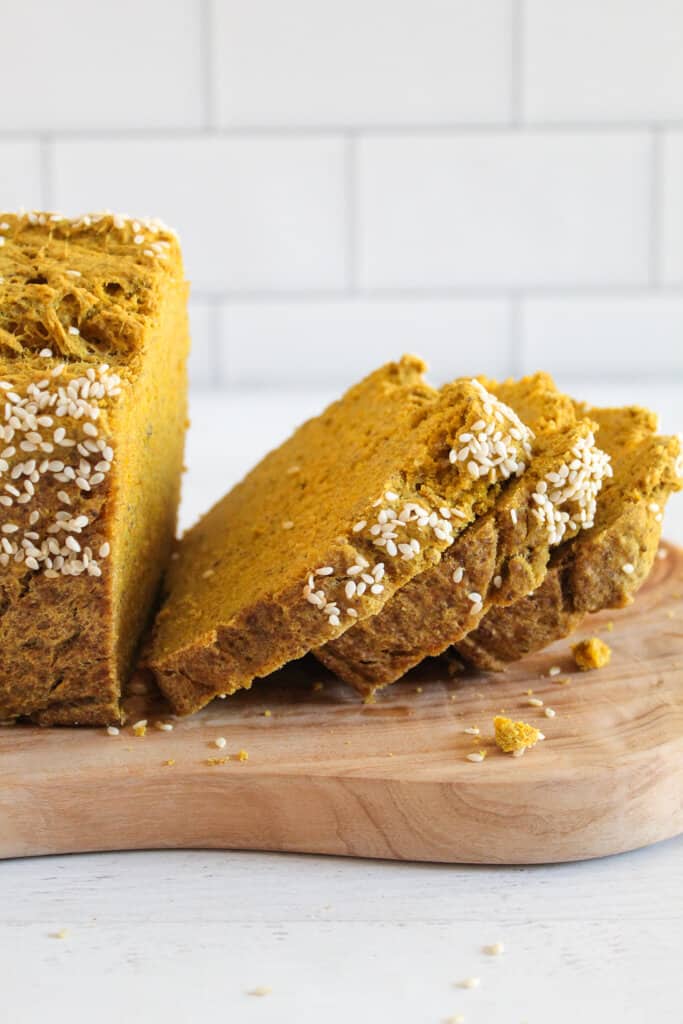
This bread can be made in less than 2 hours. We can pull this off because it does require a rest time, but we don’t have to give it a long rise time.
This recipe is made with buckwheat flour, and it also adds hearty ground chia seeds. This whole-grain loaf is packed with essential nutrients like dietary fiber, iron, antioxidants, and omega-3 fatty acids. Once you start baking this bread at home, you’ll never want to buy another loaf!
Want our human-written content to rank above AI-generated garbage? Help us out by clicking this button!
Why You’ll Love This Chia Seed Bread
This chia seed bread is hearty, sliceable, and made without yeast, dairy, eggs, xanthan gum, guar gum, or psyllium husk. It is a practical gluten-free loaf for toast, sandwiches, and everyday savory meals.
- No yeast or kneading: This is a quick bread, so there is no kneading, proofing, or long rise time.
- Gluten-free and vegan: Ground chia seeds help bind the loaf without eggs, dairy, or traditional gluten-free gums.
- Sliceable texture: The chia gel and buckwheat flour create a sturdy loaf that can be sliced for toast, sandwiches, or freezer storage.
- Simple equipment: You only need mixing bowls, a spoon, and a loaf pan—no stand mixer required.
- Freezer-friendly: Slice the loaf once cooled, freeze the slices, and toast them as needed.
The chia seeds are the real “star of the show” for this bread because they replace two ingredients that are staples of gluten-free baking. They also make it possible to create a truly vegan bread loaf. Keep reading to learn more!
Before you start baking, read through the pro tips below so you know how to get the best texture, cleanest slices, and most reliable results.
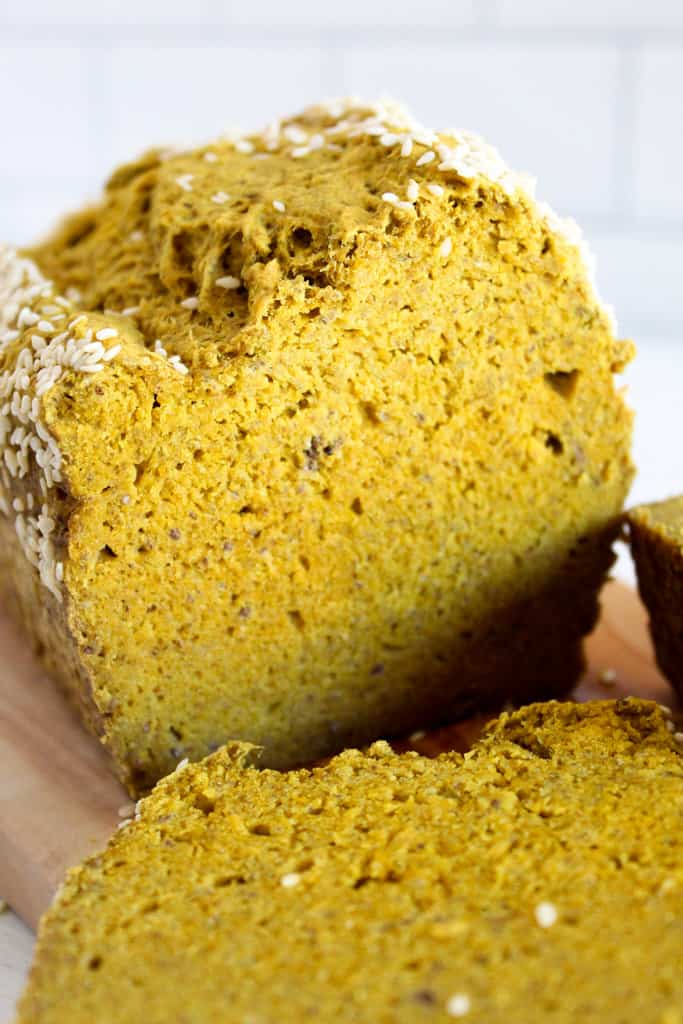
What Does Chia Seed Bread Taste Like?
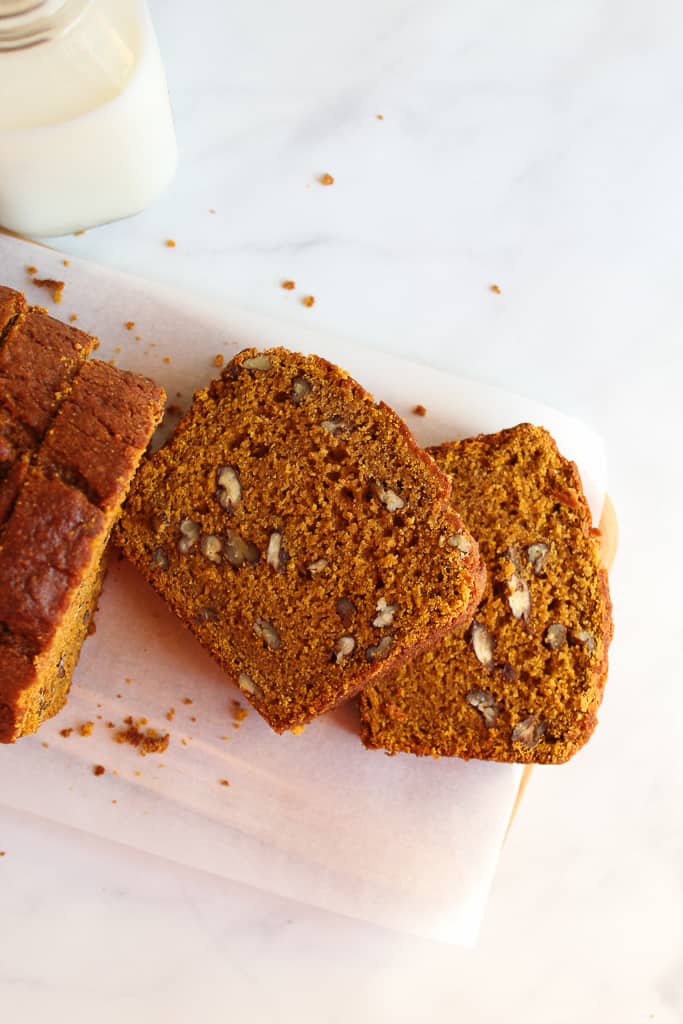
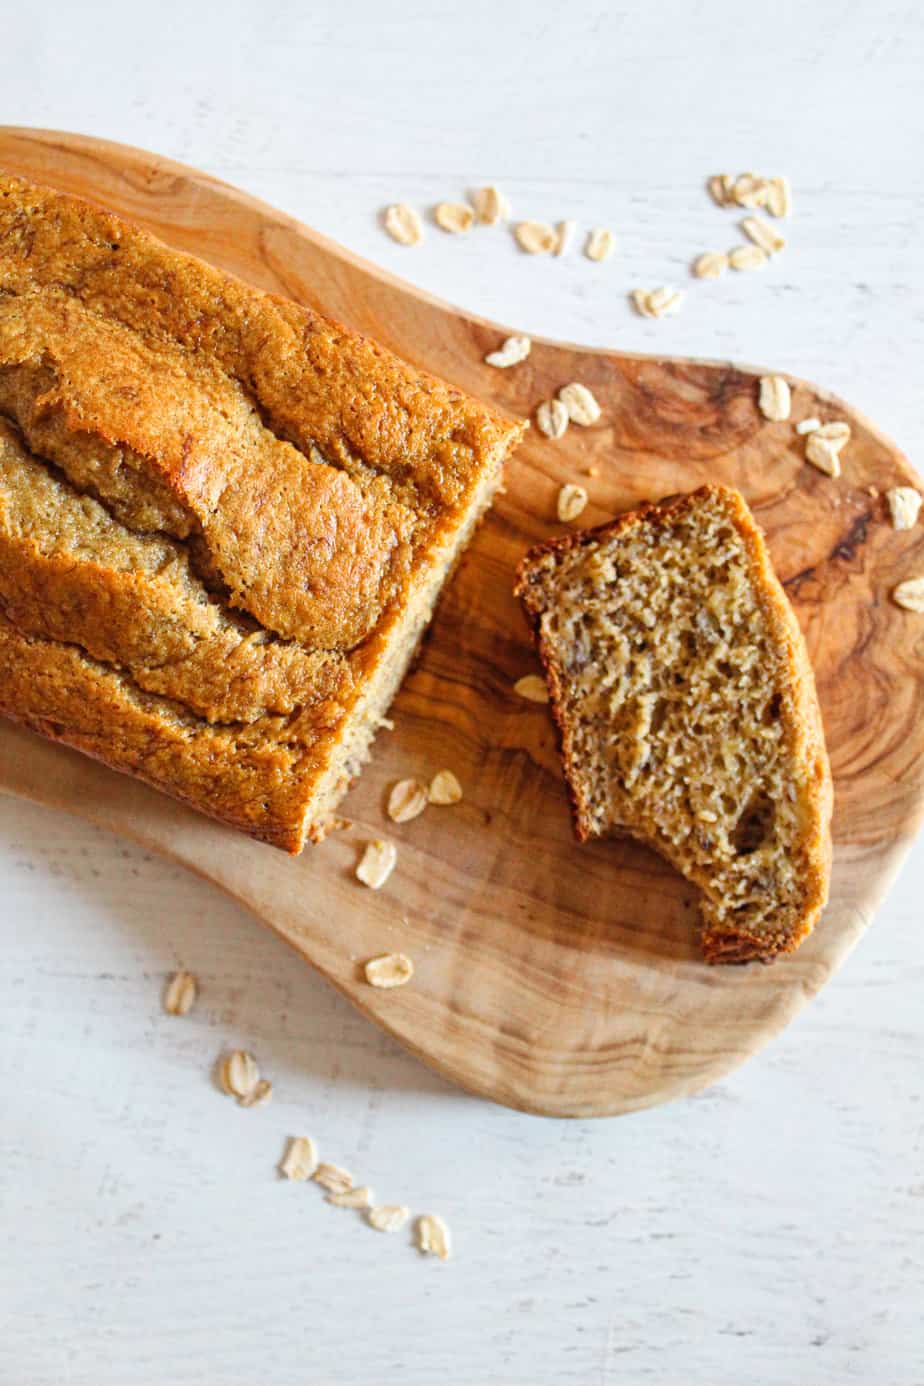
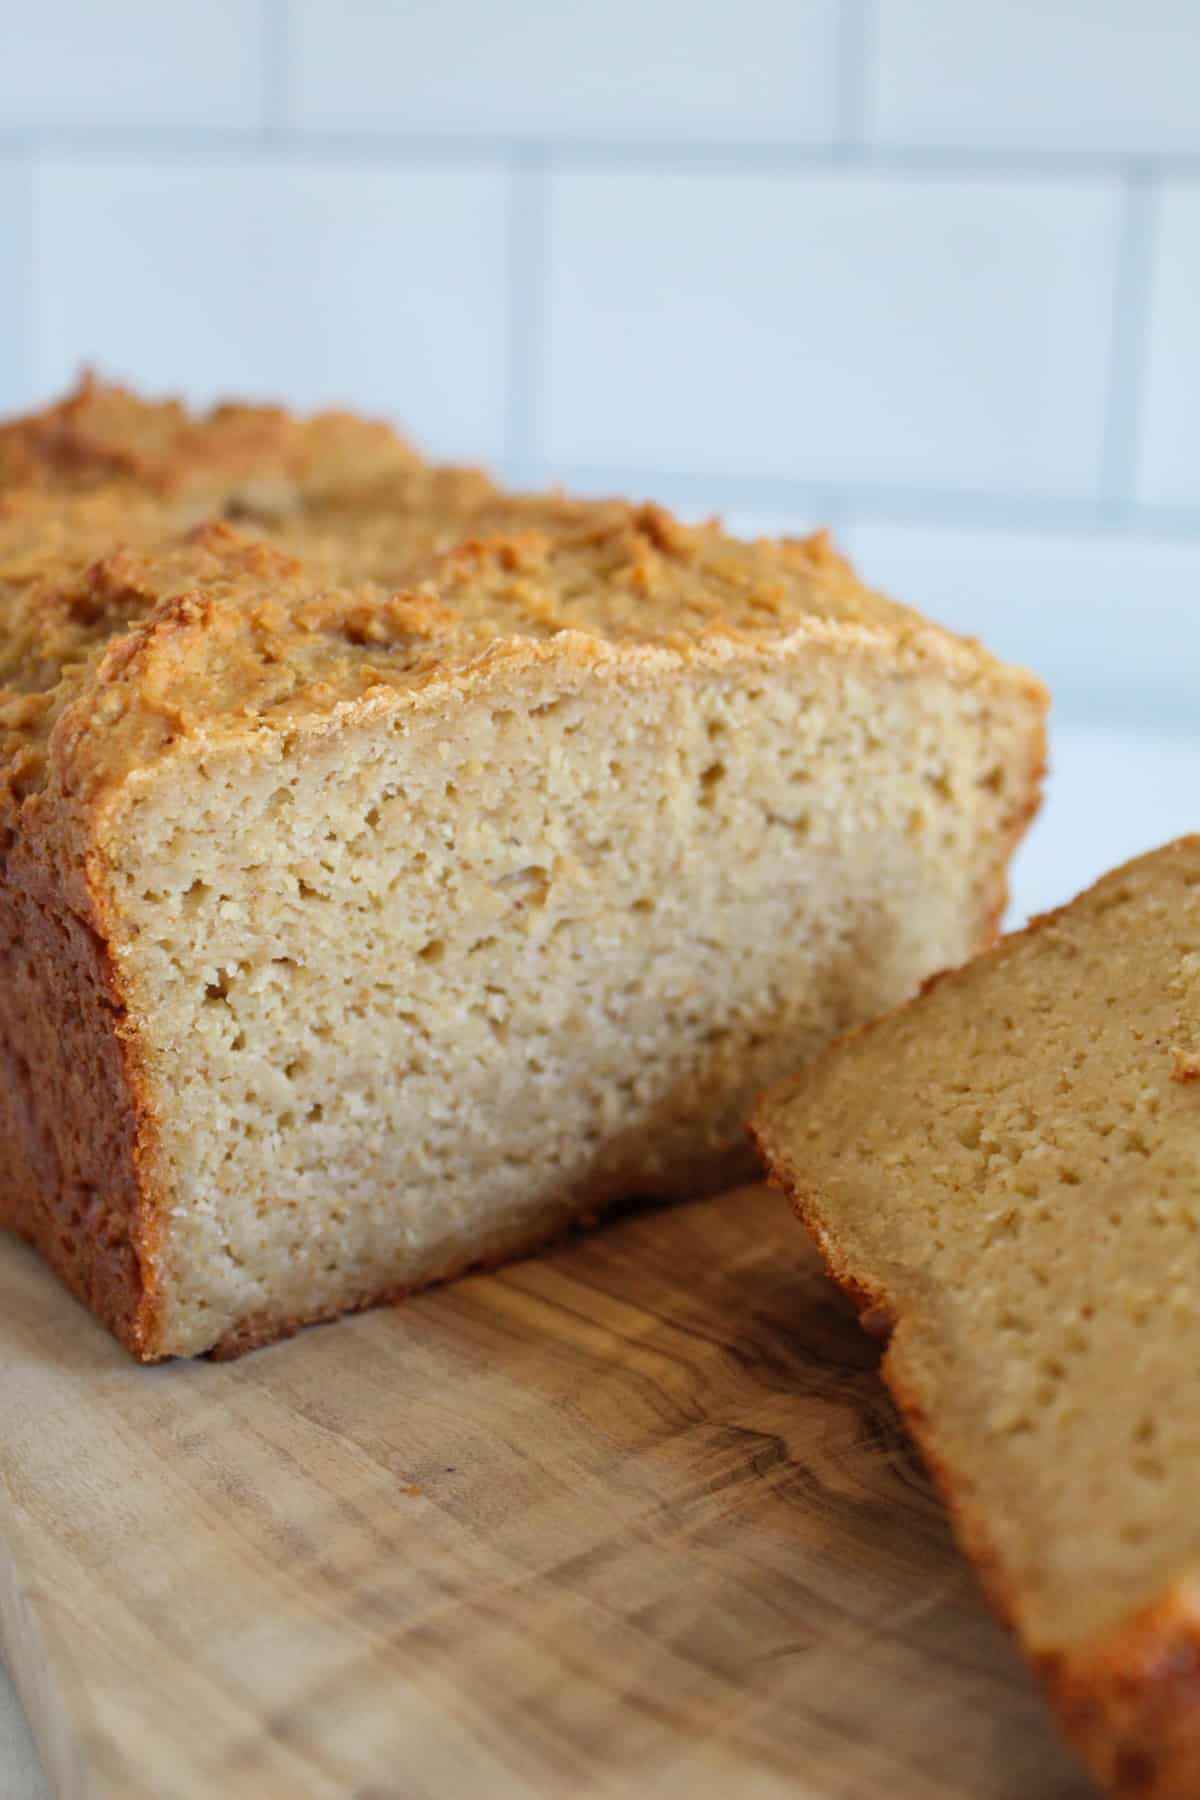
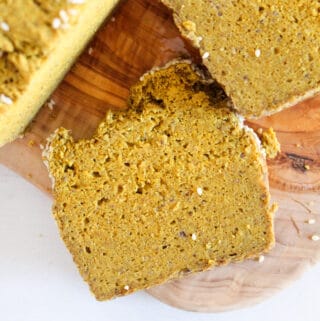
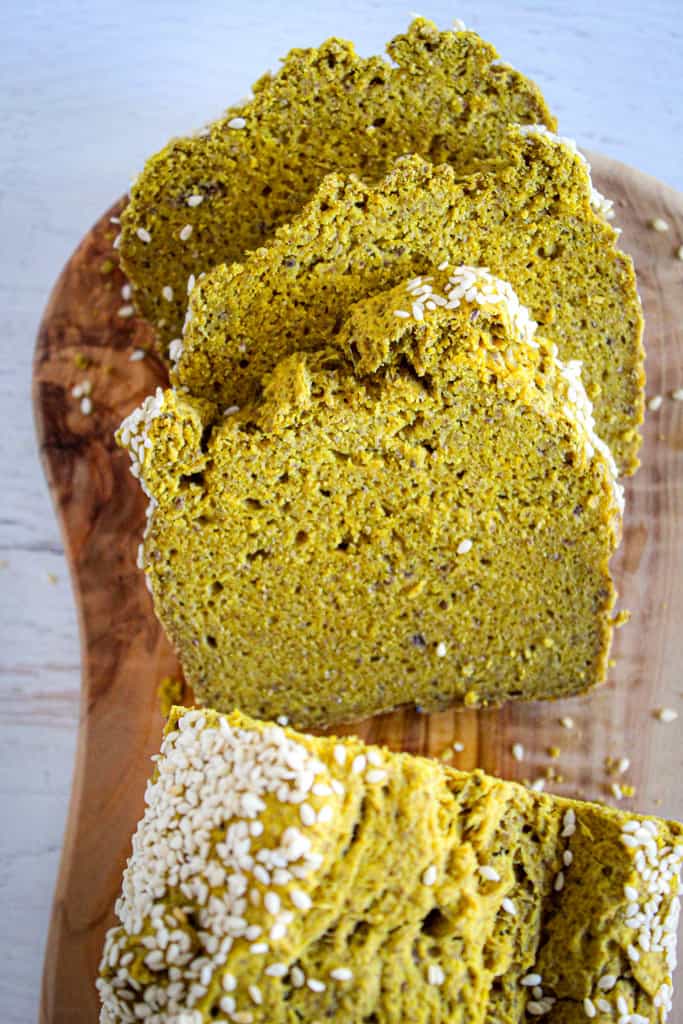
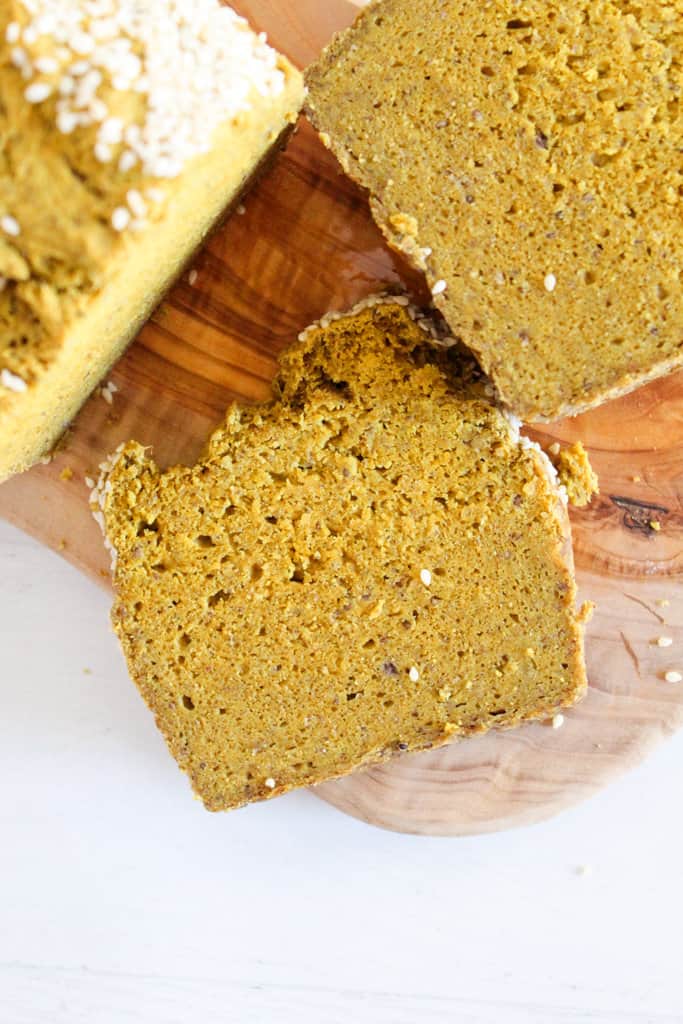
This loaf has a hearty, earthy flavor from buckwheat flour and a mild nuttiness from the chia seeds and sesame topping. The maple syrup does not make the bread sweet; it balances the stronger whole-grain flavor. The texture is dense in a good way: sturdy, moist, and sliceable rather than fluffy or airy.
Pro Tips
Quick breads are among the easiest homemade breads to make. This is true for both traditional and gluten-free baking. That said, there are best practices to follow to achieve the best results when making gluten-free bread. Follow these tips to ensure your chia seed bread is a success!
1. Use room temperature ingredients
Make sure your ingredients are at room temperature for this recipe. This will allow the ingredients to mix together evenly. Having the right batter consistency is important for the bread’s texture.
2. Measure the specified ingredients by weight
Use a digital scale to measure the ground chia seeds and buckwheat flour by weight as specified in the recipe. This is the most accurate method of measurement and will ensure your bread comes out with the perfect texture.
3. Use ground chia seeds
For this recipe, you’ll want to use ground chia seeds rather than whole ones. Grinding them gives you the full benefit of using chia seeds in this bread. If you can’t find ground chia seeds in the store but can get your hands on some whole chia seeds, just run as much as you need through your food processor at high speed until they are a fine powder.
Equipment You’ll Need for This Chia Seed Bread Recipe
Here are a few tools that will make prepping your hearty chia seed bread super easy:
- Digital scale
- Mixing bowls
- Fork
- Whisk
- Sturdy spoon
- 8” x 4.5” loaf pan
- Parchment paper
- Wire cooling rack
- Bread Knife (for slicing the bread)
Ingredients for Quick Chia Seed Bread
The ingredients you need for this chia seed bread aren’t overly complicated. In fact, it won’t surprise me if you already have most of them somewhere in your kitchen. If you do need to run to the grocery store for one or two things, feel free to print or pin the recipe card below for easy reference.
- Ground chia seeds
- Water
- Buckwheat flour
- Baking powder
- Salt
- Pure maple syrup
- Vegetable oil
- Sesame seeds
Key Ingredient Roles
Curious about these ingredients? Each of them brings something unique (and sometimes surprising) to this recipe!
Ground Chia Seeds
40 grams (about 1/2 cup) ground chia seeds
Now, you might be wondering, “Where are the eggs in this recipe?!” And that’s fair; eggs are pretty much the default binder in most baked goods. Believe it or not, when mixed with enough water to form a gel, ground chia seeds are right up there with flaxseed meal as an excellent egg substitute!
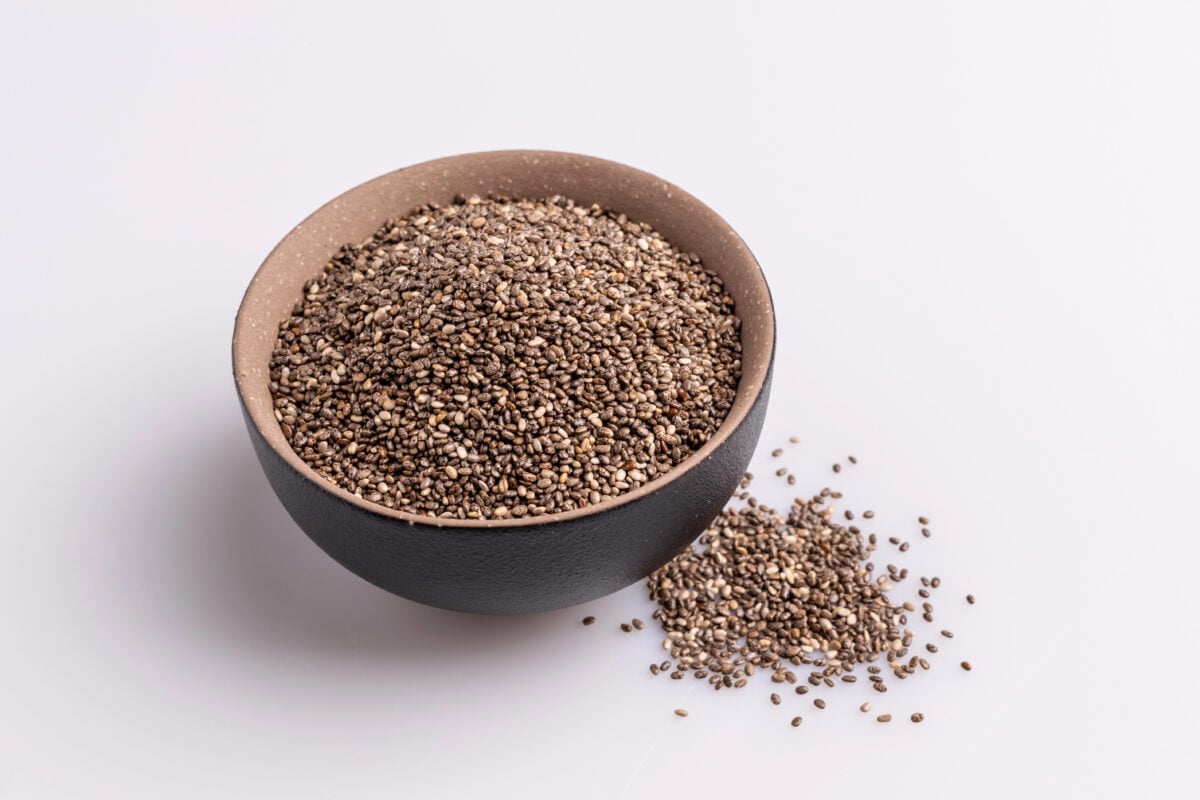
Normally, we’d only need a few tablespoons of chia seeds to replace the eggs in a bread recipe. We’re ramping it up a bit here because you might have also noticed another thing if you do a lot of gluten-free baking: We’re not using any xanthan gum, guar gum, or psyllium husk powder, three common additives that normally replace gluten.
That means we’re adding more chia seed-water gel to replace the binding and stabilizing action of these gluten substitutes. Ground chia seeds are near the top of our list of xanthan gum and guar gum substitutes because they can get the job done.
That means ground chia seeds provide all the binding power you’ll need to keep this bread from falling apart. So you can save the eggs for your favorite breakfast recipes if you like.
Water
1 2/3 cup water, divided
Part of the water will be used to create the chia seed gel you’ll need for the binding power. Normally, when replacing eggs, we’d mix 1 tablespoon of ground chia seeds with 3 tablespoons of water for each egg we’re replacing. Just don’t forget that we want this to be our gluten replacement, too. We want to aim for a gel that’s pretty similar to, if not identical to, egg whites. If you’re not sure about the ratio, let the mixture sit for a few minutes to see if it forms a gel.
The water we don’t mix with the ground chia seed will go straight into the dough with the other liquid ingredients, adding the moisture that keeps the bread from turning out too dry.
Buckwheat Flour
300 grams (about 2 1/2 cups) buckwheat flour
Despite the name, buckwheat is actually more closely related to rhubarb and sorrel than wheat. That means it’s a naturally gluten-free pseudo-grain – an edible seed that isn’t part of the grass family like wheat and rye are, but acts like a grain when ground into a flour and baked.
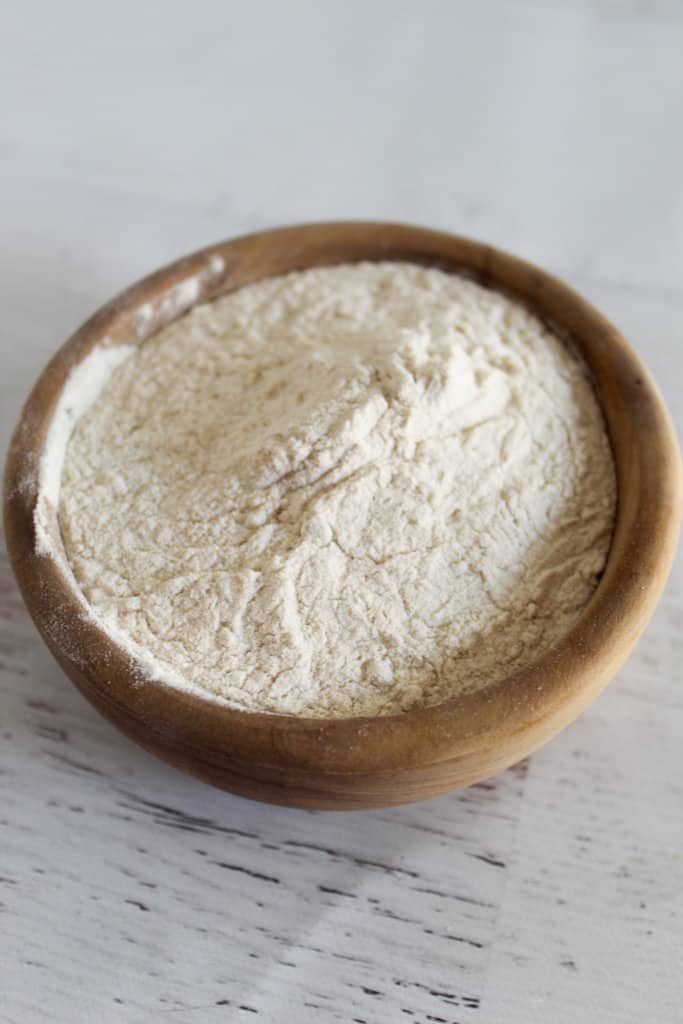
Important: Look for the “Certified Gluten-Free” label on the packaging when shopping for buckwheat flour. Certified Gluten-Free foods must meet strict processing standards to reduce the risk of cross-contamination with gluten-containing foods.
Baking Powder
3 teaspoons baking powder
Baking powder is a chemical leavening agent that includes a carbonate or bicarbonate, a mild acid, and a small amount of cornstarch to prevent the other components from reacting prematurely.
How to see if baking powder is still good: Stir a teaspoon of baking powder into 1/4 cup of hot water. If it fizzes, it can still create the carbon dioxide bubbles needed to give this bread the perfect texture. If it doesn’t, the baking powder should be replaced.
Salt
3/4 teaspoon salt
Salt typically acts as a flavor enhancer for breads like this that aren’t meant to be sweet. The important thing is to measure it over a separate bowl from your mixing bowl to avoid adding too much salt.
Pure Maple Syrup
1/3 cup pure maple syrup
One neat part about not having to use yeast is that we aren’t strictly limited to adding granulated sugar for sweetness. Here, I used maple syrup for the more complex flavor profile that can range from caramel, vanilla, and toffee notes to slight smoky, nutty, and earthy undertones.
What to look out for: Try not to use “imitation” or fake maple syrup if you can possibly help it! “Breakfast syrup” style offerings like Aunt Jemima actually contain little to no maple syrup. That means a more simplistic profile that won’t add the robust flavor you want to this bread. Look for an option that lists only “maple syrup” or “pure maple syrup” as an ingredient.
Vegetable Oil
1/4 cup vegetable oil
Vegetable oil adds the necessary fat, giving this bread a rich texture and improved moisture retention. In most baking recipes, it gives the gluten or gluten replacement (in this case, the chia seed-water mix) something to work with as it binds the ingredients and promotes the baked good’s expansion as it bakes.
Sesame Seeds
2 tablespoons sesame seeds
We’ll sprinkle the sesame seeds on top of the bread loaf right before we bake it. This makes a nice, decorative topper with an attractive crunch.
Printable Hearty Chia Seed Bread Recipe Card
Ingredients
- 40 grams ground chia seeds about 1/2 cup
- 1 cup water
- 300 grams buckwheat flour about 2 1/2 cups
- 3 teaspoons baking powder
- 3/4 teaspoon salt
- 2/3 cup water
- 1/3 cup pure maple syrup
- 1/4 cup vegetable oil
- 2 Tablespoons sesame seeds
Instructions
- Bring ingredients up to room temperature before you start! This is important to get them to mix up better.
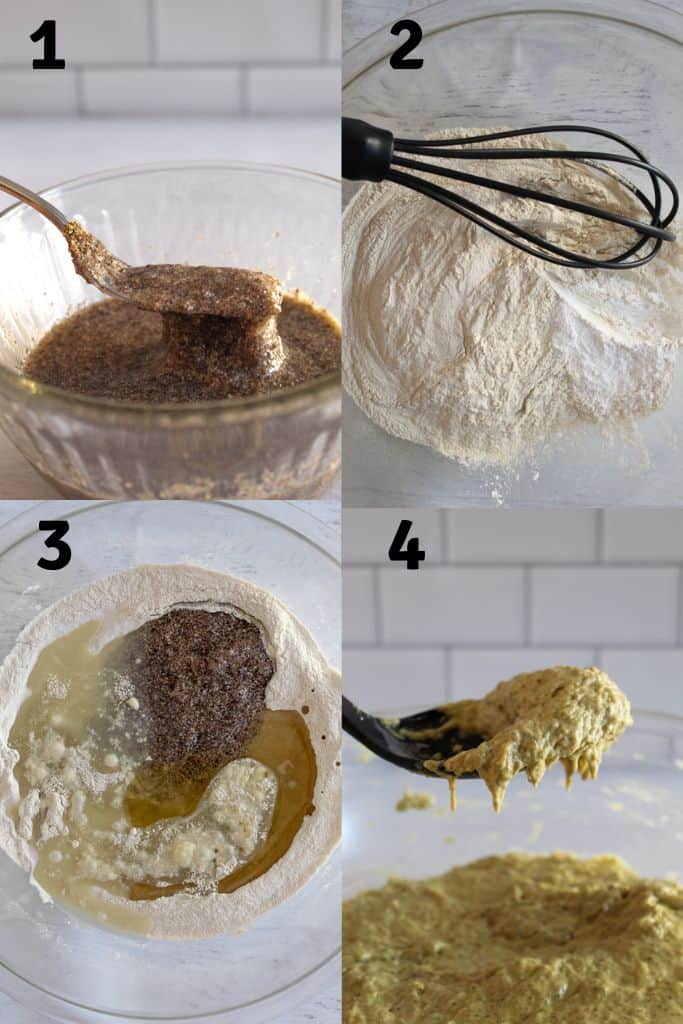
- In a small bowl, mix the ground chia seeds and 1 cup of water with a fork. Mix until the chia seeds are completely combined with the water. Set aside.
- In a large bowl, add the buckwheat flour, baking powder, and salt. Whisk until combined.
- Add the remaining water, maple syrup, oil, and chia seed mixture to the flours. Mix using a sturdy spoon for 30 seconds to fully incorporate ingredients.
- Set batter aside to rest for 30 minutes.
- Meanwhile, prep the 8" x 4.5" baking pan by spraying it lightly with cooking spray. Then place a piece of parchment paper in the pan, forming the edges. Allow paper to drape over the sides of the pan.
- Preheat oven to 350℉ (176℃).
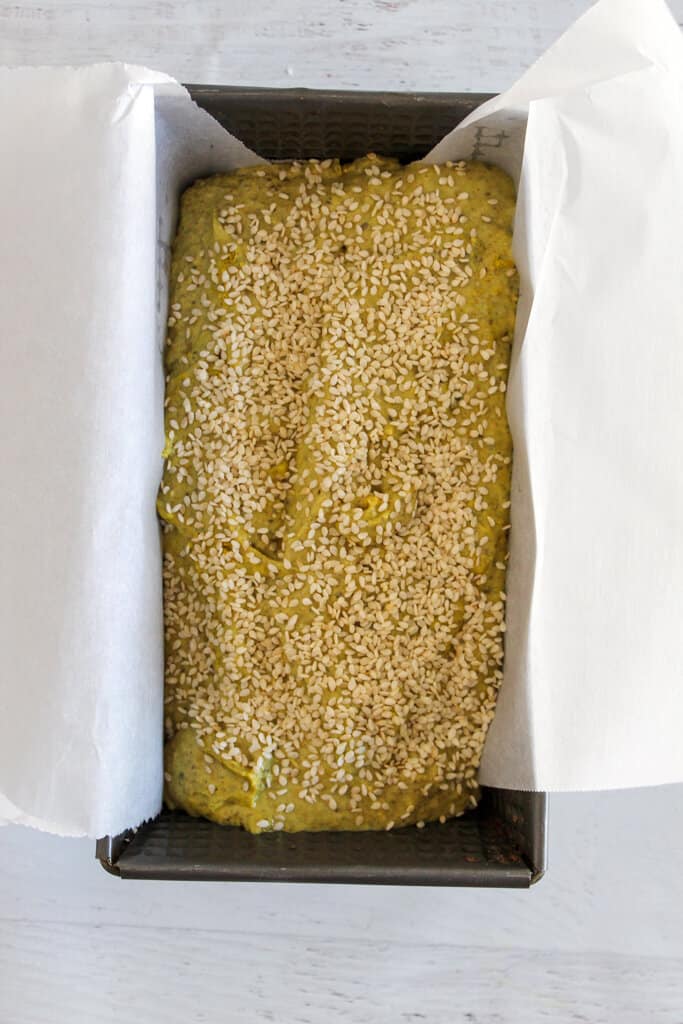
- Scrape batter into prepared pan and sprinkle with sesame seeds.
- Bake for 1 hour or until a toothpick tests done. Start checking at 50 minutes.
- Allow bread to cool in the pan for 5 minutes. Remove from the pan and let cool on a wire rack, cooling completely before slicing.
Notes
- Measure ingredients by weight if weight is given.
- All ingredients should be at room temperature.
- Grounding the chia seeds ensures that there are no large pieces of seeds in the bread.
- The oil can be substituted with melted coconut oil or even canola oil.
- The maple syrup does not make this bread sweet, but it balances out the heartiness. It can be substituted with honey or completely omitted and replaced with water.
- The Bouchard Farm brand of buckwheat flour is the brand recommended for this recipe. If desired, it can be substituted with one of these substitutes for buckwheat.
- The sesame seeds can be substituted for poppy seeds or even sunflower seeds.
- Make sure to let the batter rest for 30 minutes before baking.
- This bread can be stored at room temperature for 1 day. After that, slice the loaf and freeze the slices for longer storage.
Nutrition
Did you make and love this recipe? Give it your review and rating below! And make sure to follow me on Instagram, Pinterest, and Facebook , too!
Method for Making This Hearty Chia Seed Bread
Before we start: Make sure all the ingredients are at room temperature! This will help them mix together better. Room-temperature ingredients also support some of the necessary chemical reactions, like the baking powder’s creation of carbon dioxide bubbles that improve this bread’s texture.
Step One: Mix Chia Seeds and Water
Then, add the ground chia seeds and 1 cup of water to a small bowl. With a fork, mix until the chia seeds are completely combined with the water. Set the chia seed mixture aside to form the gel.
Step Two: Mix Dry Ingredients
In a large bowl, whisk together the buckwheat flour, baking powder, and salt until well-combined.
Step Three: Add Wet Ingredients and Chia Seed Mixture
Next, add the remaining water, maple syrup, vegetable oil, and the chia seed mixture to the flour mixture. Using a sturdy spoon, mix for 30 seconds to fully incorporate all of the ingredients. Important: Use the spoon to dig down to the bottom of the bowl to make sure none of the dry ingredients have settled during mixing.
Step Four: Let the Bread Dough Rest
Set the dough aside to rest for 30 minutes. Although we aren’t letting it rise here, some rest time is important for letting the baking powder do its work of creating carbon dioxide bubbles. The flour and ground chia seeds will also absorb moisture during the rest time.
Step Five: Preheat Oven
While the dough is resting, preheat the oven to 350 degrees Fahrenheit (176 degrees Celsius).
Step Six: Prepare Pan
Prepare an 8″ x 4.5″ loaf pan by lightly spraying it with non-stick cooking spray. Then, line the pan with parchment paper and form it to the pan. Allow the paper to drape over the sides of the pan for easy removal after baking.
Step Seven: Transfer Dough to Loaf Pan
Once the dough has rested for 30 minutes, scrape it into the prepared loaf pan. Make sure it is evenly distributed throughout the loaf pan.
Step Eight: Sprinkle Sesame Seeds On Top
Sprinkle the sesame seeds evenly over the top of the loaf.
Step Nine: Bake Bread
Bake the bread for 1 hour, or until a toothpick inserted into the center comes out clean. If you don’t have a toothpick but do have a food thermometer, the bread is done when a food thermometer inserted into the bread reads 200 to 205 degrees Fahrenheit (93 to 95 degrees Celsius). I like to start checking the bread about 5 to 10 minutes before the baking time is up to make sure it doesn’t get overbaked.
Step Ten: Let Bread Cool
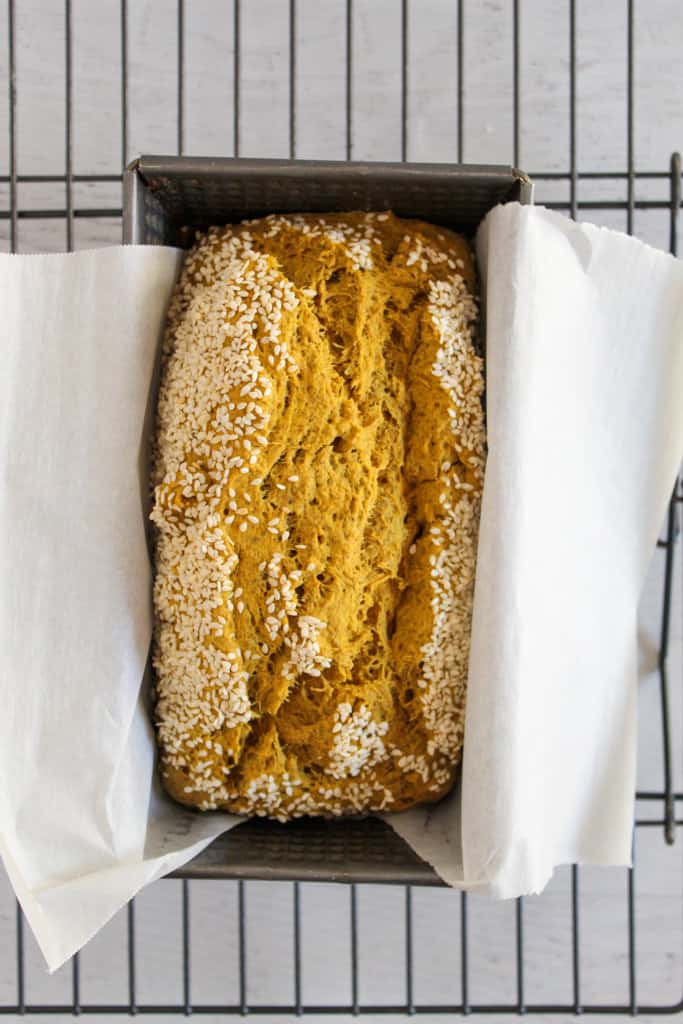
Once it’s done, remove the bread loaf from the oven and allow it to cool in the pan for 5 minutes. Then, turn it out onto a wire rack to cool completely before slicing. This gives the center of the bread time to finish baking, so it doesn’t come out gummy.
Step Eleven: Slice and Serve This Bread with Butter or Your Favorite Savory Meal
Use a bread knife to slice this bread evenly into 12 slices. (You might be able to get 15 if you don’t mind them being thinner.) Serve with butter, your favorite toppings, or a savory meal with a sauce to mop up with bread.
How to Store and Freeze Chia Seed Bread
Let the chia seed bread cool completely before storing. If the loaf is still warm, trapped steam can make the crumb gummy and create extra moisture inside the container.
For short-term storage, keep the bread in an airtight container at room temperature for up to 1 day. This is best if you plan to eat it quickly or toast a few slices the next morning.
For longer storage, slice the loaf once it has fully cooled, then freeze the slices in a freezer-safe bag or container. Place parchment paper between slices so they do not stick together. This makes it easy to remove only what you need.
To reheat, toast slices directly from frozen or warm them in a toaster oven until heated through and lightly crisp around the edges. Toasting helps bring back the best texture, especially after freezing.
This bread is best sliced before freezing because gluten-free loaves can become more fragile if they are thawed whole and sliced later.
Storage guide:
- Room temperature: Up to 1 day in an airtight container
- Refrigerator: Not recommended, as it can dry out the bread and make the texture firmer
- Freezer: Best option for longer storage; freeze sliced for easy reheating
- Best reheating method: Toast directly from frozen until warm and crisp at the edges
If you freeze a batch, come back and let me know how the slices reheated for you. Your notes can help other readers plan ahead.
Substitutions for Hearty Chia Seed Bread
This chia seed bread relies on a careful balance of ground chia seeds, gluten-free flours, liquid, and leavening, so substitutions should be made thoughtfully. Some swaps work well, while others can change the texture, moisture level, or structure of the loaf.
Use the ideas below as a guide if you need to adjust the recipe for taste, availability, or dietary needs. For the best results, avoid changing too many ingredients at once.
- Flaxseed meal is the easiest replacement for ground chia seeds at a 1:1 ratio for the egg replacement. Psyllium husk powder and xanthan gum will work as binders, but you will only need very small amounts. Here’s our handy guide to replacing chia seeds in a recipe.
- Couldn’t find any buckwheat flour? It happens; sometimes the grocery store I get my baking supplies from is sold out! Teff flour and sorghum flour work best as substitutes for buckwheat flour in bread. They can usually be swapped at a 1:1 ratio. Here’s our guide to replacing buckwheat flour in baked goods.
- The amount of salt can be cut in half if you’re on a low-salt diet.
- If you don’t find maple syrup in bread as appealing as I do, honey is a workable substitute at roughly a 1:1 ratio.
- If you’d like a more buttery flavor in your bread without using butter, plant-based butter sticks can replace the vegetable oil on a 1:1 basis. I like Country Crock plant butter.
- Poppy seeds work as well as sesame seeds for sprinkling on top of your loaf.
What Not to Substitute
- Do not use whole chia seeds without grinding them first. Whole seeds do not distribute as evenly and may create a more fragile loaf.
- Do not replace the buckwheat flour with almond flour or coconut flour. These flours absorb moisture very differently and can make the loaf crumbly, oily, or dry.
- Do not skip the 30-minute rest. The ground chia seeds and buckwheat flour need time to hydrate before baking.
Best Uses for This Bread
This bread is best for toast, open-faced sandwiches, breakfast slices, soup dipping, and savory spreads. Because it is a hearty gluten-free quick bread, it is sturdier and denser than soft yeast sandwich bread.
For classic closed sandwiches, slice it thinly and toast the slices first for the best structure.
Ways to Serve Chia Seed Bread
This chia seed bread has a hearty texture and mild nutty flavor, so it works well with both sweet and savory toppings. Toasting the slices first helps crisp the edges and makes the bread even better for spreads, dips, and open-faced meals.
Try it with:
- Avocado toast: Add lemon juice, salt, black pepper, and red pepper flakes.
- Nut butter and jam: A simple sweet option for breakfast or snacks.
- Open-faced sandwiches: Top with hummus, cucumber, tomato, roasted vegetables, or dairy-free cream cheese.
- Soup or stew: Serve toasted slices on the side for dipping.
- Breakfast plates: Pair with eggs, tofu scramble, or sautéed greens.
- Hummus toast: Add cucumber, herbs, olive oil, and a pinch of flaky salt.
- Grilled vegetable sandwiches: Use toasted slices for better structure.
- Dairy-free butter: Keep it simple with warm toasted bread and your favorite spread.
For the best texture, slice the loaf after it cools completely, then toast each piece before serving. Have a favorite way to serve chia seed bread? Share it in the comments so other readers can try it too.
FAQ for Chia Seed Bread
While I think making this bread is pretty easy, we do get questions sometimes! Here, I tried to answer a few of the most common questions. If you think of one we haven’t answered yet, feel free to ask in the comments section, and we’ll answer as soon as possible!
Why is my chia seed bread dense?
This bread is naturally hearty because it’s made with buckwheat flour and ground chia seeds, so it won’t be as light as a yeast-based sandwich bread. If it seems overly dense, the batter may not have rested long enough for the flour to absorb moisture and the baking powder to do its job of creating the carbon dioxide bubbles that are critical to the texture.
It’s also important to measure the flour in grams for precision, as too much flour can make the bread dense or dry. When you measure it with a measuring cup, you risk packing in too much flour.
Why is my bread gummy in the middle?
A gummy center usually means the loaf needed more time in the oven or more time to cool before slicing. Gluten-free breads can look done on the outside before the middle has fully baked, especially when they contain moisture-absorbing ingredients like ground chia seeds.
If the top is already browned but the center still seems soft, loosely tent the loaf with foil and continue baking until the middle is set. You can also check the loaf with a toothpick or cake tester. It should come out mostly clean, without wet batter attached.
Cooling is just as important as baking. Once the bread comes out of the oven, let it cool completely before slicing. The inside needs time to finish setting, and slicing too early can make the texture seem gummy, even if the loaf was baked correctly.
Why did my chia seed bread crumble when I sliced it?
Crumbly bread is often a sign that the loaf was sliced before it had enough time to cool and set. Because this recipe is gluten-free, it does not have the same stretchy structure that wheat-based bread has. The ground chia seeds help act as a binder, but the loaf still needs time after baking to become sturdy enough for slicing.
Another possible cause is that the batter did not rest long enough before baking. The ground chia seeds need time to hydrate so they can help hold the ingredients together. If the bread goes into the oven too soon, the loaf may be more fragile once baked.
For the cleanest slices, let the bread cool completely and use a sharp serrated knife. Avoid pressing down too hard while slicing, since that can cause a tender gluten-free loaf to break apart.
Why didn’t my bread rise much?
This recipe is a quick bread, not a yeast bread, so it will not rise like a traditional sandwich loaf. The texture is meant to be hearty, sturdy, and sliceable rather than tall and fluffy.
That said, the bread should still lift slightly as it bakes. If your loaf stayed very flat, check that your baking powder is fresh. Baking powder loses strength over time, and old baking powder may not give the loaf enough lift.
Also, make sure the batter is mixed evenly, but not overworked. You want the baking powder distributed throughout the batter so the loaf rises evenly. Finally, be sure to bake the bread soon after the batter rests. Once the leavening is activated, waiting too long can reduce the rise.
Can I use whole chia seeds instead of ground chia seeds?
Ground chia seeds are strongly recommended for this recipe because they are one of the main ingredients helping the bread hold together. Once mixed with liquid, they thicken the batter and help create structure throughout the loaf.
Whole chia seeds can absorb liquid, too, but they do not distribute evenly in the batter. They may leave the bread with a more uneven texture and less reliable structure. The loaf may also be more likely to crumble or feel fragile when sliced.
If you only have whole chia seeds, grind them first in a clean coffee grinder, spice grinder, or high-speed blender. Measure the chia seeds after grinding if the recipe calls for ground chia by measurement.
Can I toast this bread?
You can and you should. Toasting improves the texture, especially after freezing. It helps crisp the edges, warms the center, and makes the slices sturdier for spreads or toppings.
Can I use this for sandwiches?
Once the loaf has cooled completely and is sliced with a serrated knife, it makes a delicious vessel for your sandwiches. For the best structure, use it for toast-style sandwiches, open-faced sandwiches, or smaller sandwich portions rather than very thick, heavy fillings.
Is this bread sweet?
It is not. The maple syrup helps balance the earthy flavor of the buckwheat flour, but it does not make the loaf taste like a sweet quick bread. The finished bread is more hearty, nutty, and savory-friendly.
Still have a question about this chia seed bread? Leave it in the comments, and I’ll help troubleshoot.
More Bread Recipes
These bread recipes range from “super easy and tasty” to “something you may want to make a weekend challenge, but totally worth it.” I love them all equally!
- Gluten-Free Cheddar Cheese Bread
- Gluten-Free Artisan Bread
- Gluten-Free White Bread
- Gluten-Free Easter Bread
- Gluten-Free Cornbread
Whether you want something savory, soft, crusty, festive, or simple, these recipes will help you keep building confidence with gluten-free bread baking.
Share Your Chia Seed Bread Results
If you try this chia seed bread, leave a comment and let me know how it turned out. I’d love to hear what flour blend you used, how you served it, and whether you enjoyed it toasted, sliced for sandwiches, or paired with a savory meal.
Your feedback also helps other gluten-free bakers know what to expect and gives them more ideas for making this recipe their own.