Top 10 Gluten Free Baking Tips
Does the very thought of bean flour, sorghum flour and xanthan gum make you feel like a baking novice (even if you’ve been doing it for years)? Baking isn’t easy and gluten free baking complicates things even more.
Fortunately in the course of my GF baking journey, I’ve stumbled on what works and what doesn’t. These are 10 of my tried and true gluten free baking tips and techniques that will produce high rising breads and perfectly textured rolls every time!
Table of Contents
Table of contents
Whether you are just discovering gluten free recipes or you’ve been at it for a while, we can all agree that there are certain ingredients you can use in gluten free baking and certain ingredients you can’t. The trick is to remember all these little tips and techniques for great gluten free baked goods.
This top 10 list of tips is a great place to start! Ultimately, gluten free baking requires other considerations that the regular wheat based loaves do not.
10 pro tips
#1: Measure by weight
Do you still have second thoughts on getting that digital scale?
This is your sign—go get it!
Honestly, a scale is essential in both classical and gluten-free baking.
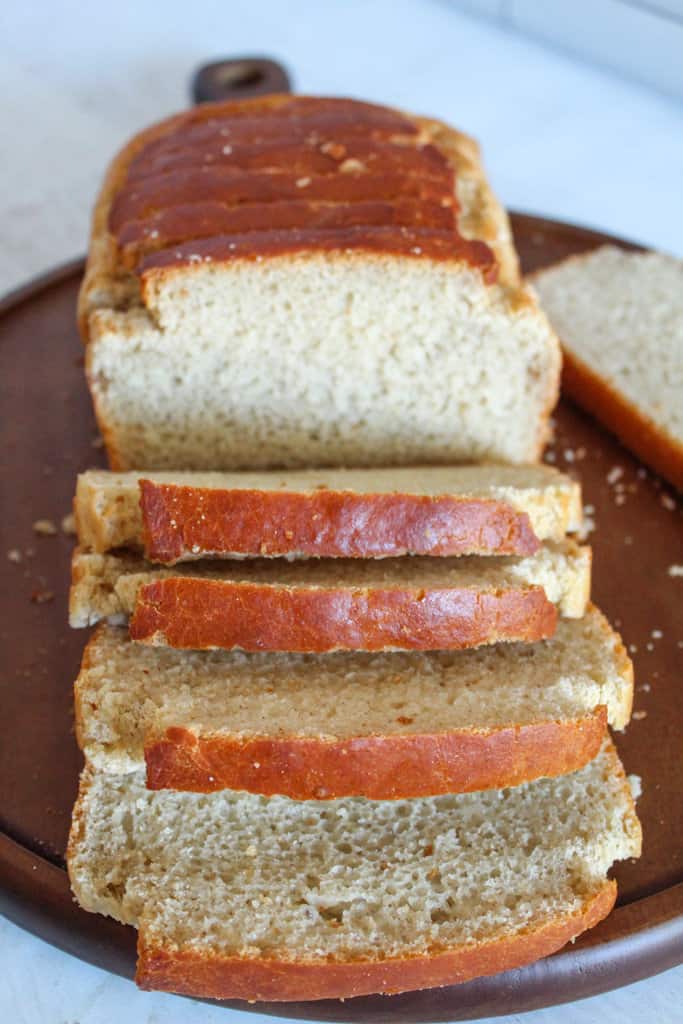
It’s also a useful and simple tool to make sure that you’re using the same amount of ingredients (especially dry ingredients like flours!) with the recipe you’re trying to follow. A digital scale will ensure your breads, like this sandwich bread and your cakes, like this strawberry cake, turn out amazing.
PRO TIP: Measure all your ingredients before starting to bake. This way, you won’t forget to incorporate each component.
#2: Room temperature ingredients
If you’re a follower of my blog, you’ll know that I always remind bakers to use room temperature ingredients (reference this millet bread and this chia seed bread as examples).
Otherwise, you’ll end up with ingredients that are not thoroughly mixed because they’re too cold.
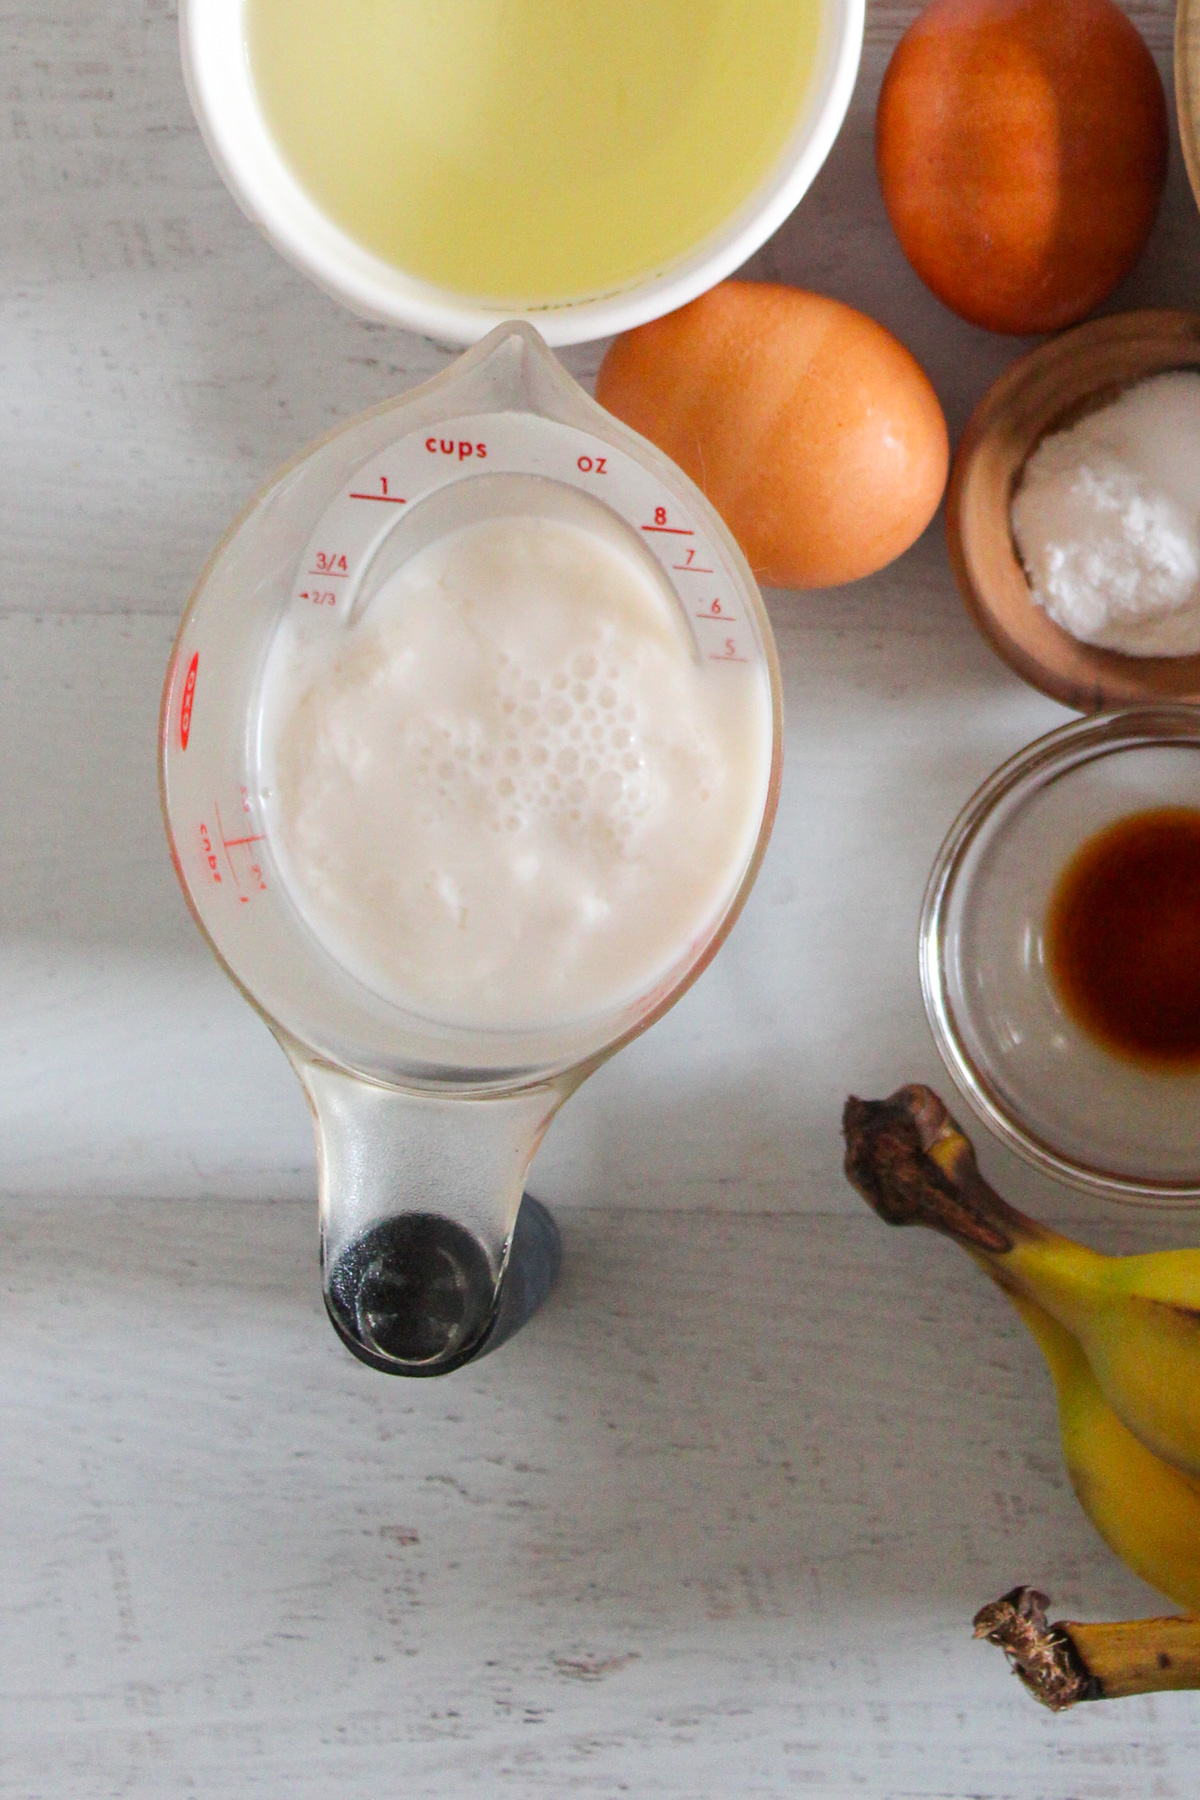
So, if you store your dry ingredients inside the fridge or freezer, let them sit on your counter at least 30 minutes before you start baking. The same goes for the butter or eggs. Even recipes like this garlic bread, where it calls for buttermilk – warm the milk in the microwave for 30 seconds, then make the buttermilk mixture with vinegar.
PRO TIP: To quickly warm refrigerated eggs, let them float in a glass of warm water for 5 minutes.
You can also use the microwave for this purpose:
- Microwave the milk quickly (30 seconds)
- Softening butter
#3: Falling or collapsing bread
Have you made a gluten free bread, only to have it fall before your eyes? The culprit to this disappointing result more than likely lies in one or all of these 3 (or 4) things…
- The likely reason this happens is because the baked good is not cooked long enough. Breads should be baked to an internal temperature of 205 – 210 degrees F to prevent it from falling.
Other tips to try:
2. Try using smaller baking pans.
3. Try reducing the liquids.
4. Use a shiny metal baking pan versus the dark metal ones.
#4: Mix well
Remember when I mentioned that gluten free baking comes with challenges not found with traditional baking? Well this tip is in our favor!
In traditional baking you need to be careful not to over-beat your batter once the flour is added, otherwise it could result in tough or overly chewy baked goods. Good news – you do not have to worry about this with gluten-free baking! Once you have a batter, ensure that you mix it well and correctly.
Mixing creates that light, aerated batter. Meaning, your gluten-free bread will have a better rise and structure. Mixing for 3 minutes on medium speed is not uncommon.
Some recipes call for a vigorous beating, while others require intricate folding. The key here is to follow the type of action, speed, and mixing time the recipe specified.
Also, the batter will be more capable of holding add-ons such as dried fruits. And finally, mixing contributes to a better texture than the final products of undermixed batter, which can result in gummy or too chewy final product.
PRO TIP: Set a timer while mixing if you have to.

#5: Soupy or thin batter?
Gluten-free batters aren’t like the regular and firm batters. Any gluten free dough that you work with is going to be a wetter dough than a traditional, wheat flour dough due to the lack of gluten.
So, if your batter looks runny, soupy, or thin, resist the urge to add more flour as this is entirely normal. Check out how thin this almond flour cupcake batter is!
#6: Batter rest time
Gluten free flours need time to absorb the liquid from the batter thoroughly. So, letting them “rest” is essential. Unless you want a bread with a dense texture or gritty taste, don’t forget this step.
Most recipes need a 30-minute rest time, like this cornbread, these air fryer donuts and even these chocolate chip cookies. But some recipes need up to 2 hours of resting time (rise time). I swear, it’s worth the wait once you see and taste your finished product!
#7: Flour storage
If your flour contains oil such as nut flours, flax seed, etc. store them in the refrigerator to prevent them from going rancid. Other flours are alright if left at room temperature, but ensure they are in an air-tight container and they are kept in a cool place. Refrigeration is best for preserving any flours you won’t use up with 3-6 months.
I’ve written a comprehensive guide on how you can properly store your flour, so do check it out if you haven’t read it yet.
#8: Storage
As you’ve probably experienced, gluten-free baked goods tend to go stale rather quickly.
It’s always best to enjoy your freshly baked snacks the same day you make them. But if you happen to have some left over, here are a few tips for storing them:
- Let them cool completely.
- Place things like muffins in a resealable plastic bag and freeze.
- Slice breads first and then freeze.
I go over this more in my Gluten Free Bread Baking Masterclass.
#9: Pan size
Did you follow the recipe to the T, and yet, your bread still sank or just didn’t rise properly?
Oftentimes, structural problems such as this do not necessarily need a recipe tweak. Instead, simply changing your deep pan to a shallower one will do the trick or that 9″ x 5″ to an 8″ x 4.5″.
Also, make sure that you’re using high quality pans. Thin and frail pans are a no, no – they’ll lead to overbaked edges, yet the middle will be gummy.
Always go for thick and sturdy pans, (these are the ones I use and recommend).
PRO TIP: Always use the type and size of pans indicated in the recipe. Otherwise, baking time will be different than what is written on the recipe.
#10: Doneness
As you’ve seen, gluten free baking is a new ballgame. Then same is true when checking for doneness – Keep an eye on what’s in the oven and a timer set for your baking time. When the timer goes off, it’s time to test it.
There are two options for testing for doneness:
- Use an instant read thermometer like this one. Instant read thermometers are best for breads. In fact, I HIGHLY recommend them for breads. It should register between 205-210 F.
- A wooden pick inserted in the center can also tell you if things like muffins and quick breads are done. It should come out clean with few crumbs on it. If there’s any batter at all, then it’s not done quite yet.
FAQ’s
No, accuracy is everything in gluten-free baking.
For instance, measuring style varies. One baker could have dipped that cup into the bag of compact flour, then leveled it to the bag’s side.
OR they could have spooned the loosened flour into the cup, then wipe it lightly to level it.
Aside from accuracy, cleanup will be a lot easier since you can use your mixing bowl to measure ALL your ingredients, one by one.
Just use your scale’s TARE feature (resets the scale to zero after measuring one ingredient).
There are 2 ways to check for doneness – with an instant read thermometer for yeast breads (if it’s done it will register between 205-210 F). And with a toothpick for things like muffins and quick breads. It should come out clean with very few crumbs on it.
Always follow what the recipe instructs, but a stand mixer is a wonderful, easy way to mix batter. A hand mixer will also work or just a sturdy spoon for those recipes like these banana muffins that mix easily.
These pans by Norpro, are the ones I recommend. They have dimpled edges on the side, which help the batter climb up, leading to a higher rise.
Easy? Sometimes. Recipes for dinner meals and stir frys are on the easy scale. Many of them are gluten free as written. But baked goods are a different story. They are usually much more difficult to convert – especially those with bread flour as an ingredient. What I would recommend is using a recipe that’s already gluten free as written. OR if you want to give it a go – put on your experimentation hat and start experimenting.
Bread machines are excellent for making breads. IF you have the right recipe. Use a recipe designed to work in a bread machine. This cinnamon raisin bread and rice flour bread are excellent in a bread machine.
I have a whole post on substituting eggs!
Still have questions or curious about gluten free bread baking? My Gluten Free Bread Baking Masterclass can help answer those questions (Check it out below!).

