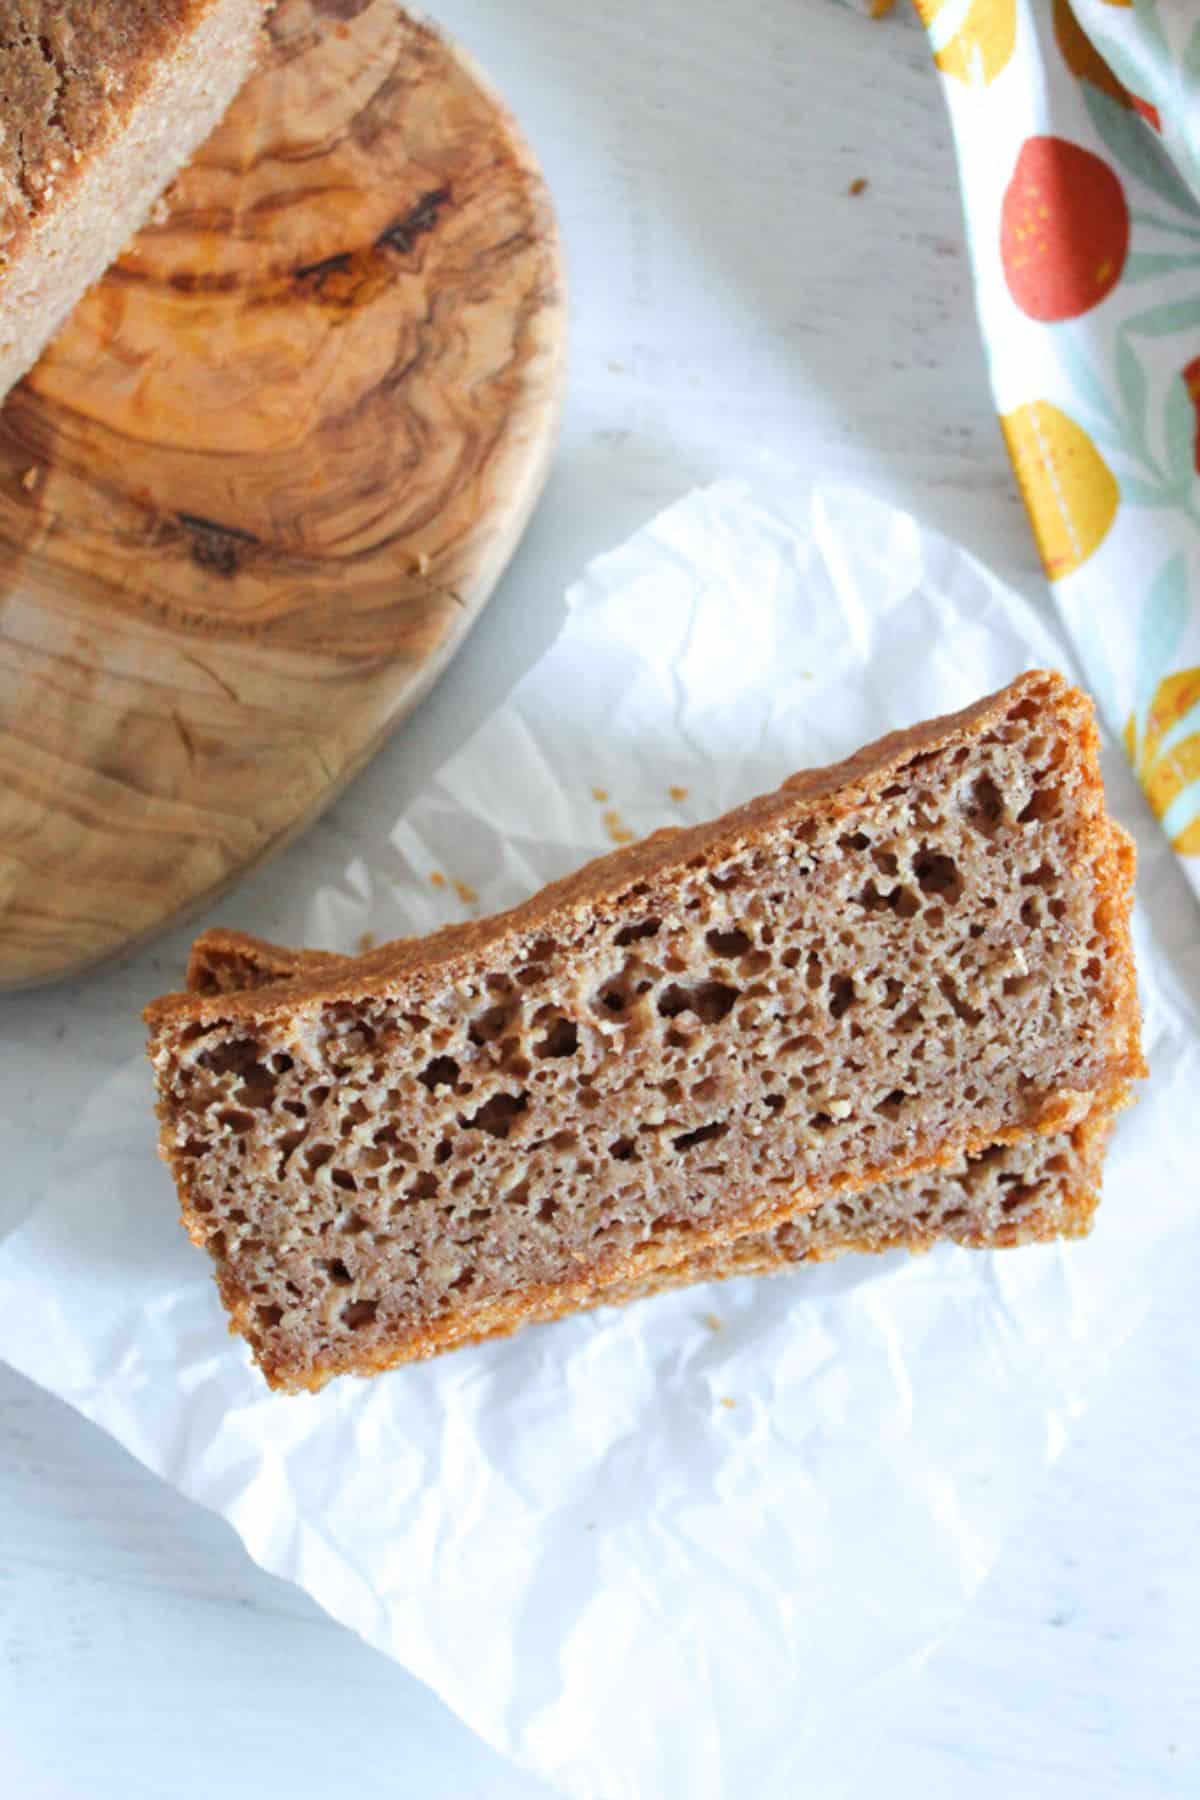
You followed the recipe, measured like a responsible adult, slid that loaf into the oven with hope in your heart… and somehow pulled out bread with the texture of a damp sponge wearing a crust.
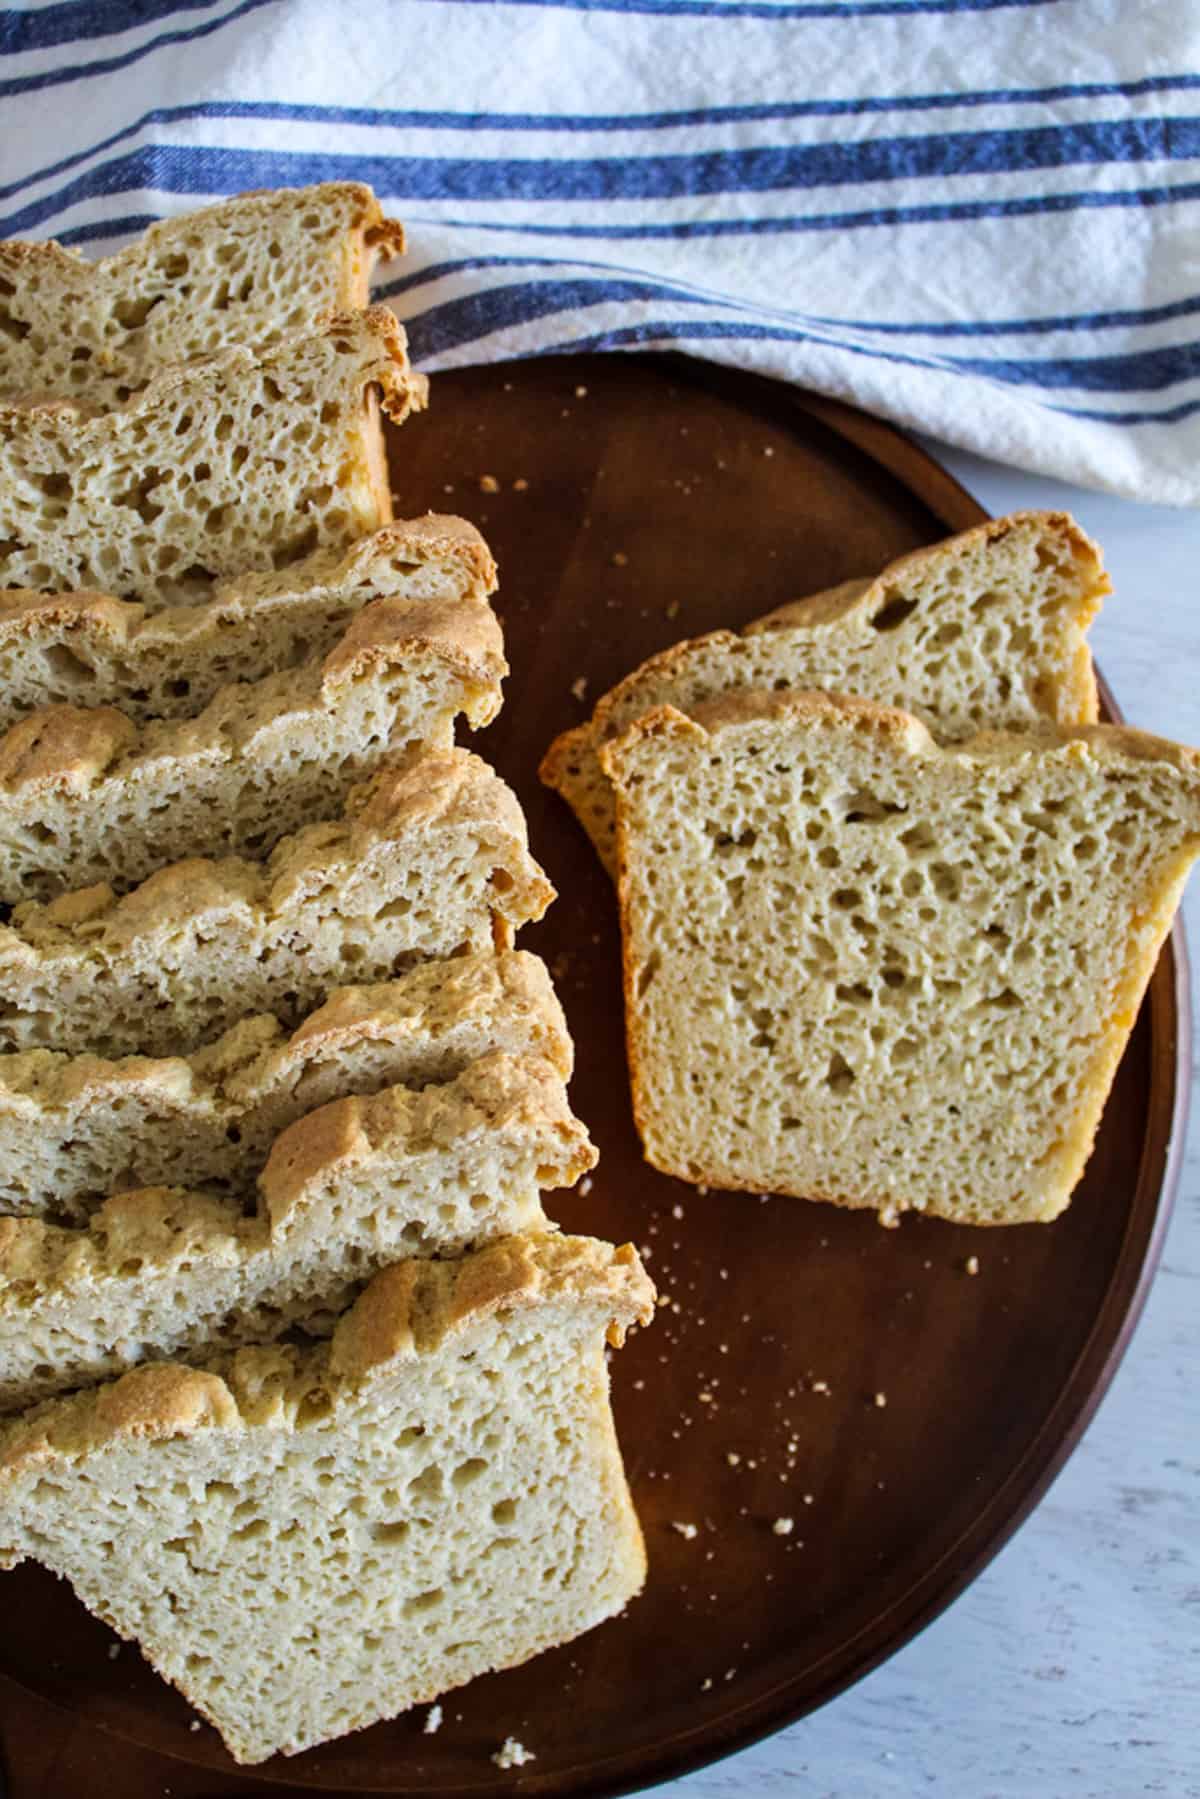
Gluten-free bread can be a tiny kitchen gremlin. It looks golden and well-behaved on the outside, then turns gummy, sticky, or oddly squishy in the middle.
Table of Contents
The good news? Gummy bread usually has a reason, and once you know what caused it, you can fix it. From too much moisture to the wrong flour blend, underbaking, overmixing, or impatient slicing, this guide breaks down the sneaky little culprits behind gummy gluten-free bread and how to get a softer, lighter loaf next time.
The Science, Simplified: Why Gluten-Free Bread Turns Gummy
Gluten-free bread gets gummy because it doesn’t have gluten to create that stretchy structure that traditional bread relies on.
Without gluten, the loaf depends on starches, binders, and flour proteins to hold everything together. But starches absorb and trap water differently, so too much moisture can hang around in the crumb instead of baking off evenly.
That’s also why cooling matters so much. Even after the loaf comes out of the oven, the inside is still setting.
Chef’s translation: gluten-free bread is not done when it looks pretty. It is done when the inside has finished getting its act together.
Why Gluten-Free Bread Turns Gummy (Quick Diagnosis)
Gumminess is actually a common issue in gluten-free breads. The causes are often similar, if not entirely identical to, the issues that can cause bread to be “too dry” or “too crumbly.”
Very often, it was caused by the wrong kind or incorrect amount of flour, the wrong amount of flour, an oven that was the wrong temperature, or the wrong baking time.
Here are the biggest issues and the best way to solve them:
- Types of Gluten-Free Flours Used: As detailed in my analysis of millet flour substitutes and buckwheat flour substitutes, different gluten-free flours can produce different results due to variations in their protein and fiber content.
- Amount of Liquid Ingredients: If too much moisture is added to the dough, the bread can turn out gummy.
- Substitutions: Some ingredients are difficult to substitute at a 1:1 ratio because finding a suitable replacement can be challenging. Most often, the flour is the issue because there are so many gluten-free flours to choose from. Some of them are better at absorbing moisture than others.
- Preparation: If the ingredients are not at room temperature, or the bread dough is not mixed long enough, or the batter has not been given a rest time, the end result may be a gummy texture.
- Baking the Bread: The internal temperature of the gluten-free bread should reach between 205-210F. I like to use the “toothpick test” for quick breads. If you stick a toothpick into the center of the bread, it should come out clean.
Quick Note
Before you start troubleshooting gumminess, it’s worth mentioning that sometimes texture issues overlap.
If your loaf is coming out gummy and sinking or collapsing after baking, you may be dealing with a structure problem as well. I break that down in more detail here: why gluten-free bread collapses after baking.
Chef’s note: If your bread is both sticky and sinking, it’s not being dramatic, you’ve likely got a balance issue with moisture, structure, or baking time.
7 Common Causes of Gummy Gluten-Free Bread and How To Solve Them
The number one thing to remember about making gluten-free bread is that it can be finicky. To be fair, baking usually is a fairly precise process anyway. Gluten-free baking can be trickier because bakers need to compensate for the lack of gluten. If they don’t, it can cause issues like gummy bread.
What is gluten, anyway? Gluten is a protein found in grains like wheat, rye, and barley. In baking, gluten supports the structure of baked goods and often acts as a binder.
Health conditions with gluten intolerance as a symptom, such as celiac disease, are really a reaction to the protein. Gluten-free flours often have different types of protein that don’t cause this reaction. However, they’re also often missing gluten’s ability to support the structure and texture of baked goods.
1. Starch to Flour Ratio: Too Much Starch Is Making the Bread Sticky
Gluten-free bread is a little dramatic. Without gluten to give it structure, it needs the right balance of flours, starches, moisture, and baking time.
What are starches? Starches are typically complex carbohydrates known as polysaccharides. Normally, plants use starches to store energy. In baking, they can help with structure, texture, and moisture retention.
Starches like tapioca, cornstarch, arrowroot, and potato starch help make gluten-free bread soft and tender. But too much starch can trap moisture and turn the center sticky or gummy.
The wrong starch-to-flour ratio can lead to gummy results. I tend to be leery of recipes that call for a flour-starch mix that is more than 50% starch. The amount of starch shouldn’t be much more than half the amount of flour. For instance, if the recipe calls for a mix of flours that total 2 cups, the starches should total no more than 1 cup.
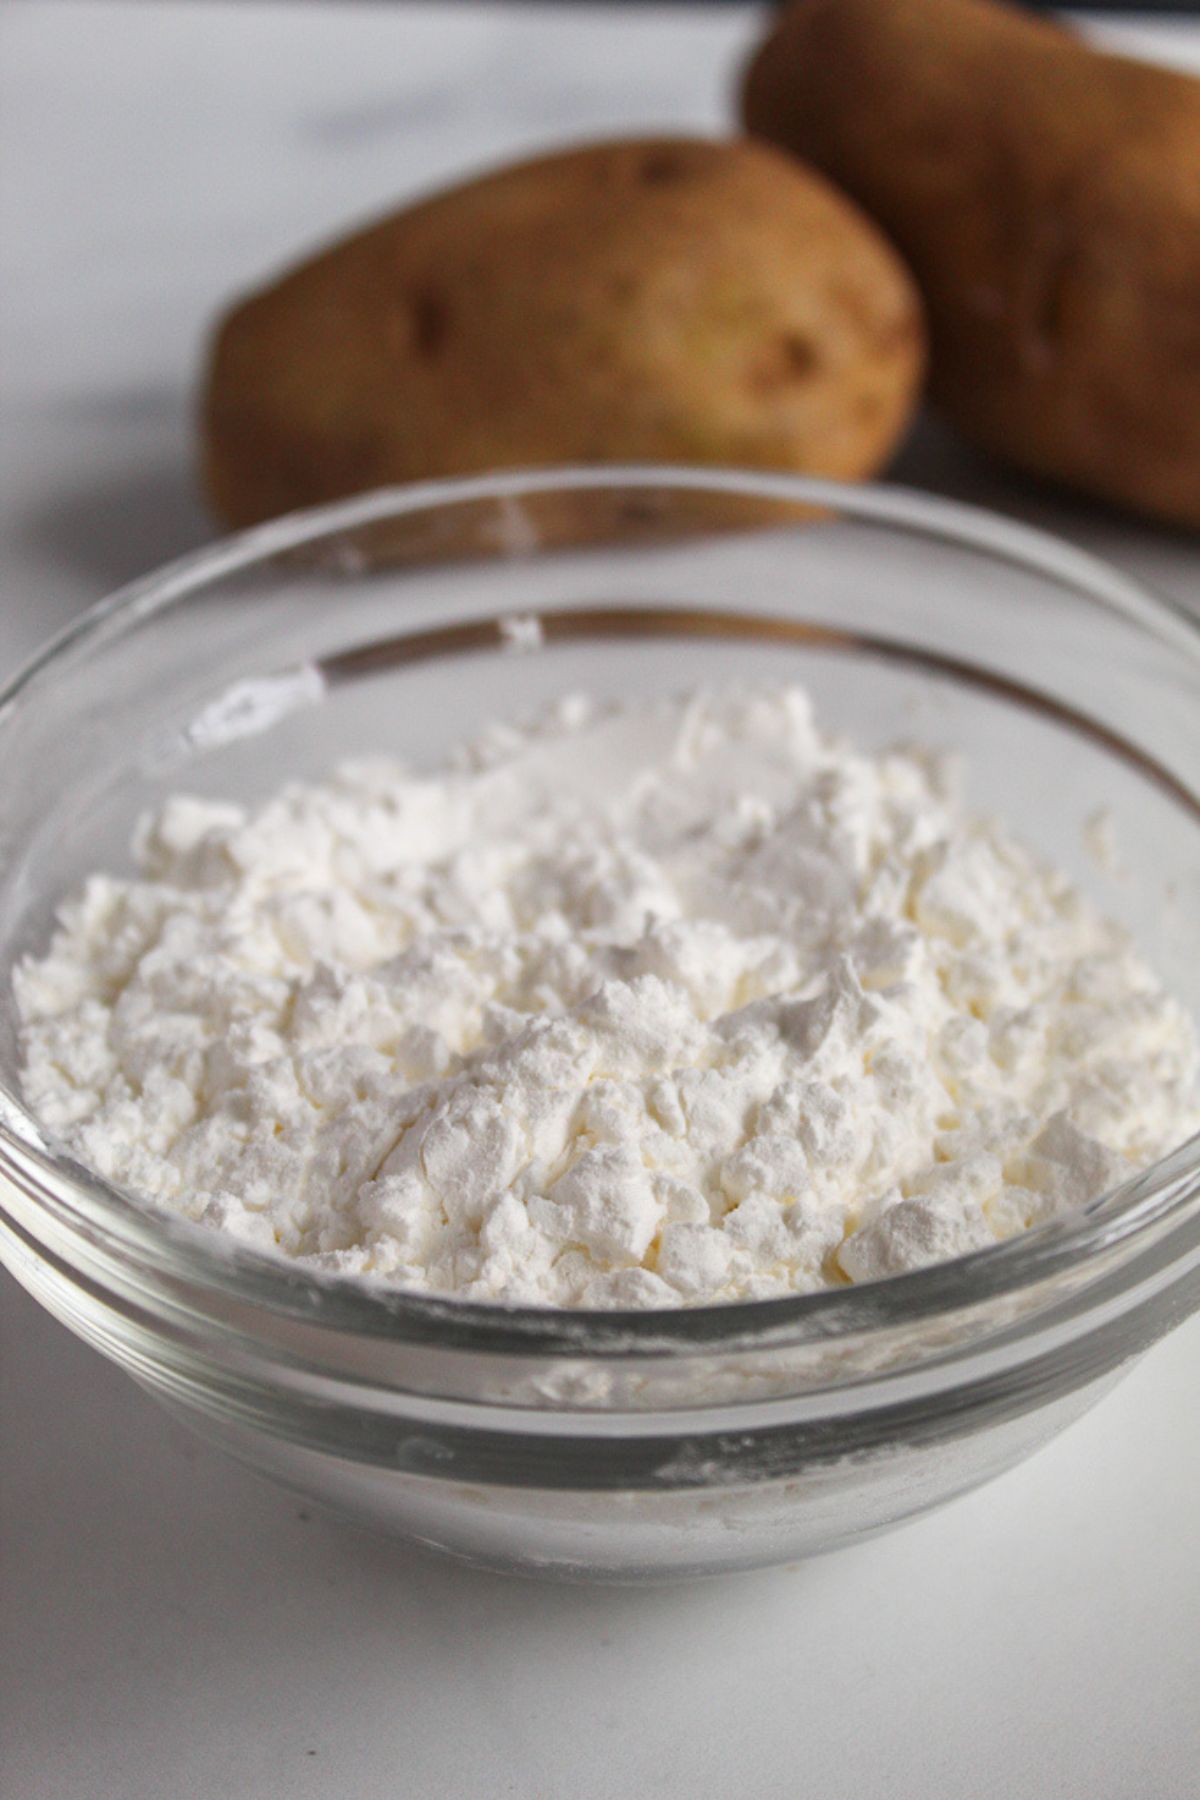
Potato flour and potato starch are not the same. Potato flour uses the whole potato. Potato starch is more refined and has less fiber and protein.
Chef’s note: Potato flour brings the whole potato to dinner. Potato starch shows up with one job and no side dish.
How to fix it: Use a balanced gluten-free flour blend and avoid adding extra starch unless the recipe calls for it.
2. Your Flour Blend Doesn’t Have Enough Structure
Some types of flour are better at absorbing moisture than others. The protein and fiber content of different types of flour directly relate to the amount of moisture they can absorb.
Amaranth flour is one of the best at retaining moisture because it has a slightly higher protein and fiber content than many gluten-free flours. That can make it difficult to replace one type of flour with another at a 1:1 ratio. Many gluten-free recipes even call for a flour blend to help manage variables like moisture retention that could make bread gummy.
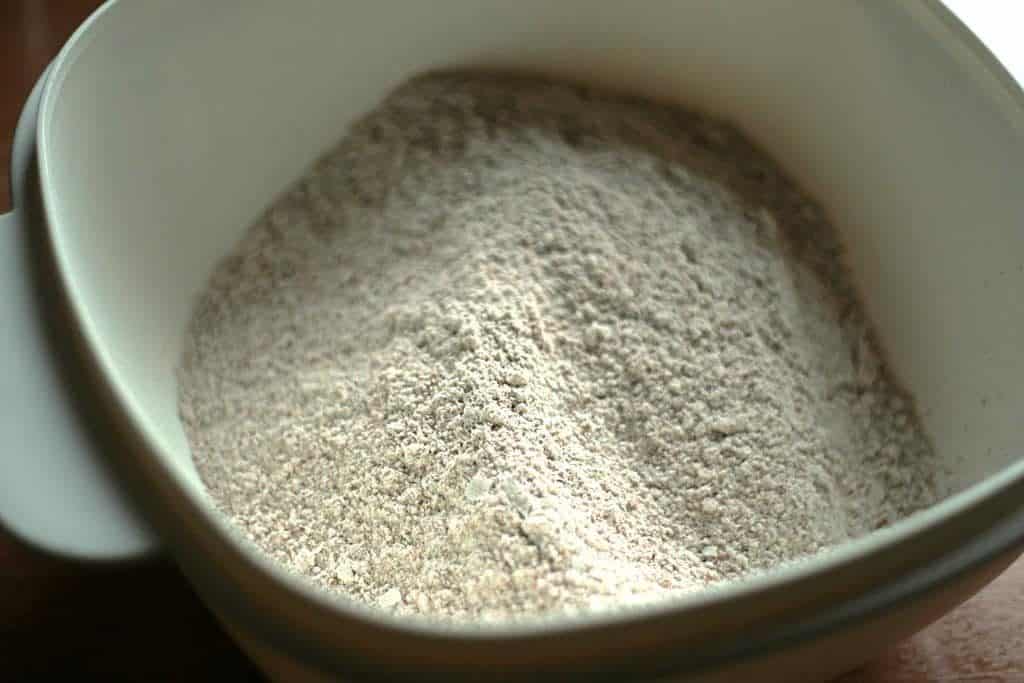
Too little flour is one major cause of gummy bread because it needs to absorb moisture. When making gluten-free breads, measuring the flour as precisely as possible is usually a good practice.
The tricky part: flour’s density can vary. That means 1 cup of brown rice flour has more grams than 1 cup of amaranth flour. That makes it tricky to convert between cups and grams when measuring flour for a gluten-free recipe. I’ll mention the importance of having a digital food scale in many of my gluten-free recipes because it helps with the precision that prevents issues like gummy bread.
If in doubt, the chart below is a handy guide for converting between cups and grams of the most common gluten-free flours.
Gluten-Free Flour Conversion Chart
| Flour | 1 cup = grams | 100 g = cups | 50 g = cups |
|---|---|---|---|
| Almond flour | 96 g | 1.04 cups | 0.52 cup |
| Amaranth flour | 103 g | 0.97 cup | 0.49 cup |
| Brown rice flour | 128 g | 0.78 cup | 0.39 cup |
| Buckwheat flour | 120 g | 0.83 cup | 0.42 cup |
| Cassava flour | 140 g | 0.71 cup | 0.36 cup |
| Chickpea flour | 85 g | 1.18 cups | 0.59 cup |
| Coconut flour | 128 g | 0.78 cup | 0.39 cup |
| Gluten-free all-purpose flour (King Arthur) | 156 g | 0.64 cup | 0.32 cup |
| Gluten-free measure-for-measure flour (King Arthur) | 120 g | 0.83 cup | 0.42 cup |
| Cup4Cup Multipurpose Flour | 140 g | 0.71 cup | 0.36 cup |
| Millet flour | 160 g | 0.63 cup | 0.31 cup |
| Oat flour | 120 g | 0.83 cup | 0.42 cup |
| Potato flour | 180 g | 0.56 cup | 0.28 cup |
| Quinoa flour | 112 g | 0.89 cup | 0.45 cup |
| Sorghum flour | 138–140 g | 0.71–0.72 cup | 0.36 cup |
| Sweet rice flour/glutinous rice flour | 120–160 g | 0.63–0.83 cup | 0.31–0.42 cup |
| Tapioca flour/tapioca starch | 113–120 g | 0.83–0.88 cup | 0.42–0.44 cup |
| Teff flour | 135–140 g | 0.71–0.74 cup | 0.36–0.37 cup |
| White rice flour | 160 g | 0.63 cup | 0.31 cup |
3. There’s Too Much Moisture in the Dough
Moisture content plays a large role in how “gummy” or “dry” your gluten-free bread turns out. Adding too much moisture can make bread gummy.
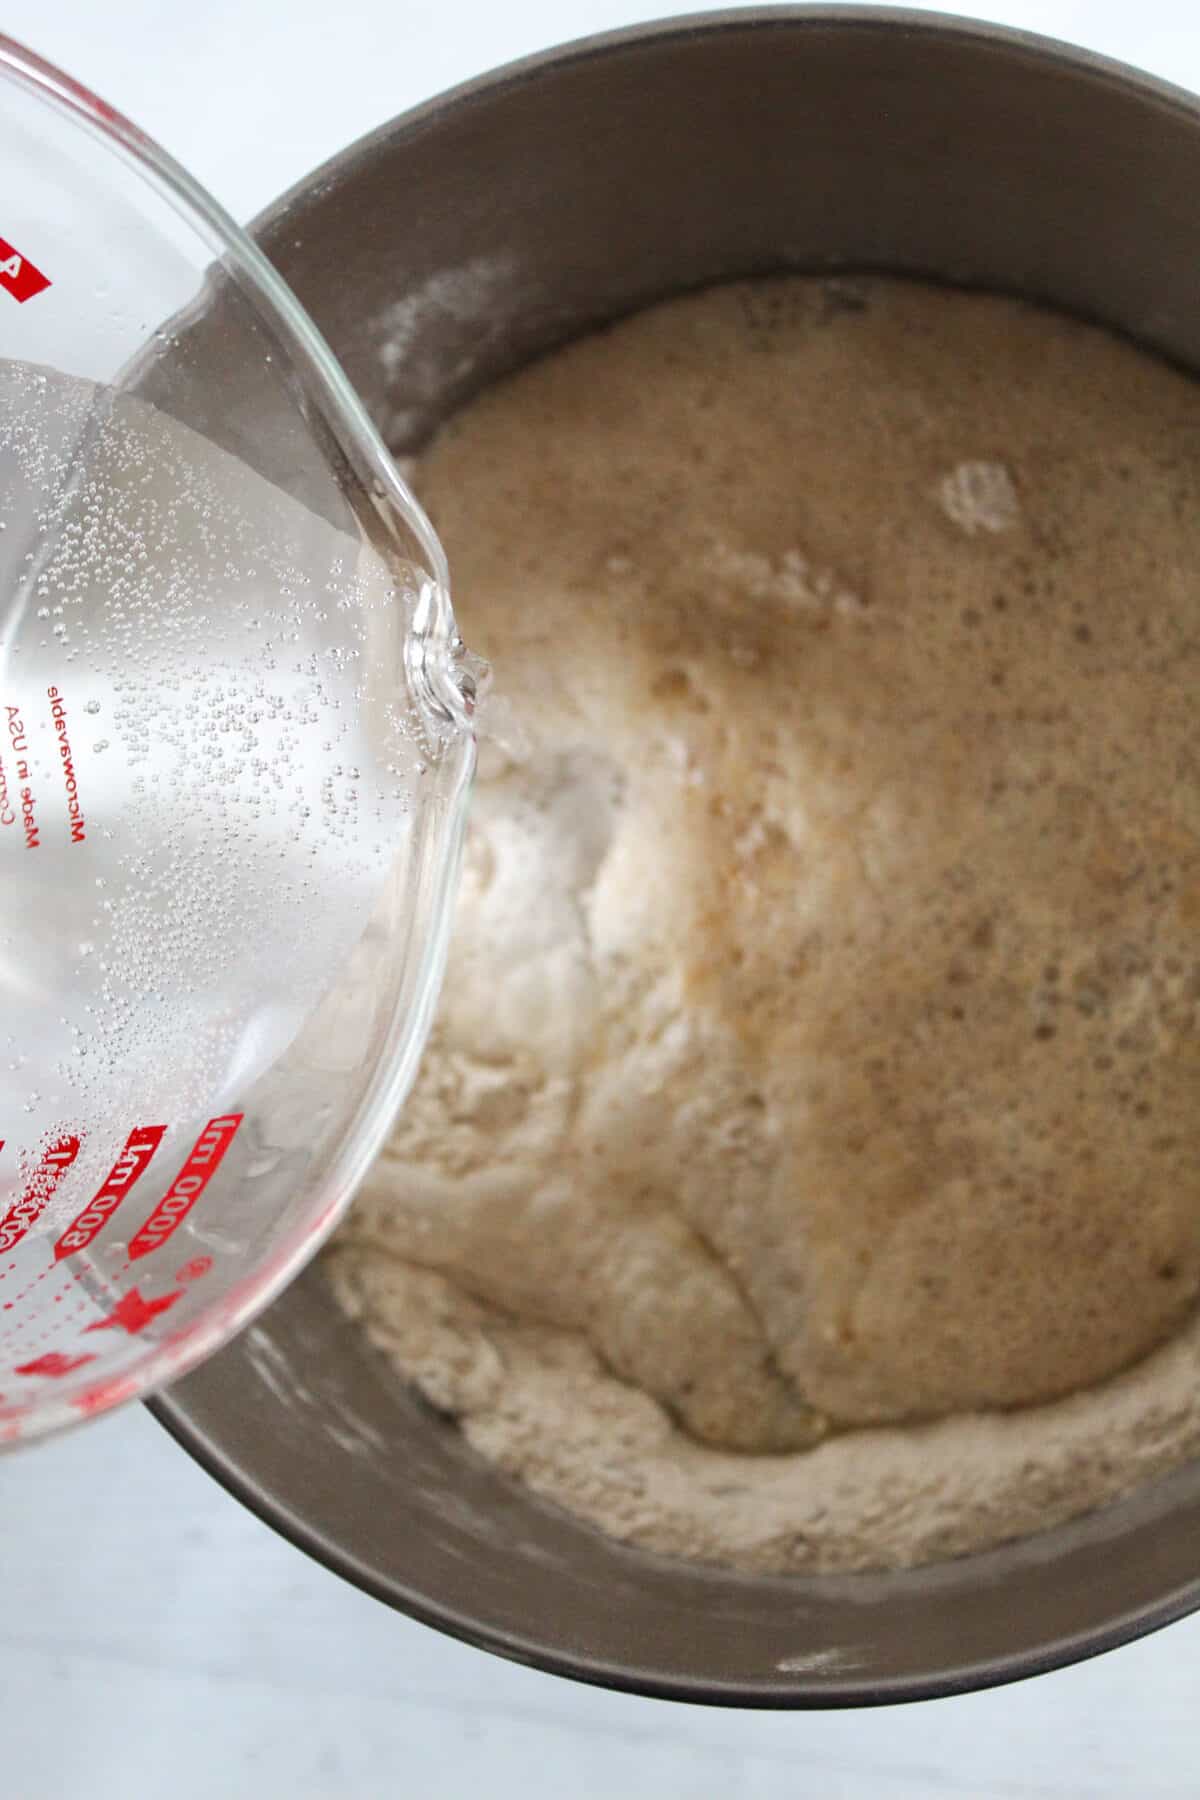
Many substitution guides will recommend adjusting the amount of other liquid ingredients when replacing a dry ingredient like sugar with an ingredient like honey or agave nectar that contains moisture.
In many cases, you can get away with measuring liquid ingredients in teaspoons, tablespoons, and cups. If a recipe lists a liquid ingredient in grams, it’s still important to be precise.
However, as long as you’re not risking spilling “extra” liquid ingredients into the dough by measuring them over your mixing bowl, you should be fine. (I often prefer measuring them over a separate bowl if spillage becomes a concern.)
4. The Batter Was Overmixed or Undermixed
Have you ever turned some dough into the bread pan only to find there was a little extra flour on the bottom of the mixing bowl?
That is often an early warning sign that the dough wasn’t mixed enough. This can cause the dough to have hidden pockets of moisture that didn’t get mixed in well, which increases the risk of part of the bread loaf turning out too gummy.
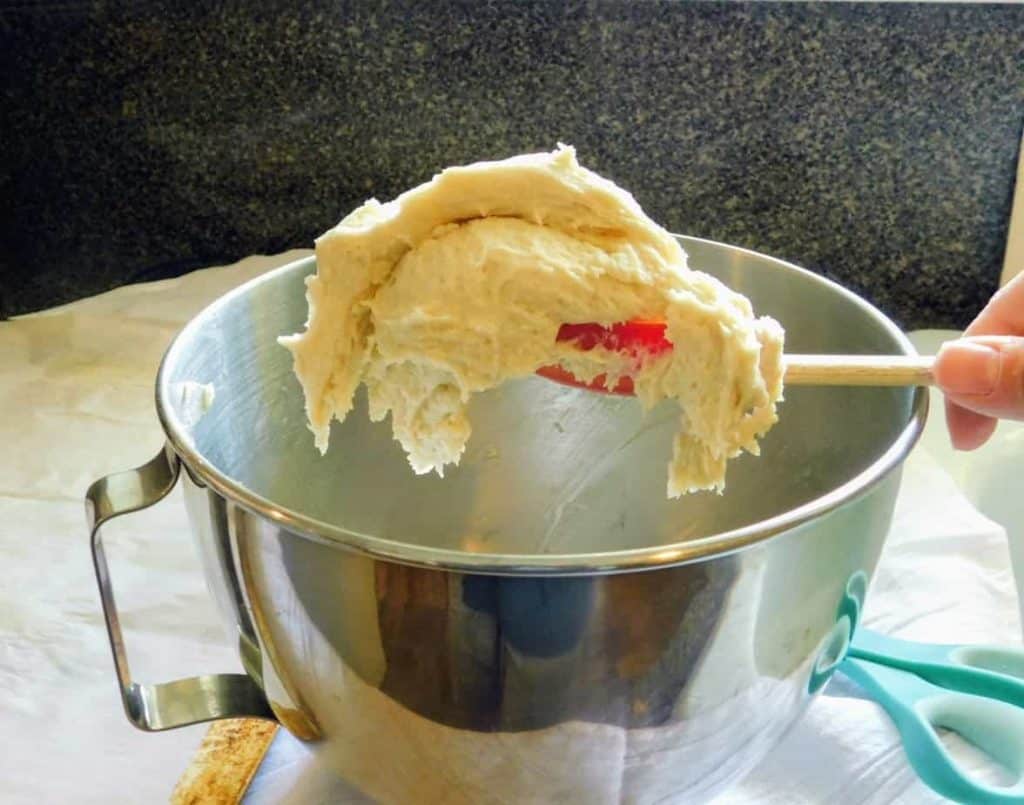
For many bread recipes, mixing the dough for 3-5 minutes and scraping down the sides of the bowl regularly are important for making sure the dough is mixed enough.
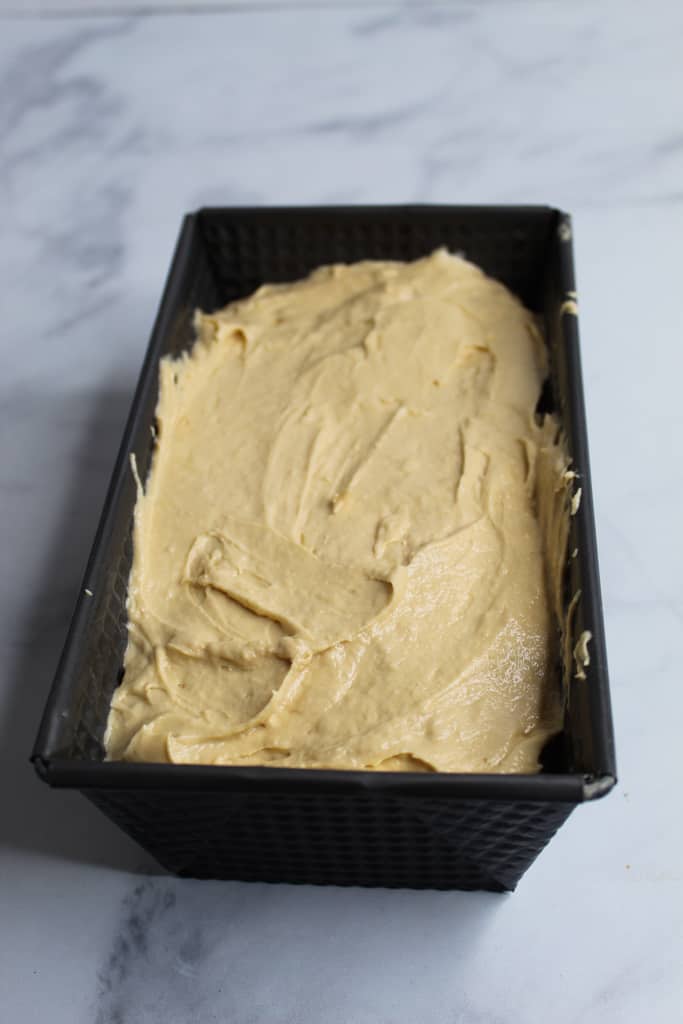
5. Your Pan Size Is Throwing Off the Bake
Recipes are often very specific about which pan sizes work best for that specific bread recipe. Even the slightest substitution in bread pan size can lead to bread that doesn’t bake quite right, which can lead to issues like gummy bread.
For this reason, I got my hands on a decent bread pan set that included pans in multiple sizes. That way, I can be more sure that I have the bread pan size I need for that particular bread.
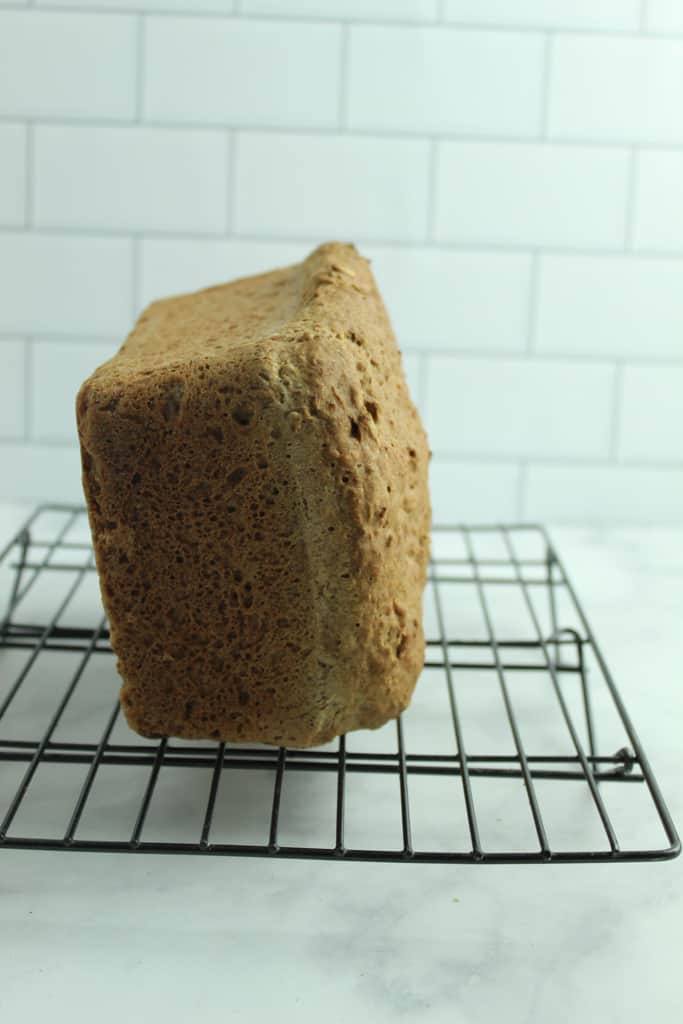
6. The Bread Needed More Time in the Oven
This can actually be the trickiest part of making bread because people often get impatient. Your bread smells amazing, your stomach is yelling, and the loaf looks done… but gluten-free bread can still be gummy inside.
An instant-read thermometer is your most valuable tool for making sure the bread is done baking. When bread is ready to pull out of the oven, it will have an internal temperature of 205–210°F (96-99 degrees °C).
If it hasn’t reached that temperature yet, it may need to bake a little longer. If you baked it for the time specified by the recipe and it still hasn’t reached 205 degrees Fahrenheit, another possible explanation is that your oven runs a little cool.
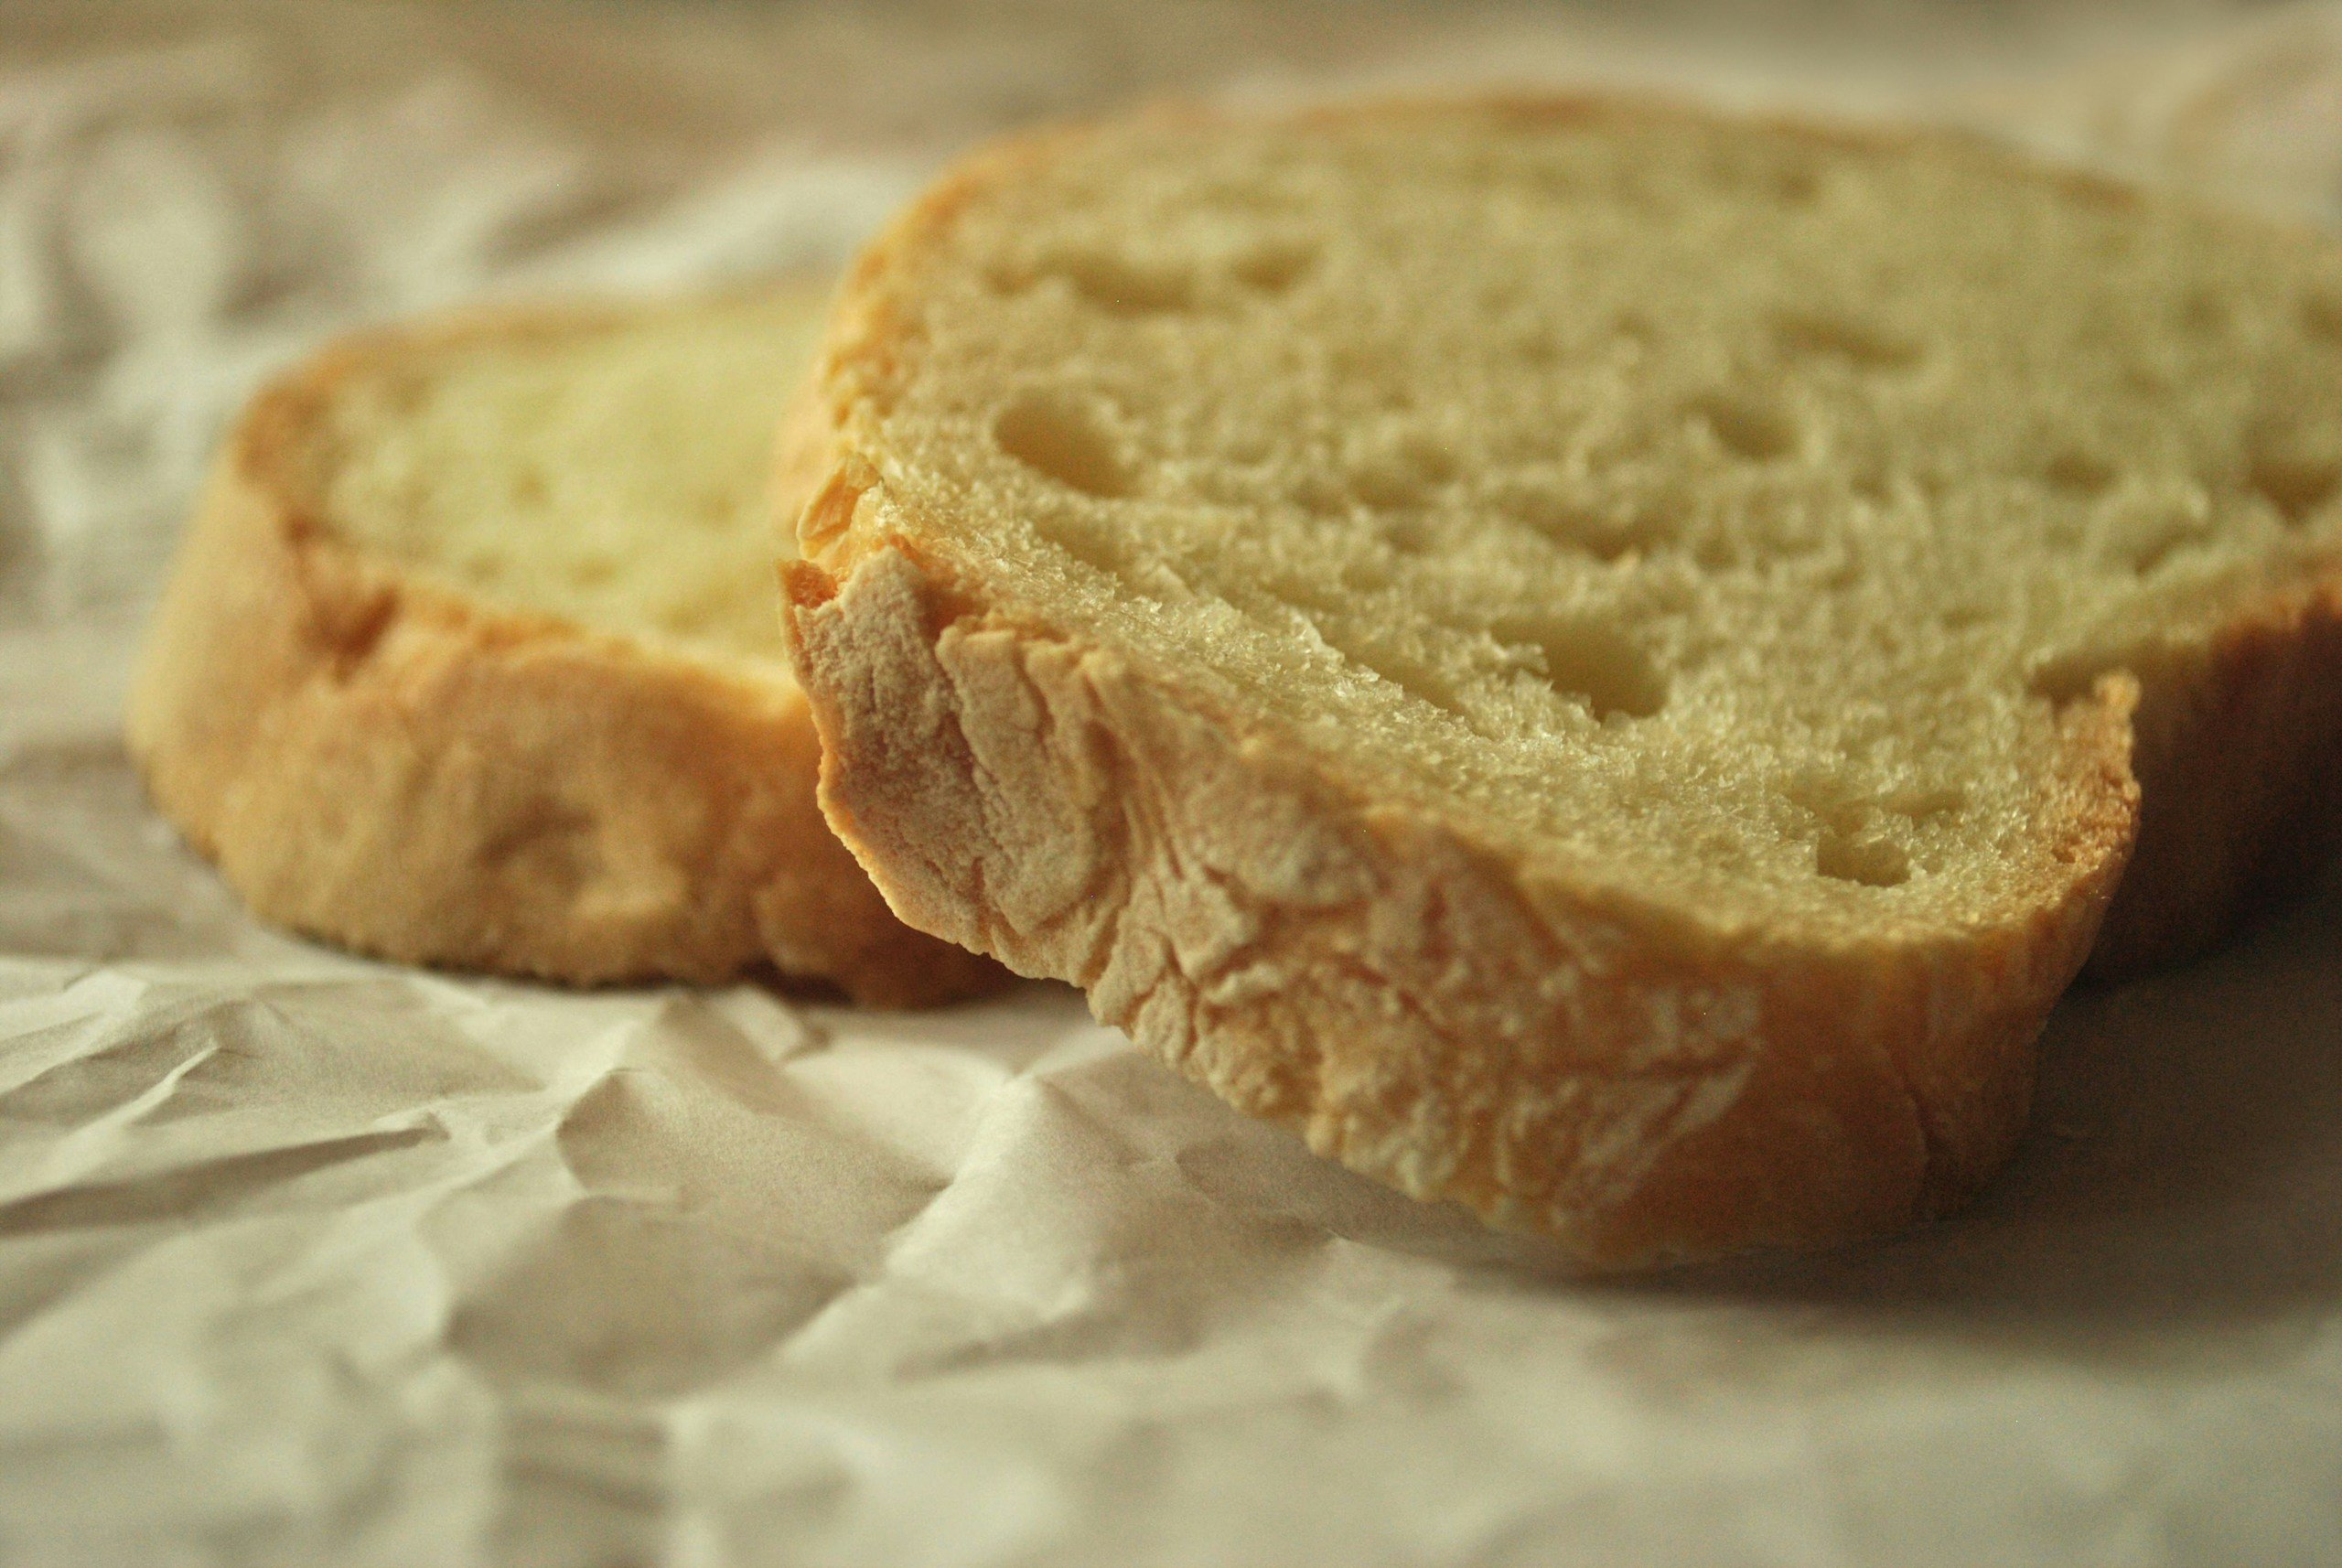
7. You Sliced It Before It Fully Cooled
Fresh bread is tempting. Gluten-free bread does not care.
Even when it has reached the correct temperature, it may still be a little gummy in the middle. However, the center will finish setting and become less gummy if the bread is allowed to cool long enough before slicing.
Let it cool in the pan for a few minutes, and then turn it out onto a cooling rack and leave it for 2-3 hours before slicing.
Chef’s warning: Keep children and pets away from the bread while it is cooling! My cat has tried to take bites out of my bread while it was cooling on the cooling rack before. Yes, he is a very naughty cat.
Common Ingredient Mistakes That Can Make Bread Gummy
Before you blame the oven, check your ingredients. Gluten-free bread is a little sensitive, and one small swap can send the whole loaf into goblin mode.
- Too much xanthan gum → can make bread rubbery, sticky, or gummy
- Old baking powder or yeast → can cause a dense, heavy loaf
- Wrong flour swaps → can weaken structure and change moisture levels
- Too much starch → can trap moisture and create a gummy center
- Skipping rest time → can lead to uneven hydration and a gritty or gummy texture
Chef’s note: gluten-free baking does not love surprise substitutions. It prefers commitment, accuracy, and being treated like a tiny science project with snacks.
Pro Tips for Better Bread Texture
Now that we’ve looked at how to make gluten-free bread less gummy, here are some tips on how to make sure it comes out exactly right.
Before You Substitute Ingredients, Read This
As we saw before, not all flours are created equal. That’s why I have separate recipes for both buckwheat biscuits and millet biscuits. Flour isn’t the only thing. Other things that are worth knowing about when substituting common ingredients in gluten-free recipes include:
- When and how to substitute xanthan gum. Xanthan gum is a common thickener in gluten-free recipes. However, I’ve actually been told that xanthan gum can be rough on people who are sensitive to refined dietary fiber (and research seems to back that up). I often recommend psyllium husk powder as a handy substitute for xanthan gum. Here’s a handy guide to replacing xanthan gum.
- Swapping starches: The important thing about starch is that it helps with moisture retention, and the commonly used starches make good xanthan gum replacements if you need a thickener for a sauce. In this guide to potato starch alternatives, we take a closer look at what each starch is best used for.
- Sweeteners: Unless I have a reason to swap it out, I’ll usually stick to the sweetener that the recipe calls for. The tricky part usually involves swapping between a dry sweetener like sugar and a liquid sweetener like honey, agave nectar, or maple syrup. You’ll usually have to adjust the amount of other liquid ingredients to keep the finished product from becoming too gummy or too dry. Here’s a handy chart for replacing sweeteners:
| To replace 1 cup of this | Use sugar | Use honey | Use agave nectar | Use maple syrup |
|---|---|---|---|---|
| Sugar | 1 cup | 3/4 cup | 2/3 cup | 1 cup |
| Honey | 1 1/3 cups | 1 cup | about 7/8 cup | 1 1/3 cups |
| Agave nectar | 1 1/2 cups | 1 1/8 cups | 1 cup | 1 1/2 cups |
| Maple syrup | 1 cup | 3/4 cup | 2/3 cup | 1 cup |
Account for Leavening Agents and Required Rise or Rest Time
Many bread recipes call for a leavening agent, like yeast, baking powder, or baking soda. Yeast is actually a powerful biological leavening agent that only works under a few very specific conditions:
- It’s been activated correctly. The best way to tell if yeast has been properly activated after being suspended in hot water with a little sugar added is to see if the water-yeast mixture is a little foamy on top. If it’s foamy, you activated it correctly! If it isn’t, the water might have been too hot or too cold. If the water is very much above 120 degrees Fahrenheit, the heat can actually kill the yeast. If it’s much below 100 degrees Fahrenheit, it might not have been warm enough for the yeast to start working.
- It has some sugar to work with. Yeast primarily does its job by metabolizing sugar and generating carbon dioxide bubbles in the dough. Too little sugar, and the yeast might not have its full effect.
- There isn’t too much salt. Salt can hamper yeast’s ability to do its job. So be careful not to add too much. (This seems to happen most often when somebody underestimated how fast the salt would come out of the container, so make sure you measure it out over a separate bowl.)
- The dough has enough time to rise. This can be the tricky part because, again, it’s easy to get impatient. I’ve found that it helps to get a few other things started while I wait if I’m getting ready to host a get-together.
Keep in Mind
Even when a bread recipe calls for only chemical leavening agents such as baking powder and baking soda, it might still require time to rest. This gives the leavening agents time to react with acids in the dough, creating carbon dioxide bubbles, albeit on a slightly smaller scale than yeast does.
The rest time also does one more thing: It gives flour time to absorb moisture. This is important for making sure the bread doesn’t come out gummy. This rest or rise time really does help your bread turn out with the texture you want.
Final Checklist for Fluffy, Non-Gummy Bread
Before you blame the recipe (or swear off gluten-free baking forever), run through this quick chef-approved checklist:
- Balance your flour blend
Keep starches at 50% or less of your total flour mix. - Measure carefully (no eyeballing!)
Gluten-free baking is not the place for “close enough.” - Watch your moisture
Batter should be thick but not soupy—think scoopable, not pourable. - Mix just right
Combine thoroughly, but don’t aggressively overmix. - Use the right pan size
Too small = underbaked center. Too large = dry loaf. - Check internal temperature
Aim for 205–210°F before pulling it from the oven. - Give it time to cool (seriously)
Let it rest 2–3 hours so the crumb fully sets. - Be cautious with substitutions
Swapping flours or starches can completely change the texture. - Respect rise and rest times
Gluten-free batters still need time to hydrate and develop structure.
Chef’s final word: Great gluten-free bread isn’t magic… It’s a balance. Get these details right, and you’ll trade gummy frustration for a loaf that’s soft, sliceable, and actually worth slathering with butter.
FAQs About Gummy Gluten-Free Bread
Still staring at your loaf as if it owes you an explanation? Let’s answer a few common gluten-free bread questions.
And if your bread is doing something weird that isn’t covered here, leave your question in the comments. Gluten-free bread has many moods, and we can troubleshoot it together.
Why is my gluten-free bread wet in the middle?
Gluten-free bread is usually wet in the middle because it is underbaked, has too much moisture, or was sliced before it cooled fully. The outside can look golden while the center is still quietly being a little goblin.
Use an instant-read thermometer and bake until the center reaches 205–210°F.
Can you fix gummy bread after baking?
Sometimes, yes. If the loaf is only slightly gummy, place slices on a baking sheet and toast them in the oven until they dry out a bit.
If the whole loaf is very wet or dense, it is harder to save. At that point, turn it into croutons, breadcrumbs, or a very humble bread pudding.
Why does my gluten-free bread look done but isn’t?
Gluten-free bread can brown on the outside before the inside has fully set. This often happens when the oven runs hot, the pan is too small, or the loaf needs more baking time.
When in doubt, trust the thermometer… not the pretty golden crust. She lies.
Does gluten-free bread need to cool longer?
It sure does. Gluten-free bread needs a longer cooling time because the center continues to set after baking.
For the best texture, let it cool in the pan for a few minutes, then move it to a cooling rack and wait 2–3 hours before slicing.
Why is my gluten-free bread gummy and dense?
Gummy, dense bread usually means the loaf had too much starch or moisture, not enough structure, or needed more time in the oven.
Check your flour blend, avoid extra substitutions, and make sure the bread reaches 205–210°F before removing it from the oven.
Ready to Bake Better Gluten-Free Bread?
Once you know what causes gummy bread, you’re already halfway to a better loaf. Gluten-free baking may be a little fussy, but it is absolutely fixable with the right flour blend, enough bake time, and a little patience before slicing.
Ready to put that troubleshooting to work? Start here:
- Make your own gluten-free bread flour mix
- Try gluten-free bread without xanthan gum
- Bake a soft loaf of gluten-free potato bread
- Make gluten-free artisan bread
- Try this soft gluten-free, nut-free, gum-free vegan sandwich bread
- Go cozy with gluten-free focaccia bread with herb-infused olive oil
Chef’s final nudge: pick one recipe, follow it closely, let the bread cool like it’s at a spa, and don’t let the cat near the cooling rack.
Ready to Bake Your Best Gluten-Free Bread?
Now it’s your turn to take these tips into the kitchen and show that gummy loaf who’s boss.
Have a gluten-free bread question, troubleshooting tip, or loaf mystery of your own? Share it in the comments; your question might help another baker save their next batch.