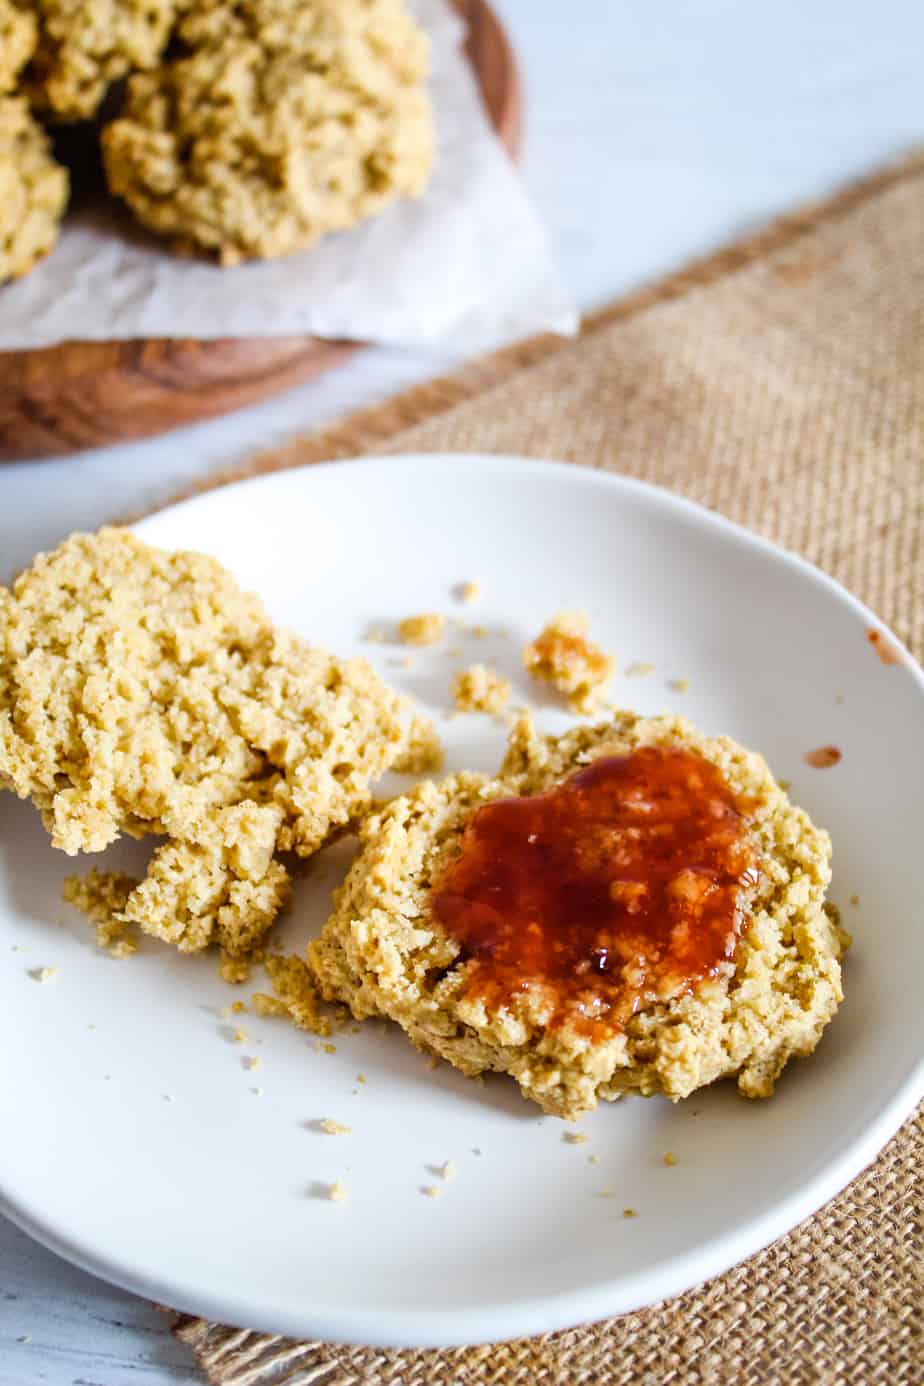
Dry, crumbly gluten-free biscuits don’t have to be the norm.
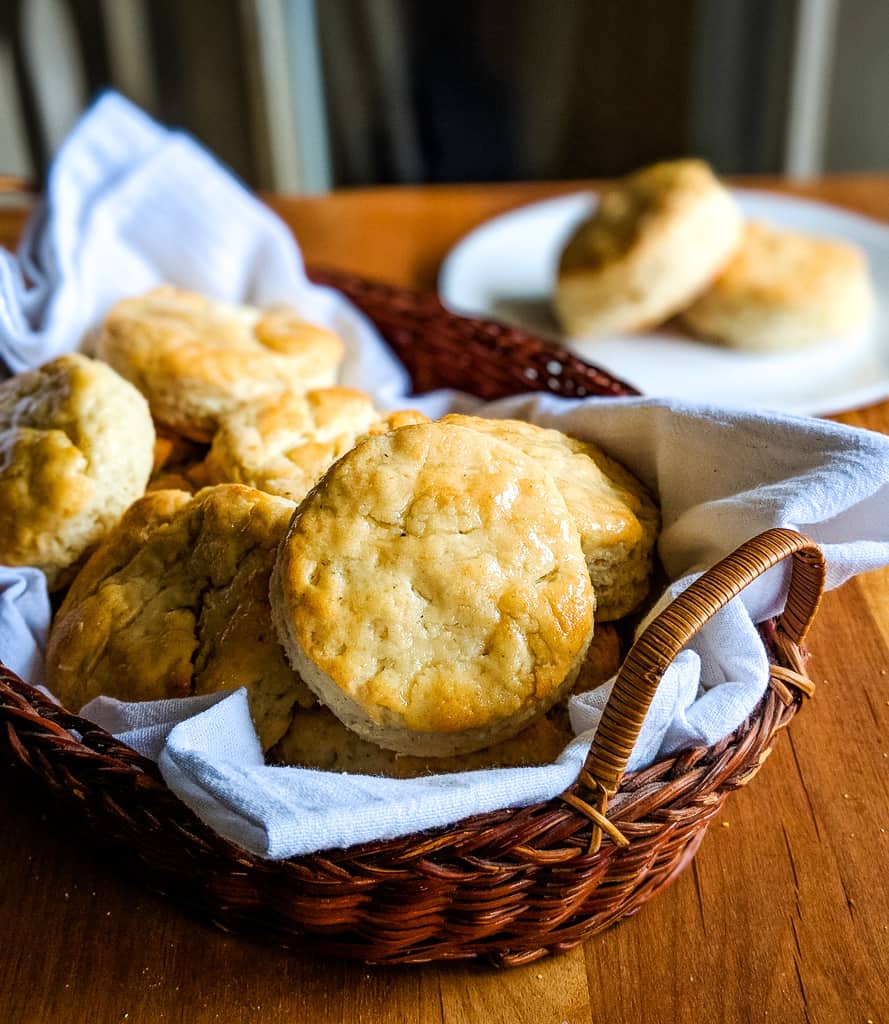
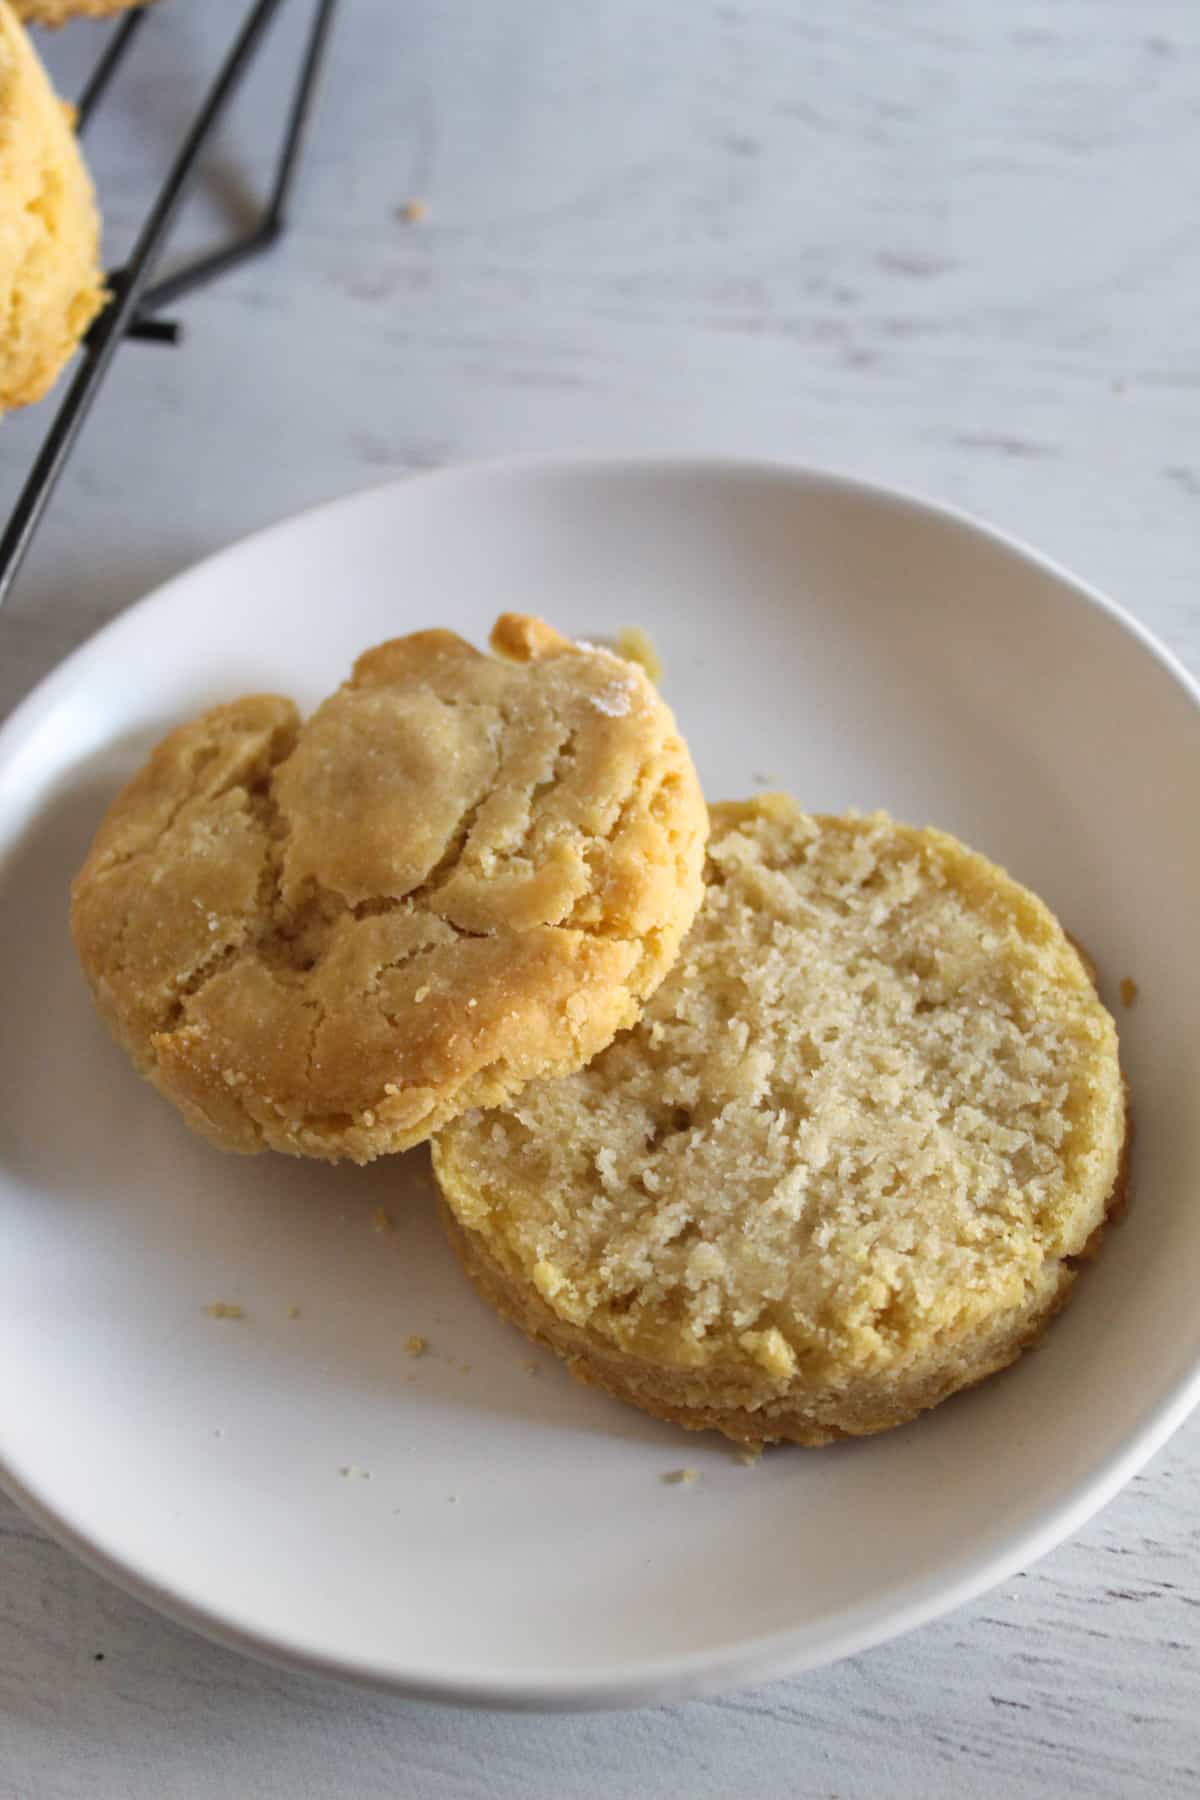
These flaky, buttery, gluten-free biscuits bake up tall, tender, and golden without any gluten, dairy, or eggs. Whether you’re vegan, dairy-free, or simply craving a foolproof gluten-free biscuit recipe that actually works, this recipe delivers.
Table of Contents
Now you can recreate the comfort of classic biscuits in a gluten-free kitchen. This recipe was created for home bakers who want reliable results, not experimentation. These biscuits are designed to work with ingredients you can actually find and steps you can confidently follow.
This method focuses on cold fat, proper thickness, and smart flour choices, which are the same important aspects used when making traditional biscuits. The result is a biscuit that rises beautifully, flakes apart in layers, and stays tender on the inside instead of dry or gritty.
Why This Gluten-Free Biscuit Recipe Works
Gluten-free recipes have a reputation for turning out dry and dense, and bakers like myself are here to try and change that stereotype. A great biscuit recipe comes not only from quality ingredients, but also from the right techniques. It’s all about temperature control, a good fat (butter in this case), and minimal handling of the dough.
If you’ve been searching for a foolproof gluten-free biscuit recipe that doesn’t sacrifice texture, flavor, or simplicity, you’re in the right place. Let’s get started!
Throughout this article, I’ll share practical tips, solutions for ingredient substitutions (to avoid extra trips to the grocery store), and common mistakes to avoid. You’ll also find a step-by-step guide with helpful visuals and answers to frequently asked questions, so you can bake with confidence from start to finish.
- My gluten-free flour blend, used in this recipe, is made with a blend of rice flours, which are great for absorption and keeping a moist biscuit dough.
- Ingredients are listed in weight to get precise measurements
- Rest time for the dough is key to moisture retention
- Cold butter, a rich fat, melts in the oven to create steam and tender, flaky layers within the dough.
- Sour cream adds a gentle tang to the biscuit flavor and plenty of moisture
Read on for more expert tips & tricks below to give you consistent, successful results every time!
A Bit More on Gluten-Free Baking
Whether you are using a pre-made gluten-free flour blend or combining individual flours to create your own mix, baking is a science, and gluten-free baking follows its own rules. While the goal is often to recreate the taste and texture of traditional baked goods, the way gluten-free doughs behave is fundamentally different from wheat-based ones.
In conventional baking, gluten forms when wheat flour is mixed with liquid. That gluten network traps air, gives dough elasticity, and provides structure as baked goods rise and set in the oven. In gluten-free baking, that natural structure is missing, so bakers have to work to intentionally rebuild a structure using a combination of flours, starches, and binders.
Flours & Starches
Because no single flour acts like wheat, the structure of gluten-free baked goods comes from a blend of flours, and most successful recipes rely on blends. Rice flour provides bulk and mild flavor, while starches like tapioca or potato add lightness and chew.
Binders
These flour blends get mixed with binders, whose job is to replace gluten’s elasticity. Binders like xanthan gum or psyllium husk powder help doughs and batters to hold together and stretch. Without enough binding, gluten-free doughs tend to crumble; too much, and the texture can become gummy or dense.
Hydration
Hydration is another major difference. Gluten-free flours typically absorb more liquid than wheat flour, and they do so more slowly. A dough that looks too wet at first may firm up as the flours hydrate. A dough that appears dry can lead to dense, chalky baked goods once baked. This is why gluten-free recipes often call for slightly wetter doughs and benefit from rest times before baking.
Understanding these principles makes gluten-free baking far less frustrating. Once you know why a recipe uses a flour blend, a binder, or certain hydrating ingredients, you can bake with more confidence instead of guesswork. These biscuits apply those fundamentals in a simple, approachable way, giving you reliable results without complicated techniques.

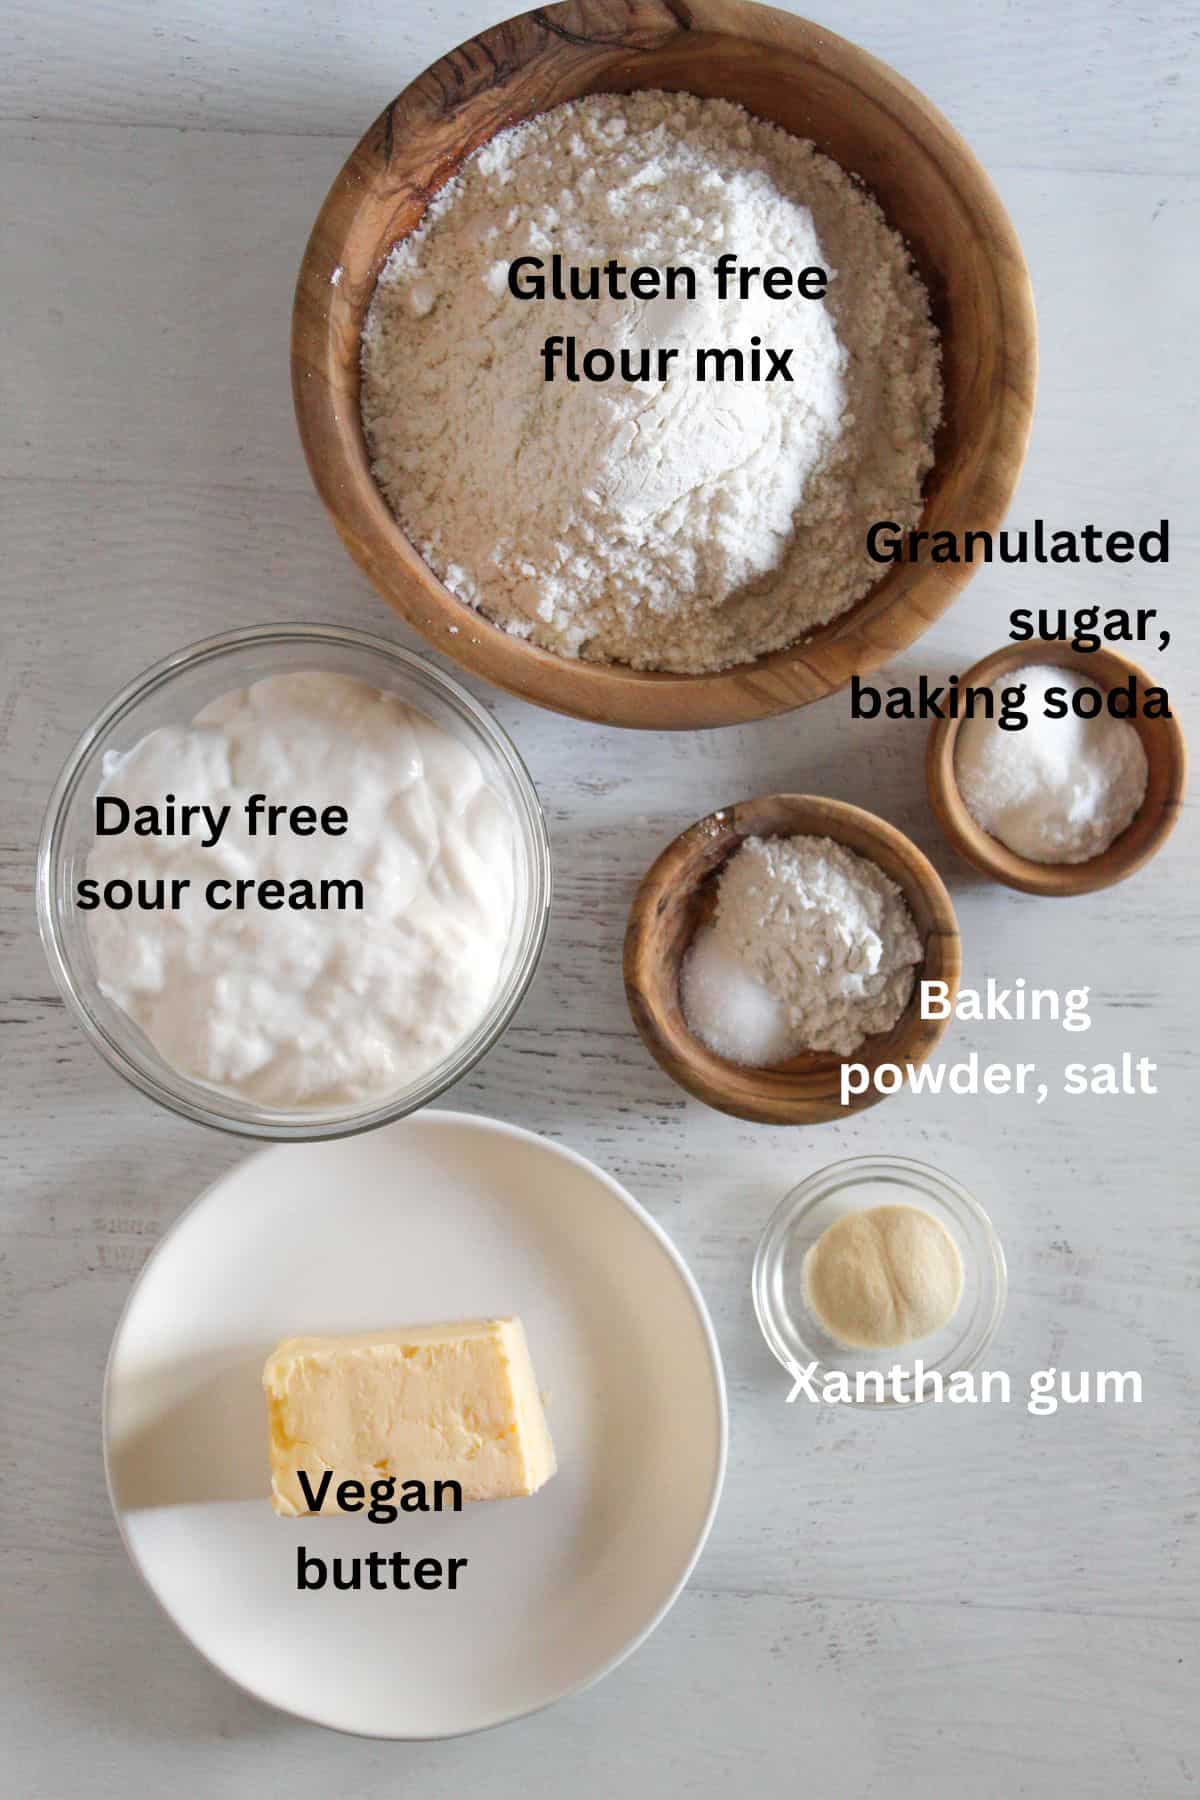
Ingredients at-a-Glance
I always prefer quality over quantity when cooking because the taste of high-quality ingredients can make all the difference in a dish. For these biscuits, I use my homemade gluten-free flour blend (recipe link below) as it has no fillers, additives, or preservatives. Along with a few simple ingredients from some preferred brands, these gluten-free biscuits are made with clean ingredients and, most importantly, they’re delicious!
- Gluten-free flour: This flour mix was used. It has low-protein flours, which are key to a good biscuit mix.
- Xanthan gum: Helps to hold the ingredients together so the biscuits don’t fall apart.
- Baking powder & Baking Soda: Leaveners that help to give rise and prevent heavy, dense biscuits.
- Sugar: Adds a touch of sweetness.
- Salt: Good for balancing out flavors in baked goods.
- Vegan butter: I recommend the Earth Balance vegan butter. You can also replace this with regular dairy butter if you are not concerned with keeping it vegan.
- Dairy-free sour cream: Forager brand produces some great quality vegan products!
Measurements for each ingredient, along with instructions for making the biscuits, are in the recipe card below.
Printable Gluten Free Biscuits Recipe Card (Dairy-Free & Vegan!)
Ingredients
- 1 ¾ cups gluten-free flour mix, sifted and scooped (240 grams)
- 1 tsp xanthan gum
- 3 tsp baking powder
- 1 tsp baking soda
- 2 tsp sugar, if you like a sweeter biscuit, add 1 tsp more
- 1 tsp salt
- 6 tbsp vegan butter, cold and cubed, unsalted
- 1 cup dairy-free sour cream (250 grams)
Instructions
- Preheat oven to 425°F and adjust the oven rack to the middle of the oven. Line a baking sheet with parchment paper or cooking spray.
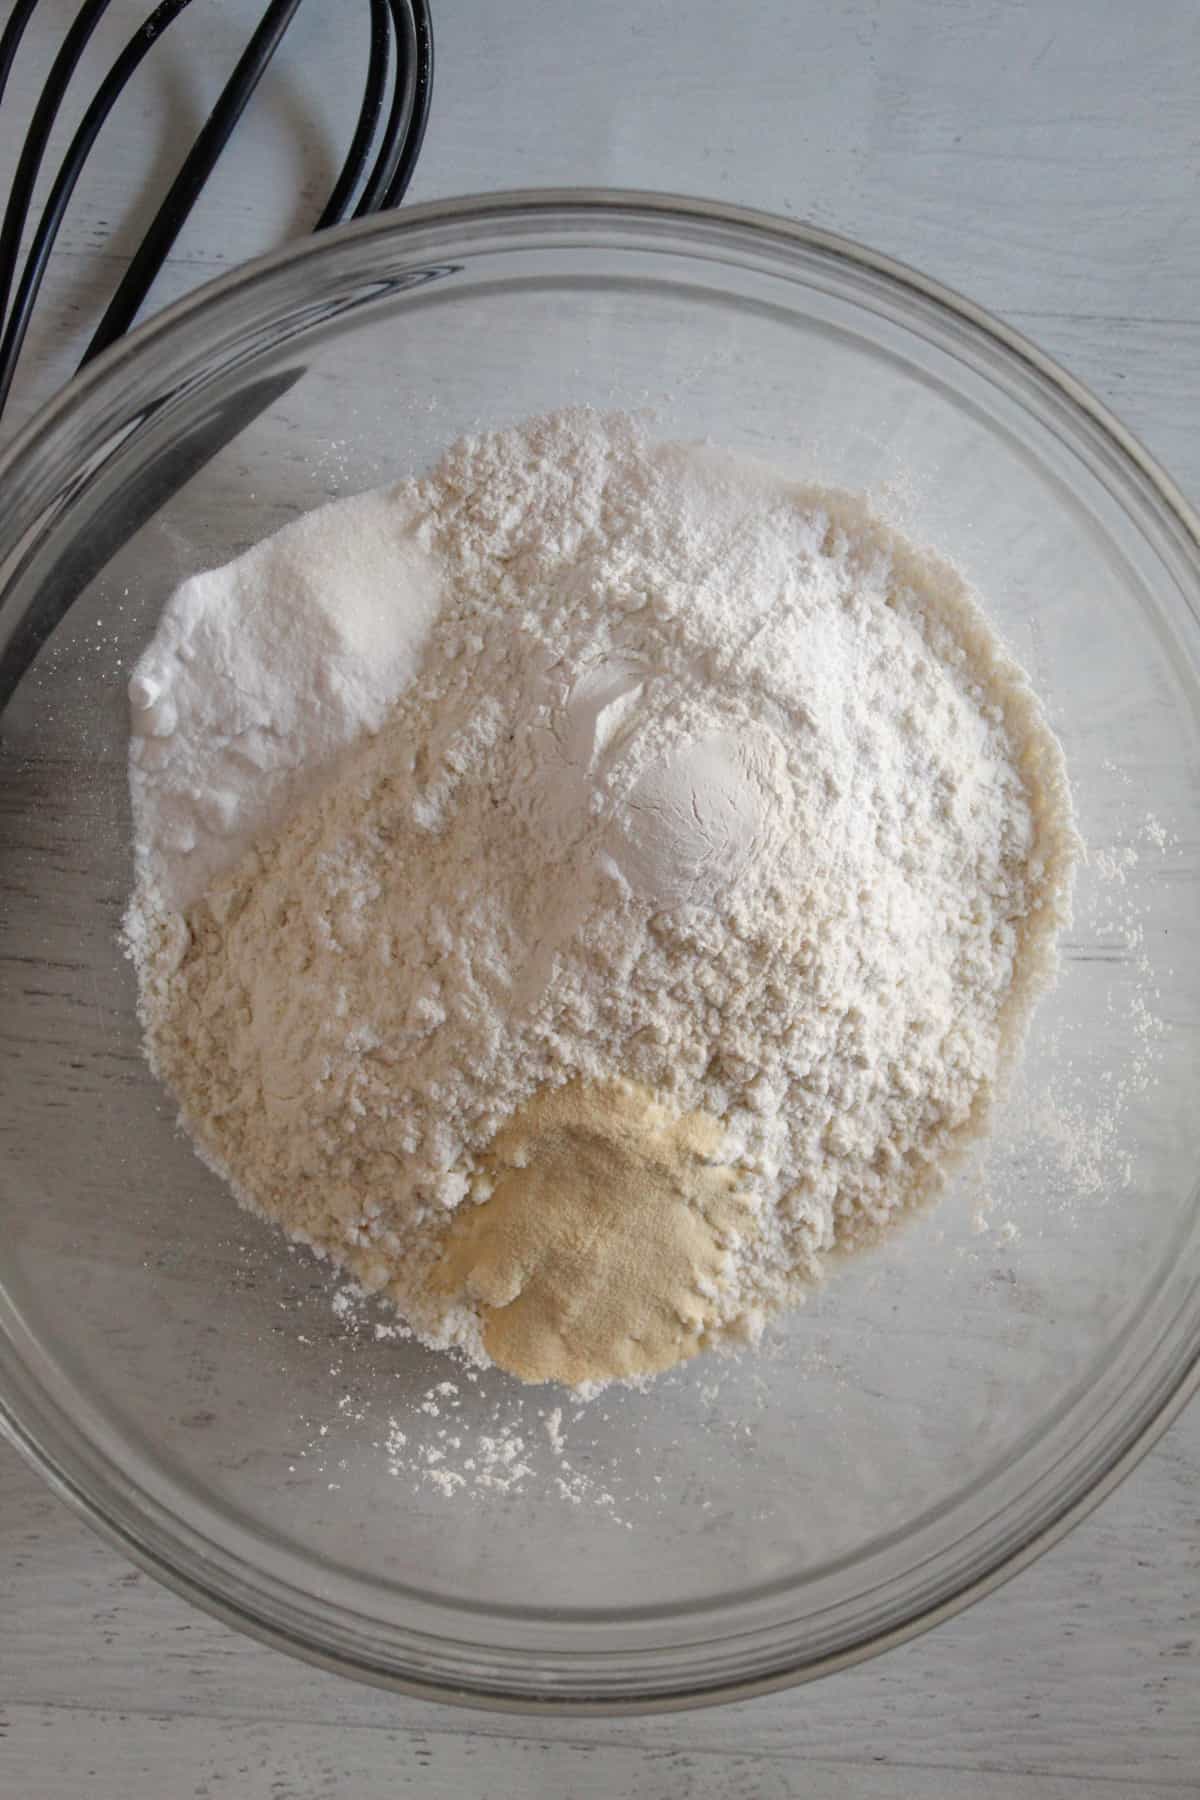
- In a large mixing bowl, combine the flour mix, xanthan gum, baking powder, baking soda, sugar and salt and whisk to mix.
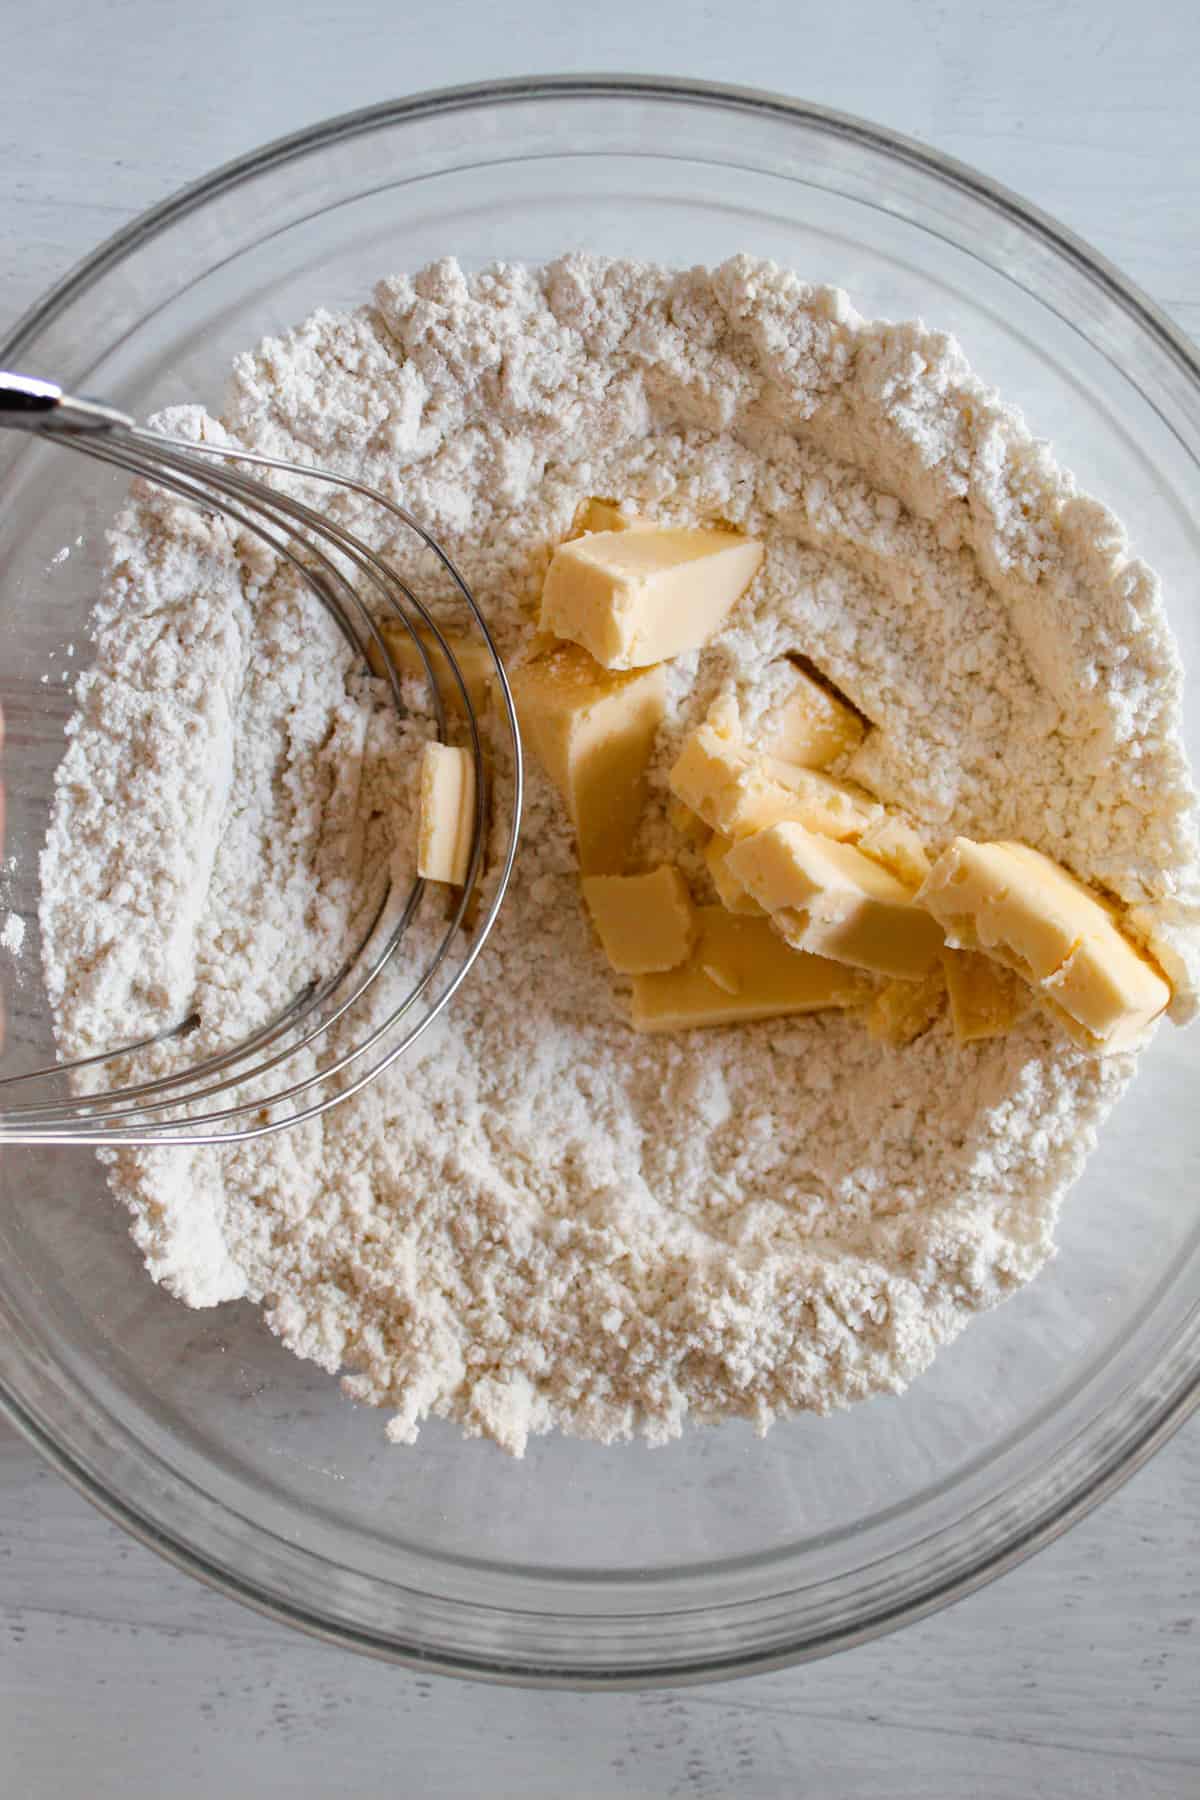
- Add the cold, cubed butter into the flour mix. Cut in the butter with a pastry blender until the mixture resembles coarse crumbs.
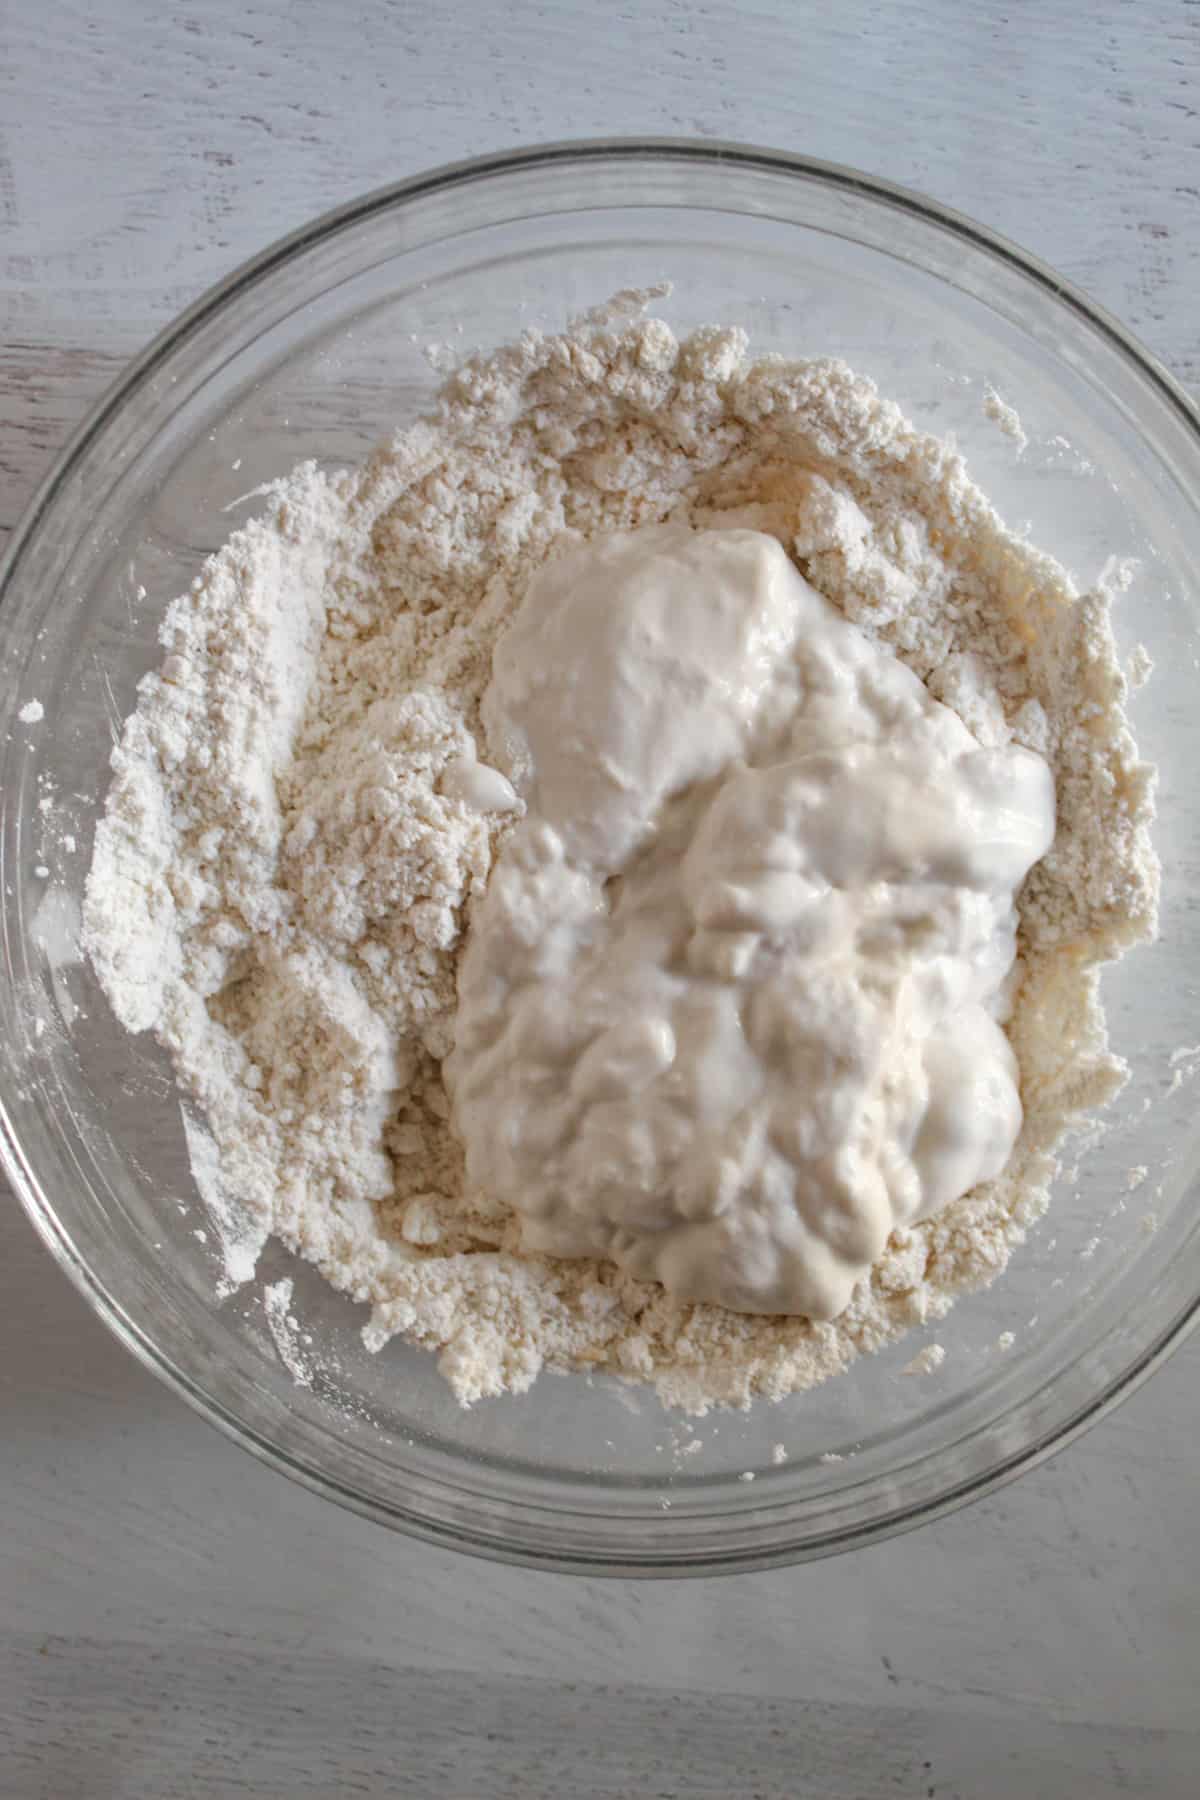
- Add in the dairy-free sour cream and gently mix until the majority of the dough comes together (you should still have some dry bits). Turn the dough out onto a piece of parchment paper dusted with a bit of cornstarch.
- Gently pat the dough into a rough rectangular shape. Now, you will fold the dough like a letter. Fold ⅓ of the dough over to cover the middle section. Then, bring the other ⅓ over to cover the same section.
- Very lightly, pat the sections together. Wrap the dough in plastic wrap and put it in the fridge to rest for 15 minutes.
- Remove the dough from the fridge and, using a rolling pin, gently roll out the dough to ¾" thickness.
- Cut the dough using a 2" biscuit cutter. Place 1” apart on a baking sheet. Place the baking sheet with the biscuits in the fridge to rest for 15 minutes.
- Take the biscuits out of the fridge and place them in the preheated oven. Bake for 15-20 minutes. Optional: Brush the tops of the biscuits with some plant-based milk before putting them in the oven.
- Remove from the oven and serve warm.
Notes
- The butter should be very cold. Keep it in the fridge when you are not using it.
- Start preheating the oven at the beginning of the recipe so the cut, chilled biscuits can be placed right into the oven.
- You want to handle the biscuits as minimally as possible. A quick roll with the rolling pin is all you’ll need with these biscuits. Keep the dough at least 3/4″ – 1″ thick.
- If you want round biscuits and you don’t have a biscuit cutter, use an empty, washed tin can. Dip it in some flour so it doesn’t stick to the dough, and use it as a biscuit cutter.
Nutrition
Did you make and love this recipe? Give it your review and rating below! And make sure to follow me on Instagram, Pinterest, and Facebook , too!
How to Make Gluten-Free Biscuits: Step-by-Step
If you’re like me, visuals help A LOT when making a recipe. Some recipes can get a bit wordy, and while I hope this recipe was broken down enough for you, biscuits (gluten-free or not) have some steps that are best explained through pictures. Below, you’ll find each step broken down with a few more insights and some pictures to guide you.
If you have any more questions about the steps for these gluten-free biscuits, feel free to leave a comment below!
Step 1
Preheat the oven to 425ºF and adjust the oven rack to the middle of the oven. Line a baking sheet with parchment paper or cooking spray.
Step 2
In a large mixing bowl, add the first 6 ingredients: gluten-free flour, xanthan gum, baking powder, baking soda, sugar, and salt. Whisk to combine.
Step 3
Add the cold, cubed butter to the dry ingredients. Using a pastry blender, cut in the butter until the mixture resembles coarse crumbs.
Step 4
Add in the sour cream and gently mix together (with a rubber spatula or wooden spoon) until the dough mostly comes together. It is okay to have some dry bits left; they will get incorporated in the next steps!
Step 5
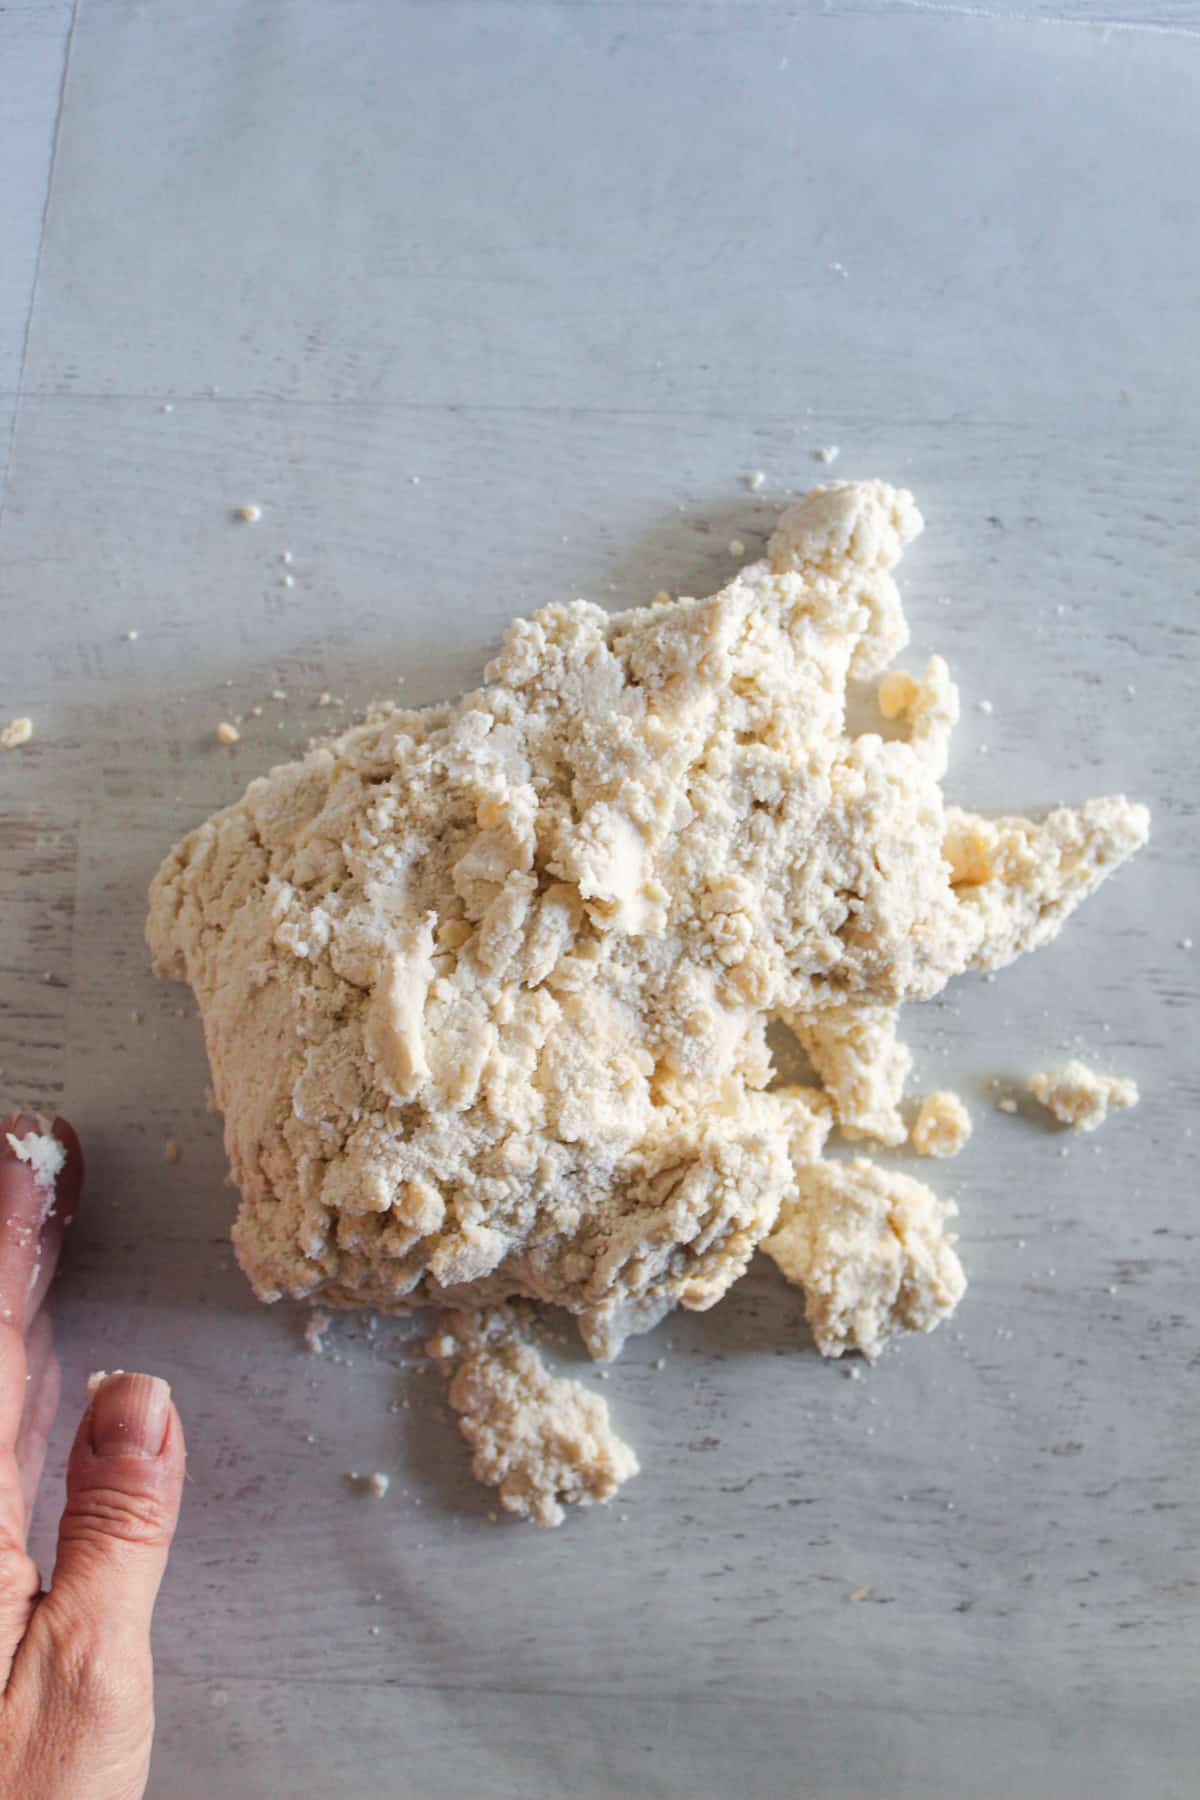
Turn the dough out onto a piece of parchment paper. Dusting the parchment paper with a bit of cornstarch before putting the dough on it can help to make the next steps easier.
Step 6
Gently pat the dough into a rough rectangular shape and fold the dough like a letter. Imagine the rectangle in thirds: fold the left third of the dough over onto the middle section. Then, fold the right third of the dough over onto that same section, so all three sections are now stacked on top of each other.
Very lightly, pat the sections together. Cover the dough in plastic wrap and transfer to the fridge to rest for 15 minutes.

Step 7
Remove the dough from the fridge and, using a rolling pin, gently roll out the dough to 3/4″ thickness. Note: 3/4″-1″ thickness is fine, but avoid rolling it out thinner than 3/4″, or your biscuits will be very small and thin.
Step 8
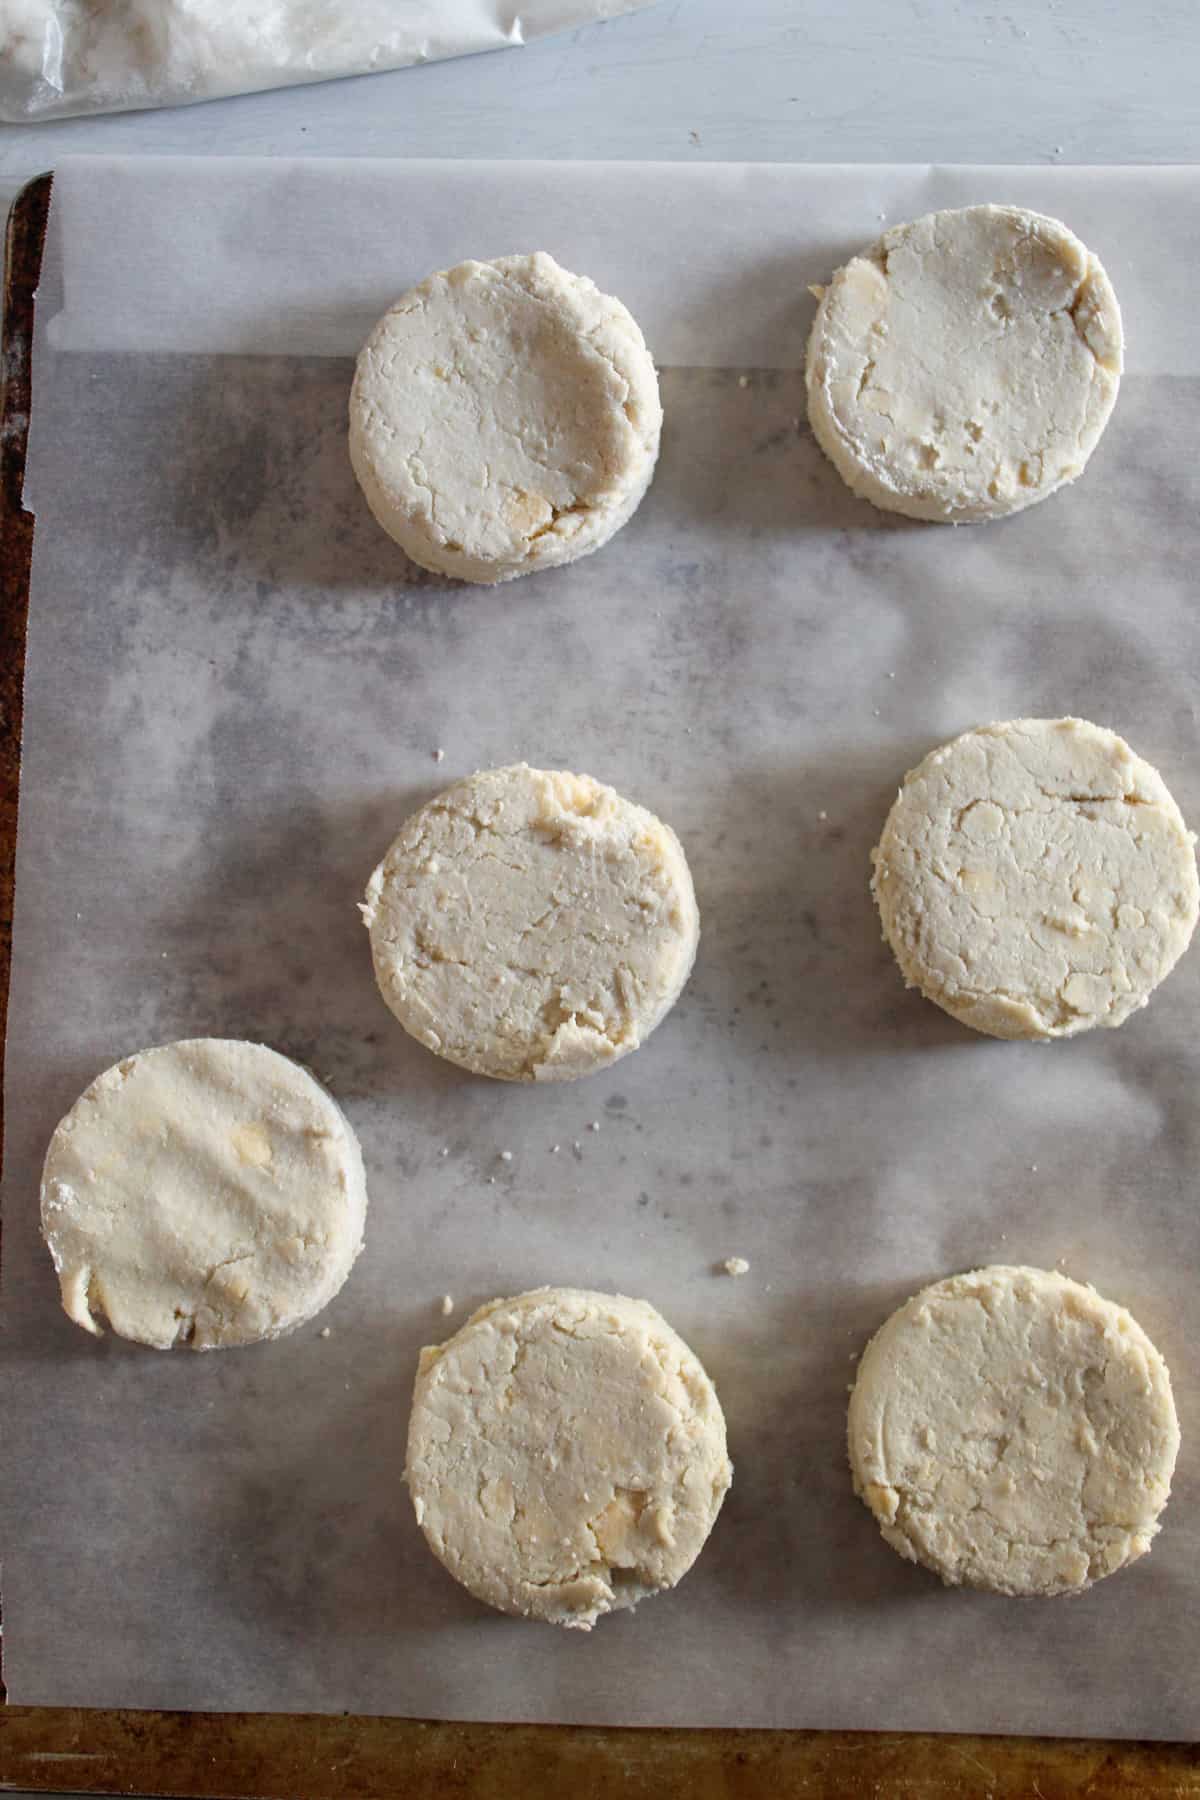
Cut the dough using a 2″ biscuit cutter. Place the biscuits about an inch apart on the baking sheet. Place the tray in the fridge to rest for 15 minutes.
Step 9
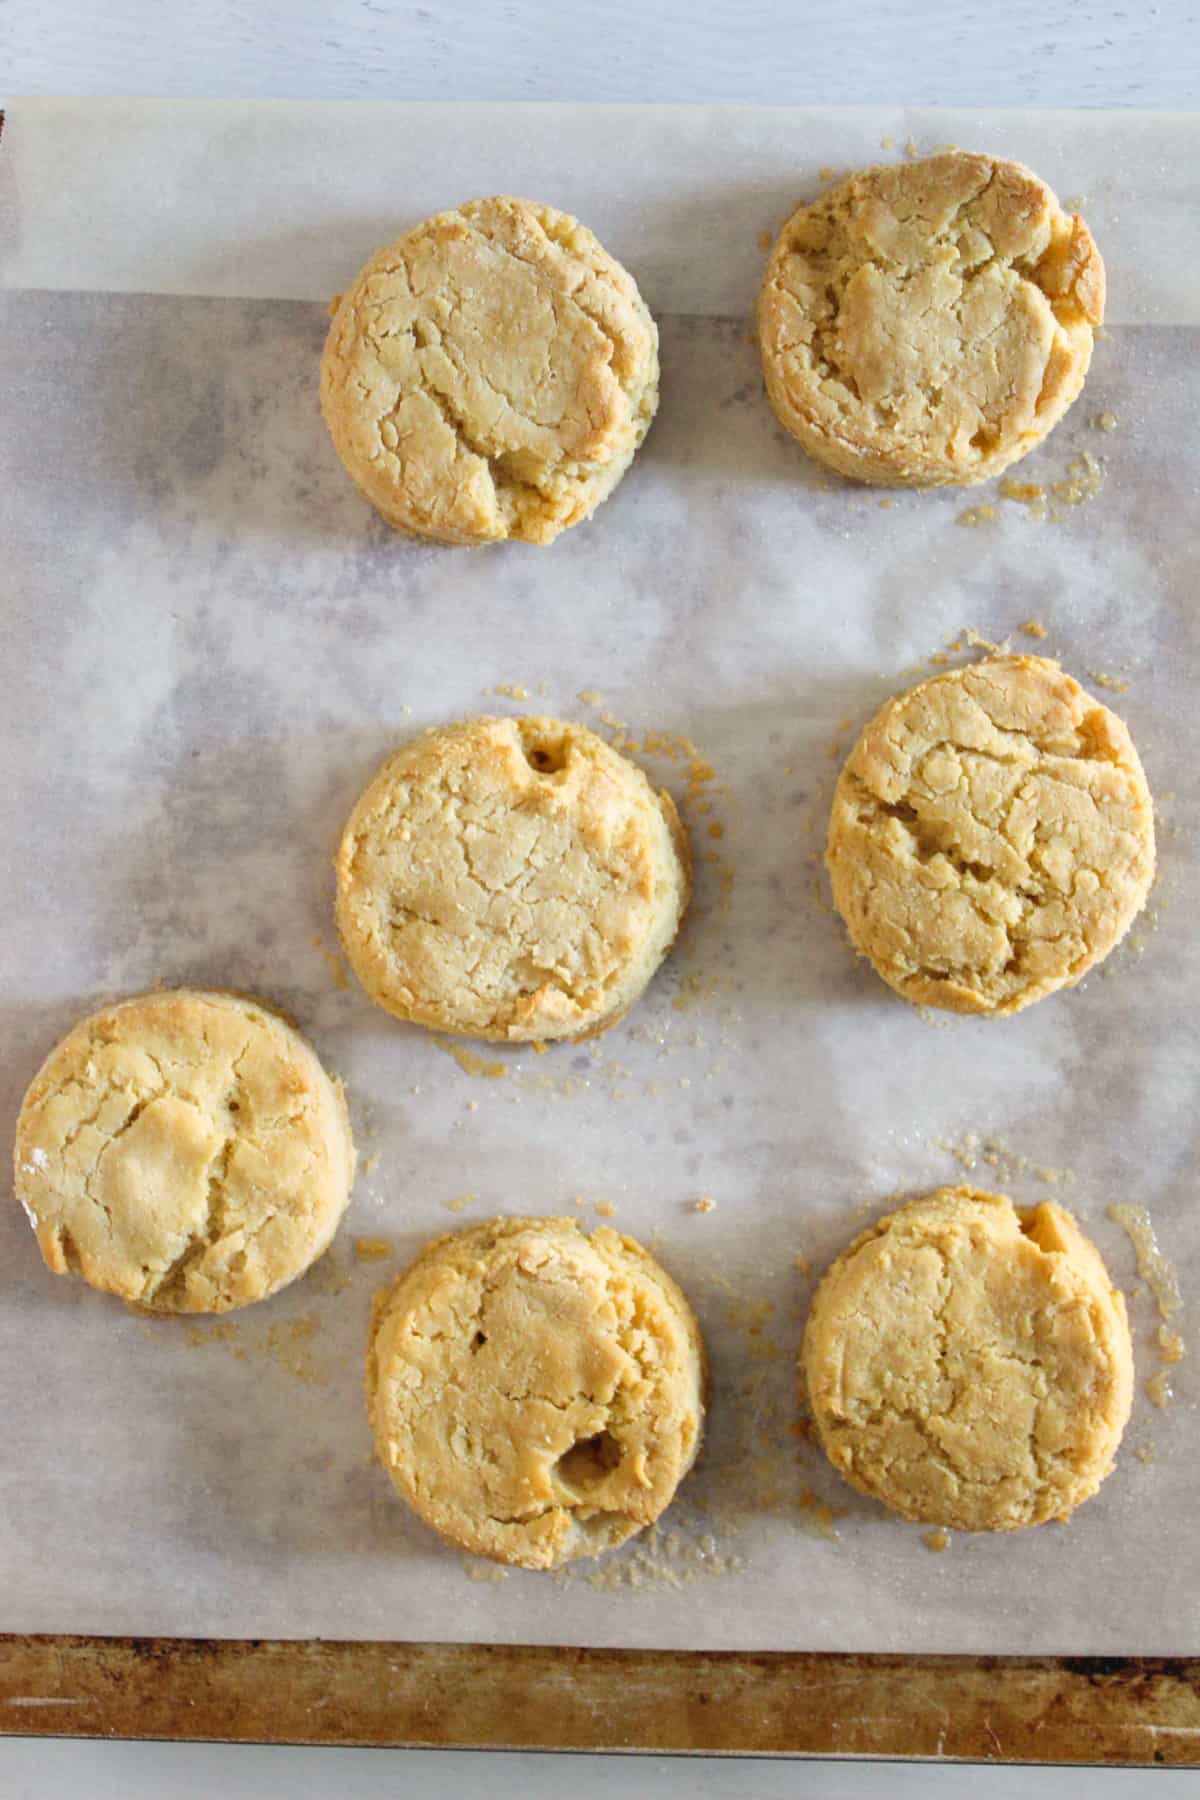
Take the biscuits out of the fridge and bake them in the preheated oven for 15-20 minutes. Optional: Before putting them in the oven, lightly brush the tops of the biscuits with some plant-based milk (or regular dairy milk if you do not need them to be dairy-free). This helps them get a nice golden color.
Step 10
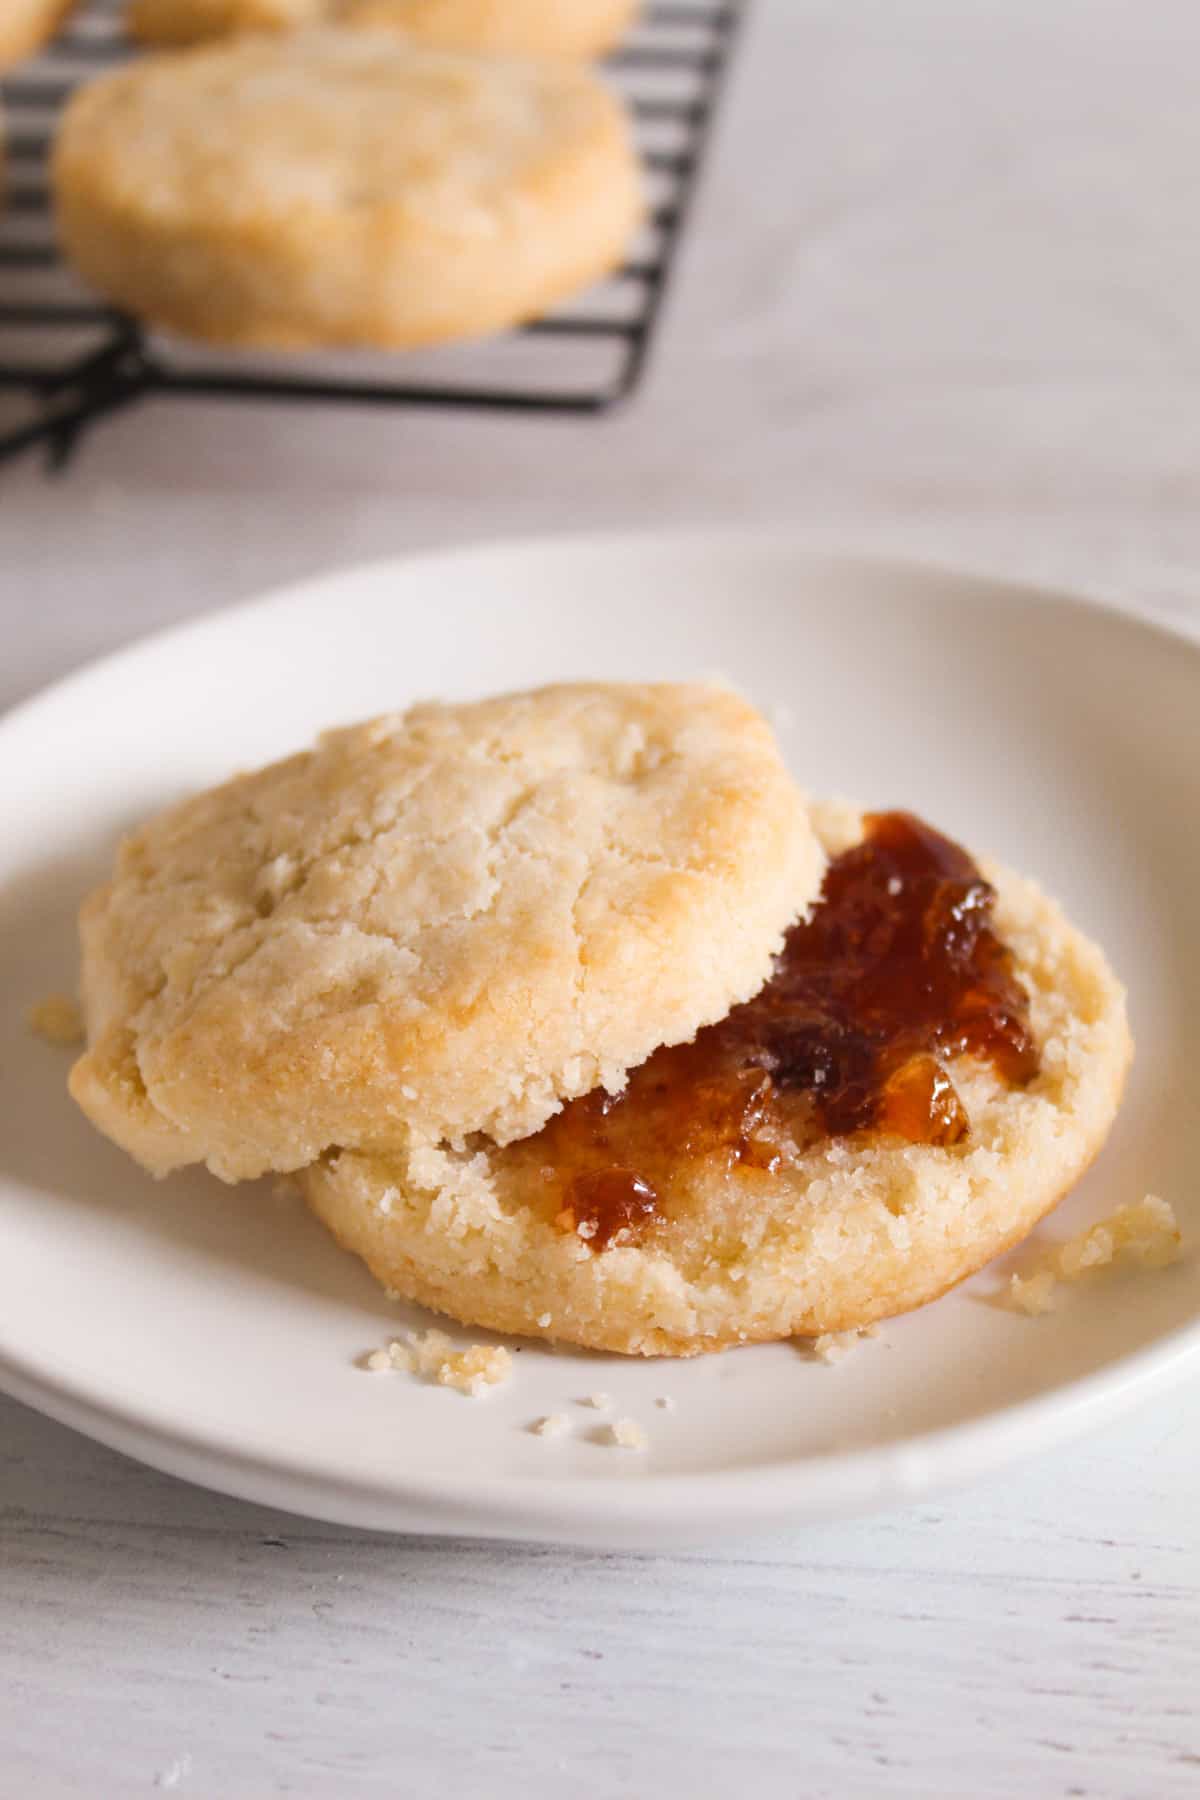
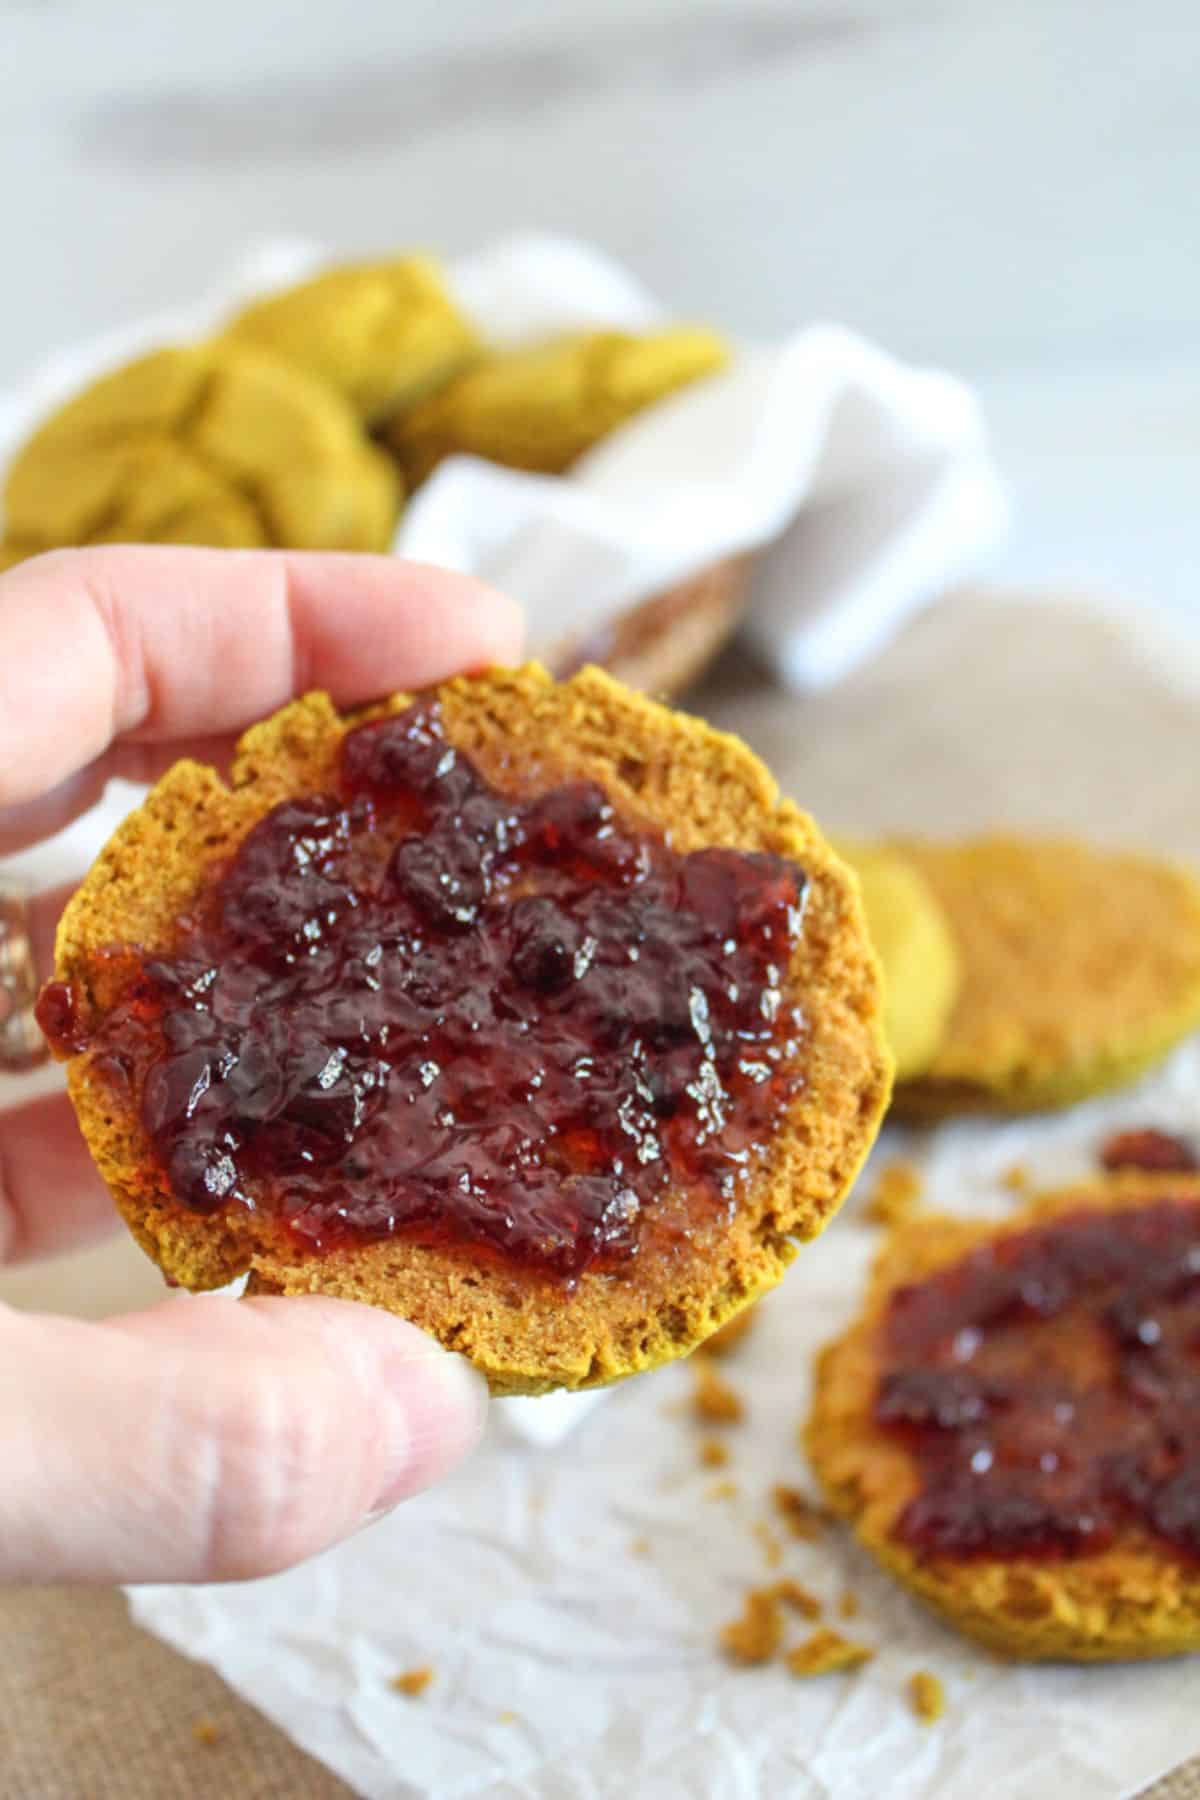
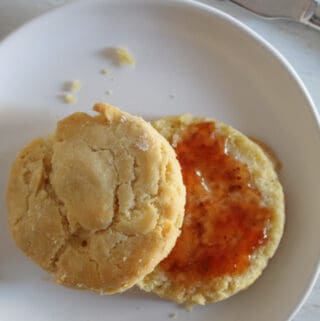
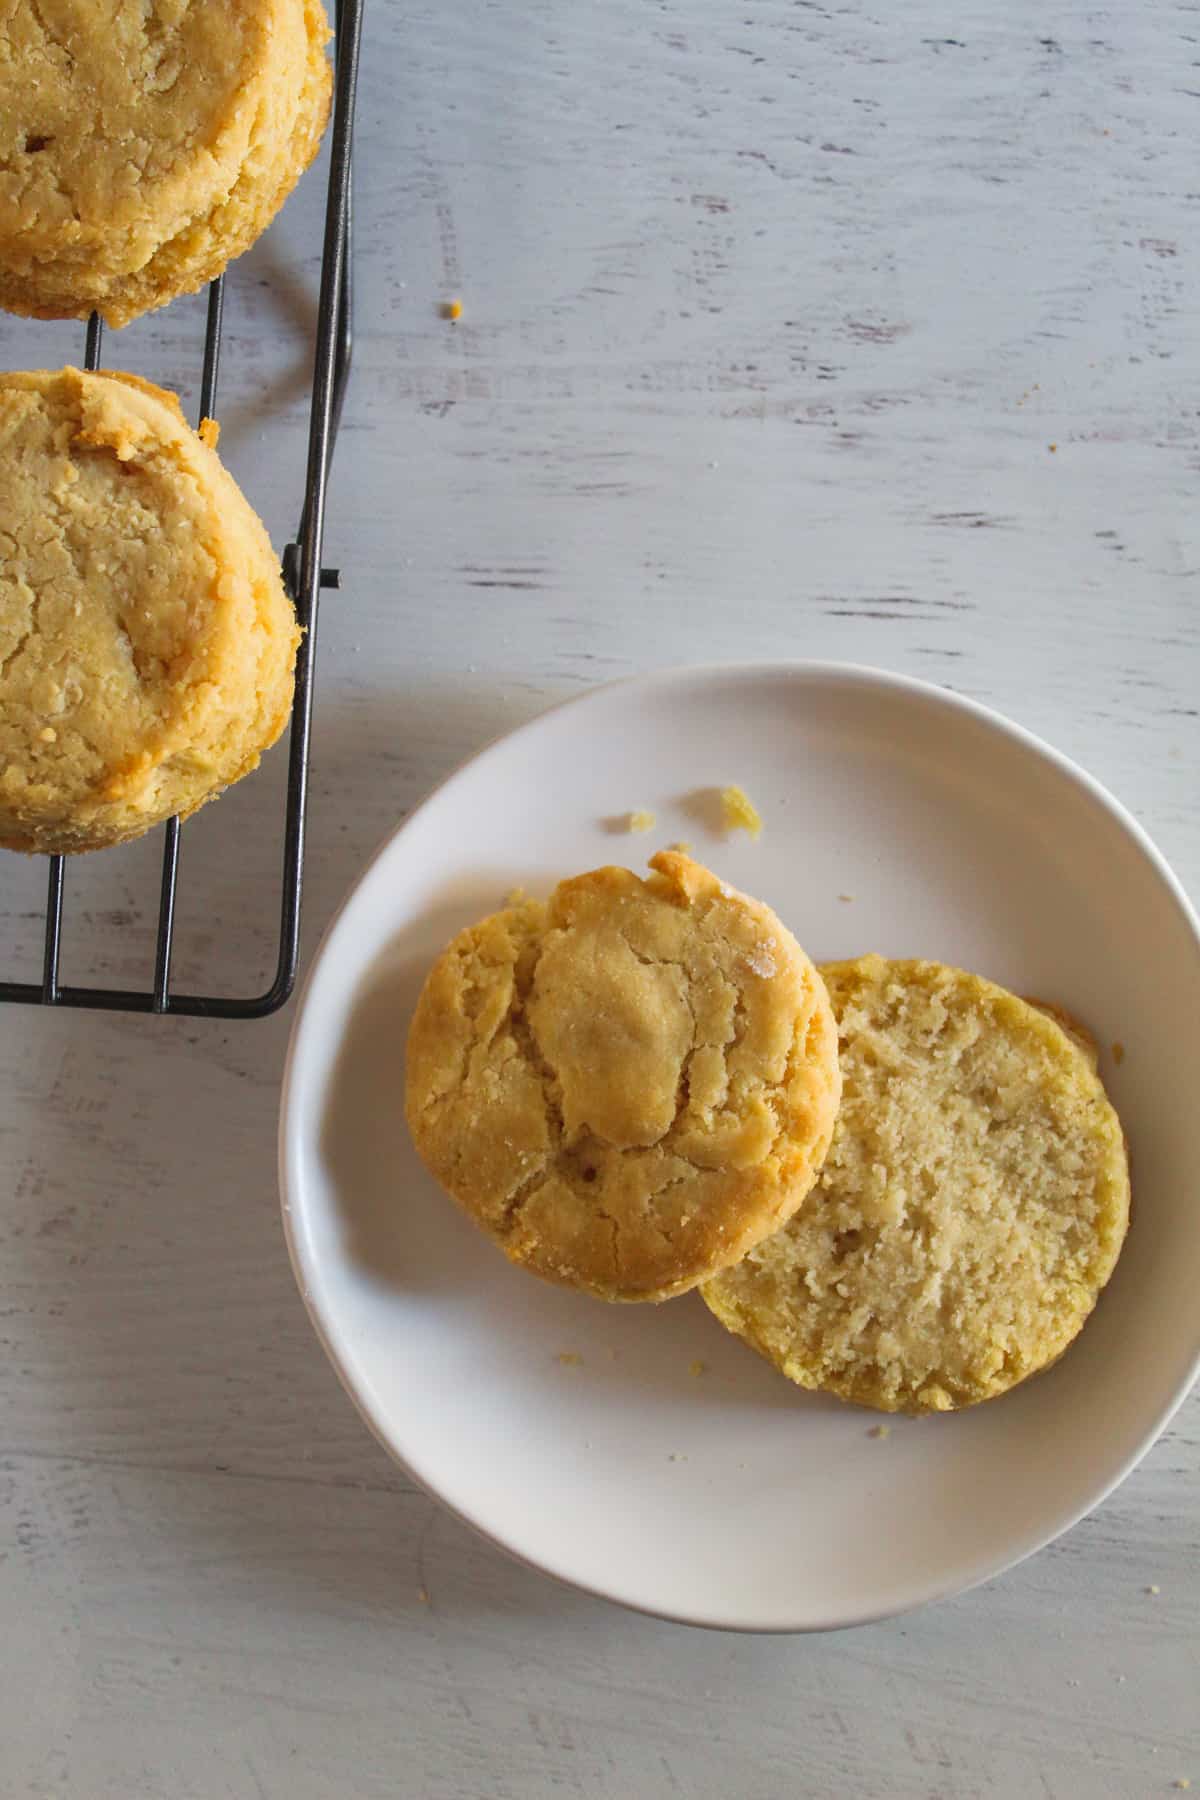
Remove them from the oven and serve warm with jam or butter!
Pro Tips for Tall, Flaky Gluten-Free Biscuits
A handful of practical tips, like why butter temperature matters, or how thick to roll your dough, can ensure that you’re rolling out stellar biscuits every time you make them. These helpful tips and videos on gluten-free biscuits can make all the difference in your next batch.
Keep the Butter (and the Biscuits) Cold
Cold butter is essential to get that classic, flaky biscuit. As the biscuits bake, the small pieces of butter in the dough will melt and release steam, creating pockets of air between the layers of dough. If the butter softens before baking, it melts into the flour and prevents those beloved layers from forming.
Don’t skip the rest time! Chilling the biscuit dough before and after shaping for about 15 minutes helps them hold their shape, rise higher, and achieve that perfect flaky style as they bake.
Others Way To Incorporate Your Butter
If you don’t have a pastry blender, there are a few other ways to incorporate your butter into the flour. Remember, you want to blend in your butter enough that the mixture resembles coarse crumbs. The dough should look shaggy, not smooth.
Small, visible pieces of butter are a good sign, as those are what create the steam and flakiness mentioned above.
Cut your butter into small cubes before adding it to the flour to save yourself some time and work.
- Use your fingers: Rub the butter and flour between your fingers to break up the butter and ‘cut’ it into the flour until you reach that coarse consistency. Work quickly, as hands can warm up the butter much faster than metal kitchen tools!
- Use a fork: Similar to the pastry blender, use a fork to slice and gently mash the cold butter into the flour.
- Food Processor: A food processor is a great tool for cutting butter into flour! Be sure to slowly pulse everything together to avoid overmixing.
- Grater: For this option, I wouldn’t recommend cubing the butter first. Take the very cold block of butter and grate it on the larger holes. Mix the grated butter into the flour.
The video below has some great visuals showing the different ways of mixing butter into flour, so you know what to look for!
Avoid Overworking the Dough
Gluten-free dough doesn’t need kneading, which is done to help develop gluten. Overmixing compresses the dough, leading to dense biscuits with less rise. Mix just until the dough comes together. A few dry spots or cracks are normal and will smooth out more as the dough is shaped and rested.
When you fold the dough, you are literally folding up the rectangle of dough as if it were a piece of paper you were folding to put in an envelope. It is a laminating technique that creates layers and structure without overmixing, keeping the dough tender.
Aside from the method I’ve explained in this recipe, there are a few other ways of folding your dough to achieve perfect biscuits. In this King Arthur article, titled “For the flakiest dough, you’ve gotta fold”, you’ll see a couple of different tips and techniques that you can try in your next batch of biscuits!
How Thick To Roll the Dough
Roll or pat the dough to between 3/4″-1″ thick. Dough that’s rolled too thin will bake quickly but won’t have the height or soft interior that makes a great biscuit.
Oven Placement for Optimal Rise
Bake the biscuits on the middle rack, then move them to the upper rack for the last few minutes if needed for browning. Finishing the biscuits higher in the oven can help achieve that golden top without overbaking the bottoms.
Don’t Overbake
Gluten-free biscuits can dry out faster than traditional ones. Remove them from the oven as soon as the tops are lightly golden and the edges are set. They will continue to firm up slightly as they cool, and pulling them out at the right moment keeps the centers tender and moist.
Ingredient Substitutions
From vegan essentials to flour swaps and dairy alternatives, here are some ways to switch up this recipe based on your needs while achieving the same great results.
- Gluten-Free Flour: I have only tested this recipe using my gluten-free flour mix, but a trusted brand I use when I run out of my own mix is the King Arthur 1:1 Flour, if you need an alternative.
- Xanthan Gum: This works as a great binder in this recipe, but if you are looking for alternatives, I’ve compiled a list of other gluten-free binders that make for decent substitutes.
- Vegan Butter: If you are not on a vegan or dairy-free diet, you can absolutely swap this out for regular butter.
- Dairy-Free Sour Cream: For other dairy-free alternatives to this, you can use a dairy-free yogurt. As with the butter, if you are not on a vegan or dairy-free diet, you can swap this out for regular, full-fat sour cream, Greek yogurt, creme fraiche, or buttermilk.
Storage Tips
Biscuits are best served warm and fresh right out of the oven! But if you’ve made plenty of extras to enjoy (I don’t blame you), then here are some storage tips to best enjoy your leftover gluten-free biscuits.
Whether storing at room temperature, in the fridge, or in the freezer, these biscuits keep best in an airtight container. They are freshest for up to 2 days at room temperature and up to 5 days in the refrigerator. Warm them up in the microwave or toaster oven before serving for the best texture.
Biscuits freeze well, baked or unbaked. After shaping and cutting the biscuits, place the tray in the freezer until the biscuits are solid. Then, store them in an airtight container or freezer-safe bag for up to 2 months. When ready to bake, (optionally brush the tops with milk), then place the frozen biscuits into the preheated oven, adding a few minutes of bake time to the written recipe.
Baked biscuits, once fully cooled, can be stored in an airtight, freezer-safe container for up to 2 months. Reheat before serving for the most satisfaction!
Gluten-Free Biscuit FAQs
Understanding gluten-free baking takes some time and lots of experimentation, but the more you practice new recipes and learn different tips and techniques, the more you will continue to excel. Here are some common questions and answers related to this recipe so you can add some new knowledge to your gluten-free baking skills!
What Can Gluten-Free Biscuits Be Served With?
These gluten-free biscuits make a great addition to both sweet and savory dishes. For a sweet dessert, use them in these dairy-free strawberry shortcakes or serve them warm with a spread of jams and butter. For some savory options, they are perfect in this biscuits and gravy recipe. Serve them alongside soups and stews, or slice them in half and fill them with eggs and bacon for delicious breakfast sandwiches.
Can I Make the Dough Ahead of Time?
Good news, this biscuit dough can be made ahead of time! Mix the dough, fold it into thirds, then wrap it well in plastic wrap and refrigerate it for up to 3 days. When you’re ready to use it, remove it from the fridge, roll it out, cut the biscuits, and bake as written in the recipe above.
These biscuits can also be frozen before baking. Follow the recipe all the way up until baking. Once you have cut the biscuits, freeze them on the baking tray until they are solid. Then package them in an airtight container or freezer-safe bag for up to 2 months.
When ready to bake, (optionally brush the tops with milk), then place the frozen biscuits into the preheated oven, adding a few minutes of bake time to the written recipe.
What If I Don’t Have a Biscuit Cutter?
A biscuit cutter is a great tool not only for making biscuits, but also for cutting out cookies, donuts, scones, or even ravioli or dumplings! I would highly recommend adding it to your set of kitchen tools, and this option here comes with both a pastry blender and biscuit cutters of a few different sizes.
Even if you don’t have a pastry blender or aren’t in the mood to buy one just yet, don’t worry! Here are some simple household items that work as substitutes: an empty, washed tin can or a drinking glass (preferably one with a thinner rim). I recommend dipping them in a bit of flour as you cut each biscuit, so the dough doesn’t stick to the can or glass and the biscuits easily release.
What Do I Do With the Scraps of Dough?
Don’t throw them away! Gently stack the scraps on top of each other and lightly press them together. Avoid kneading or twisting, which can make the biscuits dense. Pat or roll the dough back to about 3/4″ thick and cut additional biscuits.
If the dough is shrinking up and difficult to roll out, let it rest in the fridge for about 10-15 minutes, then try rolling it out again to cut. Keep in mind that re-rolled scraps may not rise quite as high, but they’ll still taste great!
The Best Gluten-Free Biscuits
Gluten-free baking doesn’t have to feel intimidating or unpredictable, especially when you understand the small details that make a big difference. With the right flour blend, cold butter, and gentle handling, these gluten-free biscuits become a breeze. You don’t have to sacrifice height, flakiness, or flavor to bake without gluten, dairy, or eggs.

Make these biscuits for a cozy breakfast, serve them with a hearty dinner, or stash them in the freezer for busy mornings. This recipe fits real life.
More Gluten-Free Baking Inspiration You’ll Love
Looking for more gluten-free biscuits and rolls inspiration? Explore the recipes linked below for more allergy-friendly favorites you can enjoy any day!
From rich chocolatey treats to savory, buttery rolls, these gluten-free favorites make it easy to enjoy comfort baking, no gluten required. Happy baking!
Join the Gluten-Free Baking Conversation
If you try these biscuits, take a moment to leave a comment below to help other gluten-free bakers find recipes they can trust. And if you found this recipe useful, be sure to bookmark it or pin it for later. You’ll be glad to have it on hand when a craving for warm, flaky, gluten-free biscuits strikes!