Few things are more disappointing than dense, crumbly gluten-free biscuits, especially when you’re craving something tall, fluffy, and buttery. These gluten-free angel biscuits solve that problem beautifully.
Thanks to a clever combination of yeast and classic biscuit leavening, they rise high, stay tender, and taste just like the comforting biscuits you remember, only gluten-free. Whether you’re soaking up gravy at dinner or building the ultimate breakfast sandwich, this is the biscuit recipe you’ll come back to again and again.
Table of Contents
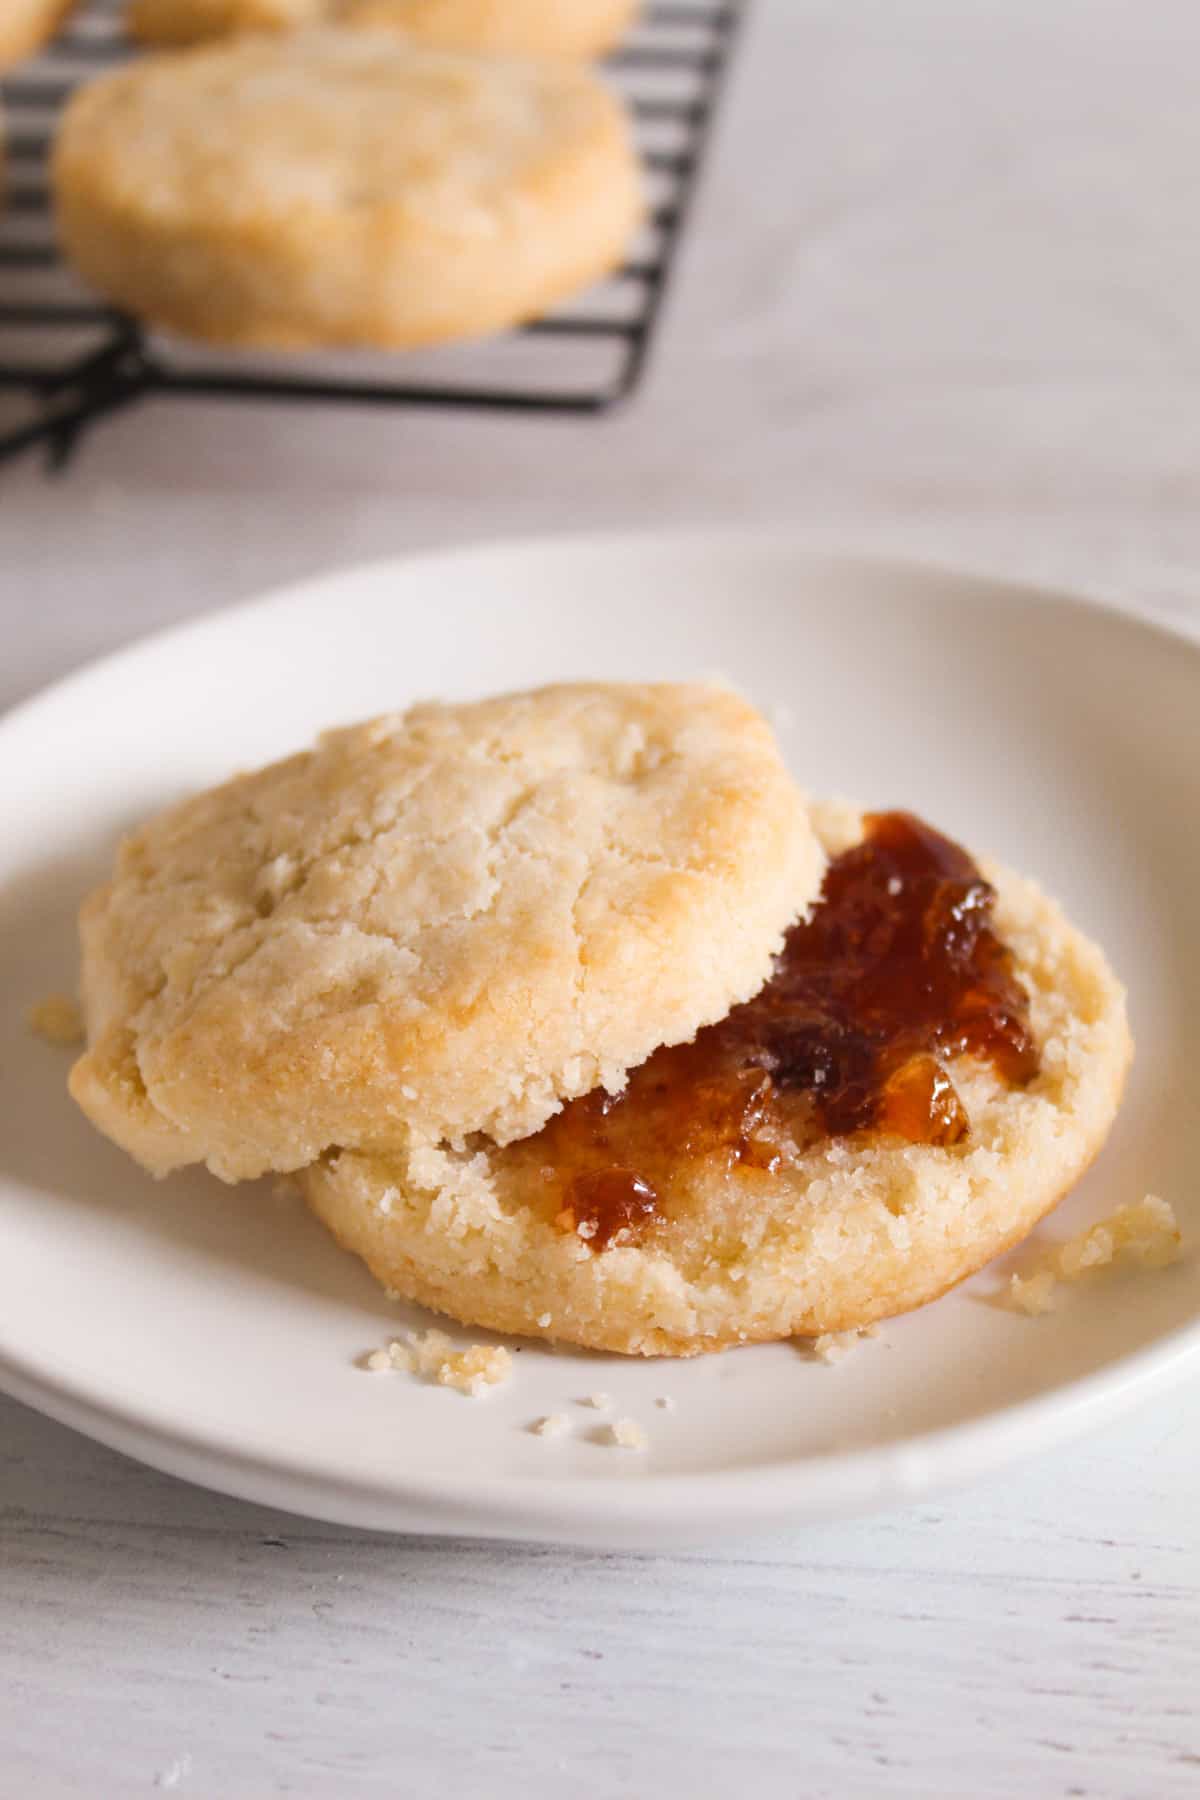
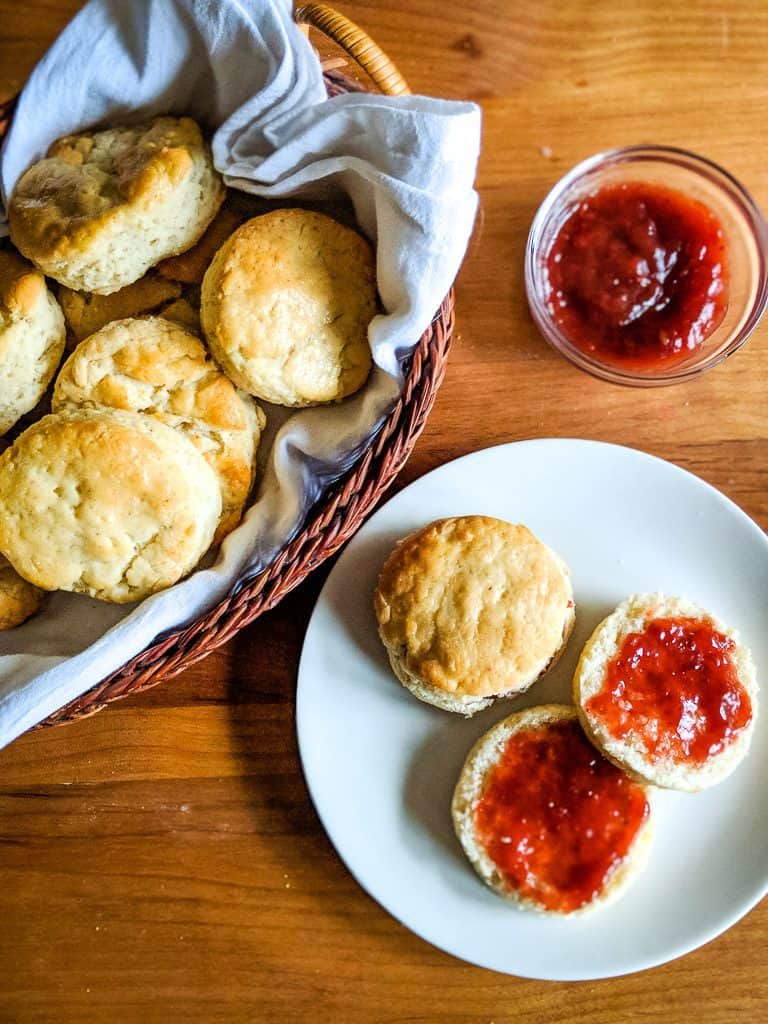
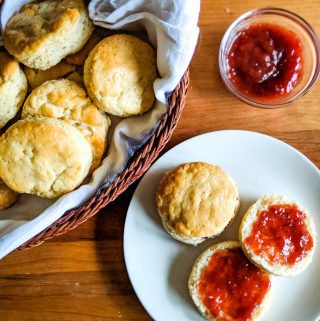
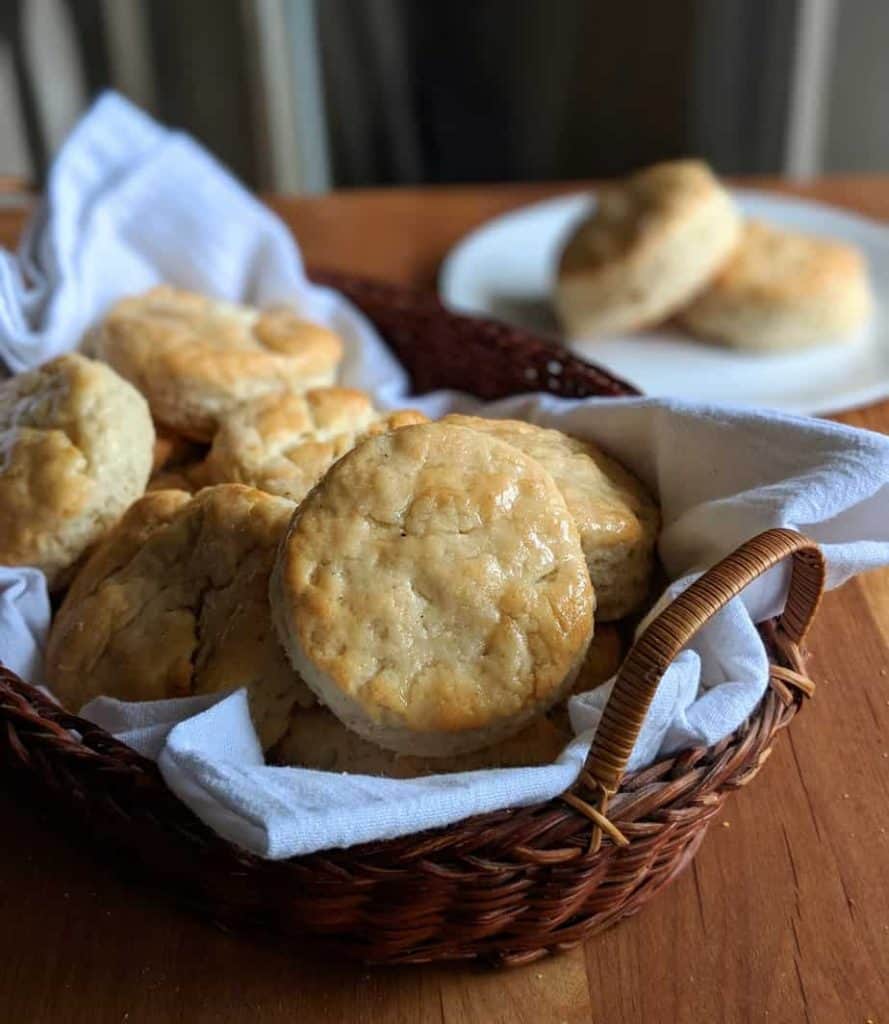
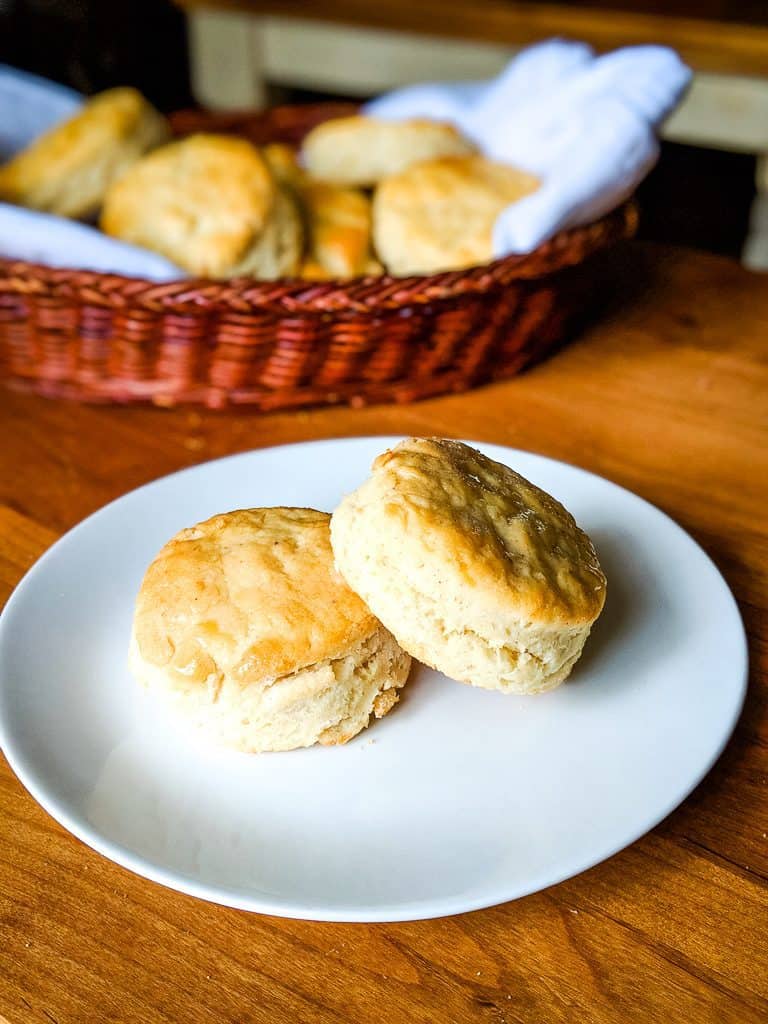
Served with jelly or some butter, they pair perfectly with any meal.
What’s an Angel Biscuit?
An angel biscuit is a hybrid between a traditional Southern biscuit and a yeast roll. Unlike classic biscuits inlcduing cut-out and drop biscuits that rely only on baking powder or baking soda for lift, angel biscuits use yeast in addition to chemical leaveners.
This combination gives angel biscuits their signature texture, lighter, taller, and more tender than standard biscuits, but much quicker and easier than full yeast breads. The result is a soft, fluffy biscuit with just enough structure to hold up to gravy, butter, or breakfast fillings.
In this gluten-free version, yeast helps replace some of the structure normally provided by gluten, making these biscuits rise better and stay softer than typical gluten-free biscuits.
5 Reasons You’ll Love These Gluten-Free Angel Biscuits
If you’ve ever been disappointed by gluten-free biscuits that turned out dense, dry, or flat, this recipe is about to change your expectations. Here’s what makes these angel biscuits truly special:
- Light and fluffy texture: A combination of yeast and classic biscuit leaveners creates a tender crumb with impressive rise, no heavy or gummy texture.
- Reliable rise in under an hour: These biscuits use a short rise time, so you get the benefits of yeast without waiting hours for the dough to proof.
- Perfect for meals or breakfast: They’re sturdy enough for sandwiches but soft enough to enjoy with butter, jam, or honey.
- Designed specifically for gluten-free baking: Added binders and balanced hydration help prevent crumbling and spreading, even without gluten.
- Beginner-friendly: Straightforward steps and forgiving dough make this recipe approachable, even if you’re new to gluten-free or yeast-based baking.
They’re also incredibly versatile. Serve them warm with butter and jam, use them to soak up gravy or sauces at dinner, or slice them open for breakfast sandwiches filled with eggs, bacon, or sausage.
Ingredient Breakdown for Angel Yeast Biscuits
Each ingredient in these gluten-free angel biscuits plays an important role in creating a light, fluffy texture and reliable rise.
Angel Yeast Biscuits Ingredients at A Glance
- 2 ¼ tsp. active dry yeast
- ¼ cup warm water (110 F)
- 3 cups gluten-free bread flour mix
- 2 Tbsp. white sugar, divided
- 1 tsp. baking powder
- 1 tsp. salt
- 1/2 tsp. baking soda
- 1 tsp. psyllium husk powder
- 1 tsp. xanthan gum
- 1/2 cup unsalted butter, very cold
- 1 cup warm buttermilk (110F)
The sections below explain what each ingredient does and why it matters.
Active Dry Yeast (2 ¼ tsp.)
Yeast produces carbon dioxide as it feeds on sugar, creating air pockets that help the biscuits rise and stay light. In gluten-free baking, yeast adds structure and softness that chemical leaveners alone cannot provide.
Warm Water (¼ cup, 110°F)
Warm water activates the yeast. Water that is too cool won’t activate it properly, while water that is too hot can kill the yeast. Around 110°F is ideal.
Gluten-Free Bread Flour Mix (3 cups)
Gluten-free bread flour blends are formulated to mimic the structure of wheat flour. They help trap the gases produced by yeast and leaveners, allowing the biscuits to rise higher and hold their shape.
White Sugar (2 Tbsp., divided)
One tablespoon of sugar feeds the yeast during activation, while the remaining sugar adds a touch of sweetness and helps the biscuits brown evenly in the oven.
Baking Powder (1 tsp.)
Baking powder provides a quick lift when the biscuits hit the heat of the oven, giving them extra rise and a lighter texture.
Salt (1 tsp.)
Salt enhances flavor and helps regulate yeast activity, ensuring steady fermentation and balanced taste.
Baking Soda (½ tsp.)
Baking soda reacts with the acidity in buttermilk to create additional lift and a tender crumb.
Psyllium Husk Powder (1 tsp.)
Psyllium husk powder absorbs liquid and forms a gel that helps gluten-free dough hold together, improving elasticity and reducing crumbling.
Xanthan Gum (1 tsp.)
Xanthan gum replaces the elasticity normally provided by gluten and helps trap gases so the biscuits rise upward instead of spreading out.
Unsalted Butter (½ cup, very cold)
Cold butter creates flakiness as it melts in the oven, releasing steam that forms layers and air pockets in the biscuits.
Warm Buttermilk (1 cup, 110°F)
Buttermilk adds moisture and tenderness while its acidity activates the baking soda. Keeping it warm prevents shocking the yeast when mixing.
Why This Combination Works
These biscuits use yeast, baking powder, and baking soda together to create maximum rise and tenderness. Combined with gluten-free binders and cold butter, this results in biscuits that are light, fluffy, and sturdy.
Printable Gluten-Free Angel Yeast Biscuits Recipe Card
Ingredients
- 2 ¼ tsp. active dry yeast
- 1/4 cup warm water 110 F
- 3 cups gluten-free bread flour mix
- 2 Tbsp. white sugar divided
- 1 tsp. baking powder
- 1 tsp. salt
- 1 /2 tsp. baking soda
- 1 tsp. psyllium husk powder
- 1 tsp. xanthan gum
- 1/2 cup unsalted butter very cold
- 1 cup warm buttermilk 110F
Instructions
- In a small bowl, mix 1 Tbsp. of the sugar into the warm water. Stir until sugar is completely dissolved. Add the yeast and mix. Set aside.
- In a large bowl, use a whisk and mix together the light flour mix, sugar, baking powder, salt, and baking soda, psyllium husk powder and xanthan gum.
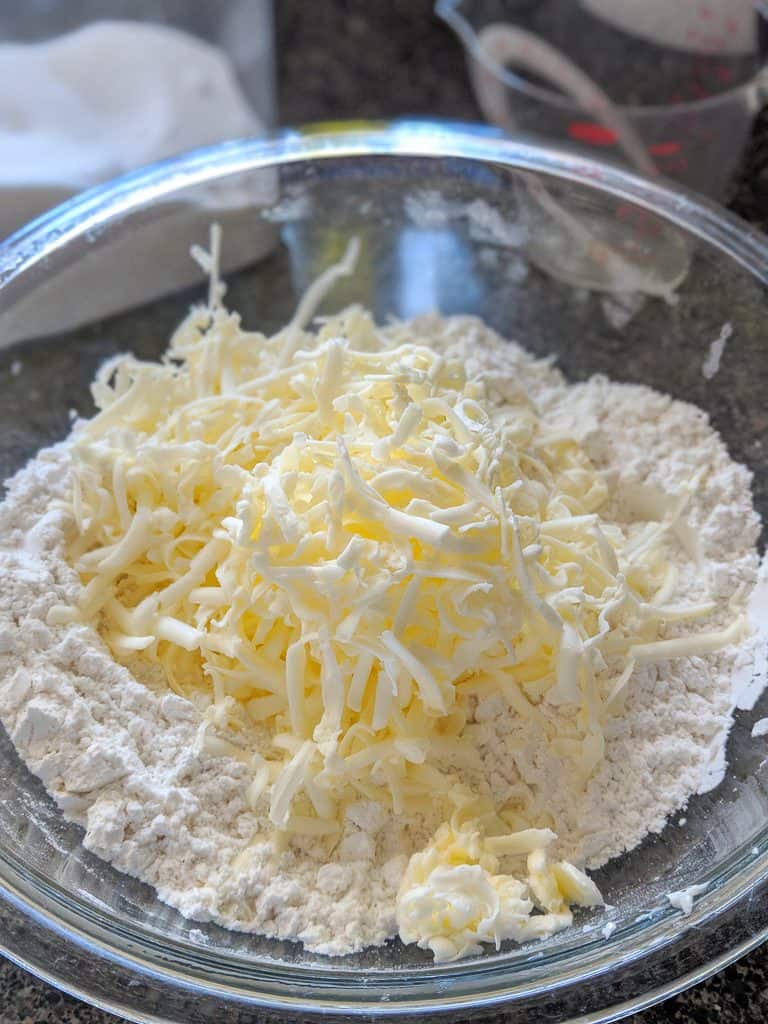
- Over the large bowl, use a grater to grate in the cold butter.
- Stir until the grated butter is covered with flour.
- Stir the buttermilk and yeast mixture into the large bowl.
- Mix gently just until it forms a dough.
- On a lightly floured surface, knead a few times until the dough holds together.
- Using a floured rolling pin, roll the dough until roughly 1 inch thick. Cut with a floured 2-inch biscuit cutter.
- Place the biscuits on parchment and let rise for 15 minutes.
- Preheat oven to 400 F.
- Bake for 15 – 17 minutes or until the tops are a light golden brown color and a toothpick stuck into one comes out clean.
Notes
- Using a grater for the butter saves time and energy!
- Resist the urge to roll the dough out too much.
- Just a quick rise is all you need.
Nutrition
Nutrition Information for Gluten-Free Yeast Biscuits
All nutrition information is approximate and based on the gluten-free yeast biscuits recipe as shown. It can vary depending on the exact ingredients and amounts used. You can explore accurate, science-backed data using the USDA FoodData Central database.
Step-by-Step Method for Making Angel Yeast Biscuits
Now that you know what makes angel biscuits different and why these are worth making, it’s time to put everything together. This method walks you through each step of the process, from activating the yeast to baking the biscuits until they’re perfectly golden and fluffy.
Step 1: Mix sugar, water, and yeast
In a small bowl, mix hot water and 1 tbsp sugar, stirring until it is completely dissolved. Stir in yeast.
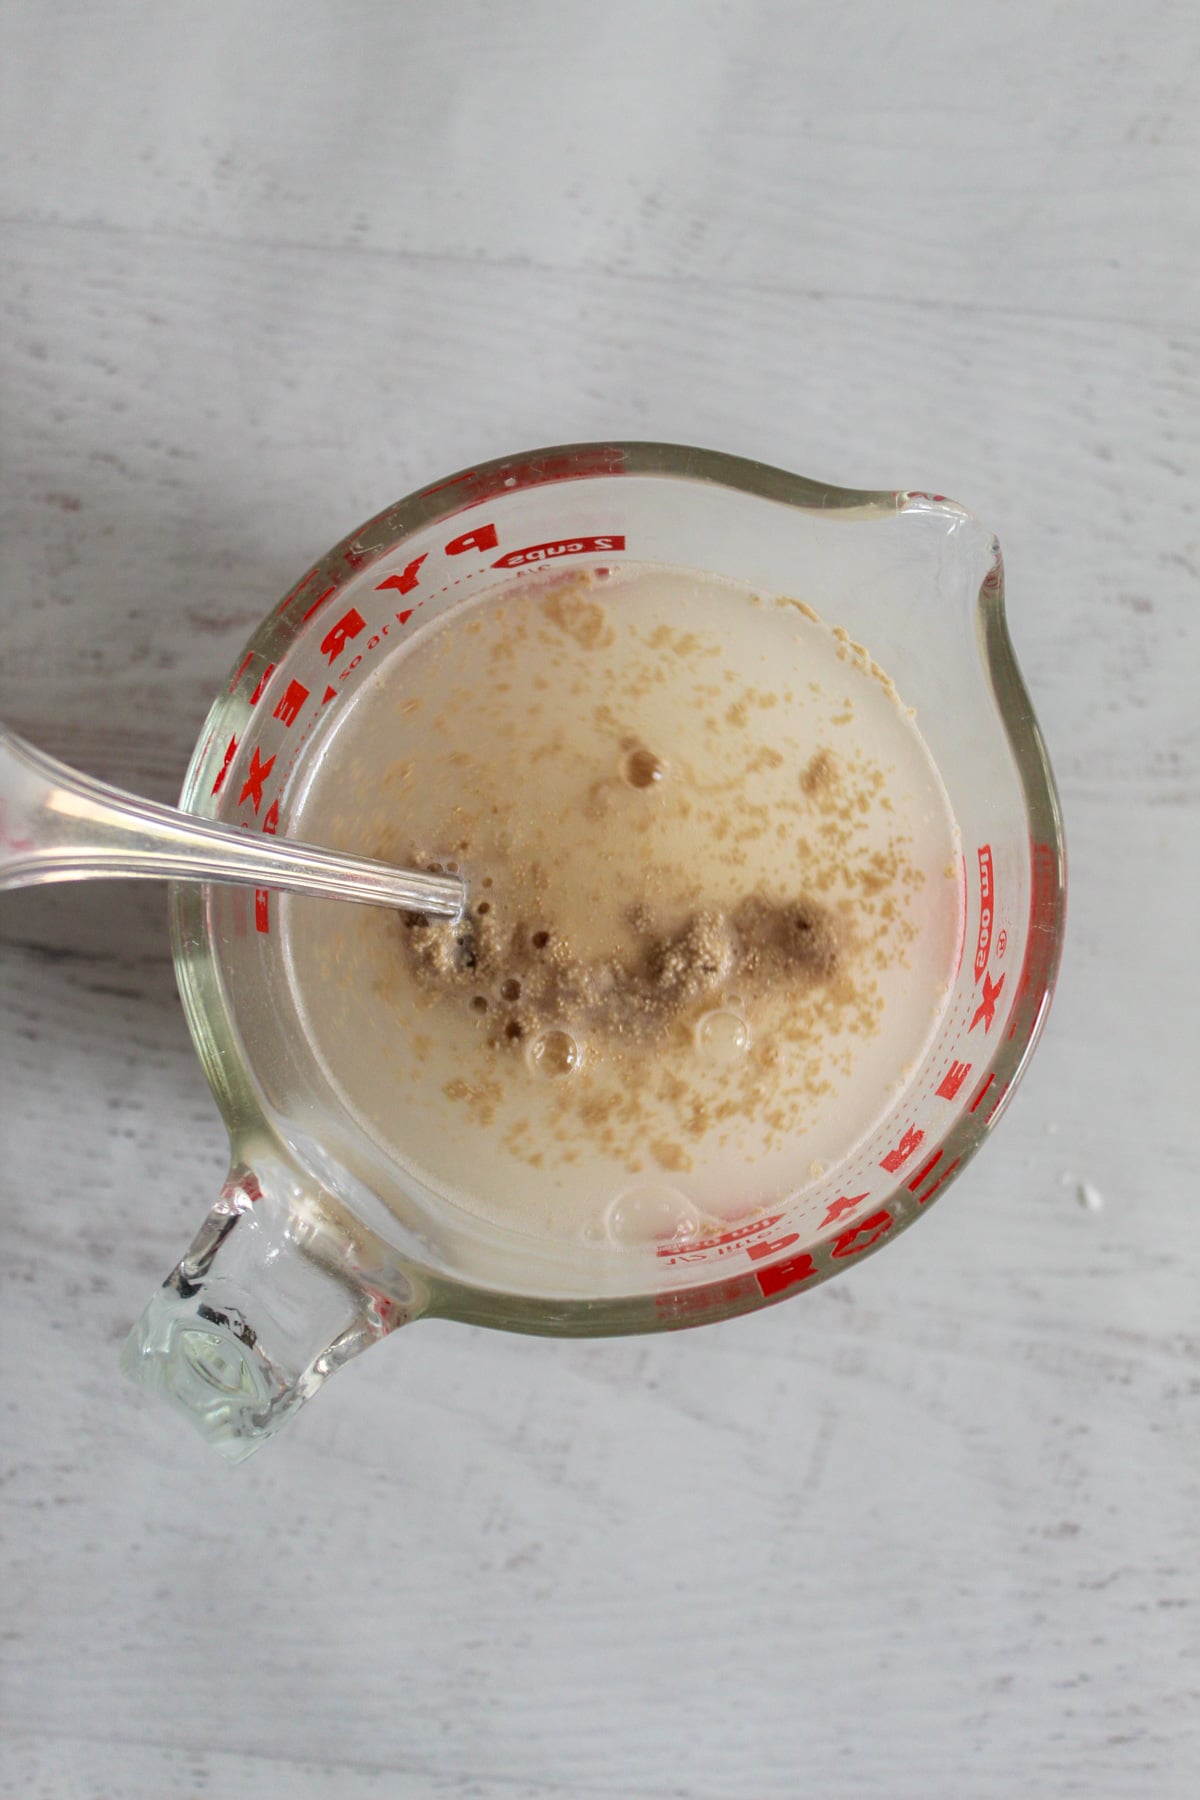
This helps activate the yeast, which needs sugar to do its job as a leavening, or ingredient that helps dough rise and makes the final baked item fluffy. As we show in the FAQ section below, this activation phase helps the yeast work better.
The main thing is not to get it too hot! The water shouldn’t be much hotter than 110 degrees F, or it can kill the yeast.
Step 2: Mix dry ingredients
In a large bowl, whisk together the flour mix, remaining sugar, baking powder, salt, and baking soda, psyllium husk powder, and xanthan gum.
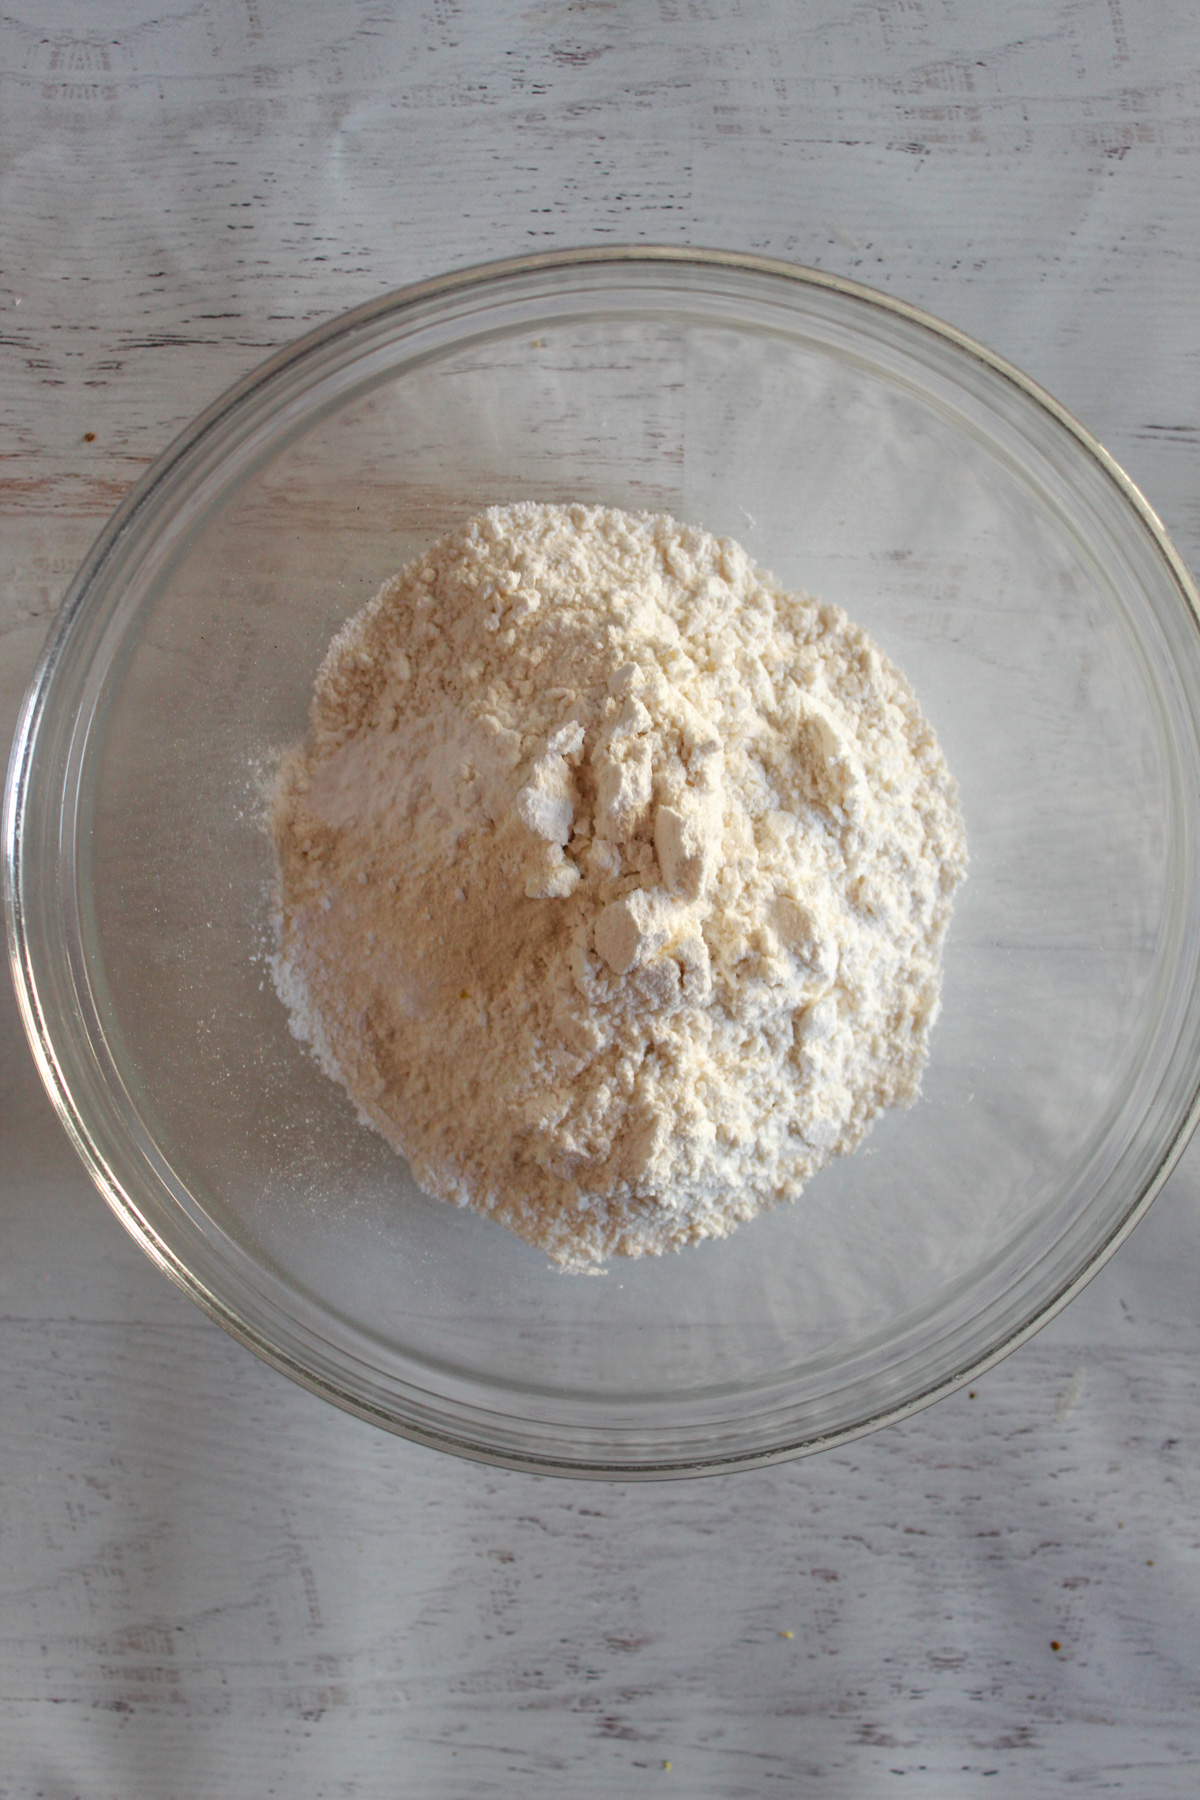
Although it’s not strictly necessary, I like to have them pretty well mixed before I go on to add the butter and liquids. That includes getting the whisk down into the bottom of the bowl to get that stuff that tends to settle to the bottom.
Step 3: Add butter
I like to do something a little different and grate the butter into the dry ingredient mixture. Then stir it in until the butter is evenly distributed.
Step 4: Add buttermilk and water-yeast mixture
Stir the buttermilk and water-yeast mixture into the dry ingredients. Mix gently until it forms a dough.
Step 5: Knead dough
On a lightly floured surface, knead the dough a few times until it holds together.
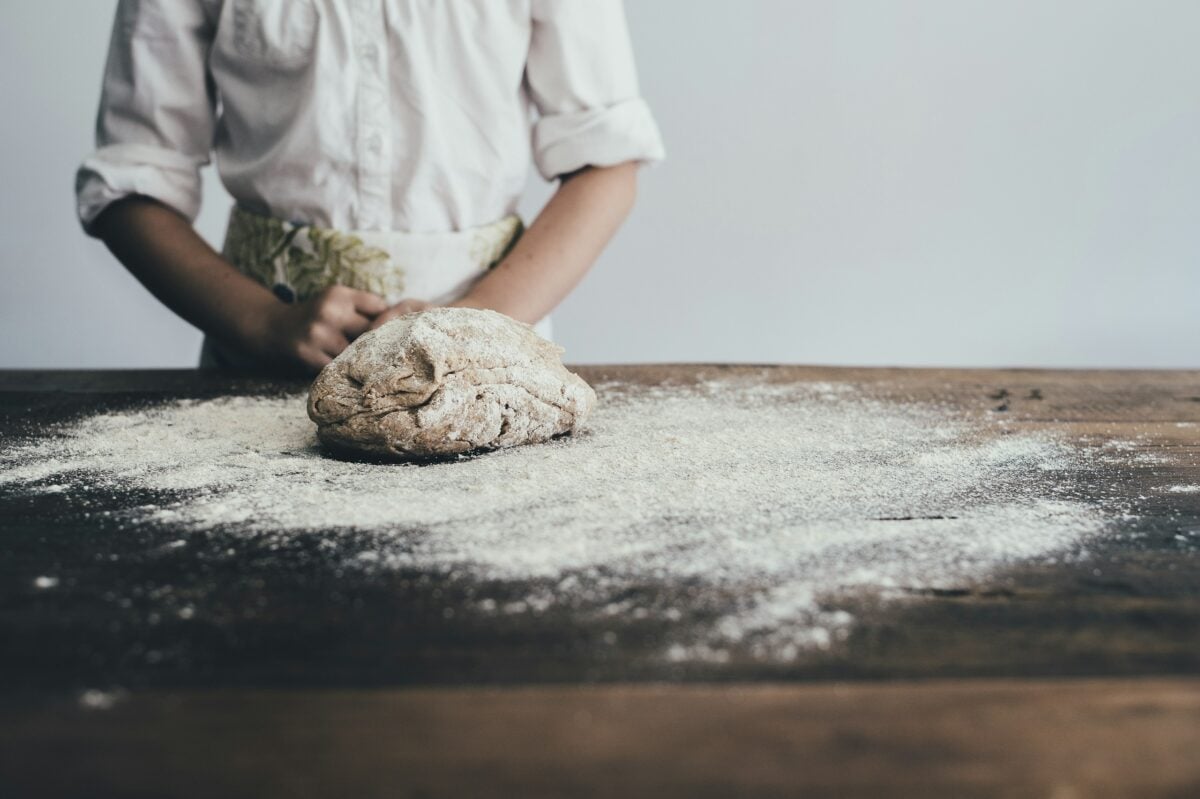
No need to overdo it. By this point, the ingredients should be mixed enough that not much more than 6 or 7 good kneads should do it.
Step 6: Roll the dough
Lightly flour a rolling pin and use it to roll the dough until it is 1 inch thick. Be careful not to get it too thin. If you aren’t sure, a tape measure might be helpful.
Step 7: Cut out the biscuits
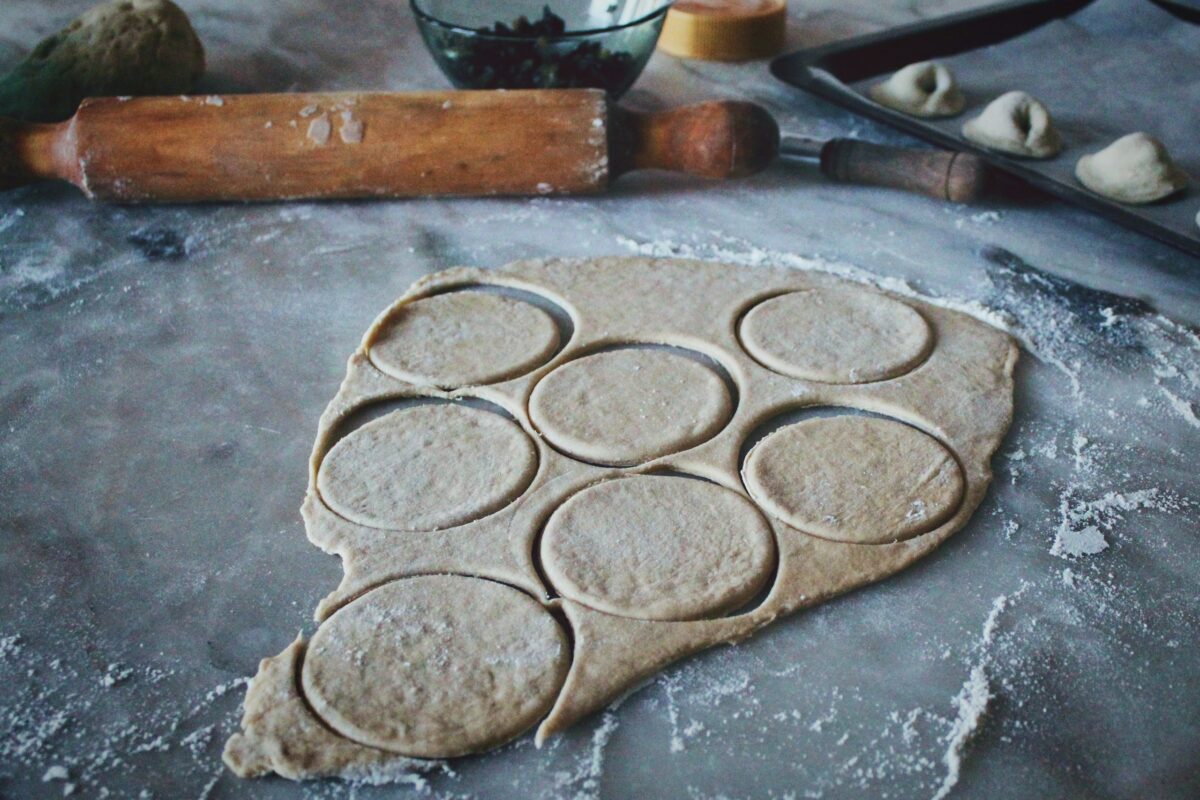
Use a lightly floured 2-inch biscuit cutter to cut out the biscuits.
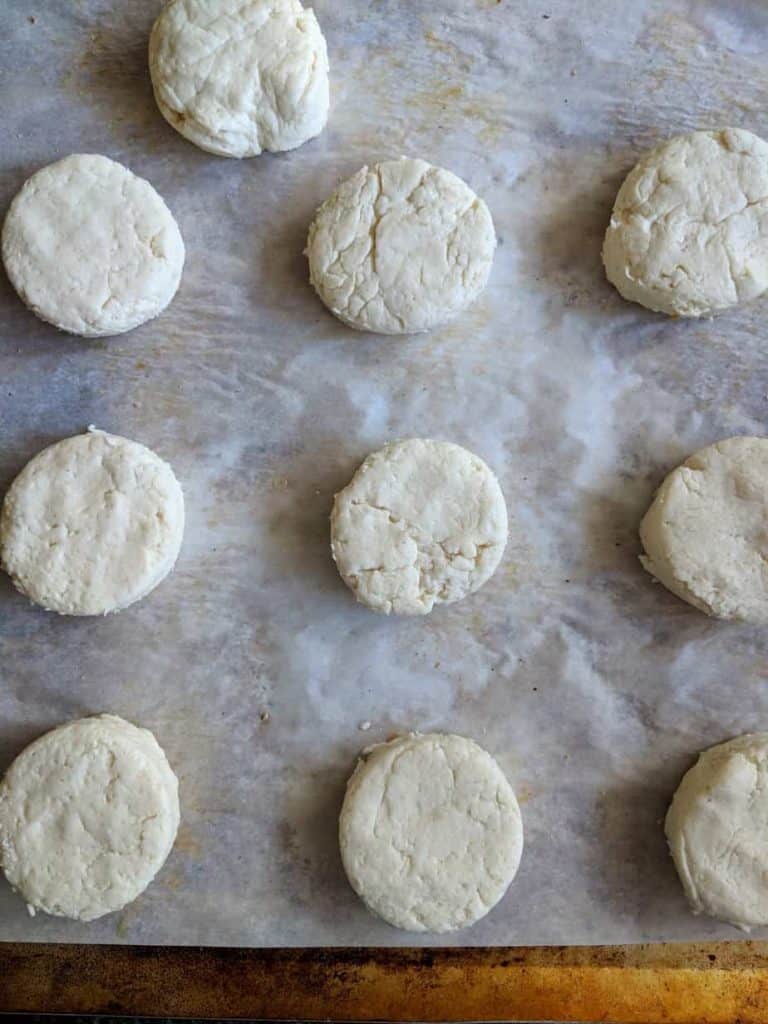
Step 8: Let biscuits rise
Place biscuits on parchment paper and allow to rise for 15 minutes.
Step 9: Bake biscuits
While biscuits are rising, preheat your oven to 400 F (204 C). Bake for 15-17 minutes until golden brown.
Tips for Perfect Gluten-Free Yeast Biscuits
Before you start baking, or if you want to make sure your biscuits turn out tall and fluffy every time, these tips will help you avoid common gluten-free baking pitfalls and get the best possible results.
Grate the Butter
You’ve probably tried grating or shredding your own cheese at some point, but have you tried grating butter? This technique will change the way you make biscuits. Once you try making biscuits this way, you’ll never go back to ‘cutting in’ the butter again!
Use the large side of a grater, one like this works perfectly, and grate the butter directly into the bowl. Then just mix it and voila – perfect crumbles.
Roll the Dough, but Not Too Much
The secret to tell, high rising biscuits is to resist the urge to roll the dough out too much. This isn’t just for gluten-free biscuits, either; this can happen with any biscuit.
The important thing to remember is that you aren’t making gluten-free pie with this recipe. (Nothing against pie, though – in fact, if you want to try making your own gluten-free pie crust later, we do have a recipe for that!) Keep the dough thick, and you’ll have a nice, tall biscuit.
Rise Time
For the best gluten-free yeast biscuits, let the biscuits rise for at least 15 minutes. They should look taller than when they were first cut out, but not mountainous. Be careful not to let them rise for too long, as they will deflate in the oven.
And, the delicious results:
Substitutions for Gluten-Free Angel Biscuits
Guar gum is a reasonable substitute for Xanthan gum. The important thing is to have a replacement for the gluten, which normally provides the fluffy texture in biscuits.
Forgot the buttermilk last time you went grocery shopping? Mix one tablespoon of lemon juice (fresh-squeezed if you can get it) or vinegar with enough milk to bring the measuring cup up to one cup. Stir until evenly mixed, and then let it sit for 5 to 10 minutes.
Storing and Reheating Your Biscuits
Biscuits can be stored in an airtight container or Ziploc bag in the fridge for 3-4 days. They can also be frozen for a few months and thawed out in the fridge overnight as you need them. Heat in the microwave for about 30 seconds.
Did they get stale? Sometimes I like to put just a smidge of butter on them before microwaving them to liven them up.
Frequently Asked Questions About Gluten-Free Angel Biscuits
If you’re new to gluten-free or yeast-based baking, you may have a few questions before getting started. This section covers the most common concerns and troubleshooting tips to help you bake with confidence.
Still have questions or run into an issue not covered here? Feel free to ask in the comments below. Your question may help another reader, and we’re always happy to help.
What Is Xanthan Gum?
Xanthan gum is a plant-based thickener made by fermenting sugar with natural bacteria. It helps bind ingredients, improve texture, and mimic gluten’s elasticity in gluten-free baking.
Why do you want to put yeast in such hot water to begin with?
You actually don’t want hot water for yeast. High heat will kill it.
Yeast thrives in warm water (about 100–110°F / 38–43°C). That temperature wakes it up and activates fermentation, allowing it to produce gas and make your dough rise.
Why didn’t my biscuits rise?
Some common reasons that biscuits didn’t rise include:
- Not enough leavening. Yeast is usually one of the first things people think of when they think about leaveners, or ingredients that can make dough rise. Baking powder and baking soda are also leaveners. Using enough of them makes it easier to get the dough to rise and make the finished biscuits nice and fluffy.
- Not enough sugar. Yeast needs sugar to do its job as a leavening.
- The dough got rolled too thin. The biscuit dough should be rolled to one inch thick for the best results.
- The yeast was put in water that was too hot. Getting the water hotter than about 115 degrees F can kill the yeast.
- The dough didn’t get enough time to rise. For these biscuits, the dough should rise for about 15 minutes.
Why were my biscuits too dense?
One possible explanation is that the yeast was inactive. Before you add the yeast to the water, be sure to check the water temperature. Then make sure the yeast is active.
Why is my dough too dry? Why won’t it hold together after I kneaded it a few times?
The most likely explanation is that the ratio of dry to wet ingredients isn’t quite right (too much flour, probably). This can be solved by adding warm buttermilk one tablespoon at a time until it feels right when you knead it.
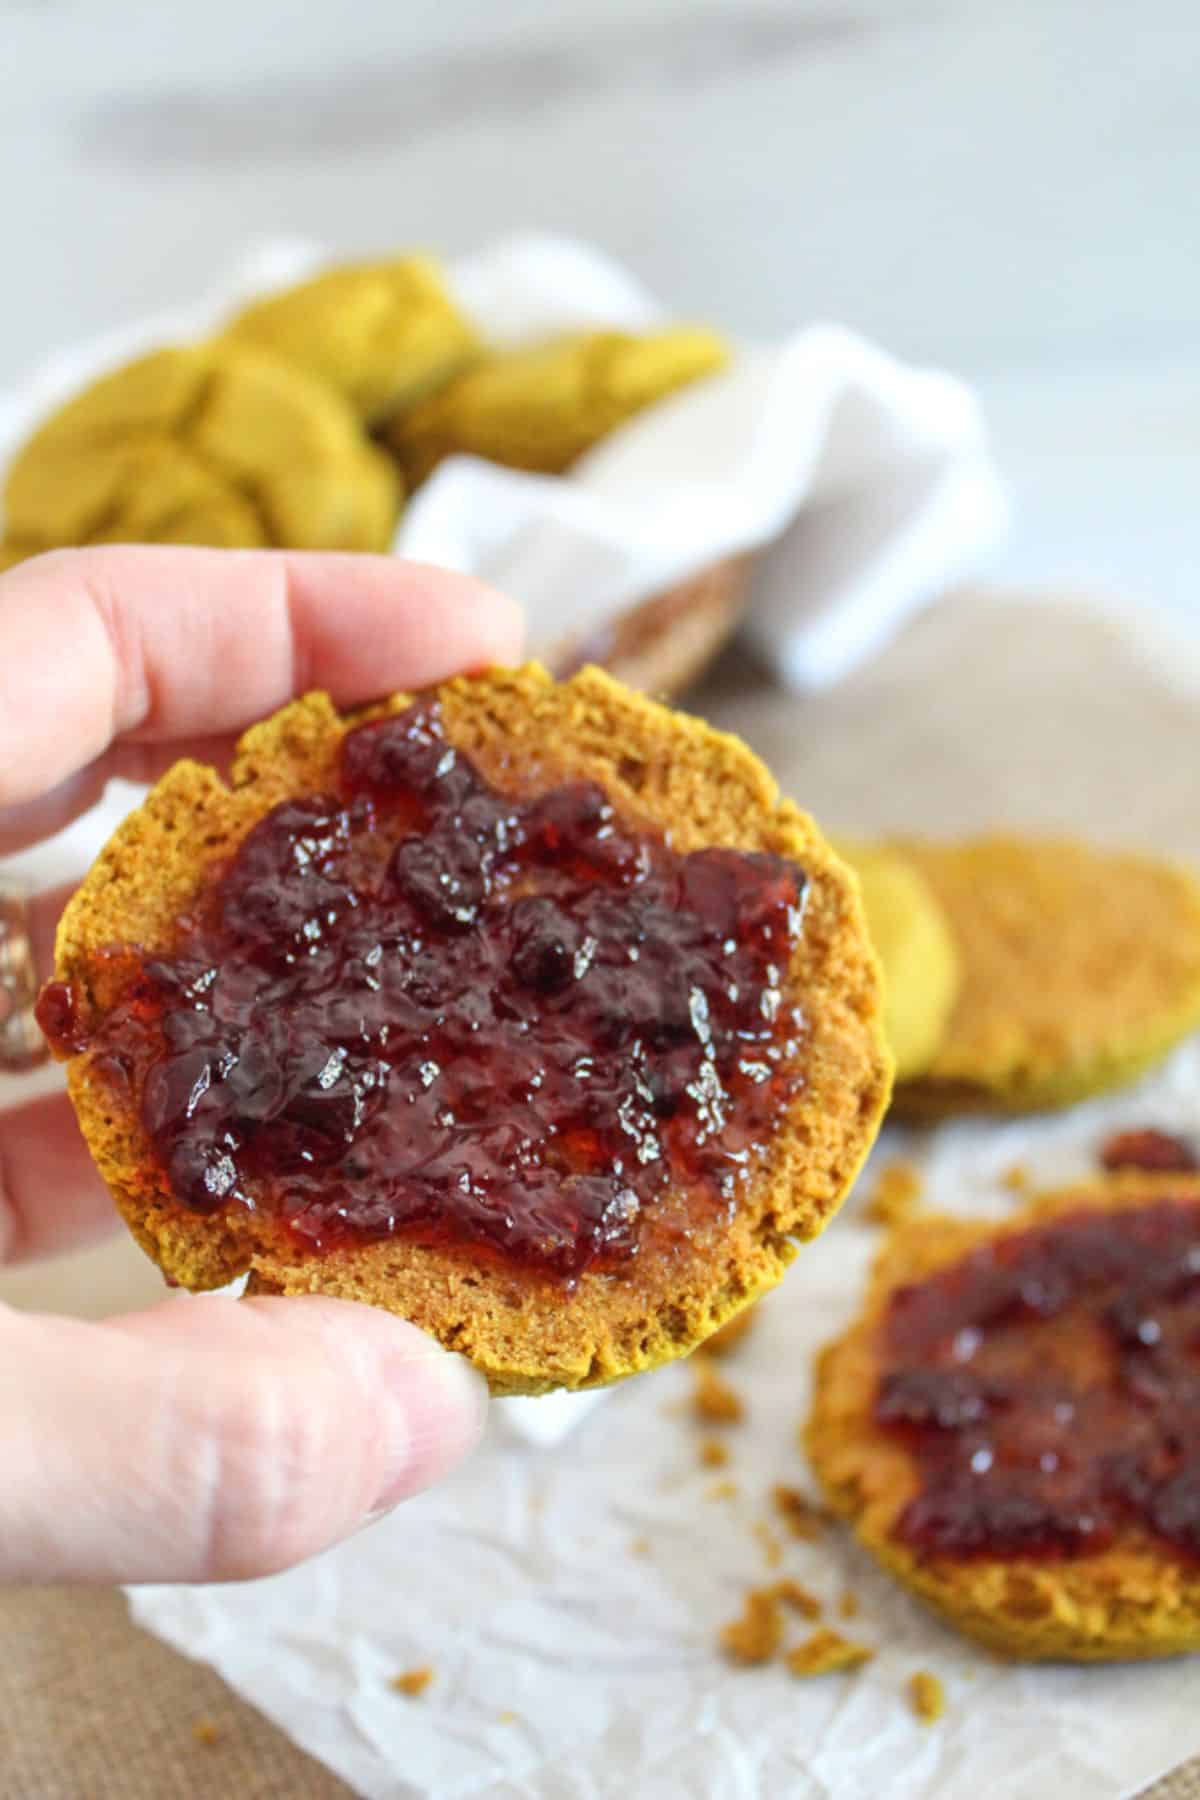
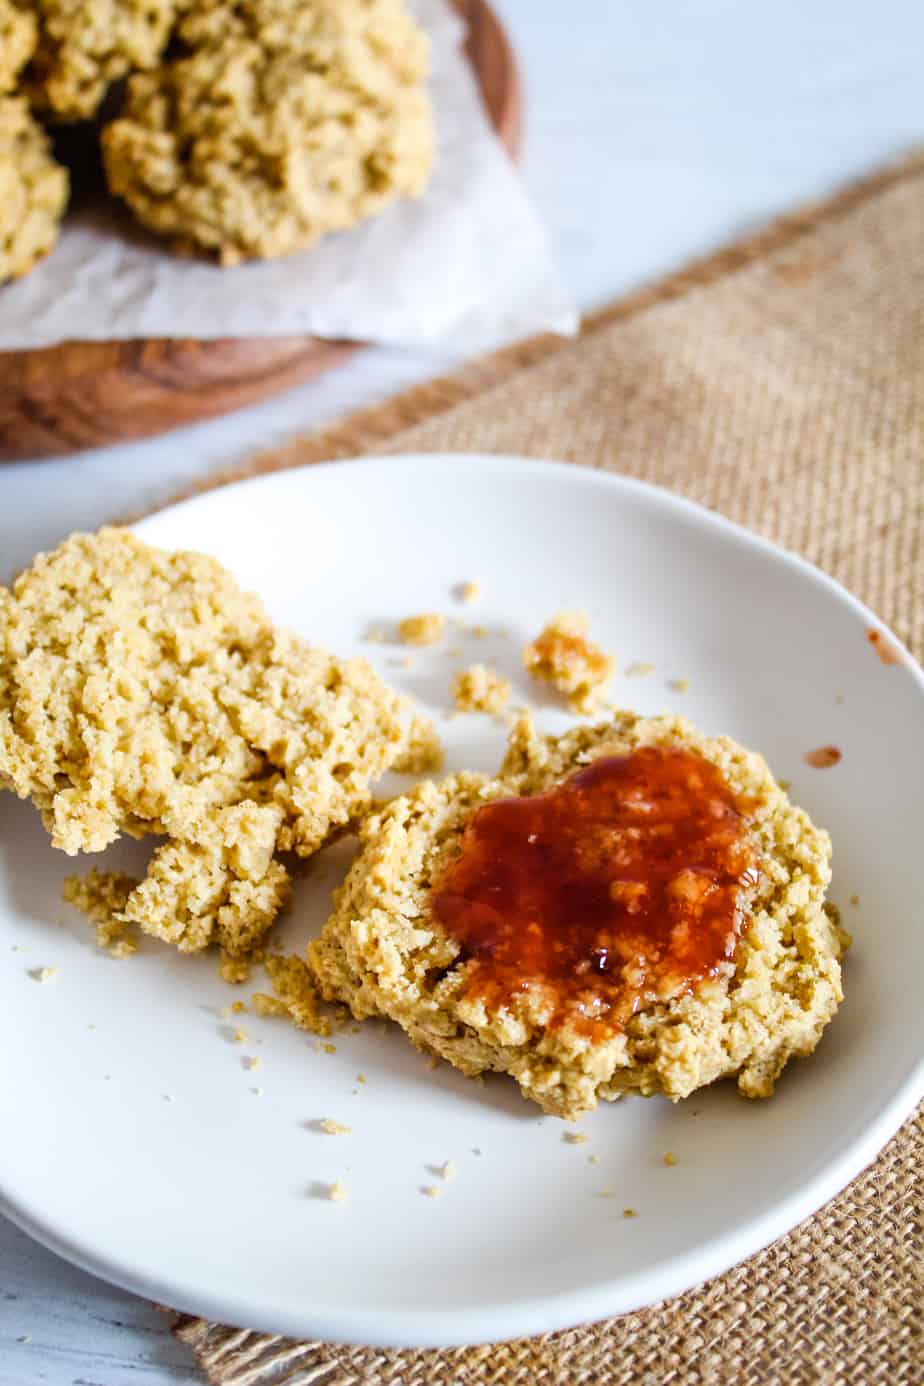
More Gluten-Free Baking Recipes to Try Next
If you enjoyed these angel biscuits, there’s a good chance you’ll love these other gluten-free baked goods as well. Each recipe is designed to be approachable, reliable, and full of flavor, perfect for expanding your gluten-free baking repertoire.
- Amazing Gluten-Free White Bread Without Xanthan Gum (Plus 6 Tips for Making It)
- Easy 8-Ingredient Gluten-Free Lemon Cranberry Muffins
- World’s Best Gluten-Free Cinnamon Rolls (No Yeast Or Dairy!)
- Cassava Flour Pancakes: Gluten-Free
- Moist Almond Flour Coffee Cake Recipe (Gluten-Free, Dairy-Free, So Easy)
Whether you’re baking for breakfast, dessert, or everyday meals, these recipes are great next steps to keep your gluten-free kitchen stocked with favorites.
Did You Try These Angel Biscuits?
We’d love to hear how your gluten-free angel biscuits turned out! Did they rise nice and tall? Did you enjoy them for breakfast, dinner, or both?
Share your experience in the comments below, along with any tweaks you made or questions you have. If you loved this recipe, don’t forget to save it, print it, or share it with a fellow gluten-free baker who’s always on the hunt for a great biscuit.