For the ultimate in meal prep, turn to an easy breakfast idea – a gluten free breakfast sandwich with egg and cheese! These delicious gluten free breakfast foods are popular with all ages, and for a good reason. Start your day right with scrambled egg, melted cheese, and the plnt-based meat of your choice on a homemade gluten-free roll. Preparing these ahead of time will make for a quick and healthy breakfast sandwich you can count on.

There are a few meals that become those family favorite, go-to meals. Whether they’re easy to prepare or just please everyone’s palate, they get rave reviews every time they’re made. It may sound strange, but breakfast is one of those for us.
Table of Contents
Everything you think of as traditional gluten free ’breakfast’ food is one of my family’s favorite meals: fluffy eggs, crispy bacon, sausage, ham, hash browns, all of it! Plus, our ‘breakfast’ is not reserved just for the morning hours. Dinner time is the perfect time for breaking out the skillets, scrambling up some eggs, and crisping up some turkey bacon. In fact, breakfast for dinner has become one of our weekday favorites.
This easy, gluten free breakfast idea takes breakfast and puts it in a sandwich. Even when you have no time to make anything for breakfast, you can warm up a breakfast sandwich and head out the door. It’s that easy. And it’s a great way to start your day or end it, depending on when you are enjoying these taste-bud tempting, healthy breakfast sandwiches.
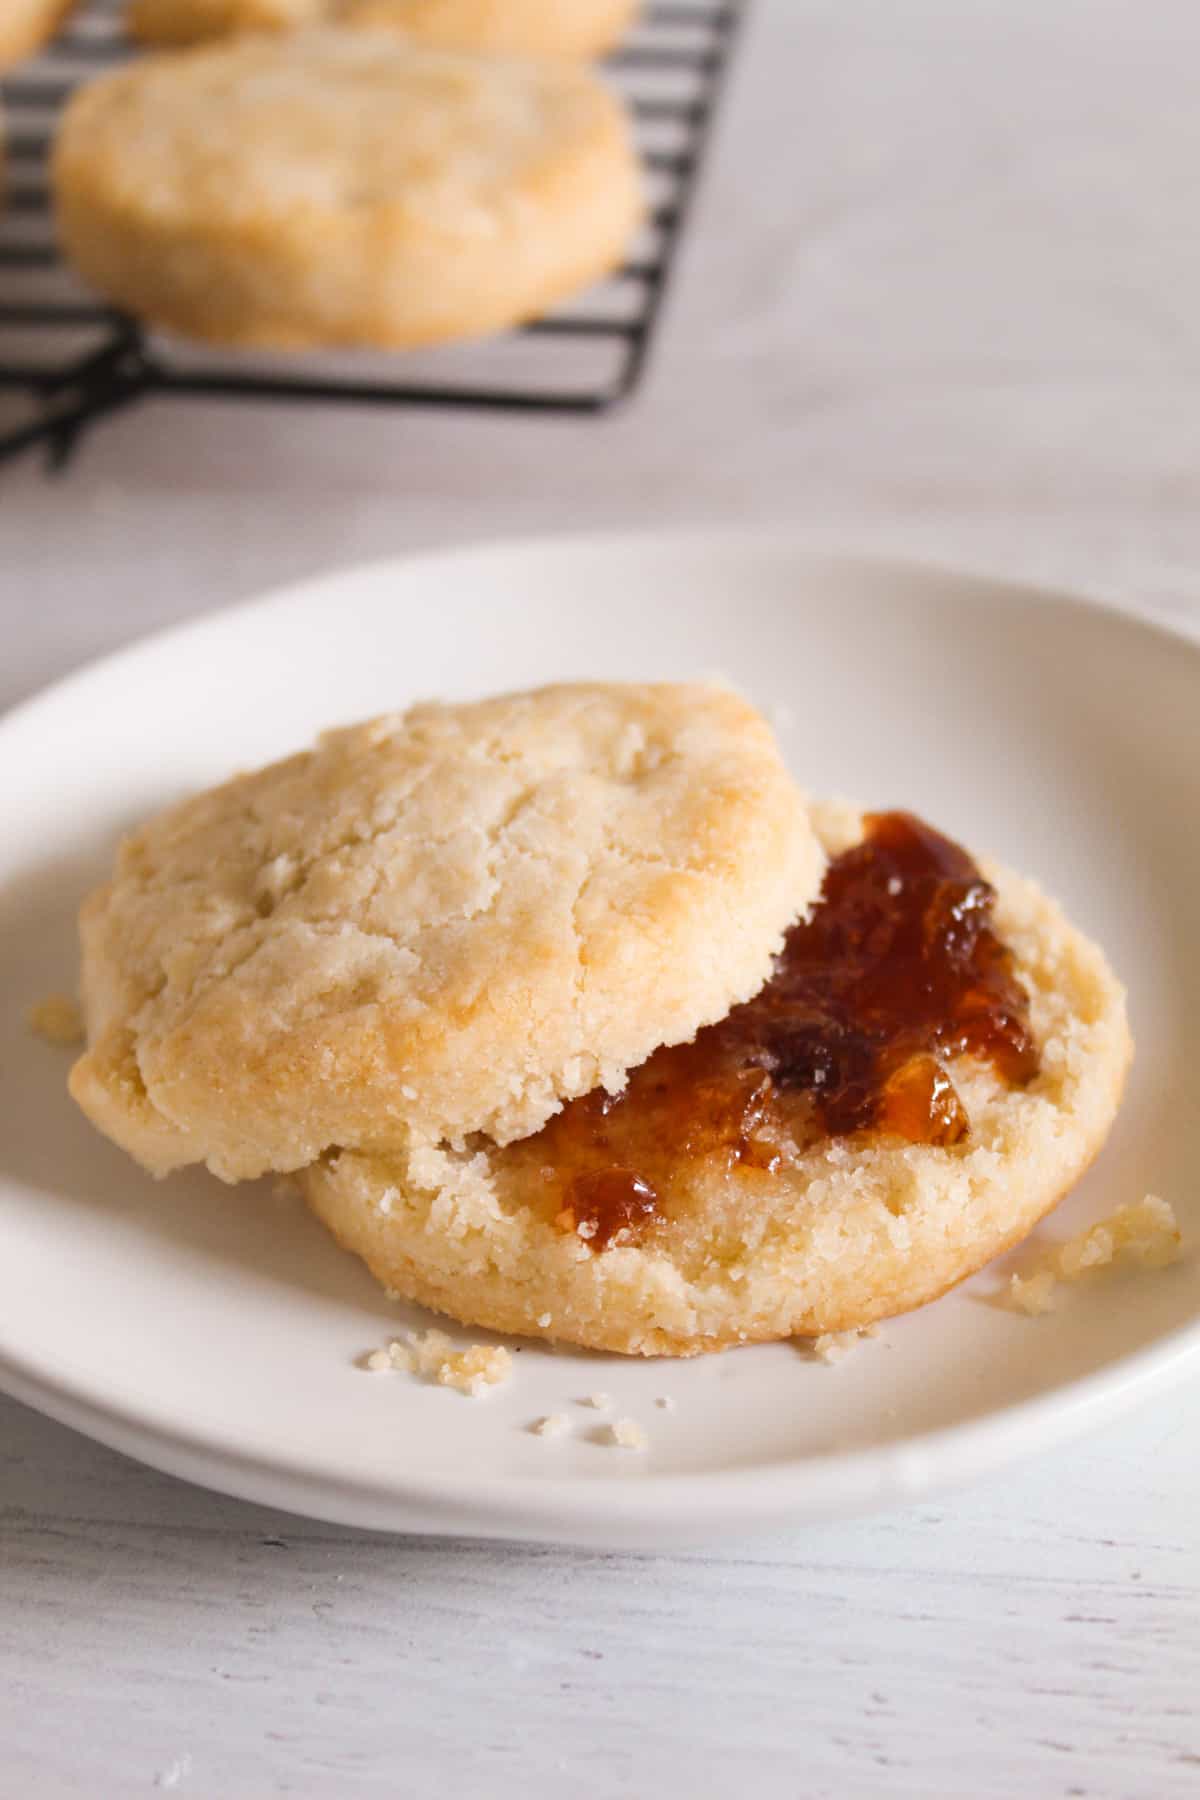
These recipes also fall into the easy breakfast recipe category! Check out this one-bowl oat flour banana bread, these 4-ingredient buckwheat crepes, and these air fryer donuts.
Gluten Free Easy Breakfast Idea
This recipe doesn’t make an average egg and cheese breakfast sandwich. There’s a secret to these sandwiches that make them unlike any others you’ll ever have. Plain English muffin sandwiches don’t stand a chance! The secret to these is that big, cheesy gluten free bread bun that holds everything together. The bun is good enough to just eat by itself, and it really elevates this sandwich. Here are a few more reasons you’ll love these gluten-free breakfast sandwiches:
- This recipe yields 6 delicious buns, which can easily be doubled to make a big batch of sandwiches.
- The buns only take about 30 minutes to come together.
- You can make these sandwiches and freeze them to make for a quick breakfast on busy mornings.
- This recipe is gluten free and the sandwiches are completely customizable!

Ingredients & Substitutions in This Healthier Breakfast Sandwich
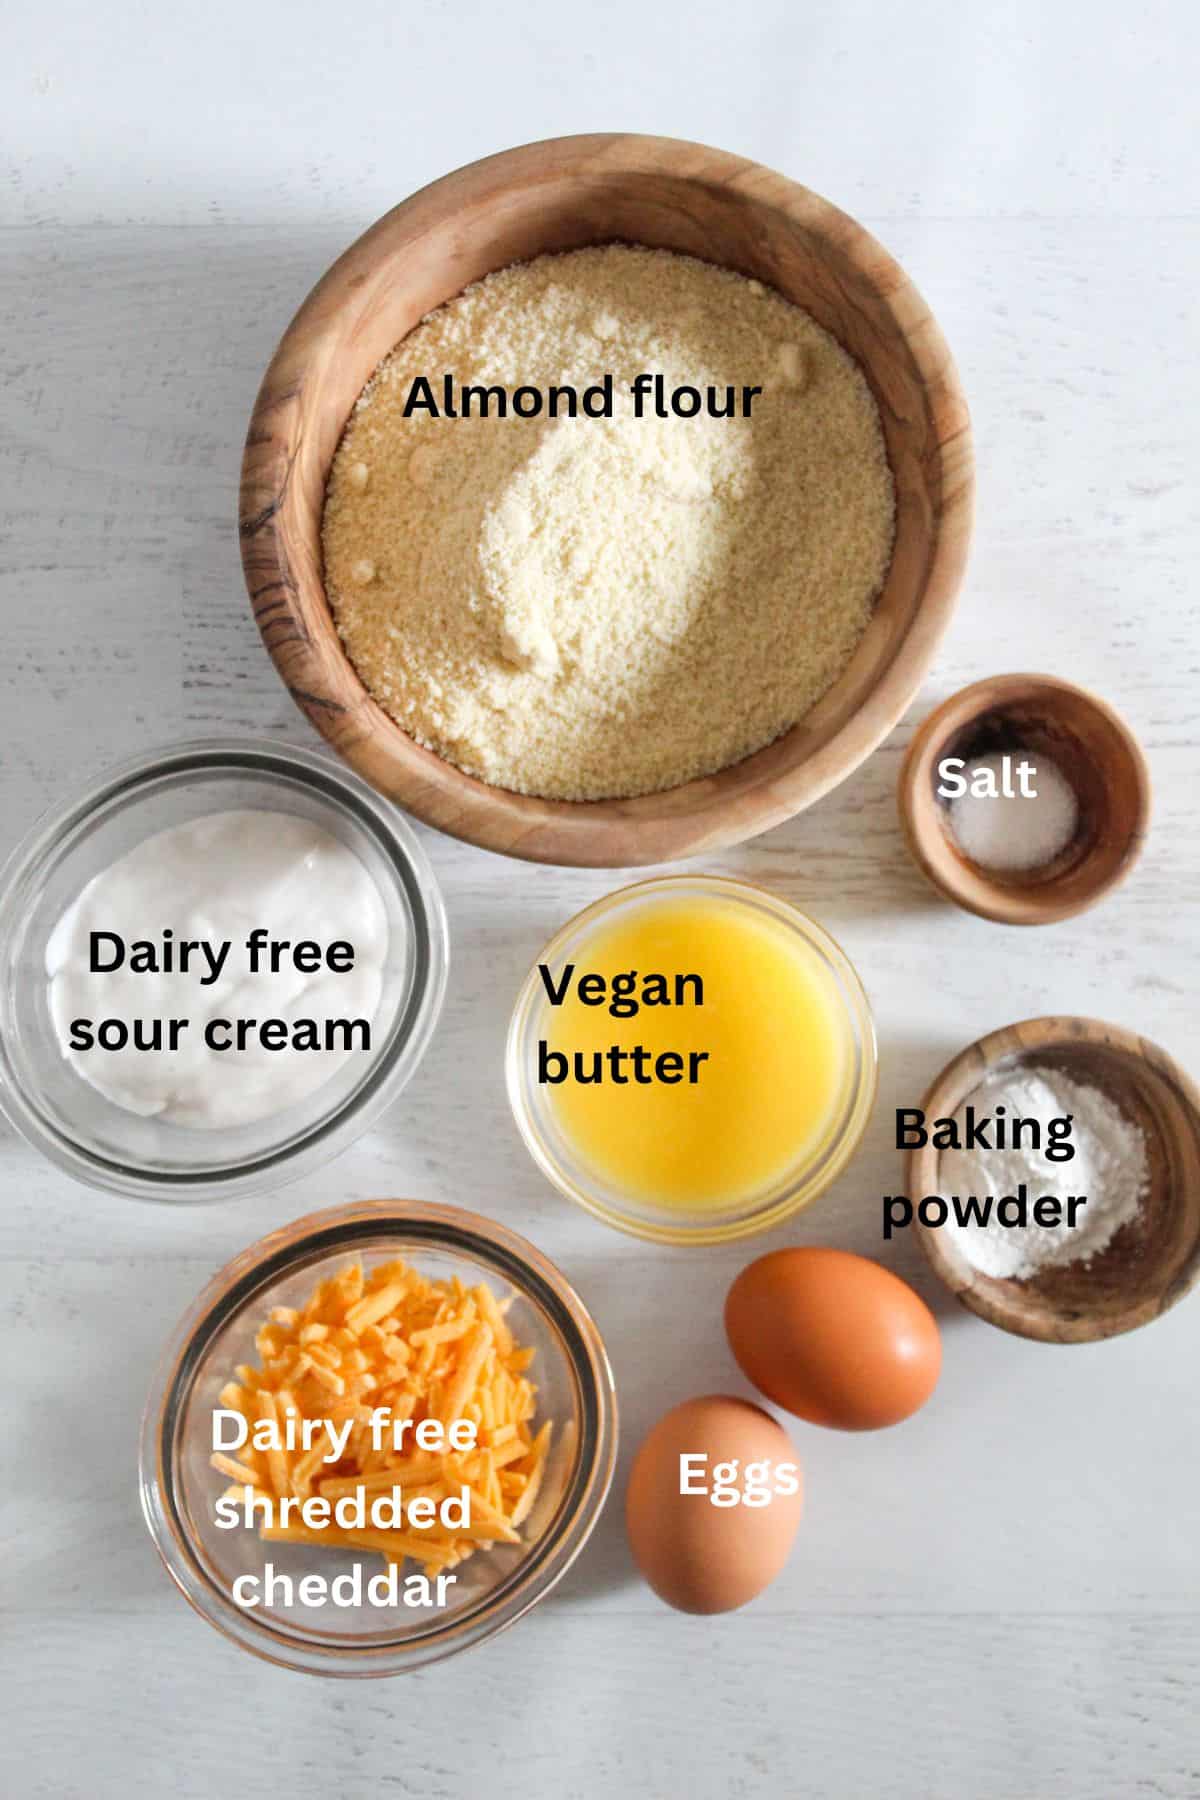
- Almond flour – This recipe hasn’t been tested with a substitute, but you can try one of these almond flour alternatives.
- Salt – The salt can be reduced or omitted if you are following a low salt diet.
- Baking Powder – There is no substitute for the baking powder.
- Eggs – The large eggs can be substituted with JUST egg.
- Dairy Free Sour Cream – Regular sour cream or buttermilk can also be used.
- Vegan Butter – Regular butter or coconut oil can also be used.
- Dairy Free Cheddar Cheese – Regular shredded cheddar cheese, reduced fat varieties like, reduced fat white cheddar cheese, and even mozzarella cheese can also be used.
- Sandwich Fillings – Scrambled eggs, a slice of cheese, the plant-based meat of your choice, etc.
Measurements for each ingredient, along with instructions for making the buns are in the recipe card below.
Note About Breakfast Sandwich Fillings
You have so many filling options for these sandwiches. So put whatever you want on them! The possibilities include turkey bacon, turkey sausage, ham, cheddar cheese, pepper jack cheese, egg whites, a whole egg (fried or scrambled), spinach, tomato, onion, and the list goes on!
Gluten Free Breakfast Sandwiches Step by Step
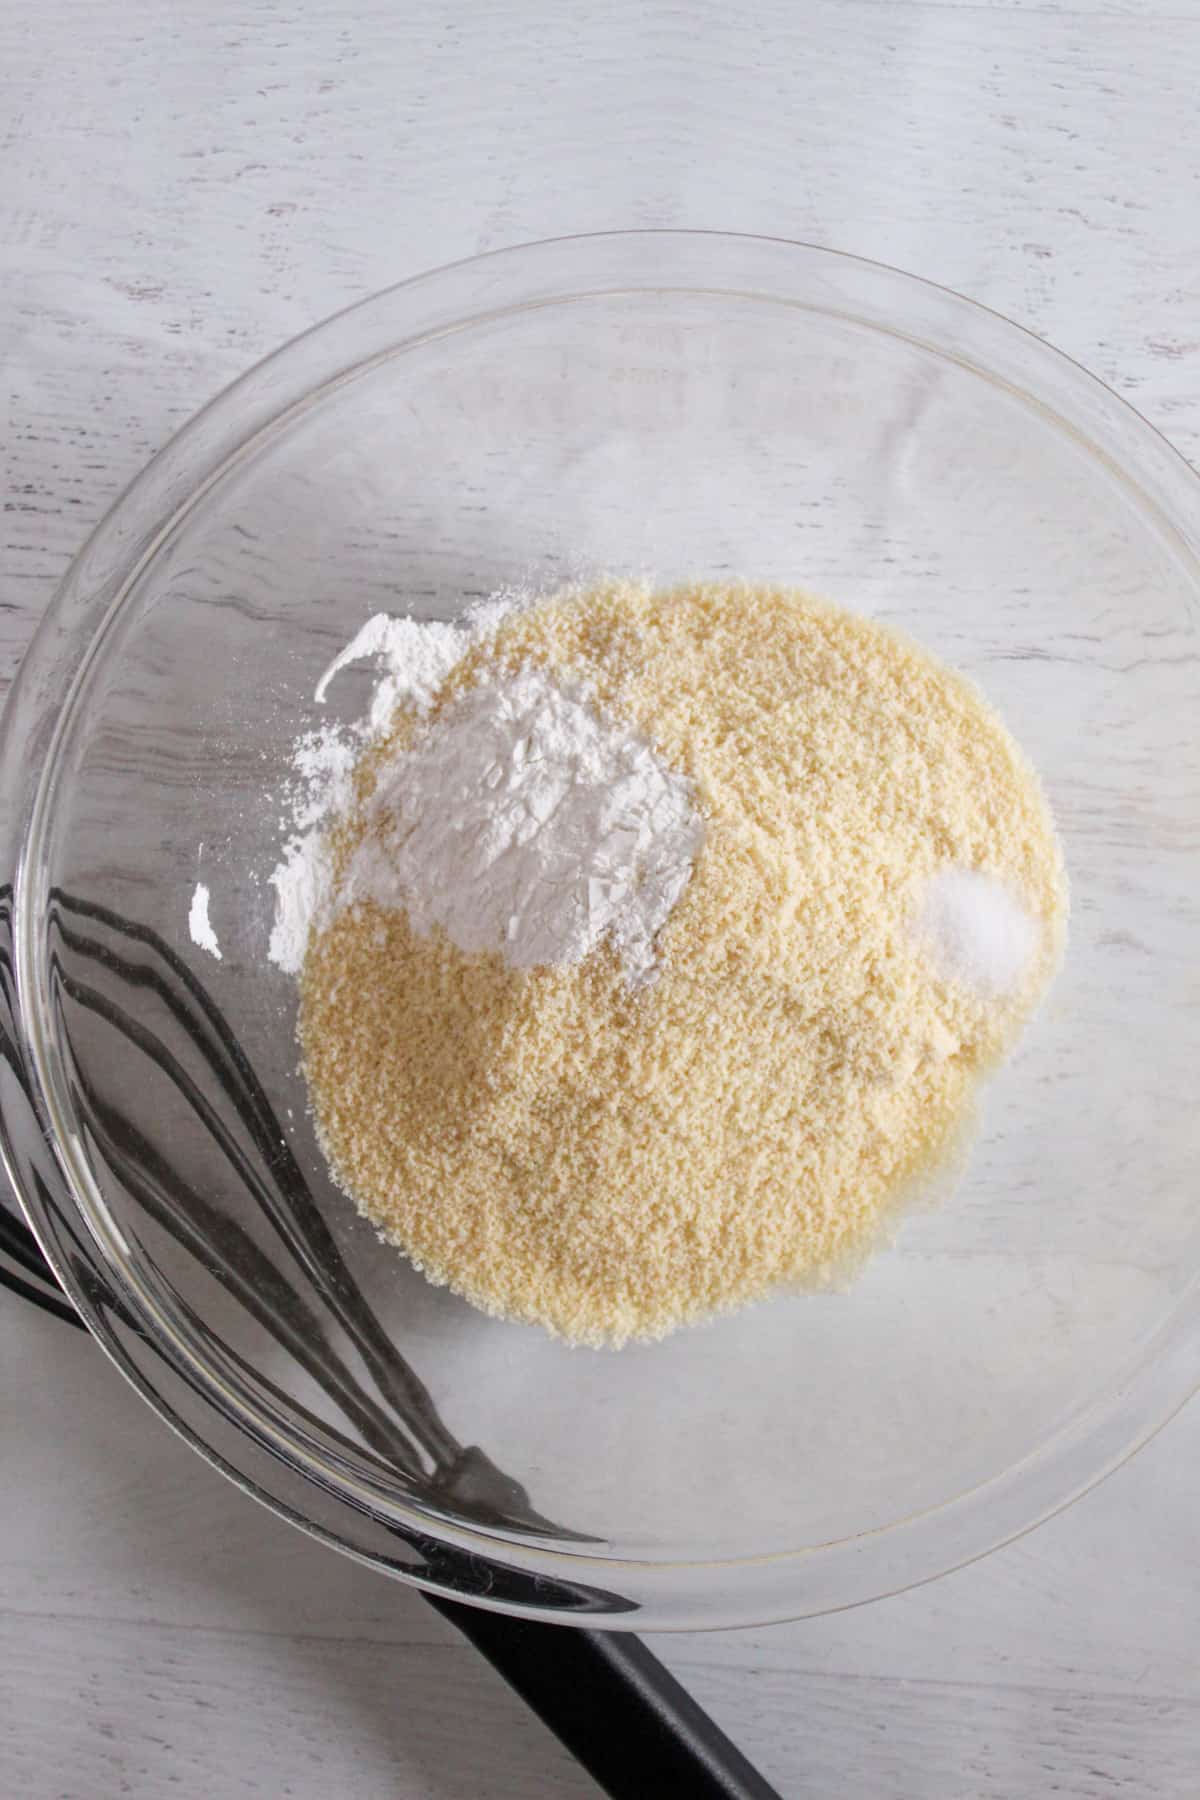
Step 1: Combine the dry ingredients -almond flour, salt and baking powder, in a large bowl. Mix well.

Step 2: In a small bowl, mix the eggs, sour cream and melted butter with a hand mixer until completely combined.
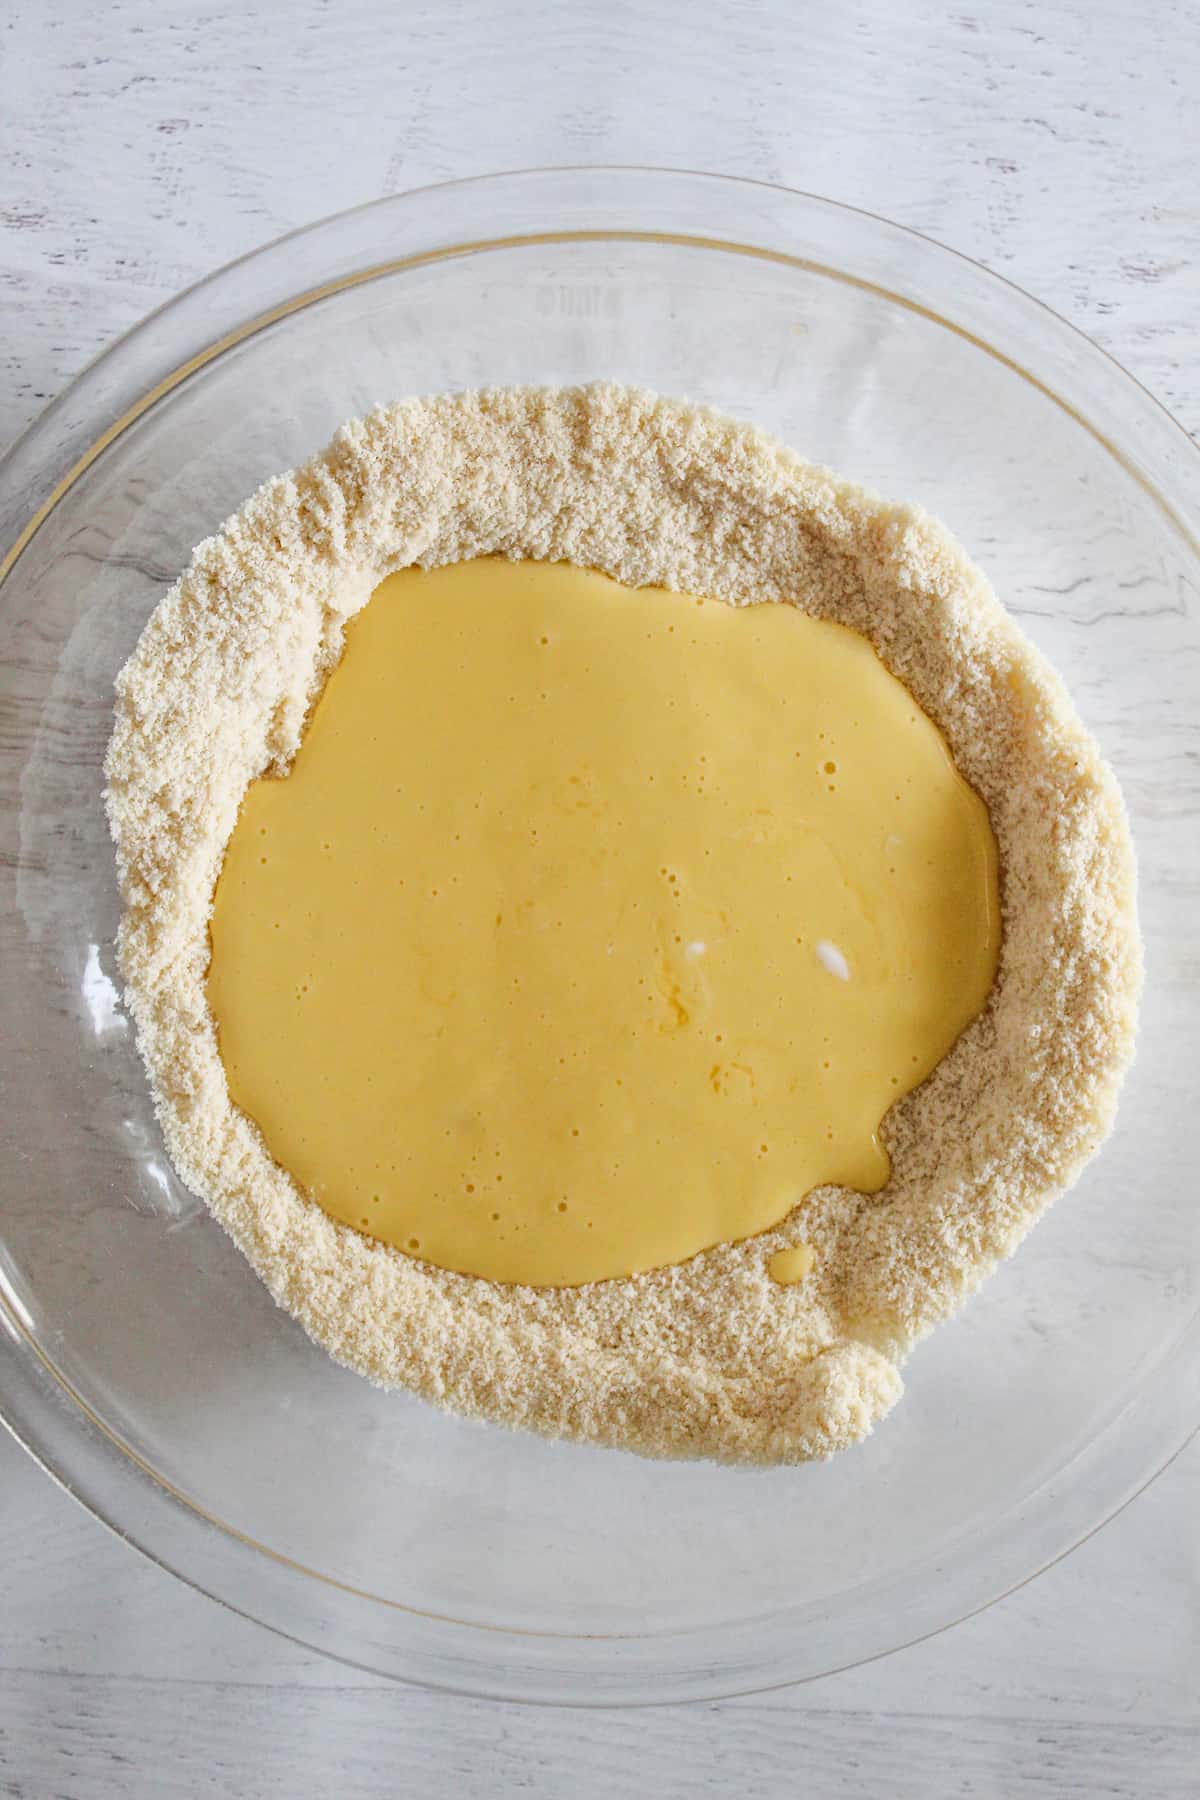
Step 3: Pour the wet ingredients into the dry mixture and stir until just combined.

Step 4: Fold in the shredded cheese and let the batter sit while the oven preheats.
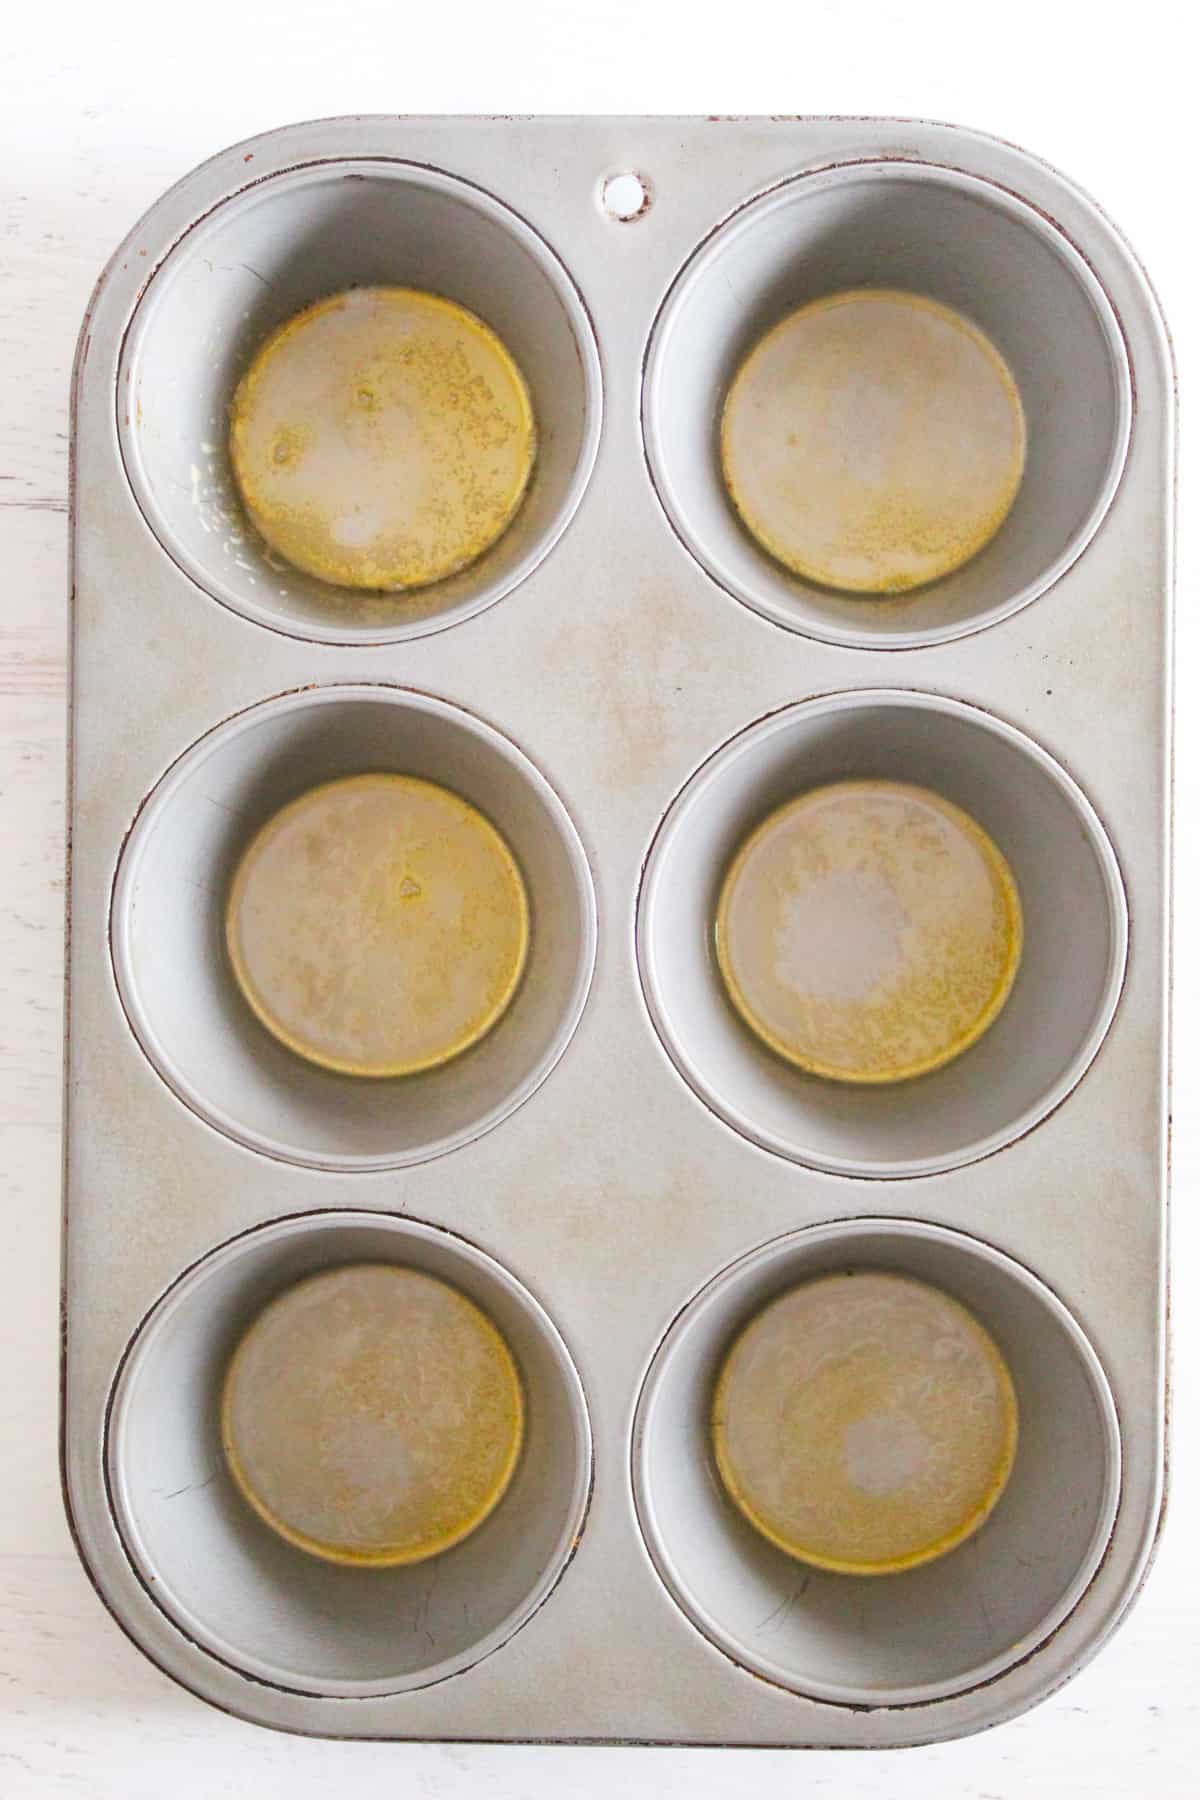
Step 5: Preheat the oven to 400F and spray a jumbo muffin tin with non stick cooking spray or use parchment paper on the bottoms.
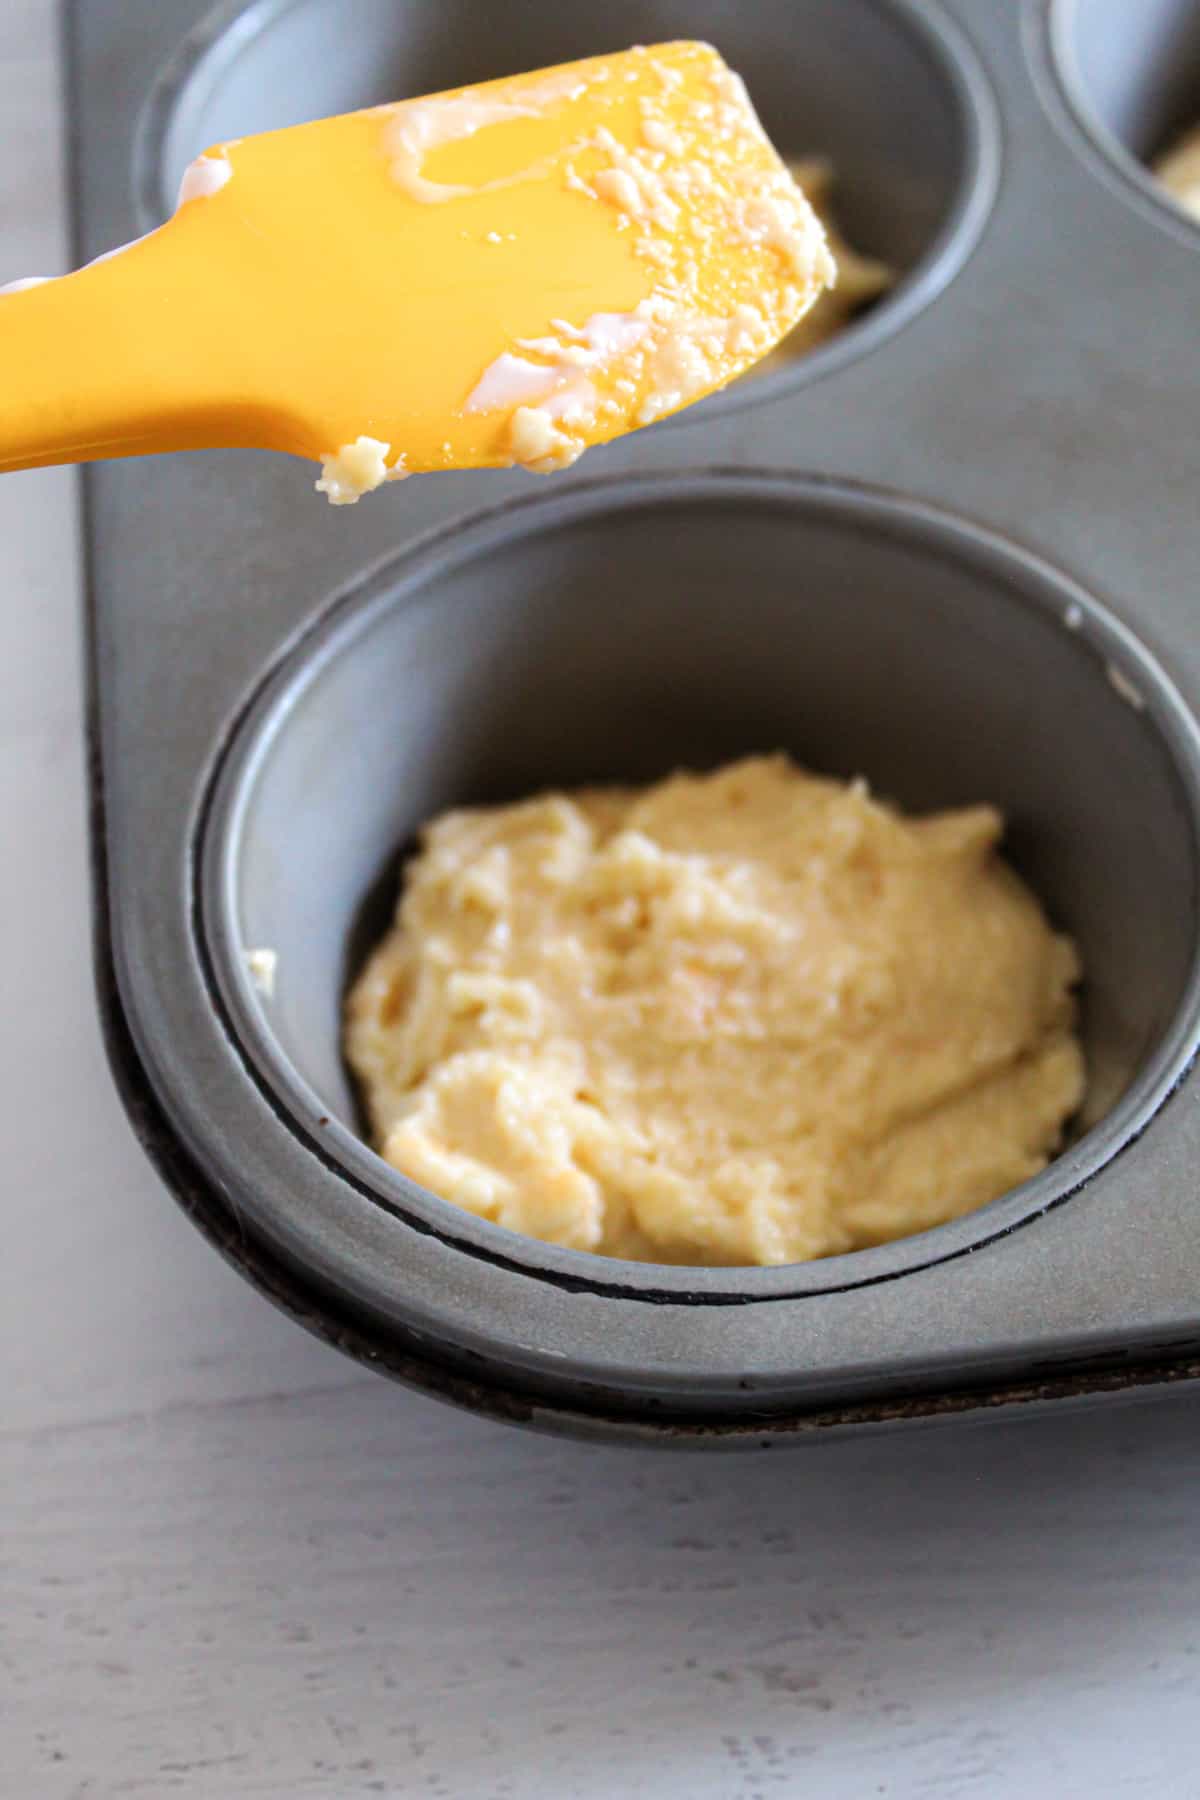
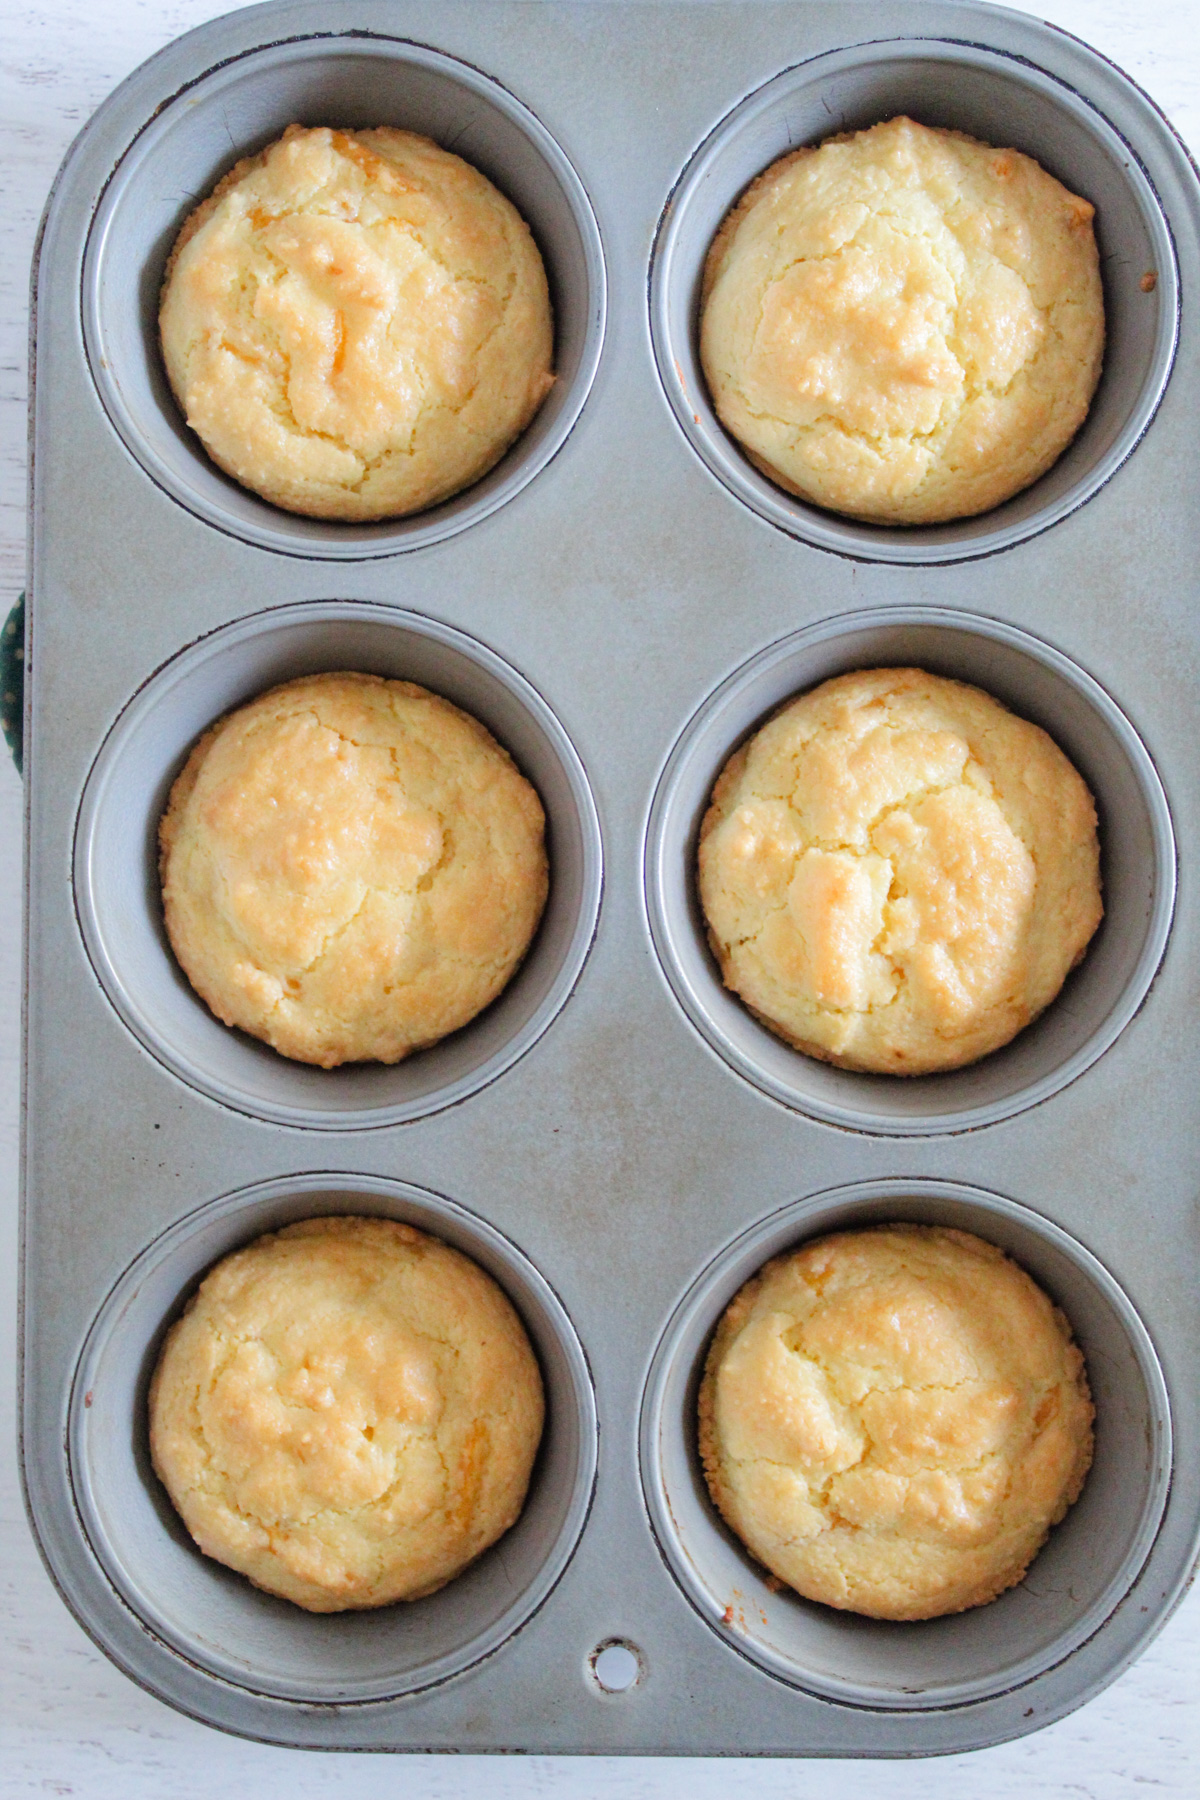
Step 6: Divide the batter evenly among the 6 muffin cups and bake at 400F for 14-17 minutes (or until golden brown).
Step 7: Let the buns cool. In the meantime, prepare the sandwich fillings.

Step 8: Scramble the eggs (or fry them) over medium heat.
Step 9: Also use this time to cook your chosen protein.

Step 10: Slice each bun in half and assemble the breakfast sandwiches with your fillings of choice.

Step 11: Optionally, you can wrap the sandwiches in plastic wrap and store them in the freezer. Simply defrost in the microwave when you want to eat one!
?Pro Tips for Making These Sandwiches
1. Use a Jumbo Muffin Pan
I recommend a 6-cup oversized muffin pan, like this one. The muffin cups are the perfect size for making breakfast sandwiches. I’ve found the regular muffin pans are just too small, so using an oversized muffin tin means you’ll get nice-sized sandwiches.
2. Prepare Fillings While the Buns Cool
After the buns come out of the oven, it’s the perfect time to prepare whatever you’re going to put in the sandwiches. So scramble the eggs, cook the sausage patties, cut up vegetables, etc. while the buns are cooling.
3. Customize your Favorite Toppings
Speaking of what you’re putting in the sandwiches – you can really personalize these! Use eggs prepared how you like them – like egg whites or even a fried egg, add your favorite protein (Beyond Meat breakfast sausages, anyone?), or use other healthy ingredients like veggies or some creamy avocado.
4. Make Ahead and Freeze the Sandwiches
This is an excellent recipe to make ahead and keep in the freezer! These sandwiches are amazing to have on hand as a quick and easy breakfast option in the morning.
5. Reheating the Sandwiches
After the sandwiches have cooled completely, wrap each one in plastic wrap or aluminum foil. They will stay fresh or 3-4 days in the refrigerator. Any longer than that and you’ll want to freeze them for longer storage. Defrost in the microwave (unwrap the plastic wrap or foil first), for anywhere from 1-2 minutes. Serve warm.
Gluten Free Breakfast Sandwich FAQs
If you aren’t eating the breakfast sandwiches right away, wrap them in plastic wrap and either freeze them or store them in the refrigerator. Reheat them for 30 seconds – 2 minutes (if frozen) and enjoy.
Yes, these freeze and reheat wonderfully! Remove from the freezer, defrost them in the microwave for about 2 minutes, and enjoy a fast and easy breakfast.
The best almond flour alternative is oat flour because it has a similar protein and fiber content. You can read about the top 6 almond flour alternatives here.
More Gluten-Free Recipes
Did you make and love this recipe? Give it your review and rating below! And make sure to follow me on Instagram, Pinterest, and Facebook , too!

The Best Gluten-Free Breakfast Sandwiches with Egg & Cheese
Ingredients
Bread
- 145 grams almond flour about 1 1/2 cups
- ¼ teaspoon salt
- 1 Tablespoon baking powder
- 2 eggs
- ⅓ cup vegan sour cream
- 4 Tablespoons vegan butter melted
- ⅓ cup vegan shredded cheddar cheese
Instructions
- In a large bowl, combine the almond flour, salt and baking powder. Mix until well combined.
- In a small bowl, add the eggs, sour cream and melted butter. Use a large spoon and mix for 1 minute or until the ingredients are completely combined.
- Pour the wet ingredients into the dry mixture and stir just until blended.
- Fold in the cheese. Let batter sit while oven preheats.
- Heat oven to 400 F. Prepare a 6-cup, oversized muffin pan by spraying each cup with non-stick cooking spray.
- Divide batter evenly, about 1/3 cup, into the 6 muffin cups.
- Bake for 17 minutes or until golden brown.
- Let cool slightly.
Assemble the sandwiches
- Scramble the eggs.
- Prepare the protein of your choice.
- Slice each bun in half.
- Layer the eggs and meat on the bottom bun and top with the bun top.
Notes
- Eggs in the recipe should be at room temperature.
- The Forager brand of dairy free sour cream was used in the recipe.
- These breakfast sandwiches freeze really well – just wrap them in plastic wrap and freeze. Then defrost and enjoy.
- Gluten free English muffins can also be used to make these sandwiches.