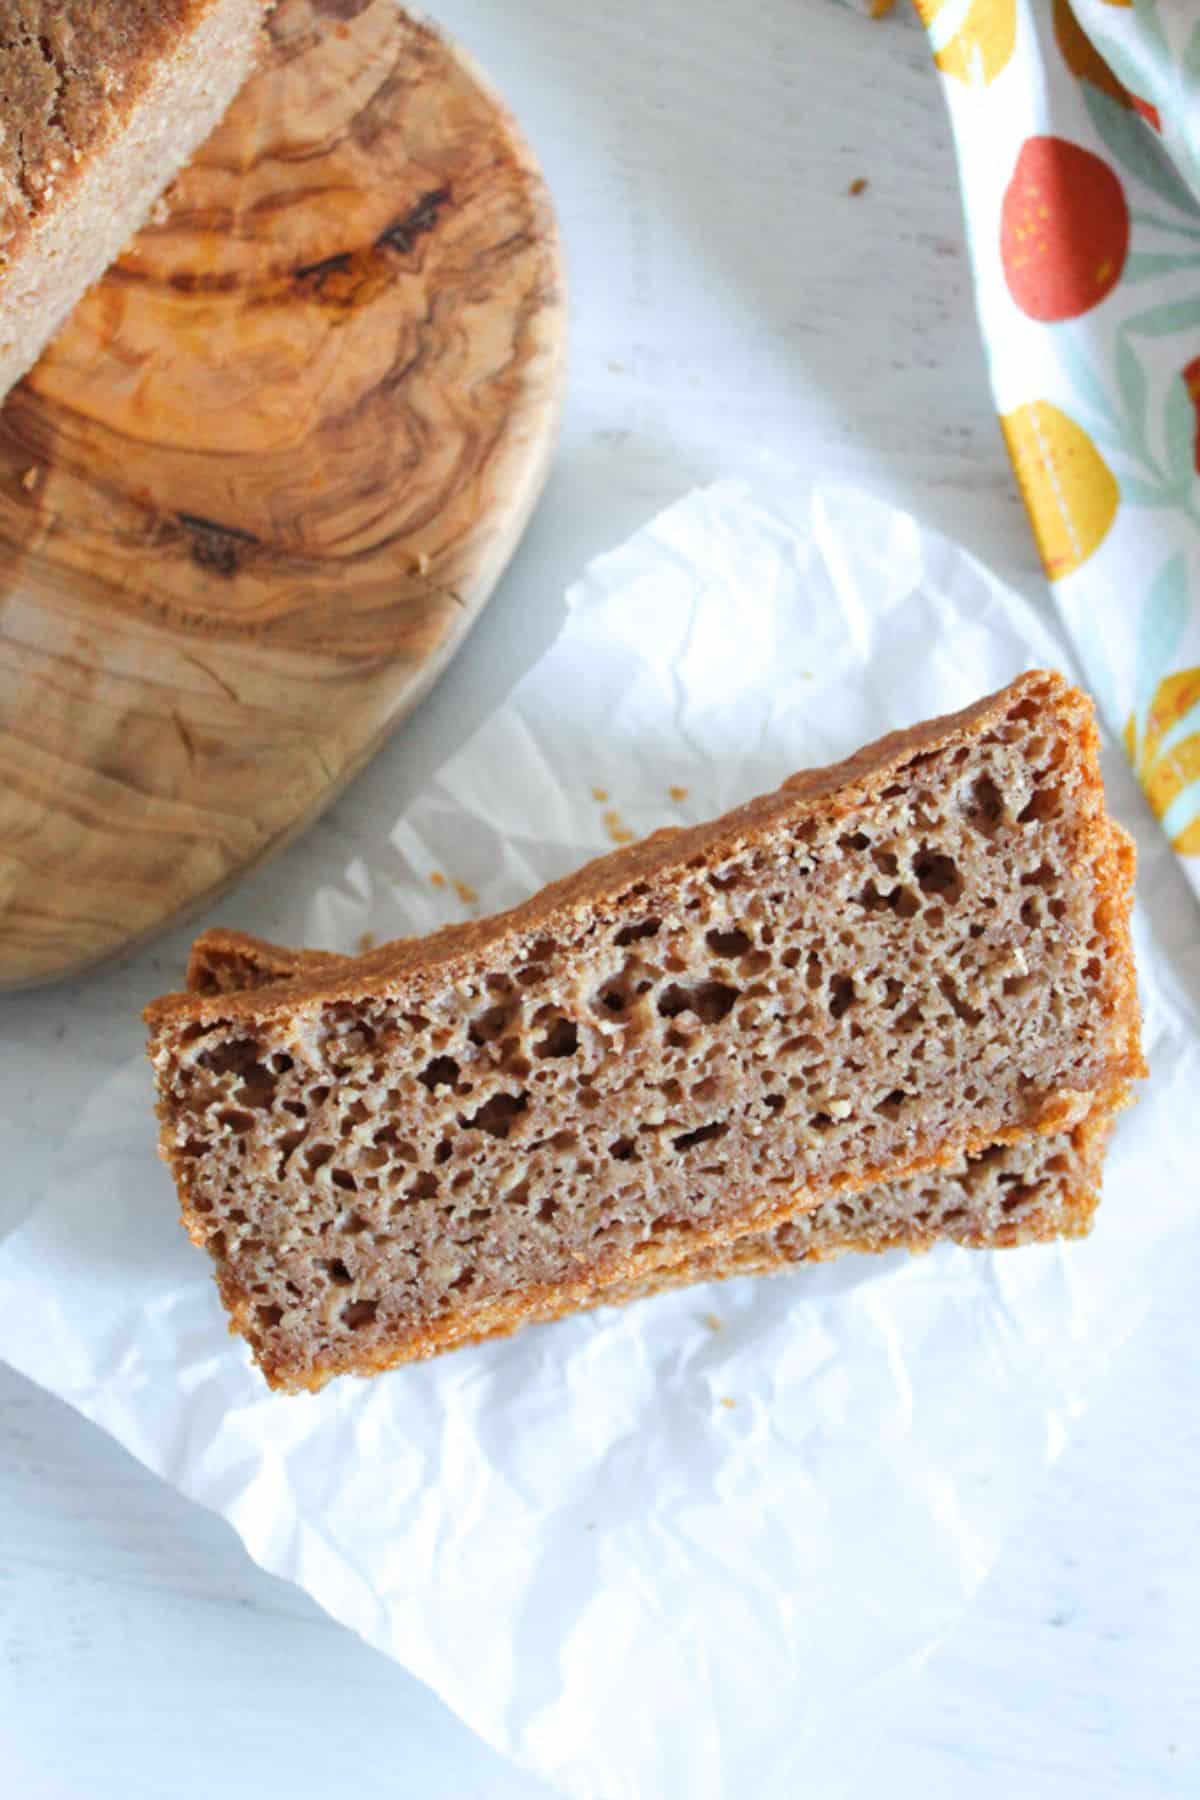
Gluten-free bread can dry out, become crumbly, or lose its freshness faster than regular bread. Proper storage can help preserve its texture, but knowing which method to use, and when, can make all the difference.
In this guide, you’ll learn how long gluten-free bread lasts, whether refrigeration is a good option, and how freezing can help extend its quality. You’ll also learn how to freeze individual slices, thaw frozen bread, and tell the difference between stale and spoiled bread.
Table of Contents
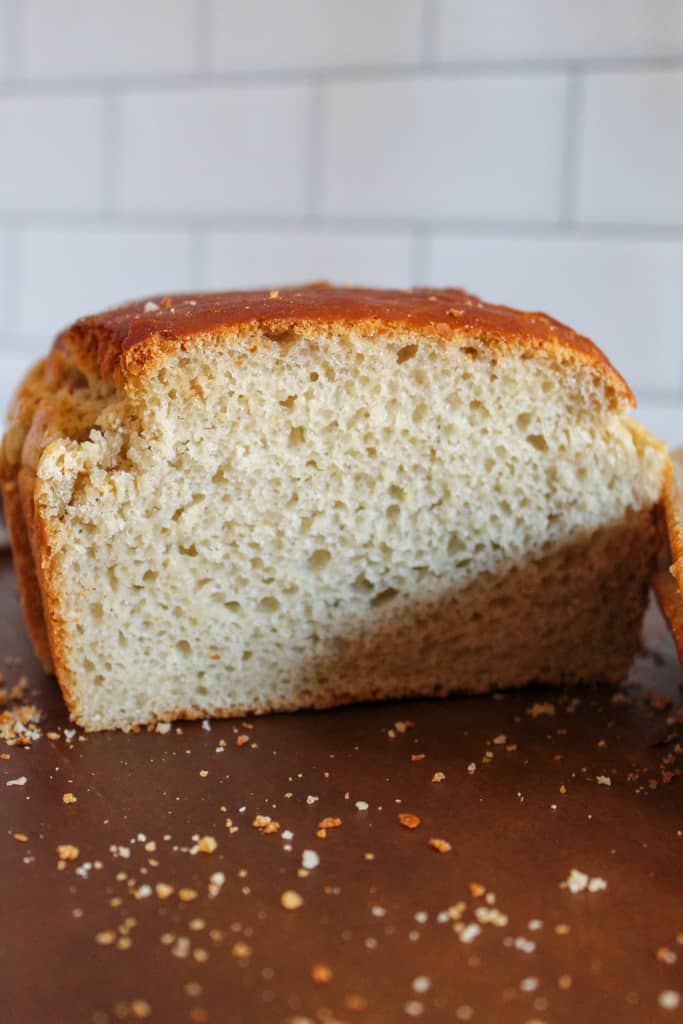
If you’re looking for a recipe to try first, see How to Make Gluten-Free Bread without Xanthan Gum.
Quick Answer: What’s the Best Way to Store Gluten-Free Bread?
For homemade gluten-free bread, cool the loaf completely before slicing, then store it tightly sealed at room temperature if you’ll eat it within a few days. If you won’t finish it soon, slice it and freeze it.
The best method depends on the bread and how quickly you’ll eat it. King Arthur Baking recommends storing several gluten-free breads, well-wrapped, at room temperature for about 2–3 days, then freezing them for longer storage.
| Storage Method | Best for | Main Benefit | Main Drawback |
|---|---|---|---|
| Room temperature | Short-term | Best immediate texture | Limited freshness |
| Airtight container | Short-term | Limits air exposure | Can trap condensation if bread is warm |
| Freezer bag | Short- or long-term | Convenient | Must be sealed well |
| Refrigerator | Specific situations | Keeps bread cold | Can accelerate staling |
| Freezer | Long-term | Preserves quality | Requires thawing |
For longer storage, freezing is usually the better choice than leaving homemade bread on the counter. Keep the freezer at 0°F (-18°C) or below.
Why Does Gluten-Free Bread Dry Out So Quickly?
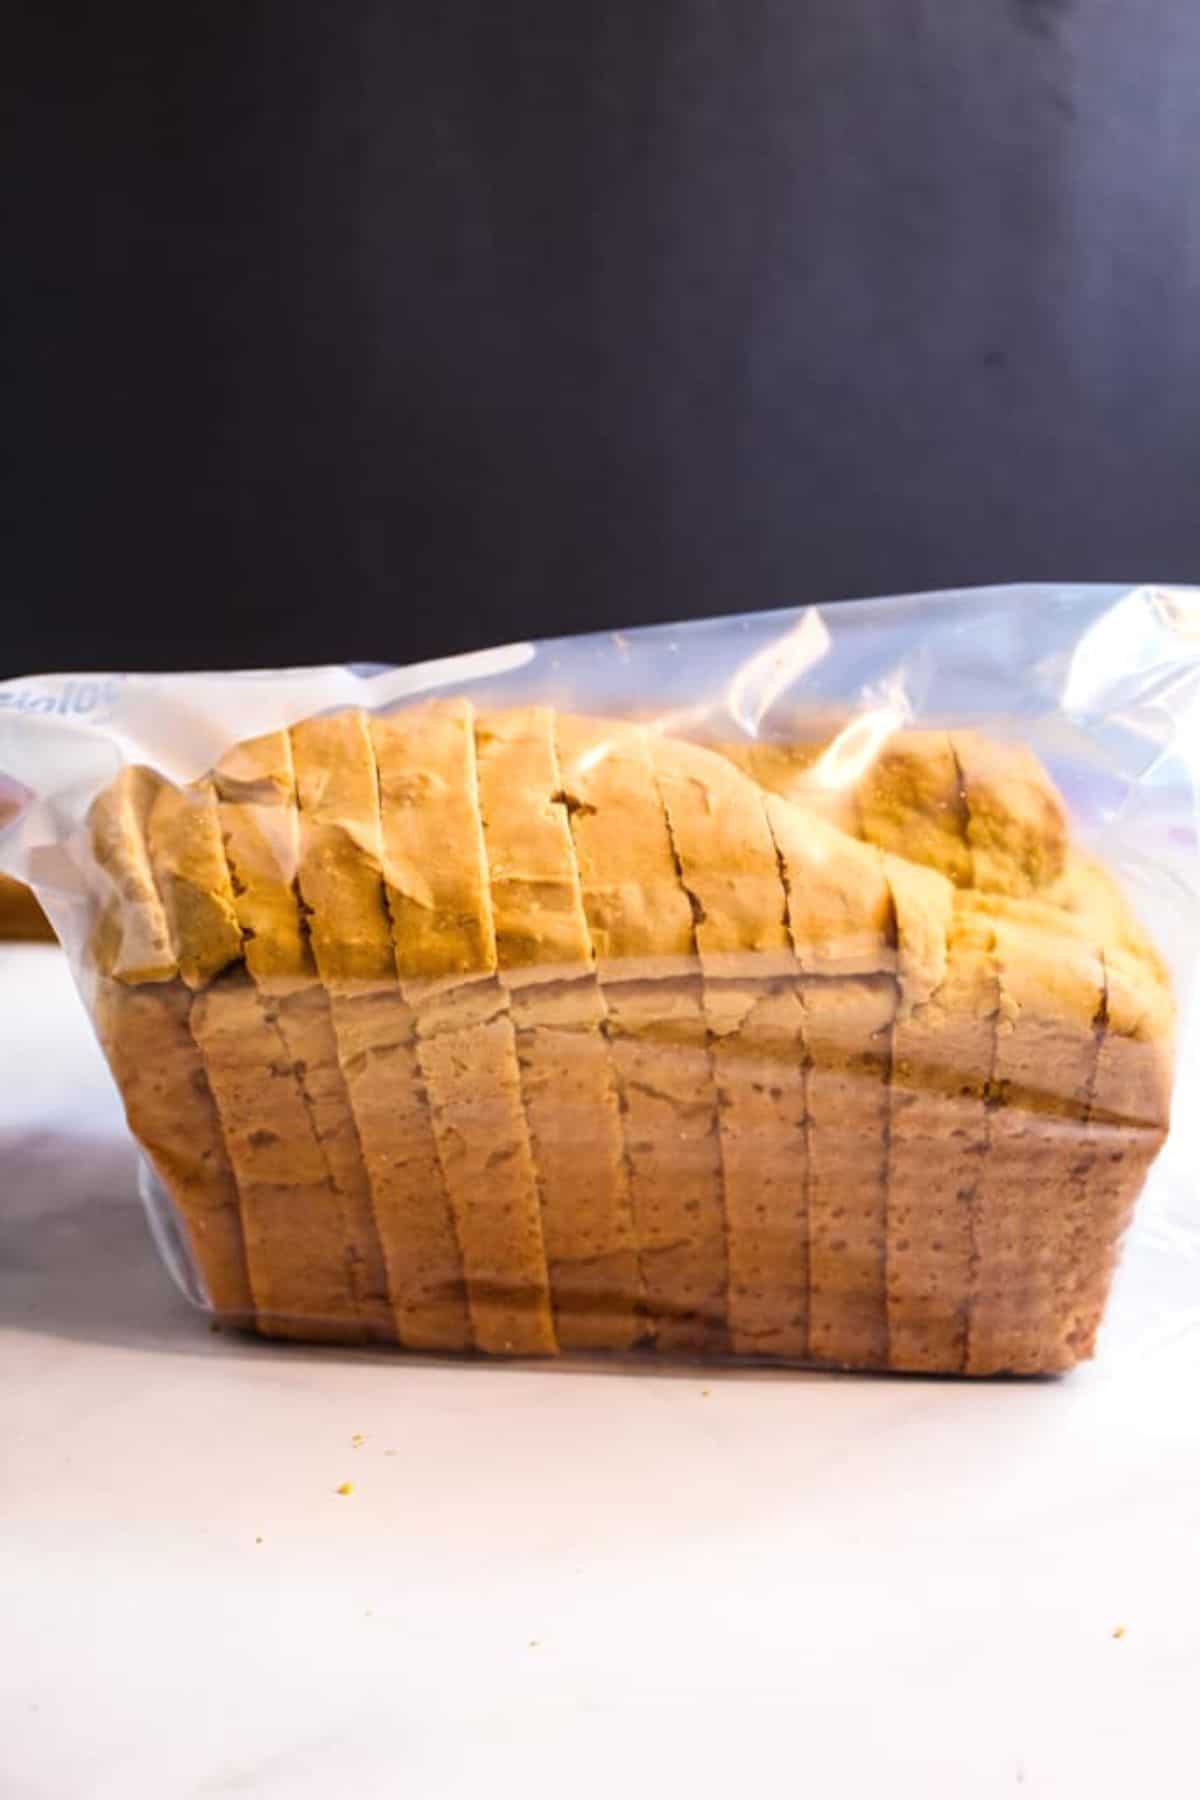
Gluten-free bread can lose its ideal texture quickly because it doesn’t have gluten; we’re talking about the protein network that gives conventional wheat bread much of its structure. Below is a closer look.
1. Gluten Normally Provides Structure
In wheat bread, gluten forms a flexible network that helps the dough stretch around gas produced during fermentation and supports the loaf as it bakes.
2. Gluten-Free Bread Uses Different Structures
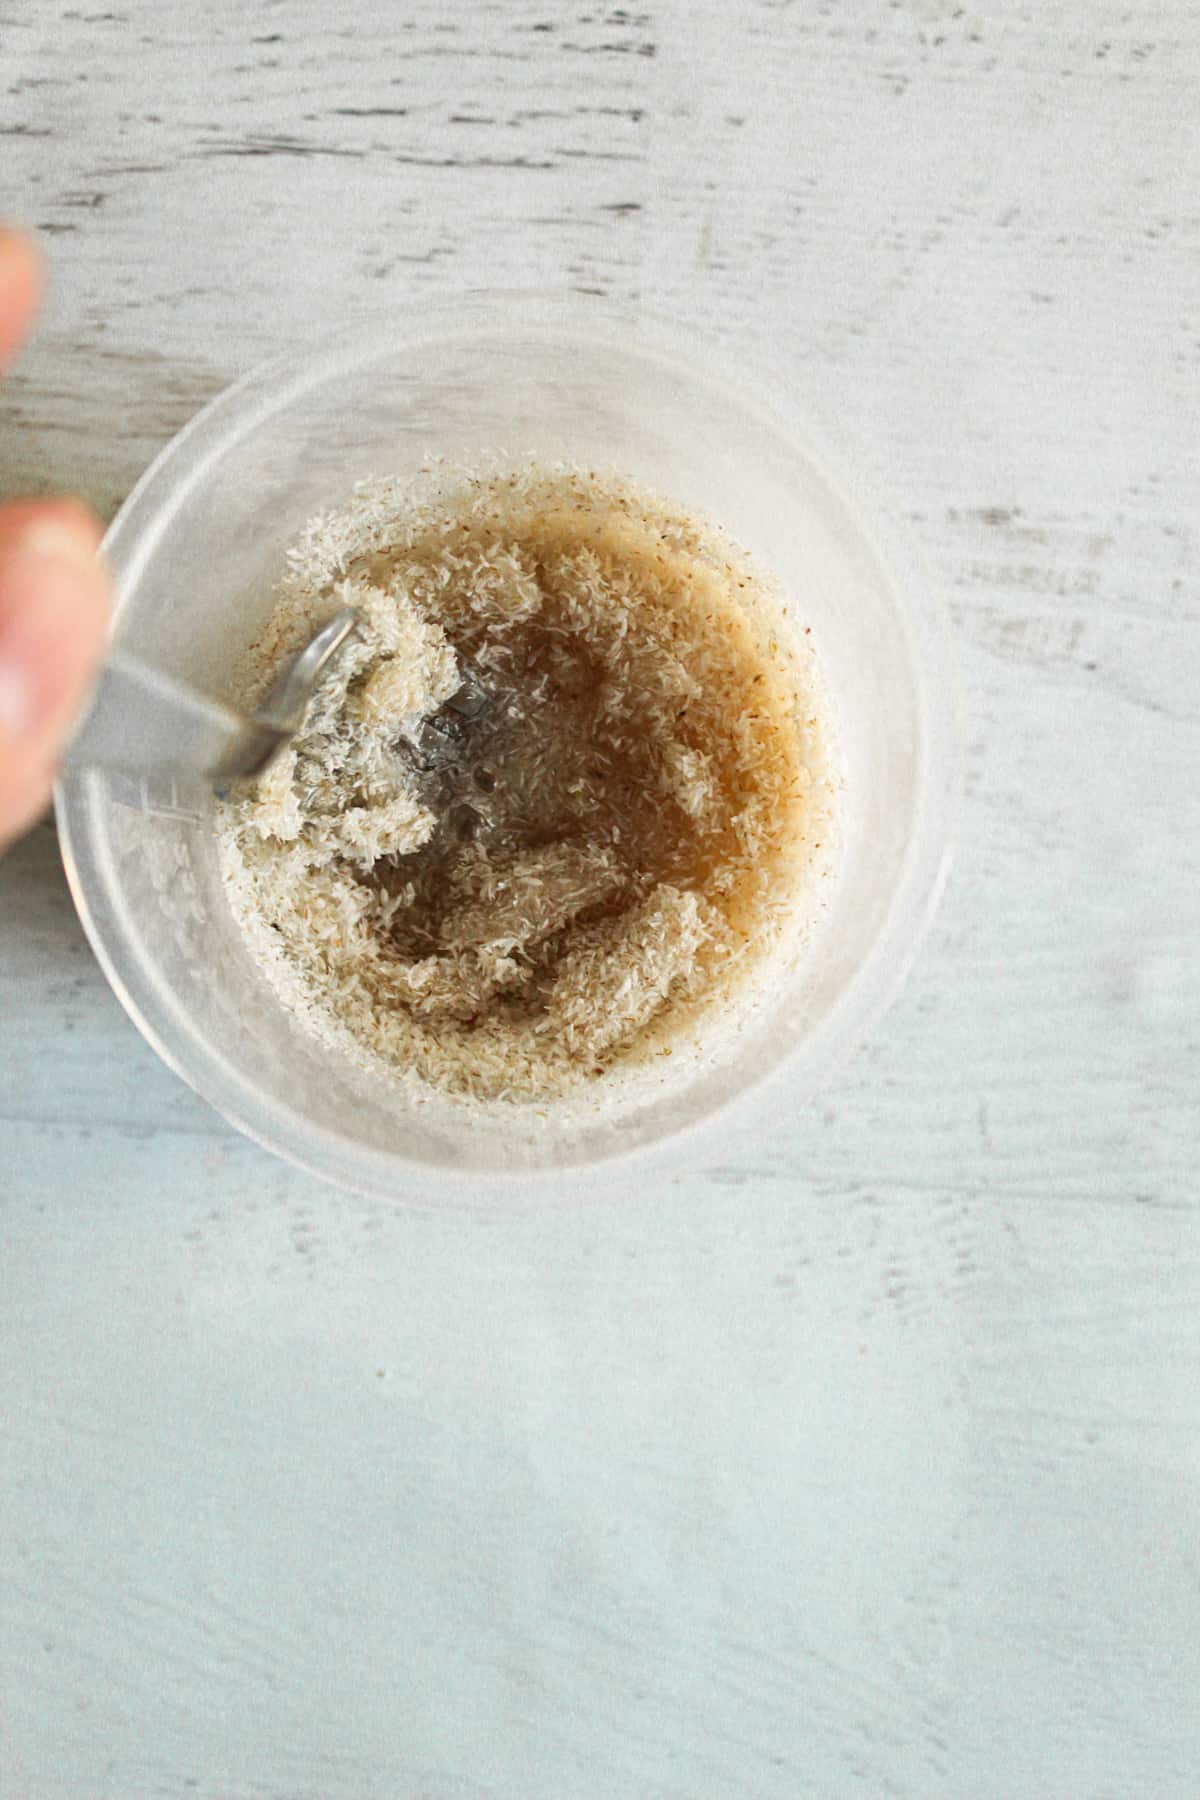
Without gluten, recipes rely on combinations of alternative flours, starches, hydrocolloids such as xanthan gum or psyllium, and sometimes eggs, seeds, or other proteins and fibers to build structure and manage moisture.
That means gluten-free bread isn’t one uniform category. Two loaves can behave very differently depending on their ingredients and formulation.
3. Staling Isn’t Just About Losing Moisture
For clarity, stale bread isn’t necessarily bread that has dried out. Research on gluten-free rice and oat breads has found that crumb firmness can increase even when overall moisture loss is relatively small. Changes in starch structure, including amylopectin retrogradation and water redistribution, can contribute to that firmer texture.
So keeping air away helps reduce moisture loss, but it doesn’t stop every change associated with staling. Should you need more gluten-free bread ideas, see our collection of 21 Gluten Free Yeast Bread Recipes.
How Long Does Gluten-Free Bread Last?
How long gluten-free bread lasts depends on the recipe, packaging, ingredients, preservatives, and storage conditions. We’ve provided further insight below.
1. How Long Does Homemade Gluten-Free Bread Last?
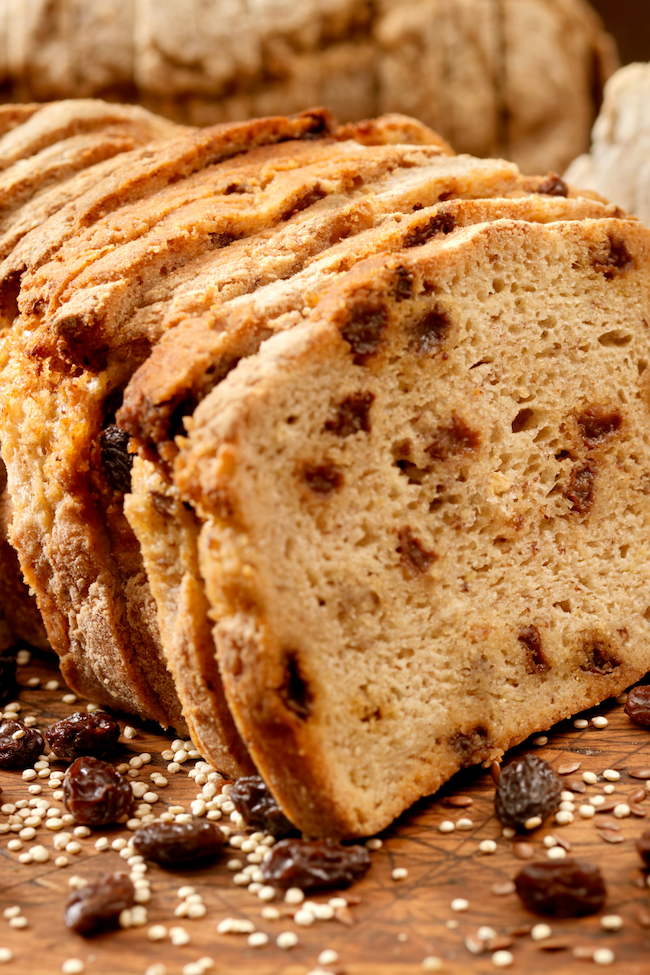
For most homemade breads, keeping them properly wrapped or in an airtight container preserves their quality for 1–3 days at room temperature. If you don’t expect to finish the loaf within that timeframe, freeze it before the texture declines.
2. How Long Does Store-Bought Gluten-Free Bread Last?
There’s no universal shelf life for packaged gluten-free bread. Manufacturers use different recipes, packaging, preservatives, and processing methods. That said, follow the storage instructions and dates on the package.
3. How Long Does Gluten-Free Bread Last in the Freezer?
For best quality, about one month is a conservative target for gluten-free bread, based on King Arthur Baking’s gluten-free-specific recommendations. That’s a quality recommendation, not a universal safety deadline. FoodSafety.gov states that foods continuously stored at 0°F (-18°C) or below can remain frozen indefinitely from a safety standpoint, although quality can decline over time.
4. Homemade vs. Store-Bought Gluten-Free Bread
Not all gluten-free bread has the same shelf life. Homemade loaves depend heavily on their recipe and storage, while commercial breads are formulated and packaged differently.
| Factor | Homemade | Store-bought |
|---|---|---|
| Formulation | Varies by recipe | Commercially formulated |
| Preservatives | Often fewer or none | May contain preservatives |
| Packaging | You control it | Manufacturer controls it |
| Shelf life | Often shorter | Can vary widely |
| Storage | Usually requires careful wrapping | Follow package directions |
| Freezing | Excellent option | Product-dependent |
The key point is not that gluten-free bread has no preservatives. Homemade bread often doesn’t have the same preservation systems or commercial packaging used for packaged bread.
That makes proper storage particularly important for homemade loaves. That said, whenever you are making a festive homemade loaf, try our Traditional Gluten-Free Easter Bread.
7 Best Ways to Store Gluten-Free Bread
Once your loaf is baked, the goal is straightforward. Protect its texture without adding excess moisture. And to do that, study the tips below.
1. Cool the Bread Completely Before Slicing
Let the loaf cool completely on a rack before cutting it. Gluten-free bread can retain moisture for longer than conventional bread, and King Arthur Baking recommends cooling its gluten-free loaves before slicing.
In addition, don’t seal a hot loaf, because steam can condense inside the packaging and affect the texture.
2. Slice Only What You Need
Keep the loaf intact when possible. A whole loaf has less exposed crumb than several individual slices.
3. Protect the Cut Side
If you’ve already sliced the loaf, cover the exposed cut surface or press the cut sides together before storing.
4. Use Airtight Storage
For short-term storage, use an airtight container or tightly sealed bag. This reduces unnecessary exposure to air.
5. Use a Breadbox for Short-Term Storage
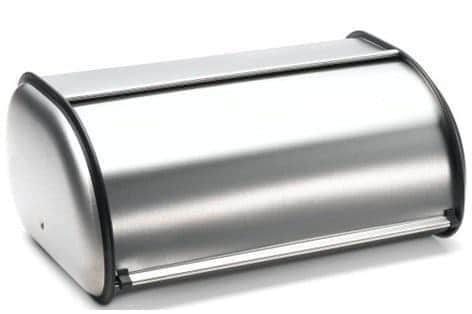
A breadbox can protect bread on the counter, but it isn’t a substitute for freezing. If you won’t finish the loaf within its best-quality window, freeze it.
6. Use Properly Sealed Packaging
For frozen bread, use freezer-safe packaging and remove as much excess air as practical. USDA recommends appropriate freezer packaging to help prevent freezer burn and quality loss.
7. Freeze What You Won’t Eat Soon
If you won’t finish the loaf within a few days, freeze it while it’s still fresh. Slice it first if you want individual portions.
Step by Step On How to Freeze Gluten-Free Bread
Follow these steps to freeze gluten-free bread.
Step 1: Cool the Loaf Completely
Don’t put warm bread in the freezer. Let the loaf cool completely on a wire rack first. Wrapping warm bread traps steam, which condenses inside the packaging and can make the bread soggy.
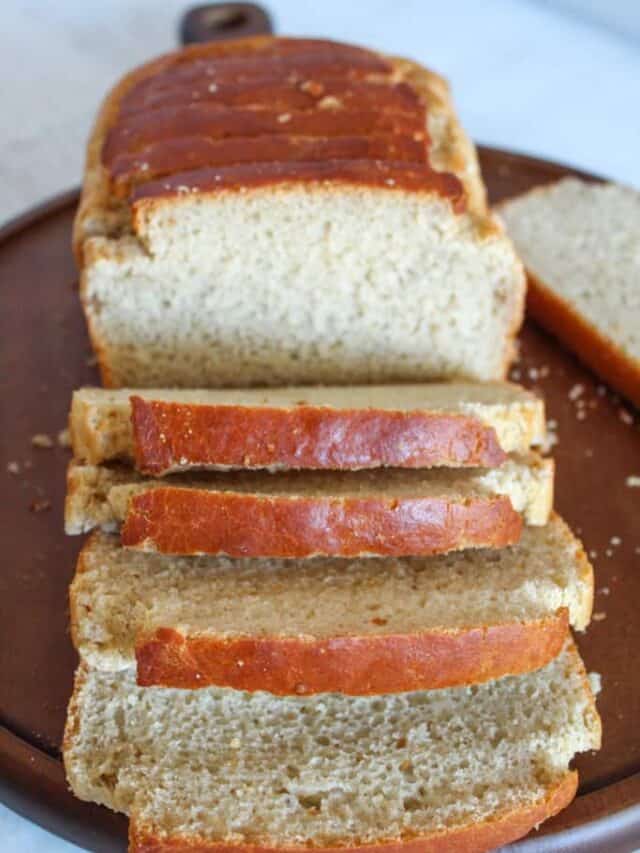
Step 2: Slice the Bread
If you usually eat individual slices, slice the loaf before freezing it. This lets you take out exactly what you need without thawing the entire loaf.
For larger households, you can also divide the slices into small portions.
Step 3: Separate the Slices
Place a small piece of parchment or wax paper between slices to keep them from freezing together.
You don’t have to separate every slice individually. If you’ll normally eat two or four slices together, freeze them as a portion instead.
Step 4: Use Freezer-Safe Packaging
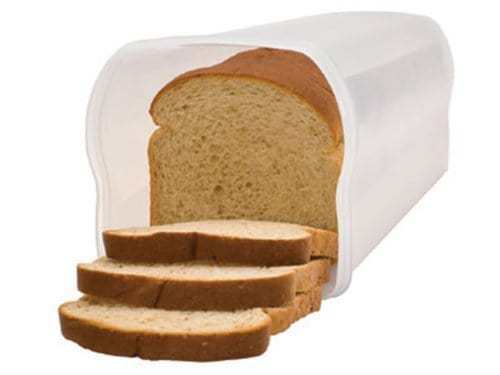
Place the portions in a freezer-safe bag, or use an airtight container designed for freezer storage.
For extra protection, wrap each portion individually before placing them in a freezer bag or container. Multiple airtight layers are useful when storing bread for longer periods.
Step 5: Remove Excess Air
Press out as much air as practical before sealing the bag. Air exposure contributes to freezer burn and gradual loss of quality.
Step 6: Label the Package
Write the bread type and freeze date on the package. This is especially useful when you have several loaves or different types of gluten-free bread in the freezer.
Step 7: Freeze Flat
Lay individual slices or small portions flat in the freezer until they’re firm. Once frozen, you can stack or rearrange them to save space.
Freezing portions this way also makes it easier to grab one serving without disturbing the rest.
Once your slices are properly frozen, the next step is thawing them without ending up with dry, tough, or gummy bread.
How to Thaw Gluten-Free Bread Without Drying It Out
The good news is that you don’t always need to thaw gluten-free bread before eating it. But if you do, here are a few tips.
- Individual Slices: Go straight from the freezer to the toaster or toaster oven. Frozen slices can also thaw at room temperature in under 30 minutes.
- Whole Loaf: Keep the loaf wrapped while it comes to room temperature. A whole loaf can take around three hours to thaw, depending on its size and your kitchen temperature.
- Oven: For crusty bread that needs refreshing, gently warm it in a 350°F oven for a few minutes.
- Microwave: A microwave works when speed matters, but don’t overheat the bread. Bear in mind that microwaving can leave bread dry or hard when heated too long.
Should You Refrigerate Gluten-Free Bread?
Generally, refrigeration isn’t the first choice for homemade bread. Refrigerator temperatures can accelerate starch changes associated with bread staling, making the crumb firm more quickly than it would under some other storage conditions.
For longer storage, freeze the bread instead. Utah State University Extension advises storing bread at room temperature rather than in the refrigerator. For long-term storage, wrap the bread well and freeze it.
However, one important exception applies: follow the manufacturer’s instructions for packaged bread. Some commercial products may specifically require refrigeration after opening.
How to Keep Gluten-Free Bread Soft
The same basic habits that prevent unnecessary moisture loss also help preserve texture:
- Cool it completely before slicing or sealing.
- Keep the loaf sealed when storing it at room temperature.
- Protect the cut surface once you’ve sliced the loaf.
- Freeze what you won’t eat soon.
- Toast or gently warm older slices when they’re beginning to lose their original texture.
For another soft gluten-free bake, try One Bowl Gluten-Free Banana Bread: Super Moist & Easy!.
How to Tell If Gluten-Free Bread Has Gone Bad
Before rescuing an older loaf, use the tips below to check whether it’s simply stale or actually spoiled.
Signs You Should Discard the Bread
Discard the bread if you notice visible mold, unexpected discoloration, a suspicious or unusual odor, sliminess or unusual moisture, or other obvious signs of deterioration.
Most importantly, don’t cut away mold and eat the rest. The USDA Food Safety and Inspection Service says you should discard bread and baked goods with mold because their porous structure can allow contamination below the visible surface.
Stale vs. Spoiled
Stale bread may be dry, firm, or less pleasant but show no signs of spoilage. You can repurpose it as toast, breadcrumbs, croutons, or French toast.
Spoiled bread shows signs such as mold or other deterioration. When in doubt, don’t taste it to determine whether it’s safe.
If your loaf is getting dry, try it in the Foolproof One-Bowl Oat Flour Banana Bread Recipe.
7 Gluten-Free Bread Storage Mistakes to Avoid
You’ve baked the loaf. Now don’t undo your work with one of these common mistakes.
- Slicing while it’s hot: Let the loaf cool completely first.
- Leaving it uncovered: Keep cooled bread protected from unnecessary air exposure.
- Assuming the refrigerator is better: Refrigerating bread speeds up staling, so freeze it if you need to store it longer.
- Freezing the whole loaf unnecessarily: Freeze individual portions if you normally eat only a few slices.
- Using poorly sealed packaging: Choose airtight or freezer-safe packaging and remove excess air.
- Trapping condensation: Don’t seal warm bread.
- Keeping moldy bread: Discard moldy bread rather than cutting away the affected area.
If the problem started during baking rather than storage, Why Did My Bread Fail? 6 Common Mistakes & Easy Fixes for Bakers can help troubleshoot the loaf itself.
Gluten-Free Bread Storage Troubleshooting
A storage problem usually has a simple clue. Match the symptom to the likely cause:
- Dry the next day: Too much air exposure. Seal the bread more tightly or freeze it sooner.
- Gummy inside: Don’t assume storage is responsible. Underbaking, recipe formulation, ingredient choice, and premature slicing can all affect crumb texture. Check the recipe’s doneness indicators, and let the bread cool completely.
- Slices stuck together: They were frozen without separation. Use parchment between slices or freeze them in portions.
- Freezer burn: The packaging exposed too much air. Use freezer-safe, airtight packaging and remove excess air.
- Hard after thawing: Try toasting individual slices directly from frozen or gently reheating thawed bread.
- Stale after refrigeration: Chilling can accelerate staling. Freeze the bread instead for longer storage.
- Mold appears quickly: Review the bread’s moisture, cooling, packaging, and storage conditions. If mold is present, discard the loaf rather than trying to salvage it.
Frequently Asked Questions
These are some questions we frequently get about storing gluten-free bread. Don’t see yours? Ask us in the comments.
Can You Store Gluten-Free Bread in a Bread Box?
A bread box can be useful for short-term storage because it protects the loaf from direct exposure while still keeping it at room temperature. For longer storage, freezing is a better option.
Is It Better to Wrap Gluten-Free Bread in Foil or Plastic Wrap?
Either works, but the key is how well you protect the bread from air. For freezing, use packaging specifically intended for freezer storage to reduce moisture loss and freezer burn.
Can You Freeze Gluten-Free Bread More Than Once?
Freeze bread in portions you’ll use at one time. Repeated thawing and refreezing can negatively affect texture and quality, so avoid repeatedly cycling the same loaf between the freezer and room temperature.
Why Does Gluten-Free Bread Get Hard After Freezing?
Freezing itself doesn’t necessarily ruin the bread. Packaging, freezer burn, and thawing or reheating can all affect the final texture. Properly sealed portions and gentle reheating can help.
Can You Store Gluten-Free Bread in a Paper Bag?
A paper bag alone isn’t ideal for keeping a homemade loaf soft for several days because it doesn’t provide the same moisture barrier as airtight packaging. For longer freshness, use a more protective container or bag.
Does Gluten-Free Bread Need to Cool Before Freezing?
Allow freshly baked bread to cool before packaging it for the freezer. This prevents excess steam from becoming trapped inside the package.
Can You Freeze Gluten-Free Bread Dough?
You can freeze some gluten-free doughs, but the result depends heavily on the recipe and ingredients. Check the specific recipe instructions before freezing unbaked dough rather than assuming the same method works for every loaf.
What Is the Best Way to Store Homemade Gluten-Free Bread Overnight?
Once completely cooled, keep the loaf well protected at room temperature if you’re planning to eat it the next day. If the loaf will sit longer, portioning and freezing it can help preserve its quality.
More Gluten-Free Bread Recipes & Baking Guides
Now that you know how to keep your loaf fresh, why not put those storage tips to work? If you’re looking for another gluten-free bread to bake, these recipes are a great place to start.
- Sliceable Chia Seed Bread for Gluten-Free Toast and Sandwiches: A practical everyday loaf that stays intact for toast and sandwiches.
- Savory Cassava Bread Recipe (Gluten & Dairy-Free): A savory option made without gluten or dairy when you want something a little different.
- Soft Flaxseed Bread That Slices Without Crumbling: An ideal option if crumbly slices are your main frustration with gluten-free bread.
- Homemade Millet Bread for Sandwiches, Toast, and Everyday Slices: A versatile loaf for everything from morning toast to packed lunches.
- Sorghum Bread Recipe (Soft, Fluffy & Gluten-Free): Try this one if you’re looking for a soft loaf made with sorghum flour.
Still Troubleshooting Your Gluten-Free Bread?
If your loaf turns out gummy, crumbly, or hard to slice, don’t stop at storage. Above, we’ve linked an article that covers the baking problems that can affect texture and structure.
And if you’ve discovered a storage trick that keeps your gluten-free bread fresh longer, tell us about it in the comments.