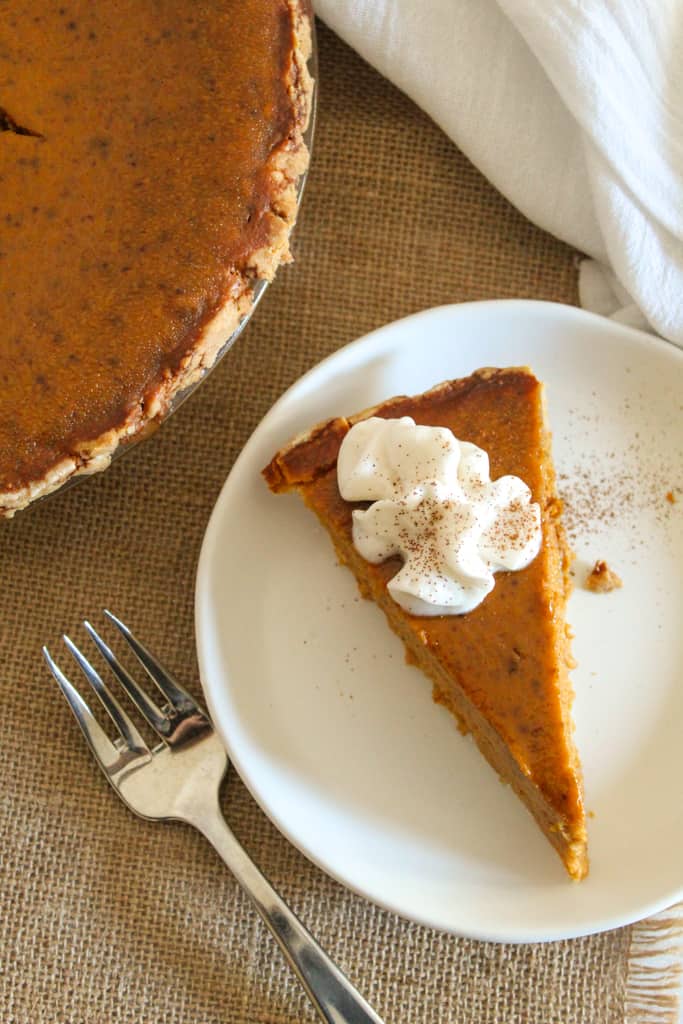
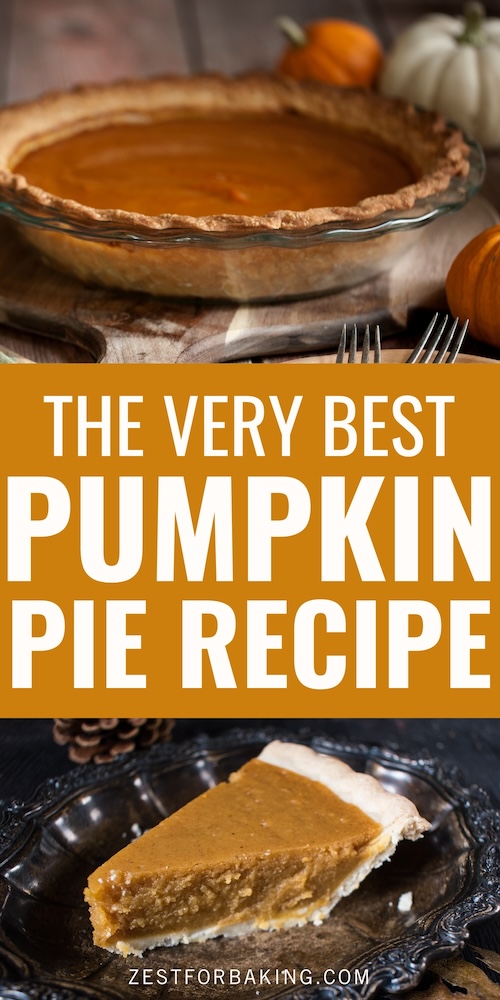
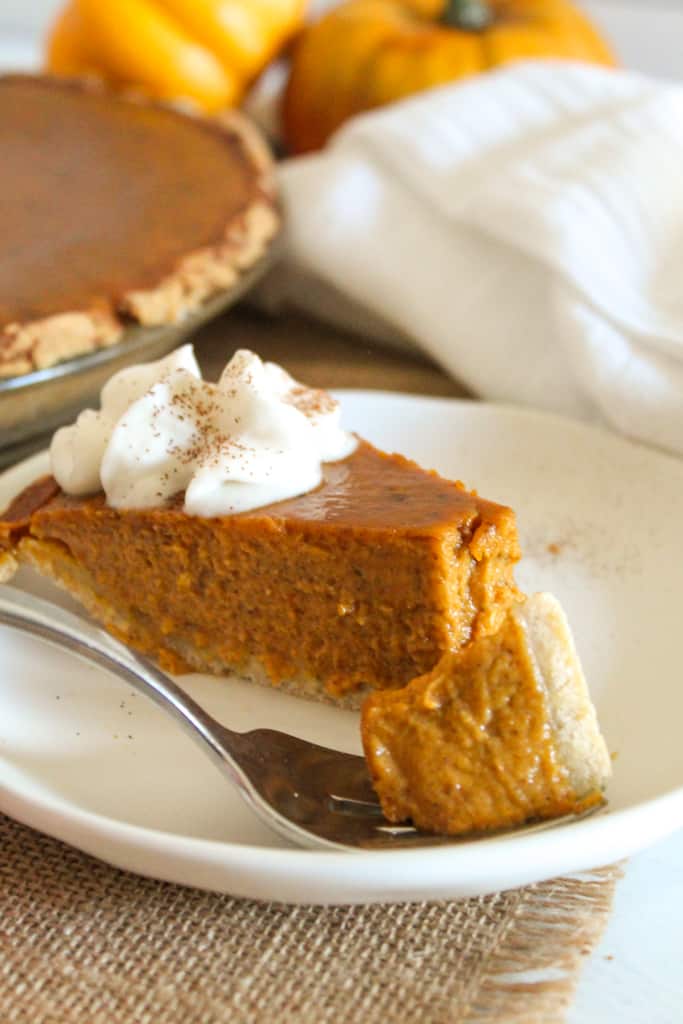
One bite of this gluten free pumpkin pie will have you pulling that pie plate just a little bit closer! It’s smooth, rich and bursting with pumpkin pie spices. And the fact that it’s dairy free too means everyone can enjoy a slice or two of mouthwatering pie.
Table of Contents
There was a time when I thought my days of enjoying pies were over. Even though I bake yeast breads, rolls and even make a mean gluten free/dairy free tiramisu, pies and specifically pie crust were not something I could master. Until this pie crust.
Now I can make a pie with confidence, knowing that it will be tasty because I have a delicious crust recipe to start with.
Why this recipe is the best!
I’m not kidding when I say I have never mastered pie making. So this pie is for all of us who are not pie experts. And if you are an expert, then it’s perfectly seasoned for you too! This recipe has all the makings of a special occasion but without all the effort – it’s as easy for the holidays as it is for a weeknight dessert (like this banana cake!). It’s also:
- Dairy free – yep, you read right! Check out the Instructions & Substitutions section below for more information on it.
- Quick to mix
- Error-proof – I say this with this disclaimer, that if you follow the instructions as written, it turns out perfectly every time!
- Great for a make-ahead treat
Pie-making pro tips
For the absolute best pumpkin pie, follow these important tips:
1. Use room temperature ingredients
This goes for everything. It’s tempting to pull out that leftover portion of pumpkin puree from the refrigerator and use it right away, but don’t. Allow time for it to warm up (or speed up the process by microwaving it). The same goes for the eggs and evaporated milk.
Tip for quickly warming cold eggs: Fill a 1 or 2 cup glass measuring cup halfway with water. Microwave for 30-45 seconds. Float the eggs in the warm water for 2-5 minutes.
2. Use a whisk to mix the ingredients
Whisks are great for mixing batter that has to be super smooth. I recommend a flexible, plastic one like this but a silicon one will work great too. (It’s easier to scrape the batter off the flexible whisks.) You don’t want any lumps in this pie filling!
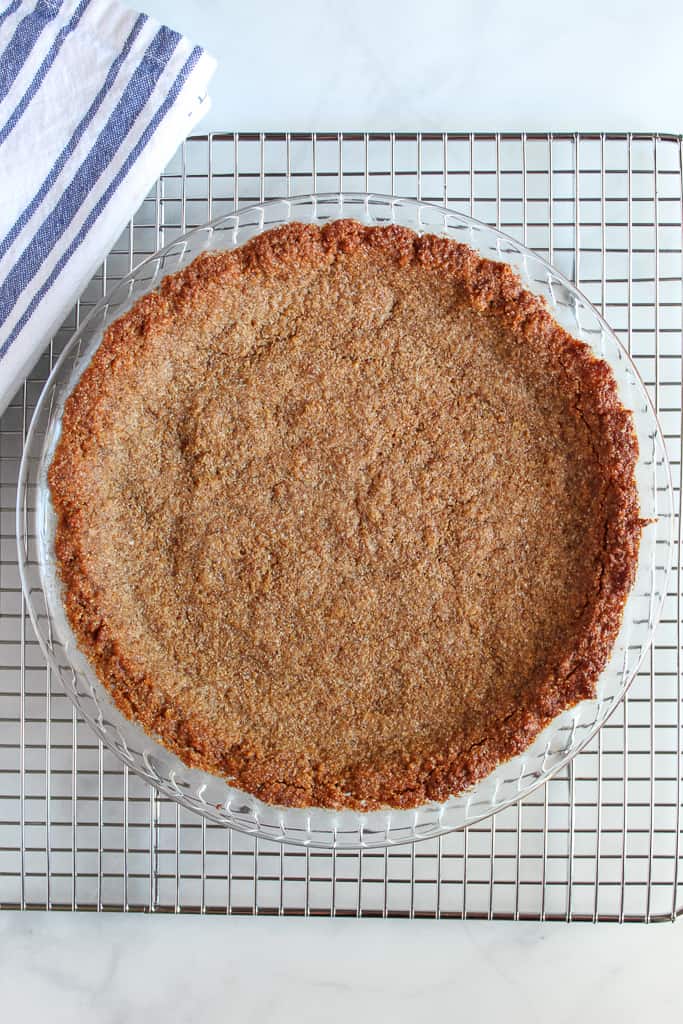
3.Use an easy, delicious pie crust
The pie crust I used for this pie is this flaky pie crust. It’s also dairy free and comes together really easily. And unlike other crusts, this one does not need to be refrigerated and does not baking before filling it. Step by step help for rolling it is included in the crust recipe too.
4. Pie will be very full
I learned this the hard way the first time around… the filling will make enough for a 9 inch pie. However, check out the tip below because the pie will be extremely full. You might actually have a few Tablespoons of filling left over that simply will not fit in the pie.
Tip for handling a very full pie: Pumpkin pie is tough because the filling is very soupy. So to prevent it from spilling on the floor as you’re placing it into the oven, use a baking sheet as a transportation tray. Place the formed pie crust plate unfilled on a baking sheet (ideally one like this with a rim so you can carry it). Then pour the filling into it. Once the oven is heated and ready, open the oven door all the way down – carefully transport the baking sheet over the open door. Set the baking sheet on the oven and lift the pie into the oven.
Much less room for spills with this method!
How to make this recipe
Ingredients & substitutions
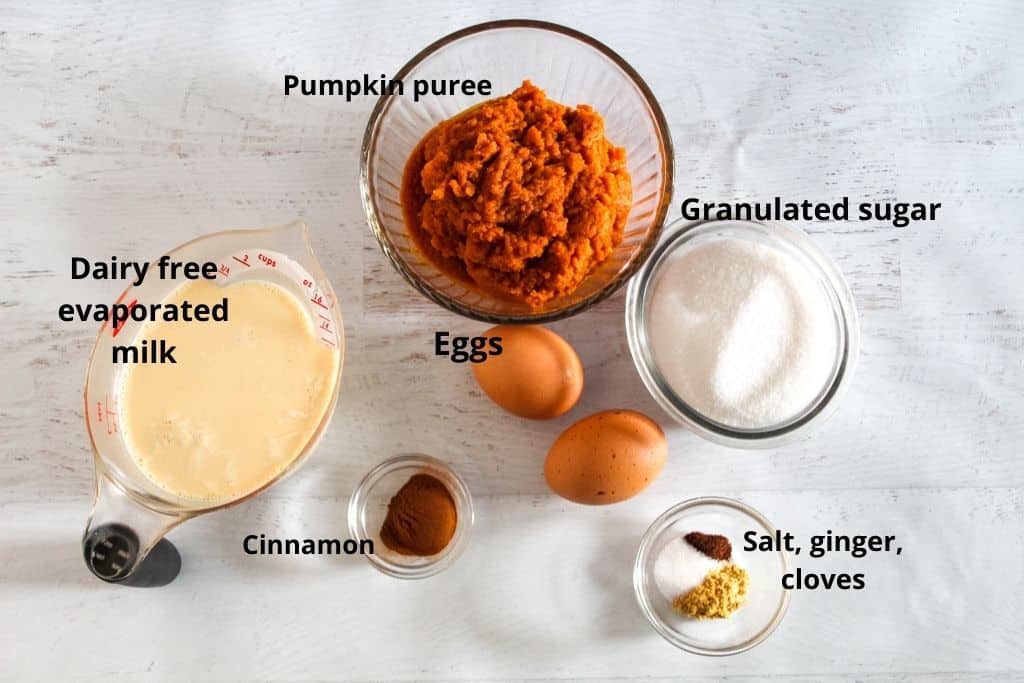
Good news, this pumpkin pie is super simple! Here are the ingredients you’ll need with the brand the recipe has been tested with and then a substitution if one will be as equally delicious.
Pumpkin puree – The Libby’s brand is the one I use and recommend. I imagine you could use another brand with equally good results. Either way, make sure it is pure pumpkin, nothing added. (Use any leftover pumpkin puree in these pumpkin muffins or these pumpkin cookies!)
Eggs – I used large, fresh eggs in this recipe. If you need to use a substitute for the eggs, I wrote a whole guide on it, so check that for alternatives.
Granulated sugar – Imperial granulated sugar is the brand I use and recommend. A decent substitute for the granulated sugar (if you need to go sugar free) would be Swerve sweetener. The taste is slightly different, but fortunately pumpkin is such a powerful flavor that it balances out the sugar substitute.
Evaporated milk – I used the coconut milk evaporated milk. It’s a great alternative to dairy evaporated milk. Goat’s milk evaporated milk is another alternative if you can handle dairy, just not the lactose. I would not recommend omitting this from the recipe.
Ground cinnamon, ginger, nutmeg and cloves – These spices are what make pumpkin pie, well pumpkin pie! They give it that amazing flavor that is characteristic of Fall. I would not recommend substituting them. As an alternative though, you could use 2 teaspoons of pumpkin pie spice. Pumpkin pie spice tends to have other spices in it as well like allspice, but they are wonderful additions.
Salt – Morton salt is a great, high quality brand. I would not advise substituting or leaving out the salt in this recipe.
Mixing
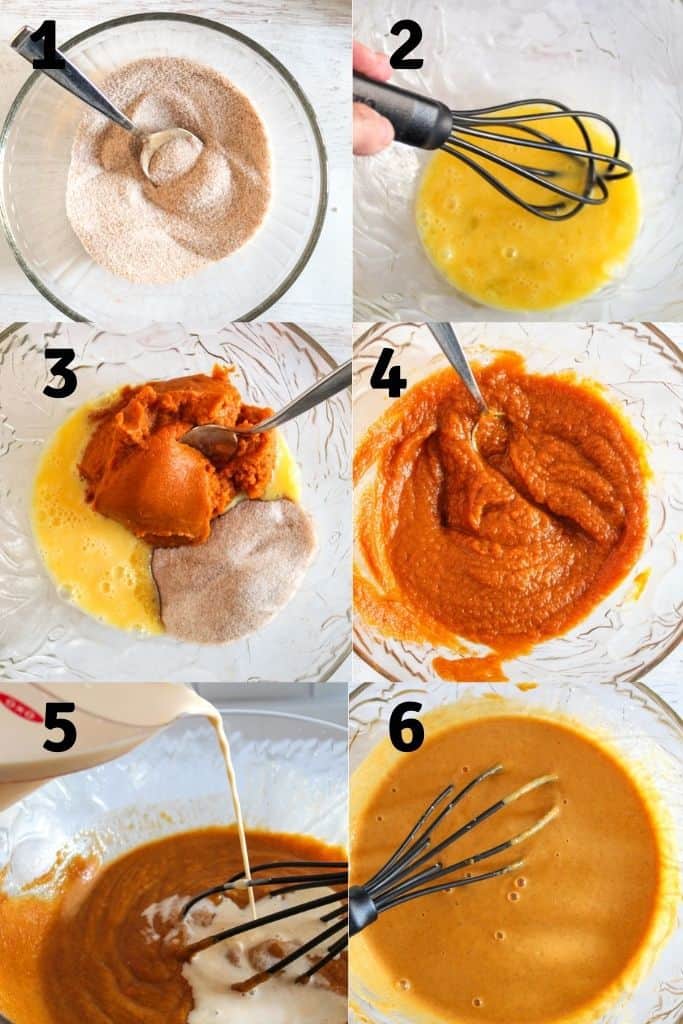
Pumpkin pie filling is the easiest thing to mix together – start with a small bowl and mix the sugar and spices together (step 1 in the image above). Then add the eggs into a large bowl and mix together until blended (step 2). Into the large bowl with the eggs, add the sugar mixture and pumpkin puree (step 3). The mixture will look very orange and thick (like in step 4). Slowly add the evaporated milk, stirring constantly with a plastic whisk (step 5).
Final mixture will be thinner and a dull orange color (step 6).
Pouring & baking

After the pie filling has been fully mixed, the next step is pouring into the pie crust. Follow the steps to making a pie crust with this delicious homemade pie crust recipe and shape it into the pie plate.
As mentioned above in the pie making tips, it’s much easier to move a very full pie using a baking sheet as a tray for transporting it. Reference that baking tip area above but once the pie is filled, simply place it in the oven to bake for about 45-55 minutes total. A knife inserted into the middle should come out clean, without filling sticking to it.
FAQ’s about this recipe
Can I use regular, dairy evaporated milk?
.
Will this recipe work with a store-bought or frozen crust?
Can I substitute ingredients for the filling?
What’s the best way to store this gluten free pumpkin pie?
Other recipes you may like!

Gluten Free Pumpkin Pie {Dairy Free}
Ingredients
- 15 ounces pumpkin puree
- 12 ounces dairy free evaporated milk coconut milk
- 155 grams granulated sugar about 3/4 cup
- 1 teaspoon ground cinnamon
- 1/2 teaspoon salt
- 1/2 teaspoon ground ginger
- 1/4 teaspoon ground cloves
- 1/4 teaspoon nutmeg
- 2 eggs
- unbaked pie crust
Instructions
- Prepare pie crust and place in a 9 inch pie plate. Place plate on a rimmed baking sheet. Set aside. Preheat oven to 425 F.
- In a small bowl, mix the sugar, cinnamon, salt, ginger, cloves and nutmeg. Set aside.
- In a large bowl, add 2 eggs and whip gently with a plastic whisk.
- Add the sugar mixture and pumpkin puree. Mix thoroughly.
- While whisking the pumpkin mixture, add the evaporated milk in a stream, whisking constantly. Make sure no lumps remain.
- Carefully pour pie filling into the pie crust and move to the oven.
- Place the pie into the oven without the baking sheet. Bake for 15 minutes.
- Turn oven down to 350 F and bake for an additional 40 minutes or until a knife inserted into the middle comes out clean. Place foil around pie edges if pie crust gets too dark.
- Let cool for 1-2 hours. Serve.
Video
Notes
- Make the pie crust ahead of time so it’s ready to use.
- Make sure the ingredients are at room temperature.
- I used dairy free evaporated coconut milk.
- The pie will be very full. The baking sheet tip comes in handy for transporting the full pie to the oven.
- Chances are, the pie crust will get dark before the pie is done. Use foil to cover the edges of it to prevent burning.
Nutrition