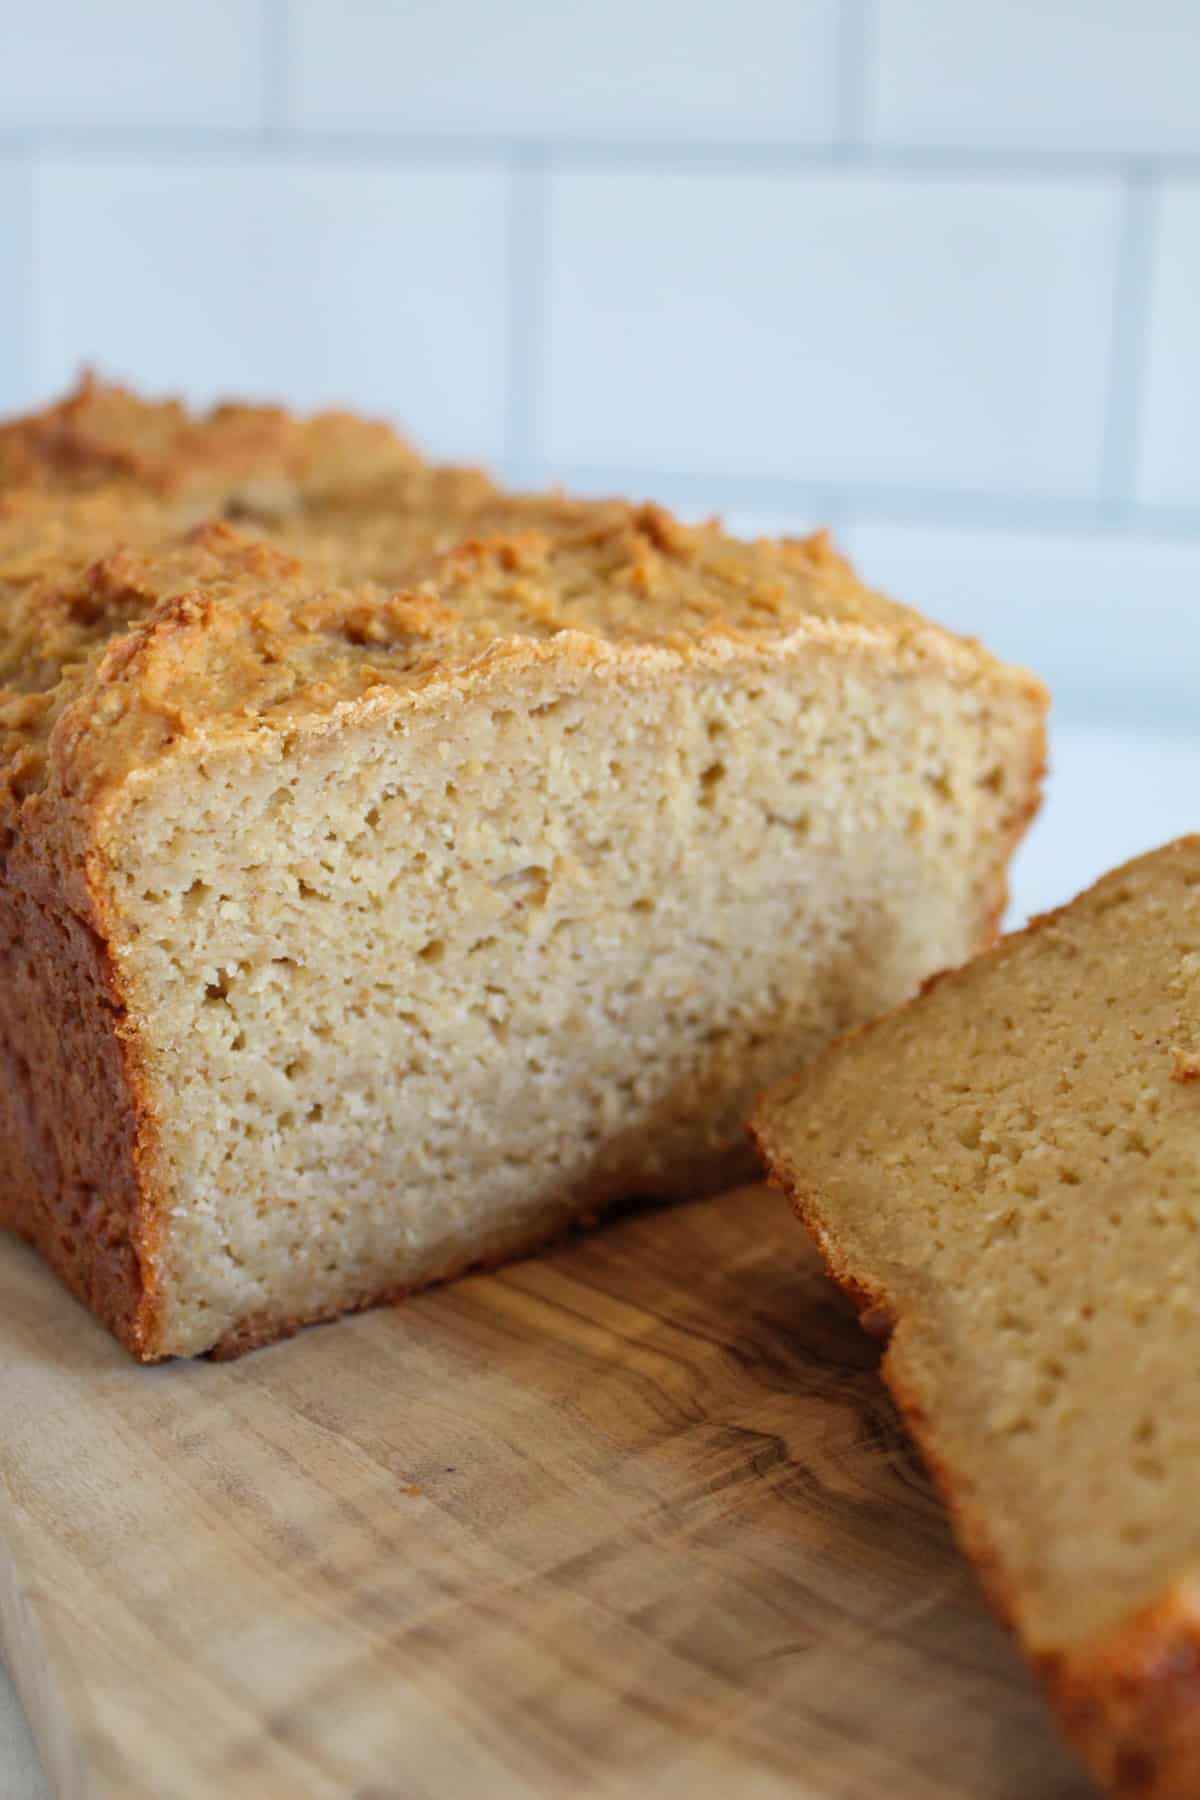
Most gluten-free breads call for yeast, multiple flours, or a long rise. This one doesn’t. This easy gluten-free peanut butter bread is yeast-free, mixed in minutes, and baked in a single loaf pan.
Peanut butter gives the loaf a rich, nutty flavor and a soft, tender crumb that’s especially good toasted or spread with jam for an easy PB&J. You can keep it lightly sweet for sandwiches or add chocolate chips for a more dessert-like loaf.
Table of Contents
I’ll walk you through the ideal batter consistency, the best peanut butter to use, and the simple doneness cues that help prevent a gummy or sunken center.
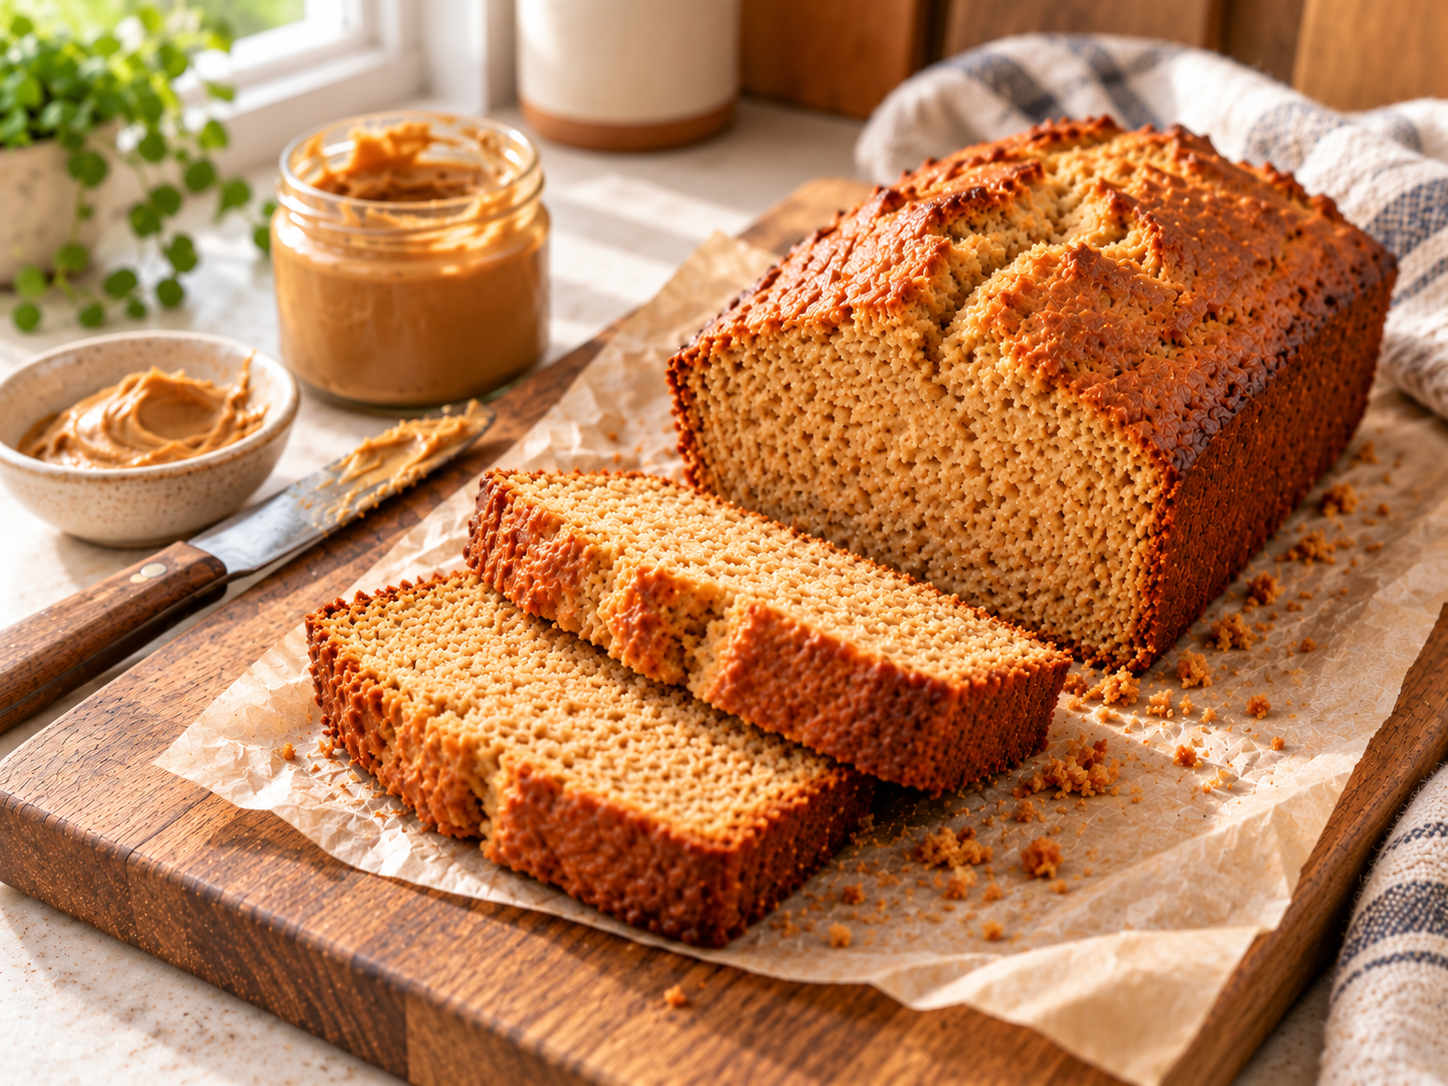
Why You’ll Love This Recipe
This gluten-free peanut butter sandwich bread is simple to prepare and yields a soft, flavorful loaf in no time.
- Well-rounded, nutty taste, with peanut butter adding a touch of sweetness and a pleasant aftertaste.
- Soft, moist crumb thanks to the natural oils and proteins in the peanut butter.
- Easily adaptable to dietary needs with vegan and low-sugar substitutions.
- Comforting aroma while baking.
- Easy to make with pantry-friendly ingredients and no complicated kitchen tools.
- Quick to mix and bake as it requires no yeast or rising time.
- Easily adaptable to dietary needs with vegan and low-sugar substitutions.
If you want another wonderful gluten-free treat filled with the goodness of peanut butter, try our Gluten-Free Peanut Butter Brownies.
Want our human-written content to rank above AI-generated garbage? Help us out by clicking this button!
What You’ll Need
Here are the simple ingredients you’ll need for this recipe:
- Gluten-free flour mix
- Sugar
- Uncut stevia extract
- Baking powder
- Salt
- Cinnamon
- Peanut butter
- Applesauce
- Vanilla extract
- Milk
Ingredients and Substitutions
Understanding each ingredient’s role makes baking perfectly soft gluten-free peanut butter bread easier.
- Gluten-free flour mix– This ingredient provides the main structure and bulk in this bread. This is a main ingredient, so substituting it changes the whole recipe.
- White sugar – Sweetens, promotes Maillard browning, and retains moisture in this bread. Use granulated sugar for the most predictable result. You can substitute coconut sugar, but it may darken the loaf and alter the flavor.
- Stevia extract – Delivers intense sweetness with near-zero calories, letting you boost the bread’s sweetness without adding much extra sugar.
- Baking powder – Creates CO₂ for lift and an open crumb in this bread.
- Salt – Enhances the rich peanut butter and other flavors in this bread and balances sweetness.
- Cinnamon – Adds warm, sweet-spicy notes that complement peanut butter and make the loaf smell cozy while baking.
- Peanut butter – Delivers the signature nutty flavor, tenderizes the crumb, and helps retain moisture, while proteins contribute to browning and structure. Other nut or seed butters like almond butter, cashew butter, or sunflower seed butter work great here too.
- Unsweetened Applesauce – Adds moisture and tenderness while letting you reduce fat without adding extra sugar. For substitutions, you can check out these alternatives.
- Vanilla extract – Rounds and deepens peanut flavor.
- Milk – Milk provides the liquid needed to bring the batter together and helps keep the finished loaf tender. You can use dairy-free milks like oat, soy, almond, cashew, or coconut milk.
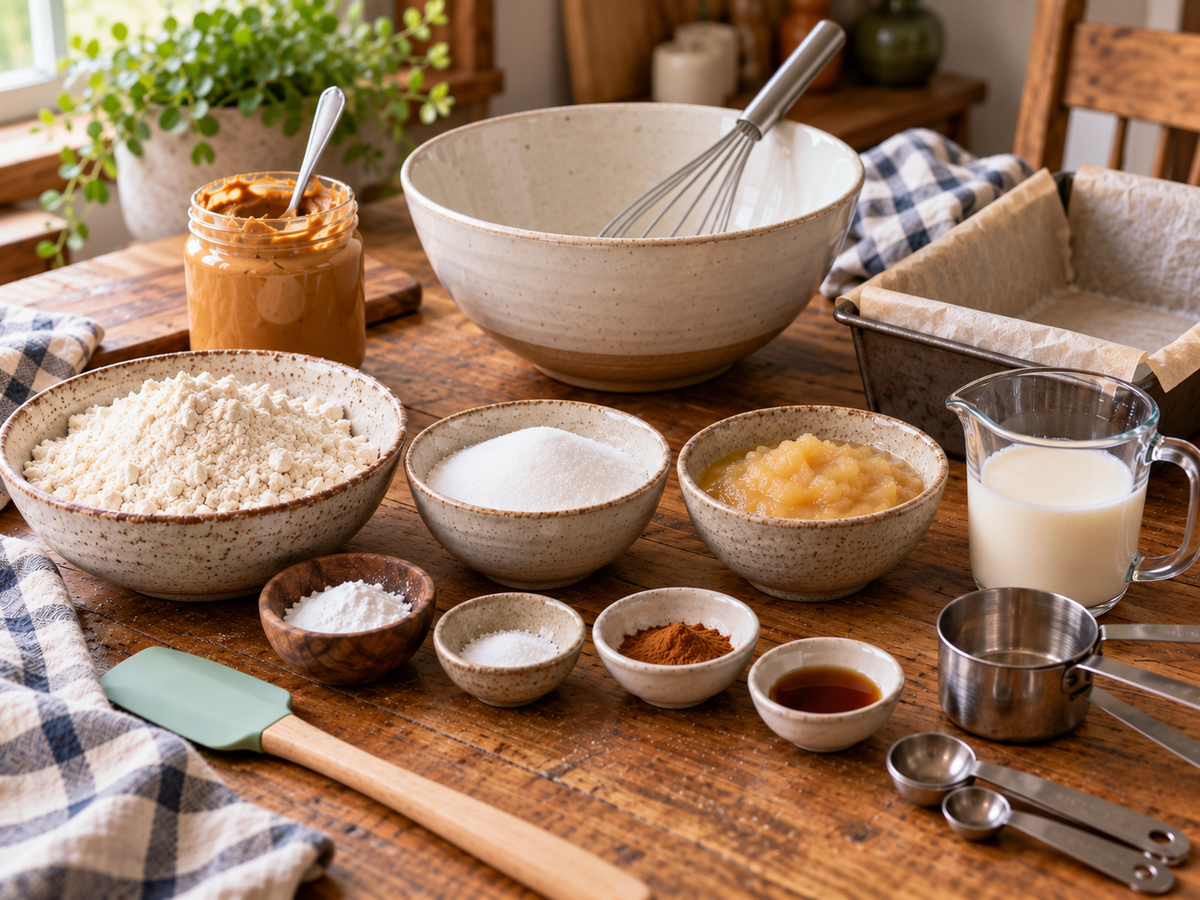
If you’d like to try these ingredients in another easy baking recipe, we have an Almond Flour Peanut Butter Cookie recipe that uses many of them to make a go-to treat for parties and get-togethers.
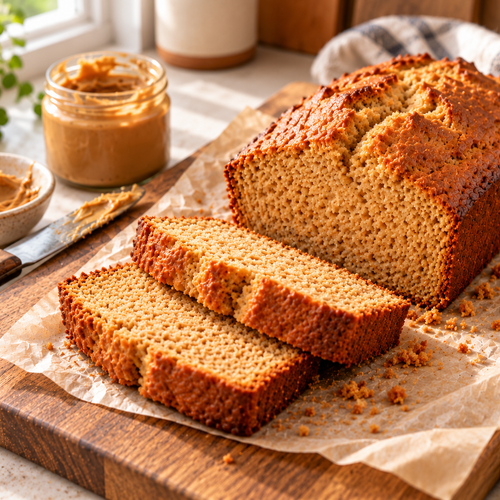
PRINTABLE RECIPE CARD: Gluten-Free Peanut Butter Bread
Ingredients
- 2 cups gluten-free flour mix
- ⅓ cup granulated sugar
- 1⁄8 teaspoon uncut stevia extract
- 1 tablespoon baking powder
- 1 teaspoon salt
- 1 teaspoon cinnamon
- ⅓ to ½ cup creamy peanut butter
- 2 tablespoons unsweetened applesauce
- 2 teaspoons pure vanilla extract
- 1 cup milk of choice
- ½ cup chocolate chips or chopped peanuts (optional)
Instructions
- Prepare the oven and pan. Preheat the oven to 375°F. Grease a 9×5-inch loaf pan with baking spray or line it with parchment paper, leaving some overhang to make the loaf easier to remove.
- Mix the dry ingredients. In a large bowl, whisk together the gluten-free flour, sugar, stevia, baking powder, salt, and cinnamon until evenly combined.
- Mix the wet ingredients. In a separate bowl, stir together the peanut butter, applesauce, vanilla extract, and milk until the mixture is as smooth and evenly combined as possible.
- Combine the mixtures. Pour the wet mixture into the dry ingredients. Stir gently with a spatula just until no dry streaks remain. Do not overmix.
- Check the batter. The finished batter should be thick and scoopable rather than thin or watery.
- Add optional mix-ins. If using chocolate chips or chopped peanuts, gently fold them into the batter after the flour has been incorporated.
- Fill the pan. Scrape the batter into the prepared loaf pan and smooth the top with a spatula. Gently tap the pan on the counter once or twice to release any large air pockets.
- Bake. Bake for 40–45 minutes, beginning to check at 40 minutes. The loaf is ready when the top is golden brown, the edges have pulled slightly away from the pan, and a toothpick inserted into the center comes out clean.
- Cool. Let the loaf cool in the pan for 10–15 minutes. Then transfer it to a wire rack and allow it to cool completely, ideally for about 2–3 hours, before slicing.
Notes
- Use a scale to measure the flour and peanut butter
- Use stabilized creamy peanut butter for the right structure and moisture levels in the batter.
- If using natural peanut butter, make sure it has been thoroughly stirred before measuring, as separated oil can affect the batter’s consistency.
- Avoid overmixing and stir the batter just until no dry flour remains.
- Aim for a thick cake-batter texture.
- Check the expiration date of your baking powder before baking. Old or expired baking powder may not provide enough lift.
- Allow the bread to cool completely on the wire rack for easy slicing
- The top is golden brown.
- A toothpick inserted near the center comes out clean.
- The edges pull slightly away from the pan
- Room temperature: Once completely cooled, wrap the loaf tightly in plastic wrap or place it in a zip-top bag. Store at room temperature for 2–3 days.
- Refrigerator: If your kitchen is very warm, refrigerate the bread to extend its shelf life by another 1–2 days. Toast or gently warm slices before serving.
- Freezer: Slice the bread and place parchment paper between the slices. Wrap tightly and freeze in a freezer-safe bag for 2–3 months.
- Thawing: Let frozen slices or the whole loaf thaw unopened at room temperature for 30–60 minutes. For individual slices, you can also toast them directly from frozen.
Nutrition
How to Make Gluten-Free Peanut Butter Bread
This gluten-free peanut butter bread is quick to prep and easy to make. Follow these detailed steps to make a soft, flavorful loaf with a tender crumb.
Equipment You’ll Need
This recipe doesn’t require any fancy kitchen equipment, just some basic baking tools:
- Mixing bowls
- Measuring cups and spoons
- Loaf pan
- Whisk
- Spatula
- Toothpick
- Cooling rack
1) Prep the oven
Preheat the oven to 375°F and grease the 9×5 loaf pan with baking spray, or line it with parchment, leaving an overhang for easy lift-out.
2) Mix the dry ingredients
In a large bowl, mix the flour, sugar, stevia, baking powder, salt, and cinnamon until evenly combined. Whisking breaks up any lumps and distributes the leavening evenly.
3) Mix the wet ingredients
In a separate medium bowl, mix the peanut butter, applesauce, vanilla extract, and milk.
Mix until the peanut butter is evenly dispersed throughout the liquid mixture. If you’re using natural peanut butter, stir it thoroughly in its jar first so the oil and solids are evenly combined before measuring.
4) Combine the wet and dry ingredients
Pour the wet mixture into the bowl with the dry ingredients.
Use a spatula to gently stir until the flour is incorporated and no dry streaks remain. Stop mixing as soon as the batter comes together. Overmixing can make the finished loaf denser.
The batter should be thick and scoopable, rather than thin and watery.
5) Add the mix-ins
If you’re using chocolate chips or chopped peanuts, gently fold them into the batter now.
Avoid vigorous stirring, which can overwork the batter.
6) Pan and level
Scrape batter into the prepared pan and smooth the top. For an even rise, tap the pan gently on the counter once or twice to release large air bubbles.
7) Bake the loaf
Bake for 40–45 minutes. Start checking at 40 minutes. The loaf is done when the top is golden, the edges pull away slightly, and a toothpick inserted in the center comes out clean.
8) Cool and enjoy
After you take the pan out of the oven, allow it to cool for 10–15 minutes. Then transfer to a wire rack to cool completely before slicing.
Tips for Success
Keep these simple tips in mind to bake a loaf that turns out soft and moist.
- Measure the flour carefully. For the most consistent results, weigh your gluten-free flour with a kitchen scale rather than relying only on volume measurements. Too much flour can make the loaf dense or dry.
- Use creamy, stabilized peanut butter. Conventional stabilized peanut butter gives you a more predictable texture because the oil stays evenly incorporated. Natural peanut butter can also work, but stir it thoroughly before measuring.
- Check the batter consistency. The batter should be thick and scoopable. If it looks unusually thin, check your measurements before transferring it to the pan.
- Don’t overmix. Once you add the wet ingredients to the dry ingredients, stir only until no dry flour remains. A few small lumps are fine.
- Use fresh baking powder. Check the expiration date before baking. Old or expired baking powder may not provide enough lift.
- Don’t slice the loaf while it’s hot. Gluten-free quick breads need time to finish setting as they cool. Let the loaf cool completely on a wire rack before slicing.
- Use the correct pan size. A 9×5-inch loaf pan gives the batter the intended shape and affects how quickly the center cooks.
Using these tips and tricks, along with others in this guide, can help you bake gluten-free peanut butter bread that turns out soft and moist, with a golden top and a rich peanut butter flavor.
Troubleshooting
Sometimes you might not get the gluten-free peanut butter bread you want. It happens. To avoid this, here are the most common issues you need to know about and how to fix them.
- Bread is gummy in the center: A gummy center can result from underbaking, too much liquid, or slicing the loaf before it has cooled completely. Bake the loaf until the center is fully set, and a toothpick inserted into the middle comes out clean or with a few moist crumbs. Then let it cool completely before slicing.
- Dense or heavy loaf: A dense loaf can result from too much flour, old baking powder, overmixing, or an inconsistent batter. Measure the flour carefully, use fresh baking powder, and stir the batter only until the dry ingredients are incorporated.
- Bread is dry: Overbaking or adding too much flour can dry out a loaf. Measure the flour accurately and begin checking the bread at 40 minutes so you don’t leave it in the oven longer than necessary.
Why did my gluten-free peanut butter bread sink?
A sunken loaf usually means the center did not fully set before the bread came out of the oven. This can happen if the loaf is underbaked, the batter contains too much liquid, or the ingredient measurements are off.
Make sure the batter is thick and scoopable before baking, measure the flour carefully, and bake until the center is fully set. A toothpick inserted near the middle should come out clean or with just a few moist crumbs. Let the loaf cool completely before slicing so the crumb has time to finish setting.
Why didn’t my gluten-free peanut butter bread rise?
If the loaf stays flat or rises very little, the baking powder may be old or inactive. Too much liquid, too much flour, or using a different pan size can also affect how the bread rises.
Check that your baking powder is fresh, measure the flour accurately, and use a 9×5-inch loaf pan for the most consistent results. The batter should be thick and scoopable rather than runny. Once the wet and dry ingredients are combined, transfer the batter to the pan and bake it promptly rather than letting it sit for an extended period.
Many small adjustments can resolve common bread-baking problems. You’ll find it easier to make consistent gluten-free peanut butter loaves after baking a batch because you’ll know how your oven and ingredients behave.
4 Delicious Variations Of This Recipe
Use this base recipe to create a few easy variations, from chocolate-studded loaves to fruit-forward versions with banana, zucchini, or jam.
- Peanut Butter–Banana Bread: This version takes the classic recipe to another level by mixing ripe bananas into the mix. The result is a naturally sweet cake, so you can use less sugar than you normally would.
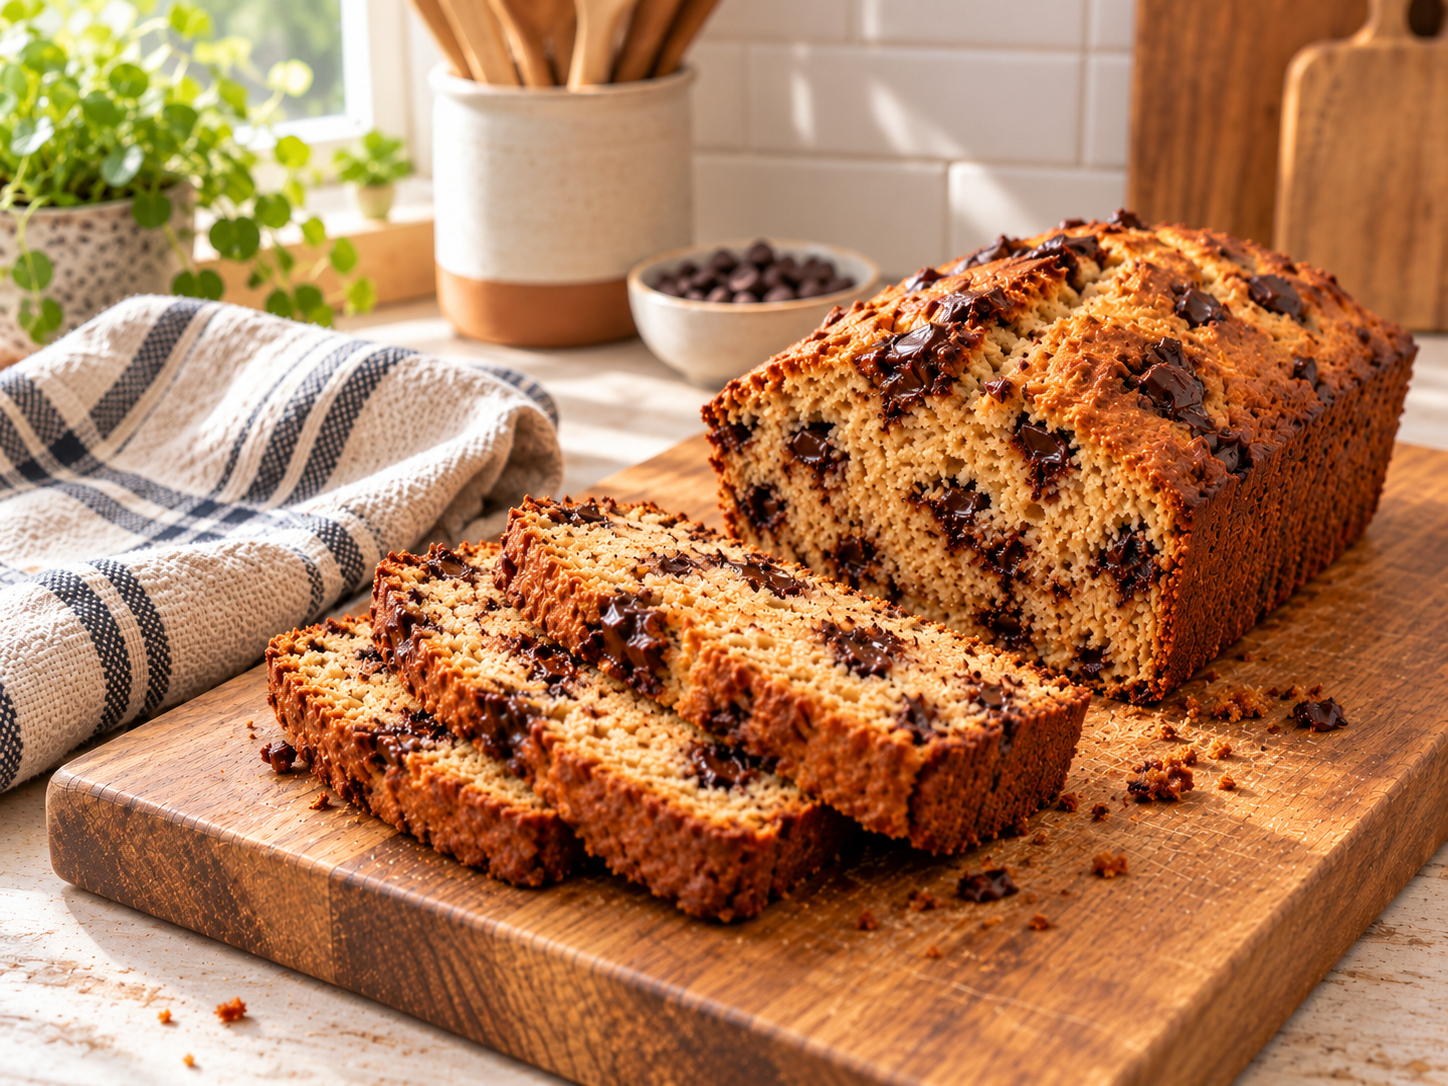
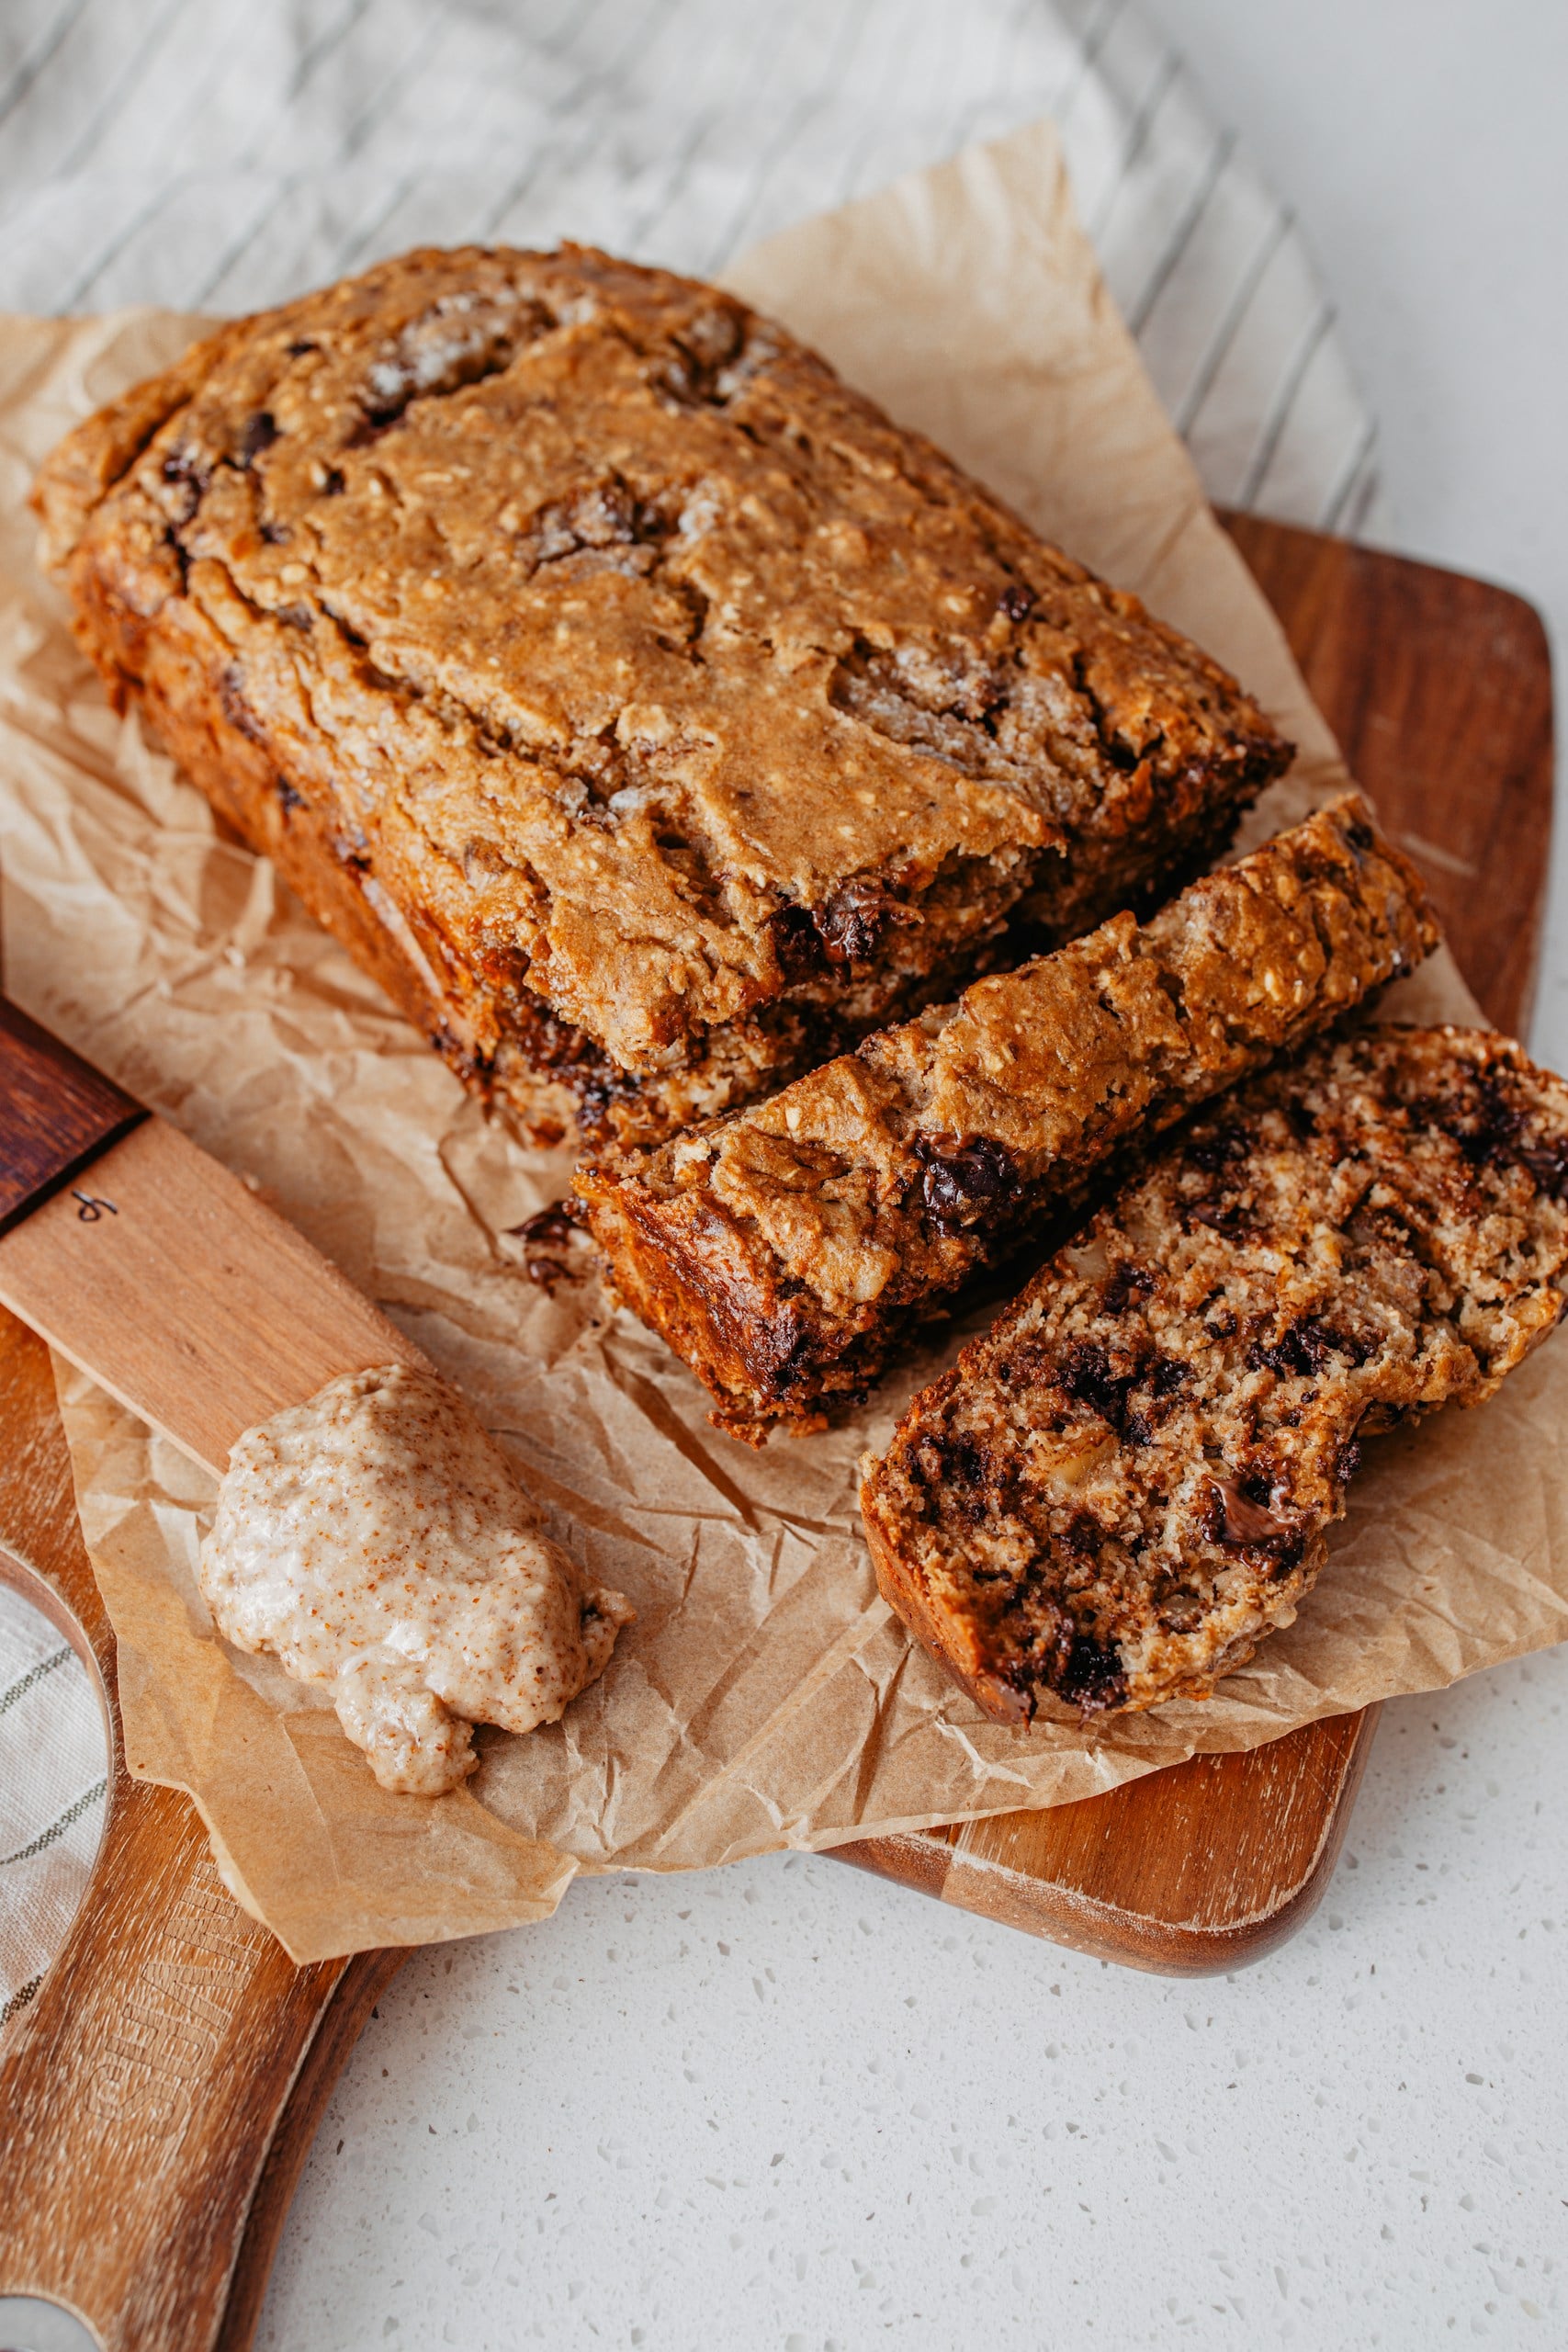
- Peanut Butter Chocolate Chip Bread: If you want a dessert-like treat, this version is perfect. Just add the chocolate chips to the batter at the end, after mixing them with a little flour. As a result, you get a chocolatey-tasting loaf full of melted chocolate chips.
- Peanut Butter–Zucchini Bread: This delightful recipe includes shredded and well-drained zucchini. It makes the bread moister and a bit bulkier, though it doesn’t taste as strongly of peanut butter.
- Swirled Peanut Butter & Jelly Bread: This is a recreation of a classic PB&J sandwich in loaf form. Spoon dollops of your favorite jam, such as strawberry or raspberry, over the batter and gently swirl with a knife before baking.
Serving Suggestions
This gluten-free peanut butter bread works well beyond a simple snack. Serve it with jam, fruit, creamy toppings, or alongside a smoothie for an easy breakfast or a more filling bite.
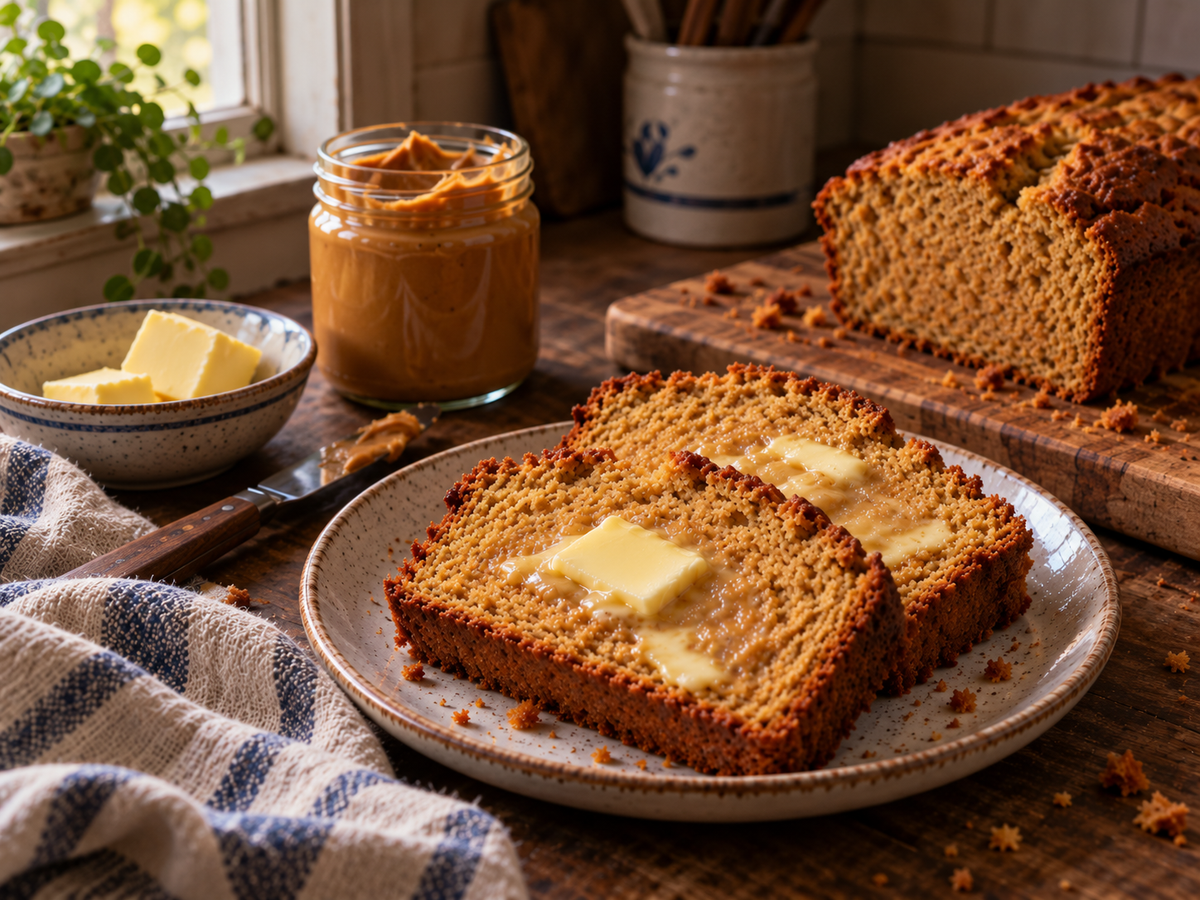
- Opt for the classic route of spreading jam or jelly. A thin layer of strawberry, raspberry, or grape jam turns each slice into a different version of PB&J.
- For a fruity twist, pair with our maple cinnamon stewed apples. The fruit’s crunchy texture and slightly tart taste pair well with peanut butter, adding freshness to the bread.
- Go for the artisan way by spreading Nutella or adding whipped ricotta with a honey drizzle on top. This method works great with sweet swirled loaves.
- Serve it along with a peanut butter banana smoothie for a protein-rich mini-meal.
- Make the slice more filling by topping it with Greek yogurt for creaminess and protein. This works great for breakfast or a post-workout snack.
Storage and Freezing Tips
Proper storage and freezing are especially important to help maintain its flavor and texture, so you can enjoy it anytime you want.
- Room-temperature storage: After cooling completely, wrap the loaf tightly in plastic wrap or place it in a zip-top bag. Store at room temperature for 2–3 days.
- Refrigeration: If your kitchen is very warm and you need to extend the bread’s shelf life by another day or two, refrigerate it in an airtight container. Toast or gently warm slices before serving to improve the texture.
- Freezing: Slice the bread before freezing and place parchment paper between the slices. Wrap the slices tightly in plastic wrap and foil, then place them in a freezer-safe bag. Freeze for 2–3 months.
- Thawing: Leave frozen slices or the whole loaf unopened at room temperature for 30–60 minutes before serving. For the best texture, you can also toast individual slices directly from frozen.
Frequently Asked Questions (FAQs)
Here are the questions regarding baking this gluten-free peanut butter bread. If you can’t find yours, drop it in the comments.
Can I use natural peanut butter?
Yes, but stabilized no-stir peanut butter gives the most consistent result. If using natural peanut butter, stir it extremely well before measuring so the separated oil is fully reincorporated. The batter consistency may vary slightly.
Can I make it peanut-free?
Absolutely. Replace the peanut butter with sunflower seed butter. Keep in mind that the flavor and texture may differ slightly from the original recipe. If you’re preparing the bread for someone with a peanut allergy, choose products that are appropriately labeled and produced to minimize cross-contact.
Why did my loaf sink?
The most common causes are underbaking, excess liquid, or slicing the loaf before it has cooled completely. Bake until the center is fully set, and a toothpick inserted into the middle comes out clean or with a few moist crumbs. Then let the loaf cool completely before slicing.
How do I prevent the top from cracking too much?
A moderate crack along the top of gluten-free peanut butter bread is normal. As the outside of the loaf sets in the oven, the center continues to expand and can naturally split the surface.
If the crack is unusually deep or the top browns too quickly, make sure you are using the correct 9×5-inch loaf pan and that your oven is running at the proper temperature. Avoid overfilling the pan, and do not add extra flour that could make the batter excessively thick. A normal center crack is not a sign that the loaf has failed.
More Peanut Butter Recipes to Try
If this peanut butter bread hit the spot, there are plenty of other peanut butter recipes on Zest for Baking worth trying next. From classic cookies to rich brownies and easy muffins, these recipes all bring that same cozy peanut butter flavor in a different form.
For a simple favorite, try these soft and chewy peanut butter cookies. They’re a great option when you want something quick, familiar, and packed with peanut butter flavor.
If you’re looking for an even easier recipe, these 5-ingredient flourless peanut butter cookies keep things simple while still delivering a soft, rich cookie.
For something more decadent, the gluten-free peanut butter brownies are a great next bake. They combine a dense, fudgy texture with plenty of peanut butter flavor.
And if you love the peanut butter and chocolate combination, try these gluten-free peanut butter chocolate chip cookies. They’re soft, chewy, and an easy choice for anyone who wants a little chocolate with their peanut butter.
Share Your Baking Experience
If you tried this gluten-free peanut butter bread recipe, I’d love to hear how your loaf turned out. Please leave a comment to share your baking experience or any unique spin you put on the recipe. Your feedback will go a long way for other readers and me. Also, if you’d like to explore other super-tasty peanut butter recipes, check out the links above.