You don’t have to be Irish to enjoy delicious Irish soda bread this St. Patrick’s Day! Irish soda bread has long been a symbol of simplicity, with no yeast and no long proofing times. After a trip to your pantry, you’ll be ready to turn those ingredients into a rustic, hearty, gluten-free bread in under an hour.
Best of all, this is a true quick bread. No kneading, no yeast, and no waiting. You just mix, shape, and bake. Add a handful of raisins and just a touch of sugar to create a yeast-free bread that’s perfect for celebrating any time of year. This simple recipe fills your kitchen with the coziest aroma in no time.
Table of Contents
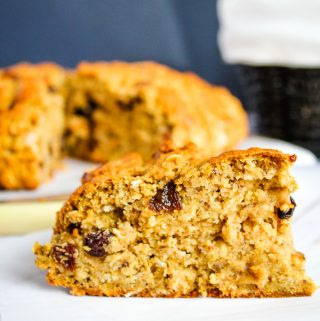
So, bake to honor the Irish tradition or to accommodate your dietary needs, but most importantly, enjoy the process! Follow along with the recipe below, and you’ll get a beautifully domed loaf with tender crumb, subtle sweetness, and raisins for that classic touch. Get ready to make this the loaf you come back to year after year.
What is Traditional Irish Soda Bread?
As the name implies, Irish soda bread does, in fact, attribute its popularity to the Irish. Traditionally baked in Irish homes as an everyday staple, soda bread has always been prized for its practicality and for being economical to make. Irish soda bread is a rustic, quick bread (a bread made with quicker leavening agents that aren’t yeast). It’s known for having a dense yet tender crumb with a crunchy crust.
Because it’s a quick bread that doesn’t use yeast (just like these no-yeast cinnamon rolls), Irish soda bread uses baking soda and buttermilk to do the work of yeast, which gives body to the bread without the long rise times.
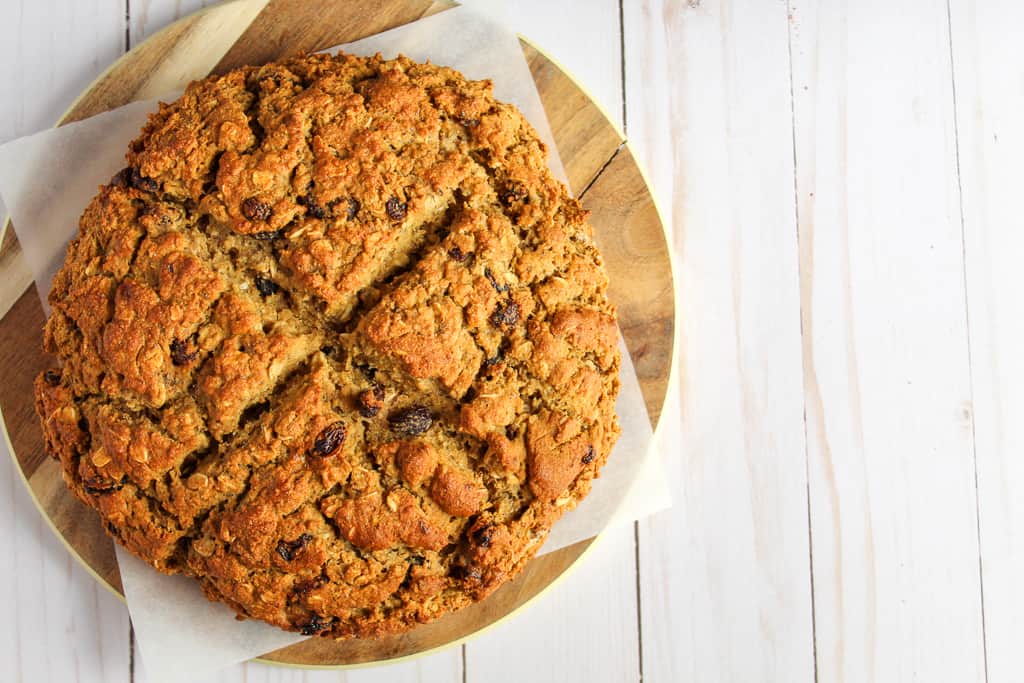
The traditional way to make and bake this bread is by scoring a criss-cross shape on the top before baking it. It’s best served warm with butter or alongside hearty soups and stews.
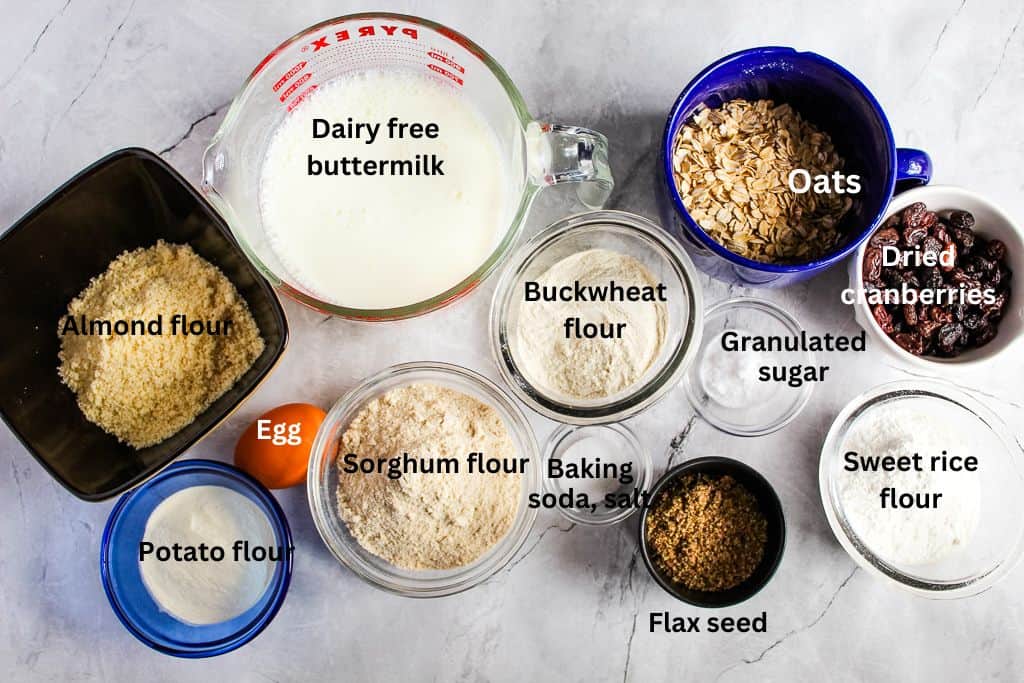
Ingredients & Substitutions
- Gluten-free flours: This recipe uses a mix of buckwheat flour, almond flour, sweet rice flour, potato flour, and sorghum flour.
- Flaxseed: This helps with the texture of the bread, but can be substituted with chia seed or even whole psyllium husk.
- Oats: Oats give a wonderful, hearty consistency. Make sure your oats are certified gluten-free, like this option from Bob’s Red Mill.
- Granulated sugar: Regular white sugar was used in this recipe.
- Cinnamon: Cinnamon adds a wonderful flavor profile to the bread.
- Baking soda: The “soda” in our gluten-free Irish soda bread is used as the leavening agent.
- Salt
- Raisins or cranberries: Even golden raisins are amazing as well!
- Dairy-free Buttermilk: This recipe was made using a homemade dairy-free buttermilk. All you need is a non-dairy milk and lemon juice or white vinegar (directions for making this are in the recipe card below)
- Egg: The egg is used for brushing on the top of the dough before baking. It can be omitted.
If you need to substitute a flour or starch, reference this flour chart. The recipe has only been tested with the flours in the recipe, so I can’t be certain of the results of other flours.
Exact measurements and instructions for making this gluten-free Irish soda bread recipe are in the recipe card below.
Printable Gluten-Free Irish Soda Bread Recipe Card
Ingredients
- ¼ cup potato flour (45 grams)
- ⅓ cup light buckwheat flour (55 grams)
- ⅔ cup almond flour (70 grams)
- ½ cup sweet rice flour (80 grams), plus more for dusting the baking sheet
- ¾ cup sorghum flour (100 grams)
- ½ cup raisins
- 2 tbsp flaxseed, whole
- 1 cup rolled oats (90 grams)
- 3 tbsp granulated sugar
- ½ tsp cinnamon
- 2 tsp baking soda
- 1 tsp salt
- 2 cups dairy-free buttermilk (2 cups milk + 2 tbsp white vinegar)
- 1 egg, for brushing on top
- 1 tbsp water, for brushing on top
Instructions
- Preheat the oven to 375°F. Grease a baking sheet with vegan butter or pan spray and dust lightly with sweet rice flour.
- Make the buttermilk: Mix 2 cups of plant-based milk with 2 tbsp white vinegar or lemon juice. Stir and set aside for about 5 minutes.
- In a large bowl, whisk together the potato flour, buckwheat flour, almond flour, sweet rice flour, and sorghum flour. Add in the raisins and mix to coat them in the flour.
- In a medium bowl, mix together the flaxseed, oats, sugar, cinnamon, baking soda and salt. Add it to the flours and mix well.
- Add the buttermilk to this dry mixture and mix gently until the dough is moist and combined.
- Scrape the dough onto the baking sheet and shape it until it is roughly 10" round and 3" thick. With a knife, cut a deep cross into the top of the bread.
- Whisk together the egg and water, and brush it evenly on the top of the bread.
- Bake the bread for 50-60 minutes, until the crust is a dark brown and you hear a hollow thump when you tap the bottom of it.
Notes
- For the best results, use a kitchen scale to weigh all ingredients that have weight measurements
- The bread dough will look more like thick batter than bread dough
- Use a rubber spatula or slightly damp hands to pat the dough into a 10-inch circle about 3 inches tall.
- Cool the bread on the pan for 5 minutes before removing to a wire rack
Nutrition
Did you make and love this recipe? Give it your review and rating below! And make sure to follow me on Instagram, Pinterest, and Facebook , too!
Step-by-Step Method
It’s a bread that tastes like a subtle cinnamon raisin bread, perfect when enjoyed with a dollop of dairy-free butter. It’s light, but substantial enough to make for a filling snack. And this recipe is a gluten-free twist on the St. Patrick’s Day traditional bread. Follow along with the instructions and pictures below for the best results.
I highly recommend using a digital kitchen scale to weigh your flour, as this will give you the best and most accurate results for this loaf. They are an inexpensive and irreplaceable kitchen tool!
Step 1: Preheat the Oven
Preheat the oven to 375ºF. Grease a baking sheet with vegan butter or pan spray and dust it lightly with a bit of extra sweet rice flour.
Step 2: Make the Buttermilk
To make buttermilk, combine 2 cups of plant-based milk with 2 tbsp of white vinegar or lemon juice. Mix together and set it aside for about 5 minutes while you prepare the next steps.
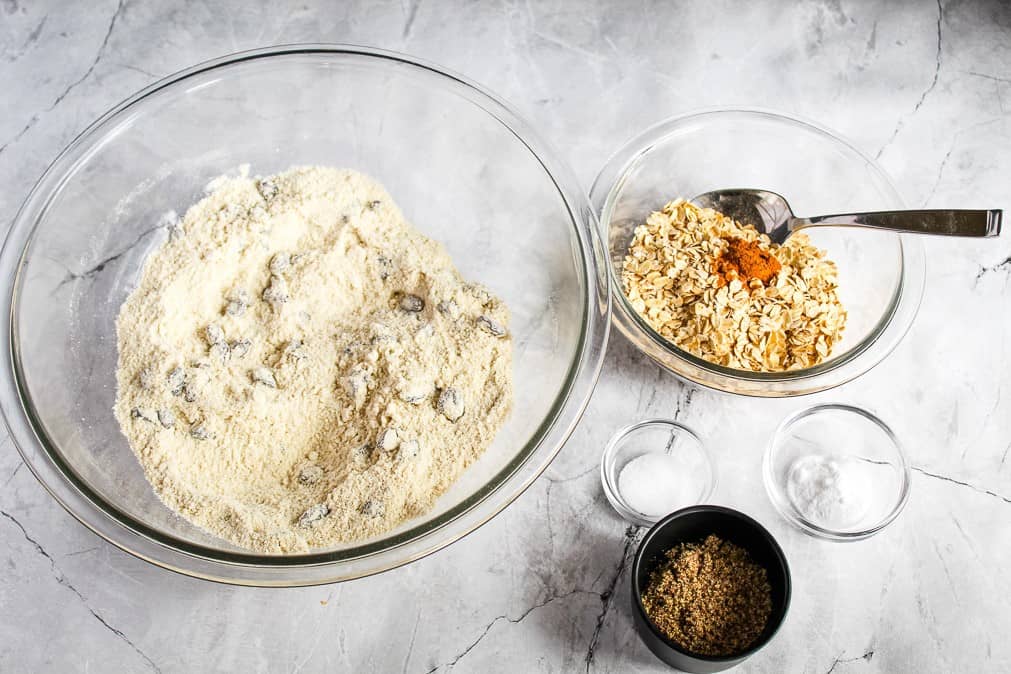
Step 3: Measure & Mix Flour
In a large bowl, whisk together 45 grams of potato flour, 55 grams of light buckwheat flour, 70 grams of almond flour, 80 grams of sweet rice flour, and 100 grams of sorghum flour. Add in 1/2 cup of raisins and stir to coat the raisins in the flour. This will help them not to sink to the bottom of the loaf as it bakes.
Using a scale to measure your flour will be the most accurate and foolproof way to make this recipe! I highly recommend getting a cheap digital kitchen scale to use for all your baking needs.
Step 4: Prepare the Remaining Dry Ingredients
In a medium bowl, whisk to combine 2 tbsp of flaxseed, 90 grams (1 cup) of rolled oats, 3 tbsp of granulated sugar, 1/2 tsp cinnamon, 2 tsp of baking soda, and 1 tsp of salt. Mix well, then add this to the bowl of flour and stir to combine everything together.
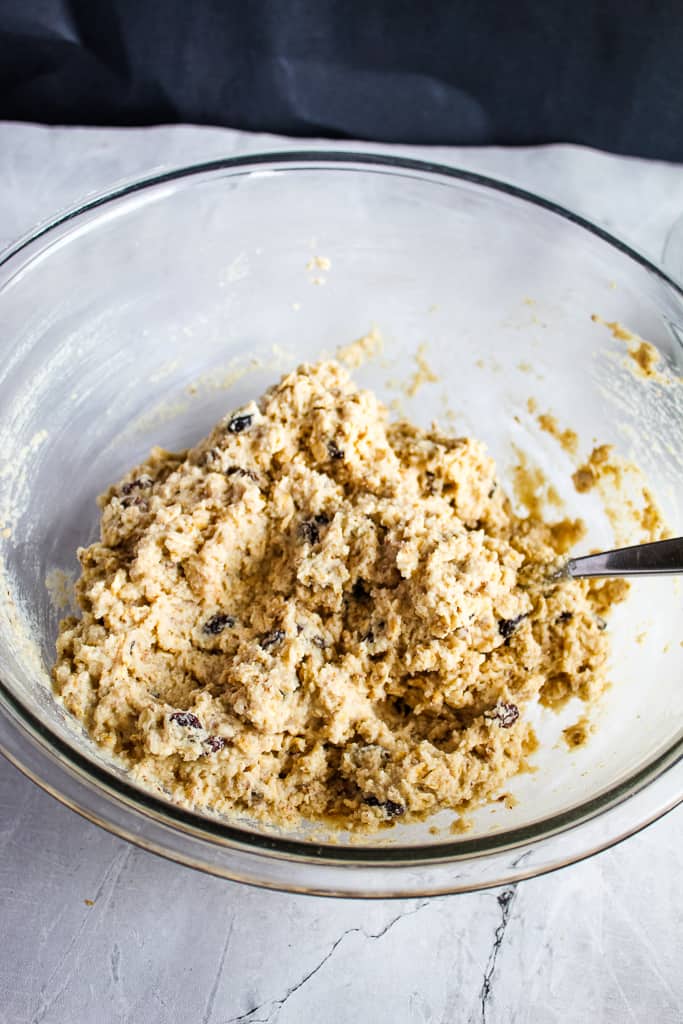
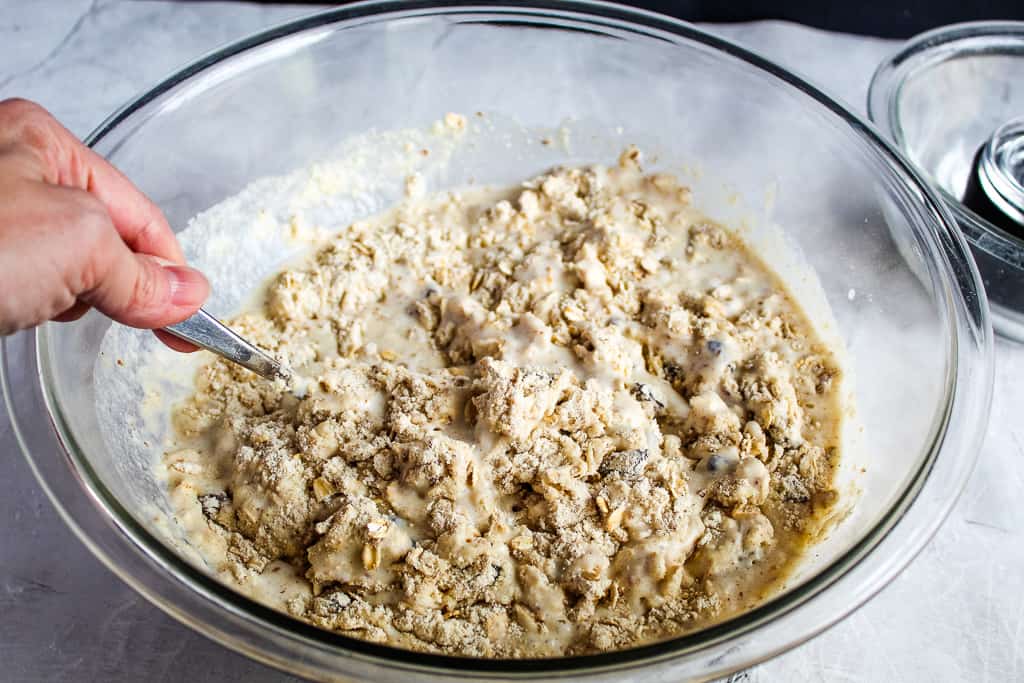
Step 5: Mix the Wet & Dry Ingredients
Add the 2 cups of buttermilk, which should have a slightly thicker texture to it now, to the dry mixture and mix gently with a rubber spatula just until the dough is moist and combined.
Note: The dough will look more like a thick batter than a traditional bread dough.
Step 6: Shape the Dough
Scrape the dough out onto the prepared baking sheet and, using a rubber spatula or slightly damp hands (so they don’t stick to the dough), shape the dough into a round about 10″ wide and 3″ tall. With a sharp knife, cut a deep cross into the top of the bread.

Step 7: Egg Wash the Dough
Mix together 1 egg and 1 tbsp of water, and gently brush this all over the top of the dough.
Tip: The egg wash isn’t necessary, but I highly recommend using it. Egg wash is used to give a nice shine and golden color to bread.
Step 8: Bake
Bake the bread for about 50-60 minutes, until the crust is a dark brown and you hear a hollow thump when you tap the bottom of the loaf.

Common Mistakes & Fixes
Gluten-free baking can be simultaneously rewarding and frustrating. Here are the most common soda bread issues and exactly how to fix them.
The Bread is Dense or Gummy
This can happen from the bread not rising enough, meaning something is off with either the baking soda or the buttermilk, since these are the two leavening agents in this recipe. Or, it can be a result of underbaking the bread or baking it at too low an oven temperature.
Quick breads should be baked to an internal temperature of 200ºF-205ºF. This is easy enough to check with a digital kitchen thermometer, which you’ll find comes in handy all the time when baking. Stick the thermometer in the middle of the loaf to get the most accurate reading. When the center of the loaf reads between these temperatures, you can be sure your bread is done.
After years of use, ovens don’t always hold the temperature that they say. You may set your oven to 375ºF, but it’s really only at 325ºF, which can make a big difference in how your baked goods turn out. Get yourself an oven thermometer to learn how your oven works so you can adjust the temperature accordingly.
Make sure your baking soda is fresh! To check if it’s still active: Add a few drops of vinegar or lemon juice to a small amount of baking soda. If it fizzes quickly, it’s active!
If not, pick up a new box from the store, as expired baking soda can be a reason your bread is not rising and has a more dense and gummy consistency.
Bitter Taste
After all your hard work, the last thing you want is for that loaf to come out of the oven and taste metallic or bitter. The main reason this would happen is from adding too much baking soda to the dough. Make sure you are measuring the baking soda precisely and mixing it into your dry ingredients before mixing with the wet ingredients.
The Loaf Collapsed
A collapsed loaf is never fun, but why does it happen? There are a few different reasons for this: too much moisture in the dough, overmixing, or taking the loaf out too early.
If you open the oven door too early, or remove the loaf from the oven too early, it hasn’t had time to properly rise and set in its shape before a wave of cool air rushes towards it. This can cause the center of the loaf to sink in on itself. Unfortunately, it won’t rise again after this has happened.
Once you put the bread in the oven, set your timer and don’t open the oven door until you’re ready to check and/or take it out of the oven. Turn on your oven light so you can keep an eye on the loaf without having to open the door.
To avoid having too much moisture in your dough, be sure to properly measure all of your ingredients. Baking is a science, and I always recommend weighing your ingredients when weight measurements are given. To have the best outcome with this recipe, use a kitchen scale to measure your ingredients.
Serving Ideas
One of the most fun aspects of Irish soda bread is that it transitions effortlessly between sweet and savory settings, so it’s truly a perfect pair with just about anything!
Keep it classic and spread it with some butter to serve alongside corned beef and cabbage or an Irish stew.
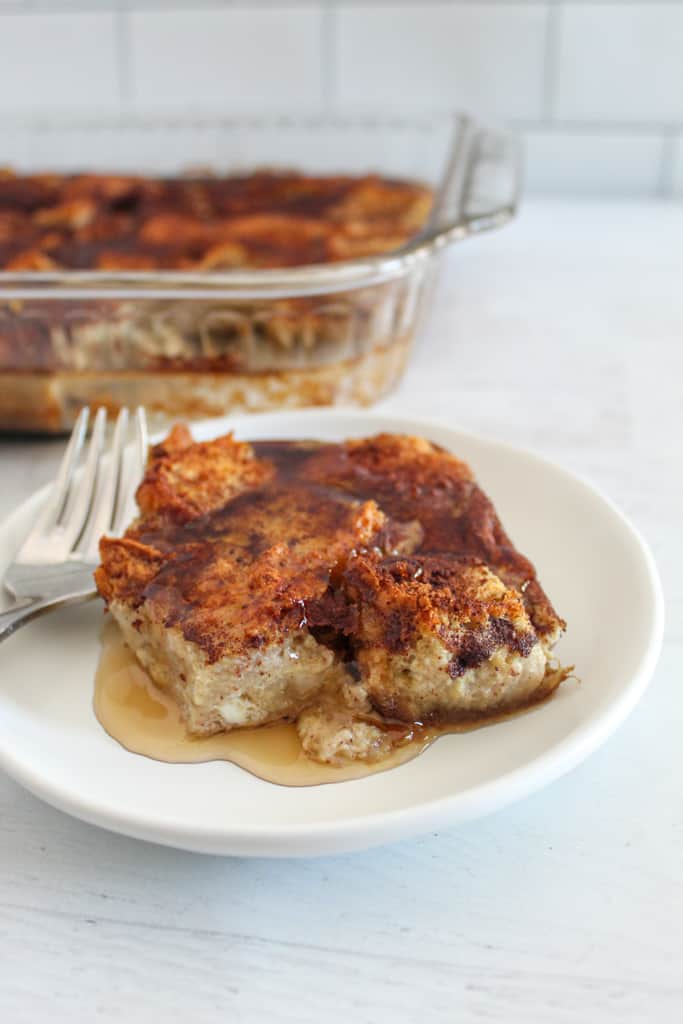
Enjoy it for breakfast with some honey, jam, or peanut butter. Serve it with some sunny-side-up eggs to soak up the egg yolks, or even turn it into French toast!
It’s a wonderfully sturdy bread that holds up well to toppings, so you can slice it up to serve on a cheeseboard. This isn’t just a bread for the holidays; it can easily become an everyday quick loaf for soups, spreads, or snacks.
Storage & Freezing Guide
Store this bread properly to keep it moist and maintain its texture for days after baking.
This gluten-free Irish soda bread will keep best when stored at room temperature. Store it wrapped in plastic wrap or in an airtight container for up to 3-4 days. After this, it can get quite tough and stale. This is a great chance to use it up as French toast or dice it up and toast it in the oven for a slightly sweet twist on croutons.
Refrigerating bread can dry it out, but if needed, you can also store it in the fridge for 3-4 days. Toast it before serving to give it the best texture.
If you plan on enjoying this bread at a later time, freeze it! This is the ideal method for preserving that fresh quality of the bread. Let the loaf cool completely, then wrap it tightly in plastic wrap and store it in an airtight container or freezer-safe bag for up to 2 months. Let the loaf come to room temperature before slicing it. Toast before serving.
You can also slice it before freezing it to enjoy just a few slices at a time, whenever the craving hits. Place parchment paper between the slices, then store them in a freezer-safe bag for up to 2 months. Toast the slices directly from the freezer or warm them up in the oven.
Gluten-Free Irish Soda Bread FAQs
Got questions about gluten-free Irish soda bread? You’re not alone! Here are the answers to the most common baking concerns.
If you’re still unsure about anything, leave your question in the comments. I’m happy to help!
Is Traditional Irish Soda Bread Gluten-Free?
Authentic Irish soda bread is not gluten-free. It is made with wheat flour, but gluten-free versions like this recipe are modern adaptations to suit different dietary needs.
Why Don’t You Knead Soda Bread?
Traditional Irish soda bread is a quick bread, which you generally want to mix just enough to incorporate the ingredients. Many quick breads don’t want much gluten to develop, so that they maintain a lighter and softer texture, and kneading it would make it tough. In this gluten-free bread, kneading isn’t necessary because there’s no gluten structure to develop.
How Do I Know When It’s Done Baking?
There are a few different ways to tell when bread is done baking. It should have a golden-brown crust on top and a firm bottom when tapped. As well, if you have a digital kitchen thermometer, you can easily tell when it’s done by checking the internal temperature, which should be between 200ºF-205ºF.
Time to Enjoy
Whether you’re preparing for St. Patrick’s Day or craving a slice of homemade quick bread, this recipe is designed to deliver the same comforting experience as the original, simply without the gluten. It delivers that comfort, warmth, and rustic charm that you expect from a homemade bread.
It’s not about just swapping flour and hoping for the best; it’s simple and dependable. There’s no yeast and no hours of rising, so once you have your ingredients together, it’s mix, shape, and bake. That makes it perfect for last-minute gatherings where you want to make sure there’s a gluten-free option on the table. It’s also perfect when you just want your kitchen to smell like something cozy and homemade.
Save this recipe for the next time you need a reliable, quick bread. Share it with someone who thinks gluten-free baking is intimidating or that it can’t be truly this delicious. Enjoy the process of knowing you made something wholesome that’s perfect for sharing moments together.
More Gluten-Free Quick Bread Recipes
Because it’s a quick bread, this Irish soda bread has a denser yet tender texture compared to the chewiness of a yeast bread. Here are some more quick bread recipes that go perfectly with a cup of tea or coffee.
- Dairy-Free Brown Bread
- Pumpkin Bread
- Coconut Flour Banana Bread
- Savory Cassava Bread
- Flourless Cornbread
From cozy fall flavors to everyday classics, there’s a gluten-free quick bread here for every craving and every season.
Did You Try This Recipe?
If you give this gluten-free Irish soda bread a try, slice it while it’s still warm and take a moment to leave a comment with your thoughts!