The Best Gluten Free Pumpkin Scones
When a sweet pumpkin treat is calling, look no further than this recipe for the best gluten free pumpkin scones.
These delicious scones taste like something you’d find in an expensive bakery. Maybe sitting in Paris sipping some tea. Ah! But even if you can’t be in Paris, you can still eat like you are.
As an affiliate partner of various brands and sponsored content, Zest for Baking may earn commission on qualifying purchases. Disclaimer
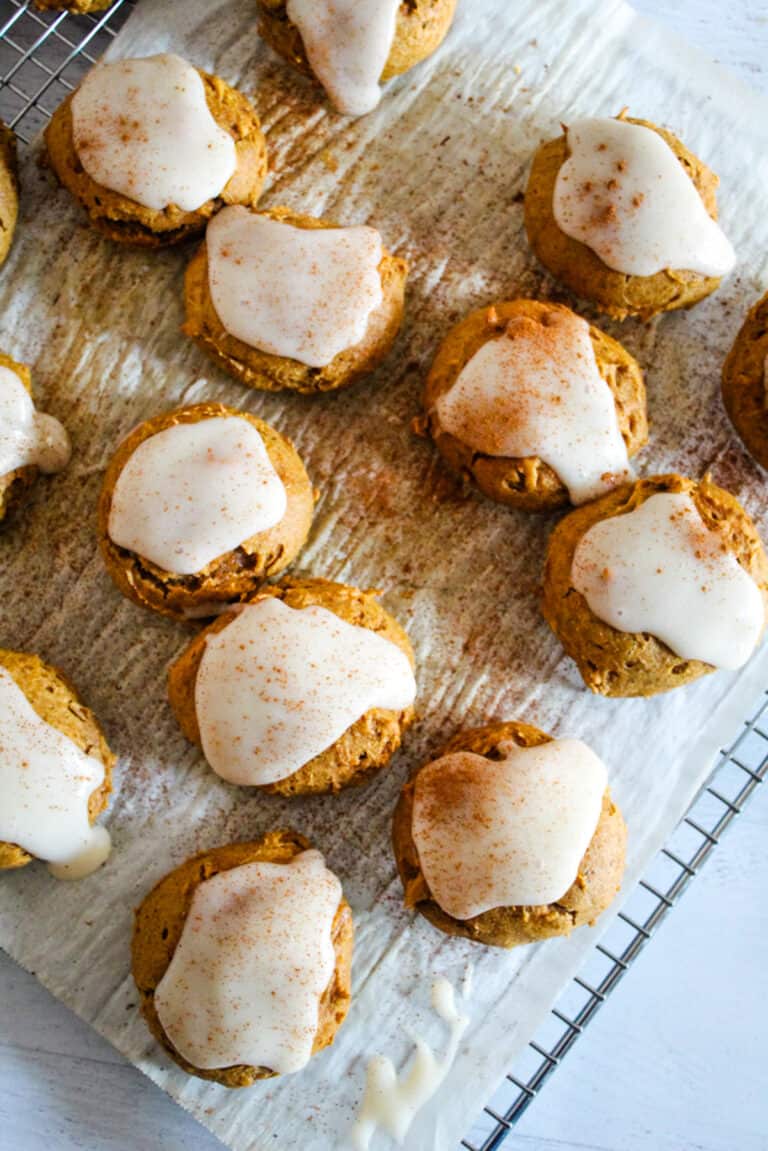
I love these scones for so many reasons but the spiced glaze adds that extra special touch that takes them from delicious to out-of-this-world-amazing.
Kind of like how I felt about this chocolate glaze on these baked donuts. Mmmm. Equally delicious!
These beauties are made just like traditional scones except with so much more to love – they’re gluten free, nut free, soy free and can even be made dairy free!
But you’d never know it.
Serve them to your pickiest eater. I promise they’ll eat them up without even the slightest hint that they could be gluten free.
I’m pretty sure I went through about 5 different variations of this recipe before finally concluding that this version was the best. Adding eggs, taking eggs out, adjusting flours, taking out flours… So after a pile of not-so-delicious pumpkin scones, it was like an ah-ha moment of glory when this one baked to perfection.
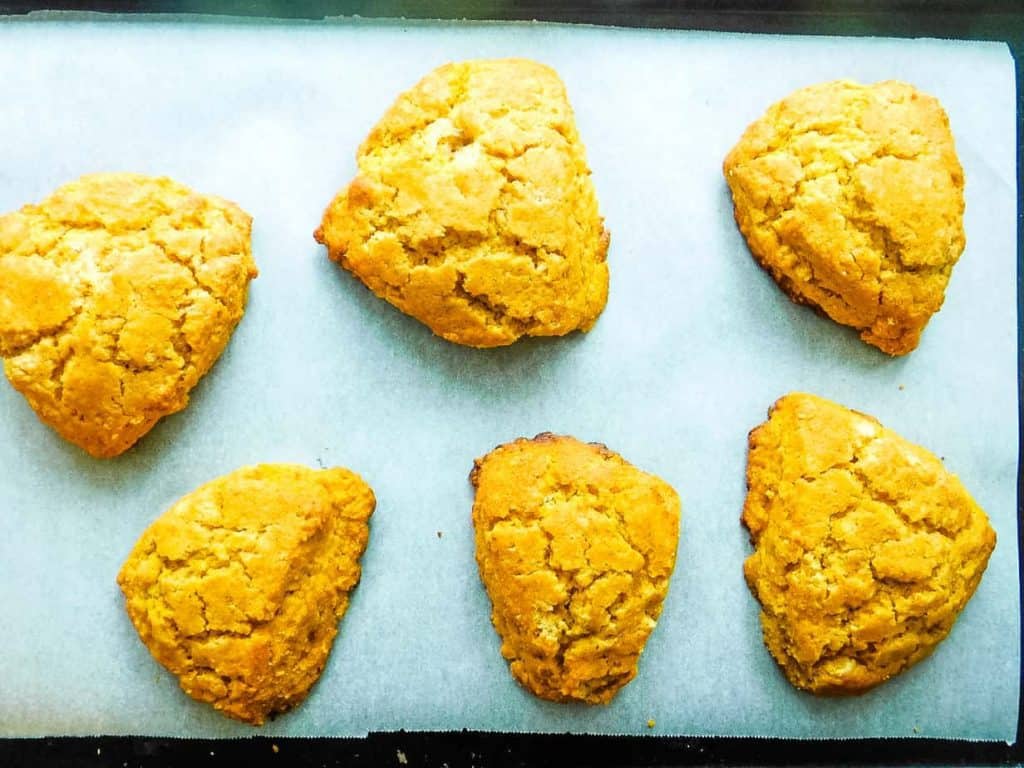
Helpful tip: No matter how much you love pumpkin (guilty!) don’t use too much otherwise you end up with a batter than doesn’t hold it’s shape aka. Not scones!
Here are a few other tips for making the best gluten free dairy free pumpkin scones
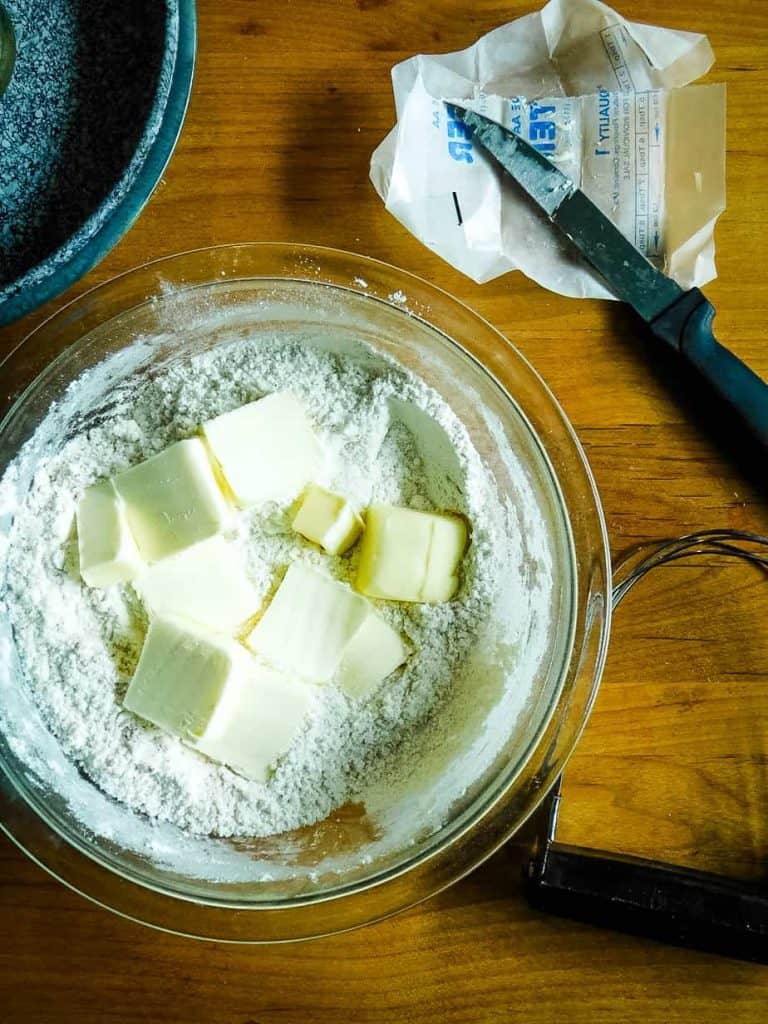
Cold butter
This is the easiest and also the hardest part of this recipe. But, being completely honest… cold butter is just plain hard to work with. It’s so tempting to let it warm just a little bit to make it easier to cut into the flour. But don’t do it! The warmer it gets, the more spreading will occur while baking.
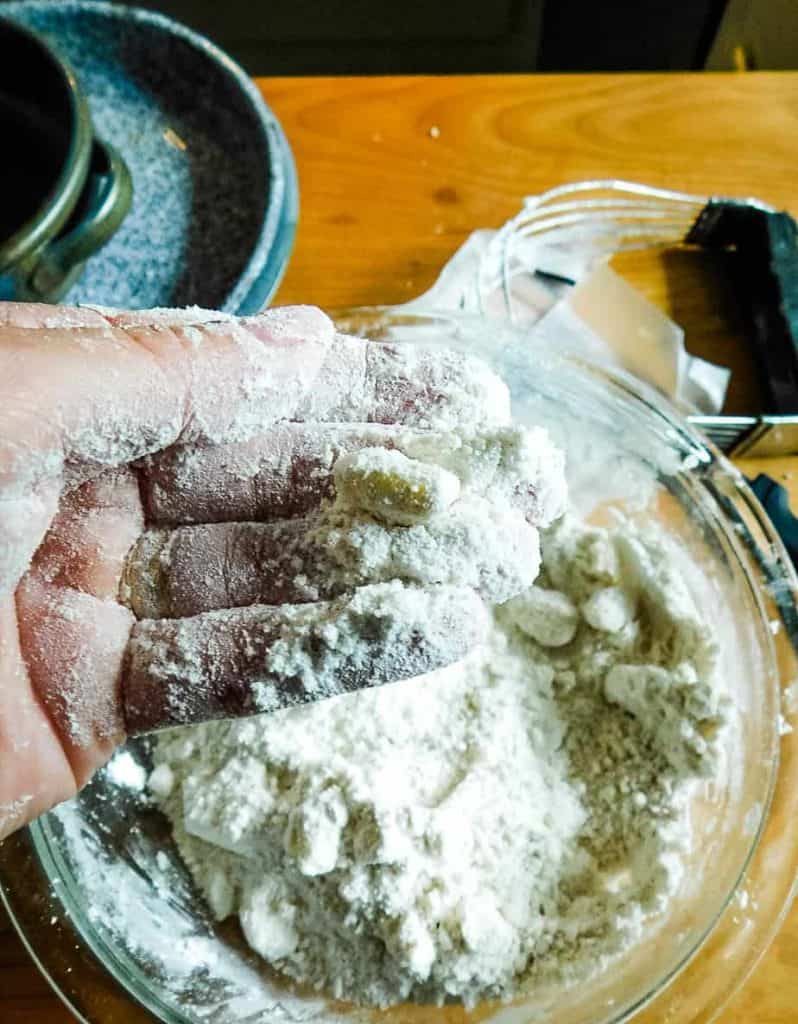
Just cut the butter up into 6 tablespoons and using a pastry blender, ‘cut’ the butter into the flour. The flour mixture should be dotted with butter pieces. Small chunks of butter are ok. In fact, little chunks will help the scones develop a tender, high rising texture.
Shaping the dough
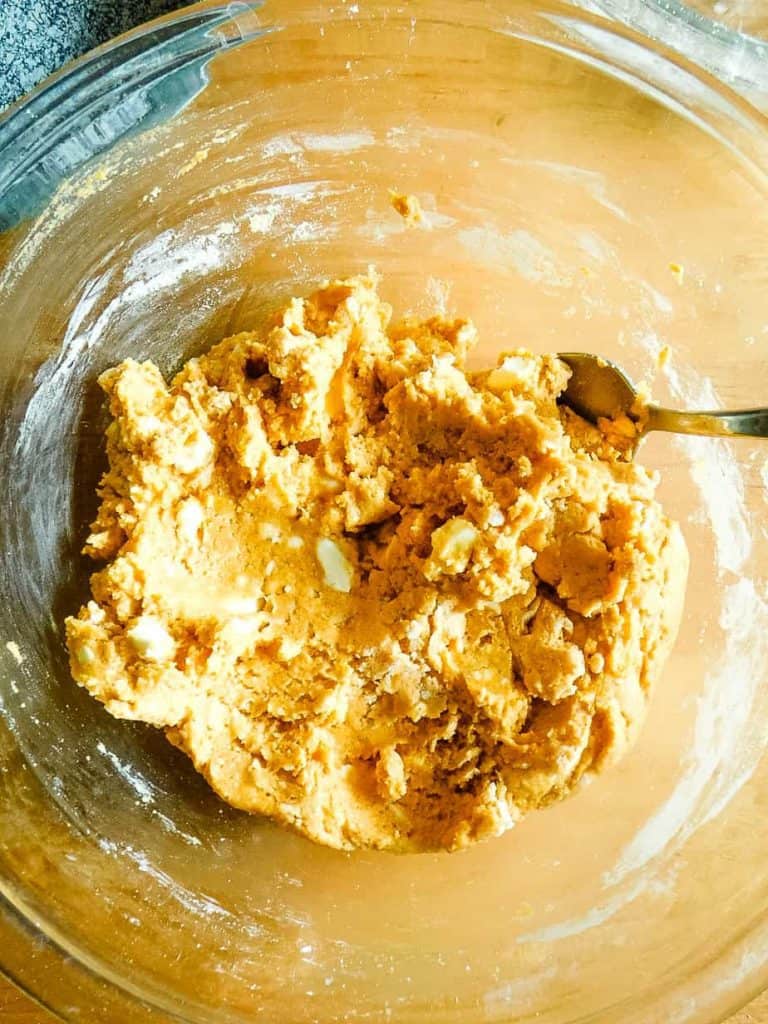
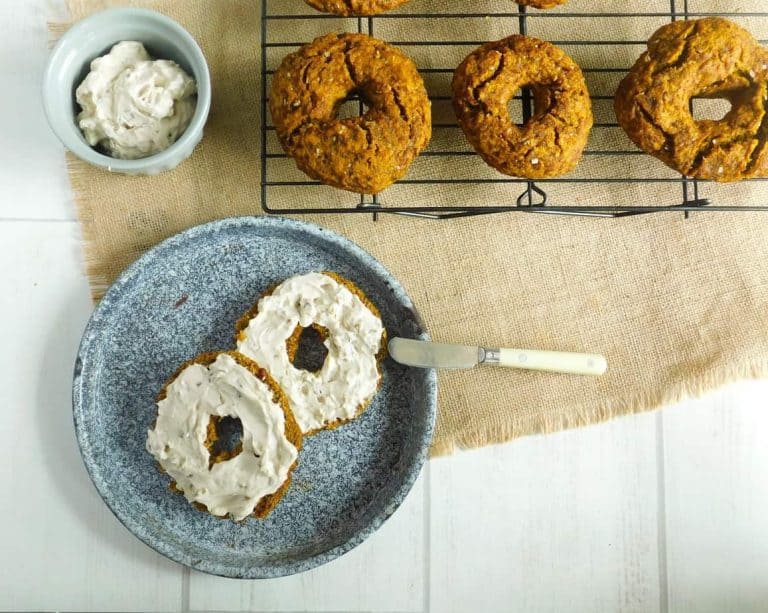
One of the things I love about this scone recipe is how easy the dough is to shape. It actually reminds me of this bagel dough. The consistency is amazing. It’s like the ingredients just come together and, by some stroke of luck, just hold their shape. (Or maybe it’s your awesome scone-making technique!)
Either way, just make sure all that butter is incorporated into the dough and then carefully turn it out onto the parchment paper to shape.
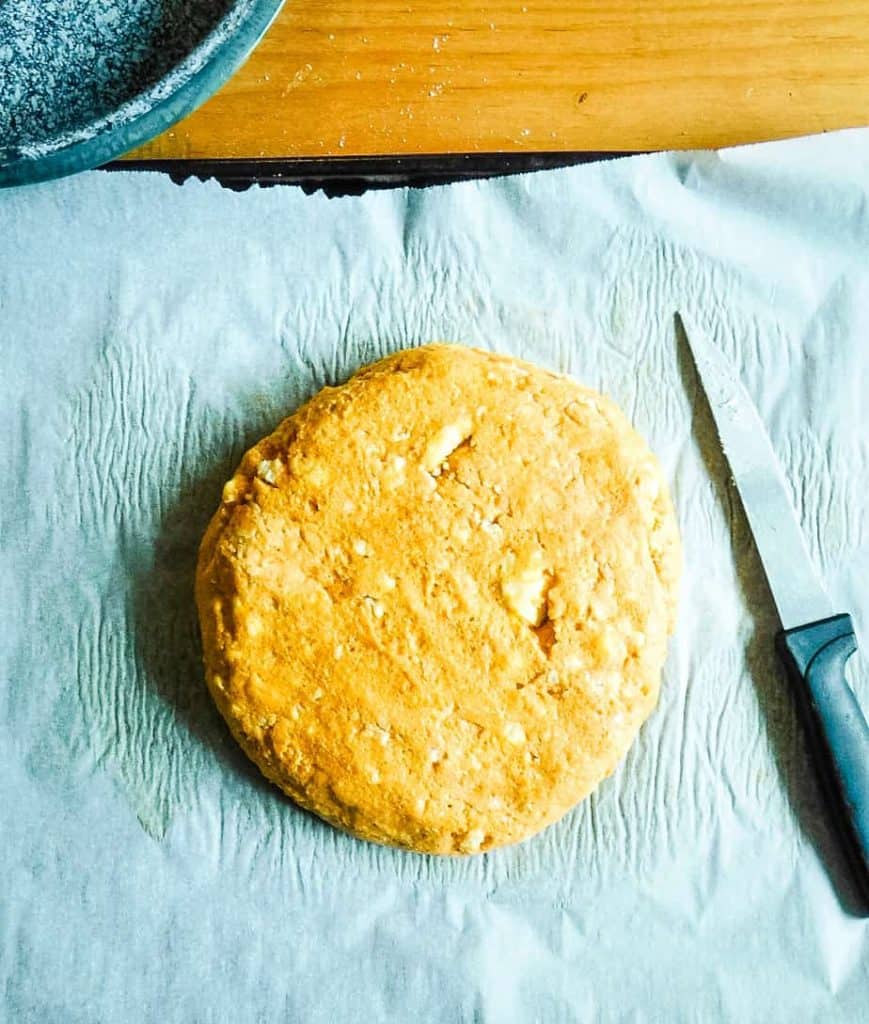
The dough should be easy to work with. Use your hands and shape it into a disk, about 1 ½ inches thick. Then, using a sharp knife, cut the disk into 6 portions.
Refrigerate the scones
After testing this many ways, refrigerating the scones before baking is definitely a must. Maybe it goes back to the butter or maybe cold scone dough just bakes better, whatever it is, getting the dough really cold just works.
I am so excited to hear what you think about this recipe. Now I’m going back to my coffee and daydreaming about Paris!
Recipe
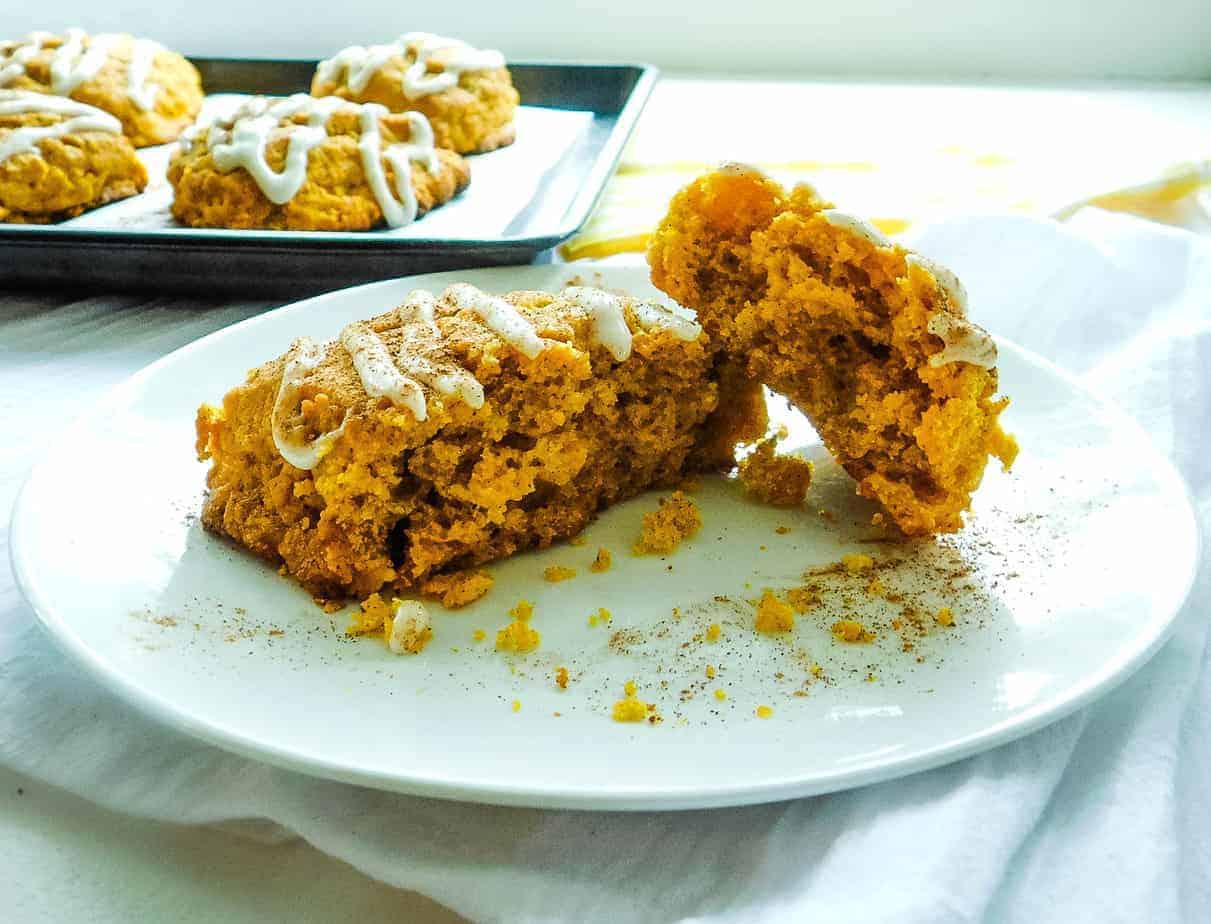
Gluten Free Pumpkin Scones
Ingredients
Method
- Prepare a baking pan with a sheet of parchment paper. Set aside.
- In a medium bowl, add the flour blend, white sugar, baking powder, psyllium husk powder, pumpkin pie spice and salt. Mix well.
- Add the butter pieces and using a pastry blender, cut the butter in until the butter has been mostly incorporated in (some small chunks are ok).
- In a large bowl, add the pumpkin, egg, milk, Greek yogurt and vanilla. Mix together.
- Add the dry ingredients to the large bowl with the wet ingredients. Mix together until the dough comes together.
- Turn the dough out onto the parchment paper. Using your hands, form it into a round disk, about 1 ½ inches tall.
- Using a sharp knife, cut the disk into 6 sections. Don’t separate the pieces yet.
- Place the pan with the cut pieces into the refrigerator for at least 30 minutes.
- Preheat your oven to 425 F.
- While the oven is preheating, remove the scones from the refrigerator and using a flat spatula, carefully separate each one. Arrange the scones with space in between each one to allow for spreading.
- Bake for 15 – 17 minutes.
- Remove to a wire rack to cool.
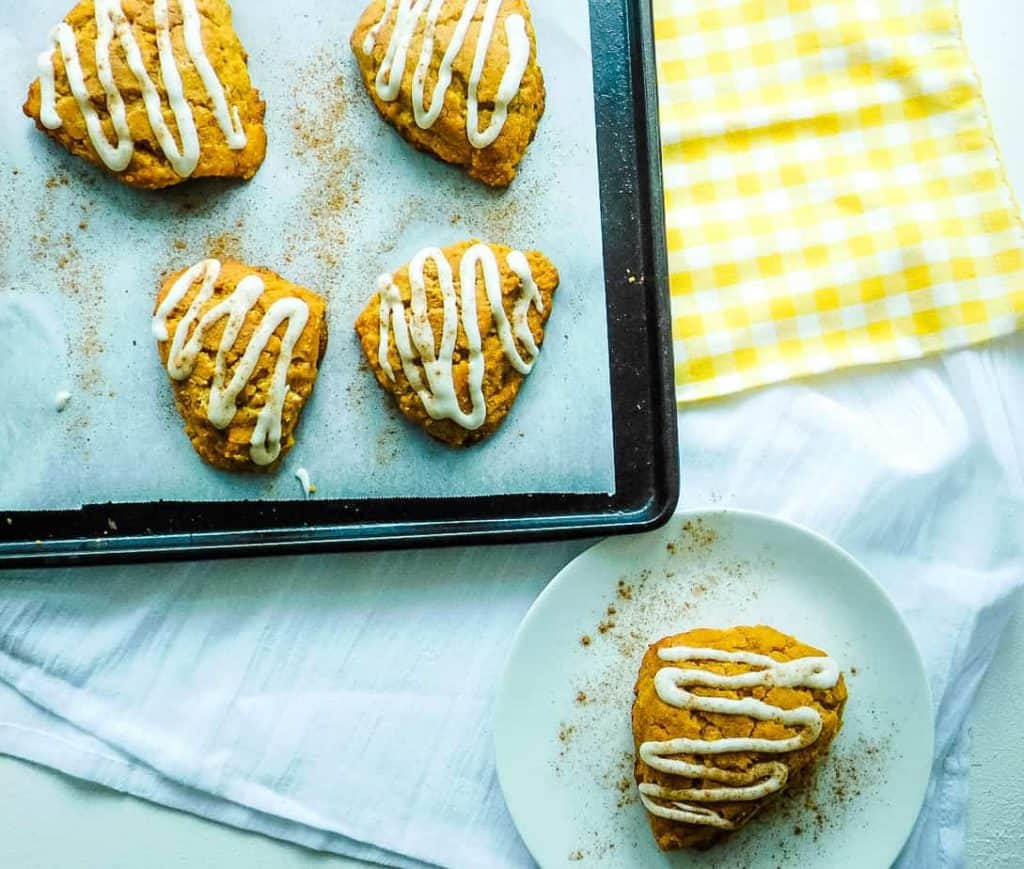
- Once scones have cooled completely, drizzle glaze over the scones. Enjoy!
Notes
- Make sure the ingredients are at room temperature.
- Forming the scone dough into a round disk makes cutting easier. Use a sharp knife for cutting!
- Let scones cool before adding glaze otherwise it will melt off.




I'd like to add chocolate chips, maybe mini ones. In cleaning out my kitchen over the years I've lost my pastry blending tool. Can a food processor be used?
Hi Diane,
Absolutely - just blend till it turns into crumbs.
Hope that helps!
~Christine
Hi Christine. Thank you for sharing this recipe. Is it possible to make it dairy free and egg free?
Hi Sheri,
Thanks for asking. Egg free is a possibility, but dairy free I just can't be certain of with this recipe. I have not tried it that way and don't feel confident saying yes.
Christine
As long as you use a full fat vegan butter substitute (in Australia I use Nuttelex) it should be ok. I have never had a problem substituting Nuttelex for butter even in GF recipes
Can cooked pureed carrots be substituted for pumpkin.
Hi Liz,
I haven't tried it for this recipe - it's possible, I am just not 100% sure the consistency would be the same as pumpkin.
Thanks for asking.
Christine
I am definitely saving this recipe to make over the weekend. I did not know it was so easy to make scones which I adore.
🙂
Thanks Marjie!
I never thought of pumpkin scones before. I'll have to put this one in the recipe book. Thanks for sharing!
🙂