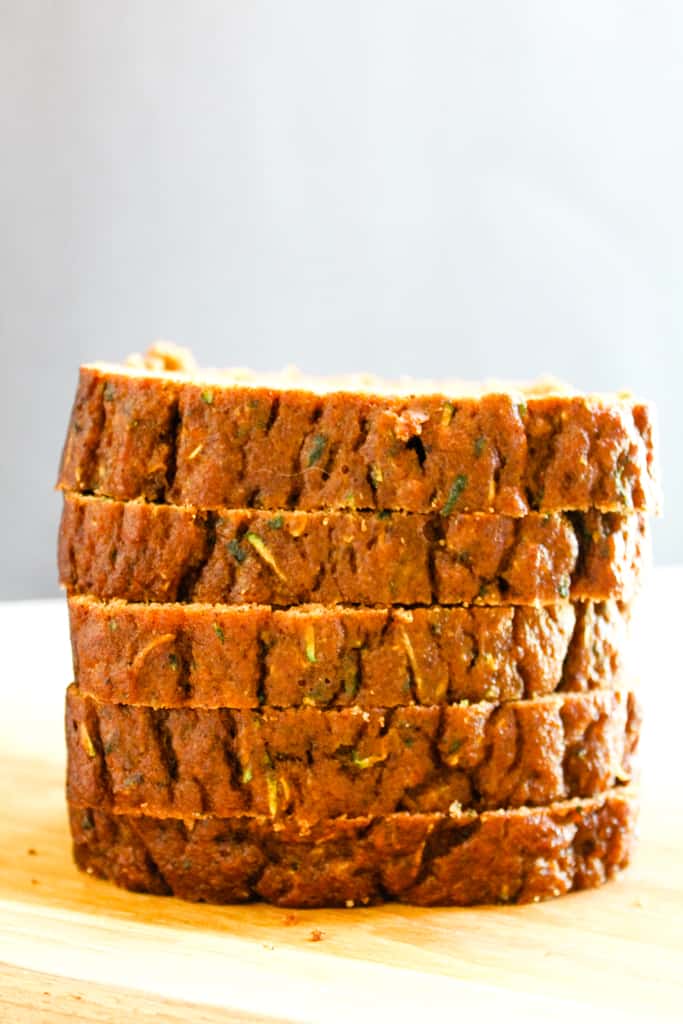
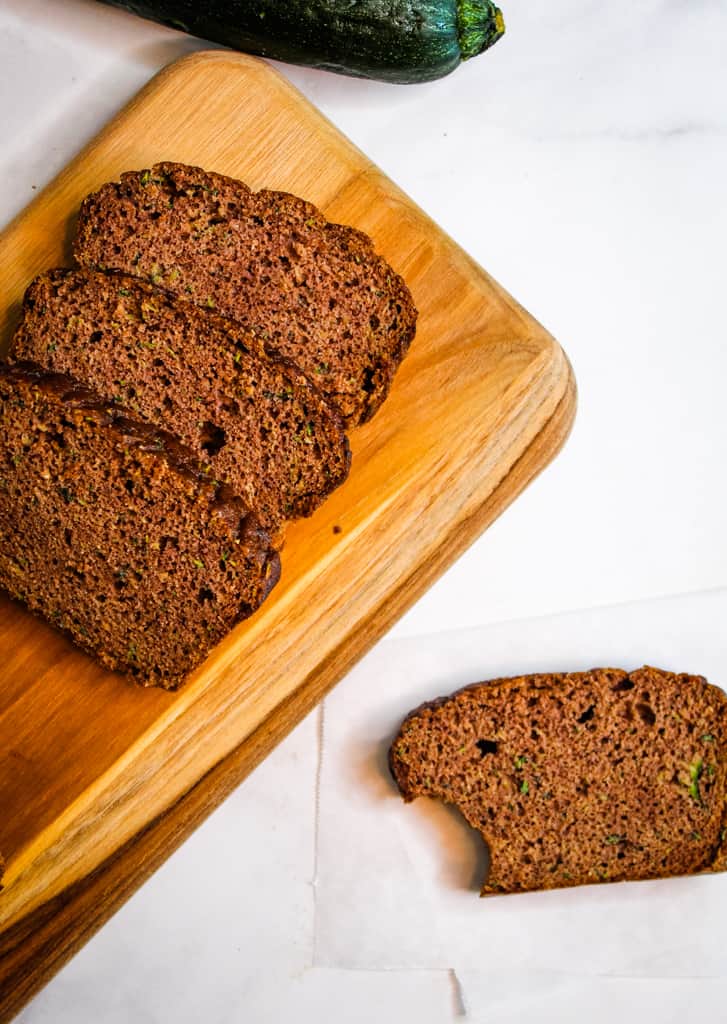
Hands down one of the best quick breads ever, this coconut flour zucchini bread is incredibly moist with a freshness you can taste. And with only 2 tablespoons of butter in the entire loaf and coconut sugar instead of refined sugar, it’s a healthy alternative to other sugar-loaded quick breads.
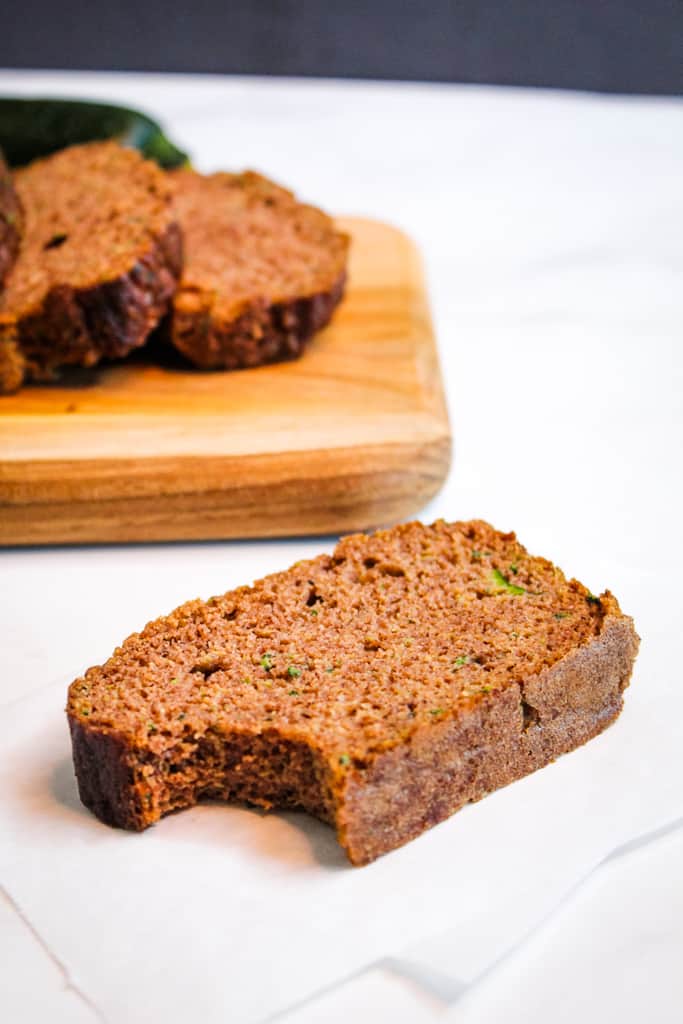
Table of Contents
It’s not very often that gluten free breads taste better with age, but this is one of those breads. The first day you make it, it’s delicious, but the second day, it’s even BETTER. Wrapping it and storing it makes it even more moist and really blends the flavors.
But that’s not the only difference between this zucchini bread recipe and others… here’s what really sets this loaf apart:
- It uses coconut flour. If you’d heard that coconut flour is tricky to work with or absorbs liquids like there’s no tomorrow, you’d be right! But follow the tips below and you’ll have an incredibly tasty loaf. Promise!
- And coconut sugar. So this loaf is going to taste like coconut right? Actually, no, not at all.
- And there’s very little butter. But it’s just enough to be flavorful.
- And it’s gluten free, dairy free AND refined sugar free. But still tastes amazing!
What kind of coconut flour works best in this zucchini bread?
For this recipe, the brand is not as important as how you measure it. I use the Nuts.com brand but any brand would most likely work well. (I’ve tested both Bob’s Red Mill and Nuts.com and they both are excellent in this loaf). What makes a huge difference though is weighing the flour, not just measuring it into a measuring cup. Cup measurements can vary widely, but the weight isn’t going to change. 55 grams of coconut flour is what you want for this bread.
Should I squeeze out the water in the zucchini?
This is often recommended in other recipes, and if you’ve ever done it, it’s certainly a messy task. But for this recipe, there’s no need to squeeze the excess liquid out. Let’s keep it simple and quick!
Why do I need to let the batter rest before adding it to the pan?
Two words – coconut flour. This resting time before adding the batter to the pan acts as a ‘coming together time’. Basically, it gives the batter time to absorb the coconut flour. Same method for this banana bread.
What’s the best way to store this zucchini bread?
I mentioned that this quick bread is even better the day after it’s baked and it’s so deliciously true! Just wrap the cooled bread in plastic wrap or even a plastic zippered bag and store it on your counter. Use a sharp, serrated knife to slice it.
How to Make Coconut Flour Zucchini Bread
Start with the ingredients
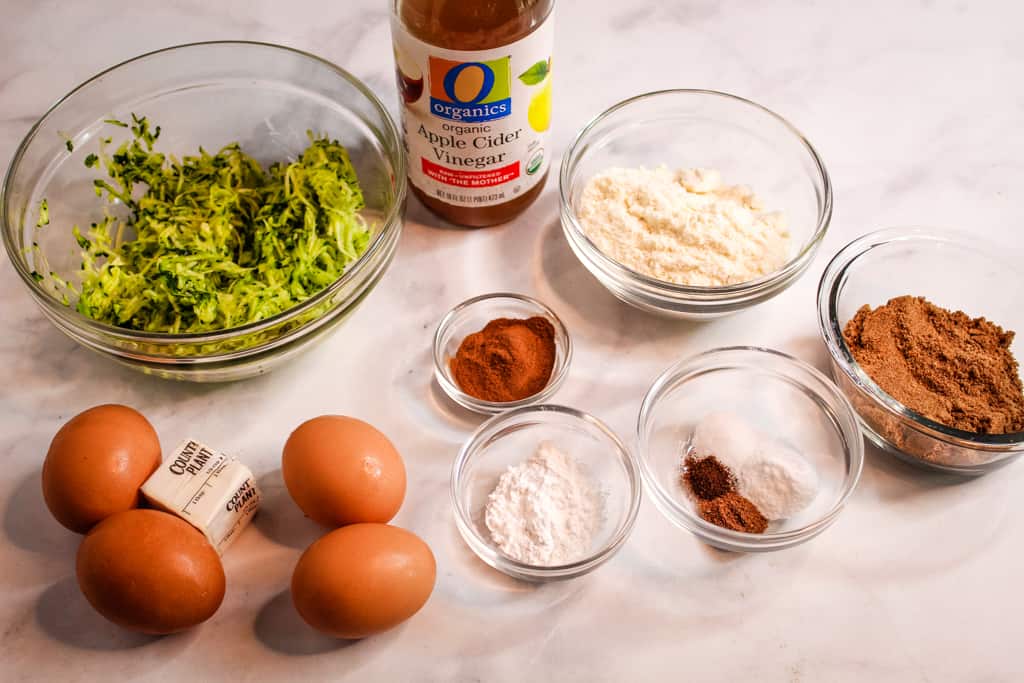
A half cup of coconut flour hardly sounds like enough right? But I promise, it’s plenty. Measure it by weight for the recipe so it’s completely accurate. Then it’s just tapioca flour (also called tapioca starch), some spices, eggs, coconut sugar, plant based butter and the super important – zucchini!
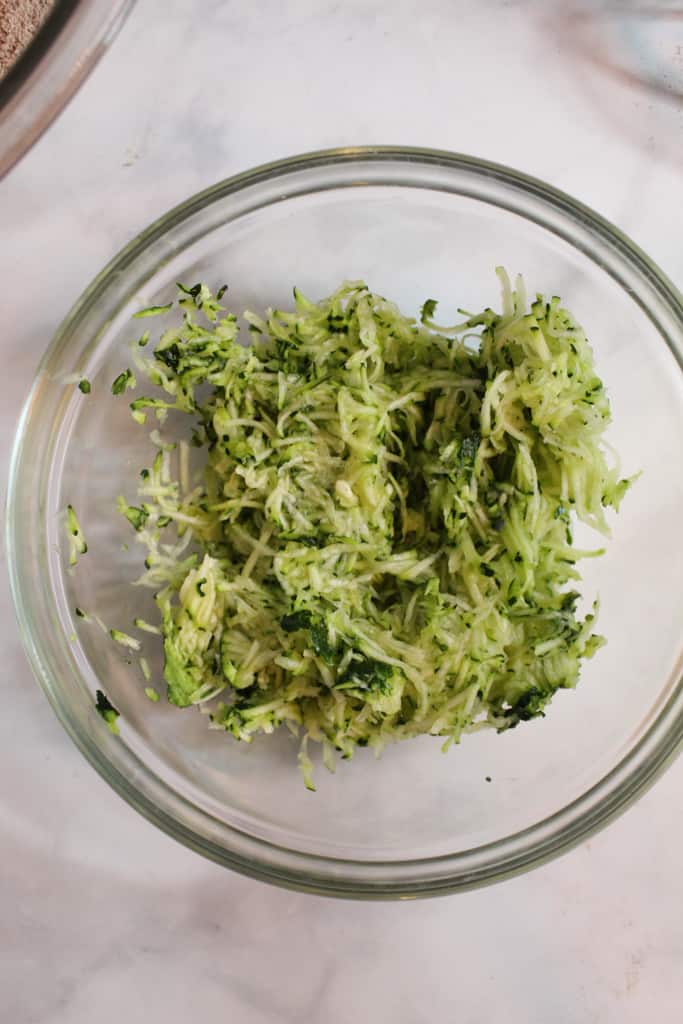
Grating the zucchini
The cleanest and easiest way I’ve found to grate zucchini is to place the grater right over the bowl and just grate it right there. For the 1 cup used in this recipe, it was 1 medium size zucchini. No need to peel it, just cut the ends off and start grating!
Mixing the batter
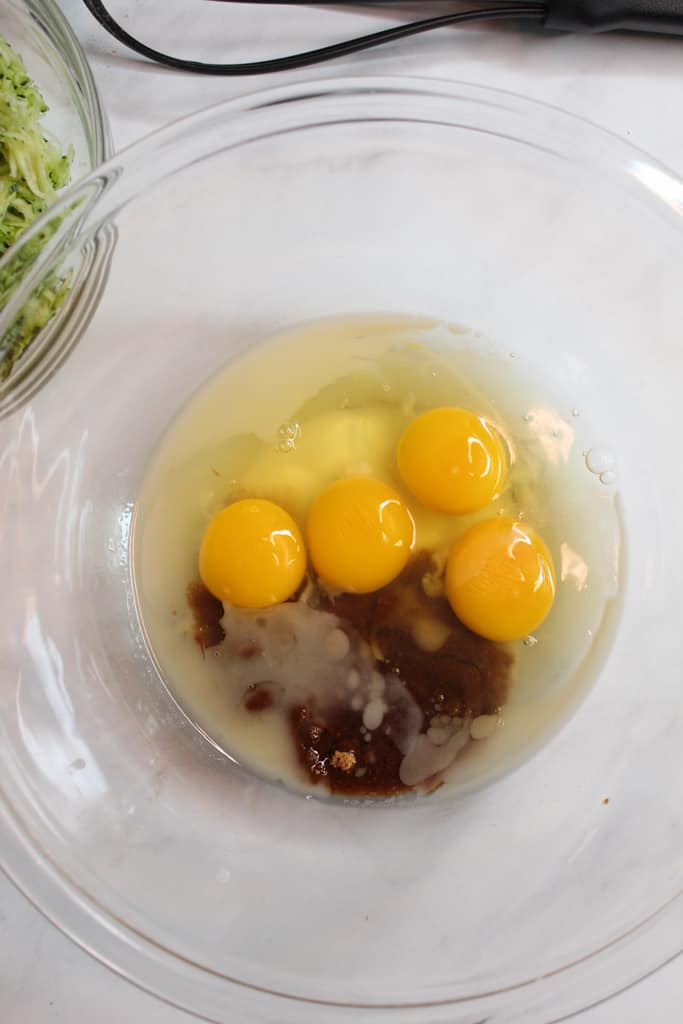
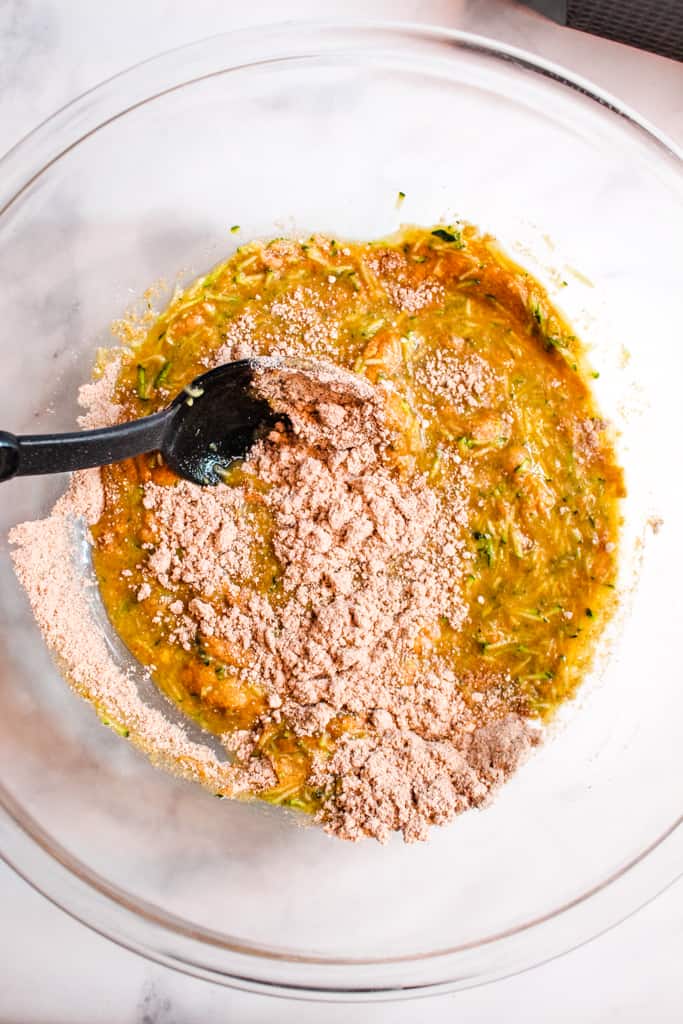
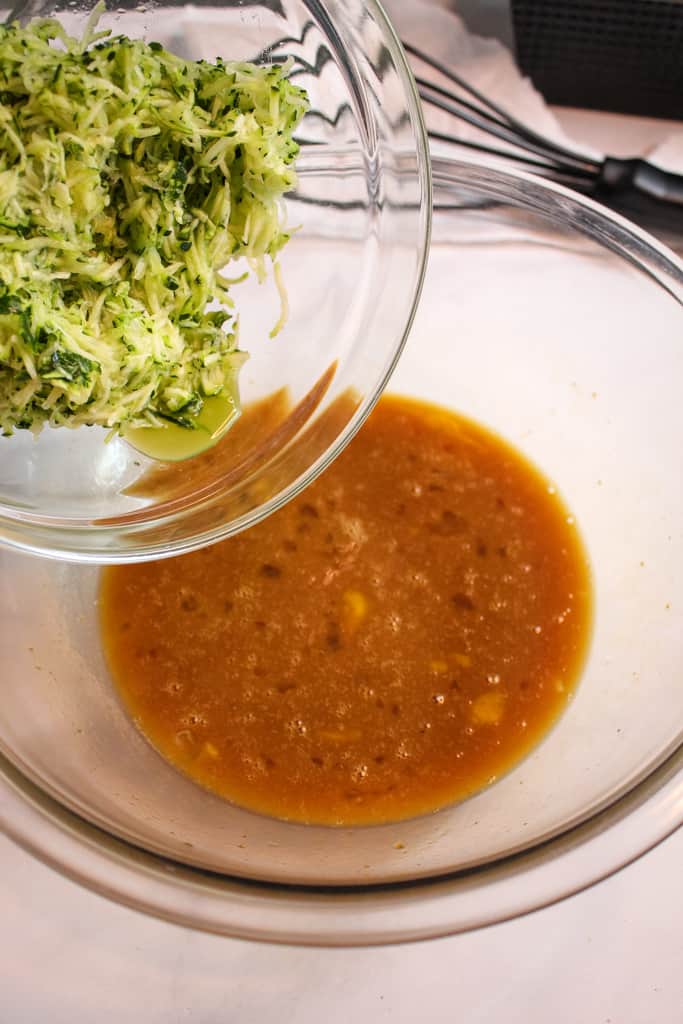
The batter for this bread is a delightfully simple prep. Just mix the dry ingredients with the spices in a large bowl and then shift to the wet ingredients in a medium sized bowl.
Add the wet ingredients to the dry ingredients and mix with a spoon. No electric mixer needed.
Preparing the pan
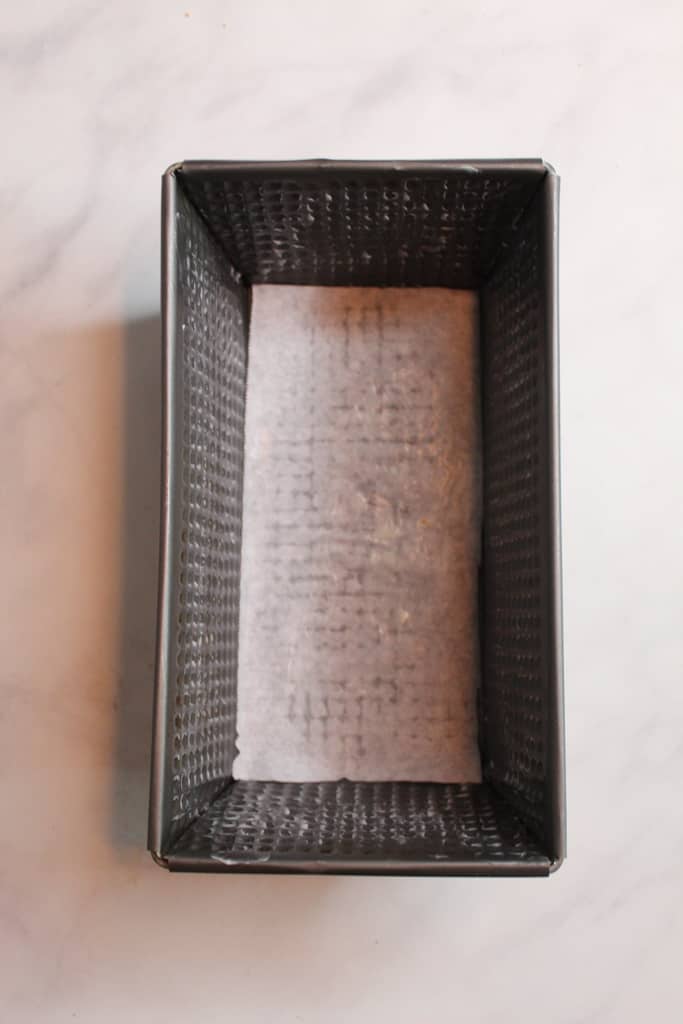
It’s no fun baking a wonderful loaf of bread only to struggle to get it out of the pan, or worse, having it stick completely. That’s why lining the pan with parchment paper is so important here.
Just butter the pan all over, then cut a piece of parchment to fit the bottom of the pan. And place that down and butter it a bit too. That way you’ll end up with a loaf that you can easily remove from the pan.
Bake and enjoy
While the baking time is pretty accurate, a toothpick test is the best way to judge if this bread is done or not. Start checking at around 45 minutes. The toothpick should come out clean – if you see any hint of batter, let it bake for longer.
Then it’s just cooling and enjoying!
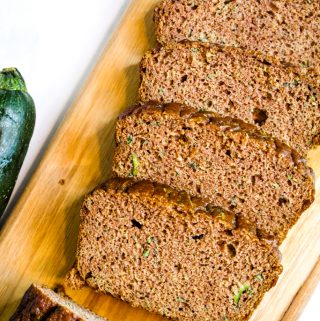
Coconut Flour Zucchini Bread {Dairy Free}
Ingredients
- 55 g. coconut flour about ½ cup
- 5 g. tapioca flour about 1 Tbsp.
- 1 Tbsp. ground cinnamon
- 1 tsp. baking soda
- ½ tsp. salt
- ¼ tsp. nutmeg
- ¼ tsp. ground cloves
- 1 cup zucchini shredded
- 4 large eggs
- 5 Tbsp. coconut sugar
- 2 Tbsp. plant based butter melted
- 1 tsp. apple cider vinegar
Instructions
- Butter an 8” x 4.5” pan with plant based butter. Place a piece of parchment paper along the bottom of the pan. Butter the parchment. Set aside.
- In a large mixing bowl, combine the flours, cinnamon, baking soda, salt, nutmeg and cloves. Mix with a whisk until combined.
- In a medium bowl, combine the zucchini, eggs, coconut sugar and melted butter. Mix until fully combined.
- Add the zucchini mixture into the flour mixture and stir with a sturdy spoon to combine.
- Add the vinegar to the batter and give it another few stirs.
- Let the batter rest for 10 minutes.
- Preheat the oven to 350 F.
- Pour the batter into the prepared pan and smooth the top.
- Bake for 45 – 50 minutes or until a toothpick inserted in the middle of the loaf comes out clean.
- Cool the bread in the pan on a wire rack for 10 minutes.
- Remove from the pan and finish cooling. Slice with a serrated knife.
Notes
- For the easiest way to grate the zucchini - set the grater right over the bowl and let the shreds fall into the bowl.
- Use a large spoon to mix the batter - no mixer required!
- Use a toothpick to check for doneness.
- Bread tastes even better on the second day.
Nutrition
For more tasty gluten free bread recipes, check out: