Finding a gluten-free birthday cake recipe that turns out soft, moist, and sturdy isn’t always easy. Many gluten-free cakes bake up dry, crumble when sliced, or sink in the middle, making them difficult to decorate.
This gluten-free birthday cake was developed to solve those common baking frustrations. The layers bake evenly, slice neatly, and are sturdy enough for simple or elaborate decorating. Whether you’re celebrating someone with celiac disease, gluten sensitivity, or simply want a dependable homemade cake, this recipe delivers consistent results every time.
Table of Contents
Why You’ll Love This Recipe
This recipe uses a reliable gluten-free flour blend, oil for lasting moisture, and a short rest to help the flour absorb liquid before baking. Together, these simple techniques create a cake that’s easy to make and dependable for special occasions.
- Tender, fluffy crumb
- Moist for days
- Beginner-friendly
- Easy to decorate
- Naturally dairy-free with simple swaps.
- Great for birthdays and celebrations
- Freezer-friendly
- Can be made ahead
- Works as cupcakes or a sheet cake
Like our Amazing Gluten-Free Banana Cake (Dairy-Free), this recipe uses simple ingredients to create a tender crumb.
Ingredients at a Glance
Every ingredient contributes to the cake’s texture, flavor, or structure. Below are the reasons each one matters and their possible substitutions.
- Vegan butter
- Granulated sugar
- Vegetable oil
- Eggs
- Vanilla extract
- King Arthur Measure for Measure Gluten-Free Flour
- Baking powder
- Salt
- Almond milk
- Dairy-free chocolate buttercream frosting

Ingredients & Substitutions Notes
Every ingredient contributes to the cake’s texture, flavor, or structure. Below are the reasons each one matters and their possible substitutions.
- Vegan butter: Adds richness and tenderness. Substitute with unsalted butter if dairy isn’t a concern.
- Granulated sugar: Sweetens the cake while helping create a tender crumb. A baking-friendly sugar substitute such as Swerve Granular also works.
- Vegetable oil: Keeps the cake moist longer than butter alone. Canola or melted coconut oil is a good alternative.
- Eggs: Provide structure and stability, helping the cake hold together without gluten. Egg substitutes haven’t been tested.
- Vanilla extract: Gives the cake its classic birthday cake flavor. Vanilla bean paste is a suitable substitute.
- Gluten-Free Flour: Provides the cake’s structure. I used King Arthur Measure for Measure Gluten-Free Flour.
- Baking powder: Helps the cake rise evenly. Use fresh baking powder for the best results.
- Salt: Balances sweetness and enhances flavor.
- Almond milk: Adds moisture without overpowering the vanilla flavor. Oat, soy, cashew, or dairy milk can be substituted.
- Dairy-free chocolate buttercream frosting: Adds a rich finish while helping keep the cake moist. Vanilla buttercream also pairs well.
This recipe was formulated for a cup-for-cup gluten-free flour blend containing xanthan gum. Almond flour, coconut flour, and single-ingredient flours are not direct substitutes. The same gluten-free flour blend I use here also performs well in our Gluten-Free Strawberry Shortcake Recipe.
Personal Baking Notes
After several test batches, I found that two 8-inch pans always produced the most even layers. Chilling the cakes before frosting also made decorating much easier, especially when using dairy-free buttercream.
I actually enjoy the flavor even more the next day, once everything has settled.
Baking for Someone With Celiac Disease?
Use extra care to prevent gluten cross-contact:
- Choose clearly labeled gluten-free ingredients, including flour, baking powder, extracts, sprinkles, cooking spray, and frosting ingredients.
- Clean all counters, bowls, pans, utensils, and mixer attachments before baking.
- Avoid shared ingredients that may have been exposed to wheat flour, crumbs, or used measuring tools.
- Serve with a clean knife and keep the cake separate from gluten-containing desserts.
For the safest results, confirm each ingredient is suitable for the person you are baking for.
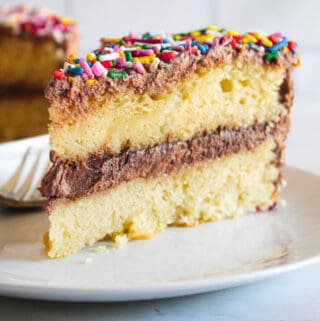
Recipe Card: Gluten-Free Birthday Cake (PRINTABLE)
Ingredients
- ¾ cup vegan butter softened
- 1½ cups granulated sugar about 300grams
- ¼ cup vegetable oil
- 4 large eggs
- 2 teaspoons vanilla extract
- 2½ cups King Arthur Measure for Measure gluten-free flour mix about 330grams
- 2¼ teaspoons baking powder
- ¾ teaspoon salt
- ⅔ cup almond milk
- dairy-free chocolate buttercream frosting
Instructions
- In the bowl of a stand mixer fitted with the paddle attachment, cream the vegan butter and sugar on low speed for 15 seconds.
- Add the vegetable oil and mix for 30 seconds until well combined.
- Add 2 eggs and beat on low speed for 30 seconds. Scrape down the sides of the bowl.
- Add the remaining eggs and vanilla extract. Beat on low for another 30 seconds until the mixture is light and fluffy.
- In a separate bowl, mix together the gluten-free flour, baking powder, and salt.
- With the mixer on low speed, add 3 heaping spoonfuls of the flour mixture and mix for 10 seconds.
- Add ¼ of the almond milk and mix for 10 seconds.
- Add 4 large spoonfuls of the flour mixture and mix for another 10 seconds.
- Continue alternating the remaining almond milk and flour mixture, ending with the flour.
- Scrape down the bowl and mix for 5 seconds.
- Set the fully mixed batter aside to rest for 30 minutes.
- Spray two 8-inch cake pans with cooking spray, line them with parchment paper, and preheat the oven to 350°F (175°C).
- Divide the batter evenly between the prepared pans.
- Bake cakes for 30-35 minutes or until a toothpick comes out clean.
- Cool the cakes in the pans for 10 minutes, then transfer them to wire racks to cool completely.
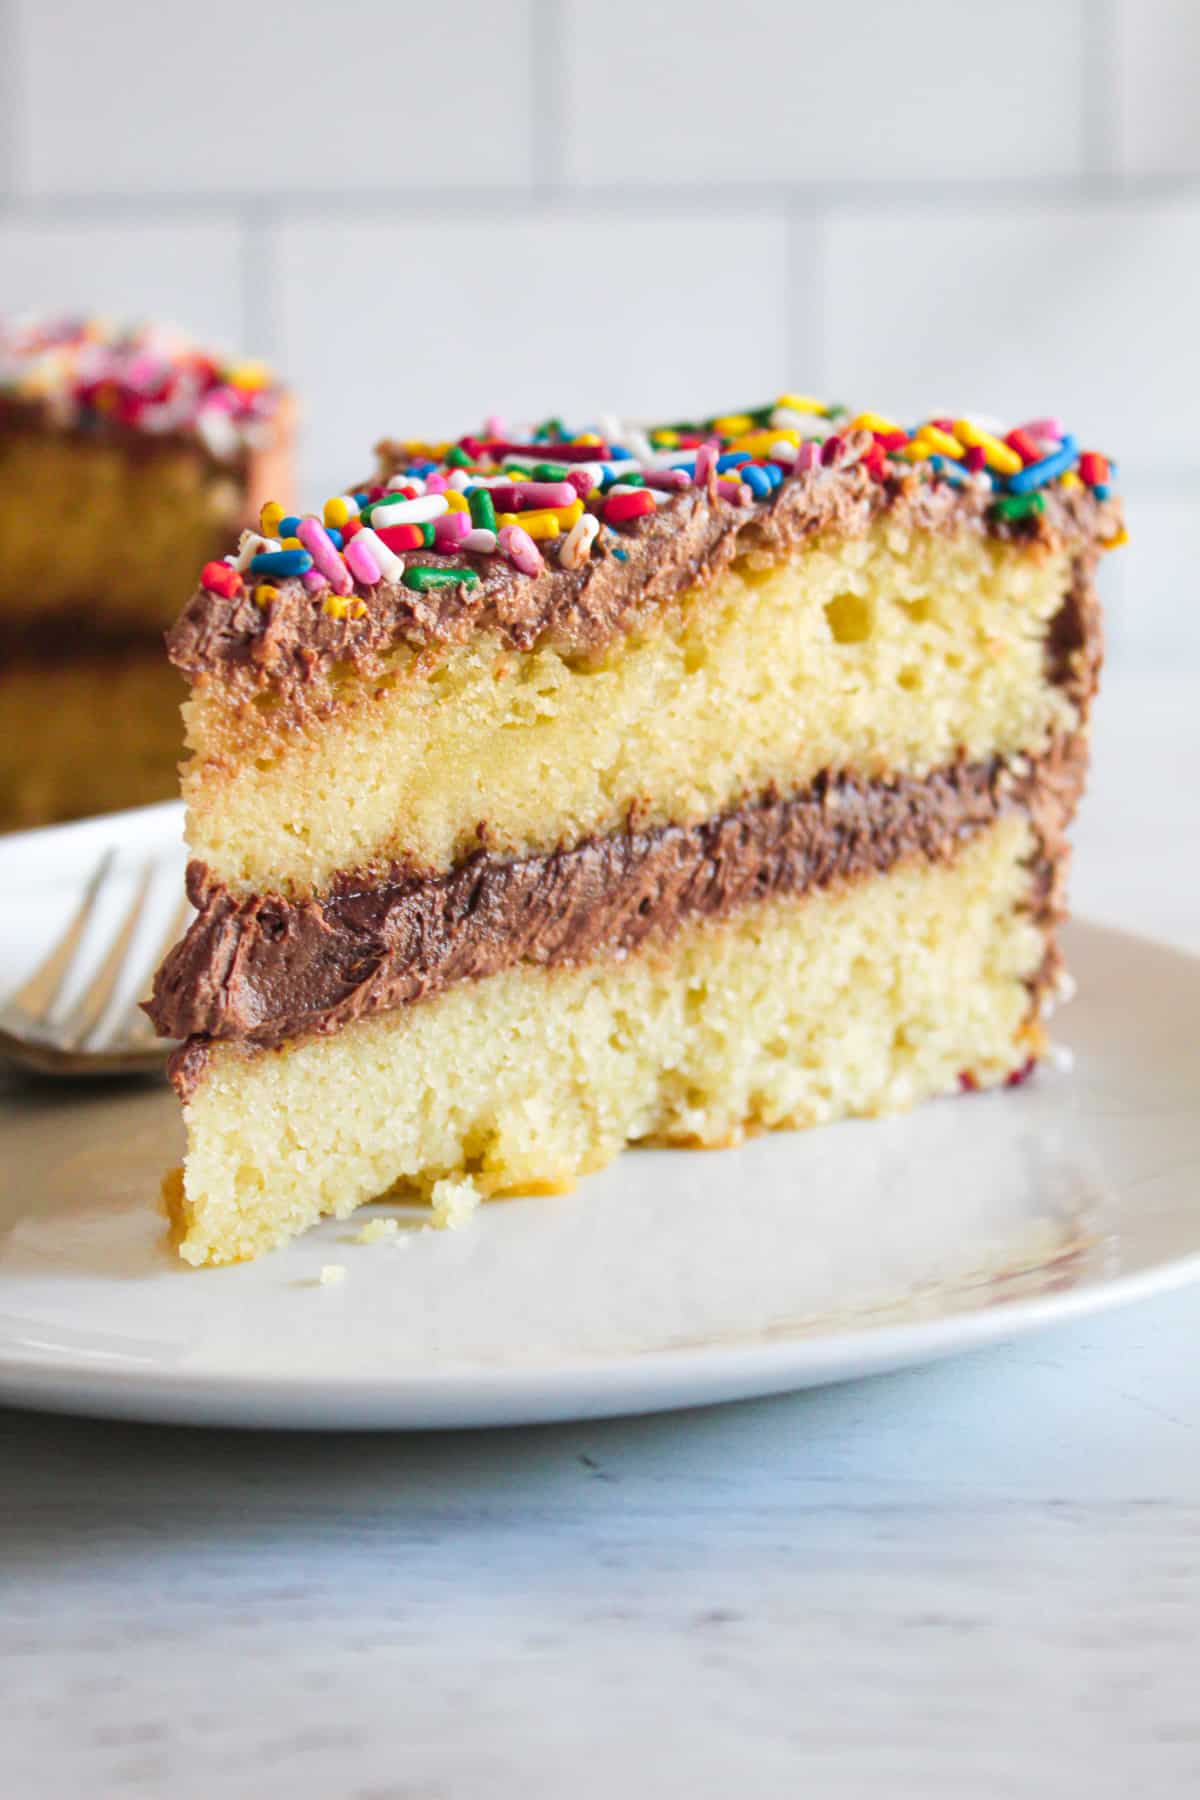
- Frost with dairy-free chocolate buttercream once the cakes have cooled completely.
- Decorate the cake with Rainbow Sprinkles.
Notes
- I tested this recipe with Country Crock vegan butter.
- Swerve Granular can replace granulated sugar.
- Melted coconut oil works well as a substitute for vegetable oil.
- King Arthur Measure for Measure Gluten-Free Flour produced the most consistent results during testing.
- Bake the cake layers a day ahead if you’d like to decorate the following day.
- Once the cake layers have cooled completely, frost and assemble them using our Easy Dairy-Free Chocolate Frosting recipe.’
- A toothpick inserted into the center comes out clean or with a few moist crumbs.
- The top springs back lightly when gently pressed.
- The edges begin to pull away slightly from the sides of the pan.
- For the most accurate results, the center of the cake should reach an internal temperature of about 200–209°F (93–98°C).
- Refrigerator: Cover tightly and refrigerate for up to 2 days. Serve chilled or let it come to room temperature before serving.
- Freezer: Wrap individual slices or unfrosted cake layers tightly in plastic wrap and place them in a freezer-safe container. Freeze for up to 3 months.
- To Serve: Thaw overnight in the refrigerator or gently warm individual slices in the microwave before enjoying.
Nutrition
Did you make and love this recipe? Give it your review and rating below! And make sure to follow me on Instagram, Pinterest, and Facebook , too!
How to Make Gluten-Free Birthday Cake
This gluten-free birthday cake recipe comes together with simple mixing techniques and a short resting period that helps hydrate the gluten-free flour for a better texture. Follow each step closely, and you’ll be rewarded with soft, fluffy cake layers that are easy to frost and slice.
Essential Kitchen Tools
You’ll only need a few basic baking tools:
1) Cream the butter and sugar
Add the softened vegan butter and granulated sugar to the bowl of a stand mixer fitted with the paddle attachment (or use a hand mixer). Beat on low speed for about 15 seconds, just until combined.

The mixture doesn’t need to become light and fluffy at this stage, since the oil and eggs will continue to build the batter’s structure.
2) Add the oil
Pour in the vegetable oil and mix on low speed for about 30 seconds until the mixture looks smooth and fully blended.

Using both butter and oil gives the cake the best of both worlds: butter adds flavor while oil helps keep the cake soft and moist for longer.
3) Incorporate the Eggs
Add 2 eggs and beat on low speed for about 30 seconds.
Scrape down the sides and bottom of the bowl with a rubber spatula, then add the remaining 2 eggs and vanilla extract. Mix for another 30 seconds until the batter becomes lighter in color and slightly fluffy.

Adding the eggs in two stages helps them incorporate more evenly and creates a smoother batter.
4) Mix the Dry Ingredients
In a separate bowl, whisk together the gluten-free flour, baking powder, and salt until evenly combined.
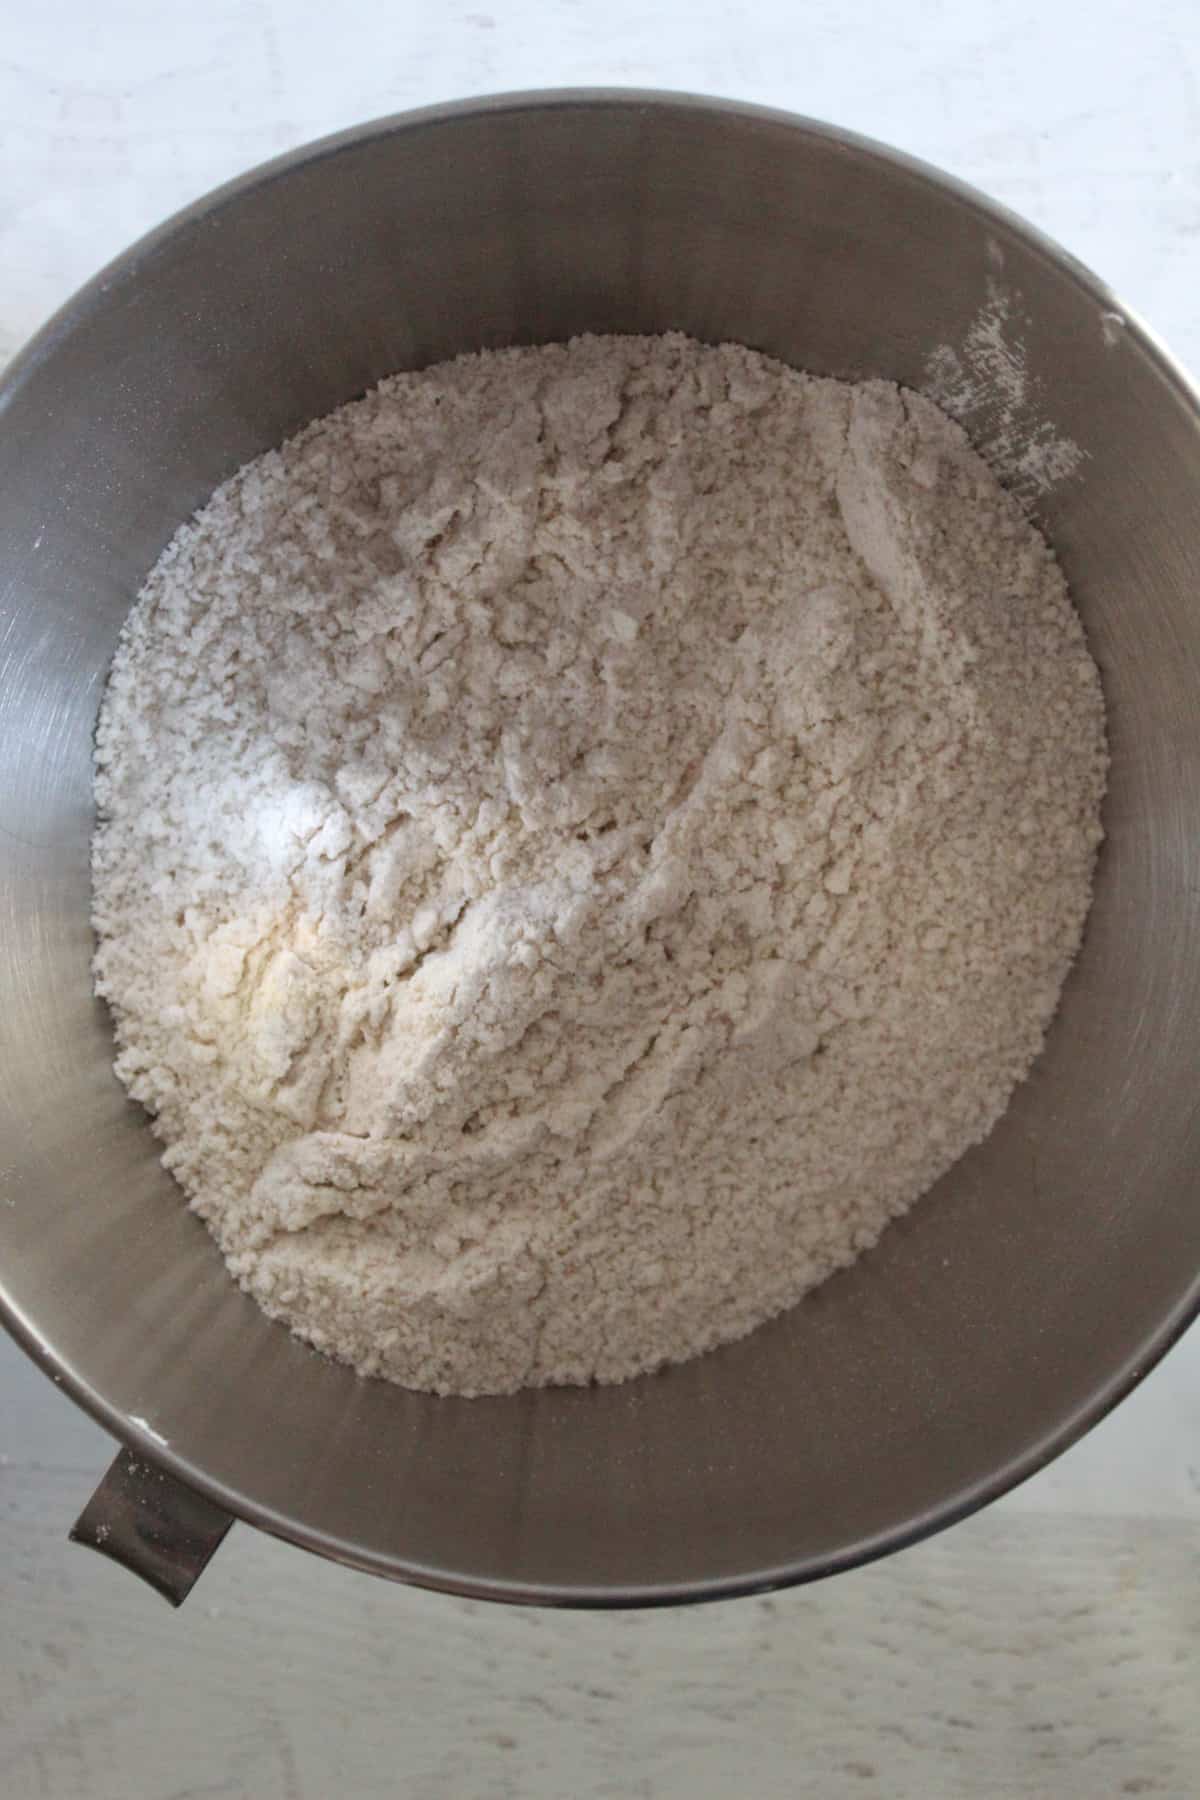
Whisking distributes the baking powder throughout the flour, helping the cake rise evenly during baking.
5) Alternate the Dry Ingredients and Milk
With the mixer on low speed, add about one-third of the flour mixture and mix for roughly 10 seconds.
Pour in about one-quarter of the almond milk and mix again.

Continue alternating the remaining flour mixture and almond milk, ending with the final portion of flour. Mix only until each addition disappears before adding the next.
Finish by scraping the bowl one last time, then mix for about 5 seconds. The finished batter should be thick, smooth, and free of dry streaks.

Alternating the flour and milk helps maintain a smooth batter while minimizing overmixing, which can lead to a denser cake.
6) Rest the Batter and Prepare the Pans
Allow the batter to rest for 30 minutes before baking.
Unlike traditional wheat flour, gluten-free flour benefits from a short resting period. This gives the starches time to absorb moisture, reducing grittiness and producing a softer, more tender crumb.

While the batter rests, preheat the oven to 350°F (175°C). Lightly grease two 8-inch round cake pans with nonstick cooking spray, then line the bottoms with parchment paper.
Divide the batter evenly between the prepared pans and smooth the tops with a spatula.
7) Bake Until Golden
Bake for 30 to 35 minutes, or until a toothpick inserted into the center comes out clean or with just a few moist crumbs attached.
Transfer the pans to a wire rack and let the cakes cool for 10 minutes before carefully removing them from the pans.

Allow the cake layers to cool completely before frosting. Decorating while the frosting is still warm can cause it to melt and slide off the cake.
8) Frost the Cake
Once the cake layers have cooled completely, spread a generous layer of Easy Dairy-Free Chocolate Frosting between the layers, then cover the top and sides.

The frosting is rich, creamy, and sturdy enough for smooth finishes or decorative piping.
9. Decorate and Serve
Smooth the frosting with an offset spatula or butter knife, then decorate with rainbow sprinkles or your favorite birthday decorations.
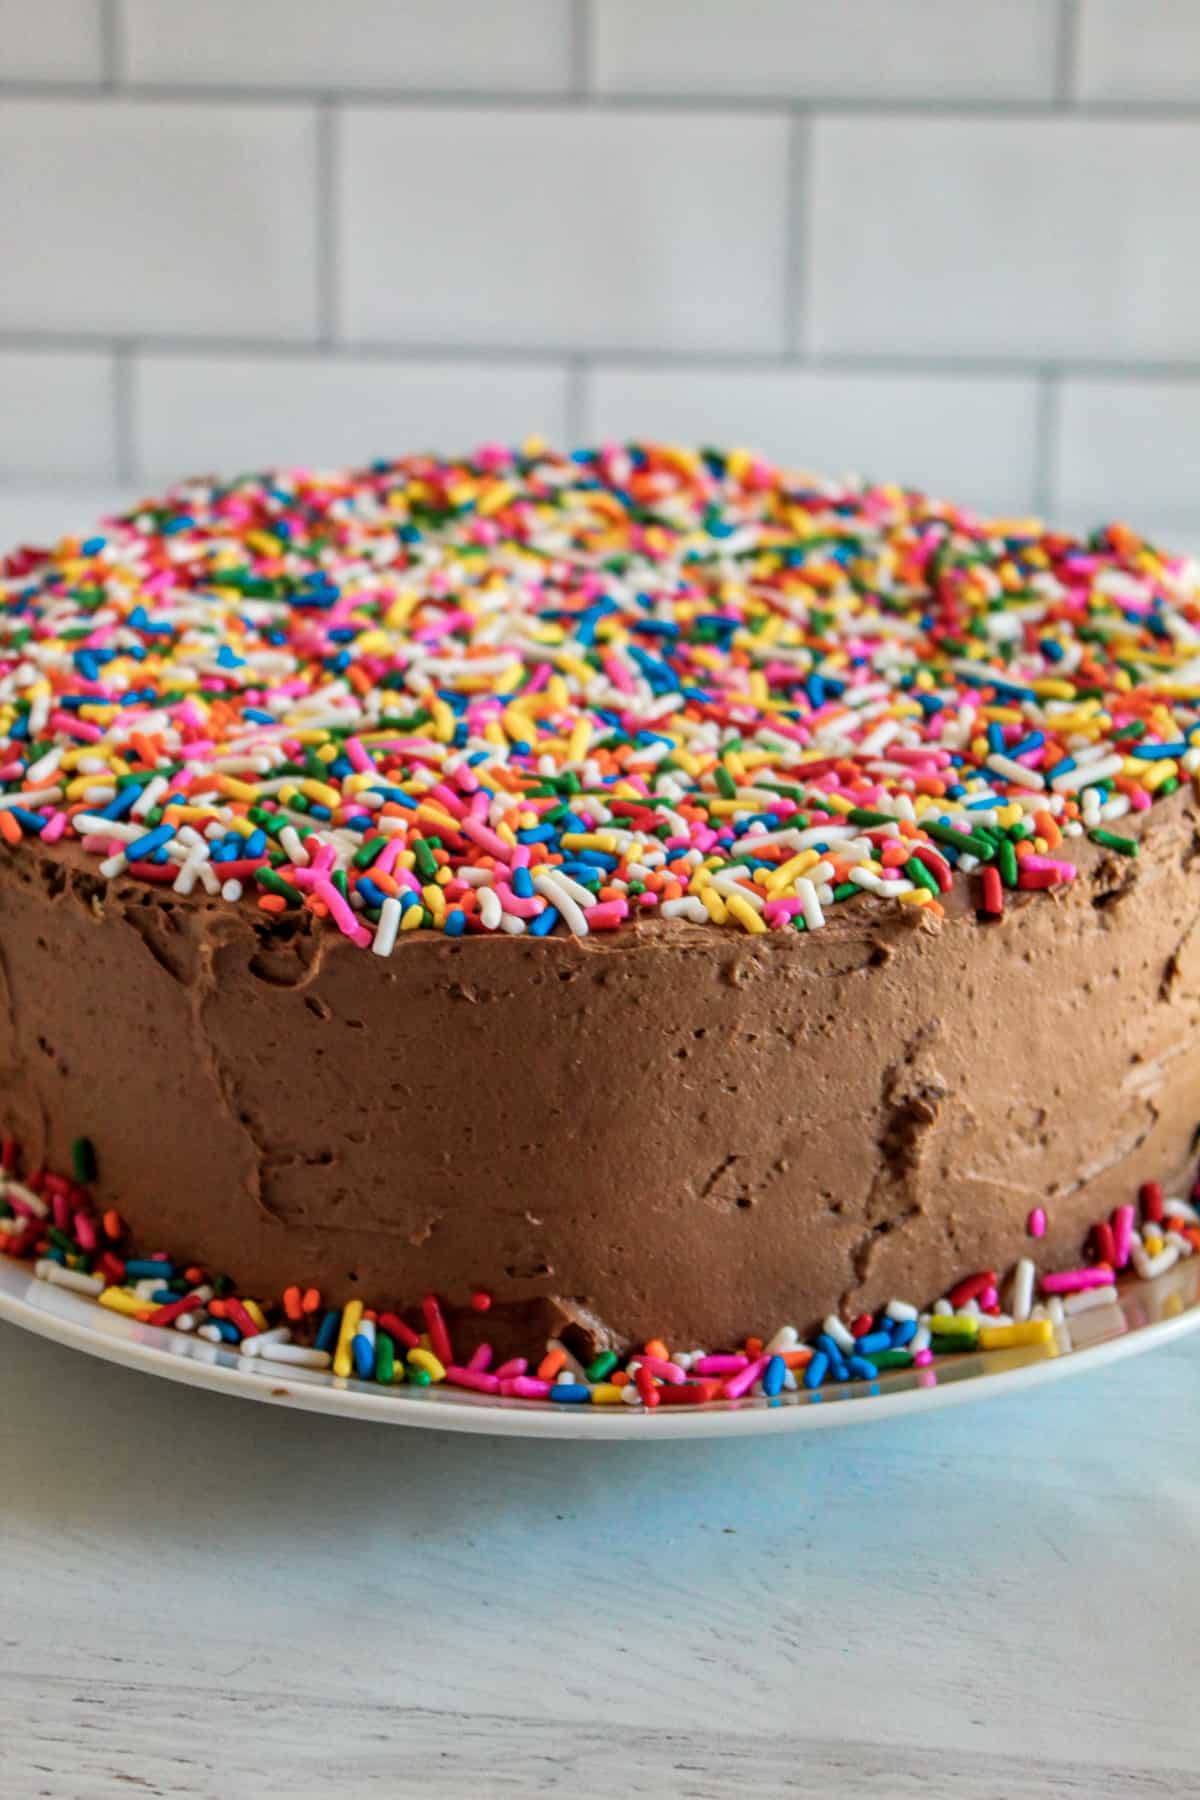
Slice and serve immediately, or refrigerate until you’re ready to celebrate.
Other Decorating Ideas
Try one or more of these ideas:
- Chocolate curls
- Buttercream piping (borders or rosettes)
- Fresh berries
- Birthday candles
- Piped writing
- Themed decorations
- Edible glitter
- Colored frosting
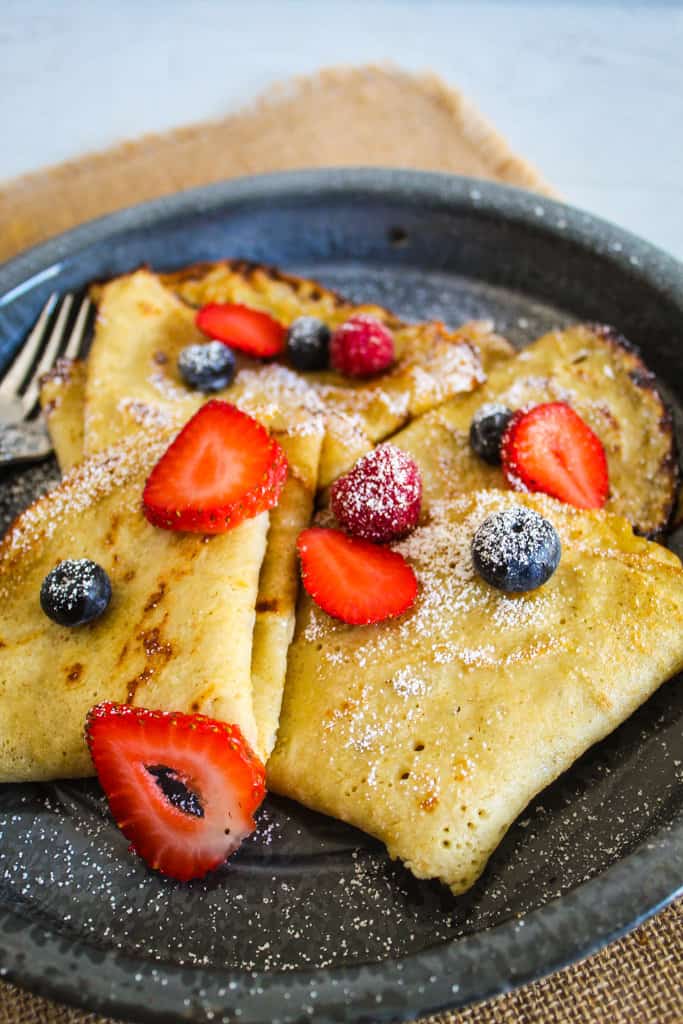
Looking for a simple gluten-free breakfast after the party? Cassava Flour Pancakes: Gluten-Free are quick, fluffy, and freezer-friendly.
Expert Baking Tips
A few simple techniques can make the difference between a good cake and one that’s consistently soft, tender, and beautifully baked. Keep these tips in mind for the best results every time.
1. Start with Room-Temperature Ingredients
Bring the butter, eggs, and almond milk to room temperature before mixing. Ingredients at the same temperature combine more easily, creating a smooth batter and a lighter, more even crumb.
2. Measure the Flour Accurately
Too much gluten-free flour can make the cake dry and dense. For the most consistent results, weigh the flour on a kitchen scale or use the spoon-and-level method rather than scooping directly from the bag.
3. Let the Batter Rest
Don’t skip the 30-minute resting period before baking. Gluten-free flour absorbs liquid more slowly than wheat flour, giving the starches more time to fully hydrate. The result is a softer, less gritty crumb and cake layers that bake more evenly and slice cleanly.
4. Prepare Your Pans and Oven
Oven temperatures aren’t always accurate. Using an inexpensive oven thermometer helps ensure your cake bakes evenly, preventing dry edges, underbaked centers, or sunken layers.
5. Cool the Cake Completely
Allow the cake layers to cool in the pans for a few minutes before transferring them to a wire rack to cool completely. Frosting a warm cake can cause the buttercream to melt and slide, making decorating much more difficult.
6. Chill Before Frosting
For cleaner slices and smoother frosting, refrigerate the cooled cake layers for 20 to 30 minutes before assembling. Chilled layers are firmer, produce fewer crumbs, and are easier to stack and decorate.
Once you’ve mastered these techniques, put them to work in our Moist Almond Flour Coffee Cake Recipe (Gluten-Free, Dairy-Free, So Easy).
High-Altitude Baking
This recipe has not yet been tested at high altitude. Because elevation can affect rising, moisture, and baking time, results may vary above 3,000 feet. Use your usual high-altitude cake adjustments and begin checking for doneness a few minutes early.
Common Cake Problems & Troubleshooting
Even experienced bakers occasionally run into problems. If something doesn’t go as planned, these quick fixes should help.
- Cake is Dry: Measure the gluten-free flour accurately, avoid overbaking, and check for doneness a few minutes early. An oven thermometer can also help if your oven runs hot.
- Cake Sinks in the Middle: This can happen if the batter is overmixed, the oven door is opened too early, or the cake isn’t fully baked. Bake until a toothpick inserted in the center comes out clean.
- Cake is Dense: Use fresh baking powder, measure ingredients carefully, and mix only until the batter is combined to avoid a heavy texture.
- Cake Crumbled When Sliced: Let the batter rest before baking, cool the cake completely, and use a sharp serrated knife for cleaner slices.
- Cake Stuck to the Pan: Grease the pans well, line them with parchment paper, and let the cakes cool for about 10 minutes before removing them.
- Frosting Is Runny: Always frost completely cooled cake layers. If the buttercream becomes too soft, refrigerate it for 10 to 15 minutes before continuing.
- Cake Layers Are Uneven: Divide the batter evenly between the pans, then place them on the center oven rack to bake. This ensures even heat distribution.
These same baking tips also apply to our Best Gluten Free White Cake Recipe: Moist & Fluffy.
Birthday Cake Variations
Once you’ve mastered the base recipe, use the following to customize it for different flavors, pan sizes, and celebrations.
- Funfetti Birthday Cake: Fold gluten-free rainbow sprinkles into the batter just before baking for a colorful birthday cake.
- Chocolate Birthday Cake: Replace a small portion of the gluten-free flour with unsweetened cocoa powder for a rich chocolate variation. Pair it with chocolate buttercream or vanilla frosting.
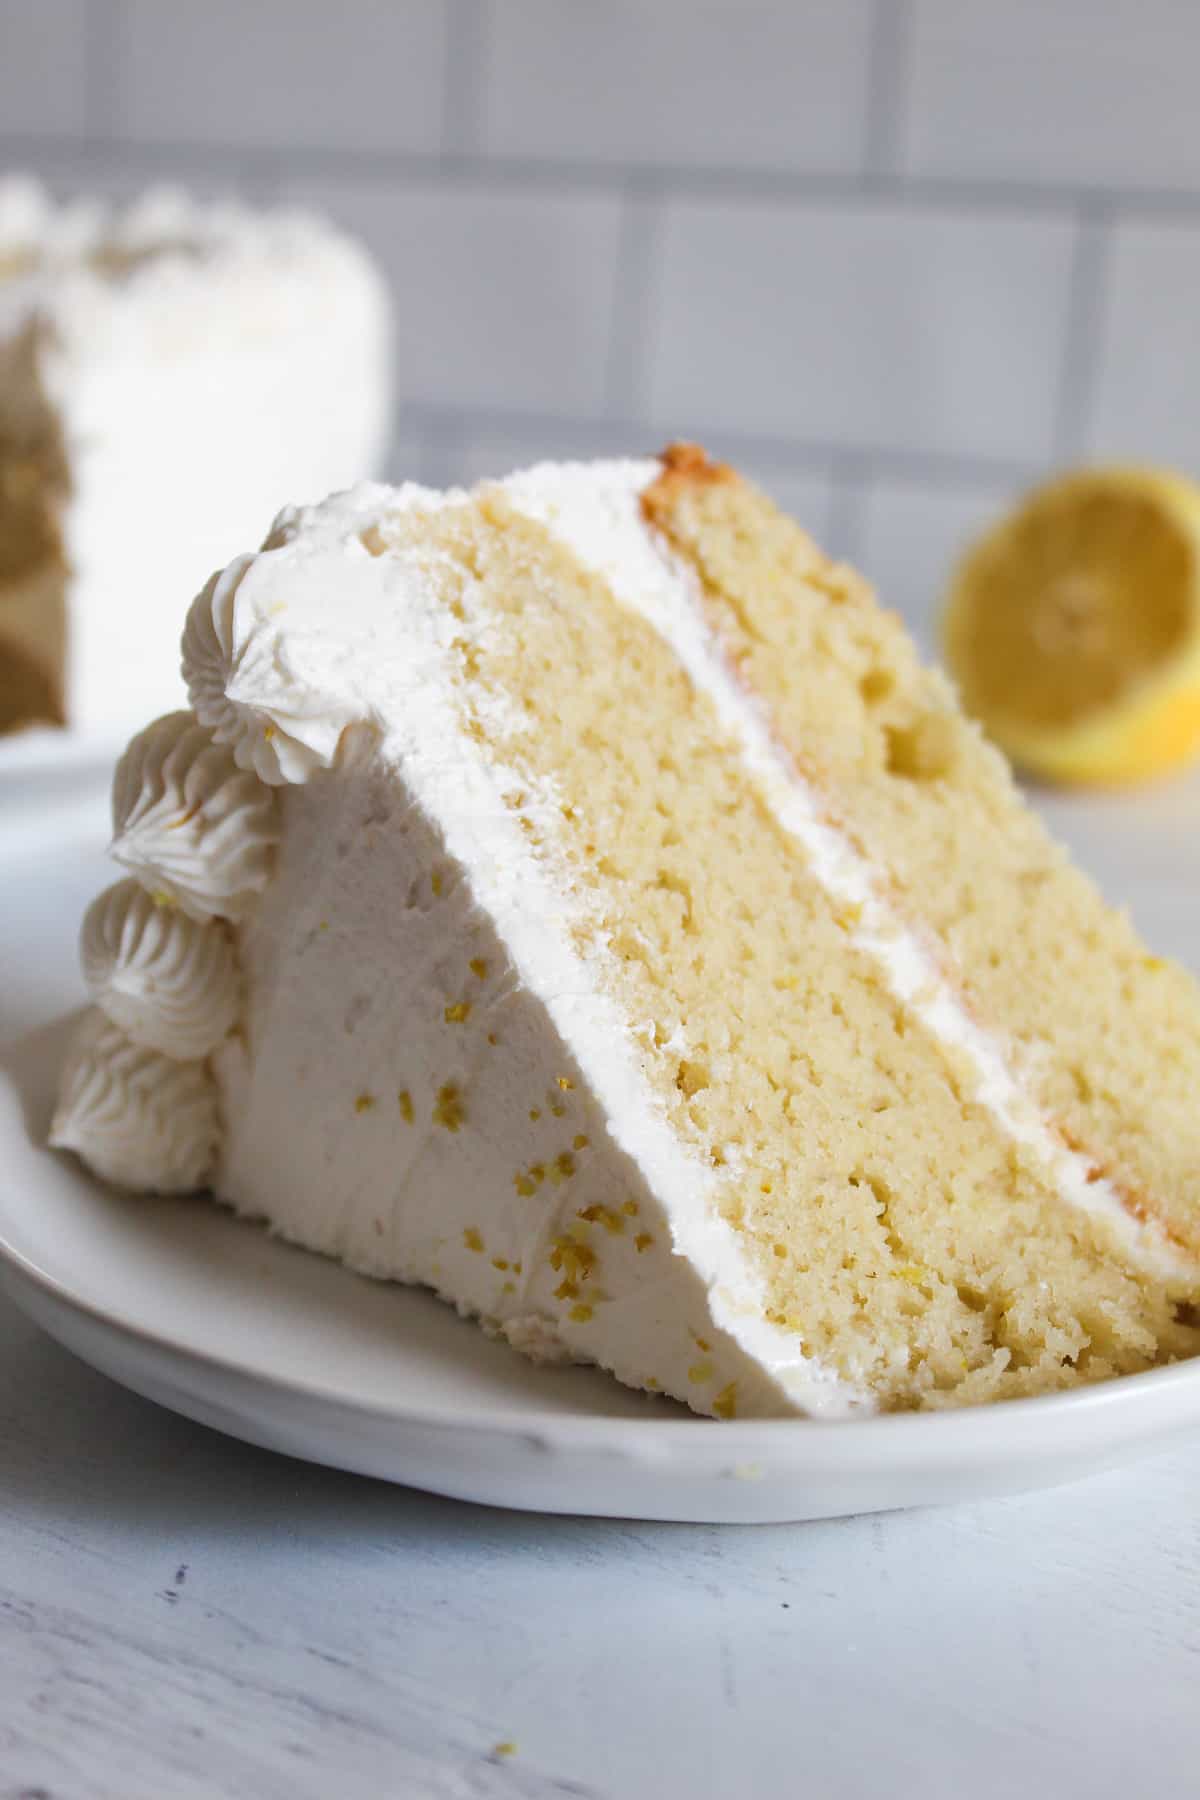
- Lemon Birthday Cake: Add fresh lemon zest and a little lemon extract to brighten the vanilla flavor. A lemon buttercream pairs especially well with this variation.
- Cupcakes: Divide the batter into lined muffin tins for easy, individually portioned birthday treats. Begin checking for doneness earlier than you would for cake layers.
- Sheet Cake: Pour the batter into a greased 9×13-inch pan and bake. This makes a simple cake that is easy to transport and decorate for large gatherings.
- Three-Layer Celebration Cake: Divide the batter evenly among three smaller cake pans to create an impressive layered cake with extra frosting between each layer.
- Mini Cakes: Bake the batter in mini cake pans or use round cookie cutters to create individual celebration cakes, perfect for parties or special events.
Prefer bright citrus flavors? The Best Gluten-Free Lemon Cake (Soft, Moist & Easy) is a great choice.
Storage, Freezing & Make-Ahead Tips
Whether you’re baking ahead or saving leftovers, these storage tips will help preserve the cake’s flavor and texture.
- Room Temperature: Store the unfrosted cake in an airtight container for up to 2 days. If frosted with a stable dairy-free buttercream, it can sit covered at room temperature for several hours. Keep it away from direct sunlight and other heat sources.
- Refrigerator: Cover the cake tightly or store it in an airtight cake carrier and refrigerate for up to 4 days. For the best texture and flavor, let slices sit at room temperature for 20 to 30 minutes before serving.
- Freezing Cake Layers: Cool the layers completely, then wrap each one tightly in plastic wrap, then in aluminum foil, or place them in a freezer-safe bag. Freeze for up to 3 months for the best quality.
- Freezing A Frosted Cake: Freeze the decorated cake uncovered for about 1 hour, or until the frosting is firm. Then wrap it securely in plastic wrap and foil, or place it in a freezer-safe cake carrier, and freeze for up to 3 months.
- How to Thaw: Transfer the cake or cake layers to the refrigerator and thaw overnight. Before serving, let the cake stand at room temperature for 30 to 60 minutes. Avoid thawing at warm temperatures, as condensation can soften the frosting.
- Make Ahead: Bake the cake layers one day before your celebration. Once cooled, wrap them well and store them at room temperature or in the refrigerator. Frost and decorate the next day for the freshest presentation.
- Transporting: Chill the decorated cake for 30 to 60 minutes before traveling to help the frosting firm up. Transport it in a sturdy cake carrier on a flat surface, and keep it cool during warm weather.
Need something to serve alongside your birthday dessert? Our Best Classic Coffee Cake Recipe with Cinnamon Streusel Topping is always a crowd-pleaser for brunches and family gatherings.
Frequently Asked Questions
If you don’t see your question below, leave it in the comments; I’m always happy to help and may even add it to this list.
Can I Decorate the Cake with Fondant?
This cake is sturdy enough to support fondant once it has cooled completely and been covered with a thin layer of buttercream (a crumb coat). Chilling the cake before applying fondant also helps create a smoother finish.
Can I Use this Recipe for a Layered Celebration Cake?
The recipe works well as a two-layer cake and can also be divided into three smaller cake pans for a taller celebration cake. Just be sure to divide the batter evenly and adjust the baking time as needed.
How Do I Get Clean, Bakery-Style Cake Slices?
For neat slices, chill the frosted cake for 20 to 30 minutes before serving. Use a long, sharp knife, wiping the blade clean between each cut to prevent frosting from dragging across the cake.
Can I Use Natural Food Coloring in the Frosting?
Natural food colorings made from fruits, vegetables, or plant extracts can be used to tint buttercream. The colors may be softer than traditional gel food coloring, but they’re a great option if you prefer naturally colored frosting.
More Gluten-Free Cake Recipes
Once you’ve baked this birthday cake, here are a few more gluten-free cakes worth adding to your baking list.
- Best Gluten-Free Carrot Cake Recipe (Moist, Fluffy & Dairy Free): A perfectly spiced carrot cake with a tender crumb that’s great for celebrations.
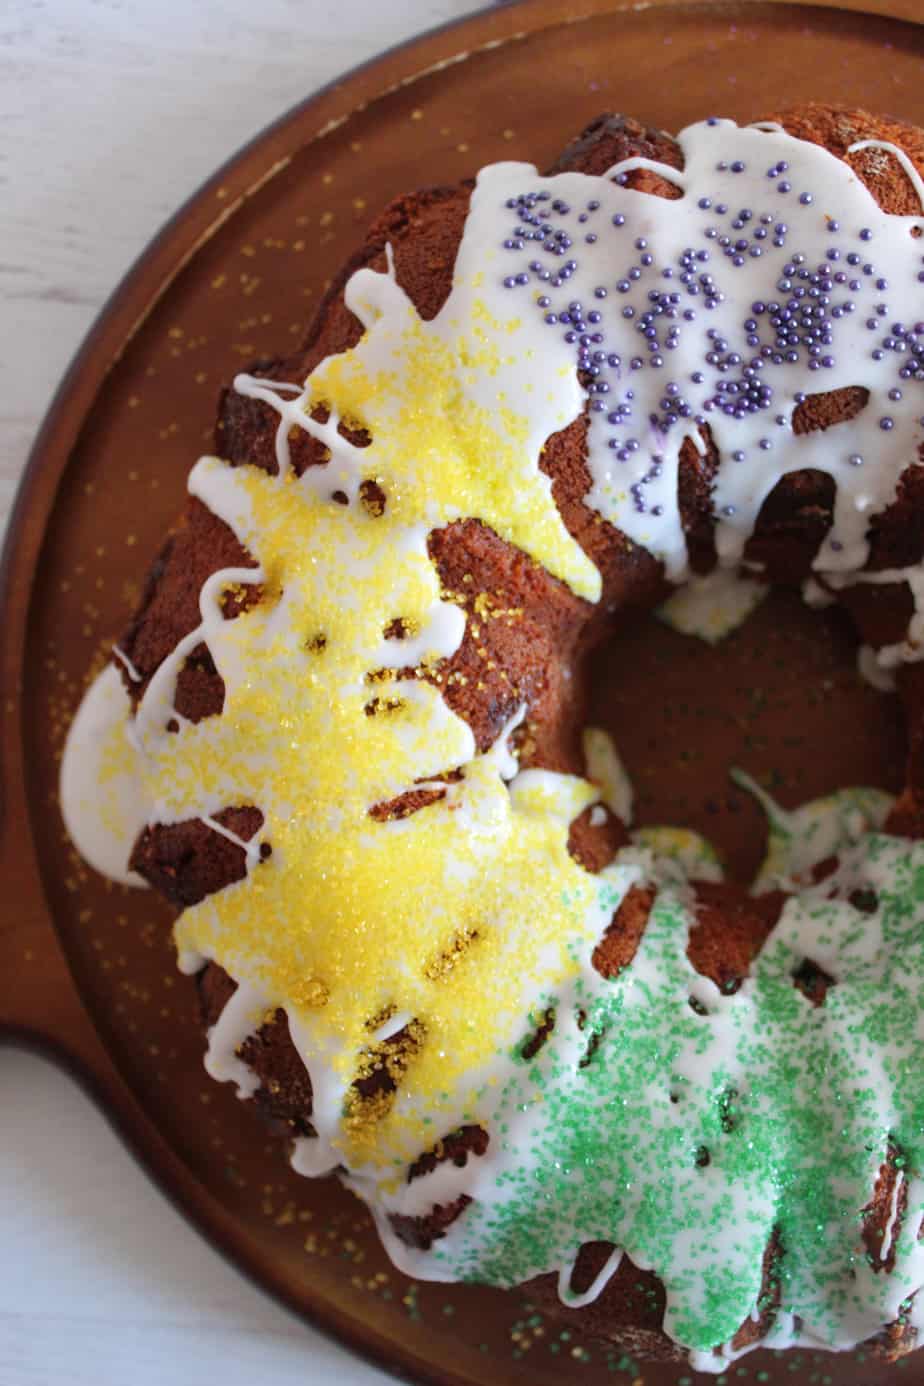
- Easy Gluten-Free King Cake: A festive Mardi Gras favorite that’s soft, flavorful, and easy to make at home.
- Gluten-Free Texas Sheet Cake (Rich Chocolate Flavor): A rich chocolate cake topped with a decadent frosting that’s perfect for feeding a crowd.
- The Best Gluten-Free Apple Cake (Moist, Easy & One Bowl): An easy one-bowl cake packed with fresh apples and warm spices for a cozy homemade dessert.
Whether you’re planning another celebration or simply craving something sweet, these gluten-free cake recipes make it easy to keep baking with confidence.
Did You Make This Recipe?
I’d love to hear how your cake turned out! Leave a comment and star rating below, and let me know how you decorated it or any variations you tried. Your feedback helps other readers and helps me continue creating recipes you’ll love.
If you share your cake on social media, tag Zest for Baking so we can see your creations.