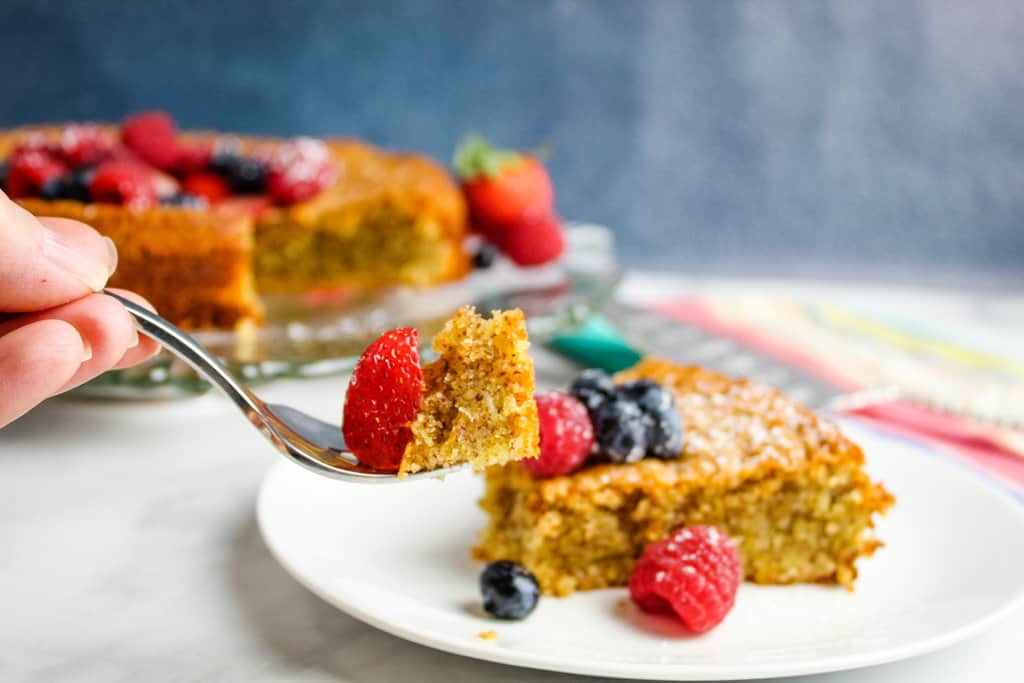
Gluten-free baked goods tend to have a bad reputation, especially gluten-free cakes. You often hear complaints that they are too dry, crumbly, dense, or even gummy. That being said, gluten-free cake can be just as light, fluffy, and moist as traditional cakes if you apply a few simple techniques.
Whether you’re baking with standard ingredients or gluten-free ones, it’s crucial to keep in mind that baking is an exact science. Nevertheless, gluten-free baking can be a bit more challenging because it isn’t just regular baking without gluten; it’s a completely different system. And many of the basic principles of traditional baking no longer apply when you’re using gluten-free ingredients.
Table of Contents
In this guide, we’ll break down exactly how to make gluten-free cakes that are soft, airy, and bakery-quality through 8 top tips that you can use throughout all of your gluten-free baking adventures.
Why Gluten-Free Cakes Turn Out Dense or Gummy
Before we get into fixing the problem, it’s important to understand what’s happening and why.
Traditional cakes rely on the gluten in wheat flour for three main things: structure, elasticity, and trapping air. Without this network of gluten from traditional flour, gluten-free batters struggle to hold air and provide structure to baked goods. They can also become overly wet or heavy, as different gluten-free flours absorb different amounts of liquid.
That’s why small details like ingredient temperature or mixing techniques matter much more in gluten-free baking.
8 Proven Tips for a Light & Fluffy Gluten-Free Cake
Follow these 8 tips every time you bake for the best results from your gluten-free baking!
1. Room Temperature Ingredients
Whether you are baking gluten-free or not, using room temperature ingredients is always a good idea. It is one of the most overlooked (and most important) parts of baking. When ingredients like eggs, butter, and milk are at room temperature, they mix more evenly, creating smoother, silkier, and more uniform cake batters.
Cold ingredients don’t emulsify or blend properly, resulting in dense cakes.
The only exception to this rule is recipes that specifically call for cold or hot ingredients. For example, some cake recipes, like this chocolate fudge cake, may call for hot water.
Here are a few tips for quickly warming up your cold baking ingredients:
- Eggs: Place cold eggs in a bowl of very warm water for 5-10 minutes. Refresh the warm water as needed, as the cold eggs may cool it down.
- Butter: Cut the butter into very small cubes and let it sit out for 10-15 minutes before using. Or, fill a tall glass with hot water and let it sit for a minute. Dump the water out and invert the glass over the stick of butter. The steam and warmth from the hot glass will gently warm the butter without melting it.
- Dairy: For ingredients like milk, buttermilk, or heavy cream, microwave for 20-30 seconds, stir, and microwave again until the liquid is just warm to the touch. Do not overheat it.
2. Measuring By Weight (Not Cups)
Measuring ingredients by weight is another practice that is ideal for both gluten-free and traditional baking. It is the most accurate method for measuring ingredients, especially dry ingredients like flour and sugar. Because gluten-free cakes tend to be even less forgiving than regular cakes, it’s especially important to measure the ingredients by weight when specified in the recipe.
The best way is to use a digital kitchen scale, which ensures consistency every time. Using cups can easily lead to dry cakes (too much flour) or gummy cakes (too little flour). A kitchen scale is a small investment that will really change your gluten-free baking.
If you only have cups at home, watch this video from King Arthur Baking that shows and explains the proper technique for measuring flour by cups so you can still get the most accurate results from your baking.
3. Let the Batter Rest
This is a game-changer in gluten-free baking. Why? Unlike wheat flours, gluten-free flours need time to absorb liquids, and the starches need time to fully hydrate and soften. So, resting the batter helps reduce gritty textures and improve the structure of baked goods. A general rule of thumb is 20-30 minutes resting time for most batters and doughs.
4. Cream Butter and Sugar Properly
In any cake recipe, properly creaming the butter and sugar is essential for a light and fluffy texture. It’s not just about mixing, it’s about building structure. When you cream butter and sugar, you are incorporating air bubbles. This air expands during baking creating the light, fluffy texture that you want in a cake.
Rather than just mixing them together, beat the butter and sugar until the mixture is light, pale yellow, and fluffy and creamy. This should take about 3-5 minutes. This process aerates the mixture, yielding a light, tender gluten-free cake.
5. Use Enough Leavening
In general, gluten-free cakes rely a little more on leavening agents for lift than regular cakes do, because without gluten, batters need extra help to rise.
Leaveners like baking soda, baking powder, and eggs are the most common options, so it is important to measure them accurately to ensure your cake will get the proper rise.
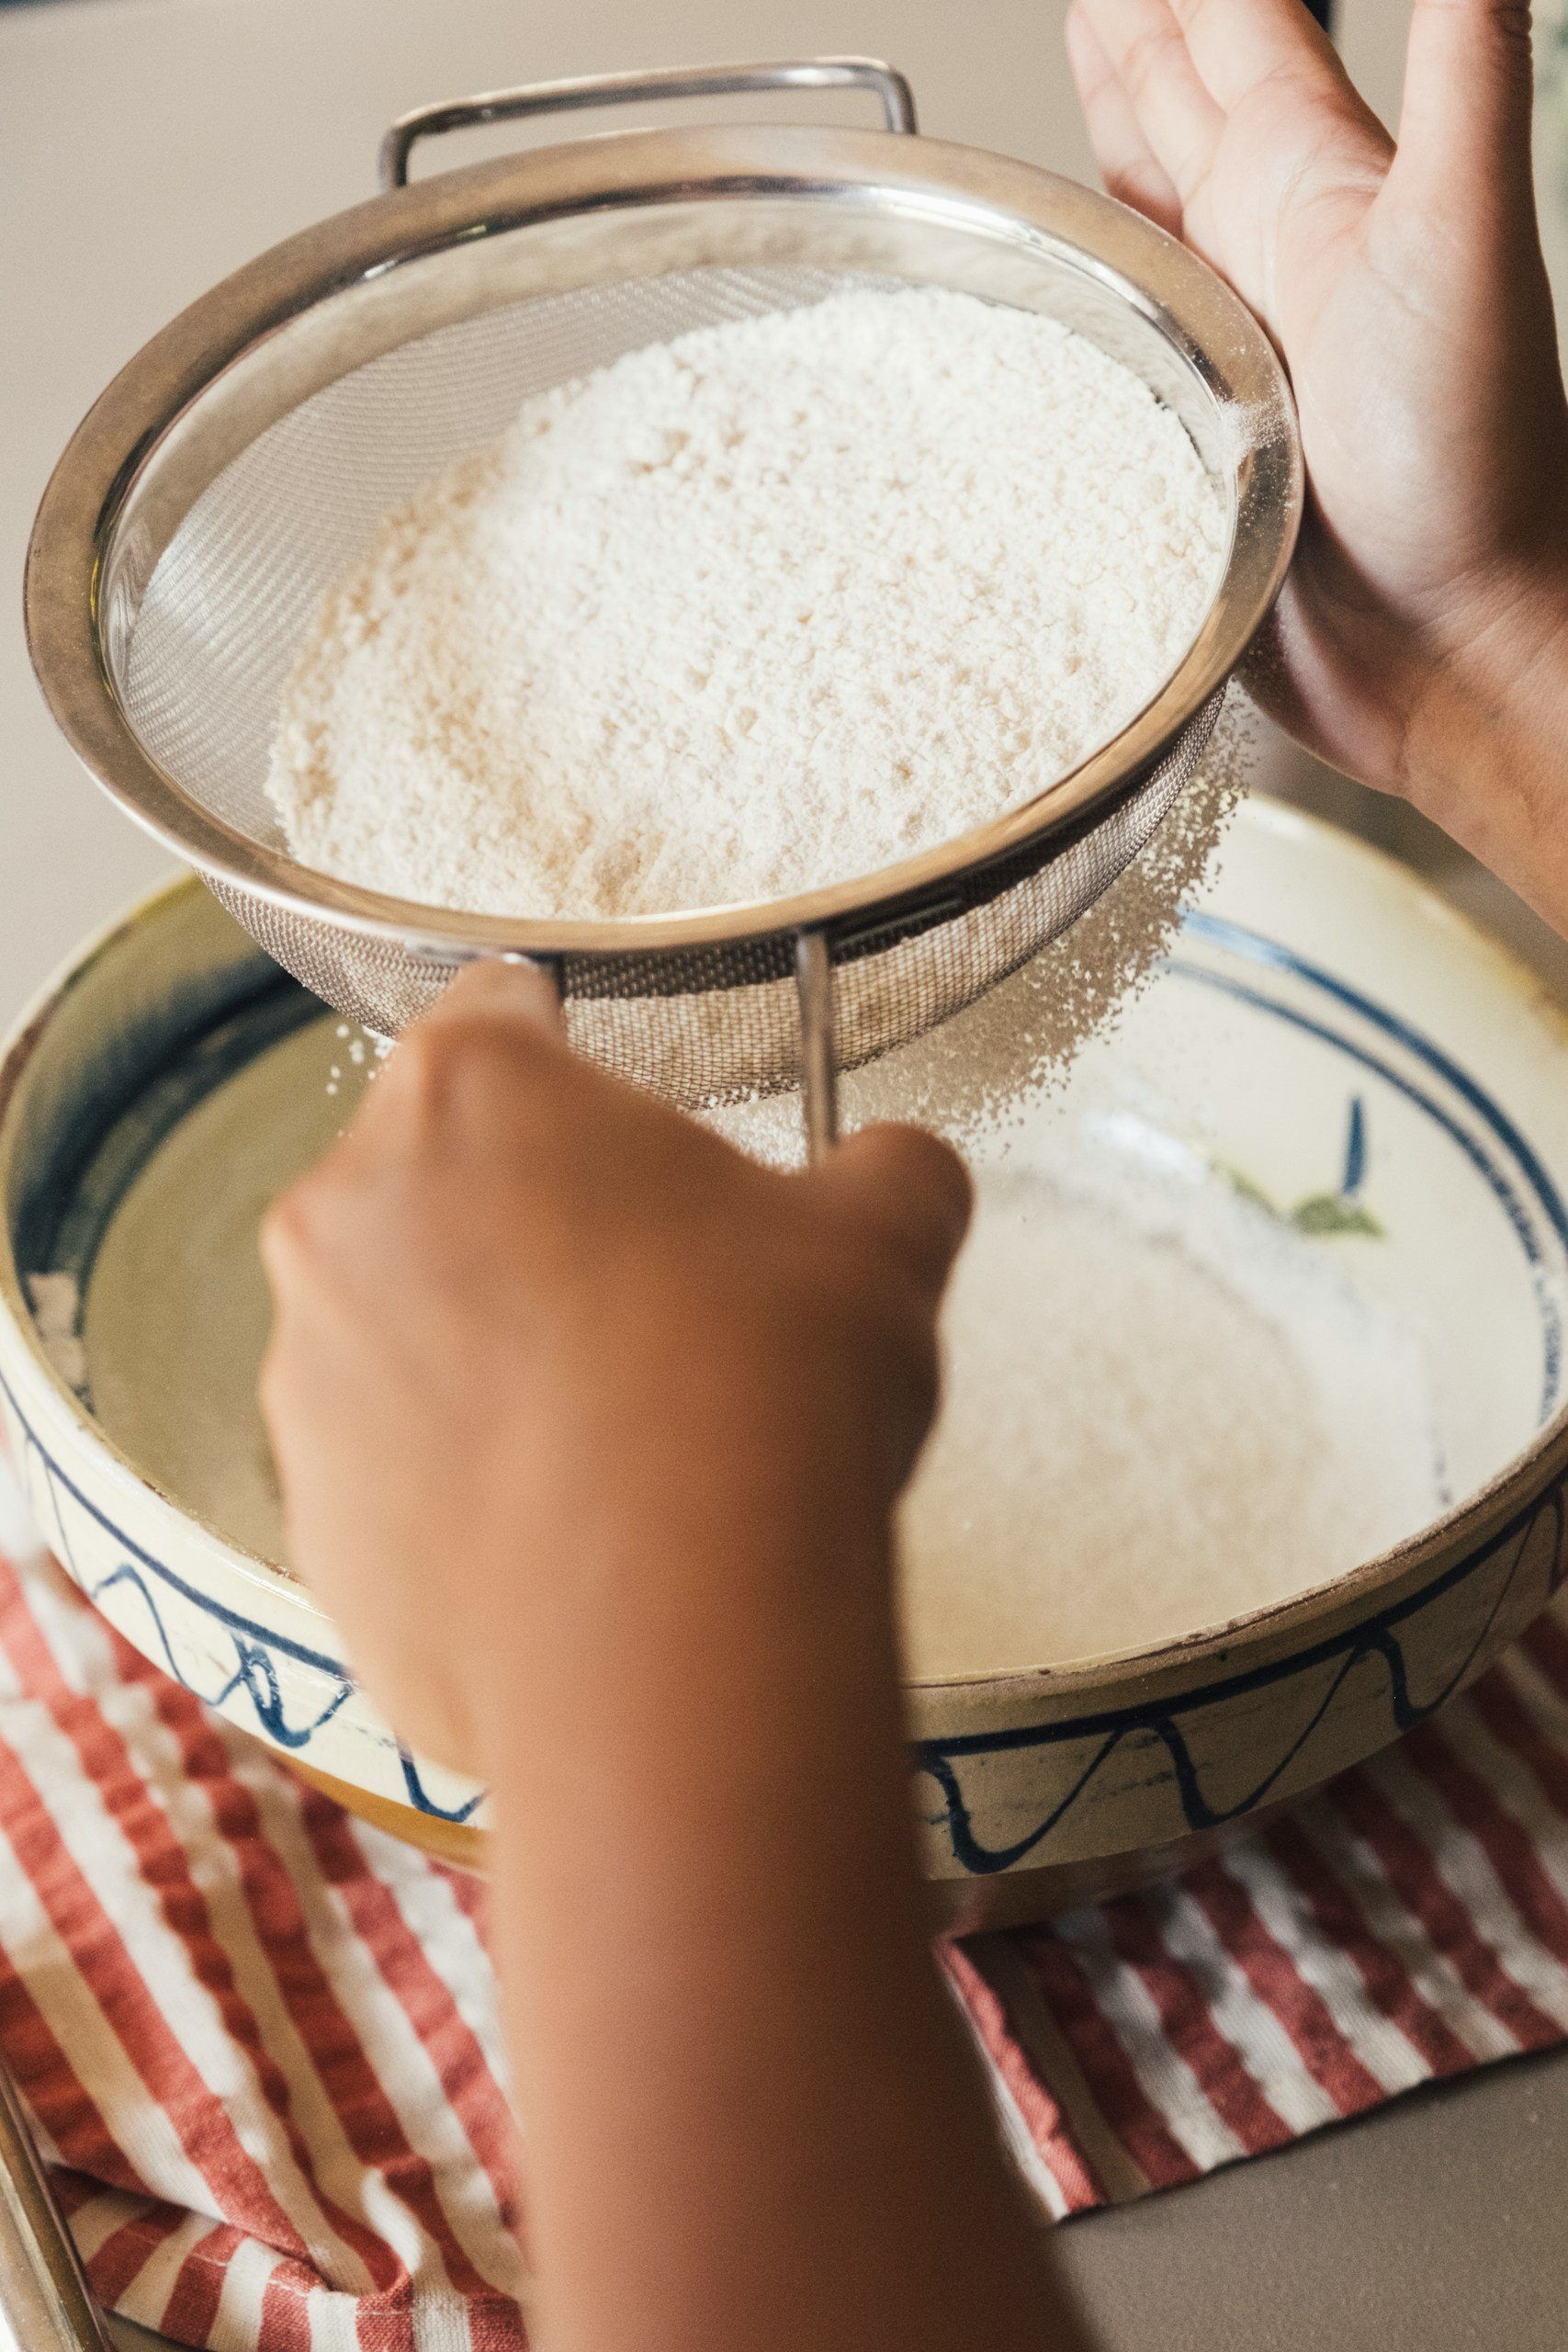
6. Sifting the Flours and Starches
To avoid a heavy, dense texture to your gluten-free cake, it’s helpful to sift the flours and starches before adding them to the batter, as gluten-free flours can clump. The process of sifting incorporates more air into these ingredients, breaks up lumps, and creates a lighter, smoother batter.
7. Checking oven temperature
An inaccurate oven can ruin even the best batter. If your oven runs too hot, cakes will rise fast and then collapse partway through baking. If the oven is too cold, the result will be a dense, underbaked texture.
Make sure you allow the oven to preheat completely before putting your cake in to bake. Additionally, using an oven thermometer is the best way to verify your oven temperature’s accuracy.
8. Don’t Overbake
Many factors could contribute to dryness in gluten-free cakes. One common reason is overbaking. It’s best to play it safe and check on your cake sooner rather than later. If a recipe instructs you to bake the cake for 20-25 minutes, start checking it at the 20-minute mark.
A couple of signs that a cake is done include a toothpick inserted into the center coming out clean, or with a few crumbs, or the top springing back when gently touched.
The Science Behind Fluffy Gluten-Free Cakes
Understanding the “why” helps you bake better every time.
Structure Without Gluten
Gluten normally forms a network that traps air. In gluten-free baking, structure comes from eggs, starches, and gums or binders like xanthan gum. This is why you will often see these ingredients in gluten-free recipes and why gluten-free flour blends are often a mix of flours and starches. This provides the proper balance to best replicate the role of traditional wheat flour.
The Role of Xanthan Gum
Xanthan gum acts as a binder. Its role is to hold ingredients together, trap air bubbles, and prevent crumbling in baked goods. Without it, cakes would often fall apart.
Note: Most gluten-free flour blends that you buy at the store already contain xanthan gum. If you are sensitive to xanthan gum, always double-check packaging on gluten-free products, and check out this list of xanthan gum substitutes.
Hydration
Hydration is key in gluten-free baking. Gluten-free flours absorb liquid differently than wheat flour, so it’s important to accurately follow a recipe and to rest batters. If you plan to swap one gluten-free flour for another in a recipe, make sure you understand the flours and their hydration levels, as some, like coconut flour, absorb much more moisture than others and require extra liquid.
Common Mistakes to Avoid in Gluten-Free Baking
Since there’s no gluten safety net in gluten-free baking, precision matters more than in traditional baking. Let’s break down the most common mistakes and how to fix them.
Skipping the Batter Rest
As mentioned before, gluten-free flours need time to fully absorb liquid. If you bake immediately after mixing, the batter hasn’t had time to hydrate properly.
If you skip this step, it can lead to unfavorable textures in your baked goods, such as a gritty or sandy texture from dehydrated flours, an uneven crumb, and a poor structure.
Reminder: Let your batter rest for 20-30 minutes before baking. This allows starches to hydrate, resulting in a smoother, more cohesive cake.
Incorrect Measuring
Measuring by volume is unreliable. Let’s be honest: we’re all humans, and we’re not perfect, and neither are our measuring skills, as hard as we may try. Especially when working with different gluten-free flours, which can vary in density from one type to another, measuring in cups is a sure way to throw off a recipe.
For example, 1 cup of almond flour is roughly 95-100 grams, whereas 1 cup of rice flour is around 150-160g. That’s a big difference! My recommendation is to always use the weight measurements when available. Even if they don’t, it’s easy to find cup-to-weight conversions online for nearly every type of baking ingredient with a quick search.
Grab a kitchen scale and start using it for the best accuracy. You’ll soon find it’s much easier than measuring in cups, and you often use fewer dishes too! It’s one of the fastest ways to improve your baking results instantly.
Overmixing or Undermixing the Batter
Unlike traditional baking, where overmixing can develop too much gluten, gluten-free batters behave differently. But that doesn’t mean mixing doesn’t matter.
Overmixing can break down air bubbles, leading to a dense texture. Whereas undermixing can leave pockets of flour unincorporated and can create uneven baking. Mix until the batter is smooth and fully combined, but stop once everything is incorporated.
Using the Wrong Flour Blend
Not all gluten-free flours are interchangeable. Some, like tapioca and potato starch, are high in starch. Others are high in protein (almond flour), and some are highly absorbent (coconut flour). The different properties of these flours yield different baking results.
Using a single flour or the wrong blend can completely change the outcome, leading to cakes that collapse, textures that are too dense or too soft, or flavors that feel off for what you’re baking.
Use a well-balanced gluten-free flour blend, or follow a recipe that uses flours specifically designed for gluten-free baking.
Opening the Oven Too Early
It’s tempting to check your cake, but opening the door too soon can cause it to collapse. When you open the oven door, the sudden temperature drop causes a rising cake to deflate from the blast of cool air. This will cause your cake to sink in the middle and weaken its structure.
Wait until the cake is at least 75% baked before opening the oven door. This allows the cake enough time to bake and set up its structure, so you don’t risk it collapsing when you check on it.
Using Expired Leavening Agents
Baking powder and baking soda lose effectiveness over time. If they are old or expired, they won’t be active. Cakes won’t rise, and this can lead to dense, heavy textures. Test freshness and replace these leaveners every 3-6 months for the best results.
To test baking powder: Put a couple of tablespoons of warm water in a small bowl. Stir 1/2 tsp of baking powder. The baking powder should foam and bubble, showing that it is still active.
To test baking soda: Put 1 tablespoon of vinegar in a small bowl. Stir in 1/2 teaspoon of baking soda. The mixture should bubble and fizz immediately if it is still good.
If these topics seem repetitive, that’s because they’re so important! This article is all about getting that perfect gluten-free cake, and these aspects of the baking process are essential to pay attention to so you can continue to improve your baking skills and get the best results in the kitchen every time.
Gluten-Free Cake FAQ’s
There’s a lot that goes on behind the scenes of gluten-free baking, so here are some more answers to help you on this journey. For more questions or comments, leave them in the comments section below.
Why is Xanthan Gum Used in Gluten-Free Cakes?
Xanthan gum serves as a replacement for gluten by providing structure and elasticity to gluten-free products. In traditional baking, gluten forms a network that traps air, giving cakes their shape. Without it, gluten-free cakes can easily crumble or fall apart.
Xanthan gum helps to bind ingredients together, improve texture, and trap air for a better rise.
Can You Store Gluten-Free Cake in the Freezer?
Freezing is one of the best ways to preserve gluten-free cakes, so yes, you can store them in the freezer. Because they tend to dry out faster than traditional cakes, freezing helps lock in moisture.
To properly freeze a cake, let the cake cool completely, wrap it tightly in plastic wrap, and store it in a freezer-safe bag or container. It should keep for up to 2 months. Let it thaw overnight in the fridge or at room temperature for the best texture.
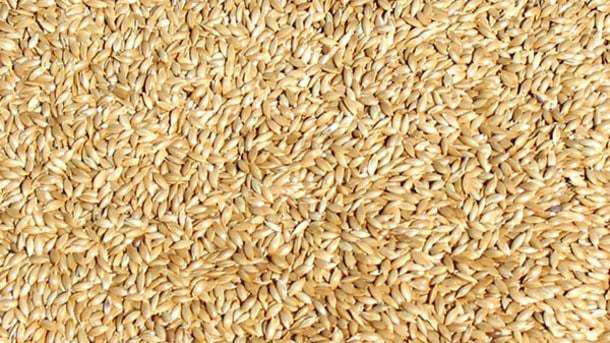
Why Does My Gluten-Free Cake Have a Gritty Texture?
A gritty texture usually comes from under-hydrated flour. Many gluten-free flours, especially rice flour, have a coarse texture that needs time and moisture to soften. Other common causes of a gritty texture include skipping the batter rest time or not using enough liquid in the recipe.
Allow your batter to rest for 20-30 minutes after mixing to ensure proper hydration.
Do Gluten-Free Cakes Taste Differently Than Traditional Ones?
Gluten-free cakes can taste different from traditional cakes, but they don’t have to. When done correctly, gluten-free cakes can be just as soft, moist, and flavorful as traditional cakes. The key is using the right flour blend the recipe calls for, ensuring there are enough fats and moisture, and using the correct baking techniques.
In many cases, people can’t even tell the difference between traditional and gluten-free cakes.
What’s the Best Flour For Gluten-Free Cakes?
There is no single best flour for gluten-free cakes; it’s all about the blend. Most successful gluten-free cakes use a mix of flours and starches, as each will provide some of the following: structure, lightness, flavor, and moisture.
Using a balanced blend creates a better texture than relying on just one type.
Can I Make a Gluten-Free Cake Without Xanthan Gum?
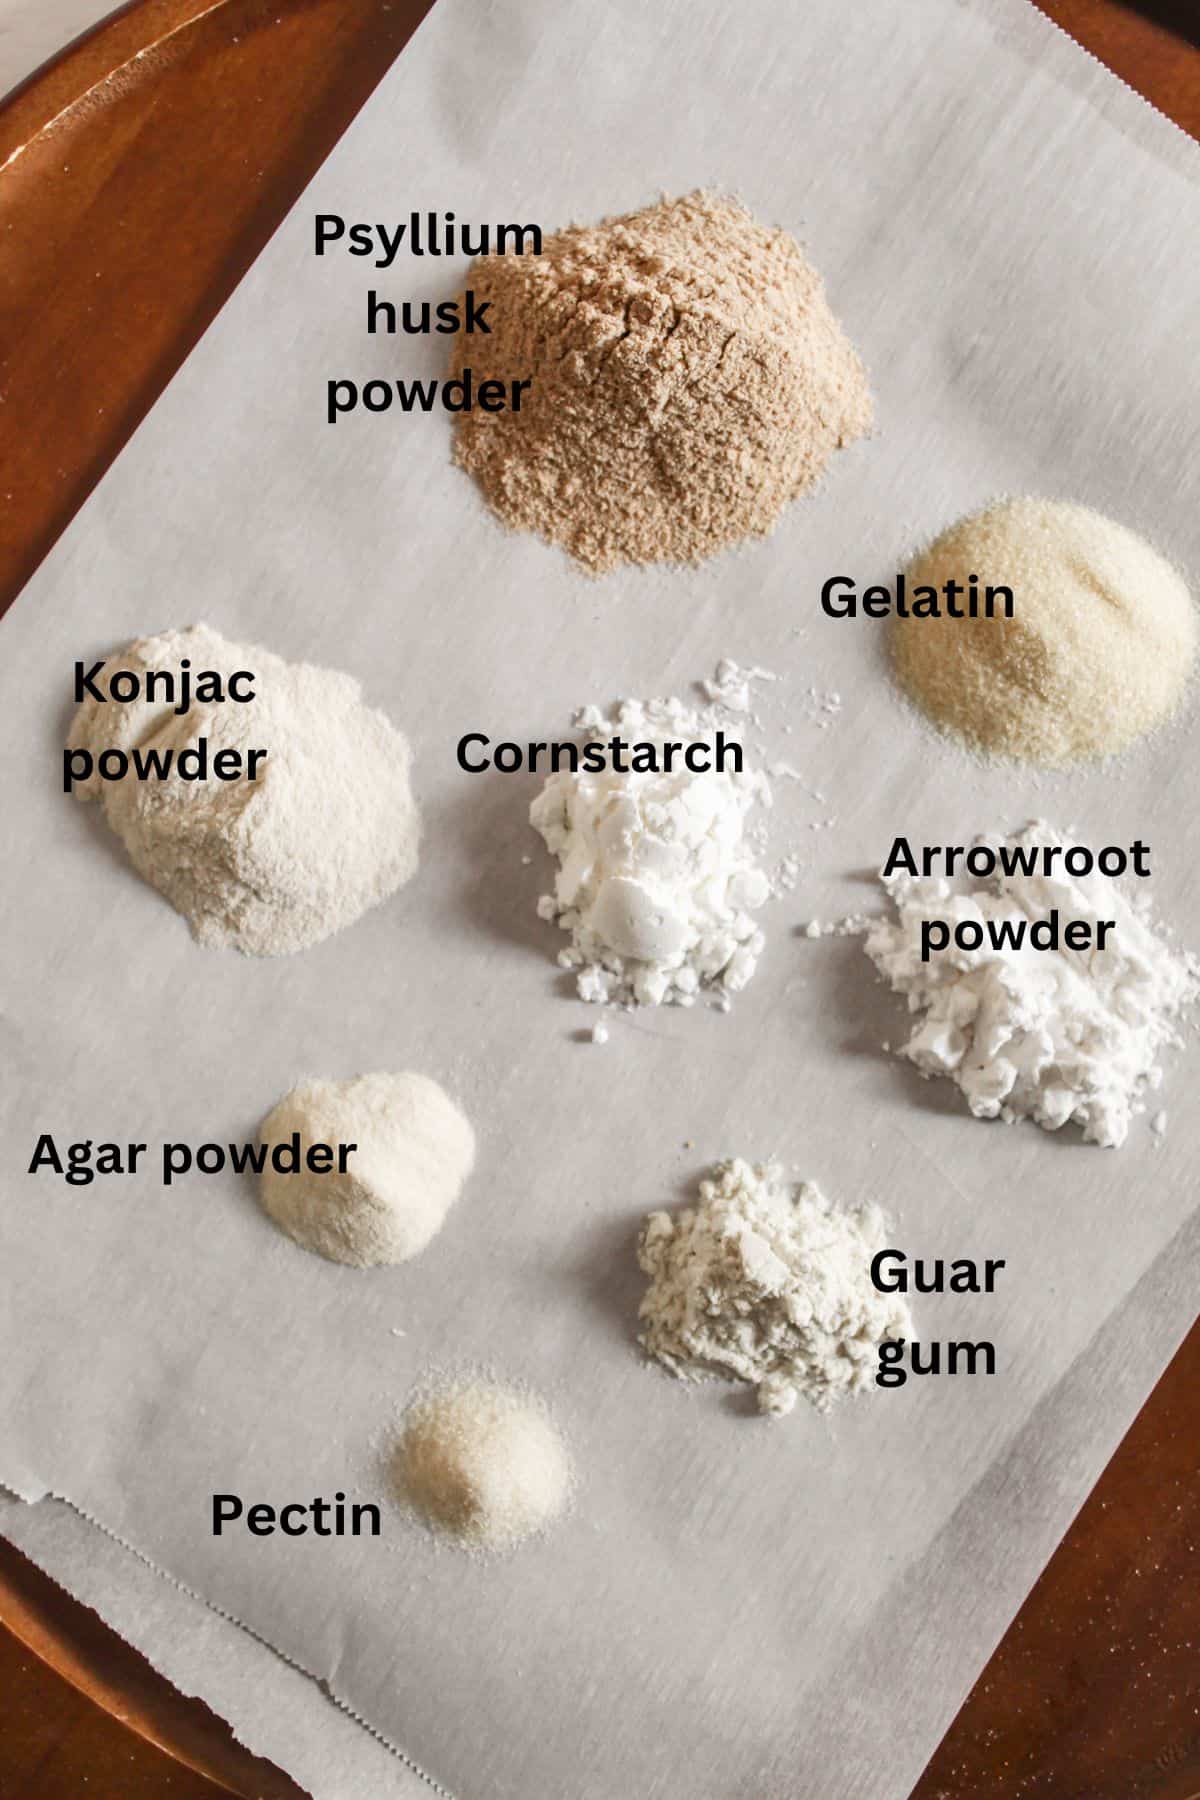
Since xanthan gum helps replicate the “gluten” in a gluten-free cake, you cannot simply remove it from a recipe, but there are many great substitutes you can try. Some options include psyllium husk powder or guar gum, but for a full list of the top xanthan gum substitutes, check out this article.
Keep in mind that when substituting an essential ingredient like xanthan gum, texture may vary, and it often takes a bit of experimentation to find a substitute you love.
Final Thoughts on Your Path to Perfect Gluten-Free Cakes
While gluten-free baking can be frustrating when your cakes don’t turn out the way you hoped, now you know that there is hope when you implement the eight tips above.
Gluten-free baking is a lot about understanding the small details that make a big difference. From letting your batter rest to properly creaming butter and sugar, each step plays a role in creating that soft, light, and fluffy texture that you’re after. Once you start applying these techniques consistently, you’ll notice a shift in your results and also in your confidence as a baker.
And the best part is, these aren’t complicated, professional-level tricks; they’re simple adjustments that anyone can make, whether you’re baking for dietary needs or just exploring gluten-free recipes for the first time.
So if your past cakes have been dense, dry, or disappointing, don’t let that stop you. Every great baker has had those same results at some point. What matters is knowing how to fix them, and now you do!
Gluten-Free Cake Recipes!
As you try more gluten-free cake recipes like the ones below, keep in mind the 8 tips in this article and start putting them into practice every time you bake.
Connect With Us!
Which of the eight tips from this article surprised you the most? Share with us in the comments and start using these tips in your everyday gluten-free baking.