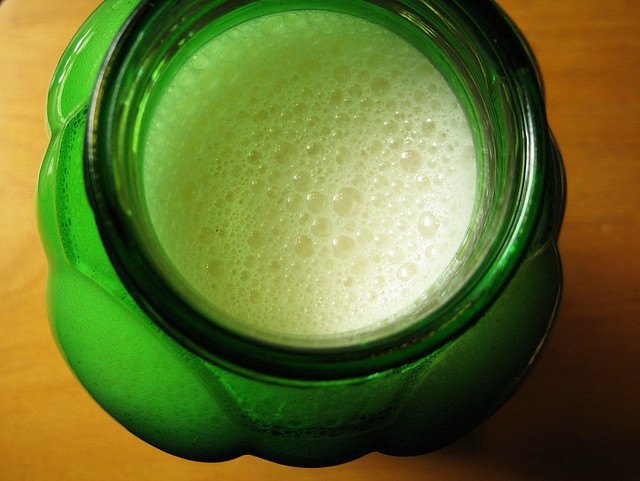
How to Make your own Non-Dairy Milk
If the thought of actually making your own milk sounds like something you would need a farm to do, fear not, it is really not as intense as you would think.
Or should we say, making your own non-dairy milk is not as intense; for the cow’s milk, yeah, there’s probably some more time consuming tasks involved.
As an affiliate partner of various brands and sponsored content, Zest for Baking may earn commission on qualifying purchases. Disclaimer
Suffering from an intolerance to gluten seems to put many people also at the doorway of other allergies. Dairy, for example, is one of the most common.
So, if this describes you, then non-dairy milk is probably a staple in your household.
Unfortunately, with commercially prepared milks, there’s also the concern of what is going in to the milk.
If you want some real, nothing-but-the-good-stuff, non-dairy milk, then making the milk from scratch is an excellent alternative to purchasing it commercially.
It’s a relatively easy process and can make for some wonderful milks – you can even use your imagination and come up with some interesting combinations.
Rice milk for starters…
Ingredients:
1 cup brown rice
8 cups water
Directions:
1. In a large pot, combine the rice and the water. Bring it to a boil and then cover and simmer for 3 hours. The result will be a porridge-like mixture.
2. Fill your blender half way with tap water, then fill the rest of the way with the rice mixture. Basically you are looking for a 1:1 ration of water to porridge/rice water.
3. Turn on your blender and blend the mixture for 2 – 4 minutes. It should be fairly smooth.
4. Strain this mixture through a mesh strainer, and then blend it again.
5. You may want to add some pure vanilla extract or other sweetener or even a touch of oil.
This rice milk will be about twice as thick as commercial rice milk, so you can thin it out as needed. This mixture will last for 3-4 days, in the refrigerator.
For other grains:
This method will also work with other grains like quinoa. You may need to adjust the cooking time (meaning a longer time) to make sure you get to that porridge-like consistency. And the same thing applies to the water to grain ratio. A grain that absorbs more water per cup will probably need extra water to get the right porridge consistency.
Other additions:
– Aside from oil and/or sweetener, you can also try cooking the rice with a cinnamon stick or two, for a nice added touch.
– Another idea is to cook the rice with various herbs. Using some Italian seasoning or rosemary seasoning would pair very nicely with a savory soup or sauce.
And now for the nut milk…
Ingredients:
1 1/4 cup shelled nuts (any kind you want the flavor from – walnuts, pecans, almonds)
4 cups water
oil/sweetener – optional
Directions:
1. In a large bowl, soak the nuts overnight in the water.
2. Place the nuts and the water into your blender the next day and until smooth.
3. Strain through a mesh strainer.
4. Add a Tbls. or more of oil and/or sweetener to taste, if desired.
Soaking variations:
Soaking your nuts in the refrigerator is really essential, to prevent anything from fermenting. The time you soak them for also matters. One day is optimal, but if you do leave them soaking for longer than that, the milk begins to take on an unpleasant, much stronger taste.
Here’s a trick to save your precious nut milk: Add in some sweetener, then stick the milk into the freezer.
Use this milk for smoothies or for baking (like this apple quinoa muffin recipe).
Basically, with this nut milk, the flavor really changes depending on what you mix it with later, so it’s worth saving even if you mess up the soaking time a bit.
Other ideas:
– This same method should work with other nuts as well. Some varieties might do better with longer or shorter soaks, or more or less water. The basics are the same, however.
– If you can tolerate sweet potatoes, there are many good sweet potato and soup recipes that this would work very well in.
So what do you think – are you going to make your own non-dairy milk?
If so, let us know how it goes and what you use it in.


