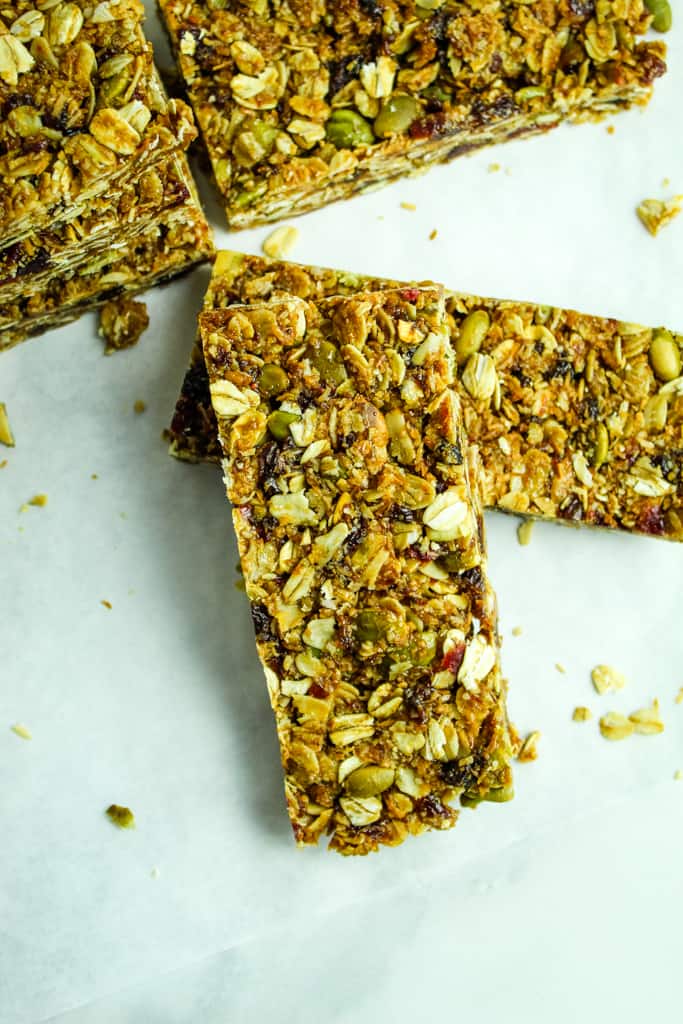
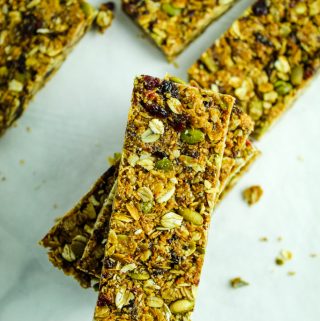
For a hearty, nut-free, chewy granola bar, look no further than this homemade version! They get an extra punch of flavor from delicious dried fruits and get a sweet kick from the honey and molasses.
Is this homemade granola bars recipe the simplest one out there? I’ll be honest, no. But for the 10 extra minutes of prep work… It’s totally worth it in taste. This recipe ‘toasts’ the oats before mixing and if you’ve ever had toasted oats before (see this oatmeal bread recipe, which also uses toasted oats), you’ll see why toasting is the way to go. It brings out the flavor to a degree that it REALLY makes a difference. So pull out the baking dish and let’s get these granola bars baking!
Table of Contents
Are Granola Bars Gluten-Free?
Good news, as written, this granola bar recipe is gluten-free. However, now for the other news… oats are frequently a source of cross-contamination with gluten. So even though oats are gluten-free on their own, the way they are packaged and processed is often on equipment that also processes gluten-containing ingredients. That’s the not-so-good news.
But, as always, I have an alternative for you… if oats give you problems, try something like quinoa flakes in place of the rolled oats. They will be equally delicious!
Are Granola Bars Healthy?
Oats, seeds, fruits… all healthy stuff, right? Well, it depends on what you’re looking for in ‘healthy’. The addition of heart-healthy oats? You got it!
And the pumpkin seeds – according to the American Heart Association, “Pumpkin seeds also are rich in other nutrients, including magnesium, which can aid in heart and bone health, lower blood pressure and even prevent migraines.” So yes, those sound pretty good for you too.
The sugar content may be a bit high for some, but compared to other store-bought brands, these homemade granola bars are packed with tasty ingredients and contain no preservatives.
Should Granola Bars Be Chewy Or Hard?
Whether you opt for a chewy granola bar or a crunchy, hard granola bar, both have that characteristic, hearty taste you just can’t go wrong with. Because of the honey content, this granola bar recipe is more on the chewy side than hard, but if you are looking for more crunch, maple syrup would be a good substitute for the honey (use pure maple syrup though).
Are Granola Bars Good For Breakfast?
If you’re looking for something different for breakfast, granola bars are an excellent option. They’re packed with oats and lightly sweetened with honey so they get the added bonus of being tasty and hearty.
Pro tip: After the bars have cooled completely, wrap them individually with plastic wrap so they are prepped for grab and go. For another grab and go breakfast, check out these gluten free breakfast sandwiches.
How To Make Granola Bars
The oats used in this recipe are the traditional rolled oats. The oat flour was homemade from the oats. Find out more about making it in this cranberry orange muffin recipe. If you are not dairy free, regular butter can be used with no other changes.
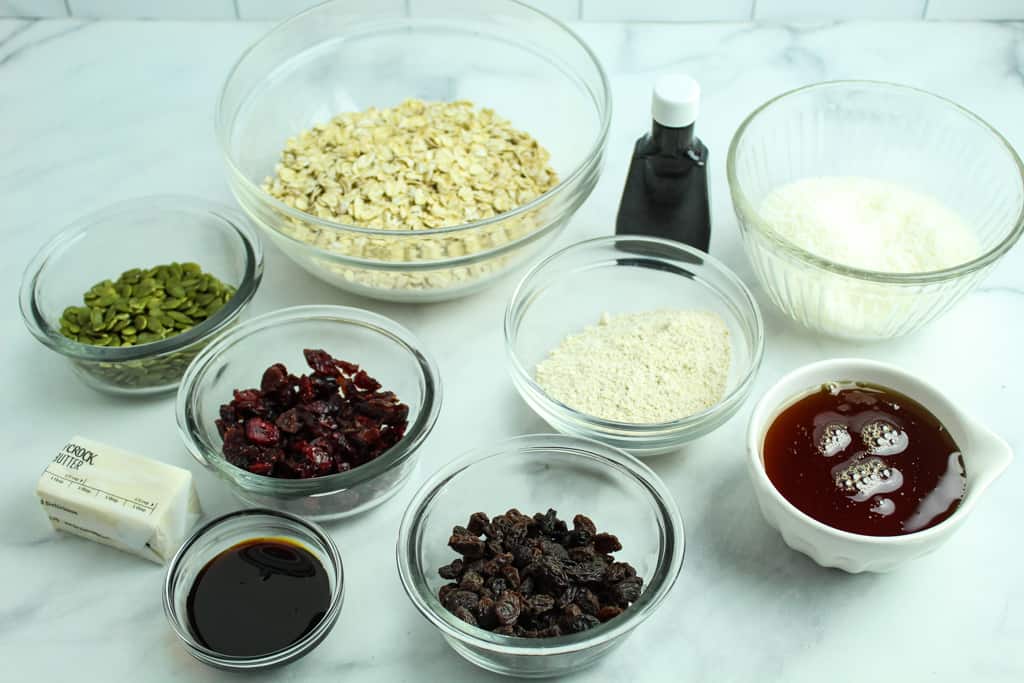
The Ingredients
Besides prepping the ingredients, also pull out your kitchen scale to measure the oats and oat flour. The rest of the ingredients can be measured by cups.
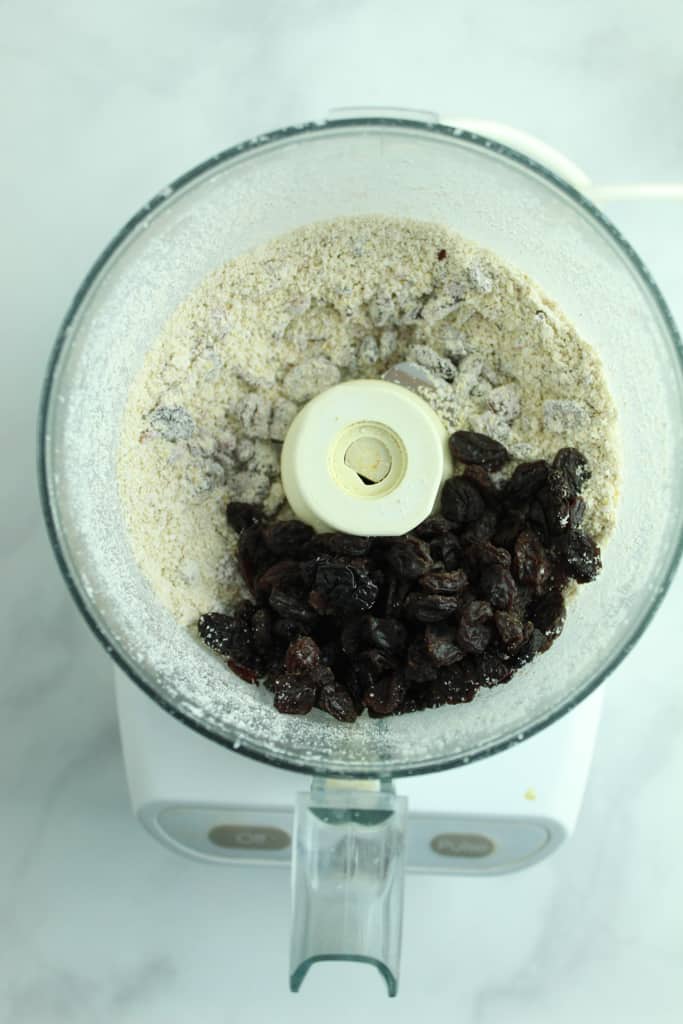
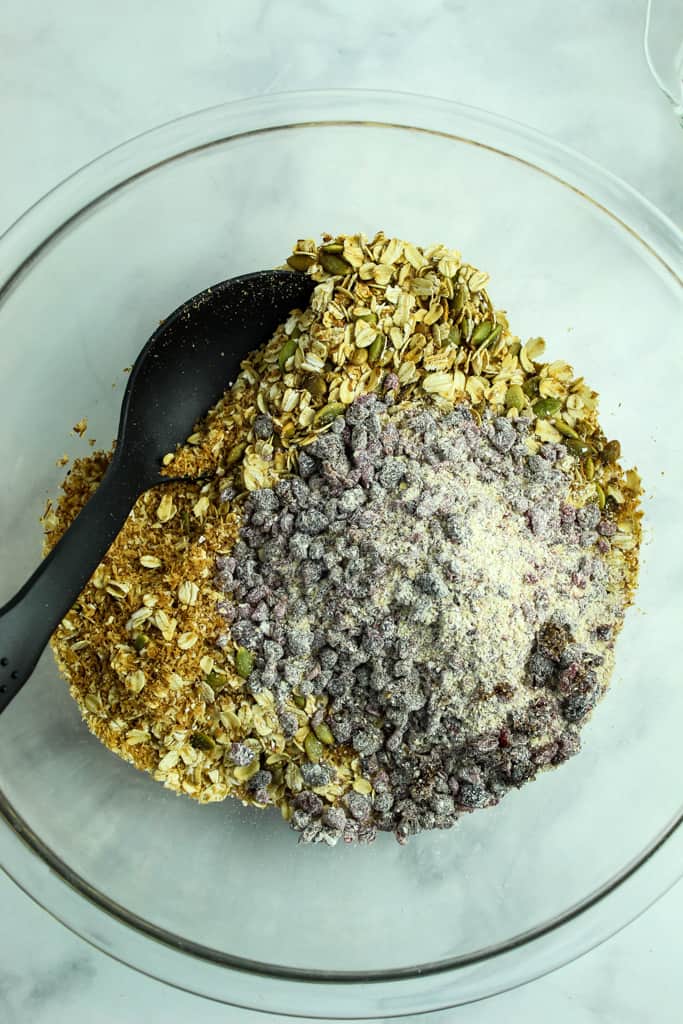
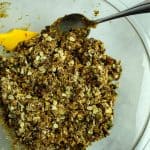
Mixing
A large bowl and a food processor are two essential tools for this recipe. The food processor will do most of the work for you in mixing/chopping the fruit. After that it’s just a mix in the bowl to combine the rest of the ingredients.
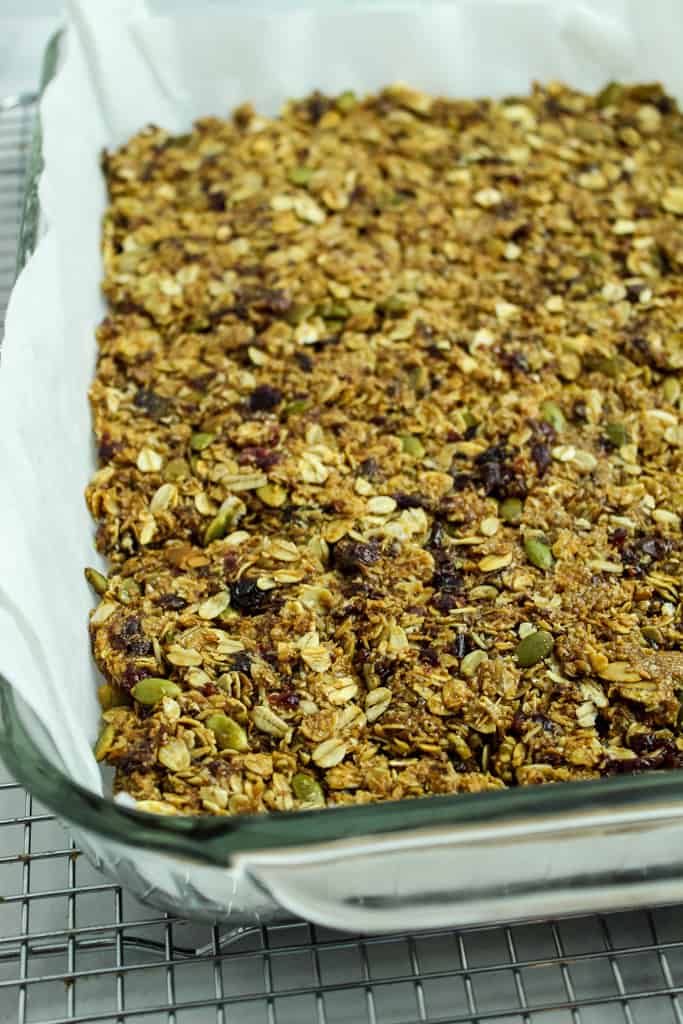
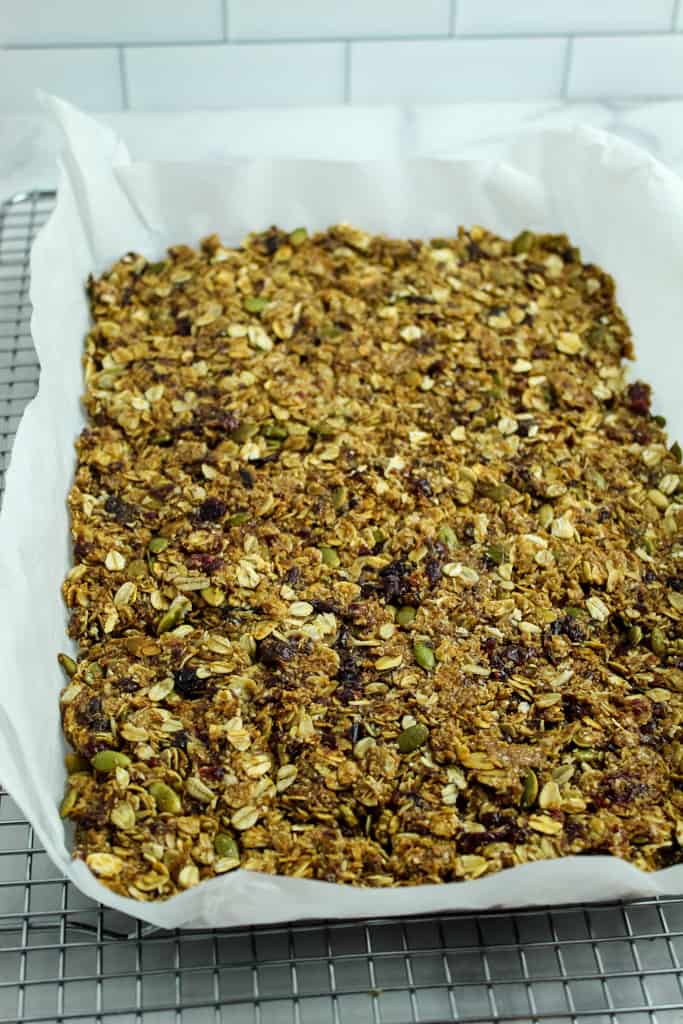
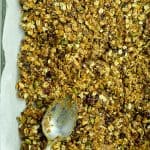
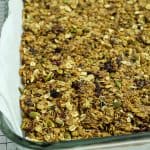
Adding To The Baking Dish
After the ingredients are fully mixed, it’s time to press the mixture into the pan. The easiest way to do this is to use the back of a spoon and lightly and quickly press it down. It should be sticky so the quicker you can work to press it down the less it sticks.

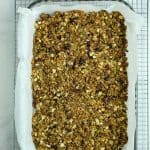
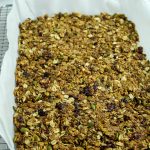
Baking & Cooling
The granola bars should bake in the oven for around 25 minutes. But as good as they’ll look coming out of the oven, they won’t be ready to cut into for another few hours.
Don’t get tempted to slice them early – the cooling process helps the bars firm up and become that deliciously hearty, chewy granola bar.
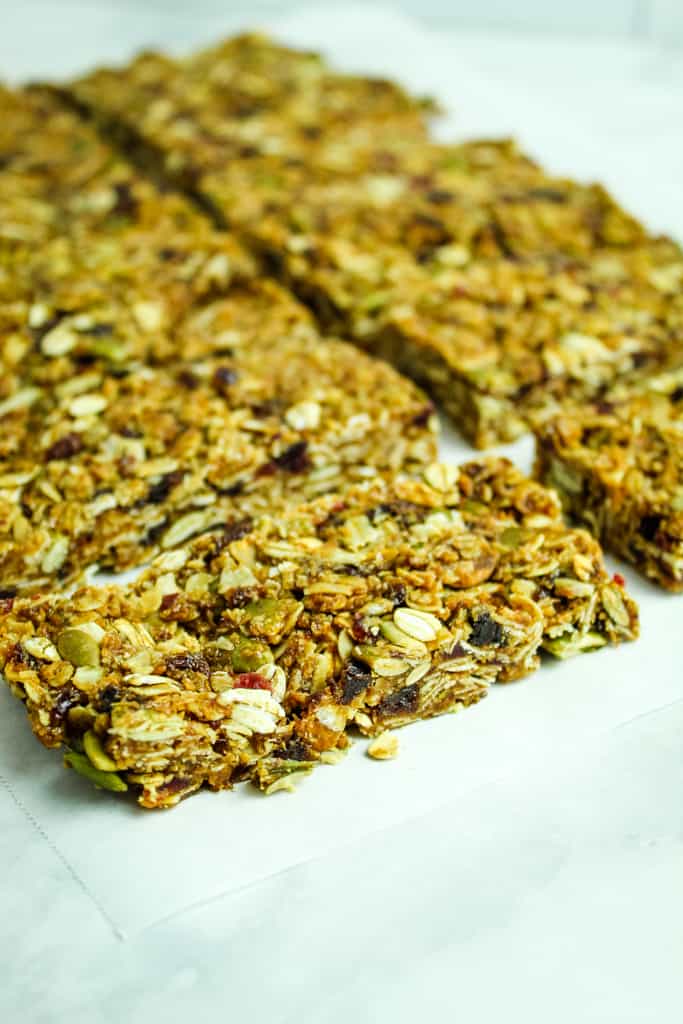
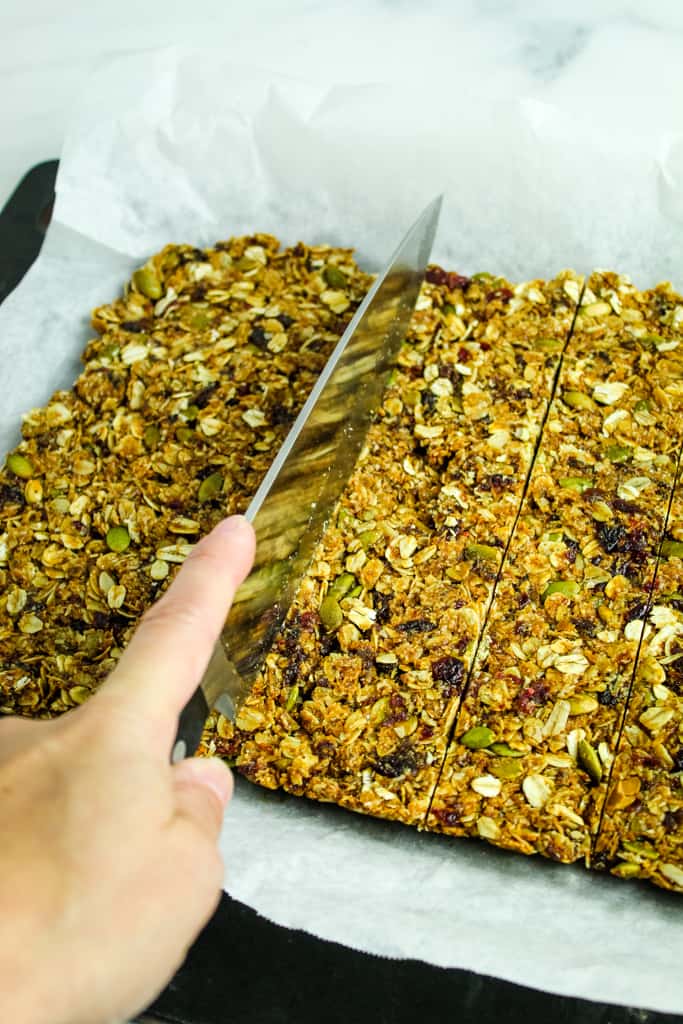
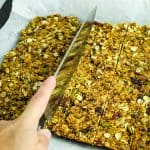
Slicing
While it seems like slicing would be the easy part – it pays to keep these tips in mind:
- Use a sharp knife
- Slice the bars after using the parchment paper to remove from the baking dish
- Start at one end with the knife and press down as you go across the row
Storage
Good news, my fellow granola bar fans… If wrapped properly, these bars will last up to 3 weeks! Just pull out your handy roll of plastic wrap and wrap each bar well. Then place them all in a large plastic bag and seal it. Enjoy as an on-the-go breakfast or tasty snack.
Homemade granola bars that are out of this world delicious? Yes please! Check out the recipe below (and don’t miss the links to some of our other favorite recipes at the bottom too!)
Homemade Granola Bars {Gluten Free & Dairy Free}
Ingredients
- 180 grams rolled oats about 2 cups
- ½ cup pumpkin seeds hulled and lightly chopped
- 1 cup unsweetened shredded coconut
- 50 grams oat flour about ½ cup
- ½ cup dried cranberries
- ½ cup raisins
- 4 Tablespoons non dairy butter
- ½ cup honey
- 2 Tablespoons molasses
- 1/3 cup brown sugar packed
- 1 teaspoon pure vanilla extract
Instructions
Prepare the oat mixture
- Preheat oven to 350 F.
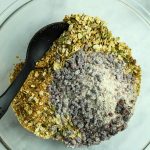
- Add the oats, pumpkin seeds and coconut to a large, ungreased baking pan. Mix lightly.
- Bake for 12 minutes. Stirring halfway through baking time.
- Remove from the oven and allow mixture to cool.
Prepare the granola bars
- Reduce oven temperature to 300 F. Butter a 9” x 13” baking dish and line it with parchment paper, leaving enough to go up the side of the pan.

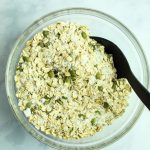
- Pour the cooled oat mixture into a large bowl.
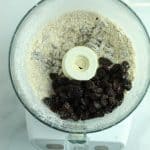
- Add the oat flour to a food processor. Add the cranberries, then mix until they are fully incorporated.
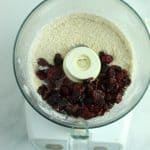
- Add the raisins and mix again.
- Add the dried fruit mixture to the large bowl with the oat mixture and mix well.
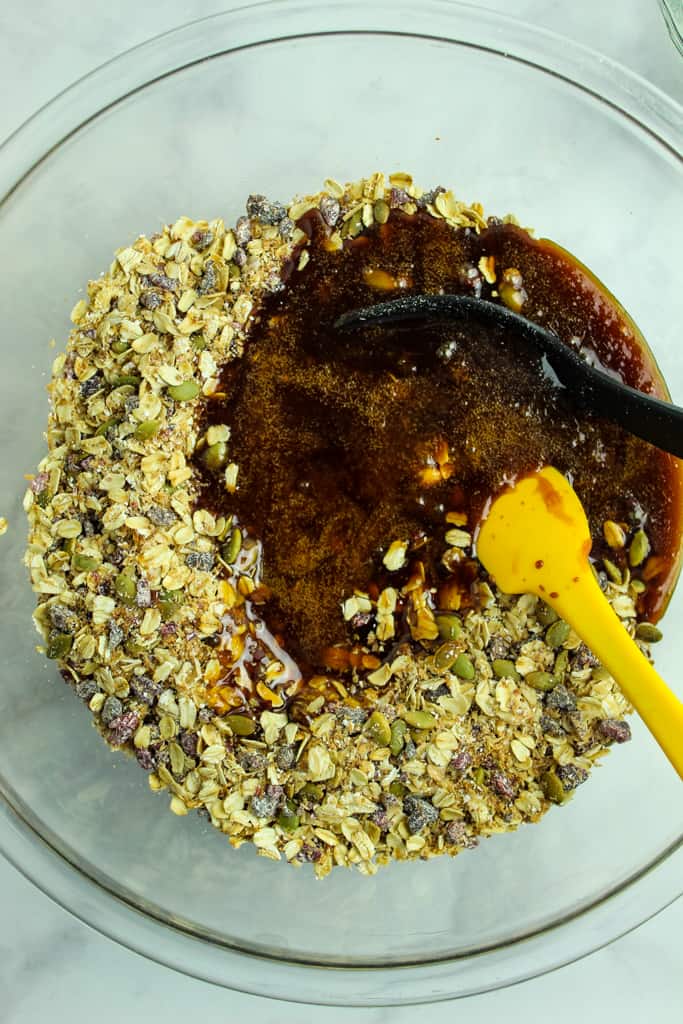
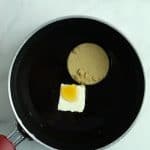
- In a medium saucepan, add the butter, honey, molasses, brown sugar and vanilla.
- Bring the mixture to a full, rolling boil, stirring constantly. Boil for 2 minutes while continuing to stir.
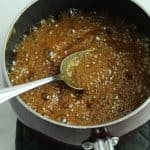
- Remove the mixture from the heat and pour it over the oats and fruit mixture in the large bowl.
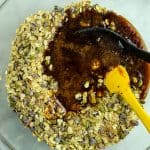
- Stir well to combine everything.
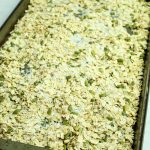
- Pour the mixture into the baking dish, pressing firmly into pan to cover the corners.
- Baking the granola bars for 25 minutes.
- Remove from the oven and let cool on a wire rack for 1 hour.
- Using the parchment paper, remove the bars from the dish and allow to cool for 2 more hours.
- Using a sharp knife, cut the bars into 16 pieces and serve or wrap in plastic for longer storage.
Notes
- Measure oats and flour by weight.
- Toast the oat mixture for the best flavor.
- Process one batch of dried fruit until chopped, then add the next batch.
- Honey makes the bars more chewy, maple syrup makes the bars more crunchy.
- Let the granola bars cool completely before cutting.
- Use a sharp knife to cut the bars.