Finding the best gluten-free graham crackers can feel like striking gold. Many store-bought gluten-free graham crackers are either overpriced or lack flavor.
You can make crisp, slightly sweet graham crackers at home using simple ingredients in one bowl. This foolproof recipe is gluten- and dairy-free, delivering satisfying results without frustration.
Table of Contents
The best part is that you likely already have the wholesome ingredients in your pantry. After trying this easy recipe, you may not want packaged versions again.
If you love trying out other satisfying gluten-free crackers with almost the same taste, texture, and flavor, you’ll also enjoy these Delightful Gluten-Free Animal Crackers. These crackers also have a snappy, crisp texture that recalls childhood treats while maintaining their gluten-free goodness.
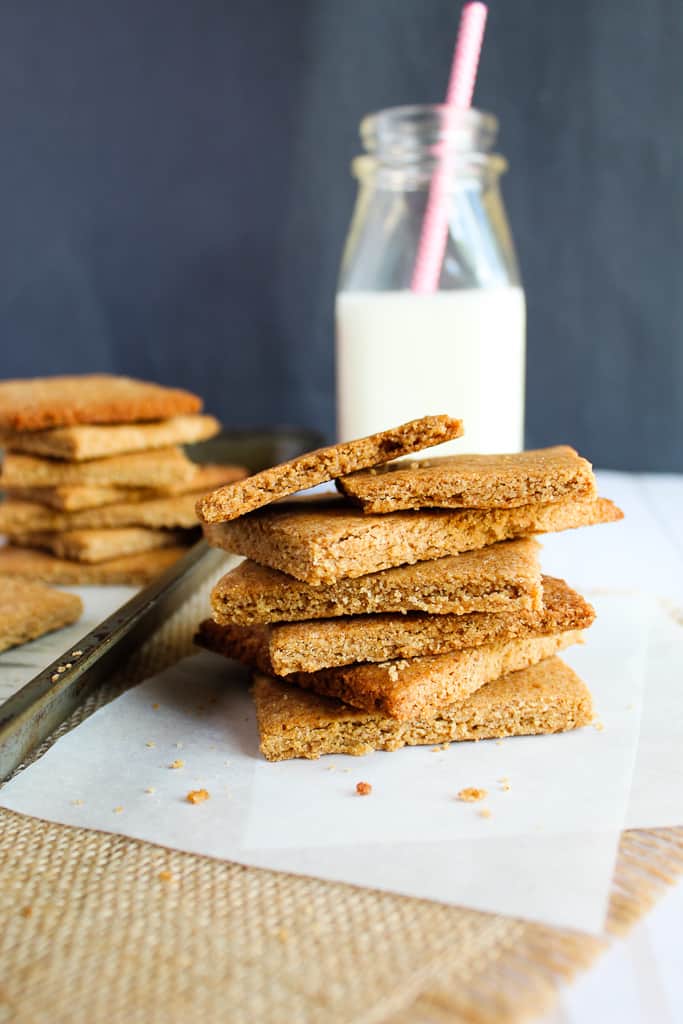
Enjoy them with milk, in cheesecake, or straight from the jar; this recipe delivers authentic graham crackers. By the end of the article, you’ll easily make crunchy, not-too-sweet gluten-free graham crackers at home.
Quick Answer: How to Make Homemade Gluten-Free Graham Crackers
Are you ready to start baking? The following is the simplest way to make homemade gluten-free graham crackers that are crisp, snappy, and delicious.
- Make these crackers with almond flour or your preferred gluten-free flour blend. If your blend contains xanthan gum, add a little extra liquid to help the dough come together.
- Once the graham crackers are in the pan, use a fork to dot the top.
- Bake at 350°F (177°C). This temperature triggers the Maillard reaction (browning), which helps the crackers maintain their crisp texture and rich flavor without drying out.
- When the crackers are a deep brown, take them out of the oven. They have a delicious flavor because of this.
- Allow the crackers to cool in the pan for 5 minutes. They are very soft and delicate when they come out of the oven, so doing this allows them to come out crisp and clean.
Ingredient Quick Scan List
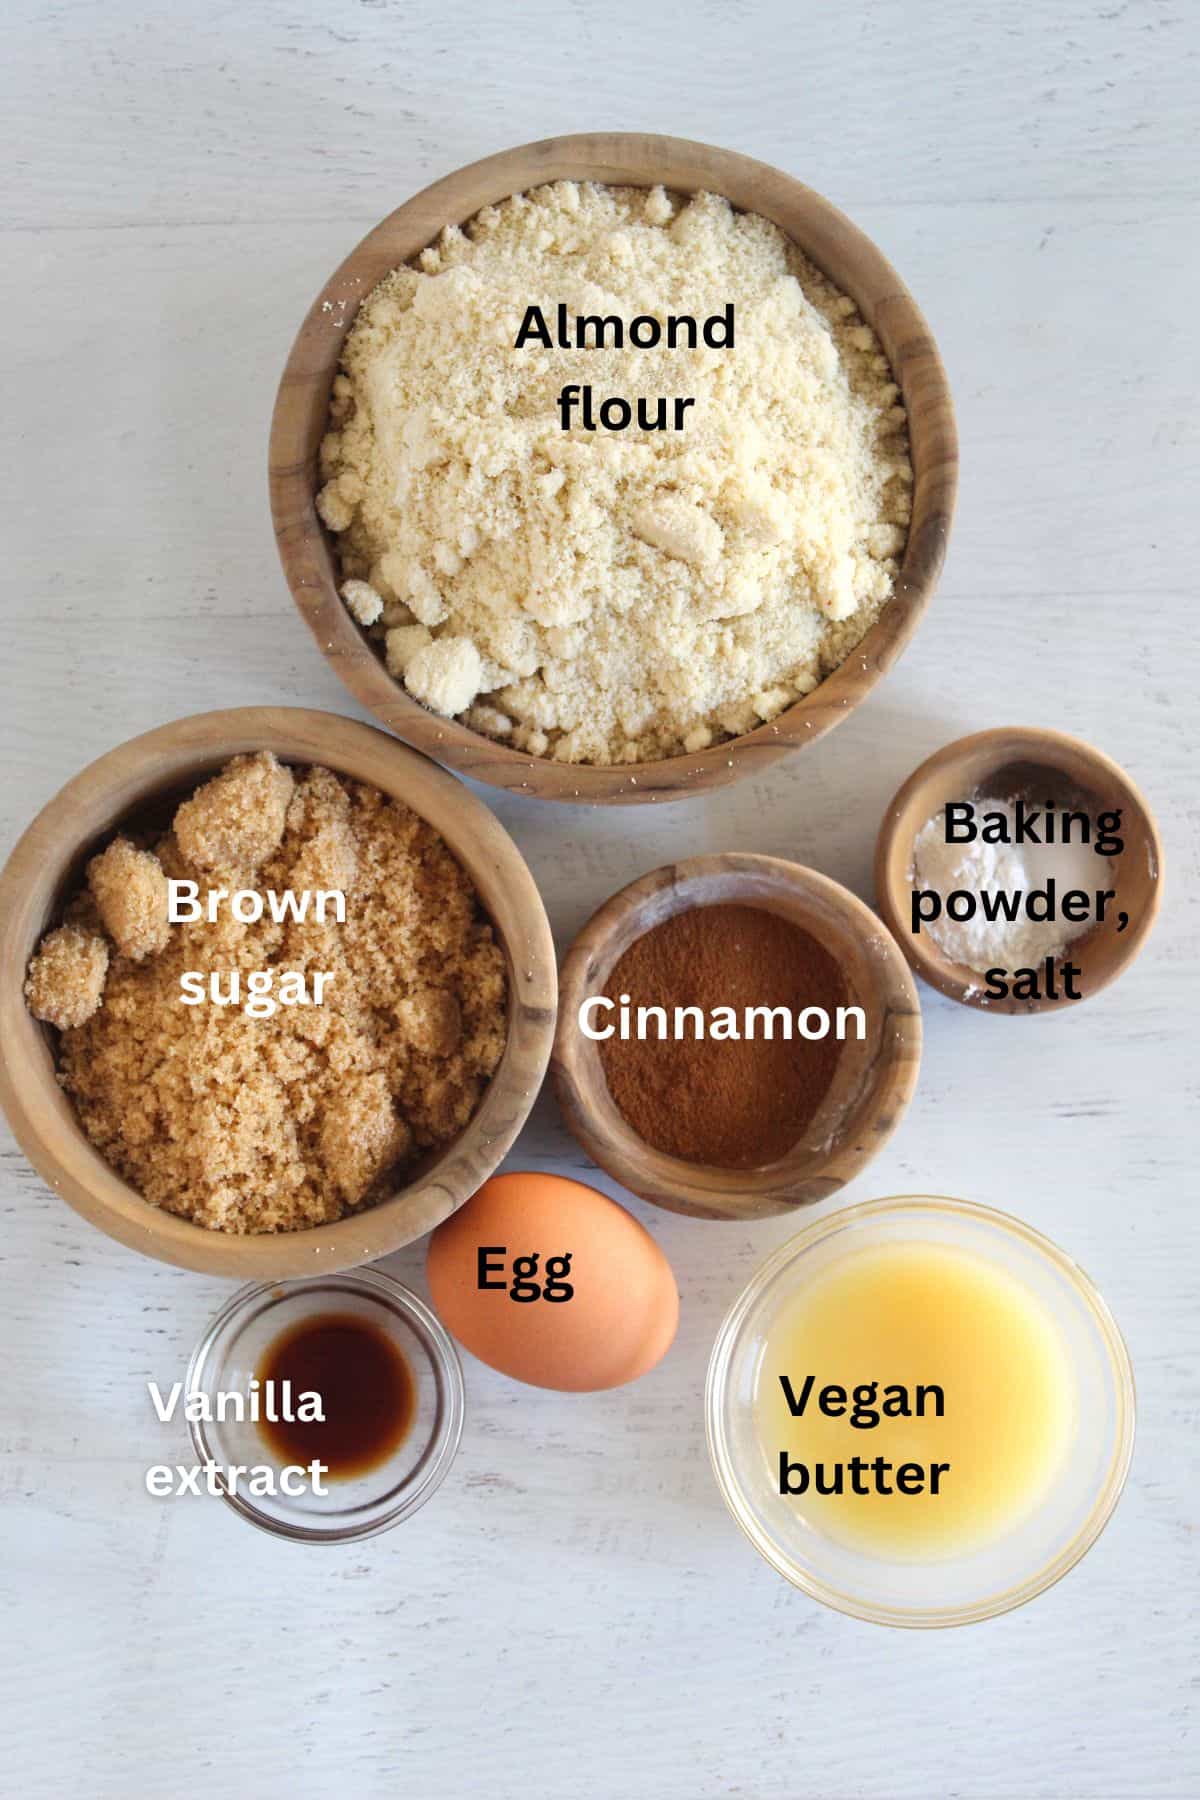
This recipe stands out because of its short ingredient list. Here is a quick look at what makes these homemade gluten-free graham crackers light, crisp, and full-flavored:
- Almond flour
- Brown Sugar
- Ground cinnamon
- Baking powder
- Vegan butter
- Egg
- Pure vanilla Extract
Why These Gluten-Free Graham Crackers Are Better Than Store-Bought
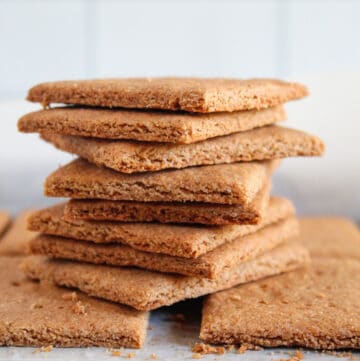
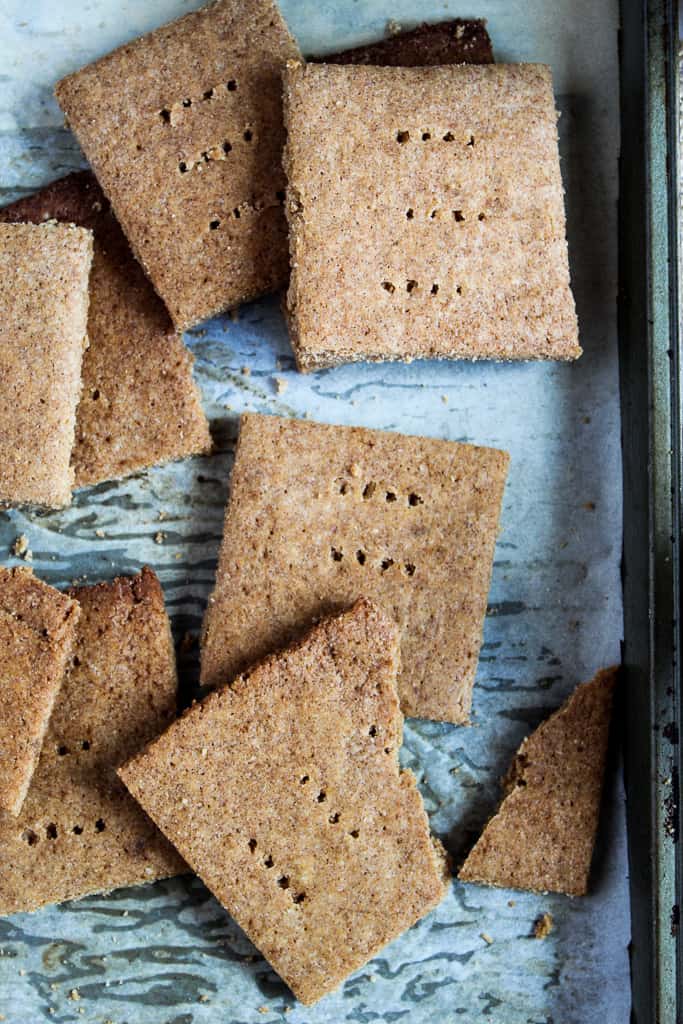
These homemade gluten-free graham crackers are lighter, flavor-packed, crispier, and softer than store-bought gluten-free versions.
Almond flour adds a nutty flavor, and brown sugar brings color and sweetness. This dairy-free recipe uses vegan butter.
There are no hard-to-find ingredients in this recipe. When you want a delicious gluten-free graham cracker alternative at home, you can make this quickly.
You can also use these crisp goodies to make a gluten-free graham cracker crust to accompany delicious desserts.
Ingredients And Their Best Substitutes
Understanding the role of each ingredient in this recipe is key to making the best gluten-free graham crackers you’ve ever tasted. That’s why we’ll break them down, explaining what they do in terms of flavor, texture, and structure, along with effective swaps you can use.
Almond Flour
In this recipe, almond flour provides the main structure and bulk of this cracker. It adds a slightly sweet, nutty flavor while helping with tenderness and improving browning and crispness. Almond flour also mimics the texture and richness of a traditional graham flour, and its fat content helps prevent dryness. No substitute is recommended, but if you want to explore, here are some almond-flour swaps to try.
Brown Sugar
The sweetness of these homemade gluten-free graham crackers comes from brown sugar. You can use either light or dark brown sugar. However, dark brown sugar contains more molasses than light brown sugar, which adds a richer color and flavor to the crackers. You can replace this with coconut sugar. However, avoid using maple syrup, as it changes the dough’s consistency.
Cinnamon
Cinnamon enhances the nutty notes from flours like almond in homemade gluten-free graham crackers, while balancing the brown sugar sweetness. It pairs well with molasses, amplifying toasty, caramelized tastes when baking.
Baking Powder
When mixed with wet ingredients and heated in the oven, baking powder releases carbon dioxide gas. This creates small air pockets for the signature light, crisp honeycomb texture, preventing dense, flat crackers. Sometimes, you can substitute xanthan gum for baking powder. However, there is no substitute that works as well as the baking powder in this recipe.
Vegan Butter
Make sure your butter is cold. When it bakes, steam is released. The crackers have a lovely, cracker-like texture thanks to the small pockets of air left by the steam. Dairy-free butter, such as vegan butter, works well in this recipe. But if you can tolerate dairy, use regular butter.
Egg
This helps bind the dough for rollability while adding moisture without excess softness. Its protein strengthens the crumb structure, preventing crumbly or fragile results. Ensure your egg is at room temperature so it incorporates evenly. You can replace it with vegan alternatives like aquafaba, but the dough may need additional binding agents, such as xanthan gum.
Pure vanilla extract
Vanilla extract rounds out the flavor profile of gluten-free graham crackers, adding sweet, floral, and creamy notes from vanillin. It also adds warmth and complexity that complements cinnamon and nutty flours like almond.
Printable Gluten-Free Graham Crackers
Ingredients
- 2 cups almond flour about 225 grams
- ½ cup brown sugar about 100 grams
- 2 teaspoons ground cinnamon
- 1 teaspoon baking powder
- ¼ teaspoon salt
- 1 large egg
- 2 Tablespoons vegan butter melted
- 1 teaspoon vanilla extract
Instructions
- Preheat your oven to 300°F. After lining rimmed baking sheets with unbleached parchment paper, put them aside.
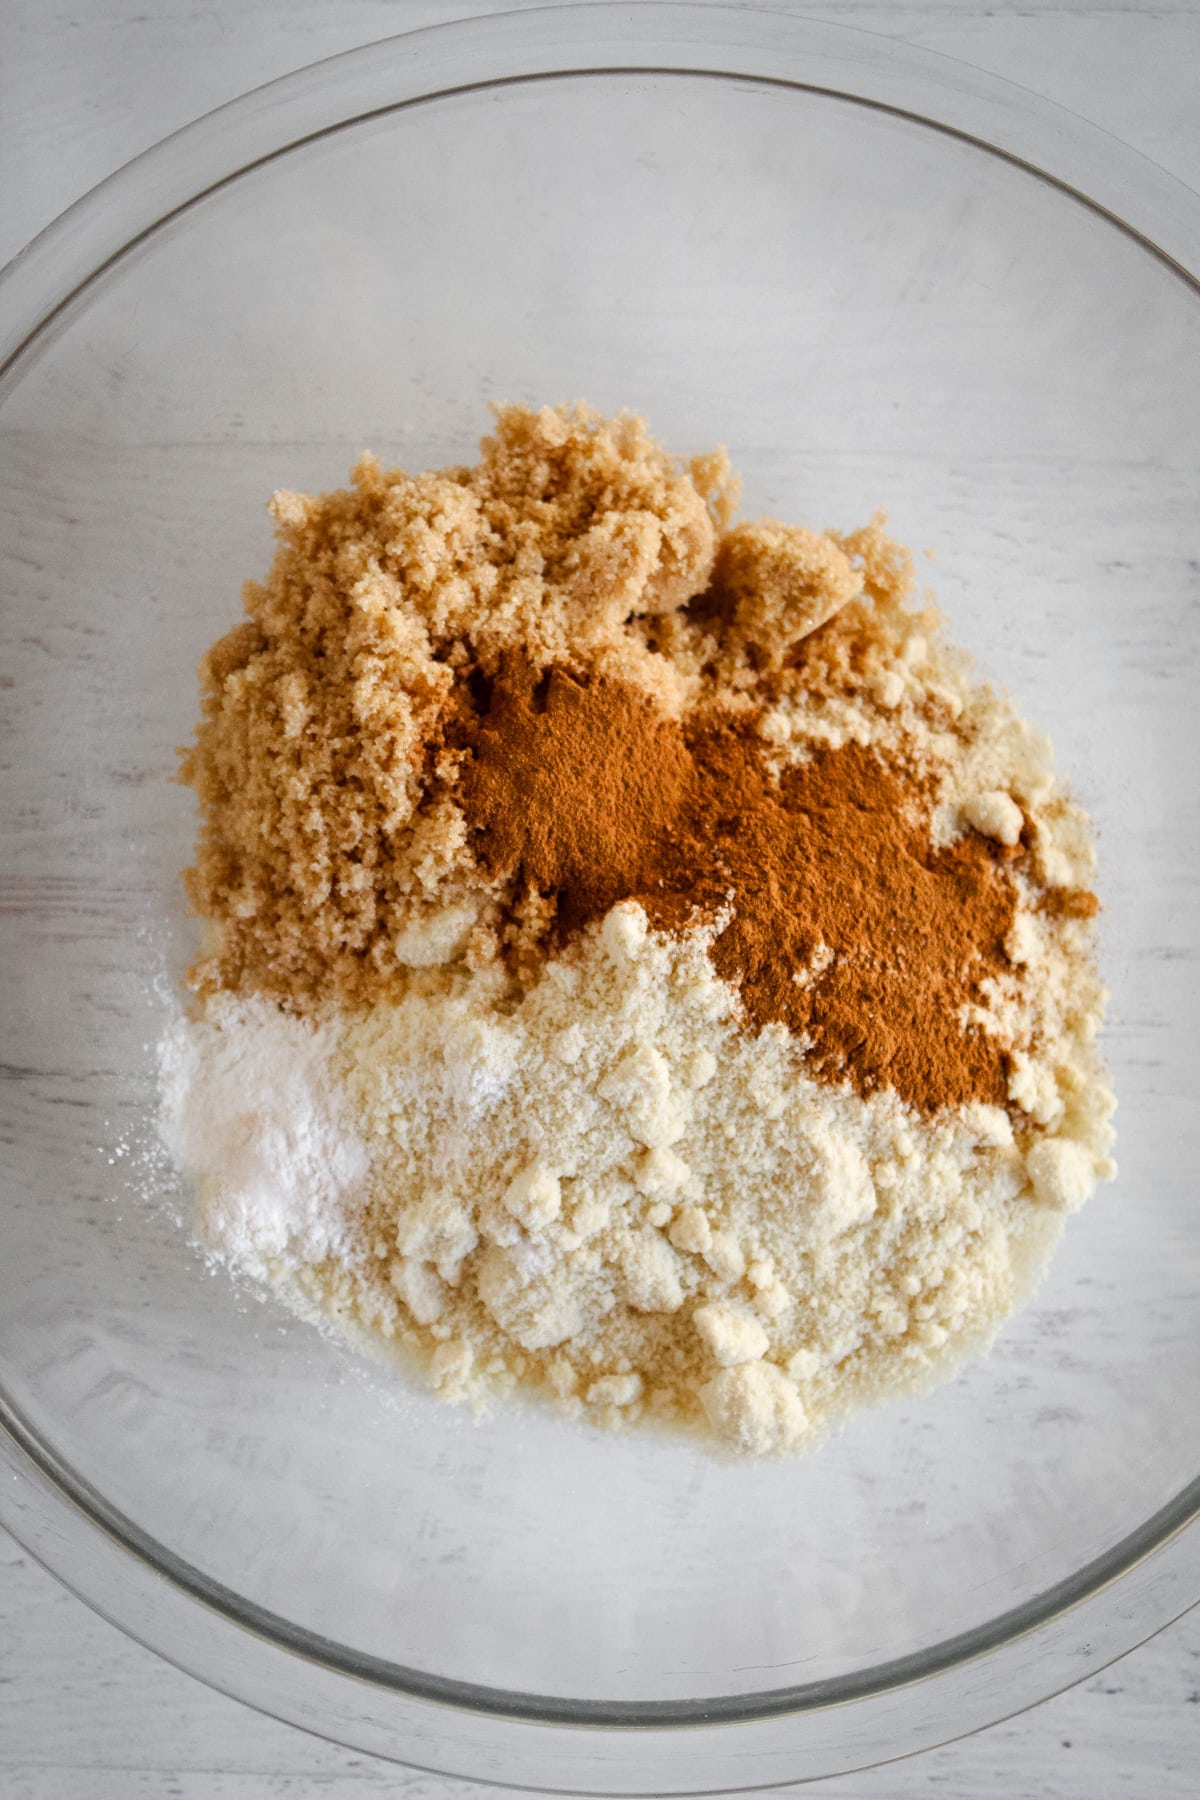
- In a large mixing bowl, combine the almond flour, brown sugar, cinnamon, baking powder, and salt.
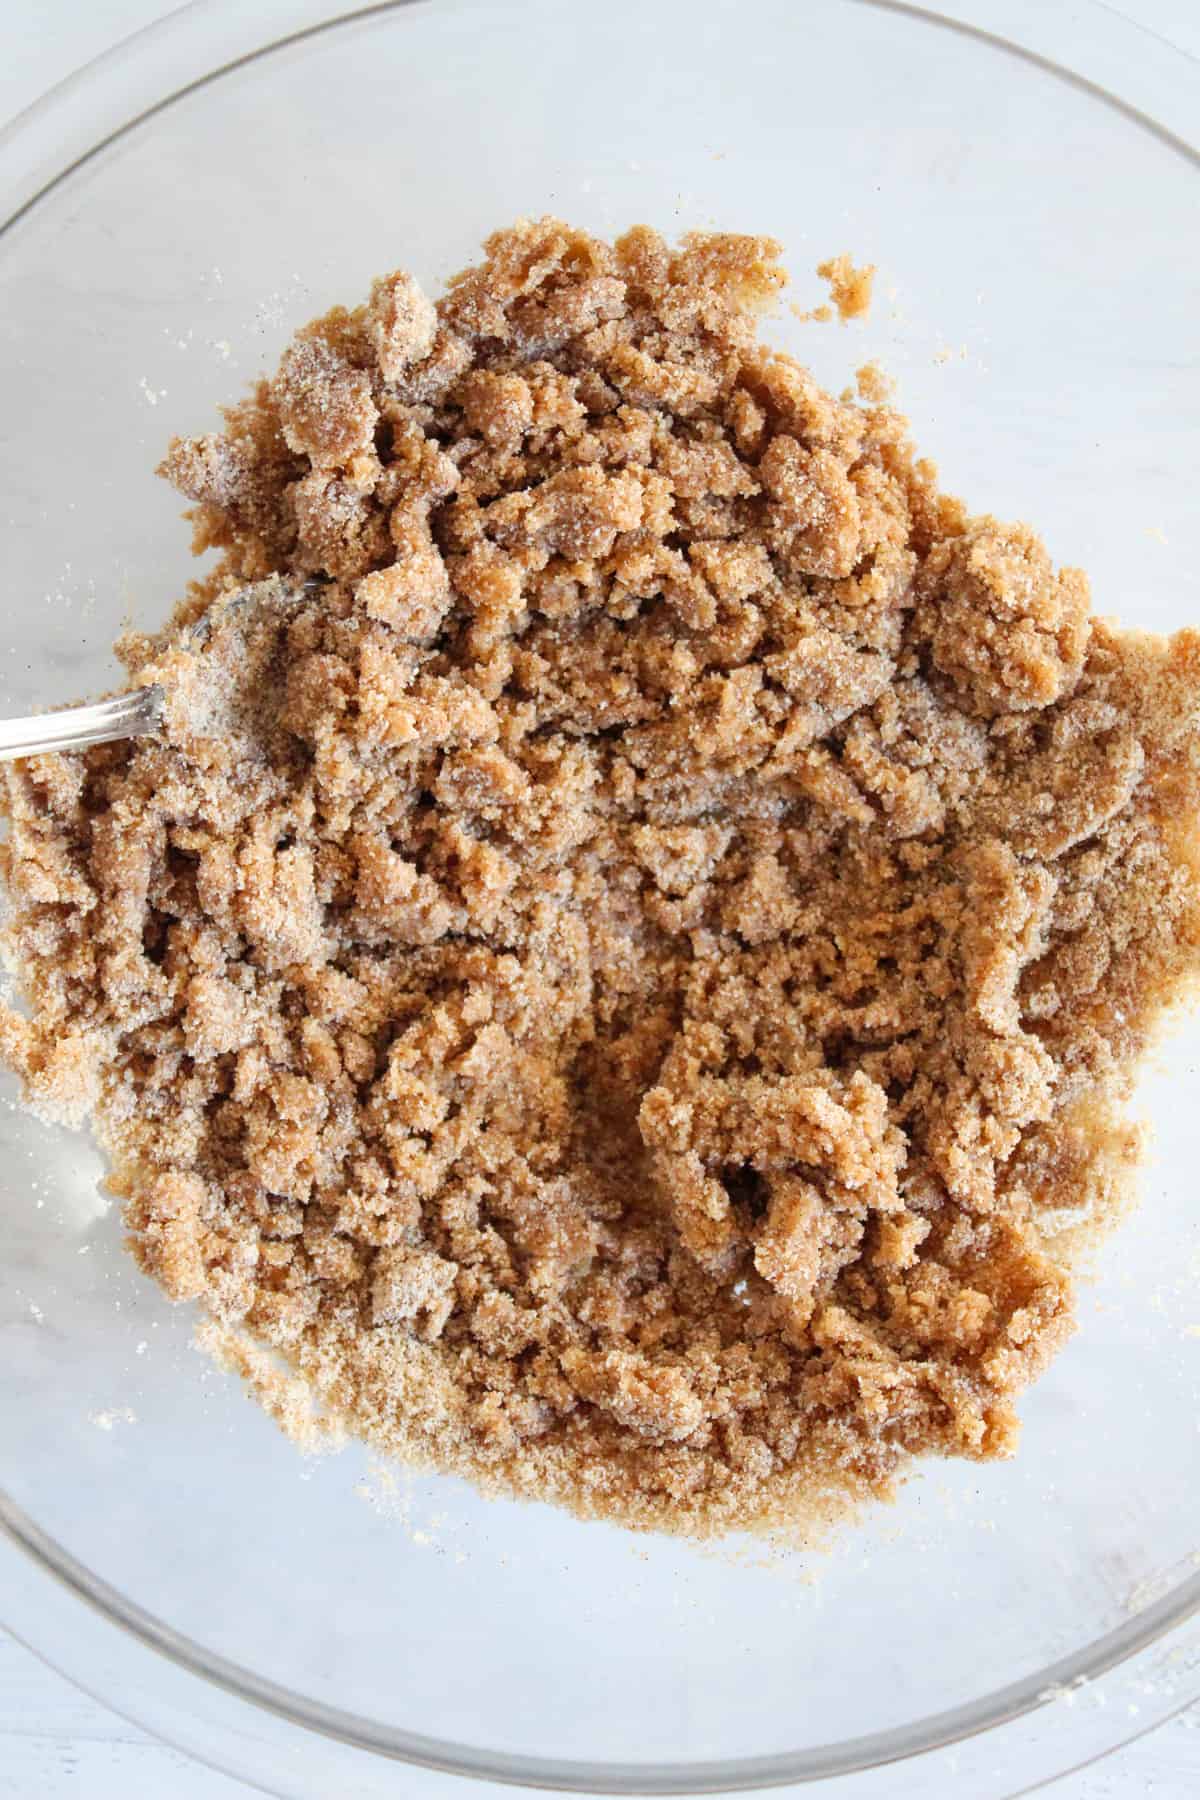
- Add the egg, vegan butter, and vanilla extract to the flour mixture, then stir with a wooden spoon until a stiff cookie dough forms.
- Sprinkle a little flour on the parchment paper. Next, transfer the dough onto the paper. Place another piece of parchment paper on top.
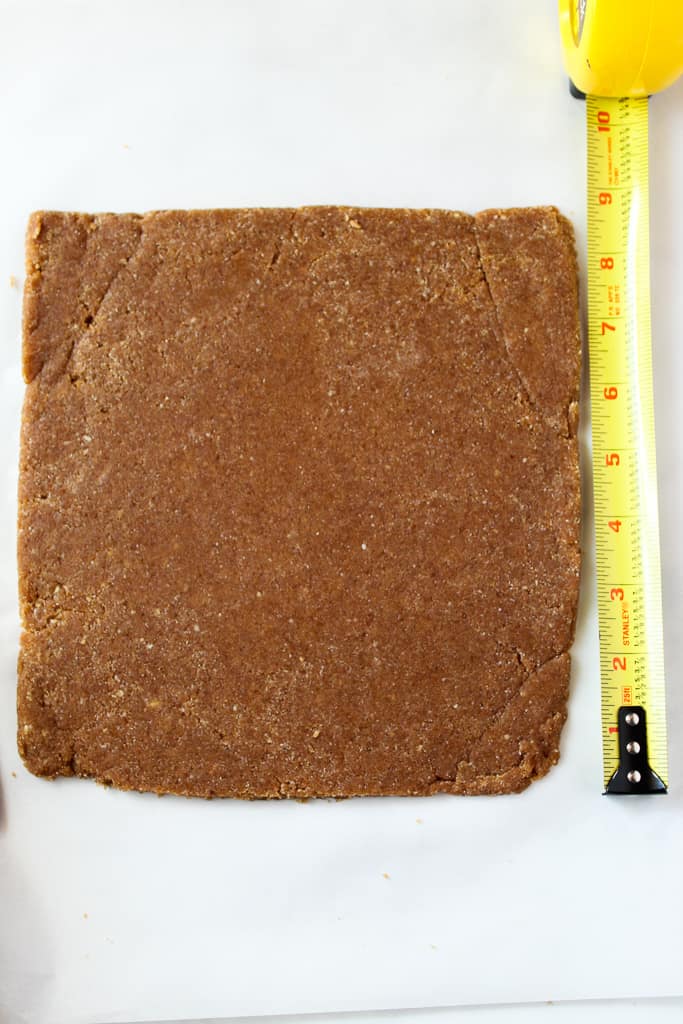
- Roll out the dough as uniformly as possible until it is between 1/4 and 1/8 inch thick. The dough should be around 12" by 10".
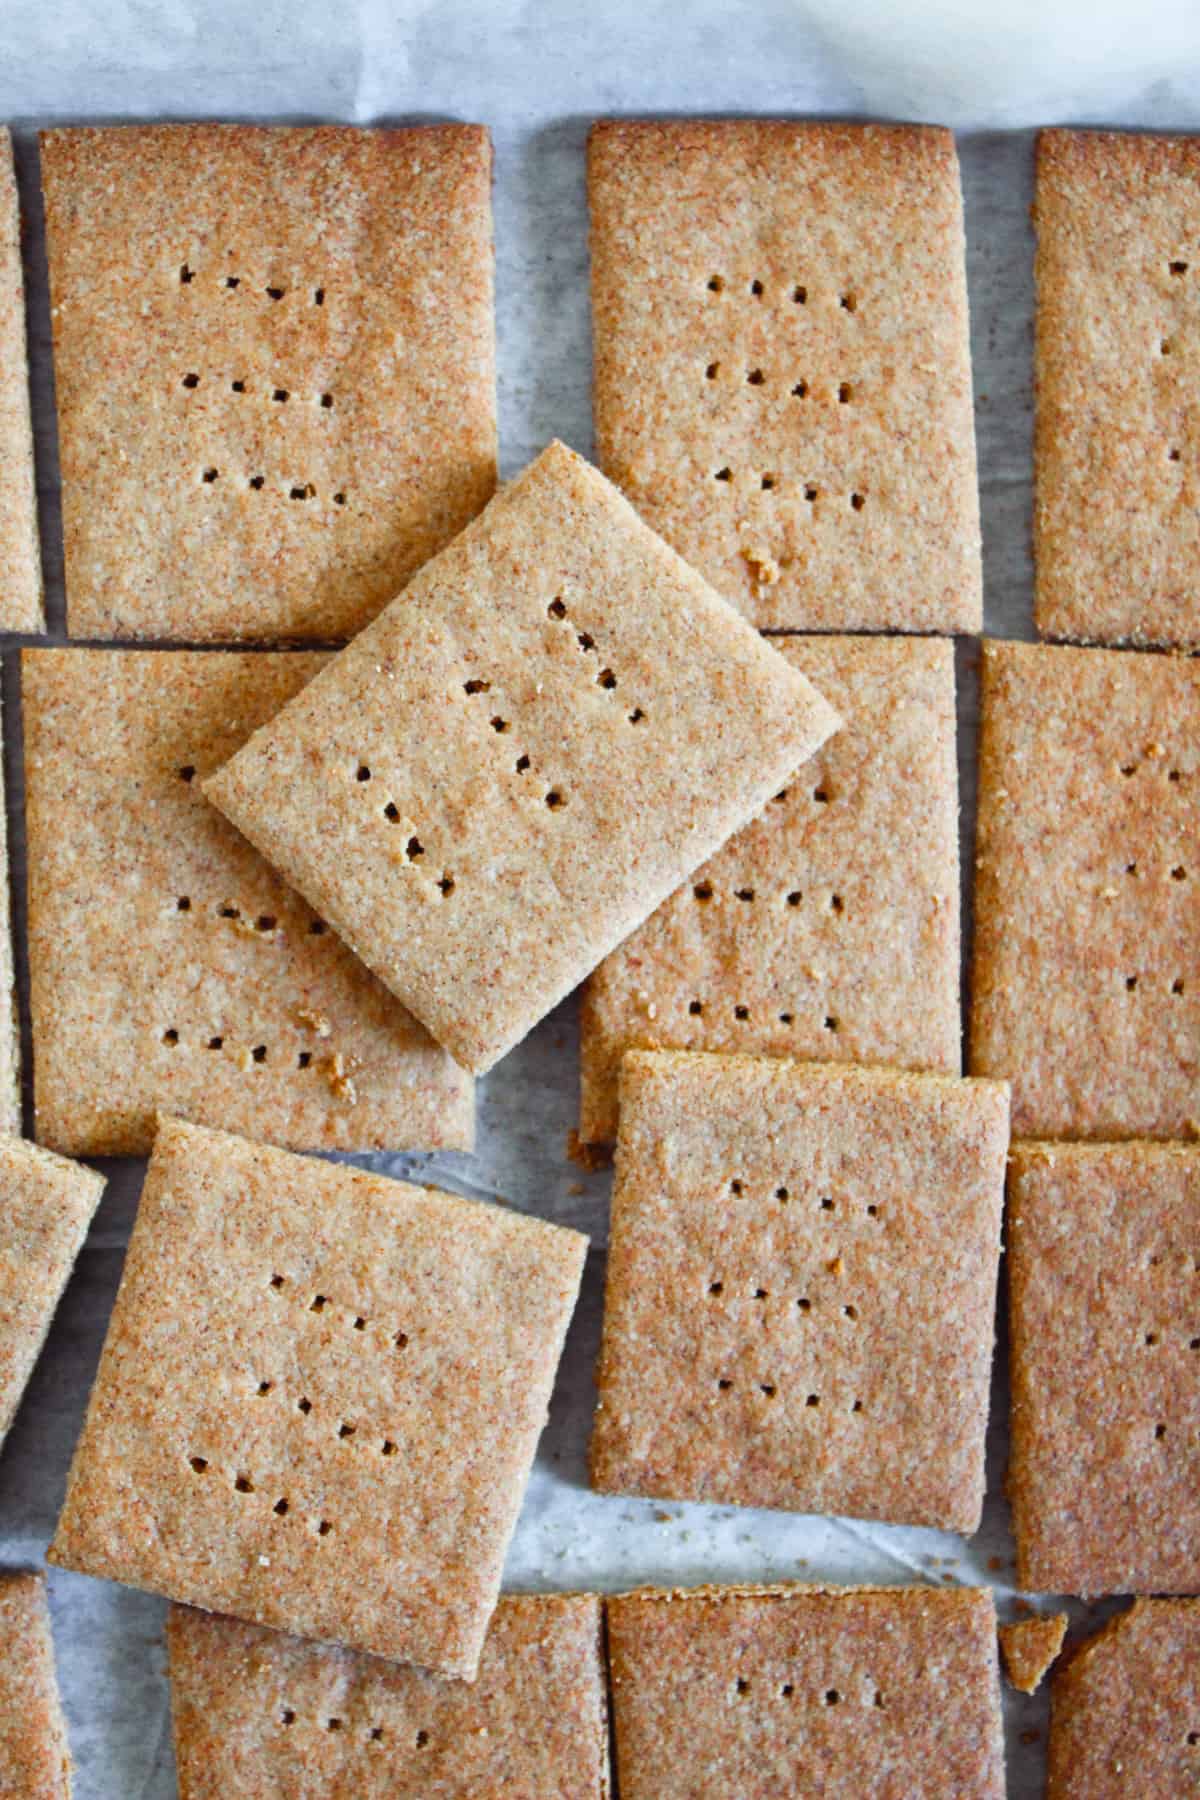
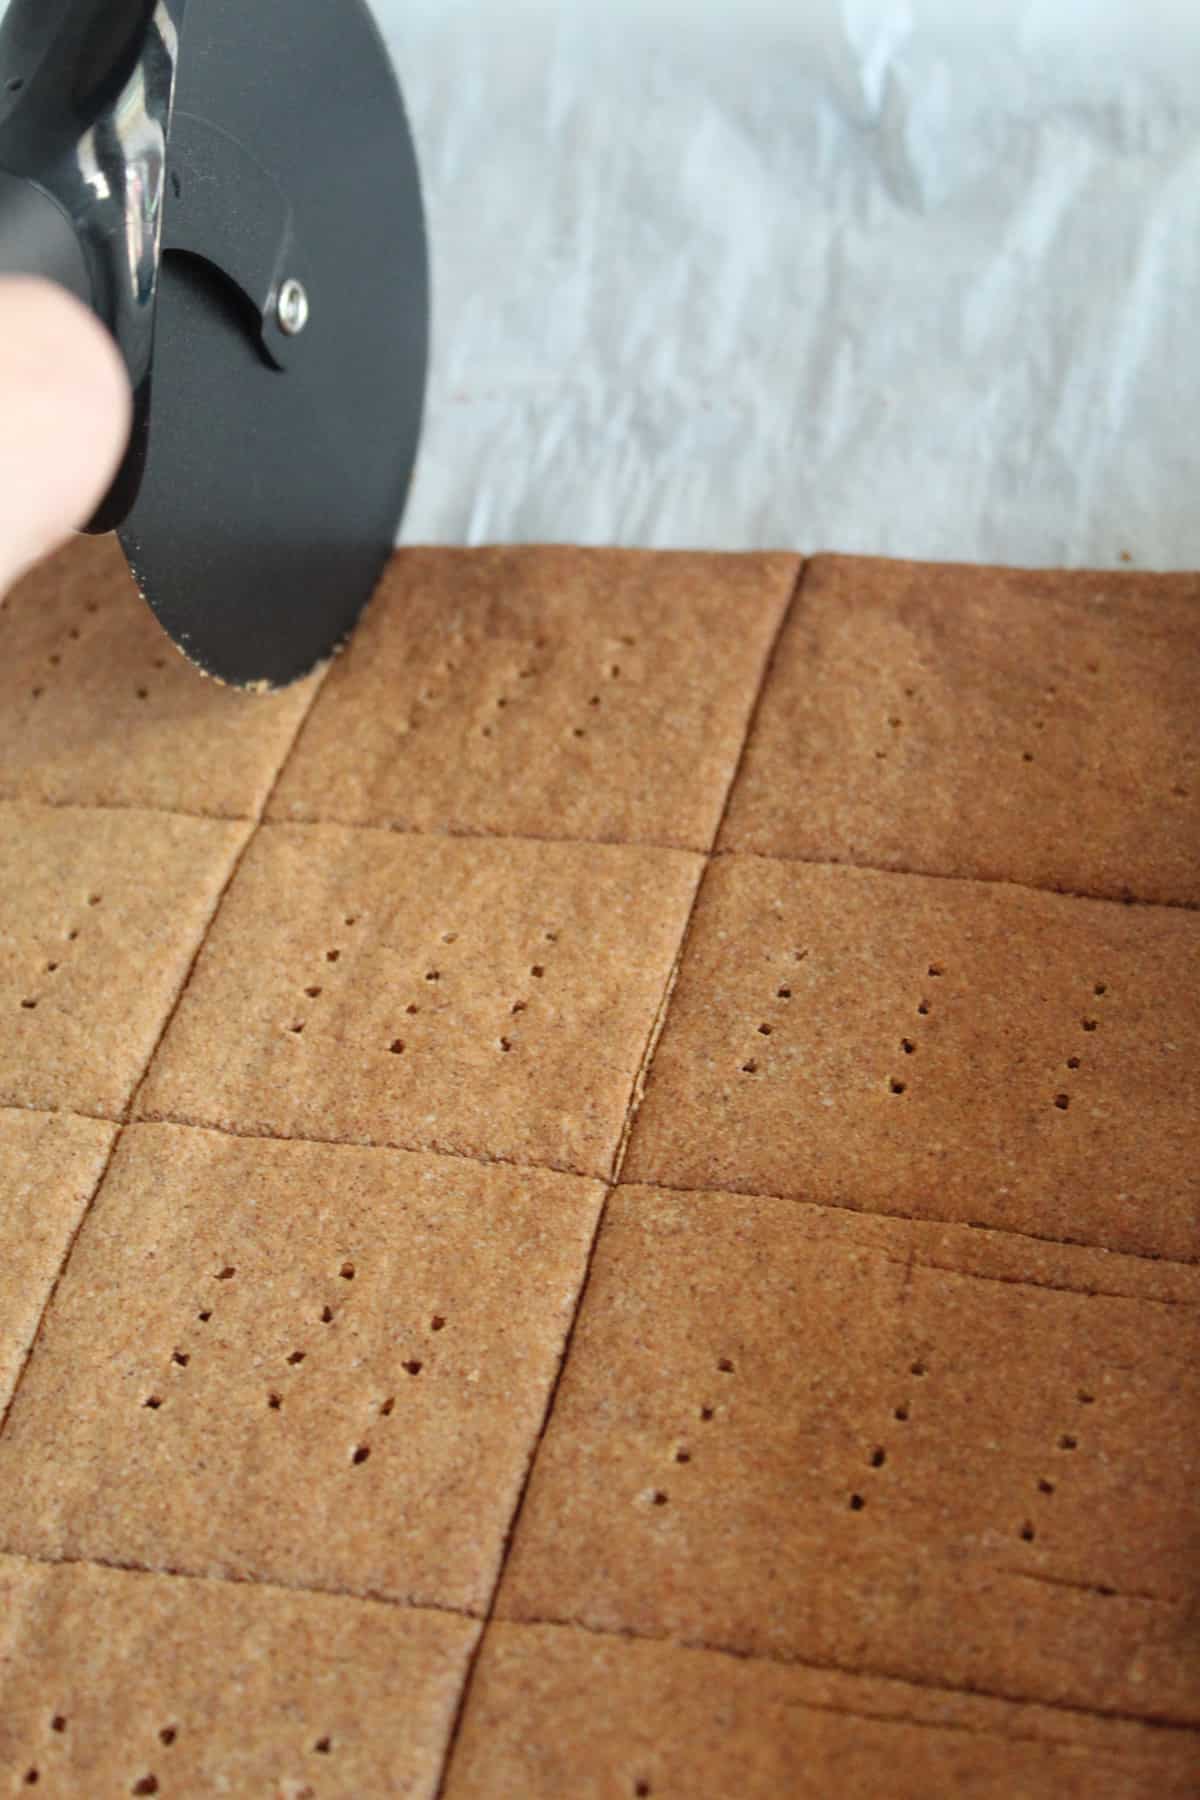
- Gently peel off the top parchment paper. Using a sharp knife, a pizza wheel, or your preferred cookie cutters, cut the dough into shapes. Then score it into four pieces down and six pieces across. Make 2-inch squares out of the dough.
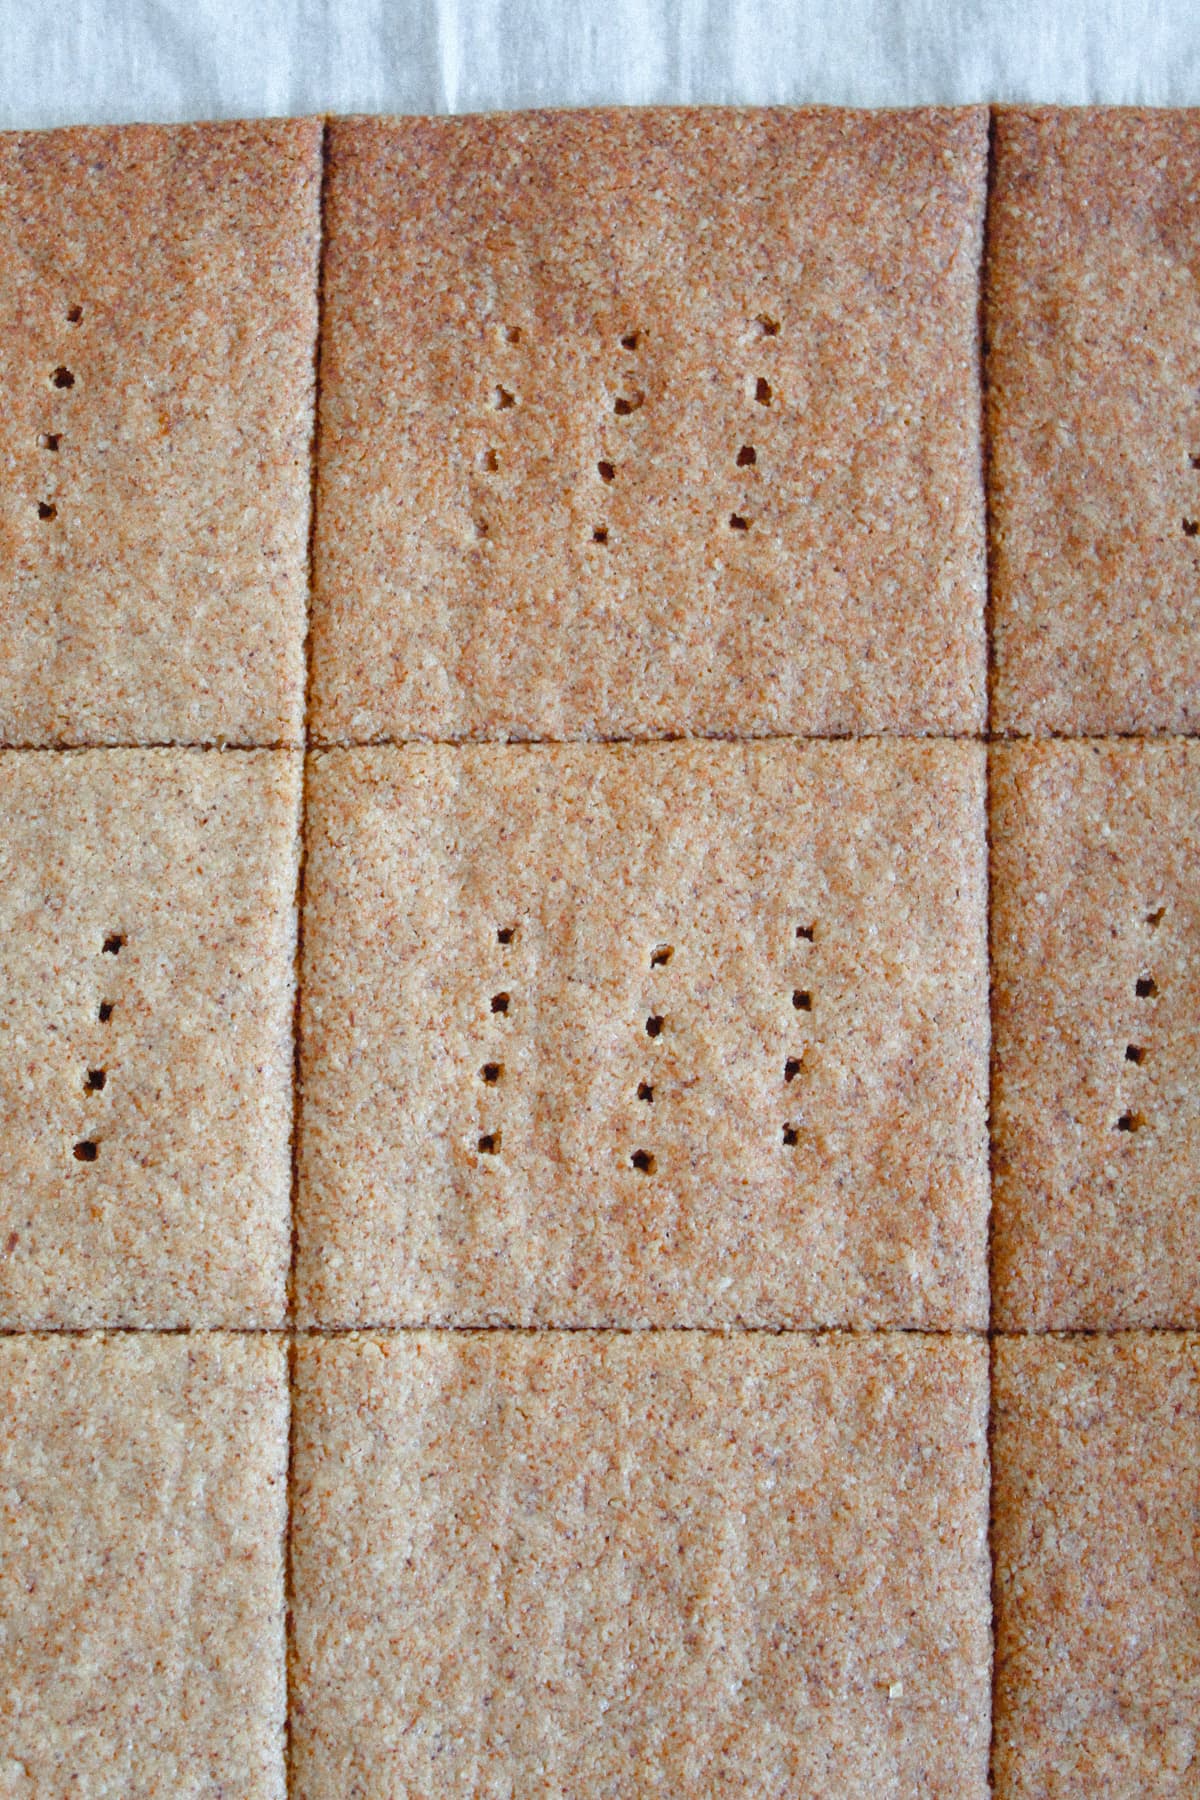
- Next, place the whole parchment sheet onto a baking sheet. Then, using a fork, gently prick each graham cracker in 3 rows.
- Bake the crackers for 25 to 30 minutes, or until just starting to firm up and brown.
- Let the crackers cool in the pan for five minutes. They are incredibly tender and delicate after baking. Then, move the crackers to a cooling rack. Cooling causes them to crisp.
Notes
- Sift the almond flour for a super-smooth, crispy cookie.
- Measure the flour using the spoon-and-level method for optimal results.
- Chill the dough for 30 minutes if it’s too soft. This way, it’s smooth, rollable, and shiny enough to cut crisp crackers without excessive sticking.
- Roll out the dough on parchment paper. Use two pieces so that you can get the dough nice and thin without it sticking to the counter.
- Allow the gluten-free graham crackers to cool completely in the turned-off oven. This allows them to dry completely and guarantees that they come out crisp.
Nutrition Estimate (Per 1 Cracker)
- Calories: 76 kcal
- Carbohydrate: 7g
- Protein: 2g
- Total Fat: 5g
- Saturated Fat: 0g
- Unsaturated Fat: 5g
- Cholesterol: 8mg
- Sodium: 53mg
- Potassium: 10mg
- Magnesium: 1mg
- Sugar: 5g
- Iron: 0mg
Storage Notes
After they have cooled, store them in an airtight container at room temperature for up to a week. If you want to keep some for later, simply put them in the freezer, and you’ll have homemade graham crackers available whenever you’re craving them.Nutrition
Did you make and love this recipe? Give it your review and rating below! And make sure to follow me on Instagram, Pinterest, and Facebook , too!
How to Make Homemade Gluten-Free Graham Crackers
Let’s take a step-by-step look at this recipe to ensure that your gluten-free graham crackers are flavorful, crispy, and crunchy. With these easy-to-follow instructions, you can confidently make excellent crackers that will bring back all of the nostalgia with none of the gluten.
Essential Kitchen Tools
Before starting, make sure you have these tools for the best results:
- Mixing Bowls — For combining the almond flour, sugar, cinnamon, baking powder, butter, egg, and vanilla into a cohesive dough.
- Wooden Spoon — For stirring the dough
- Parchment paper — To prevent the dough from sticking during rolling and transferring into the pan
- Rolling pin — For flattening dough evenly
- Baking ruler — To equally measure flattened dough into even shapes
- Pizza cutter — To cut the dough into shapes
- Fork or skewer — To poke holes into the cut-out dough for a classic look
- Rimmed baking sheet — For easy baking and even browning
Step 1: Combine The Dry Ingredients
In a medium mixing bowl, whisk together the almond flour, brown sugar, baking powder, cinnamon, and salt.
Step 2: Add The Wet Ingredients
Add the egg, vegan butter, and vanilla extract to the flour mixture, stirring with a sturdy wooden spoon until a thick cookie dough forms.
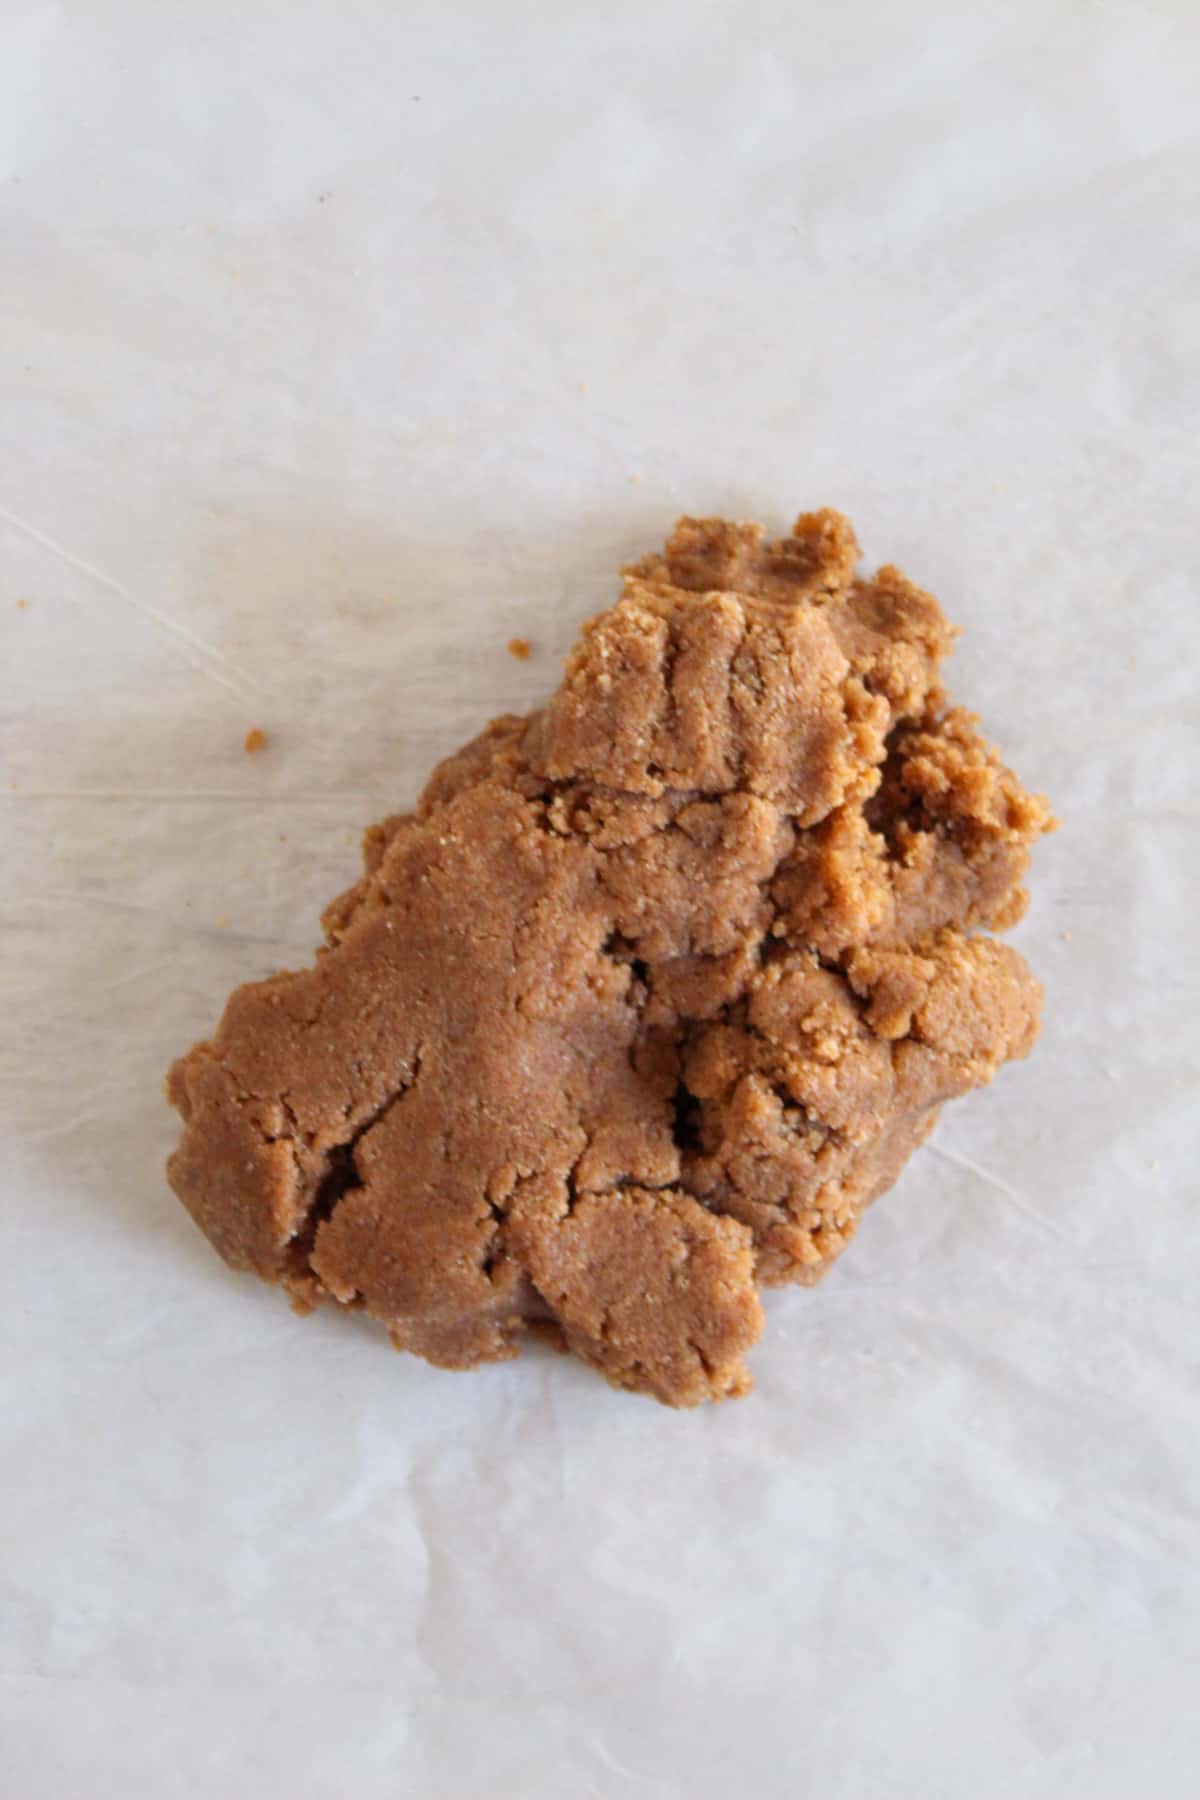
Step 3: Place The Dough On Parchment Paper
Using two sheets of parchment paper is the simplest way to roll out this dough. This way, you can thin the dough without it sticking to the counter. After cutting a piece of parchment paper to fit a cookie sheet, place the dough on it. Then, roll out a rough rectangle of dough and place a second piece of parchment over it.
Step 4: Roll Out The Dough
Roll out the dough until it is about 12″ x 10″. If the dough tears, pull back the parchment and press the dough together. Cover with parchment and continue rolling.
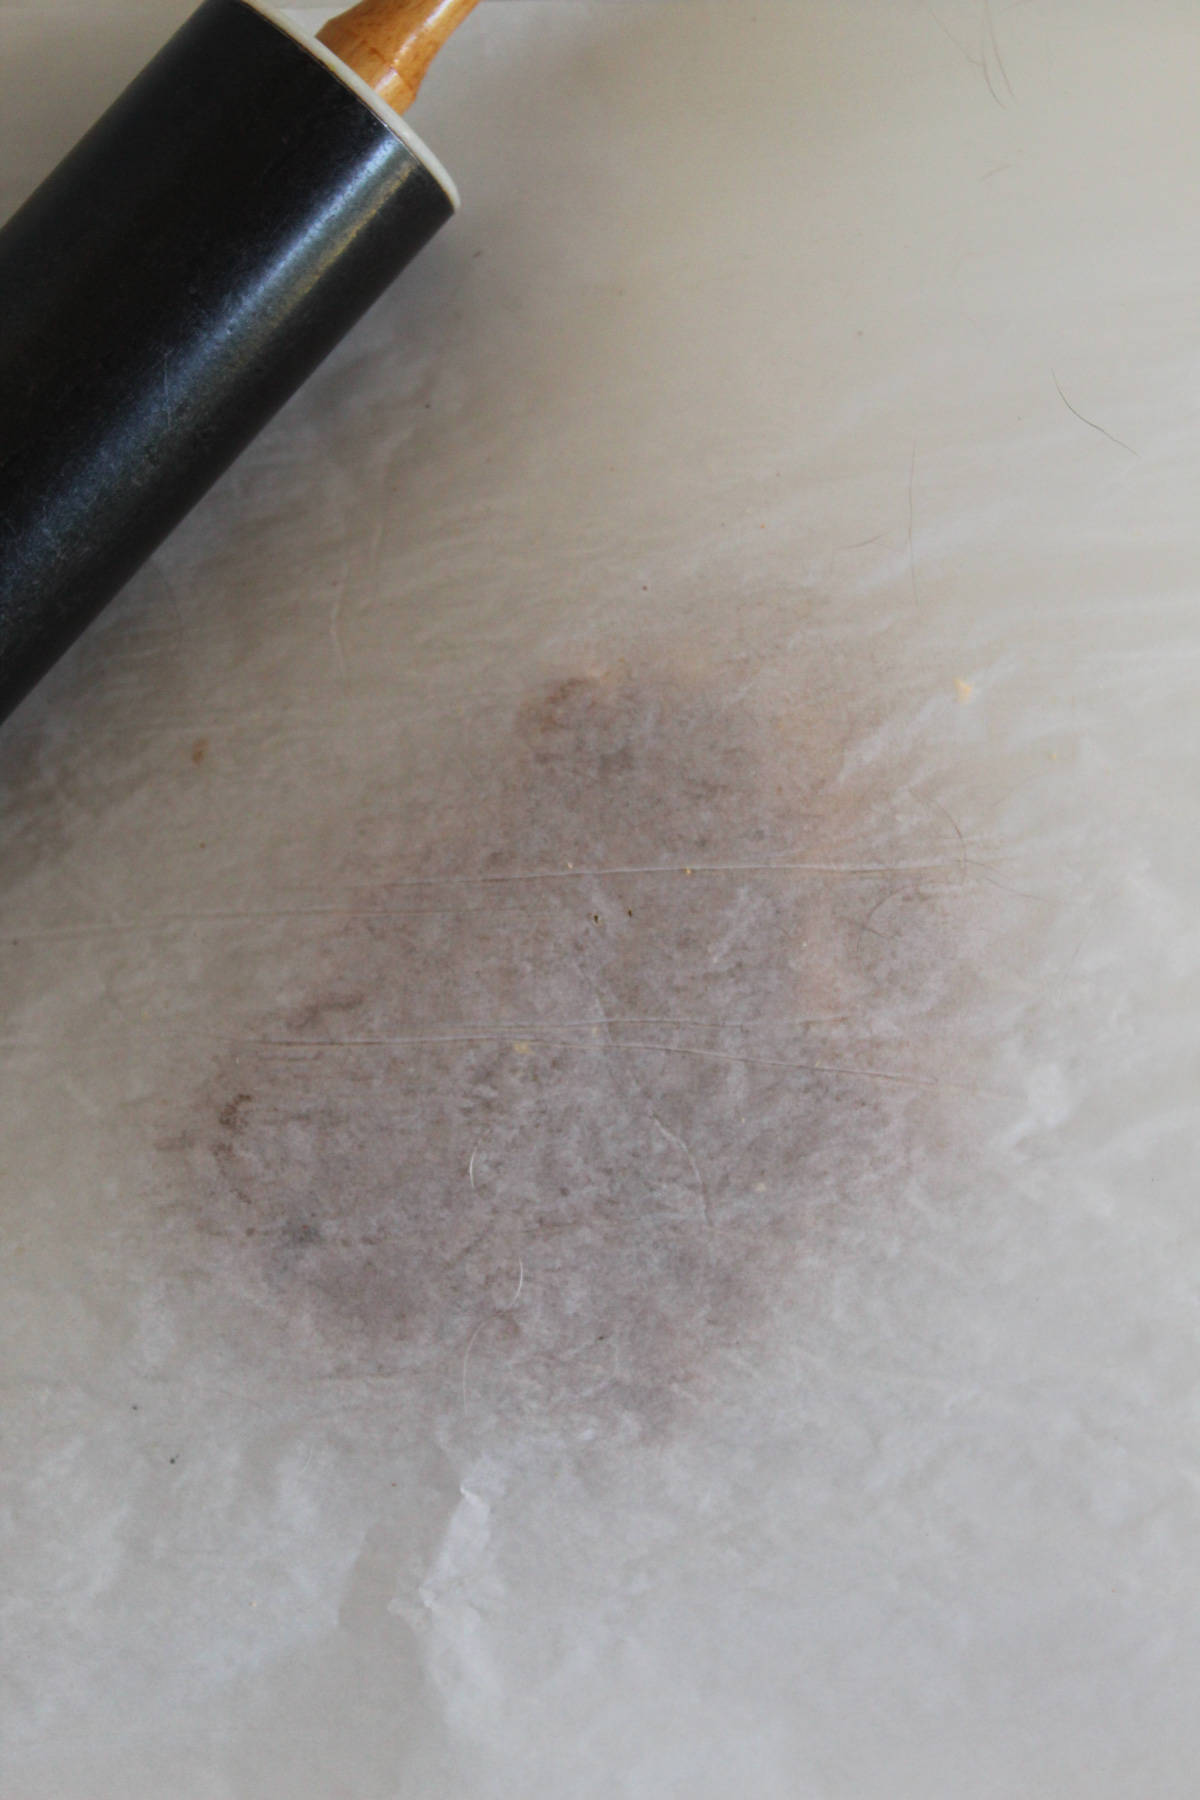
Tear off the edges of the dough as you go, filling in any gaps. When the dough is the right size, gently peel off the top piece of parchment. The dough should be 1/4 to 1/8 inch thick. The thinner the dough, the crispier the crackers will be.
Step 5: Cut into Crackers
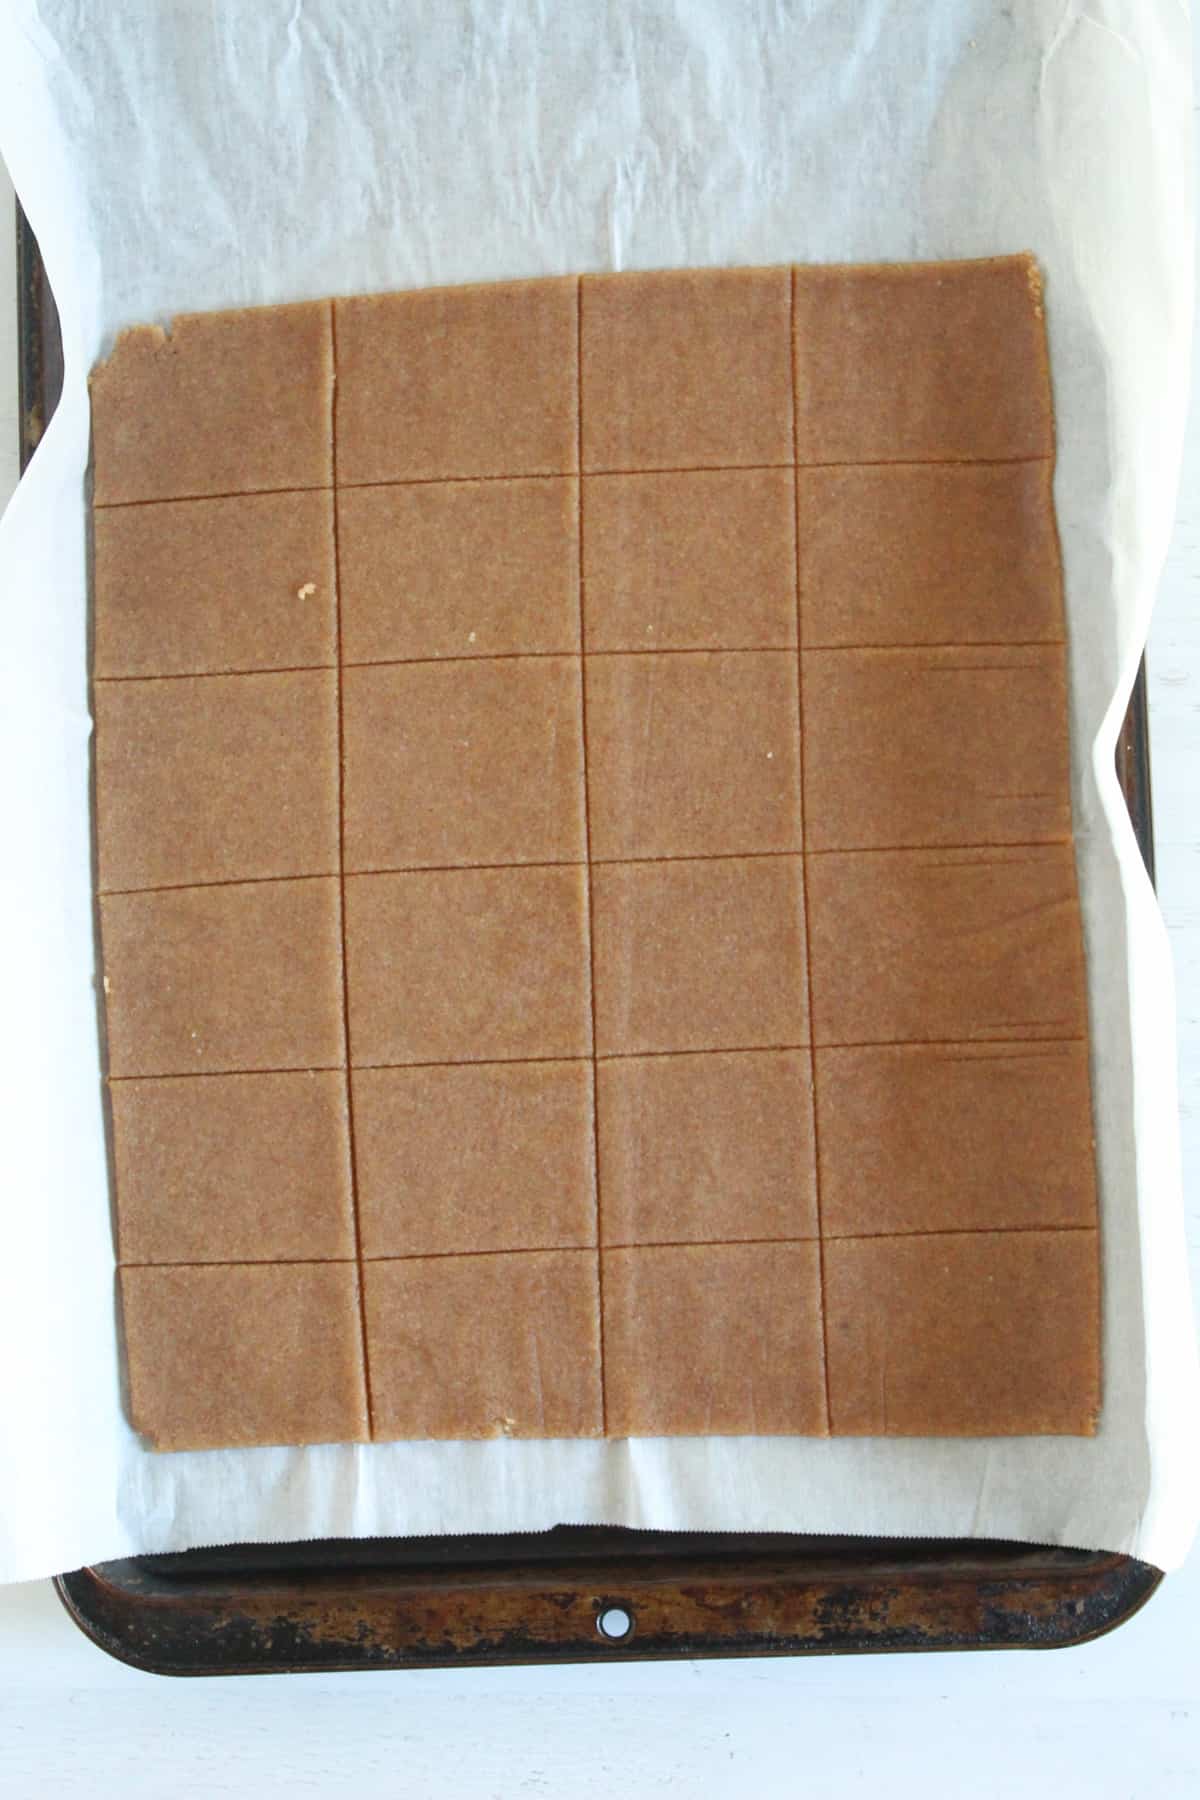
Use a pizza slicer or a cutter of your choice to make 3 evenly spaced, lengthwise cuts on the rectangle. Then make five evenly spaced slices down the shorter side.
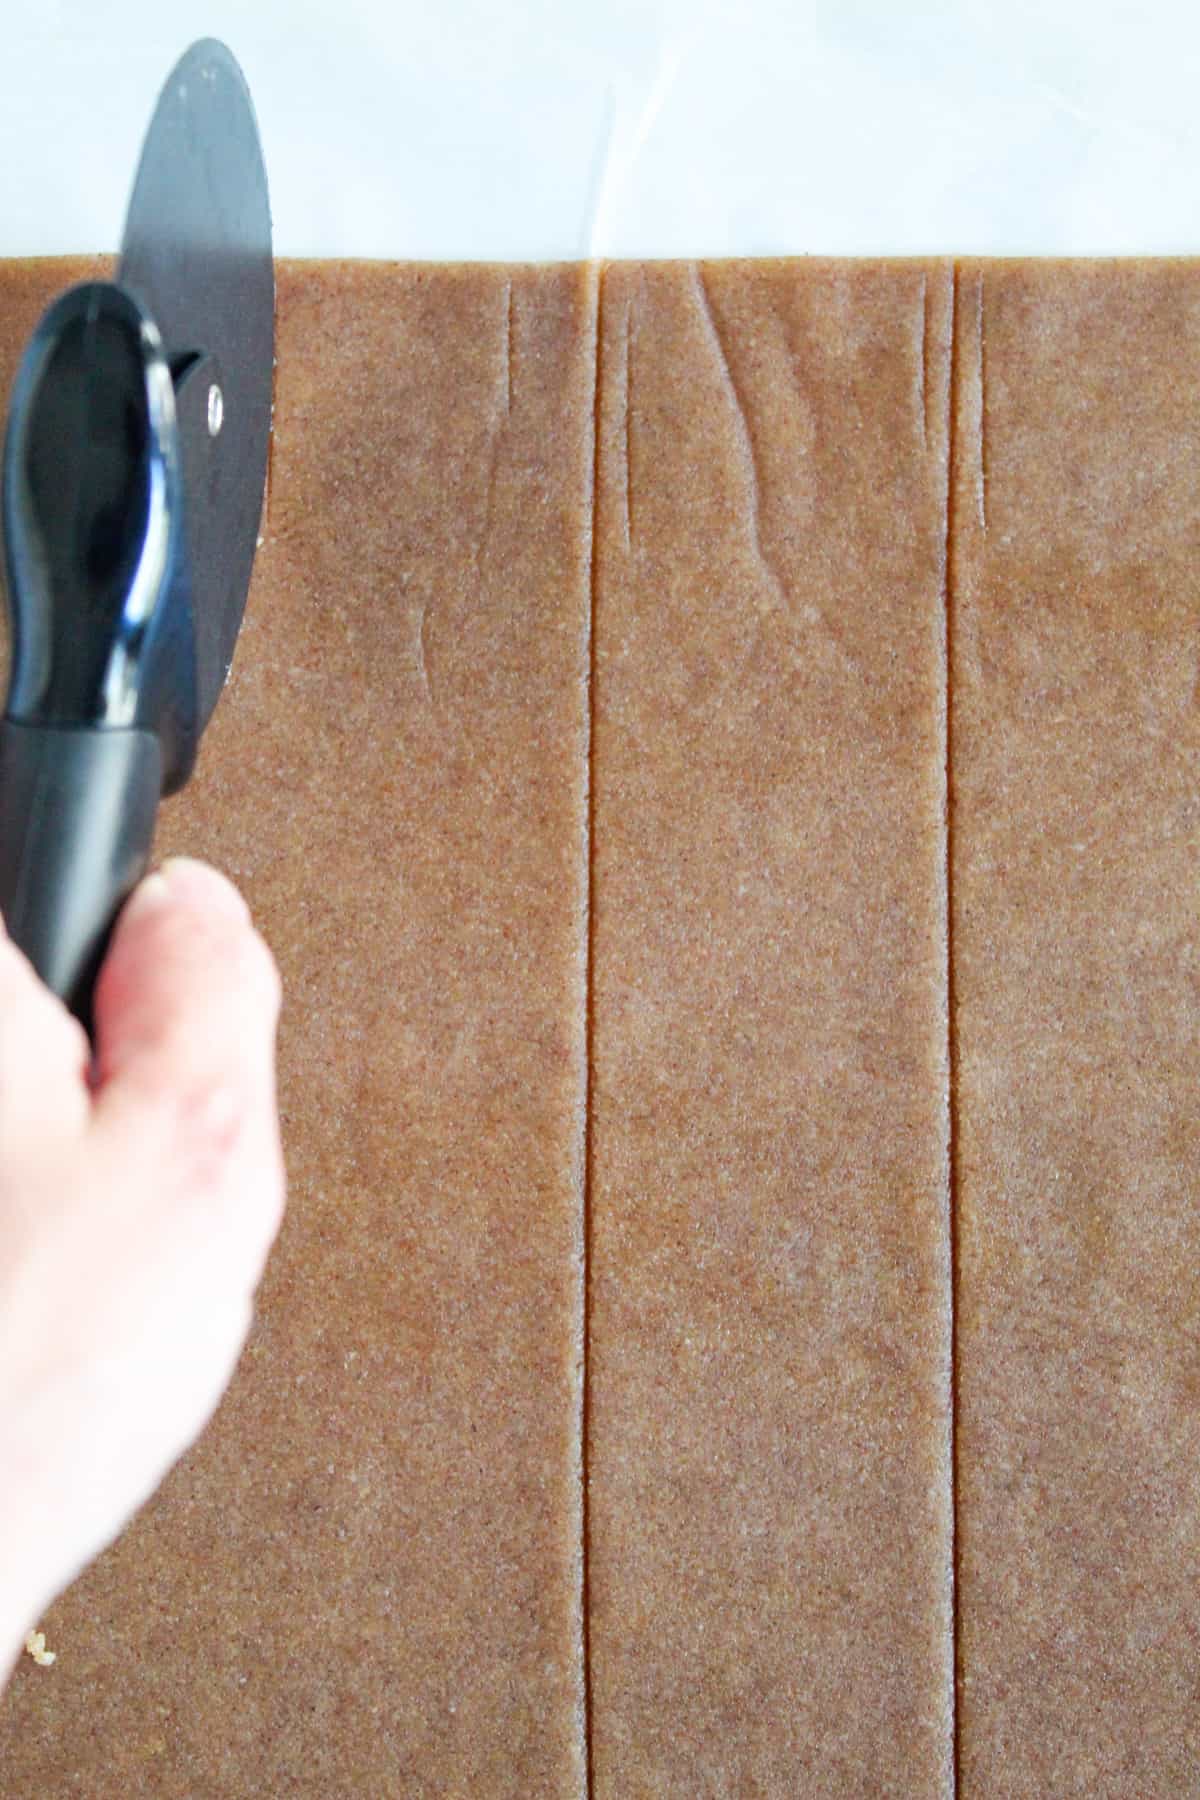
The crackers will be roughly 2-inch squares. You can also cut these into any shape you like.
Step 6: Poke Holes in the Crackers
After you place the graham cracker on the pan, dot the top with a fork. These little holes are important. They allow steam to escape as the crackers bake, keeping them light and crisp.
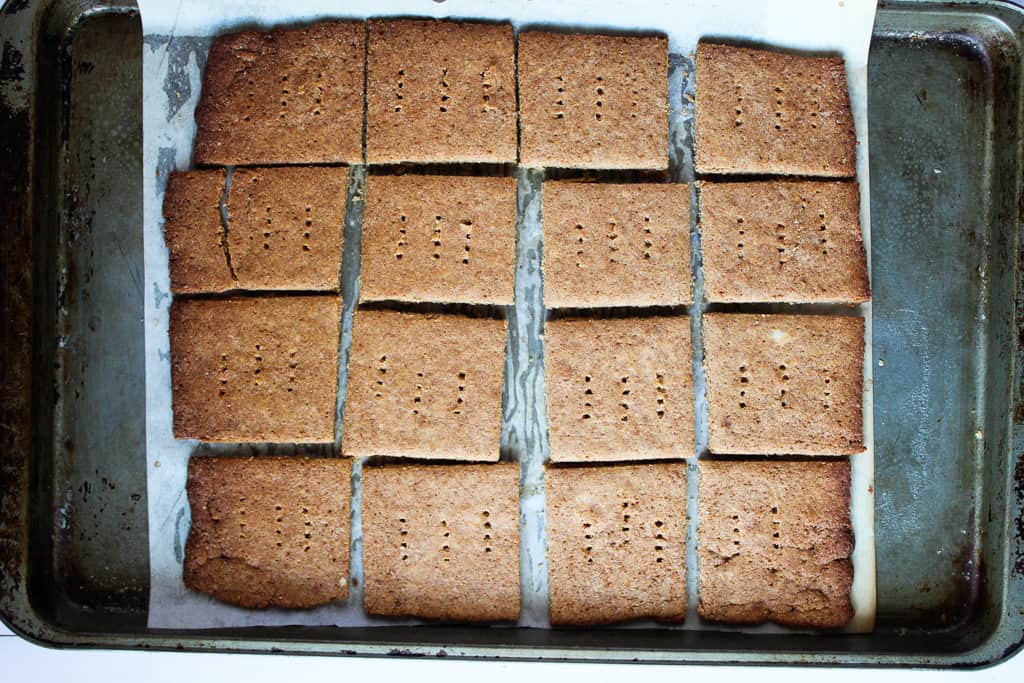
Step 7: Bake The Crackers
Move the entire sheet onto a cookie sheet and bake at 300F for 25 minutes. Look for the crackers to be a deep brown. This color means they have a lovely flavor.
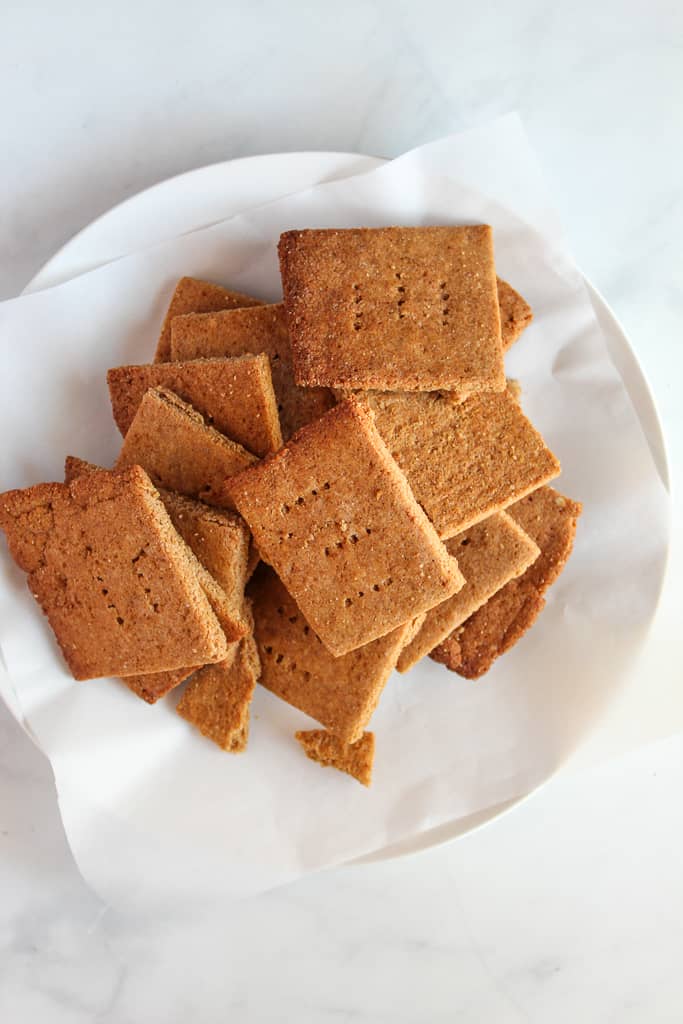
Step 7: Cool The Crackers
Once the crackers have baked, immediately remove them from the oven and place the pan on a cooling rack. Then slice each one again along the previous slice marks. Crackers will break apart. Let them cool completely.
Pro Tips for The Best Gluten-Free Graham Crackers
The following pointers will help you make these homemade gluten-free graham crackers successfully.
- Weigh dry ingredients for accuracy, as gluten-free flours like almond flour tend to pack too densely.
- Make sure the egg mixture is at room temperature before mixing it into the batter.
- Avoid overmixing. Simply mix wet ingredients into dry just until they’re cohesive.
- If the dough is simply too tough to work with, flatten it out and refrigerate or freeze it. Cold fat helps in rolling and stops spreading.
- If parchment paper isn’t available, dust your counter with gluten-free flour and continue rolling the dough. This will prevent it from sticking to the counter.
Best Serving Suggestions for Homemade Gluten-Free Graham Crackers
One of the best things about these homemade gluten-free graham crackers is their versatility. Beyond their rich, satisfying flavor, they add a lot of goodness to several other treats, from nutritional benefits to better taste.
Use them as a base for mini cheesecakes like this Gluten-Free Dairy-Free Cheesecake, crush them into a graham cracker crust for key lime pie, or layer them into classic s’mores.
They also make a great topping, simply crumble them over yogurt or parfaits for added texture and crunch. You can even turn them into the perfect base for ice cream sandwiches like these Strawberry Ice Cream Sandwiches or no-bake desserts like this No-Bake Chocolate Pie.
Of course, they’re just as enjoyable on their own. Pair them with a warm cup of tea, dip them in milk or peanut butter, coat them in chocolate, or enjoy them straight from the jar. However you choose to have them, these graham crackers always come through.
Store & Re-baking Your Crackers: Best Practices
Many baked treats, like these graham crackers, need to be properly stored to maintain their structure and flavor. These effective storage strategies will keep your homemade gluten-free graham crackers crisp and crunchy whenever you return to them.
Storing Crackers
Put them in an airtight container after they have cooled completely. If stored correctly, homemade gluten-free graham crackers should stay crisp for up to a week. The container can be stored at room temperature for 1 to 2 weeks. To preserve their freshness, keep them away from heat sources and bright sunshine.
Freezing Cooking Dough
You can also store the cracker dough before baking. After freezing, transfer them to an airtight container, separating the layers with parchment paper to prevent sticking. Bake them right out of the freezer when you’re ready. Increase the baking time by two to three minutes.
Frequently Asked Questions (FAQs)
Our goal is to make it as easy as possible for you to bake these crackers. Below are the questions we frequently get from our readers about making these gluten-free alternatives to graham crackers.
Do you have more questions, swaps, or baking troubles? Leave them in the comments below so we can help you out.
Can I use a different flour than the almond flour?
Substituting the flour isn’t recommended, as it hasn’t been tested. But if you’d like to try something else, you can use other gluten-free flours. Expect the texture to be affected, though.
What’s the best way to store these crackers?
The crackers are easy to store. After they’ve cooled completely, store them in an airtight container or a plastic bag for up to a week. Then, for longer storage, freeze them!
If I don’t have parchment paper, can I still make these?
Yes, you can. Dust your counter with gluten-free flour and keep rolling the dough. Doing this will prevent your dough from sticking to the counter.
Can I use these crackers to make a pie crust?
Absolutely! You can use it for this no-bake cheesecake and this gluten-free key lime pie. Or use them just like you normally do in your favorite pie with a filling that is naturally gluten-free.
Why aren’t my graham crackers crispy?
You may have underbaked your graham crackers. They should be dry, firm to the touch, and golden brown. If they’re still shiny, they’re not done yet.
More Recipes To Use These Graham Crackers
If you loved these gluten-free graham crackers, take things a step further by using them in these wholesome and delicious recipes:
- It’s perfect to make the pie crust in this Gluten-Free Apple Pie Recipe.
- They’re also great additions to any one of these Vegan Ice Cream Recipes.
- You can add them to any of these S’mores desserts and enjoy.
- If you love strawberry pies, this recipe has a smooth strawberry filling inside a homemade graham cracker crust that will leave you wanting more.
Once you have a batch ready, there are so many delicious ways to use these gluten-free graham crackers in desserts that everyone will love.
We Want to Know About Your Crackers!
Did your homemade gluten-free graham crackers come out perfectly crisp and delicious, just the way you imagined?
If you made these gluten-free graham crackers, leave a comment and tell us how they went. Share your favorite twist, what you paired them with, or anything you learned along the way. Your feedback helps other bakers, too.