Gluten Free Artisan Bread
How do you make crusty, melt in your mouth gluten free artisan bread that gets rave reviews every time? You turn to this recipe! Hands down, it’s the tastiest artisan bread ever!
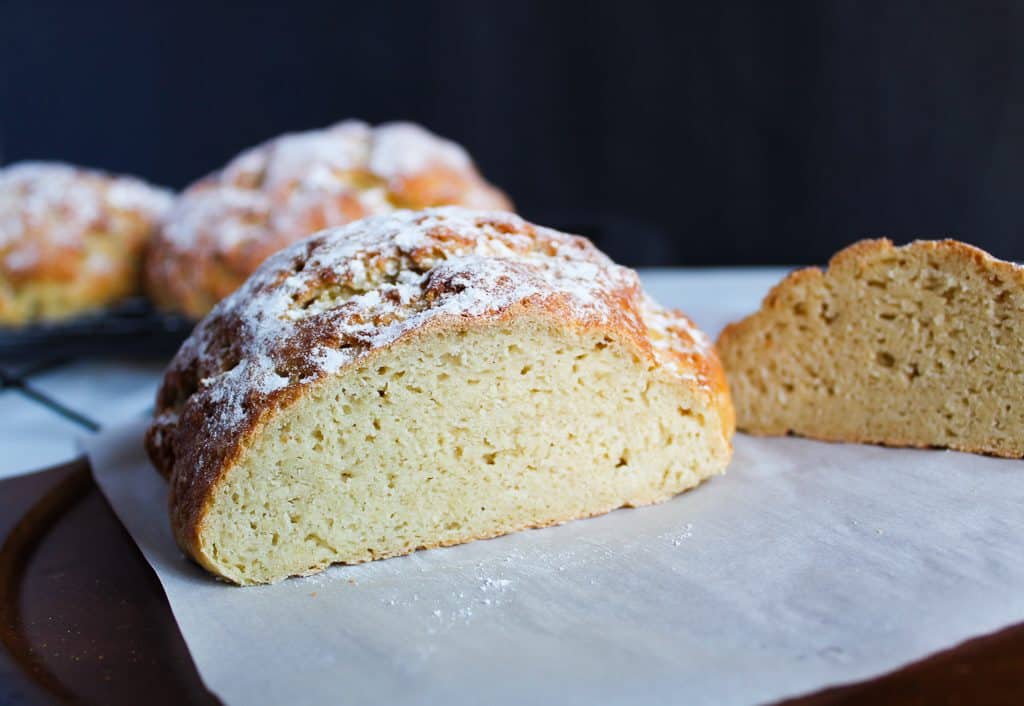
Table of Contents
But I’ll warn you, this recipe is unlike any other. It’s not like any other gluten free bread and it’s not like any other artisan bread. But that’s the beauty of it. It’s unique, full bodied, full of flavor and hand shaped. And those are just a few qualities that make it an amazing recipe.
As an affiliate partner of various brands and sponsored content, Zest for Baking may earn commission on qualifying purchases. Disclaimer
How is gluten free artisan bread different from regular gluten free bread?
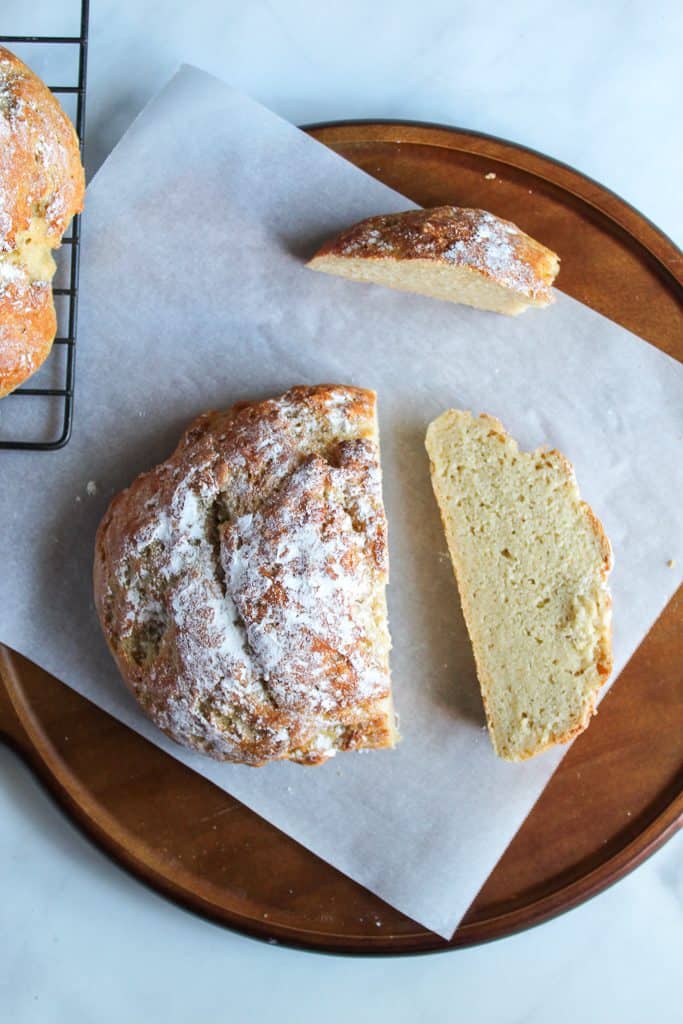
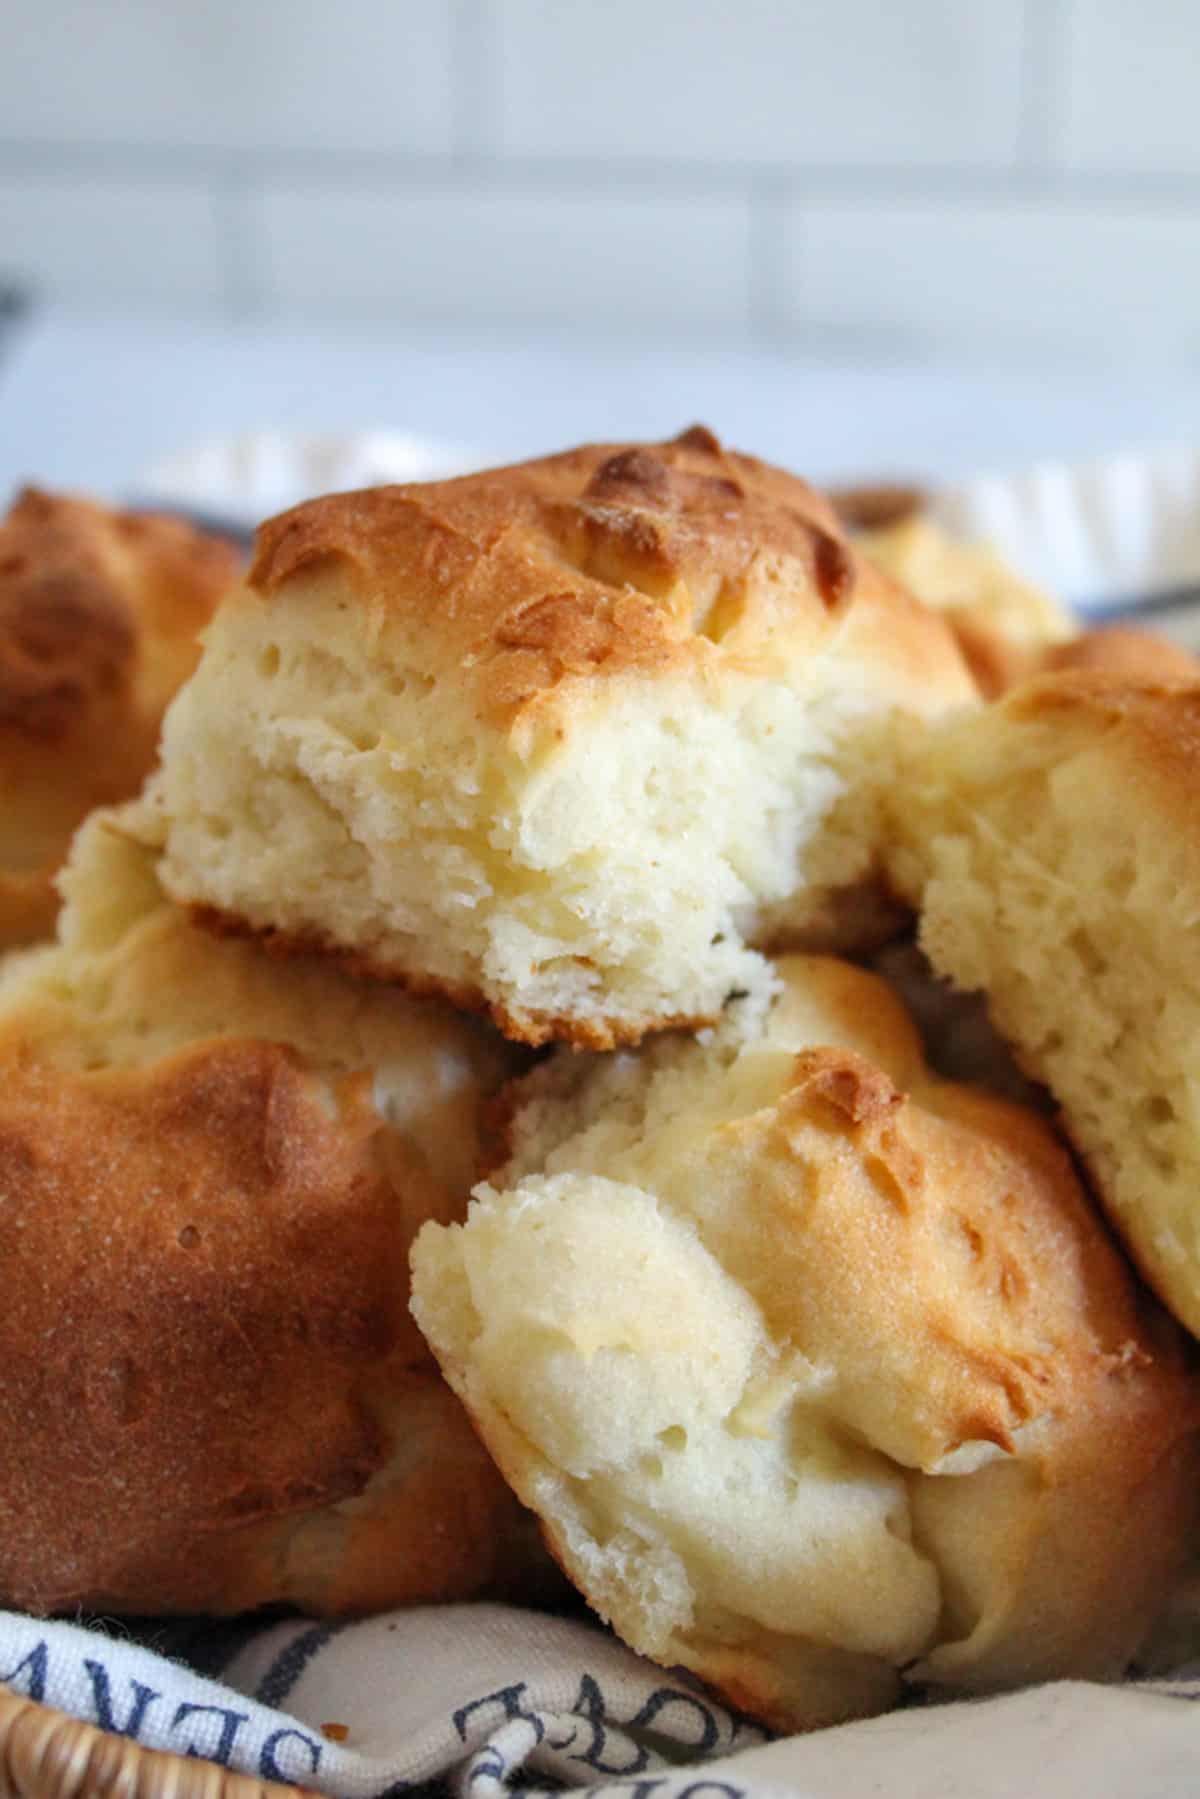
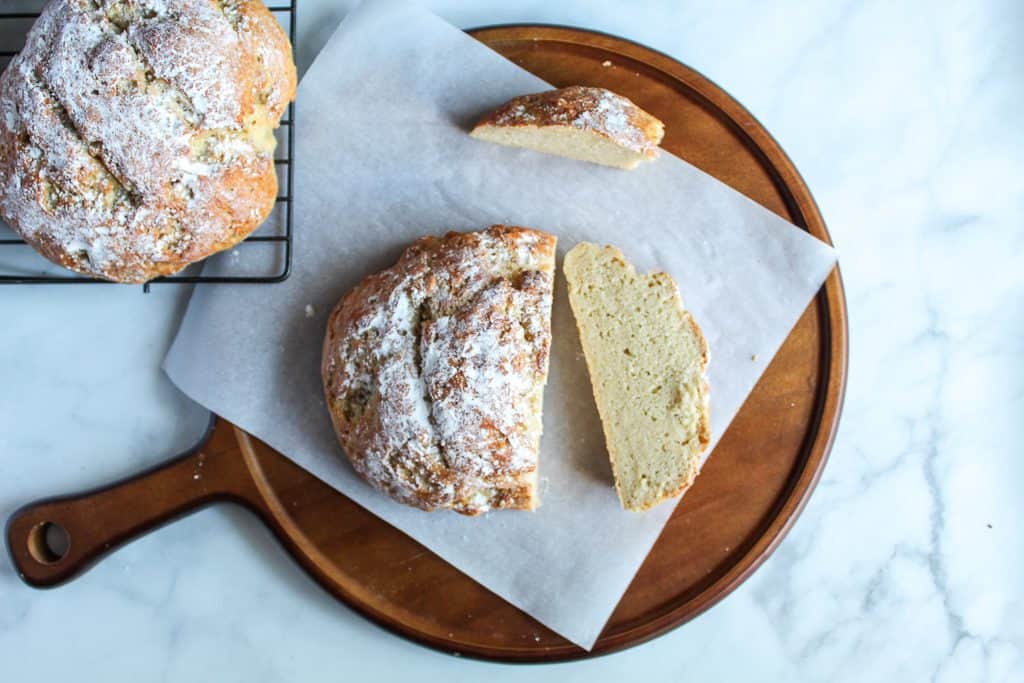
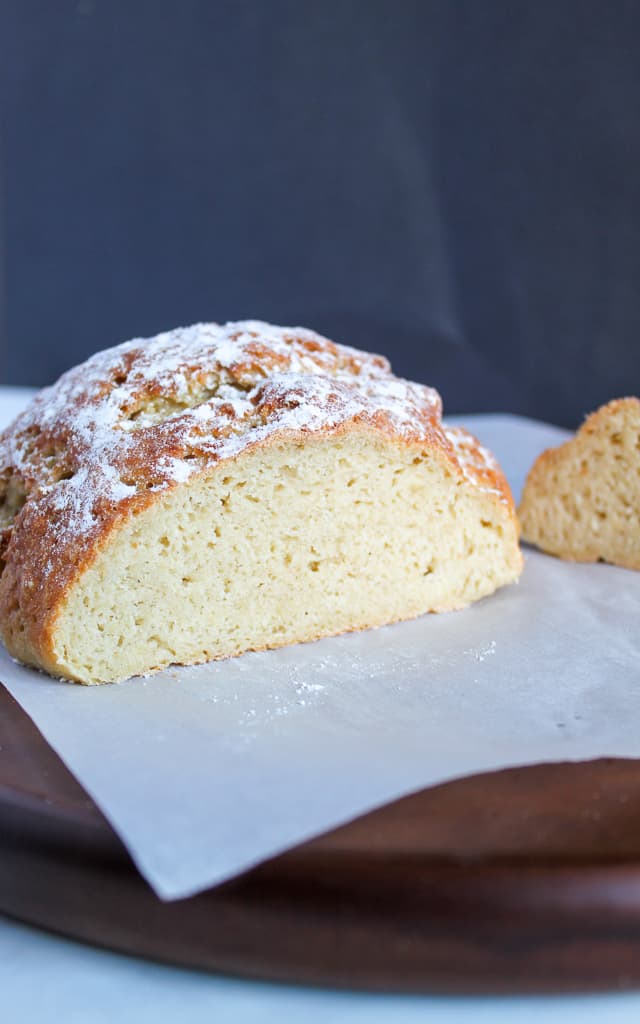
Depending on who you ask, gluten free artisan bread has features that define it as truly ‘artisan.’ Things like hand formed, time intensive and with a general texture of: crusty exterior, soft interior. That’s why other gluten free breads, like this gluten free white bread, don’t classify as an artisan bread.
This gluten free artisan bread recipe successfully checks two of those boxes.
Each loaf is hand formed and smoothed to a nice round loaf and the texture is definitely crusty yet soft. But the time has been cut down dramatically. In fact this recipe doesn’t require any overnight refrigeration.
How to Make gluten free artisan bread
Ingredients should be at room temperature

This is an important step since the water is the only thing warmer than room temperature. Adding a cold egg to lukewarm water will make the rest of the liquid ingredients cold too. And yeast won’t activate in cold temperatures.
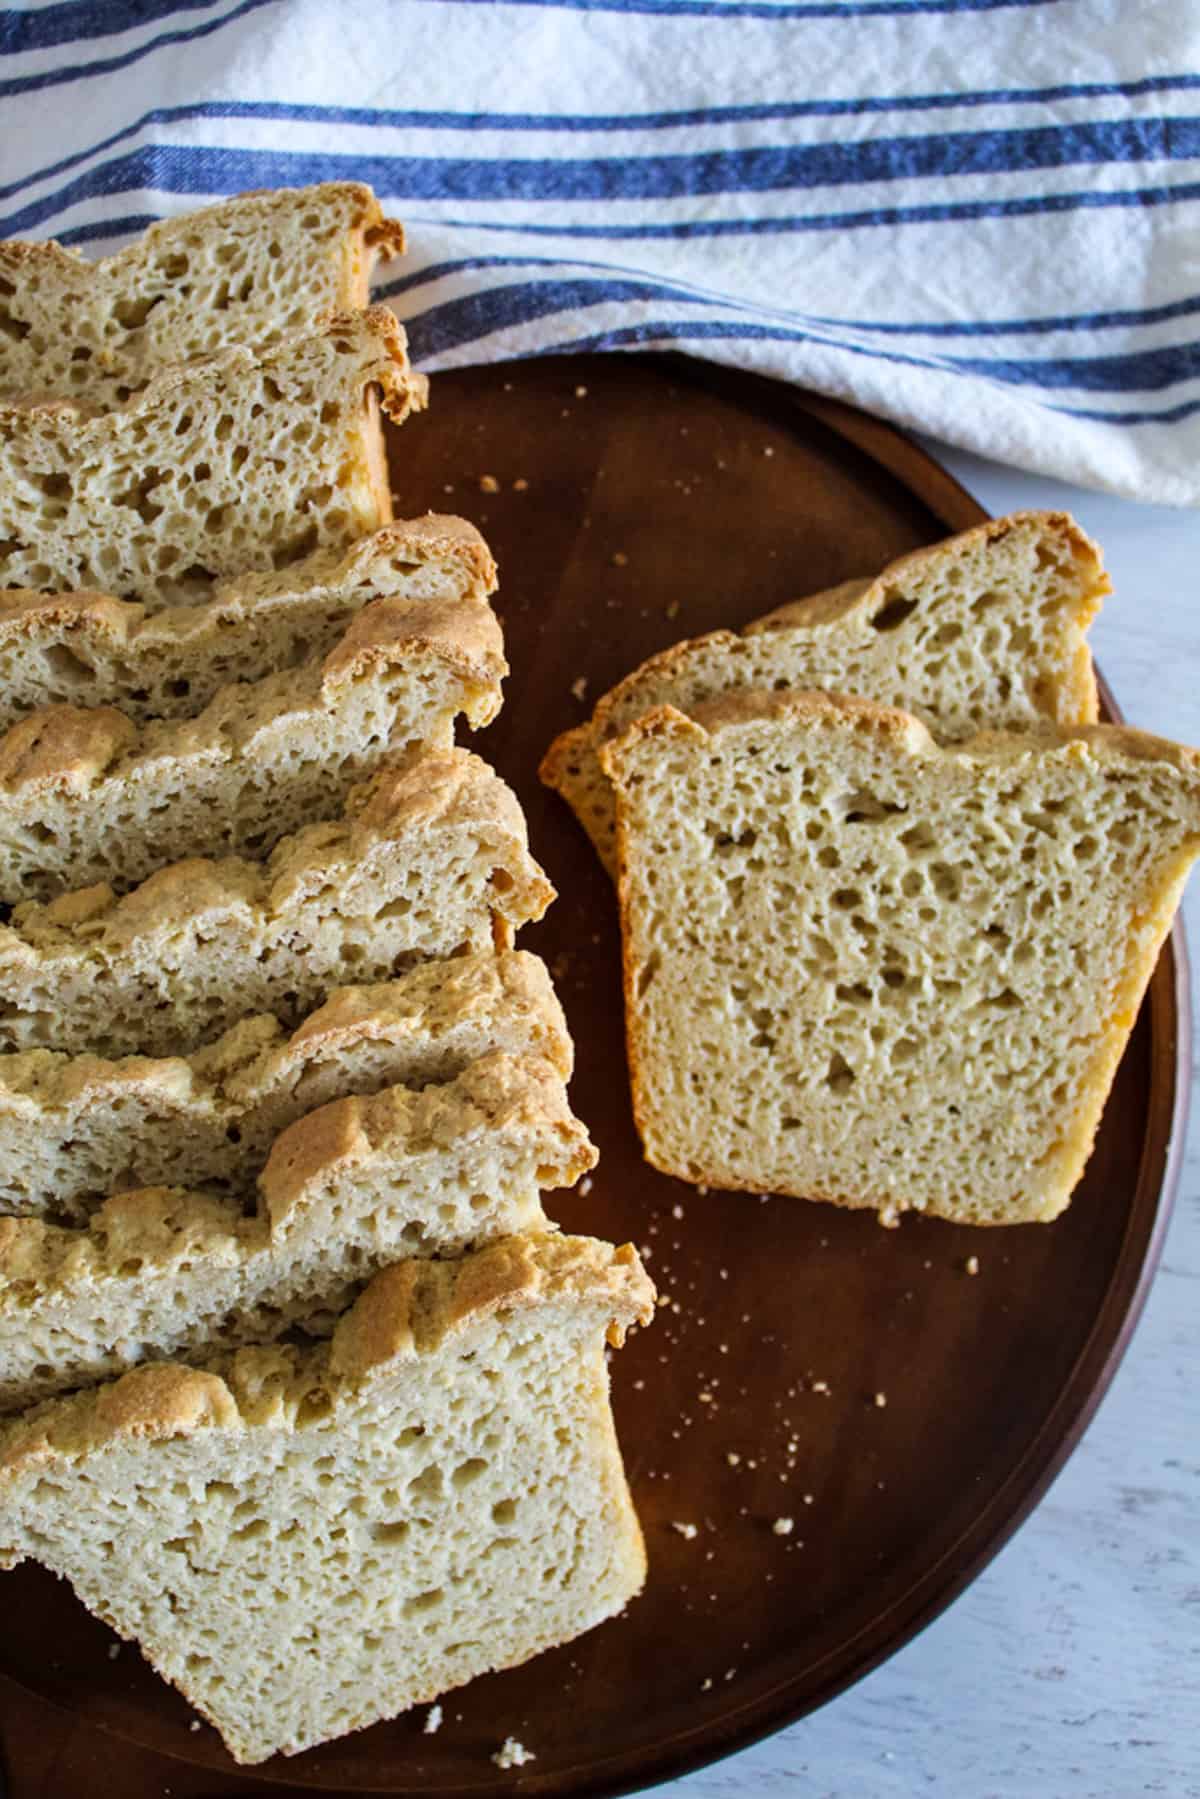
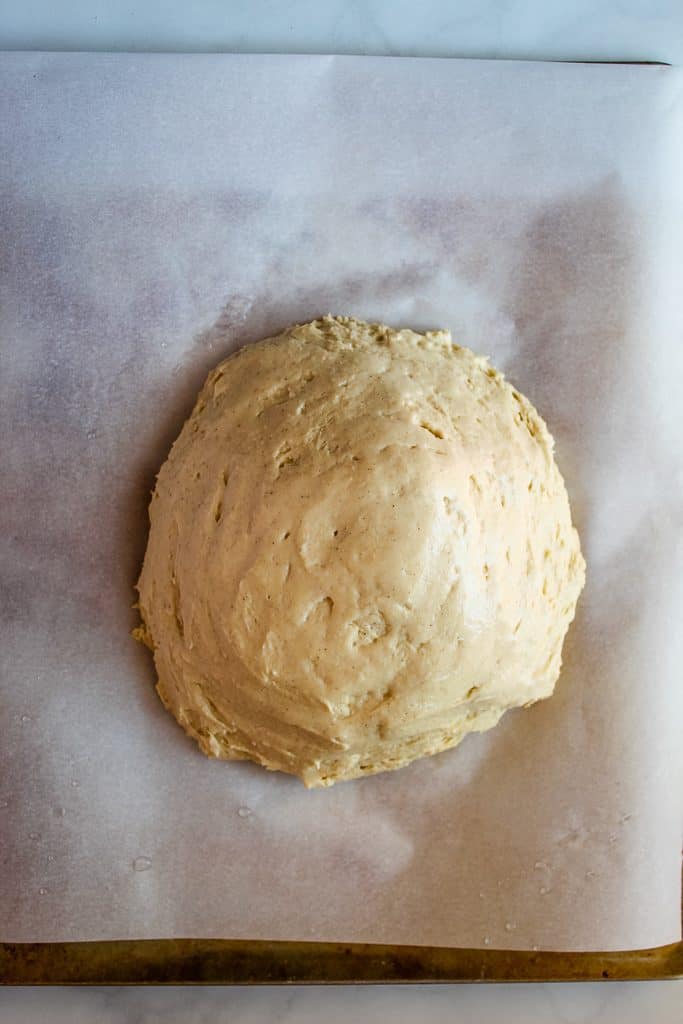
Gluten free artisan bread dough is thick
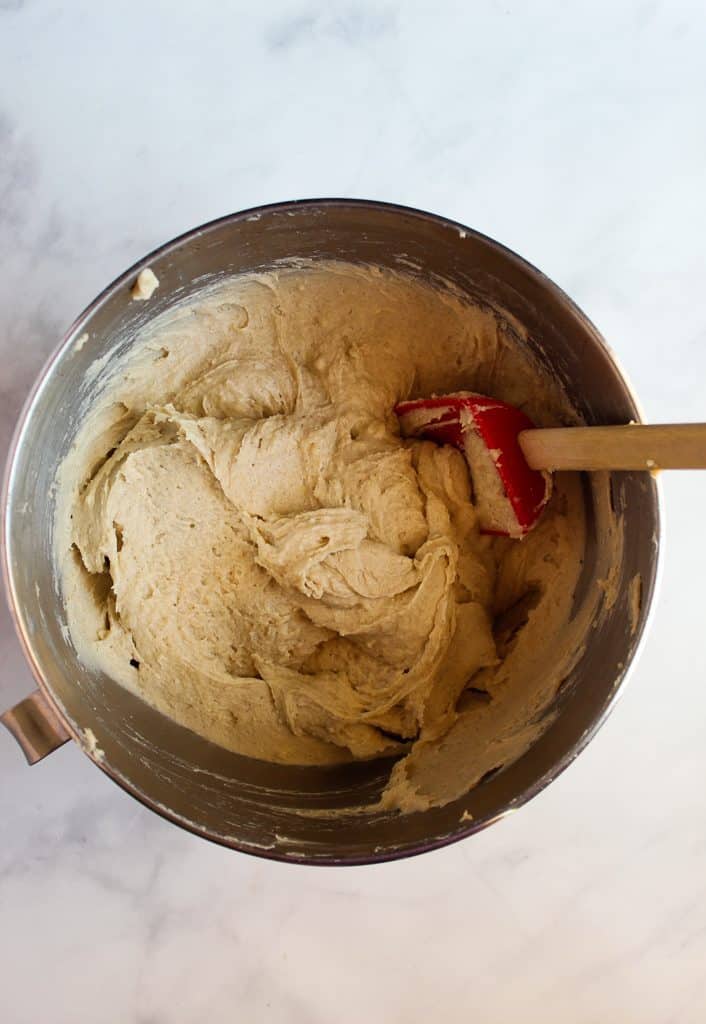

This is a welcome relief as so many gluten free bread doughs are more like batter than dough. But this one is thick so that it will hold it’s shape on the pan.
Shape each portion into a round loaf
The easiest way to portion the dough equally is to set your pans up and spoon the batter out in a rotating pattern on the pans. There will be three loaves total, so place one drop of dough for the first loaf, then another drop of dough for the second loaf and then another drop for the last loaf. Then keep repeating until all dough is portioned out.
Then form the loaf with the spatula. Remember the beauty of artisan bread is that it can be any shape. Some are oval, others are round.
Pro tip: Wet your hands slightly and smooth out the top of the dough so the end result is a smoother topped loaf.
Bake the bread with a water bath
Here’s the secret to the ultimate gluten free artisan bread… to get a nice crusty exterior with a tender interior, place a cookie sheet on the bottom rack of the oven. Pour water onto the sheet, filling until it reaches halfway up the sheet. Then turn on the oven to the baking temperature of 425 F.
This will create a wonderful steam filled oven for your loaves. That steam produces a crust like no other. And it keeps the interior nice and soft. Here is another recipe that bakes in a steam oven too.
And now for the most delicious gluten free artisan bread ever…
If you enjoy this recipe, will you give it a rating and a share?!
Gluten Free Artisan Bread
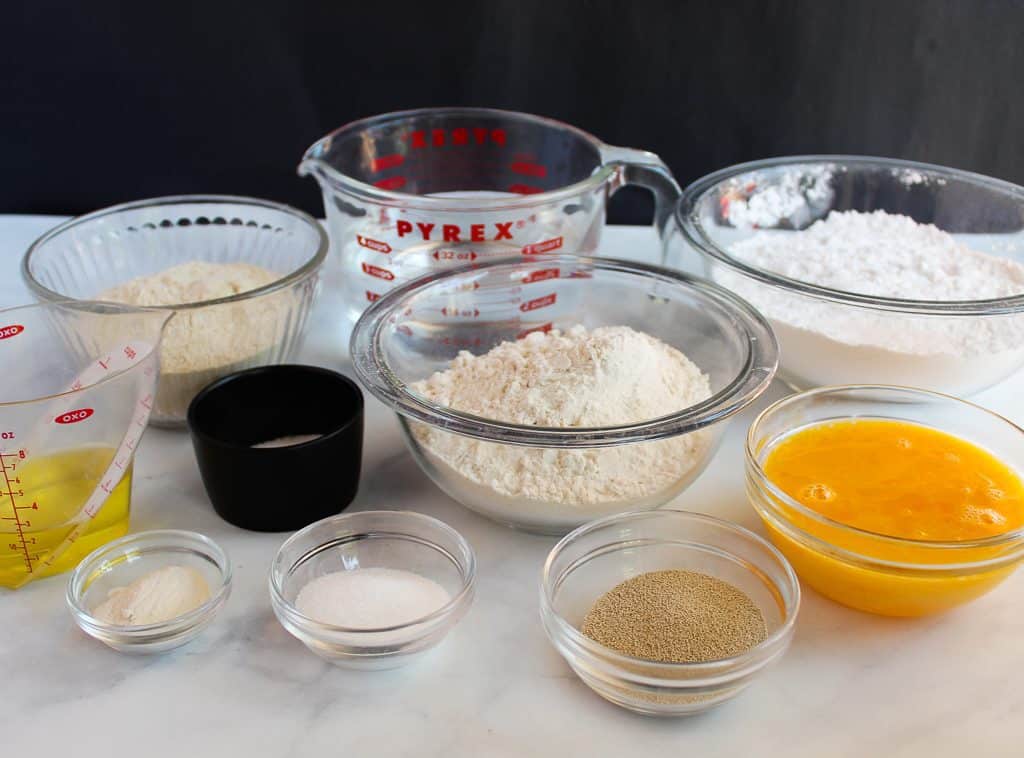
Ingredients
Equipment
Method
- In the bowl of a stand mixer or large mixing bowl, add the flours, salt, and xanthan gum. Whisk to combine.
- In a 4 cup measuring cup or medium bowl, mix the water with the sugar. Stir until almost dissolved.
- Add the yeast and set aside to proof for 5 minutes.
- In the mixing bowl, with the flours, add in the proofed water-yeast mixture and the olive oil. Mix on low speed for 30 seconds. Stop the machine and scrape down the sides of the bowl.
- Turn the mixer to medium speed and beat for 9 minutes.
- Scrape batter into a bowl and cover tightly with a lid. Refrigerate the batter for at least 6 hours.
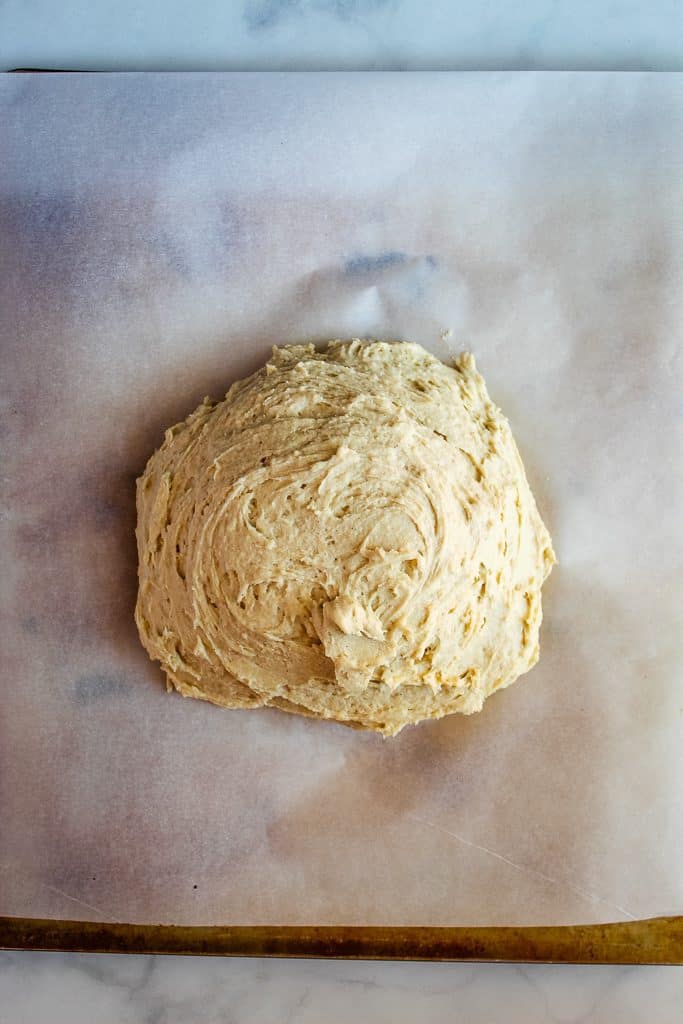
- When ready to bake, place a large sheet of parchment paper on the counter. Slice off 1/3 of the bread batter (it will be sticky).
- Place the bread batter in the middle of the parchment paper. Place the parchment paper in a large pot and cover with the lid to let rise until 50% larger.
- Preheat oven to 450F. While the oven is preheating, place a Dutch oven with the lid on, into the oven to heat. See the instructions below for preparation without a Dutch oven.
- Once the bread is ready to bake, use potholders to very carefully remove the pot from the oven. Place the bread, parchment paper and all, from the large pot into the hot Dutch oven. Put the lid on the Dutch oven.
- Bake at 450F for 40 minutes. After 40 minutes, remove the lid and continue baking for about 10 minutes.
- Test the bread for doneness with an instant-read thermometer (it should register 205F).
- Remove the baked bread from the oven and very carefully lift the parchment paper from the Dutch oven to a wire rack to cool.
- Let the bread cool for at least 4 hours before slicing.
Notes
- Make sure all ingredients are at room temperature - water slightly warmer.
- To easily portion out 3 loaves, alternate dropping spoonfuls of batter on the pan.
- Bake these loaves using a water bath for a wonderful crusty exterior.
- Before the oven gets too hot, move the racks so one is about 3 inches from the bottom one. Place a baking sheet on the bottom one and fill the baking sheet with water. (It should reach about halfway up the sides of the sheet).
Check out these other delicious gluten free recipes:
- Gluten Free Garlic Bread with Cheese
- Buttery Gluten Free Biscuits
- Gluten Free Potato Rolls
- Gluten Free Breadsticks
And here are some helpful gluten free baking tips:
- How to Substitute Xanthan Gum in Gluten Free Baking
- Alternatives to Xanthan and Guar Gum in GF Baking
- How to Substitute Potato Starch and Potato Flour
- Gluten Free Flour Substitutes