Gluten-Free Hawaiian Bread should feel comforting, not complicated. The goal isn’t to perfectly copy a bakery loaf, but to bring back a familiar, slightly sweet bread you can serve with real meals again.
These rolls are soft enough for dinner plates, sturdy enough for sliders, and mild enough to pair with simple, savory spreads. If you already enjoy an everyday option like a dependable soft flaxseed bread, this recipe fills the same role while adding a gentle sweetness and tender crumb.
Table of Contents
Instead of feeling like a special-occasion substitute, this is meant to be a reliable loaf you can bake, slice, and use without overthinking it.
When These Rolls Work Best
These rolls aren’t just versatile, they’re dependable in the moments that matter most. Here’s where they truly shine:
- Holiday Dinners: The gentle sweetness supports savory dishes without overpowering them.
- Sliders & Pulled Pork: Soft to bite, sturdy enough for fillings.
- Thanksgiving & Easter: An easy shared gluten-free dinner roll option.
- BBQ Sides: Absorbs sauces while staying fluffy.
- Meal-prep Sandwiches: Slices cleanly and reheats well.
What Makes Gluten-Free Hawaiian Bread Different
Gluten-free Hawaiian bread belongs to the enriched bread family. It contains eggs, fat, and sugar, which create a softer crumb than standard sandwich bread while keeping the sweetness low enough for meals rather than desserts.
Enriched doughs stay tender because fats slow firming and specialized gluten-free binders help hold moisture and structure during baking.
The result sits between plain dinner rolls and sweet pastry. It’s lightly sweet, soft, and designed to accompany food rather than replace it.
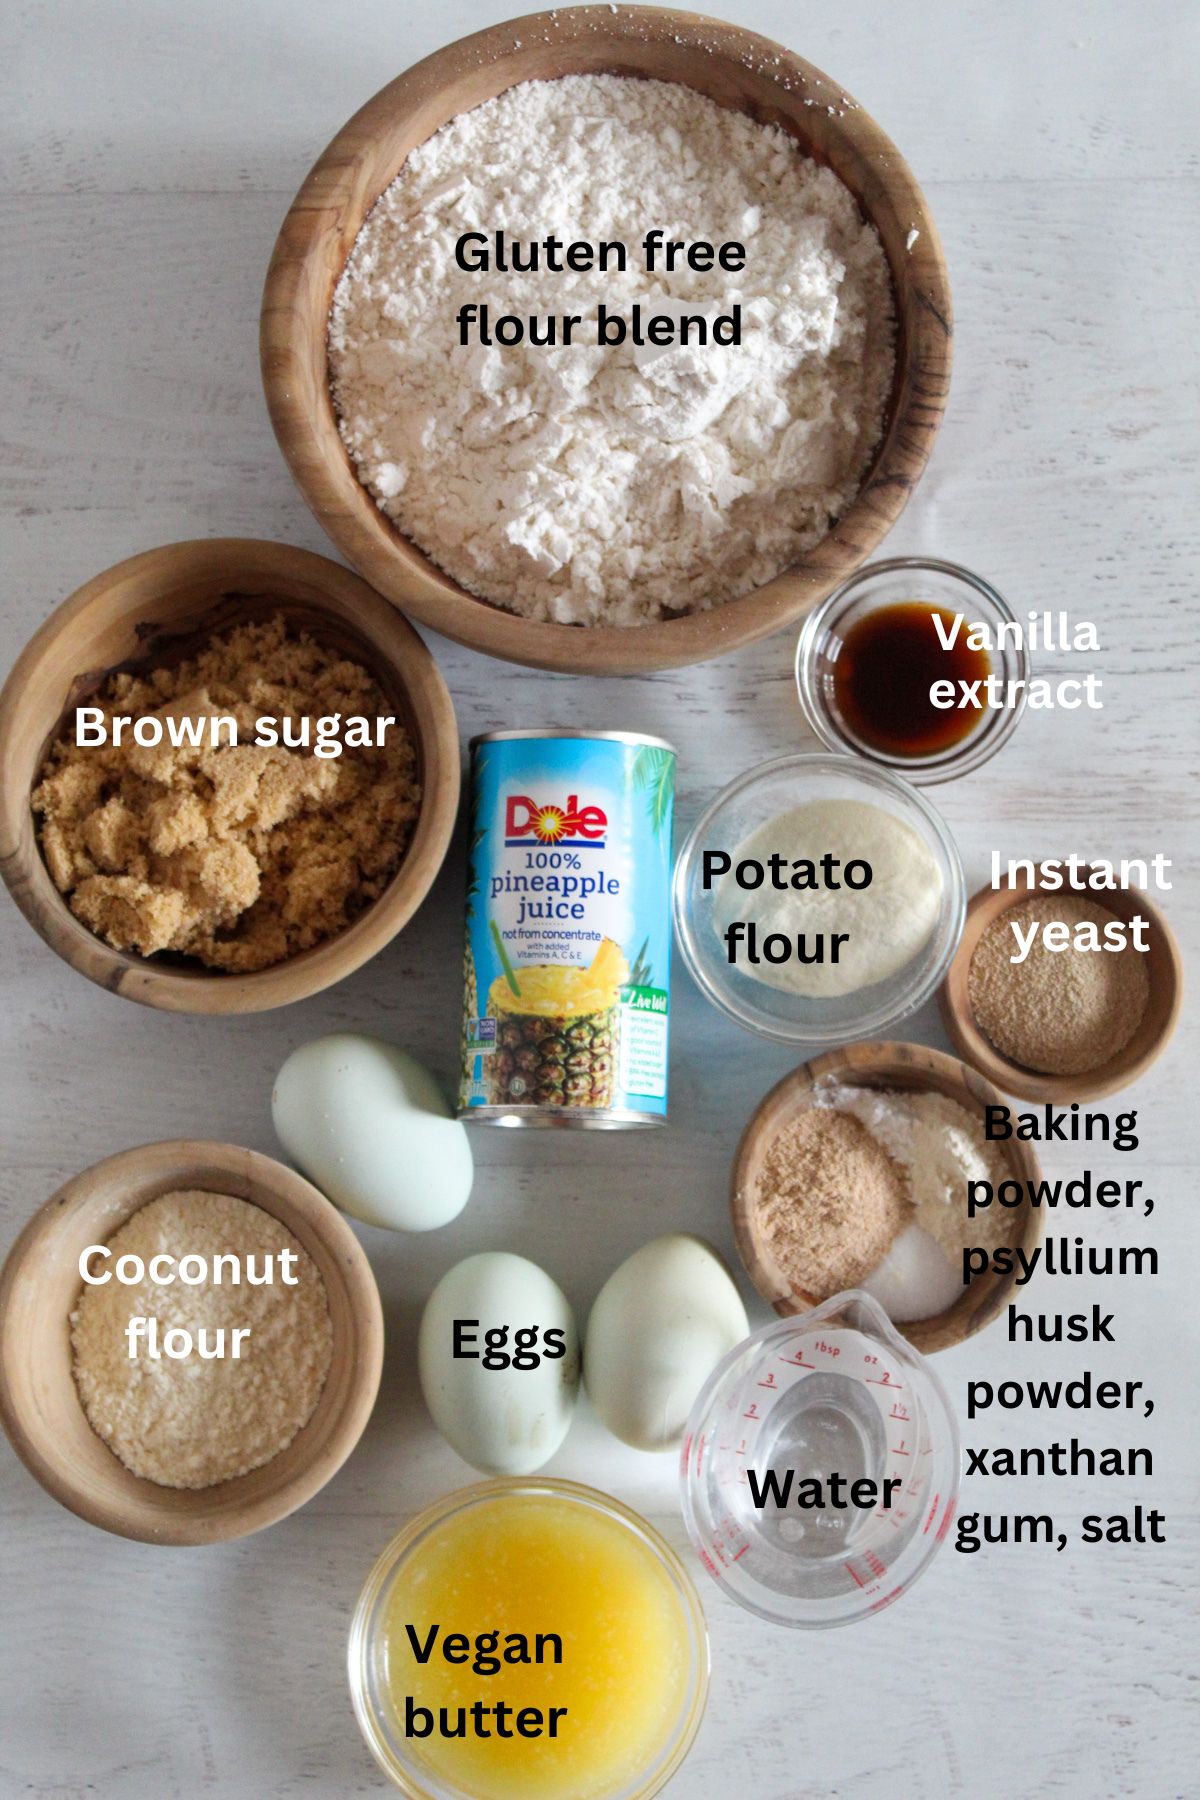
Quick Ingredient Snapshot
Before we get into the technique, below is a quick look at what gives this gluten-free Hawaiian bread its flavor and texture:
- Pineapple juice
- Warm water
- Vegan butter
- Brown sugar
- Eggs
- Vanilla extract
- Gluten-free flour blend
- Potato flour
- Coconut flour
- Instant yeast
- Psyllium husk powder
- Baking powder
- Xanthan gum
- Salt
This recipe pairs well with a darker bread, like gluten-free pumpernickel, if you enjoy baking a variety of everyday loaves.
Ingredients & Substitutions
Each ingredient here affects either flavor, softness, or how easily the dough can be handled. Small swaps are possible, but changing structural ingredients will noticeably alter the loaf.
Key Ingredients and What They Do
Each ingredient in this recipe plays a specific role in creating structure, softness, and that signature slightly sweet flavor. Here’s how they work together.
Pineapple Juice
It provides the signature mild sweetness and light flavor.
Brown Sugar
It adds warmth and depth, so the bread tastes rich rather than plain.
Eggs
They improve tenderness and help the loaf feel satisfying.
Butter (or Dairy-Free Alternative)
It keeps the crumb soft and prevents it from drying out.
Gluten-Free Flour Blend
It forms the main body of the bread and determines overall texture.
Potato Flour
It keeps the interior soft and pleasant to bite.
Coconut Flour
It balances moisture so the loaf doesn’t feel wet or heavy.
Psyllium Husk & Xanthan Gum
They allow the dough to hold together for shaping and clean slicing.
Substitutions (What Changes)
Flavor Changes Only
- Replacing pineapple juice makes the bread milder.
- Reducing sugar results in a less characteristic Hawaiian flavor.
Handling Changes
- Removing psyllium makes the dough difficult to shape.
- Skipping xanthan gum makes the slices fragile.
Best Kept the Same
- Gluten-free flour blend ratio
- Coconut flour amount
Keeping these stable produces the most consistent results. Read our baking substitute guide for a deeper breakdown of how ingredient swaps affect gluten-free dough behavior.
Why This Recipe Works
Gluten-free bread succeeds when three stages happen in order.
First, the flour fully hydrates. The dough looks wetter than wheat dough because starches must absorb water before they can hold air, and hydration strongly influences final loaf quality.
Next, fermentation expands the dough. The rise should be moderate, not dramatic, since overexpansion weakens the structure.
Finally, heat sets the loaf. During baking, the hydrated starch firms and locks the air pockets in place, a process known as starch gelatinization. After baking, cooling finishes stabilizing the crumb so slices hold together instead of turning gummy.
Printable Gluten Free Hawaiian Bread Recipe Card
Ingredients
- 3/4 cup pineapple juice one 6 oz. can
- ¼ cup water warmed to 110F
- 4 Tablespoons vegan butter melted
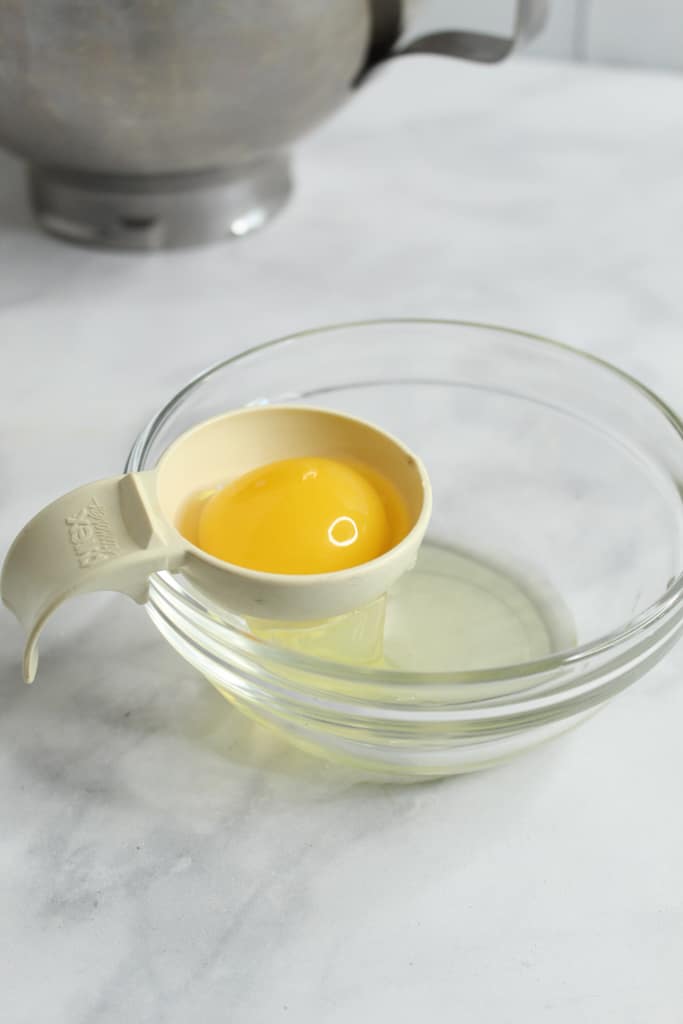
- 3 large eggs 2 whole eggs and 1 egg yolk, white reserved
- 70 grams brown sugar about 1/3 cup
- 2 teaspoons pure vanilla extract
- 260 grams gluten-free flour mix about 2 cups
- 17 grams potato flour about 2 Tablespoons
- 12 grams coconut flour about 2 Tablespoons
- 2 1/4 teaspoons instant yeast also called fast acting
- 2 teaspoons psyllium husk powder
- 1 teaspoon baking powder
- 1 teaspoon xanthan gum
- 1 teaspoon salt
Instructions
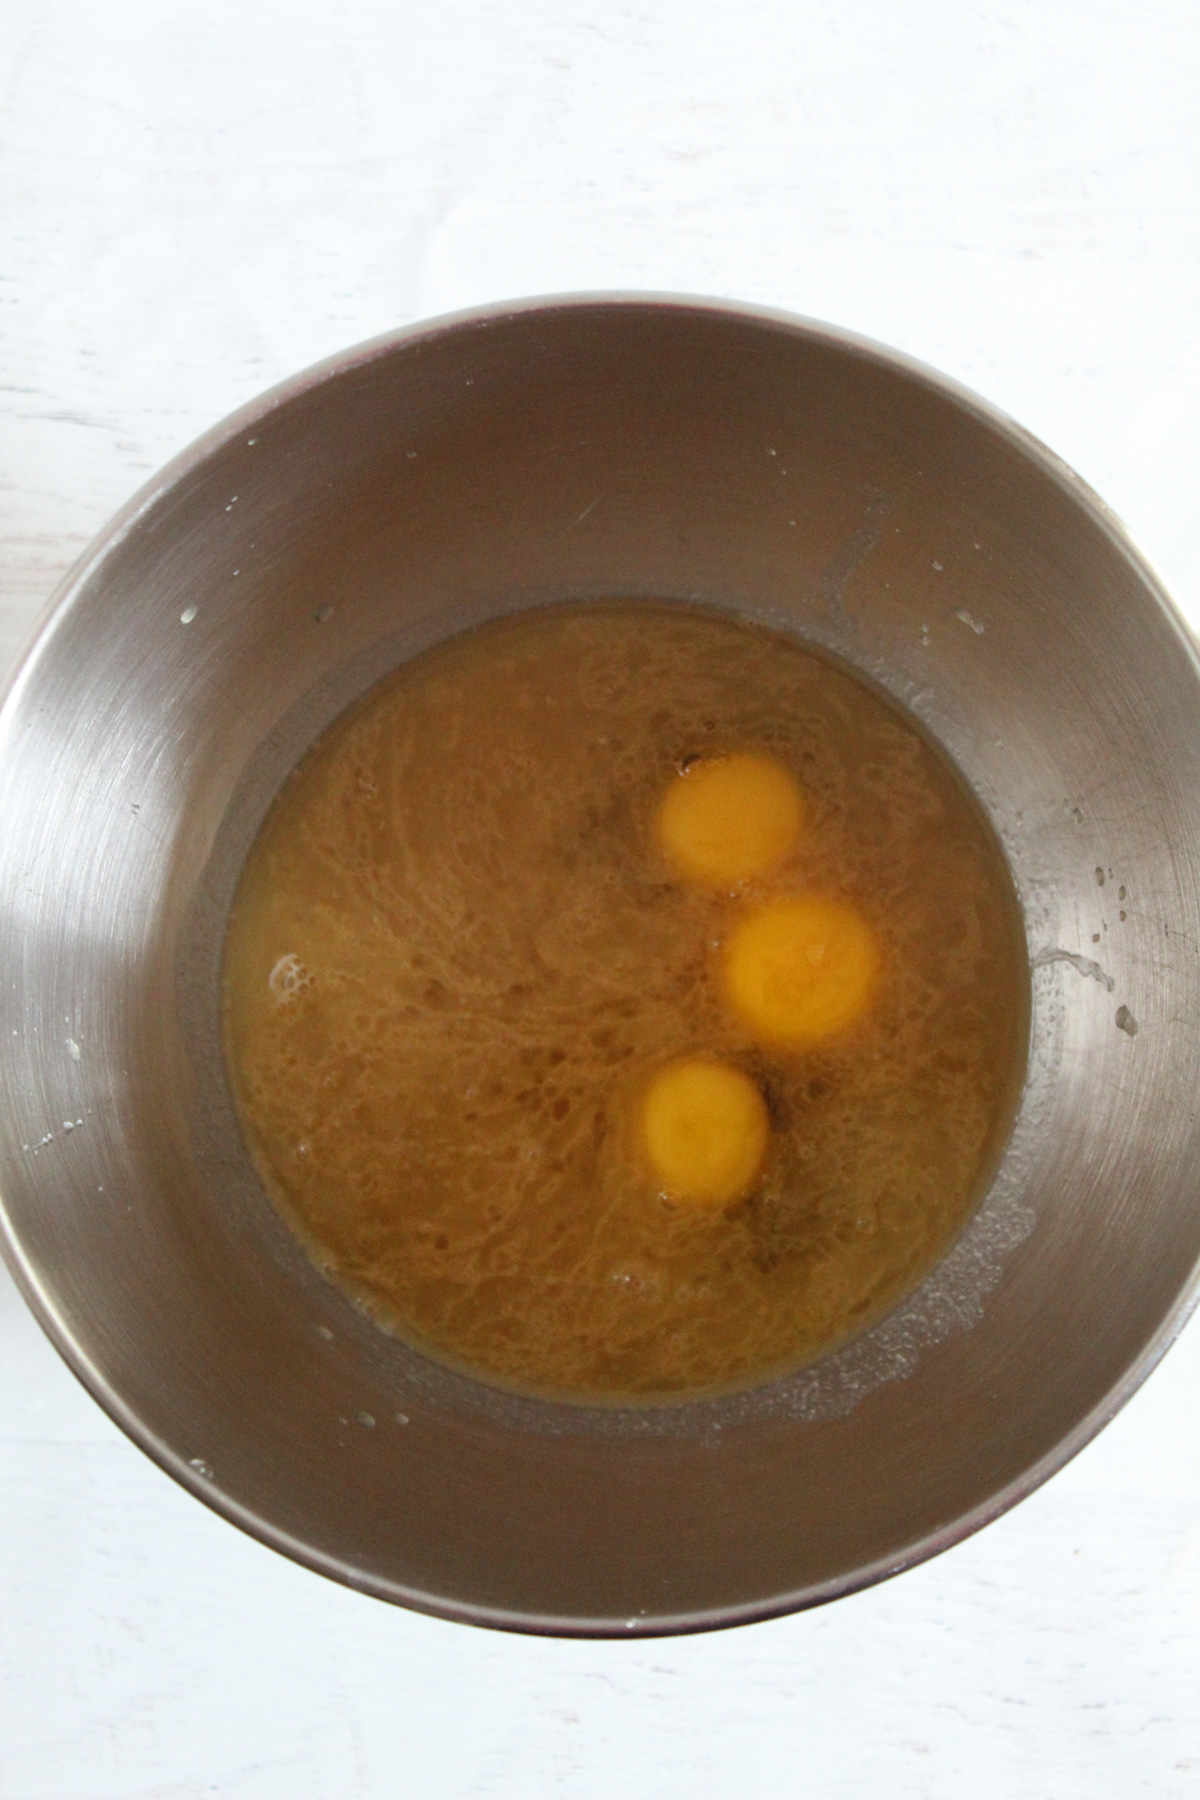
- Combine Wet Ingredients: In the bowl of a stand mixer, add the pineapple juice, water, melted butter, 2 eggs, 1 egg yolk (reserve the egg white), brown sugar, and vanilla. Mix on medium speed for 1 minute, until fully combined.
- Combine Dry Ingredients: In a medium bowl, whisk together the gluten-free flour mix, potato flour, coconut flour, instant yeast, psyllium husk powder, baking powder, xanthan gum, and salt.
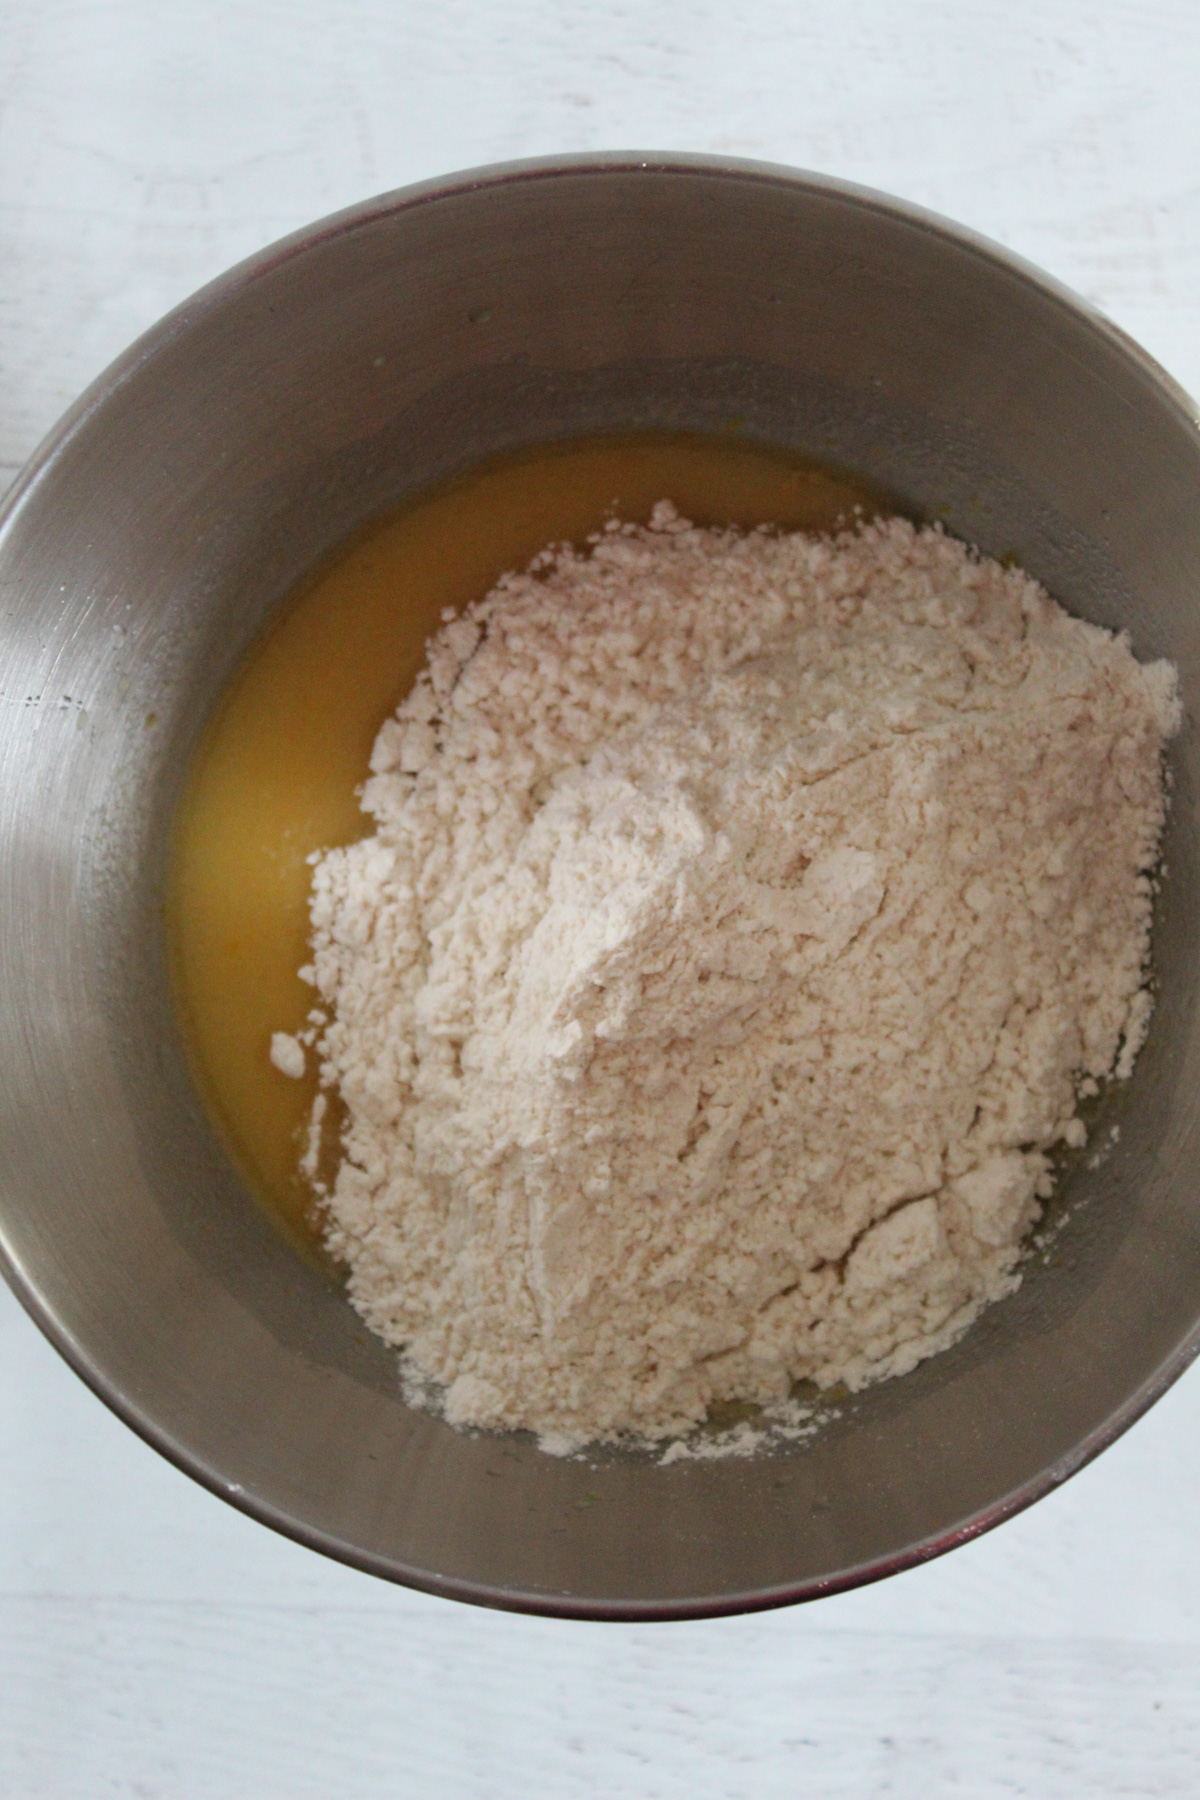
- Mix Dry and Wet Ingredients: Add the dry ingredients to the wet ingredients, then beat on low speed for 30 seconds, then on medium for 3 minutes
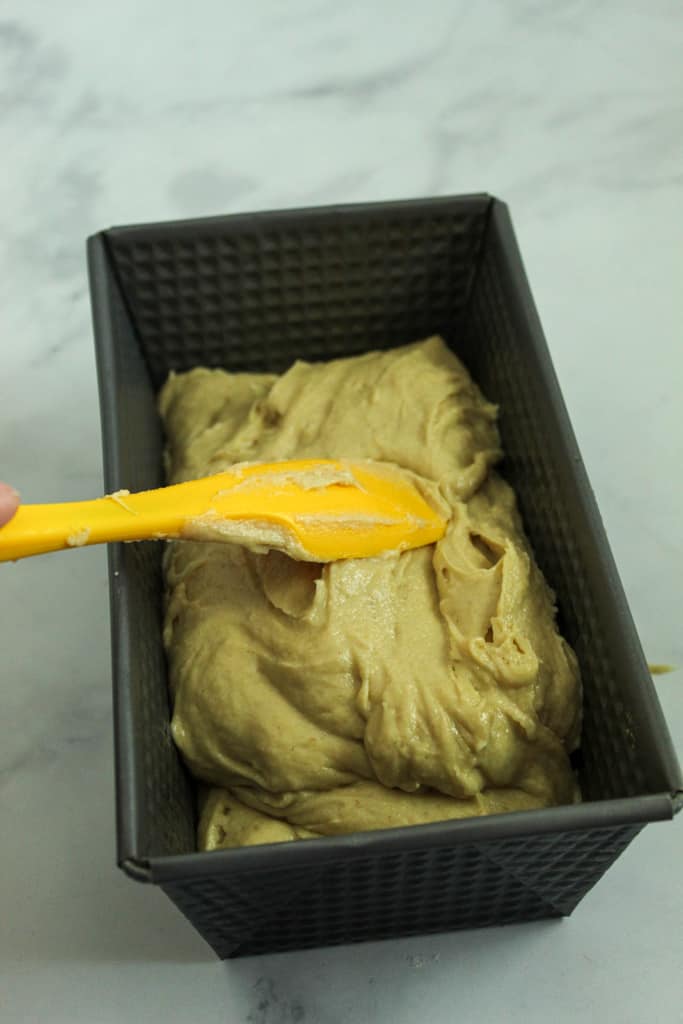
- Transfer to the Pan: Transfer the mixture to a greased 8” x 4.5” loaf pan and smooth the top.
- Let the Dough Rise: Cover the pan with a tea towel and let it rise for about 30 minutes, until the dough reaches the rim of the pan.
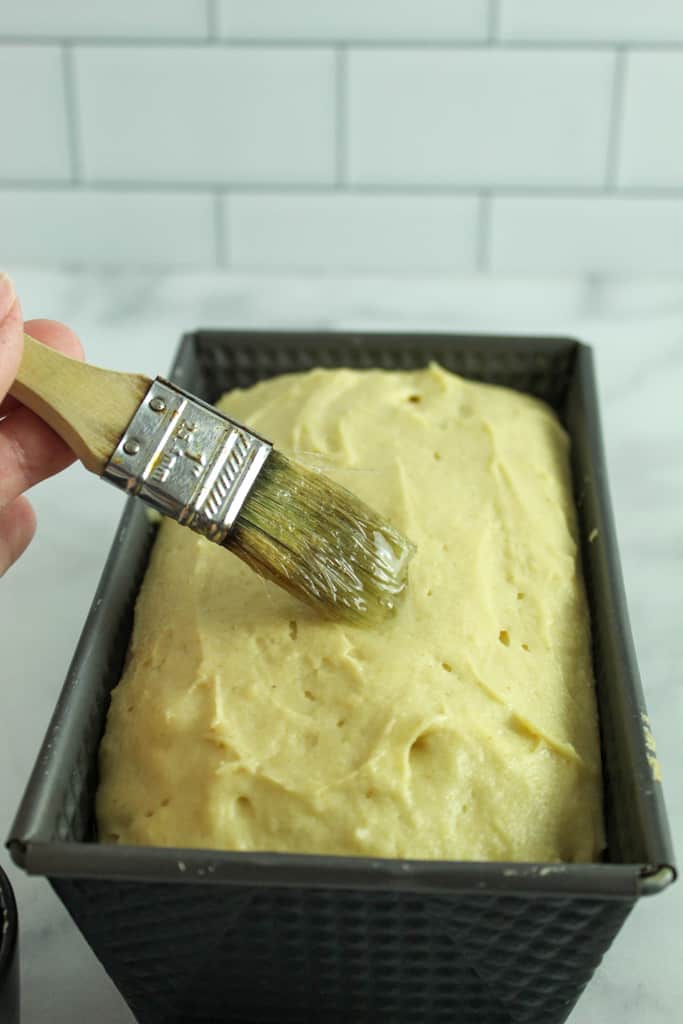
- Brush with Egg White: Brush the dough with reserved egg white.
- Bake Until Fully Set: Bake it at 350°F for 45 minutes until the internal temperature reaches 205–210°F.
- Cool Before Slicing: After it’s finished baking, let the loaf cool in the pan on a wire rack for 15 minutes. Let it cool completely before slicing.
Notes
Critical Steps
- Weigh flour for accuracy.
- Do not over-rise the dough.
- Cool fully before cutting.
Doneness Cues
- Deep golden top
- Internal temperature above 205°F
- Loaf pulls slightly from the edges of the pan.
Nutrition (Per Slice — 1/12 loaf)
These are the approximate values calculated using recipe nutrition analyzers:- Calories: 165 kcal
- Carbohydrates: 27 g
- Protein: 3 g
- Fat: 5 g
- Sugar: 8 g
- Fiber: 2 g
- Sodium: 210 mg
Nutrition
Essential Kitchen Tools
These helpful tools below make consistency easier, especially for soft gluten-free Hawaiian rolls:
Fresh Bread on Your Schedule
Planning a fresh loaf for breakfast, a gathering, or dinner doesn’t mean you have to mix the dough at the last minute. You can prepare the dough ahead of time and bake it when it fits your schedule.
Overnight Preparation
After mixing, transfer the dough to the pan and cover it lightly. Place it in the refrigerator before the rise begins. The cold slows activity while the dough continues hydrating overnight.
When ready to bake, remove it from the refrigerator and let it sit at room temperature until it rises to the rim of the pan, then bake as directed.
Same-Day Advance Prep
You can also mix the dough a few hours ahead and keep it covered in a cool room. Once it has risen, bake immediately to keep the crumb soft and the structure stable.
Coordinating Multiple Bakes
This timing method is helpful when preparing multiple items. For example, you can prepare the bread earlier and bake it fresh while finishing a quicker recipe like Gluten-Free Pumpkin Donuts closer to serving time.
Preparing the dough ahead of time shifts the timing of mixing, and the bread still bakes fresh.
Choosing the Right Pan
Not every kitchen has the same pans, and this dough adapts well as long as you adjust expectations slightly—the shape you choose mainly changes baking time and height, not the texture.

8×4 vs 9×5 Loaf Pan
An 8×4 pan produces a taller loaf with a softer center. Expect a slightly longer bake time and a more rounded top.
On the other hand, a 9×5 pan creates a wider, shorter loaf that bakes a bit faster and slices easily for sandwiches. Both work, but the difference is simply height and timing.
Rolls Instead of a Loaf
Divide the dough into portions and place them close together in a pan. Because smaller pieces heat faster, rolls bake sooner than a full loaf and develop a softer crust.
Mini Loaf Conversion
For mini pans, fill each about two-thirds full and begin checking early. Smaller loaves bake quickly and are helpful when preparing multiple items at once, such as breakfast alongside Gluten-Free Pumpkin Waffles.
Step-By-Step Instructions
Now it’s time to bring everything together. Follow the steps below in order, watching for the visual cues along the way, as they matter more than rushing the timing.
Step 1: Mix the Liquid Base
Whisk the liquid ingredients until smooth and uniform in color.
Step 2: Blend the Dry Ingredients
Combine all dry ingredients until evenly blended with no clumps.

Step 3: Form the Dough
Mix wet and dry together until a thick sticky dough forms and slowly drops from the paddle.
Step 4: Transfer to the Pan
Spread dough into a greased pan and smooth the surface with a damp spatula.
Step 5: Let the Dough Rise
Let rise until level with the pan rim and slightly domed.
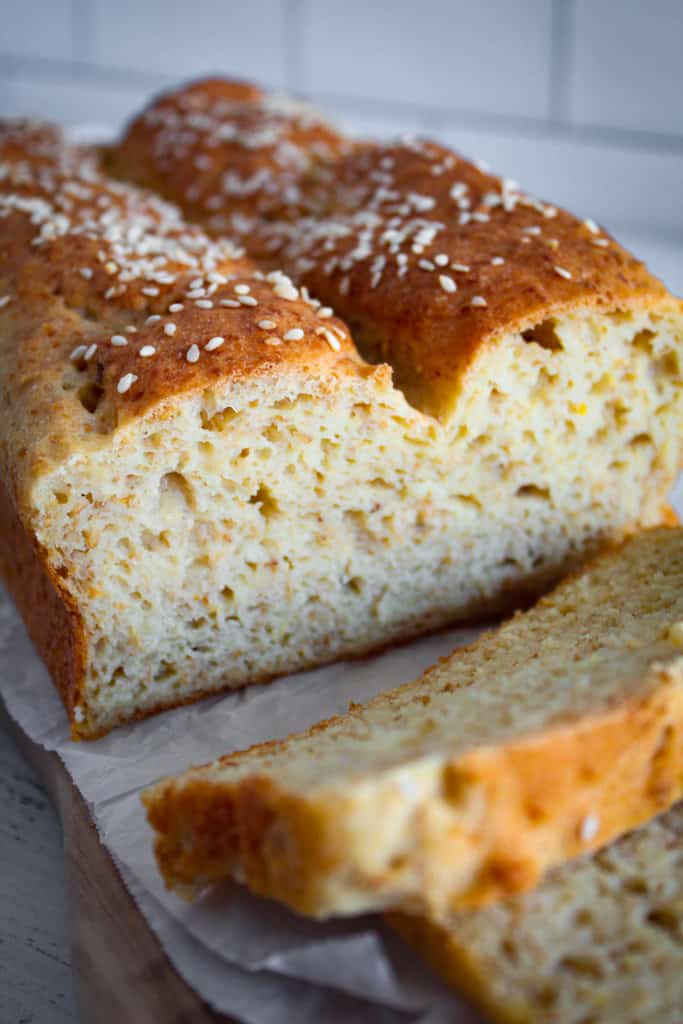
Step 6: Prepare the Top
Brush lightly with egg white without deflating the dough.
Step 7: Bake the Loaf
Bake at 350°F until deep golden and internal temperature reaches 205–210°F.
Step 8: Cool Before Slicing
Cool fully on a rack before slicing.
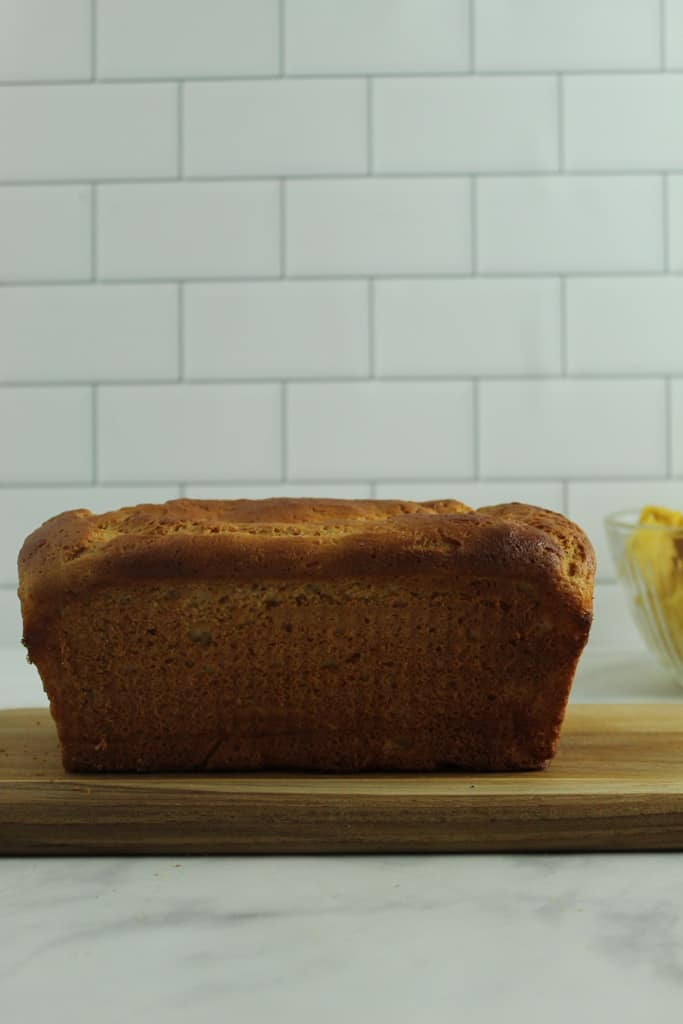
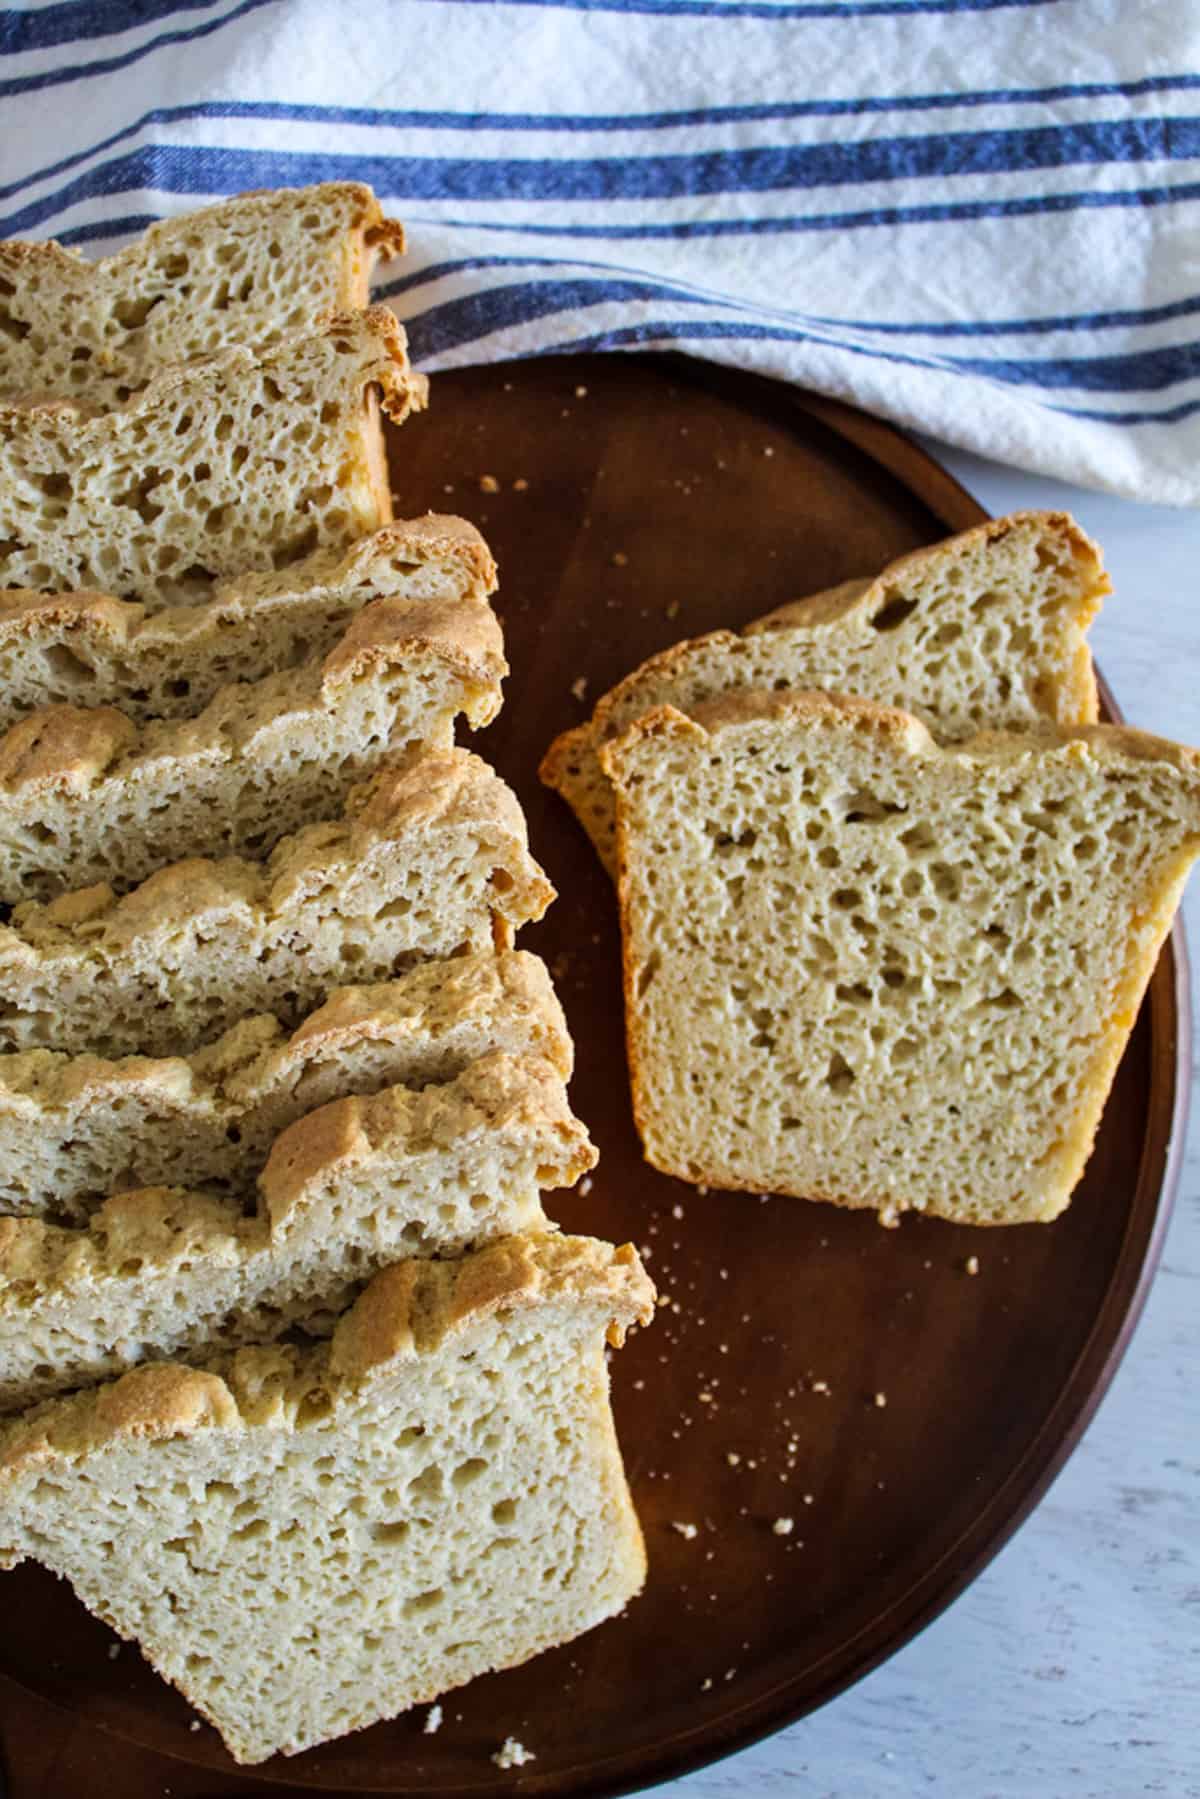
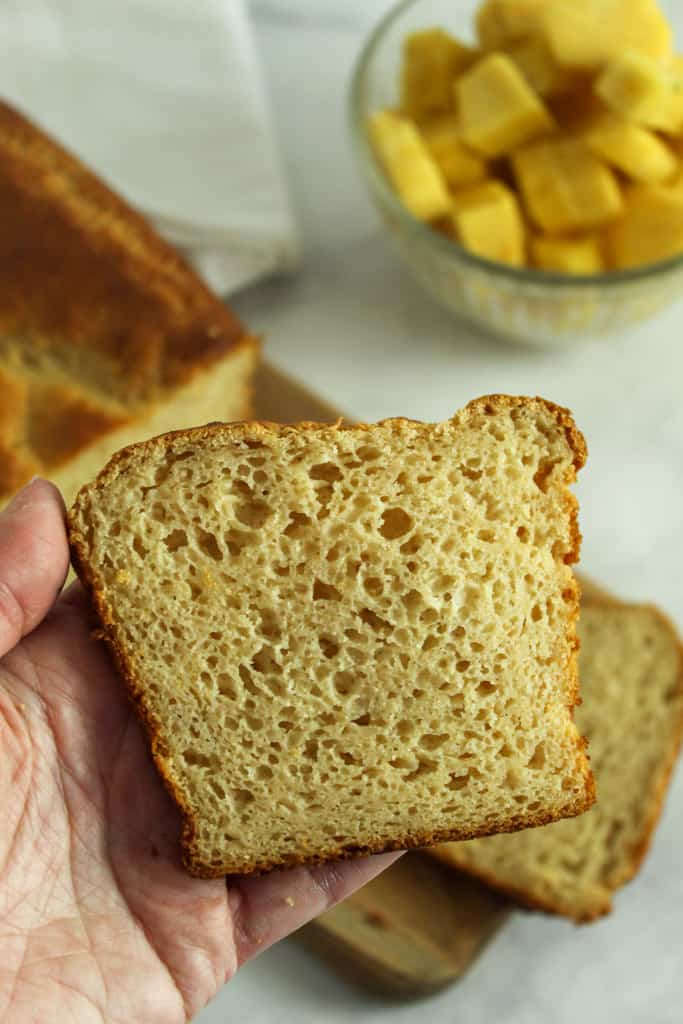
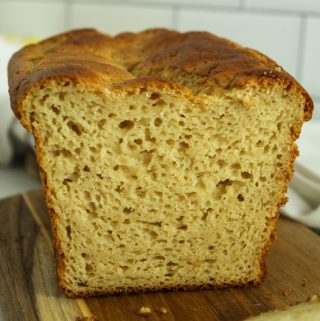
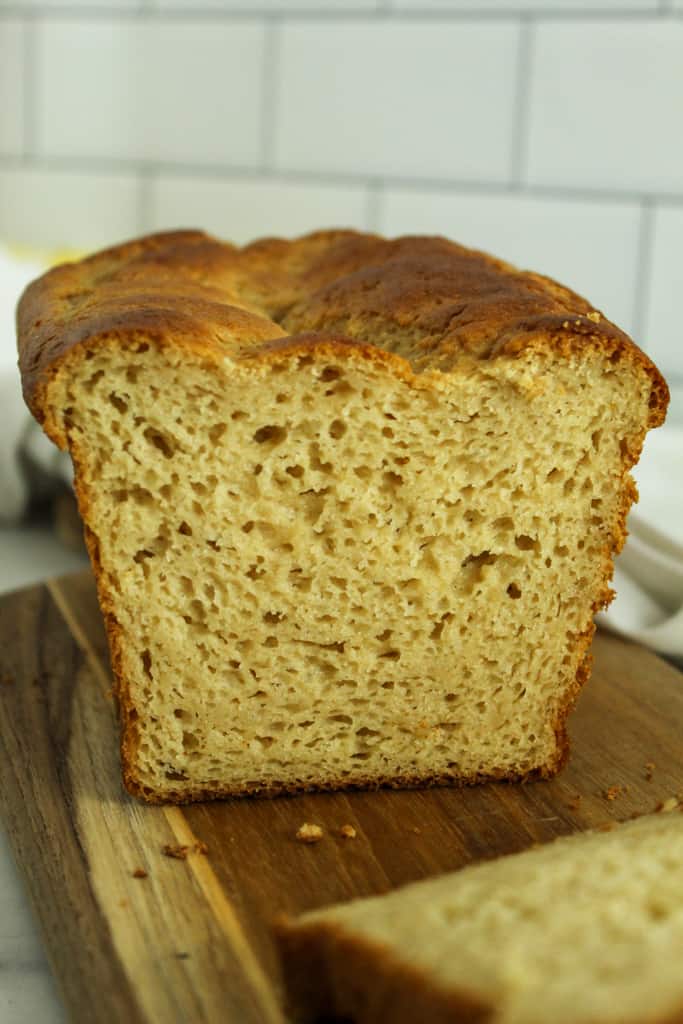
What the Finished Texture Should Be Like
A finished loaf feels soft and springy when pressed. Also, it separates cleanly rather than stretching into strands. Once cool, slices hold their shape and feel tender rather than crumbly.
If your loaf matches the texture described in this guide to soft gluten-free sandwich bread texture, you’re on the right track. A similar gentle crumb is also explained in our article on achieving tender gluten-free bread.
Avoid These Common Mistakes
Before baking, a few small habits make the difference between a soft loaf and a disappointing one. These aren’t problems to fix later; they’re easy adjustments that prevent issues from happening in the first place.
Adding Extra Flour to Sticky Dough
Gluten-free dough feels softer than wheat dough. Adding more flour to make it feel familiar makes the loaf dense instead of tender. Leave the dough as mixed.
Letting It Rise “Extra” for a Bigger Loaf
Waiting past the pan rim doesn’t create a taller loaf; it weakens the structure and leads to collapse in the oven. Bake once it reaches height, not after.
Slicing While Warm
The crumb is still setting when hot. Cutting early compresses the interior and makes the texture heavy. Hence, let it cool completely before slicing.
Starting With Cold Ingredients
Very cold liquids slow the rise and lead to an uneven texture. Room-temperature ingredients help the dough expand evenly.
Keeping these in mind makes baking more predictable, especially when preparing other items at the same time, like Healthy Teff Pancakes.
How to Tell It’s Fully Baked Without a Thermometer
An internal temperature check is the most precise method, but you can still judge doneness confidently using visual and touch cues.
Look at the Color
The top should be evenly golden, not pale. The edges will appear slightly darker than the center.
Check the Sides
The loaf should pull just slightly away from the pan. If the sides still look wet or pressed tightly against the pan, it needs more time.
Tap the Bottom
After removing from the pan, tap the bottom gently. A finished loaf sounds light and hollow rather than soft or dense.
Press the Surface
Lightly press the top; it should spring back instead of leaving an indentation.
These cues are useful anytime you’re baking without specialized tools, whether making bread or smaller bakes like Gluten-Free Sugar Cookies.
Fixing Dense, Gummy, or Flat Gluten-Free Rolls
Small changes in timing or temperature can affect the final result. Fortunately, you can match what you see to the quick fix below.
If you want deeper shaping and handling guidance, similar cues appear in recipes like this gluten-free buckwheat bread.
Dense loaf
- What Causes It: Insufficient rise
- How to Fix It: Wait until the dough reaches the rim of the pan before baking.
You can compare your dough to typical proofing stages in this guide to gluten-free bread proofing.
Gummy Interior
- What Causes It: Sliced before fully cooled or underbaked
- How to Fix It: Bake to 205–210°F and cool completely.
Flat Loaf
- What Causes It: overproofed before baking.
- How to Fix It: Bake once risen, not after collapse.
If you’re unsure, this article on over-proofed gluten-free bread can help.
Dry Texture
- What Causes It: Excess flour
- How to Fix It: Measure flour by weight.
Sticky Dough
- What Causes It: Normal hydration
- How to Fix It: Do not add extra flour.
Mixing Methods and Equipment
Hand mixing works by stirring firmly until the dough becomes uniform. A simple bowl and sturdy spoon are enough for this method. You can see a similar hand-mixed approach in our gluten-free artisan bread recipe.
A stand mixer gives the smoothest consistency and most reliable rise. Many gluten-free loaves benefit from paddle mixing, as shown in our soft vegan sandwich bread method.
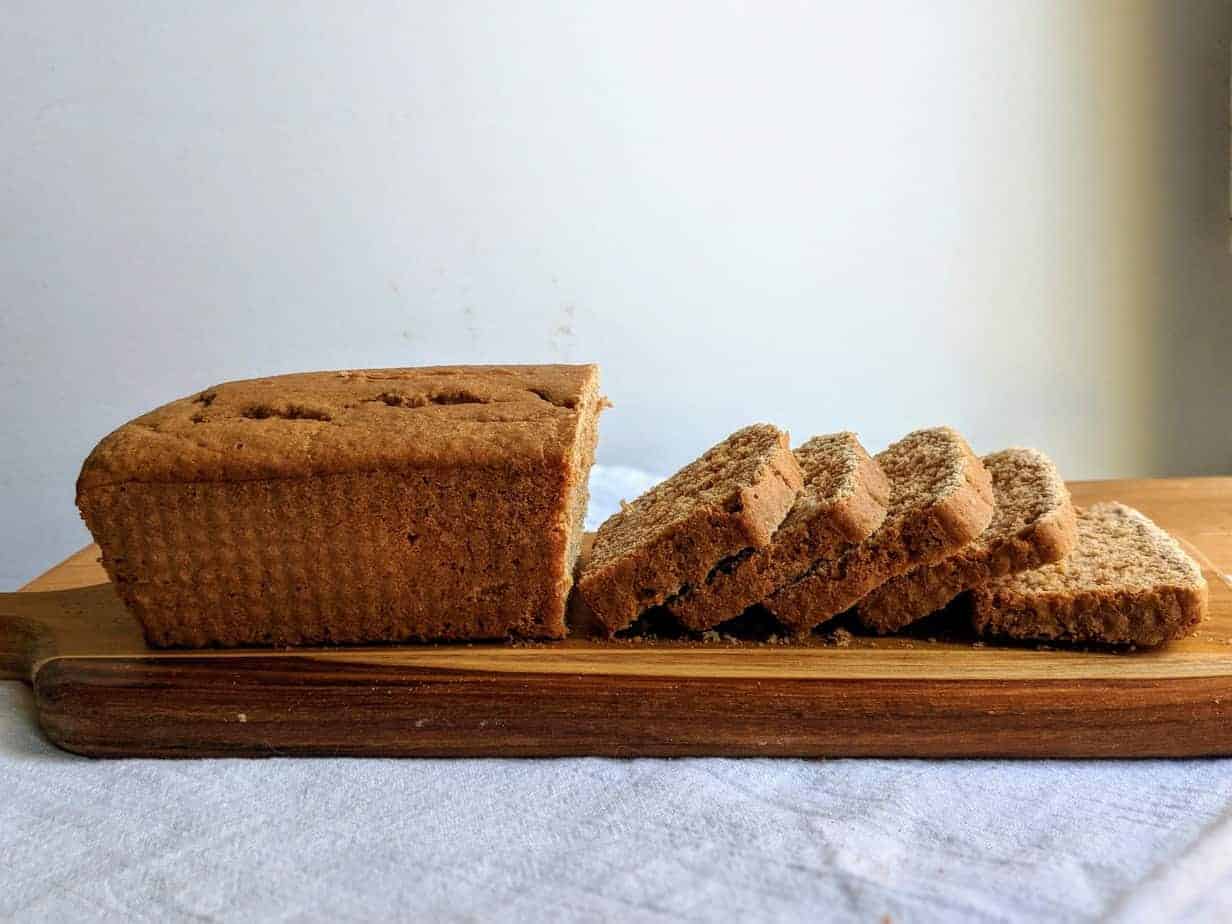
Bread machines can mix and proof, but oven baking produces the best crust and texture. For comparison, our gluten-free brown bread recipe demonstrates mixing in a machine before baking separately.
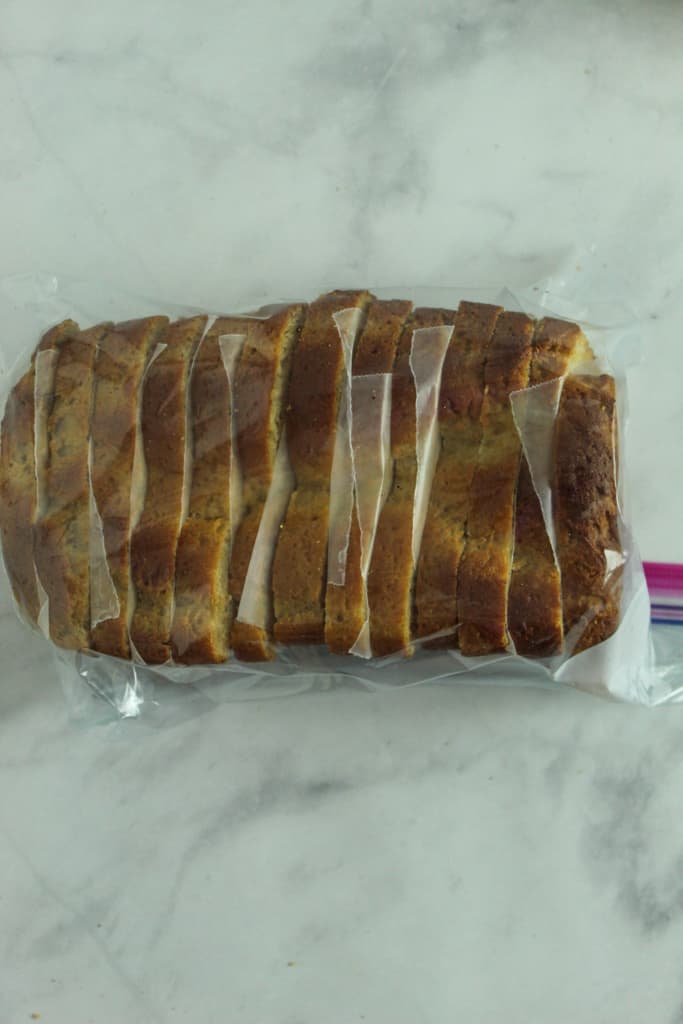
How to Store, Freeze, and Reheat Gluten-Free Hawaiian Bread
Store airtight at room temperature for up to 2 days. Our gluten-free bread storage guide shows that properly sealing keeps the crumb soft.
Refrigeration firms the crumb faster and is not recommended. Meanwhile, for longer storage, freeze slices and reheat gently to restore softness.
Ways to Shape and Serve Gluten-Free Hawaiian Bread
After baking, this bread can be used in various ways. The mild sweetness pairs well with a variety of meals, so that a single batch can cover several occasions.
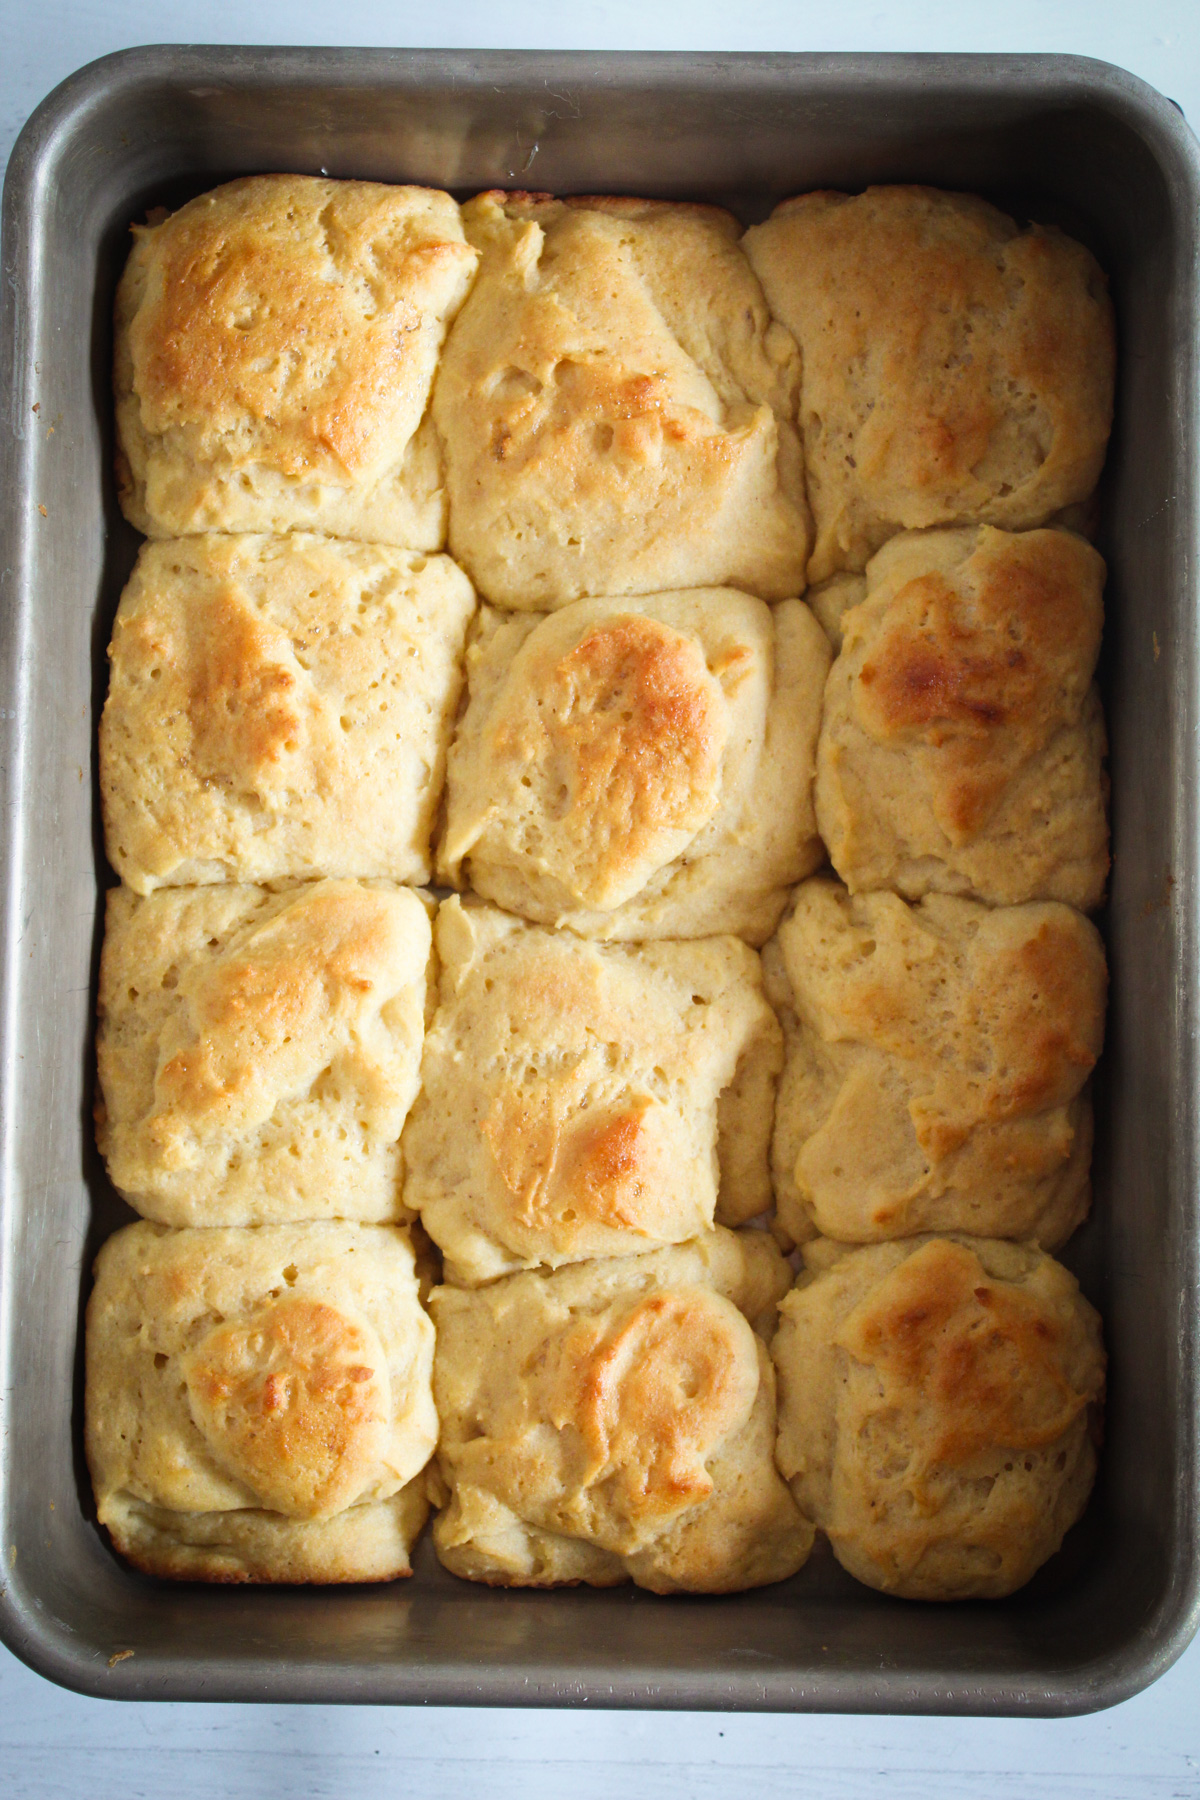
Slider Rolls
Divide the dough into small portions before proofing and bake them close together in a pan. They pull apart into soft mini rolls suited for pulled meats or roasted vegetables.
Burger Buns
Shape into individual rounds and bake on a lined baking tray rather than in a loaf pan. The bread holds the fillings well while remaining tender.
Breakfast Sandwiches
Slice and toast lightly, then fill with eggs or spreads for an easy morning meal.
French Toast Rolls
Thick slices soak custard evenly and brown without falling apart.
Garlic Butter Dinner Rolls
Brush warm slices with melted butter, garlic, and herbs, then warm briefly before serving.
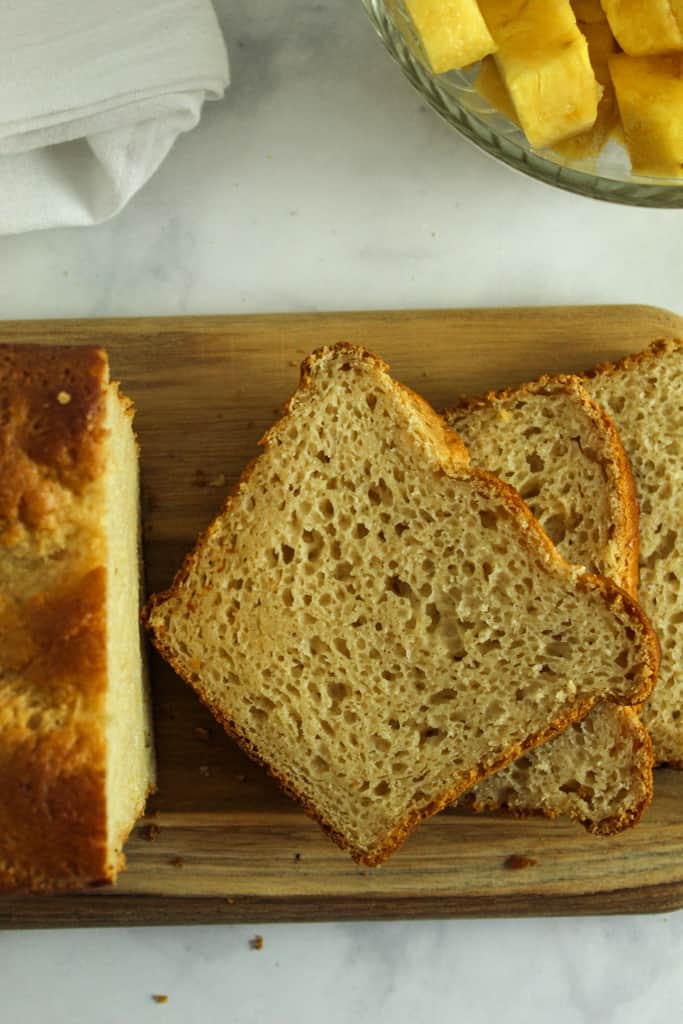
What to Serve With It
Once baked, this bread pairs best with foods that highlight its gentle sweetness rather than overpower it. Choosing the right pairing turns it from a side into part of the meal.
With Soups and Warm Meals
Soft slices pair well with tomato soups, stews, and roasted vegetables. The crumb absorbs broth easily while staying tender.
Holiday Plates
Serve alongside roasted meats, vegetables, or savory casseroles. The mild sweetness balances salty dishes without competing for attention.
Breakfast Spreads
Lightly toast and add butter, fruit preserves, or nut butter for a simple morning option. It also works with eggs and mild cheeses.
Sweet Finishes
For dessert-style serving, toast and top with whipped cream or fruit. You can also pair it with a richer bake like Gluten-Free Chocolate Pie for contrast.
Customize the Flavor
Once you’re comfortable with the base loaf, you can adjust the flavor without changing how the bread behaves. These options keep the structure stable while letting you adjust the taste to different meals or occasions.
Honey Version
Replace part of the sugar with honey for a warmer, slightly richer sweetness. The crumb stays soft, but the flavor becomes more rounded and mellow.
Dairy-Free Adjustment
Use a plant-based butter alternative with similar fat content. The texture remains tender while remaining suitable for dairy-free diets.
Savory Variation
Reduce the sugar slightly and add herbs such as garlic powder, rosemary, or dried onion. This turns the loaf into a more neutral dinner bread that pairs well with soups and savory spreads.
Sweeter Breakfast Style
Increase the vanilla slightly and add a sprinkle of cinnamon for a breakfast-leaning loaf. Serve toasted with fruit or jam, or alongside a morning bake like Almond Flour Coffee Cake.
Baking Questions Answered
The following are quick answers to common questions about gluten-free Hawaiian bread. For deeper fixes, see the troubleshooting section above.
Can I Substitute Ingredients?
Some swaps work, but they change flavor or texture. For example, replacing pineapple juice makes the bread milder, while altering structural ingredients changes consistency.
Can I Double the Recipe?
Yes. Bake the dough in separate pans rather than one large loaf so the center cooks evenly.
Can I Shape This Into Rolls Instead of a Loaf?
Yes. Divide the dough before proofing and place portions close together so they support each other while baking. A similar shaping method appears in this gluten-free dinner roll tutorial.
Why Does the Flavor Improve the Next Day?
After cooling, moisture redistributes through the loaf, making the crumb taste smoother and more balanced.
Can I Reduce the Sweetness Further?
Yes, but the bread will taste more like a standard dinner roll than Hawaiian-style bread.
Is This Recipe Suitable for Sandwiches?
Yes. Once cooled, it slices cleanly and holds fillings without crumbling.
Can I Make this Without Eggs?
Egg replacements can work, but they will change the texture. Expect a slightly less tender crumb and reduced richness.
Can I Bake this in a Glass Pan?
Yes, but it may bake slightly faster and brown more on the edges. Begin checking a few minutes earlier.
Related Recipes & Guides
Did you enjoy making your gluten-free Hawaiian bread? Building a small rotation of dependable recipes makes everyday meals easier. Each of the guides below expands on a different part of gluten-free baking, from shaping to flour balance.
- Hearty Fluffy Oatmeal Rolls — Soft pull-apart rolls with a mild oat flavor that work well alongside savory meals.
- Gluten-Free Cinnamon Rolls Without Yeast — A quicker sweet roll option when you want a soft-baked treat without waiting for yeast.
- Gluten-Free Banana Bread — Moist, gently sweetened loaf, perfect for breakfast slices or snacks.
- Gluten-Free Cornbread Dressing — Savory, baked stuffing-style dish ideal for holiday meals.
- Gluten-Free Coconut Flour Pizza Crust — A sturdy crust option for homemade pizzas and flatbread toppings.
- Almond Flour Crepes — Thin, flexible crepes suitable for both sweet and savory fillings.
- Lemon Chia Seed Muffins — Light citrus muffins with a gentle crunch from chia seeds.
- Vegan Pumpkin Muffins — Soft dairy-free muffins with warm seasonal spices.
Keep a few of these in your regular rotation, and you’ll always have a dependable option for breakfast, dinner, or something in between.
Share Your Results
If you baked it, we’d love to hear how it turned out. Did the crumb feel soft? Did it slice cleanly after cooling? Did you shape it into rolls or keep it as a loaf?
You can leave a note in the comments to share your baking results, ask questions, or describe anything that felt confusing along the way. Your feedback also helps other readers troubleshoot faster.