If you’ve baked gluten-free french baguette before, you’ve probably met a loaf that’s dense, crumbly, or gummy instead of light and sliceable. That frustration can make gluten-free baking feel like an endless cycle of trial and error.
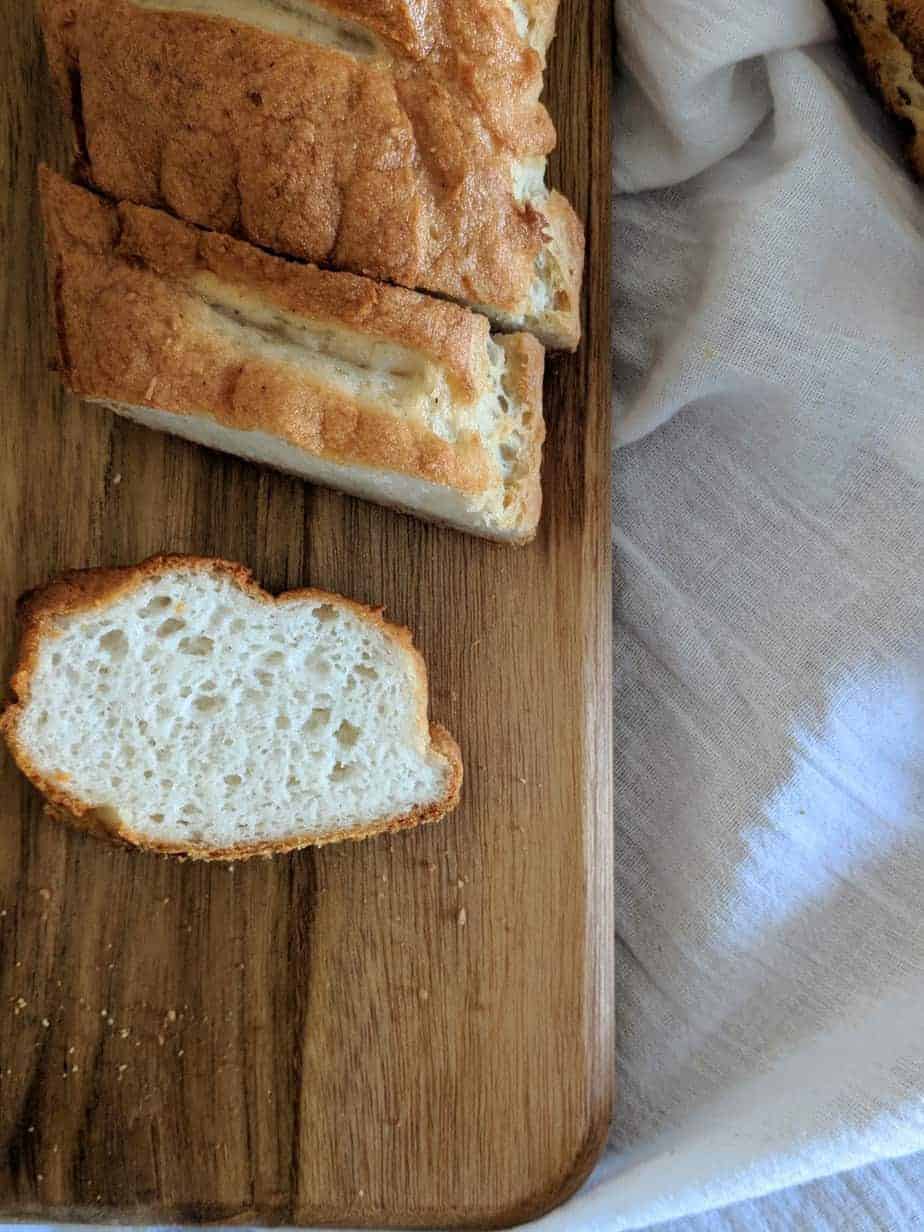
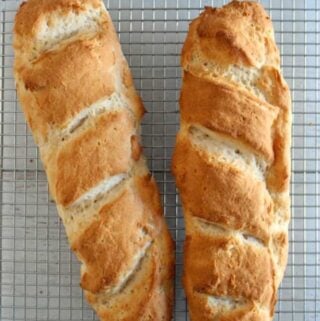
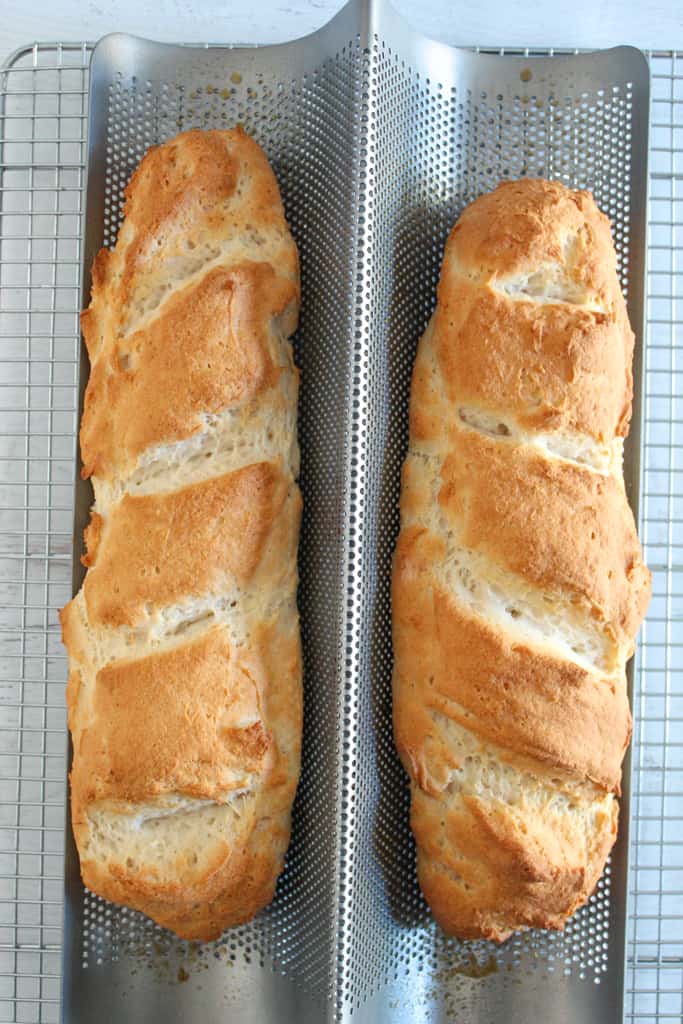
This Golden Gluten-Free French Baguette was developed specifically to break that pattern. It bakes up with a crisp, golden crust and a soft, reliable crumb, without dairy and without guesswork.
Table of Contents
After testing dozens of variations and dialing in hydration and structure, this version delivers the texture most gluten-free recipes miss. Before we go into details, let’s take a quick look at the core ingredients that make it work.
Why You’ll Love This Gluten-Free French Baguette
- Bakes up light and sliceable, not dense or gummy
- Uses simple, accessible gluten-free ingredients
- Holds its shape for sandwiches, toast, or dipping
- Naturally dairy-free with no compromise on texture
- Tested for consistent results, even for first-time bakers
Ingredient Quick Scan
This gluten-free french baguette relies on structure-building ingredients rather than eggs or gums. The combination below replaces gluten’s role using hydration and psyllium-based binding.
Core Ingredients
- Olive oil
- Gluten-free flour blend (without xanthan gum)
- Psyllium husk powder
- Active dry yeast
- Sugar or honey (small amount, for yeast support)
- Warm water
- Salt
Psyllium husk plays a major role in preventing collapse and gumminess in gluten-free yeast bread. If you’re curious why texture issues happen in the first place, this breakdown on why gluten-free bread turns gummy explains the science clearly.
Why No Eggs, Butter, Or Xanthan Gum?
This recipe uses psyllium husk as the primary binder, which replaces both gluten and egg structure. Adding xanthan gum or eggs alongside psyllium often leads to dense or gummy crumb in yeast breads. Olive oil provides sufficient fat for tenderness without dairy.
Now that you’ve seen the essentials at a glance, let’s break down each ingredient in detail and walk through possible substitutions.
What Is Inside a Gluten-Free Flour Blend?
Not all gluten-free flour blends are the same, and this matters for structure. A standard gluten-free all-purpose flour blend usually contains the following:
- Base Flours (Structure): Rice flour, sorghum flour, millet flour.
- Starches (Lightness): Tapioca starch, potato starch, corn starch.
- Optional Whole-Grain Support: Brown rice or sorghum.
This recipe is designed for blends without xanthan gum, because psyllium husk already performs the binding role. If your blend already contains xanthan gum, expect a tighter or slightly gummy crumb.
Ingredients & Substitutions
Below are the ingredients that make this gluten-free French bread rise, hold together, and develop a good crumb. Knowing why each one matters helps prevent common gluten-free baking failures.
Every ingredient in this recipe serves a purpose. Here’s how each one helps create that perfectly crusty, golden gluten-free loaf.
Gluten-Free Flour Blend
This provides the base of the loaf. A mixture of rice flour, starches, and sorghum or tapioca gives the best balance of structure and tenderness.
Substitution Notes
- What Works: Most high-quality commercial gluten-free all-purpose blends.
- What Changes Texture: Single-flour bases (pure rice or oat) tend to produce a gritty or dense crumb. So they are not recommended.
Psyllium Husk Powder
This is your binder and structure builder in place of gluten. It traps moisture and creates a network that keeps the crumb from collapsing.
Substitution Notes
- No Substitute: Other binders (xanthan gum, chia gel) can help, but will not replicate the same structure; this recipe is calibrated specifically for psyllium.
Active Dry Yeast
Yeast creates the rise and flavor development you expect from a French-style loaf. In gluten-free dough, fermentation plays an even more important role because structure develops more slowly than in wheat-based bread.
Added for Reliable Fermentation:
A small amount of sugar or honey (1–2 teaspoons) helps activate the yeast and supports a consistent rise, especially in cooler kitchens or when using heavier gluten-free flour blends. This does not make the bread sweet; it simply improves fermentation strength.
Substitution Notes:
- Instant yeast: This can be used at 90–95% of the weight for similar results.
- No Substitute: Chemical leaveners like baking powder or baking soda will not produce the same structure or flavor.
Do you need a deeper look at how yeast works in bread baking and why activation matters? This simple explanation of bread fermentation and yeast activity is a helpful reference.
Warm Water
Warm water hydrates the dough and activates the yeast and psyllium.
Substitution Notes
- Warm Plant Milk: It adds flavor and a bit of richness, but may slightly change bake time and crust color.
Salt
Salt is essential for flavor balance and yeast regulation.
Substitution Notes
- No Substitute: Omitting salt yields a flat, bland loaf.
Olive Oil
Olive oil adds tenderness and extends shelf life.
Substitution Notes
- Other neutral oils can be used (e.g., avocado or light olive oil) without major texture changes.
With the key ingredients and substitutions clear, it’s time to put it all together in the recipe card you can follow step by step.ime to put it all together in the recipe card you can follow step by step.
Printable Golden Gluten-Free French Bread Recipe Card
Ingredients
- 3 cups Gluten-free flour blend no xanthan gum
- 2 tbsp psyllium husk powder
- 2 tsp active dry yeast
- 1-2 tsp sugar or honey
- 1½ tsp salt
- 1½ cups warm water (105–110°F / 40–43°C)
- 2 tbsp olive oil
Instructions
- Place yeast and sugar in the warm water and stir until sugar is dissolved. Let sit 10-15 minutes until the mixture is foamy. If it doesn’t foam up, the yeast may be inactive and should be replaced.
- While waiting for the yeast to activate, mix together the gluten-free flour mix, psyllium husk powder, and salt in a large bowl until evenly distributed.
- Once the yeast is activated, add the yeast mixture and olive oil to the dry ingredients and mix until all the dry ingredients are mixed in. The dough should have the consistency of soft clay, elastic, cohesive, and sticky without being pourable.
- This step is called the first rise, where the dough does a lot of the important work of forming its structure. Tightly cover the top of the bowl with plastic wrap and allow to rise in a warm place for 60-75 minutes until the dough is puffed with a well-defined dome on top. Important: Do not put it in the refrigerator while waiting for it to rise! This is for the same reason you want warm water at the start to activate the yeast. The yeast has to sit at room temperature to do its work of making the dough nice and puffy.
- Turn the dough onto parchment paper lightly dusted with flour. Using damp hands, gently shape into an elongated baguette. Do not knead. The loaf should somewhat resemble “French bread” style baguettes, though it doesn’t have to be perfect.
- Cover baguette with plastic wrap and allow to rise for 30-40 minutes. It won’t double in size and that’s okay. While it’s doing its second rise, preheat the oven to 400 degrees Fahrenheit (204 degrees Celsius)
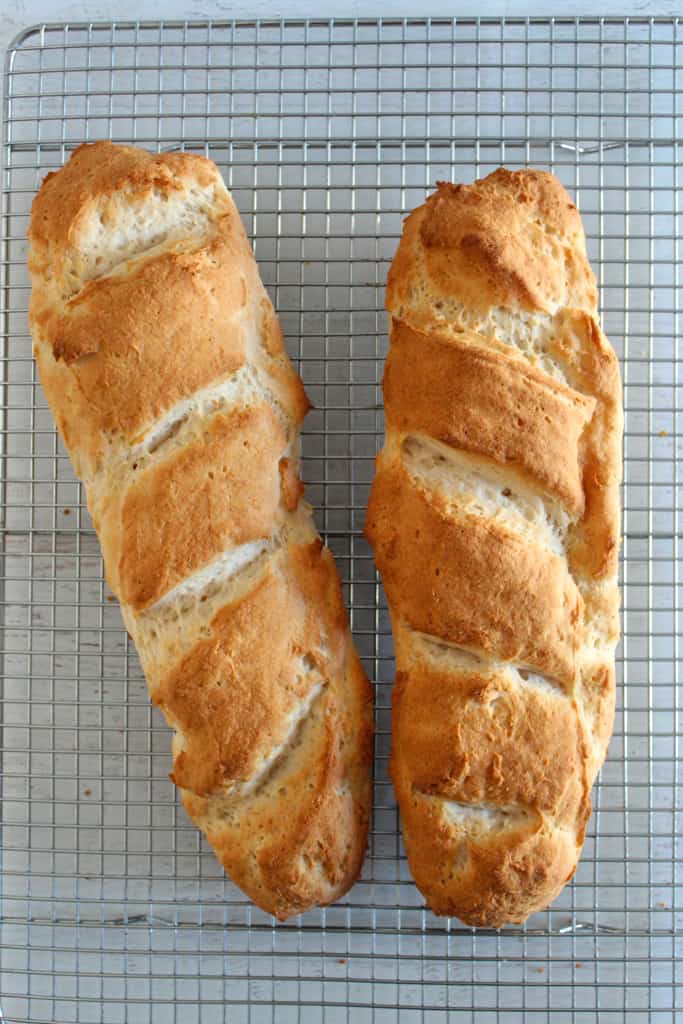
- Bake the baguette at 400 degrees Fahrenheit (204 degrees Celsius) for 40-45 minutes until the outside is golden brown and the inside sounds hollow when the loaf is tapped on the bottom.
- Set the baguette on a cooling rack to cool for about an hour.
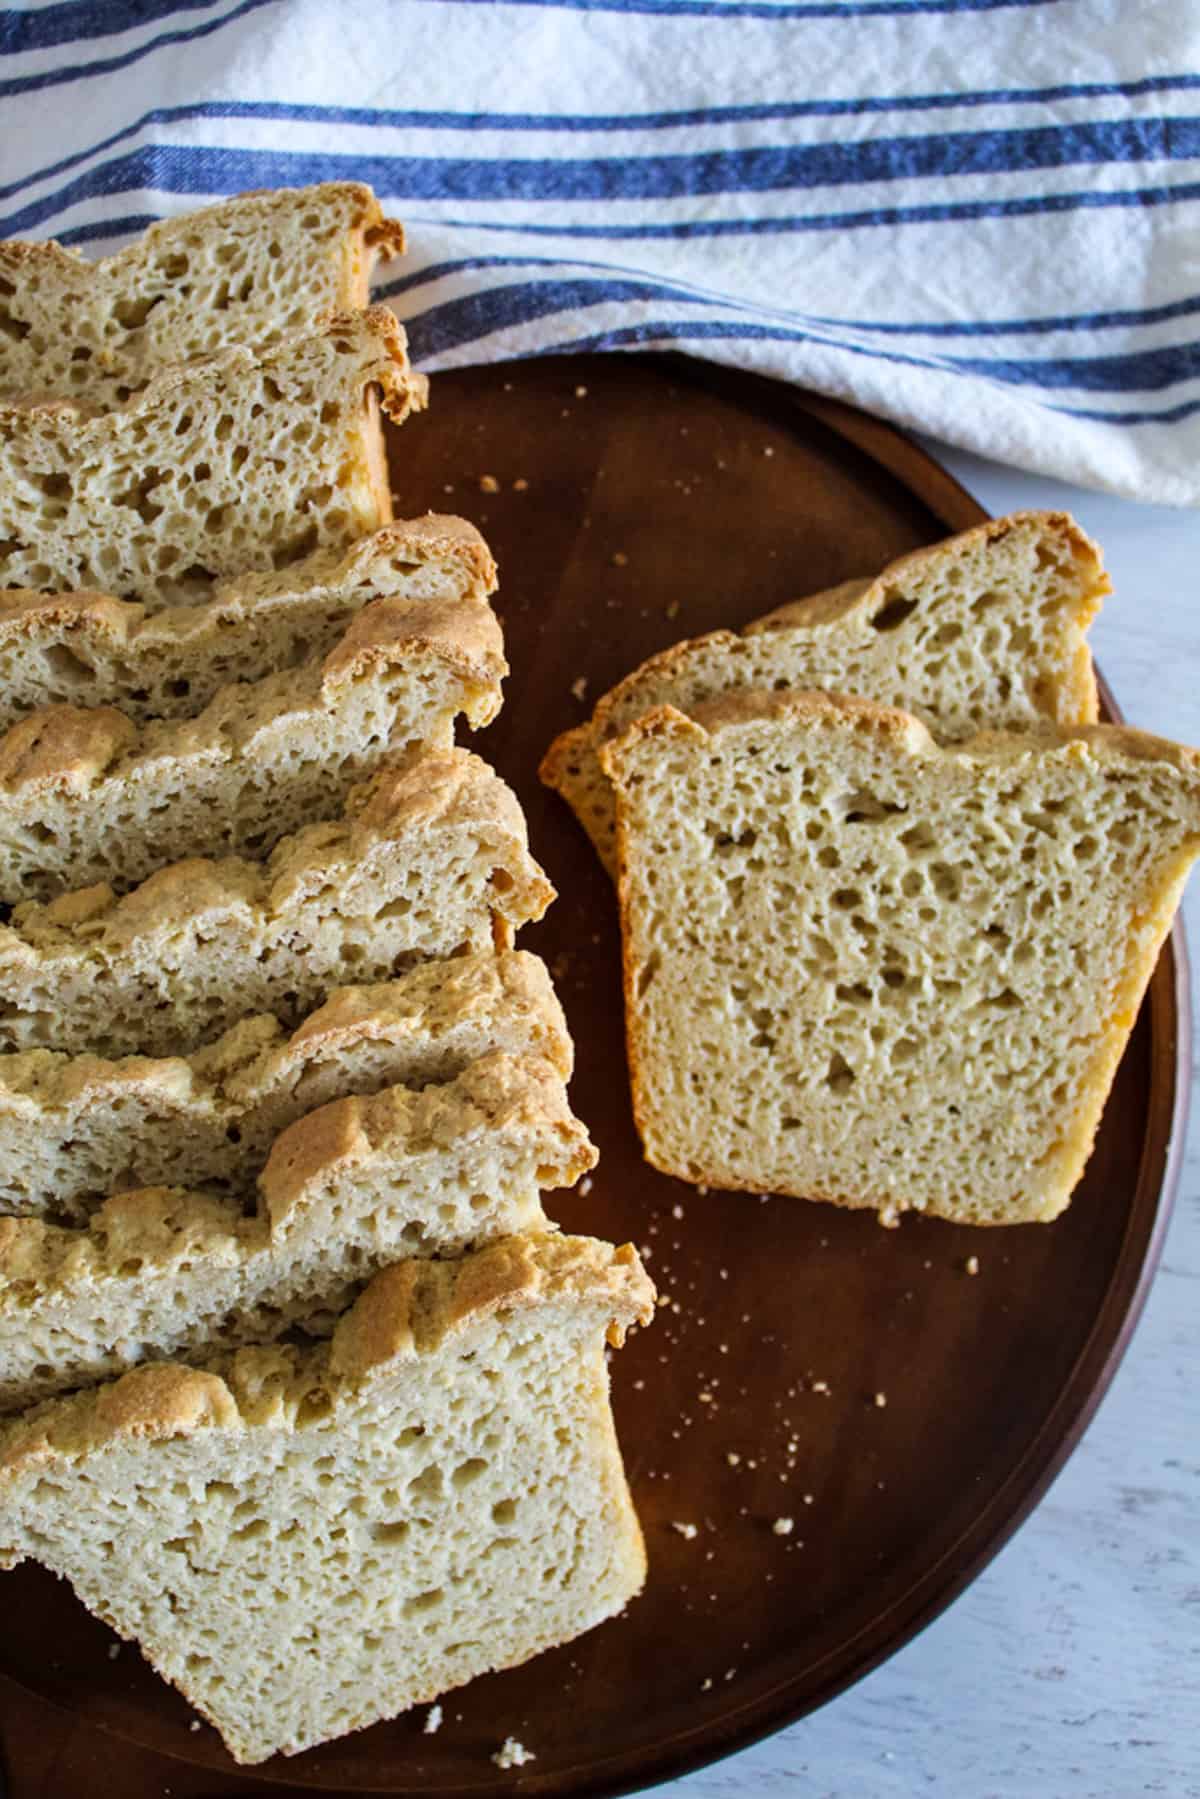
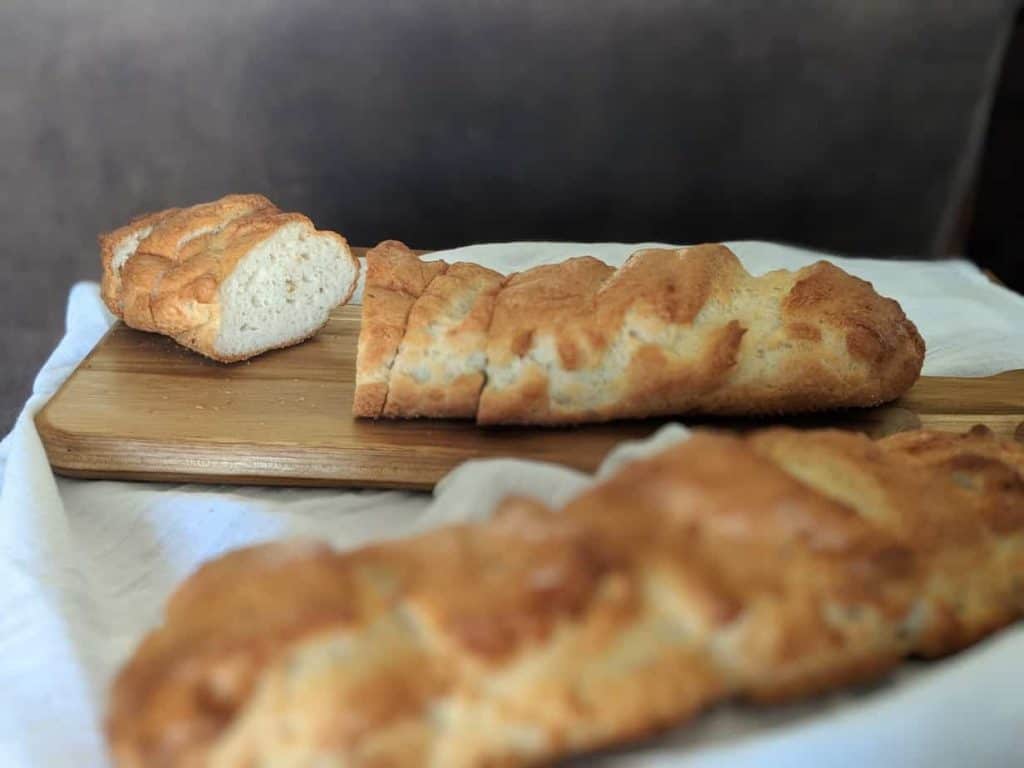
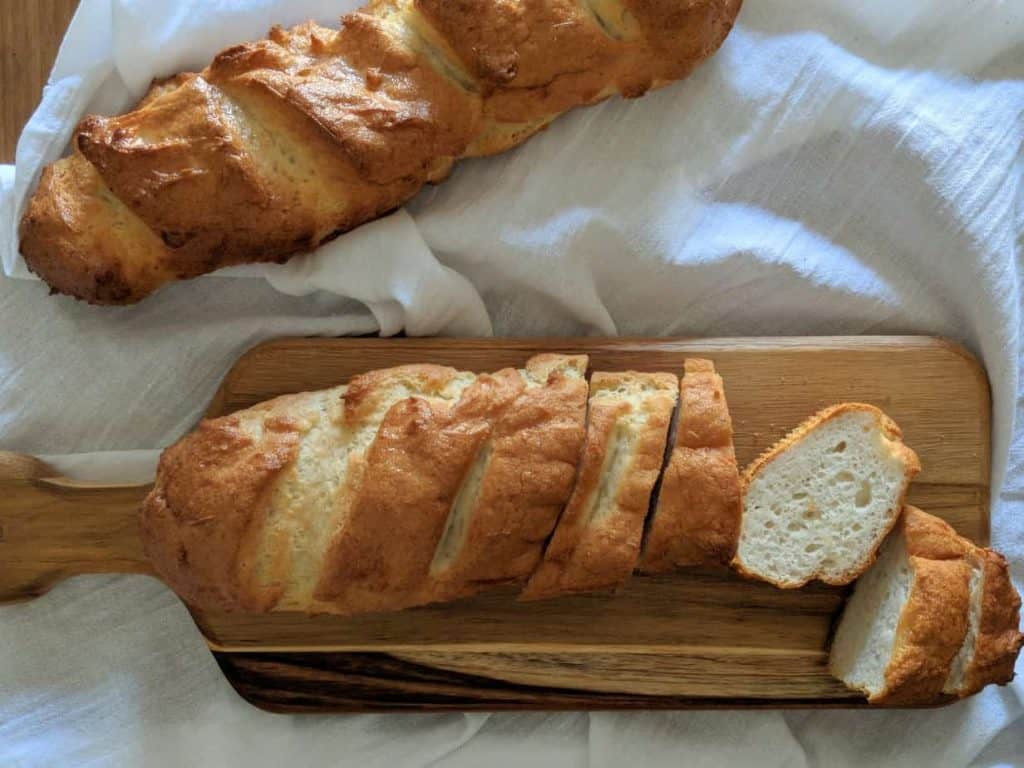
- When the bread is done baking and cooling, slice the bread slightly on the diagonal into ½-inch thick slices.
Notes
Notes for Successful Baking
- Yeast Activation: Make sure water isn’t too hot, as this can kill the yeast.
- Psyllium Quality: Results vary with brand; weigh for accuracy.
- Cooling: The loaf sets up as it cools; don’t rush slicing.
Nutrition
Notes for Successful Baking
- Yeast Activation: Make sure water isn’t too hot, as this can kill the yeast.
- Psyllium Quality: Results vary with brand; weigh for accuracy.
- Cooling: The loaf sets up as it cools; don’t rush slicing.
With that foundation in place, let’s go into why this recipe works and what makes it different from other gluten-free loaves.
Why This Recipe Works
Gluten-free bread is fundamentally different from wheat-based dough because it lacks gluten, the protein network that gives traditional bread its stretch, structure, and spring. This recipe solves that challenge by balancing hydration, binding agents, and yeast activity so the loaf rises and holds its shape rather than collapsing into a gummy or dense crumb.
The psyllium husk powder acts as a powerful binder that mimics gluten’s structural role. It absorbs water and creates a flexible matrix that gives the bread lift and elasticity.
At the same time, the hydration level is intentionally higher than that of many gluten-free formulas to keep the interior moist without sogginess. The yeast and proper proofing times ensure flavor and lift rather than flatness.
By focusing on how each functional component contributes to crumb structure, rise, and oven performance, this recipe reduces confusion. Also, it sets clear expectations about the texture and behavior you should see at each stage.
Next up is the step-by-step process to bring it all together in your oven.
What to Expect as You Bake
This dough will be softer and stickier than traditional wheat dough. That’s normal. As it rises and bakes, it will firm up and develop structure; trust the process and resist adding excess flour.
Step-by-Step Guide to Making Gluten-Free French Baguette
Gluten-free yeast dough behaves differently from traditional bread dough, but this method is designed to guide you through each stage with clear visual cues. Follow the steps below, and you’ll be rewarded with a golden, well-structured loaf that slices cleanly once cooled.
Step 1: Yeast Activation
Once activated, the yeast mixture should look foamy and lightly bubbly across the surface.
This foam confirms that fermentation is active and capable of lifting gluten-free dough, which relies heavily on yeast strength for structure.
If No Foam Appears:
Do not proceed. Replace the yeast before continuing.
Step 2: Mixing the Dry Ingredients
When whisking the flour blend, psyllium husk powder, and salt, focus on even distribution.
Psyllium clumps easily if not dispersed properly, which can cause uneven hydration later in the dough.
Visual Cue:
The mixture should look uniform in color and texture, with no darker psyllium streaks.
Step 3: Forming the Dough
As the wet ingredients are mixed in, the dough will thicken noticeably within the first minute. This is the psyllium absorbing water and forming a structure.
What To Expect:
- Sticky but cohesive
- Elastic when pulled with a spoon
- Not pourable, not crumbly
If the dough feels dry or stiff, add a teaspoon of water. If it feels loose or soupy, the flour blend may be absorbing slowly; wait 1–2 minutes before adjusting.
Step 4: First Rise – Structure Development
During the first rise, the dough will not double like wheat dough. Instead, look for soft expansion and surface smoothing.
Correct Rise Signs:
- Dough appears relaxed, not tight
- Slight doming
- Airiness when gently pressed
This stage is essential for crumb structure. Cutting it short often leads to dense or gummy bread.
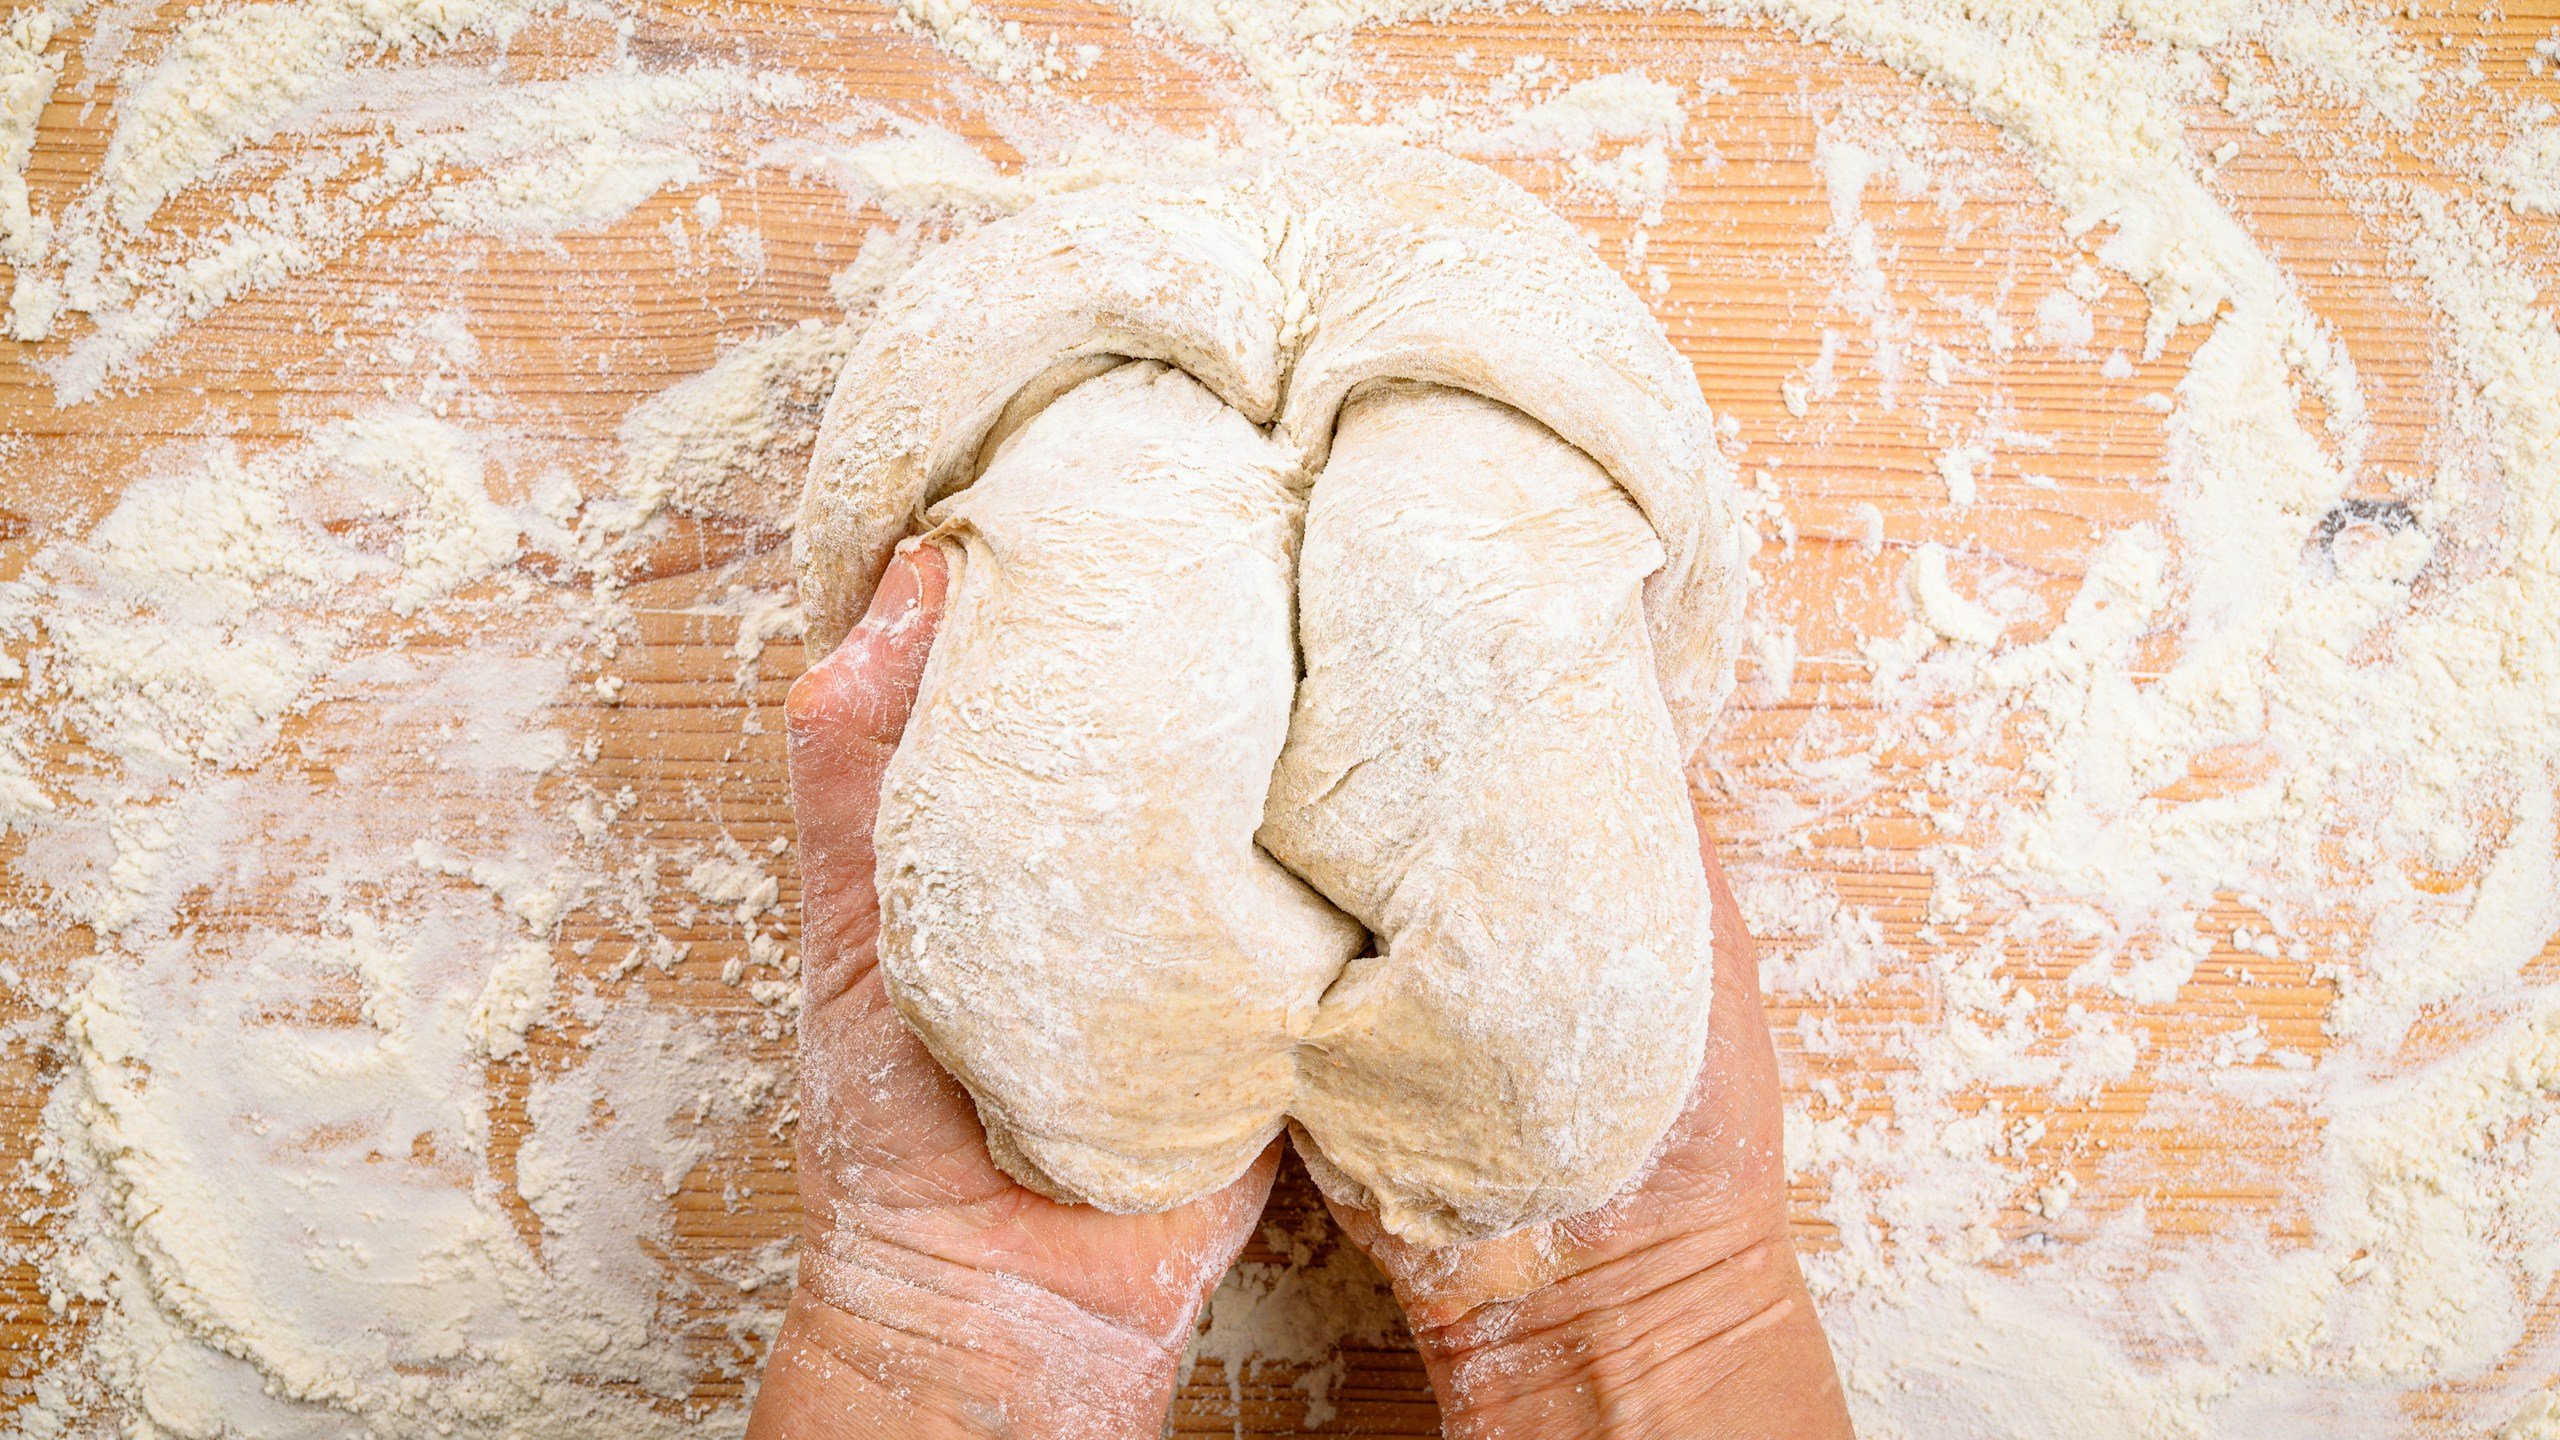
Step 5: Shaping the Loaf
Shaping is about guiding the dough, not working it. Use lightly damp hands and gentle movements to elongate the loaf. Avoid kneading, folding, or compressing the dough, as this forces air out and tightens the crumb.
Tip:
Let gravity help; lift and nudge rather than press.
Step 6: Second Rise – Final Expansion
The second rise adds lightness but should remain controlled.
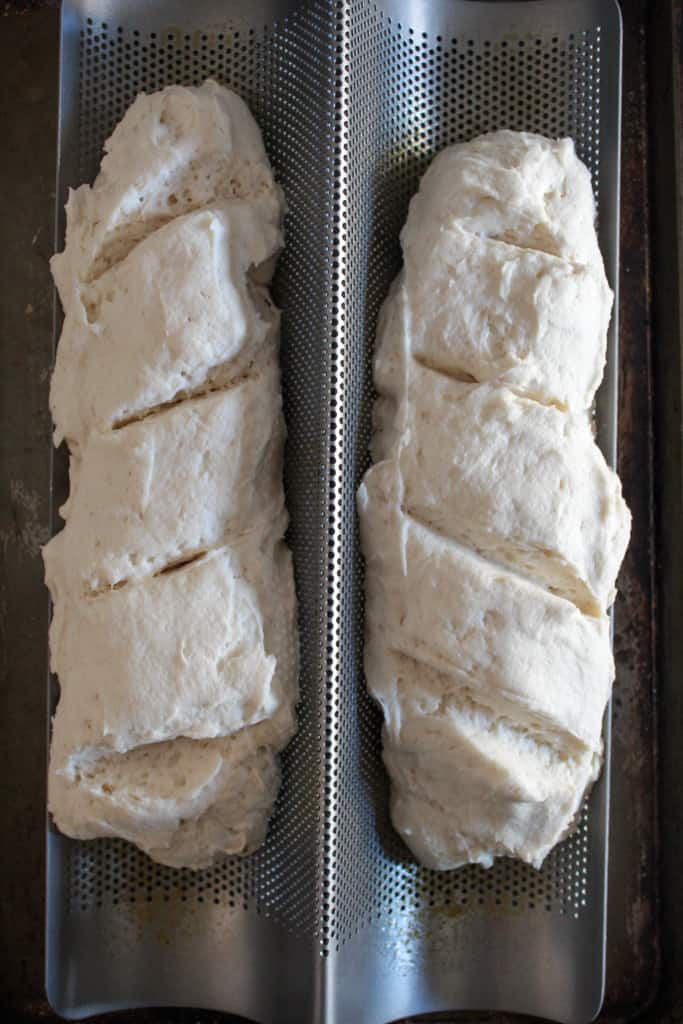
What You Should See:
- Slight volume increase
- Surface looks smoother and slightly puffed
- Dough still holds its shape
If the loaf spreads outward instead of upward, it has over-proofed.
Step 7: Baking & Doneness
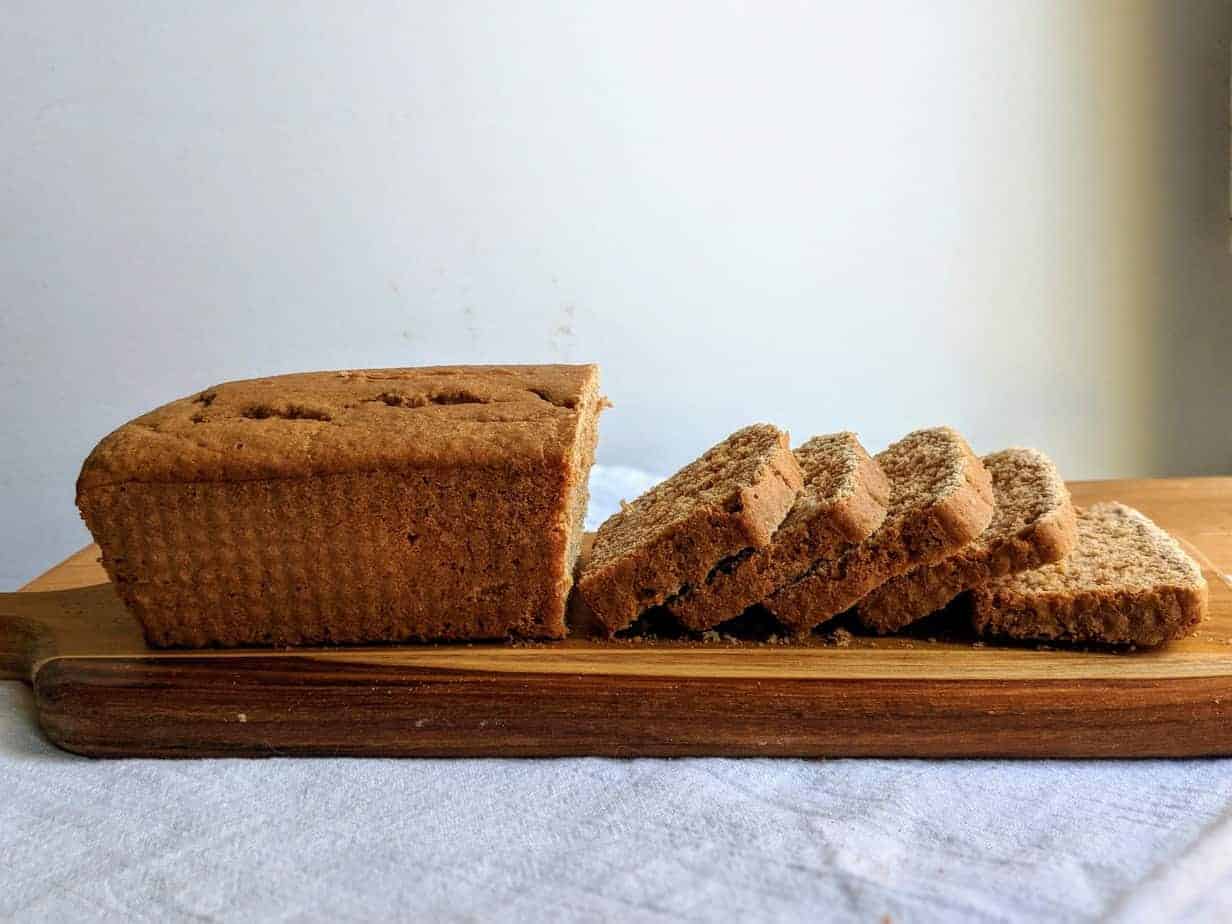
As the bread bakes, the crust will firm and deepen in color. Gluten-free loaves rely on internal moisture balance, so visual doneness alone is not enough.
Doneness Indicators:
- Deep golden crust
- Firm exterior
- Hollow sound when tapped underneath
If the crust browns too quickly, tent loosely with foil during the final minutes.
Step 8: Cooling – The Final Set
Cooling is not optional. Gluten-free french baguette continues to set internally as steam redistributes and starches firm.
Important:
Slicing too early will compress the crumb and create gumminess, even if the bread was baked correctly. Allow it rest for at least 60 minutes before cutting.
The next section helps you avoid common pitfalls and dial in even better results with targeted tips and troubleshooting.
Baking Tips & Troubleshooting
Even with clear steps and good ingredients, gluten-free french baguette can still surprise you, and the fixes aren’t always the same as with wheat dough. The notes below come from repeat test bakes and real outcomes, so you’ll know what to adjust if something feels off.
Texture Too Dense or Gummy
If your loaf feels heavy or slightly gummy in the center, it’s usually a sign the dough didn’t fully hydrate or bind during the early stages. Psyllium husk powder does the heavy lifting here. It traps moisture and gives the crumb structure, so measuring it accurately makes a real difference.
Also, give the dough enough time to puff during the first rise before shaping; rushing this step often leads to a tighter crumb. This issue is especially common with psyllium-based doughs. Here’s a deeper explanation of why gluten-free bread develops a gummy crumb and how to prevent it.
Not Rising Enough
When a loaf doesn’t rise well, the issue is almost always environmental. Water that’s too cool won’t wake the yeast, and a chilly kitchen slows everything down. Aim for warm (not hot) water, proof the yeast until it looks foamy, and let the dough rest somewhere comfortably warm. If your kitchen runs cool, an oven with just the light on works surprisingly well.
Crust Not Browning
A pale crust usually means the oven wasn’t hot enough or the dough surface held onto too much moisture. Make sure the oven is fully preheated before baking, and let the shaped loaf do its final rest uncovered. That small exposure helps the surface dry slightly, which leads to better browning once it hits the oven.
Crumb Too Dry or Crumbly
Dry crumb often comes from overbaking or adding extra flour during shaping. Instead of watching the clock alone, listen for that hollow sound when you tap the bottom of the loaf; it’s a more reliable signal. Measuring flour carefully also matters here; even small changes can shift the balance in gluten-free dough.
A few visual checks, steady proofing conditions, and precise measurements go a long way with this recipe. Once those basics are dialed in, you’ll find it’s very forgiving.
Now that the fundamentals are covered, let’s look at some simple add-ins and variations you can use to make this loaf your own.
Add-Ins & Variations
This recipe is designed to be reliable first, meaning every optional change listed here won’t break the loaf when used thoughtfully. These are add-ins and seasonal tweaks that enhance flavor or tailor the bread to specific uses, but they’re truly optional.
Herb & Garlic Twist
Add 1–2 teaspoons of dried herbs (rosemary, thyme, or oregano) and 1–2 cloves of minced garlic to the dough during mixing.
Warning: herbs add small dry particles; measure carefully so hydration stays balanced.
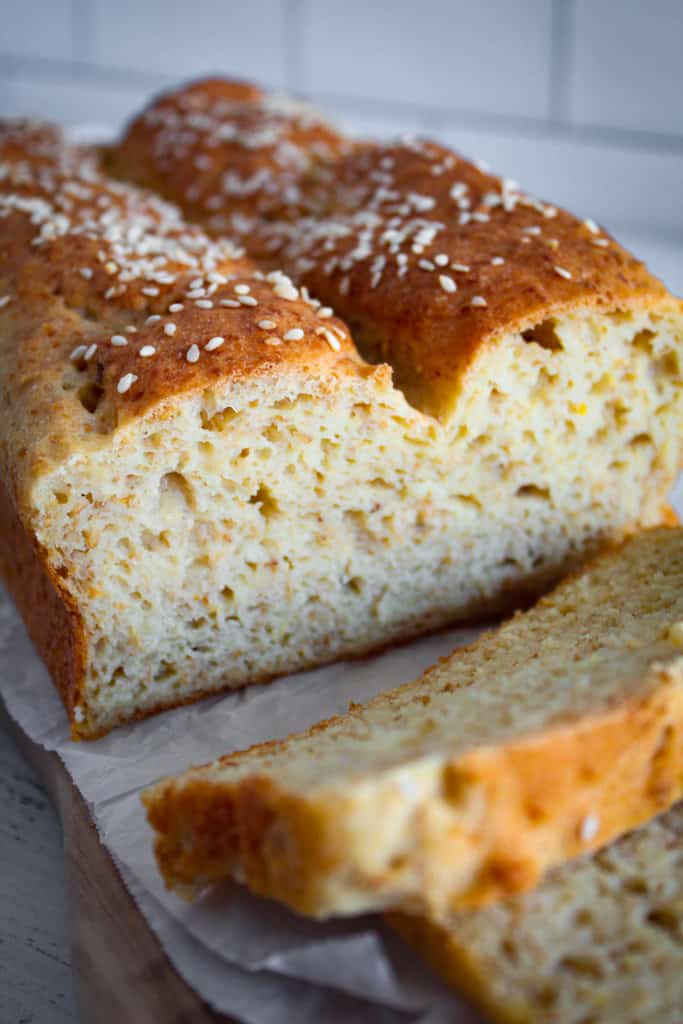
Seeded Crust
Brush the shaped loaf gently with olive oil and sprinkle sesame seeds, poppy seeds, or sunflower seeds before the final rest. This adds texture and visual appeal without affecting the interior crumb.
Cheesy Variation (If Dairy-Tolerant)
Fold ½–¾ cup of grated cheese (like a sharp cheddar) into the dough after the first rise.
Warning: cheese releases moisture and can make the crumb slightly softer; they are best for toasting or sandwiches.
Sweet Twist
For a light, sweet version, add 1–2 tablespoons of honey or maple syrup and a sprinkle of cinnamon. This changes the flavor profile and shortens crust browning time; watch the loaf closely near the end of baking.
Let’s move into how to store, freeze, and make ahead so nothing goes to waste.
Storage, Freezing & Make-Ahead Tips
Would you like to make the most of your Golden Gluten-Free French Bread beyond bake day? Proper storage and reheating are key, especially since gluten-free loaves can dry out faster than wheat breads if left uncovered or stored improperly.
Make-Ahead Note
This loaf is an excellent make-ahead option. Baking it a day in advance allows the crumb to fully set, making slicing even cleaner the next day.
Counter Storage
Let the bread cool completely before storing. Once cool, wrap it loosely in a clean tea towel or place it in a bread box. Doing this would maintain a tender crumb and prevent the crust from going too hard. Stored this way, it will stay fresh for 2–3 days at room temperature.
Freezing Guidance
To keep the bread longer, slice it first and wrap individual slices or the whole loaf tightly in plastic wrap, then place it in a freezer bag. It will keep well for up to 3 months. Thaw at room temperature or toast slices straight from frozen.
Reheating Tips
For a freshly baked texture, sprinkle a little water on the crust and warm it in a 350°F (175°C) oven for 5–10 minutes. This restores some crispness without drying the interior.
What Not to Do
Do not store the bread in the refrigerator, because this accelerates staling. Also, avoid airtight plastic bags at room temperature, which trap moisture and can make the crust soggy.
At this point, we will answer some of the most common questions bakers have about this recipe.
Gluten-Free French Baguette Baking Questions Answered
Have questions as you bake? Below are some of the most common ones we hear, with clear answers based on real kitchen experience. If you’ve still got questions after reading these, leave them down below!
Why Didn’t My Bread Rise Fully?
A weak rise usually comes from yeast that wasn’t properly activated, water that was too cool, or a proofing environment that was too cold. Make sure the yeast foams before mixing, water is around 105–115°F (40–46°C), and the dough rests somewhere warm.
Can I Make This Bread Without Psyllium Husk?
Psyllium plays a structural role that gluten would normally handle. Other binders like xanthan gum or chia gel can help, but won’t reliably replicate structure here, and the texture may be denser or more crumbly.
Why is the Crumb Gummy in the Middle?
Gummy crumb usually means the loaf didn’t cool long enough or the dough was under-hydrated relative to the psyllium’s absorption. Fully cool the loaf before slicing, and follow the hydration measurements closely.
Can I Freeze This Bread?
Yes, slice first, wrap tightly, and freeze for up to three months. Thaw at room temperature or toast slices straight from the freezer for the best texture.
How Long Does This Bread Stay Fresh At Room Temperature?
Wrapped in a tea towel or stored in a bread box, it stays tender and tasty for 2–3 days. Avoid airtight plastics at room temp; they trap moisture and soften the crust.
These answers are tailored to the challenges gluten-free bakers face most. With these addressed, you’re ready to explore more ways to enjoy your bread.
Now check out some tasty related recipes that pair perfectly with this loaf.
Related Recipes
Are you looking for another bread choice or something to serve alongside it? Here are some gluten-free recipes on Zest for Baking that pair wonderfully with this French bread:
- Gluten-Free Bruschetta with Fresh Tapenade – A delicious gluten-free bruschetta you can make using toasted bread slices.
- Gluten-Free Artisan Bread – Another yeast-bread option with a crusty exterior and soft interior if you want variety in your gluten-free bread repertoire.
- Low Carb Bread: Gluten-Free and Flour-Free – A quick, flour-free gluten-free bread that’s great for low-carb eating or sandwich experiments.
- 5 Gluten-Free Bread Recipes (Free Collection) – A curated set of gluten-free bread ideas to expand your baking skills.
We’d Love To Hear From You!
Did this baguette turn out light and sliceable for you? Share your results in the comments, especially if you tried a variation, baked it ahead, or adjusted it for your kitchen. Your experience helps other gluten-free bakers succeed, too.
Did you make and love this recipe? Give it your review and rating below! And make sure to follow me on Instagram, Pinterest, and Facebook , too!