If you have a sweet tooth, these gluten free sticky buns are just what you need! Soft and sweet with a gooey glaze, these are the ultimate sticky buns. Plus, they’re free of both gluten and dairy. Prepare yourself for these mouthwatering treats that will please the whole family!
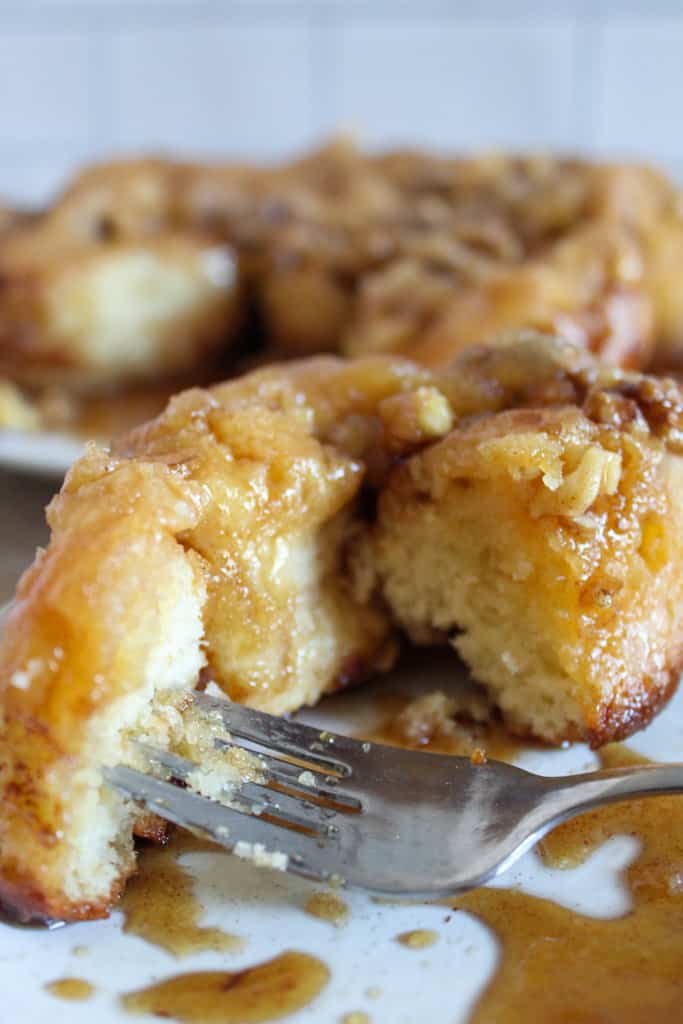
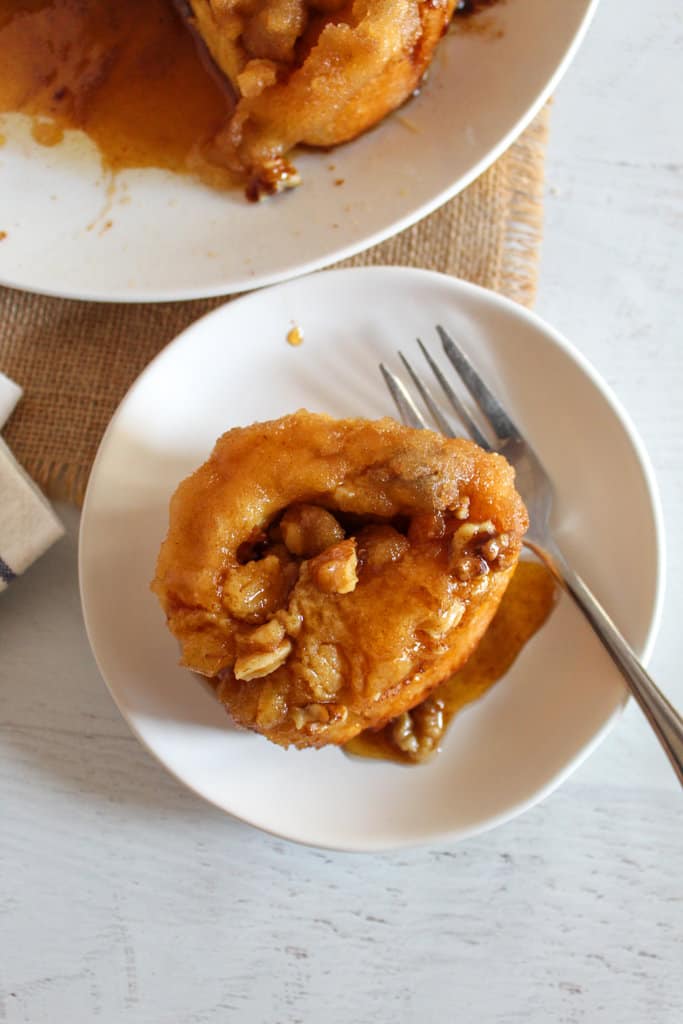
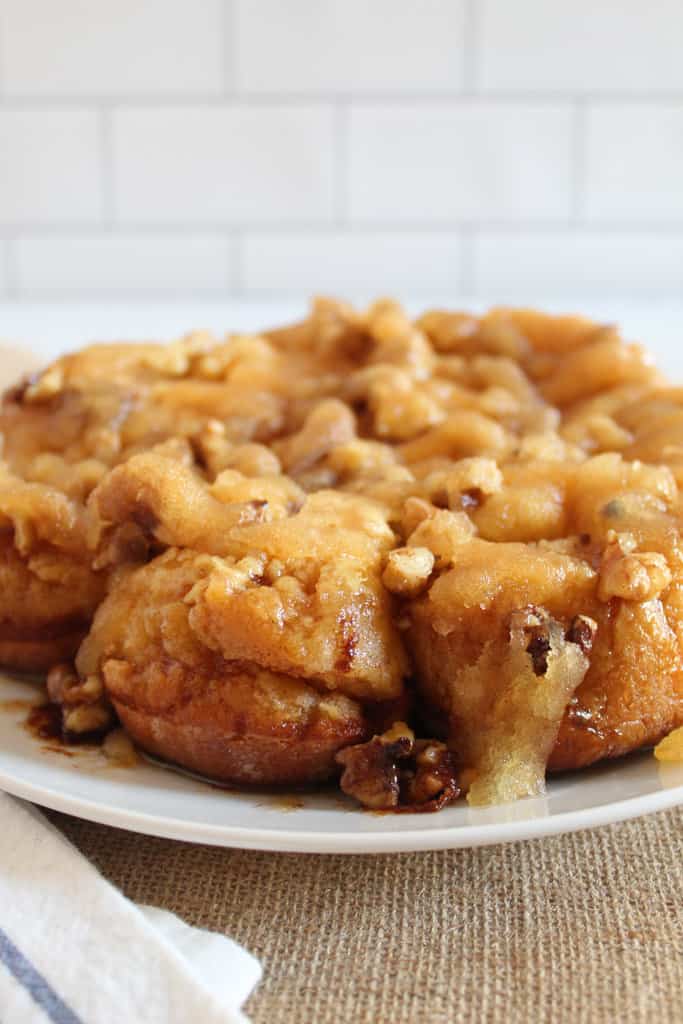
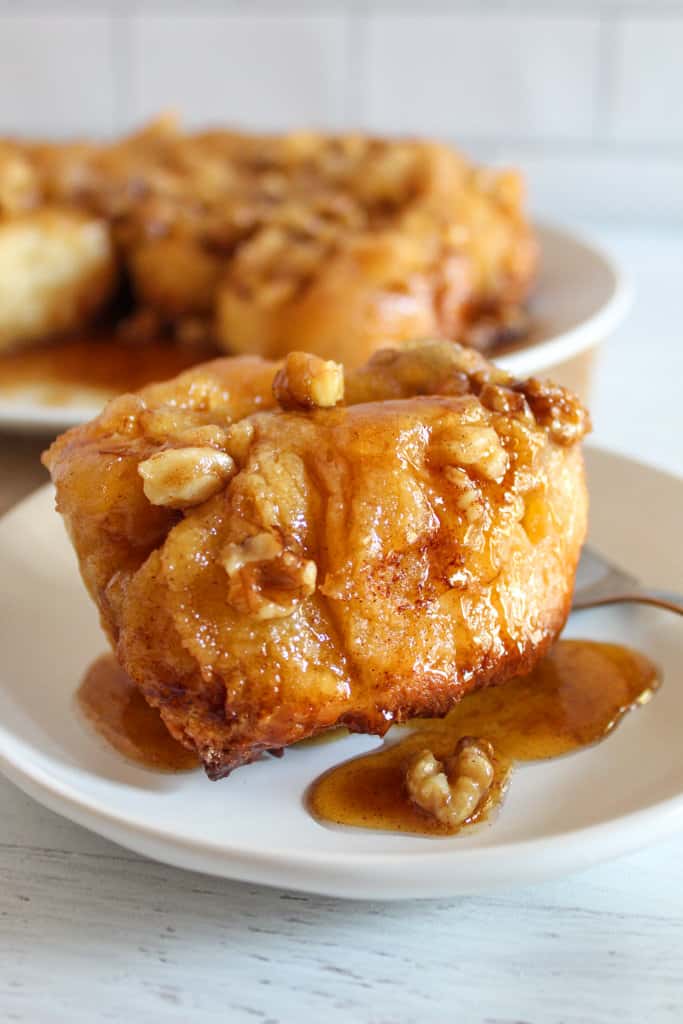
Sticky buns got their name for a reason. They’re deliciously tender, golden brown buns covered in a sweet and sticky glaze. This irresistible yeast bread is similar to cinnamon rolls, but the main difference is that sticky buns are baked on top of the glaze in the pan, and when they’re done, you get to flip the pan over and watch all of that gooey caramel sauce cover the gluten free cinnamon buns. Sticky buns also contain nuts (usually walnuts or pecans). They’re typically eaten with a fork, but I won’t blame you if you just grab one and embrace the messiness!
Table of Contents
Want more sweet and spiced gluten free recipes? Check out these cinnamon rolls, this apple cobbler, and these cinnamon raisin muffins.
Gluten Free Sticky Buns at a Glance
What could be better than a pan of warm, gooey sticky buns fresh from the oven? Knowing that they’re free of gluten and dairy, of course! As long as you have the right supplies, these decadent buns come together pretty easily in a few hours. Here are a few more reasons you’ll love these sticky buns:
- Like these dinner rolls, this recipe only requires 30 minutes of prep time.
- You can make the gluten-free dough ahead of time the day before you want to bake and serve.
- This recipe yields 8 sticky buns, enough to feed your family on Christmas morning, a group of friends for a special occasion, or just to have delicious leftovers!
- Leftover sticky buns will last up to 2 days, covered well in plastic wrap, at room temperature, and you can microwave them to enjoy them again.
Ingredients & Substitutions
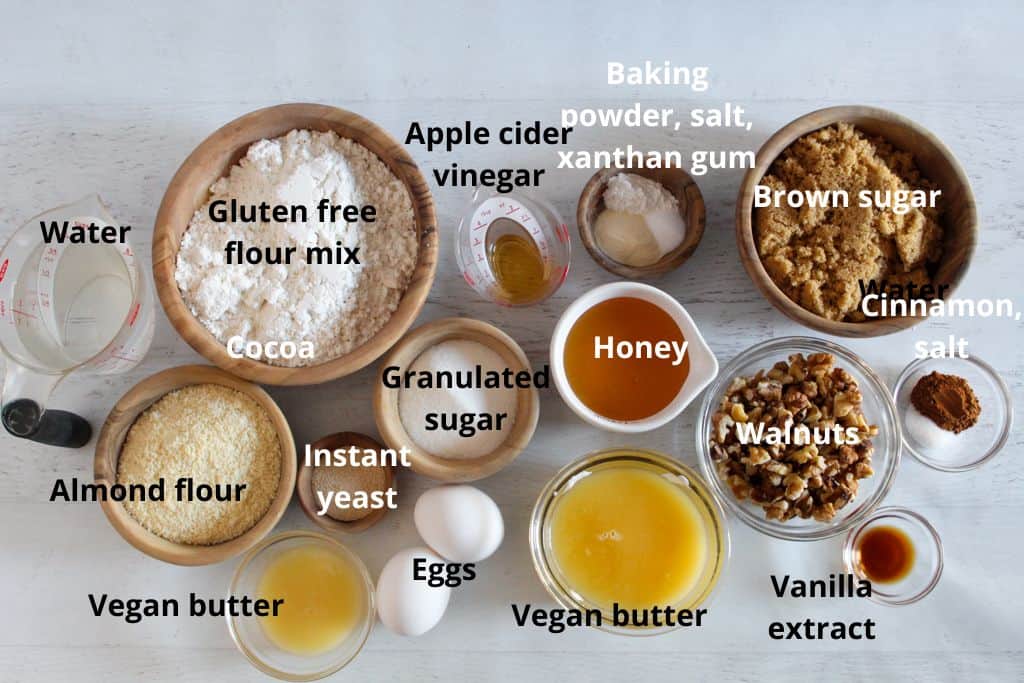
- Gluten Free Flour Mix – This gluten-free flour blend was used to test this recipe, as it has the perfect balance of tapioca starch, brown rice flour and cornstarch. I don’t recommend substituting it.
- Almond Flour – This brand of almond flour was used to test this recipe. I don’t recommend substituting the almond flour as another flour like sorghum flour or even oat flour do not have the same balance of fiber and protein as the almond flour.
- Granulated Sugar – Sugar makes for a sweet roll. Swerve sweetener or coconut sugar can be swapped for the white sugar.
- Xanthan Gum – Xanthan gum is needed to bind the ingredients. I don’t recommend substituting the xanthan gum.
- Instant Yeast – Yeast is needed for making this yeasted dough. You can use active dry yeast as a substitute. It will need to be proofed in the warm water before adding it in with the rest of the wet ingredients.
- Baking Powder – Baking powder contributes to the light texture. There is no alternative for the baking powder.
- Salt – The salt can be omitted if you are following a low salt diet.
- Eggs – Eggs are needed to make a soft dough, but you can use an egg substitute from here or use JUST egg alternative to make this recipe eggless.
- Apple Cider Vinegar – There is no alternative for the apple cider vinegar.
- Vegan Butter – I wouldn’t recommend substituting the vegan butter, but dairy butter can be used.
- Brown Sugar – Brown sugar can be swapped with swerve sweetener (brown sugar variety).
- Honey – The honey may be substituted with maple syrup if desired.
- Cinnamon – There is no alternative for the cinnamon.
- Vanilla Extract – There is no alternative for the vanilla extract.
- Walnuts – The walnuts can be substituted with pecan pieces or omitted if desired.
Measurements for each ingredient, along with instructions for making the sticky buns are in the recipe card below.
Note about Nuts
This recipe calls for chopped walnuts, but feel free to personalize your sticky buns by choosing a different kind of nut! Pecans are also very popular in sticky buns. Or remove the nuts altogether if you have an allergy or just don’t want them. Trust me, the sticky buns will be just as delicious!
How to Make the Gluten-Free Dough

In a large mixing bowl of a stand mixer, add the flour mix, almond flour, sugar, xanthan gum, yeast, baking powder and salt (step 1 above). Mix on low speed until combined (about 15 seconds). In a small bowl, add the warm water, eggs, apple cider vinegar and melted butter (step 2) and whisk them together with a fork (step 3). With the mixer running, slowly add the wet mixture to the dry ingredients (step 4). Mix on medium speed for 5 minutes (step 5) then scrape down the bowl and cover it with a towel. Let the dough rise in a warm place for an hour or until 50% larger (step 6). The batter will not double in size.
Next, preheat the oven to 375F and spray a 9-inch cake pan with cooking spray. Next, make the topping. In a medium bowl, mix the soft butter, brown sugar, honey, cinnamon, vanilla, and salt (step 1 below). Pour half of the mixture into the pan (step 2), and sprinkle with chopped nuts (step 3).

Place a large sheet of parchment paper on the counter and sprinkle it with flour. This is very important as the dough will be very sticky. Place the dough onto the parchment (step 4) and roll it into a 9-inch by 13-inch rectangle with a rolling pin (step 5). Pour the rest of the topping over the dough (step 6).
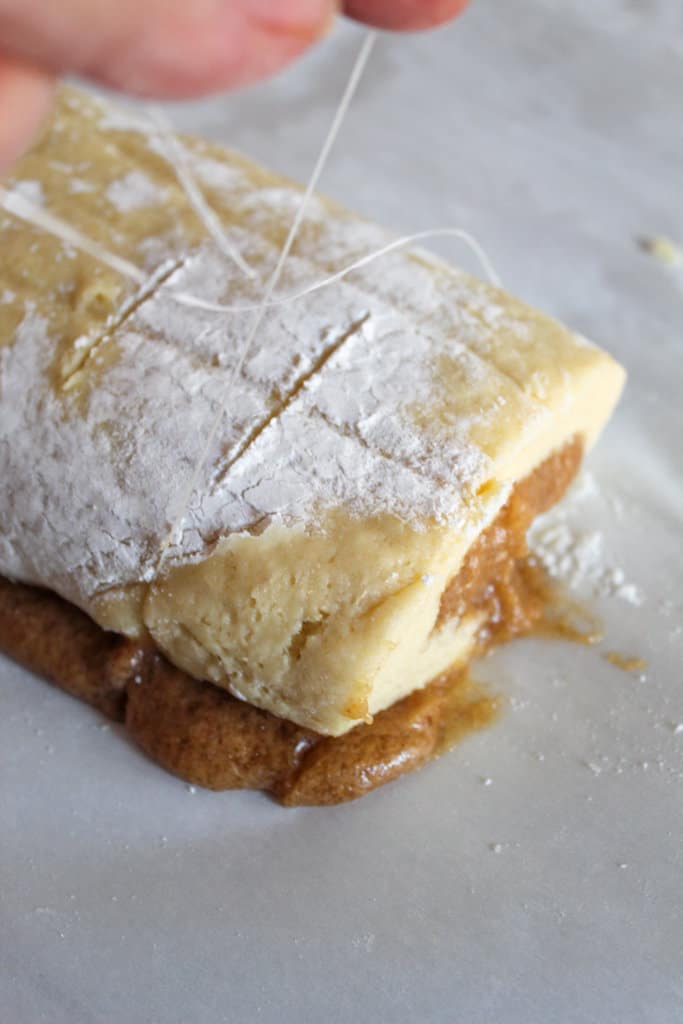
Roll up the dough starting on the long edge, using the parchment as a guide. The filling may ooze out, which is completely normal. Use a knife to score the dough for 8 rolls. Then take a piece of waxed tooth floss and slide the string under the score and pull it up through the dough with a criss-cross motion. Place the roll into the pan, repeating this slicing method for all of the rolls.

Note about Rolling
The dough will be very sticky so it’s important to use parchment paper on your work surface and flour it well. The rolls may not stay tightly rolled together when being placed in the pan. This is normal.
Baking & Serving

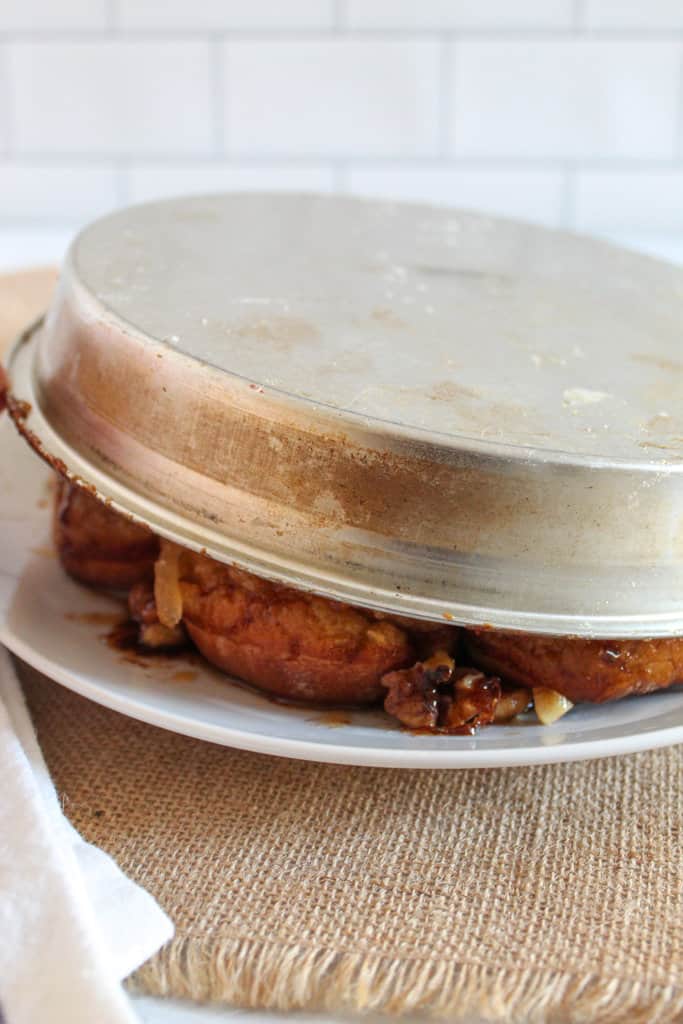
Bake the sticky buns for 35-40 minutes, covering them with foil at the 20 minute mark. Remove the pan from the oven and let it sit on a wire rack for 5 minutes. Place a large plate over the pan and quickly flip the sticky buns over and onto the plate. This can be messy, so do this over the counter and using a piece of tin foil as a guard, as mentioned in the pro tip section.
Serve the sticky buns while they are still warm and gooey!
Storing
Sticky buns can be stored, covered in an air tight container, at room temperature for up to 2 days. Just pop one in the microwave for a few seconds and enjoy it all over again!
Rolls may be frozen for longer storage. Defrost individual rolls in the microwave for 1 minute and serve immediately.
?Pro Tips
1. Use floss to slice the buns
The best way to cut the dough into individual buns without crushing them is to first score it with a knife and then use waxed tooth floss to slice it. If you try to use a knife to cut all the way through, the buns will be squished. This is the same process as these no yeast cinnamon rolls.
2. Make sure your pan has 3-inch sides
The buns will rise as they bake, so it’s important to have a pan with sides that are tall enough. If your pan isn’t quite tall enough or you just want to prevent the topping mixture from spilling over into the oven, place a piece of tin foil on the bottom of the oven.
3. Use foil to prevent a mess when flipping the pan
The fun but potentially messy part is flipping the pan over to release the sticky buns. To make as little mess as possible, use a piece of tin foil to cover the serving plate, tucking in all the way to the baking pan. When you quickly flip it, you shouldn’t have any spillage outside of the foil.
4. Make the dough ahead of time
If you have a certain day you want to serve these sticky buns, you can make the dough and let it rise the day before. Cover the bowl and put it in the refrigerator until the next day, when you can assemble and bake them.
5. Helpful tools
Here are a few tools that will help you make these sticky buns:
- Digital scale (for accurately measuring dry ingredients)
- Stand mixer
- Small bowl
- Rubber spatula
- 9-inch cake pan (ideally with 3-inch sides)
- Rolling pin
- Knife
- Waxed tooth floss
- Wire rack
FAQs
What’s the difference between cinnamon rolls and sticky buns?
Can I use a different flour mix than called for in the recipe?
Can I skip the one hour of rise time?
Can I freeze gluten free sticky buns?
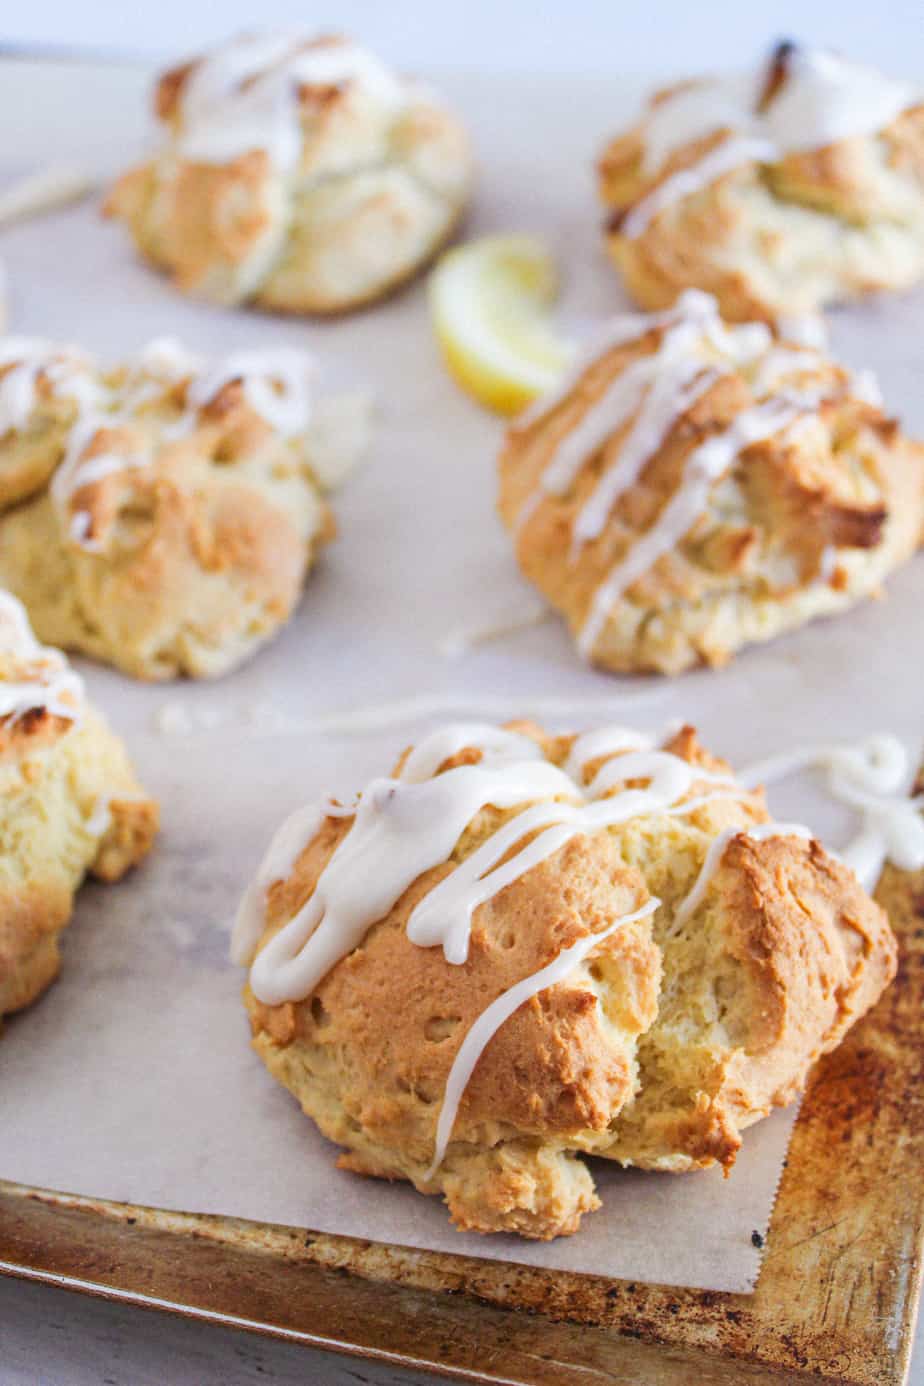
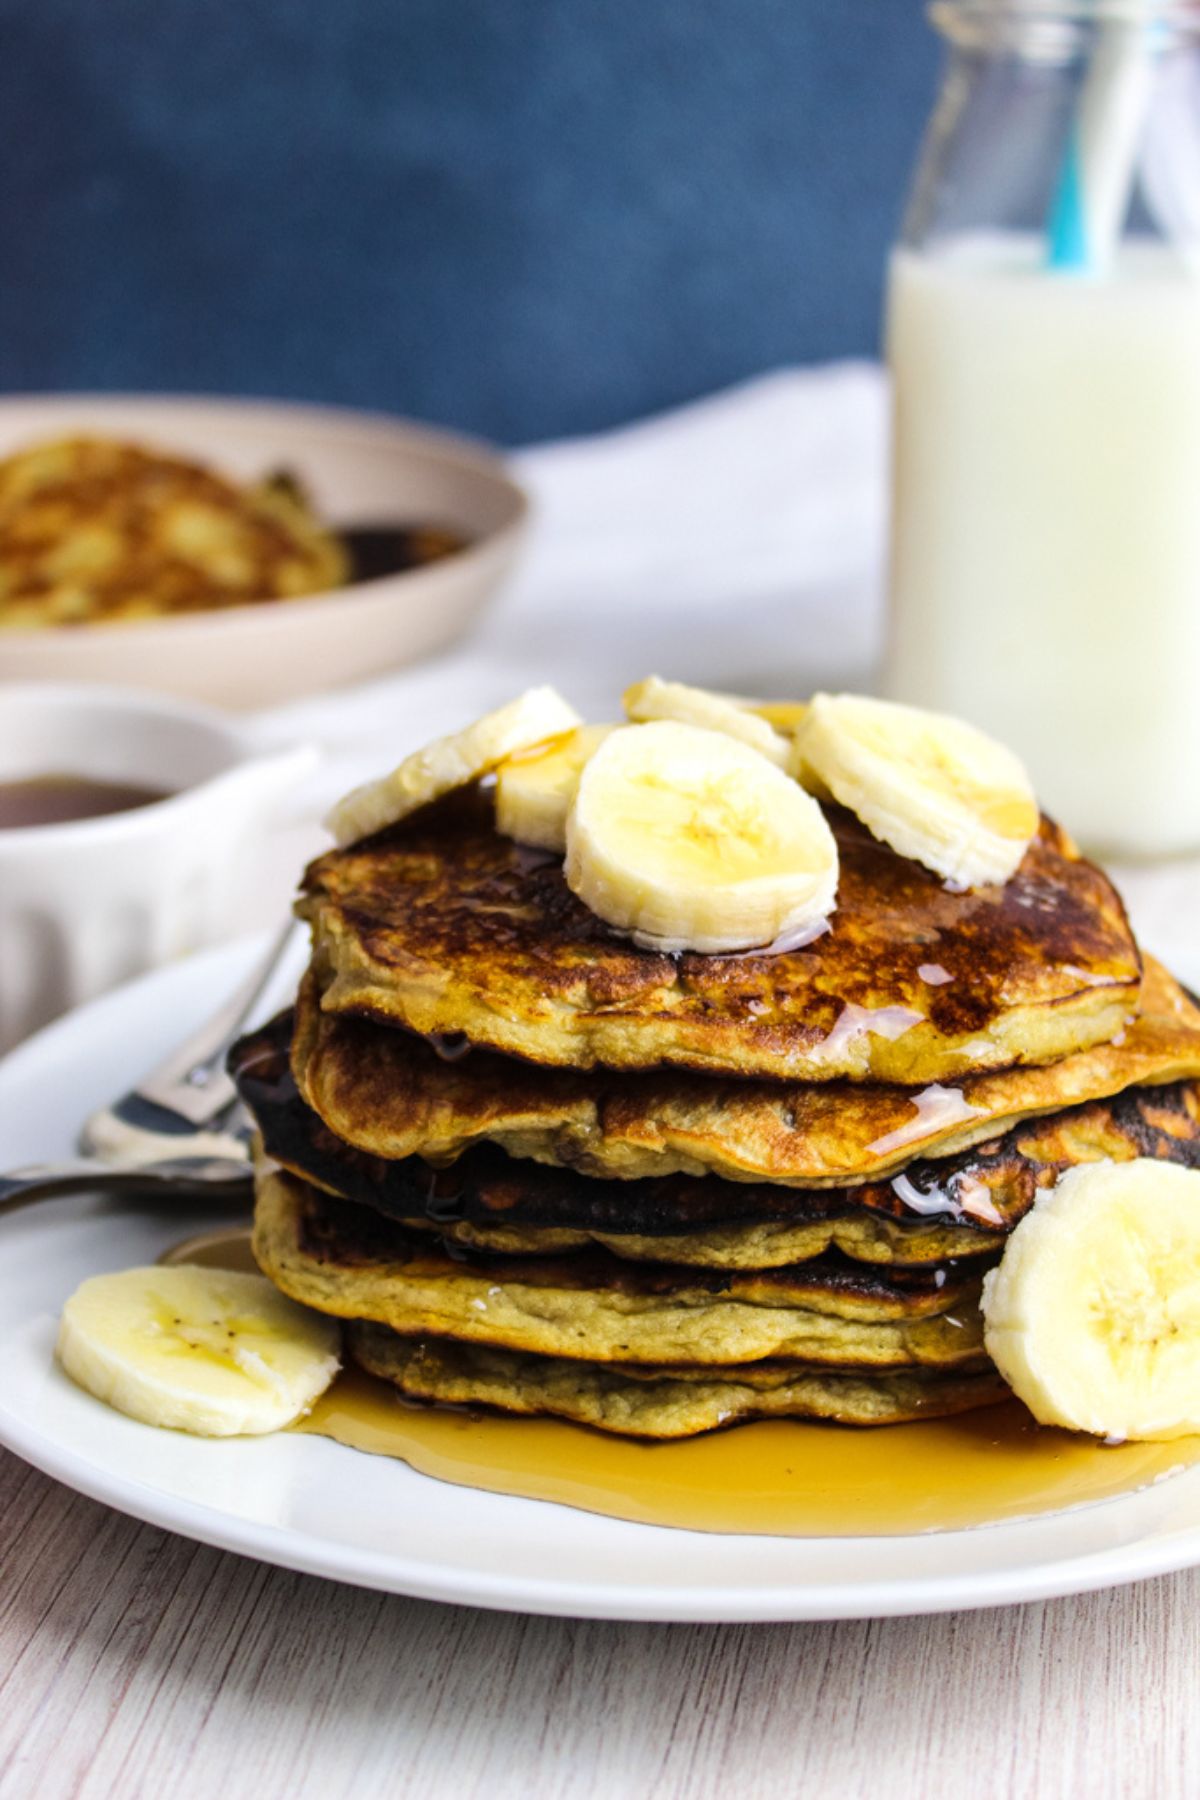
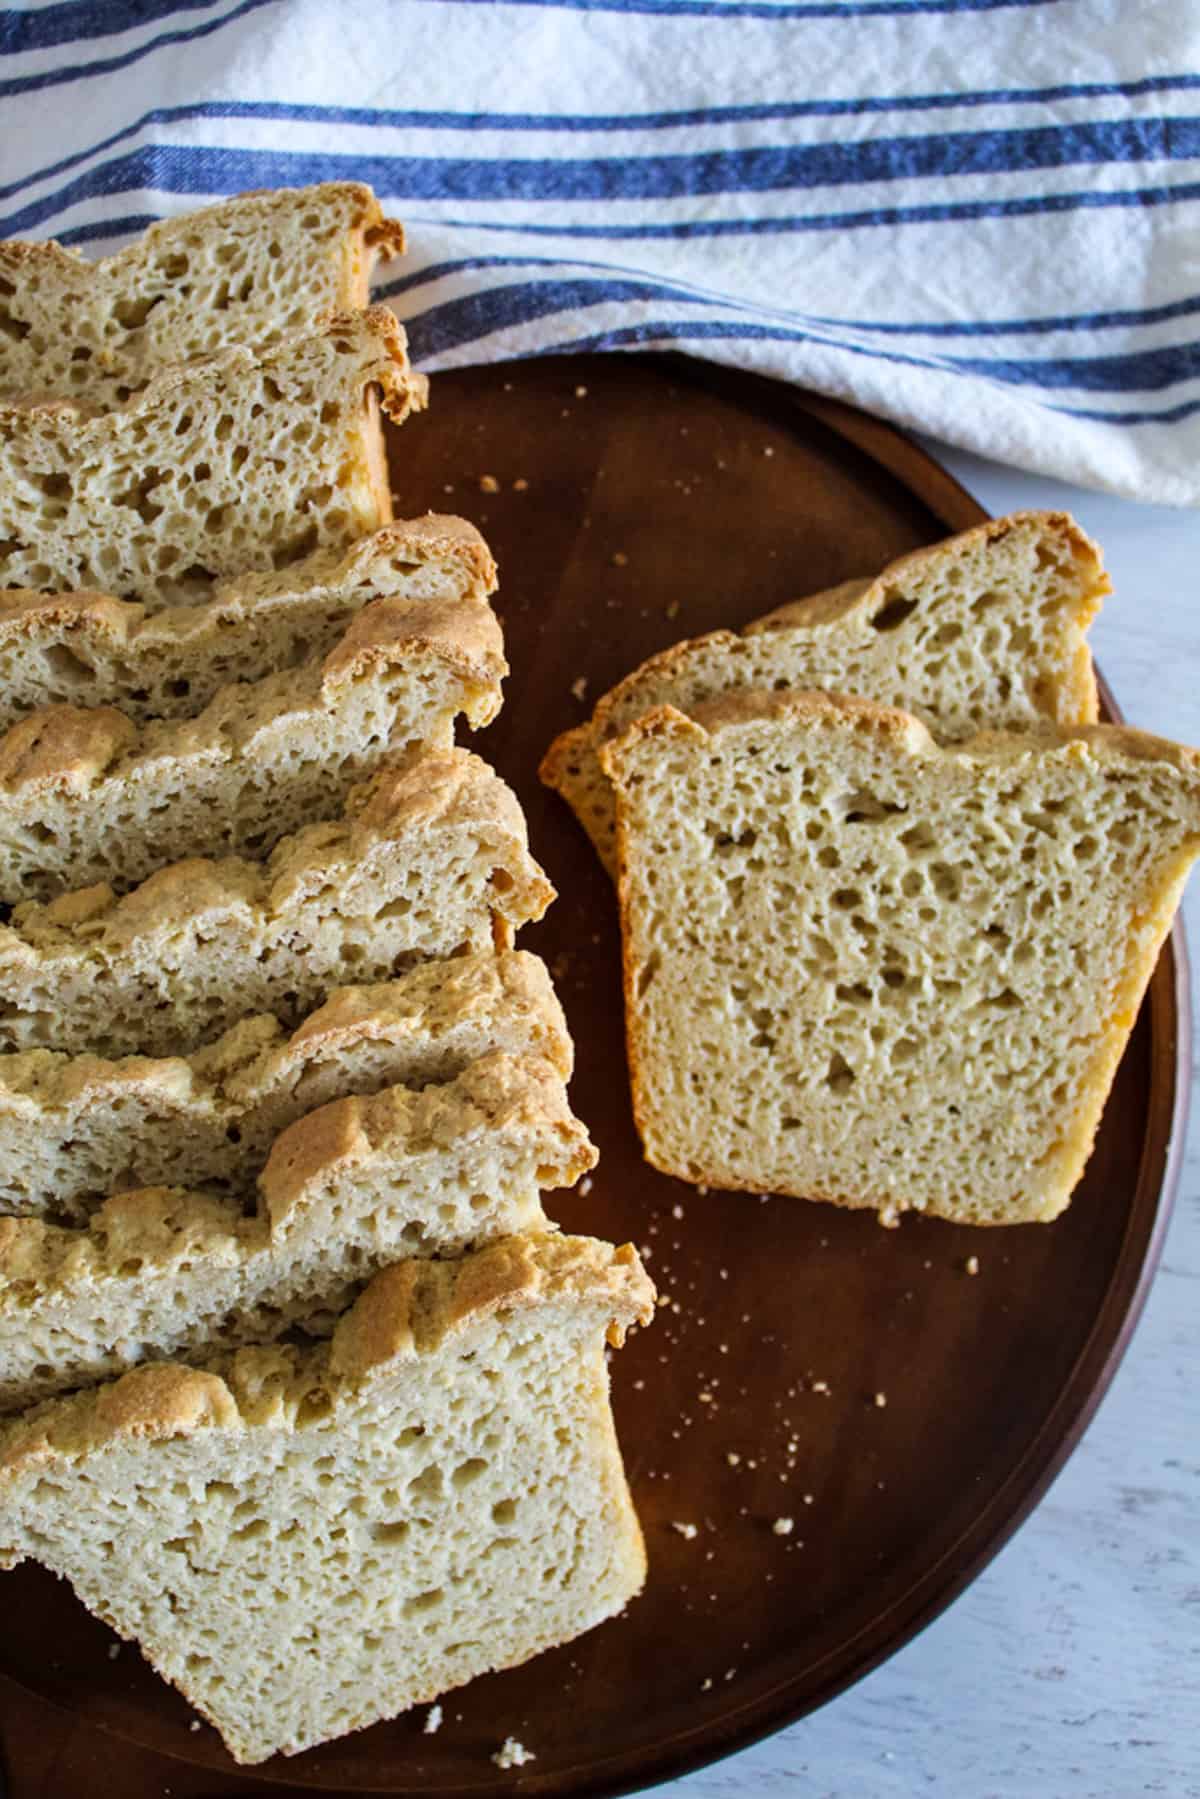
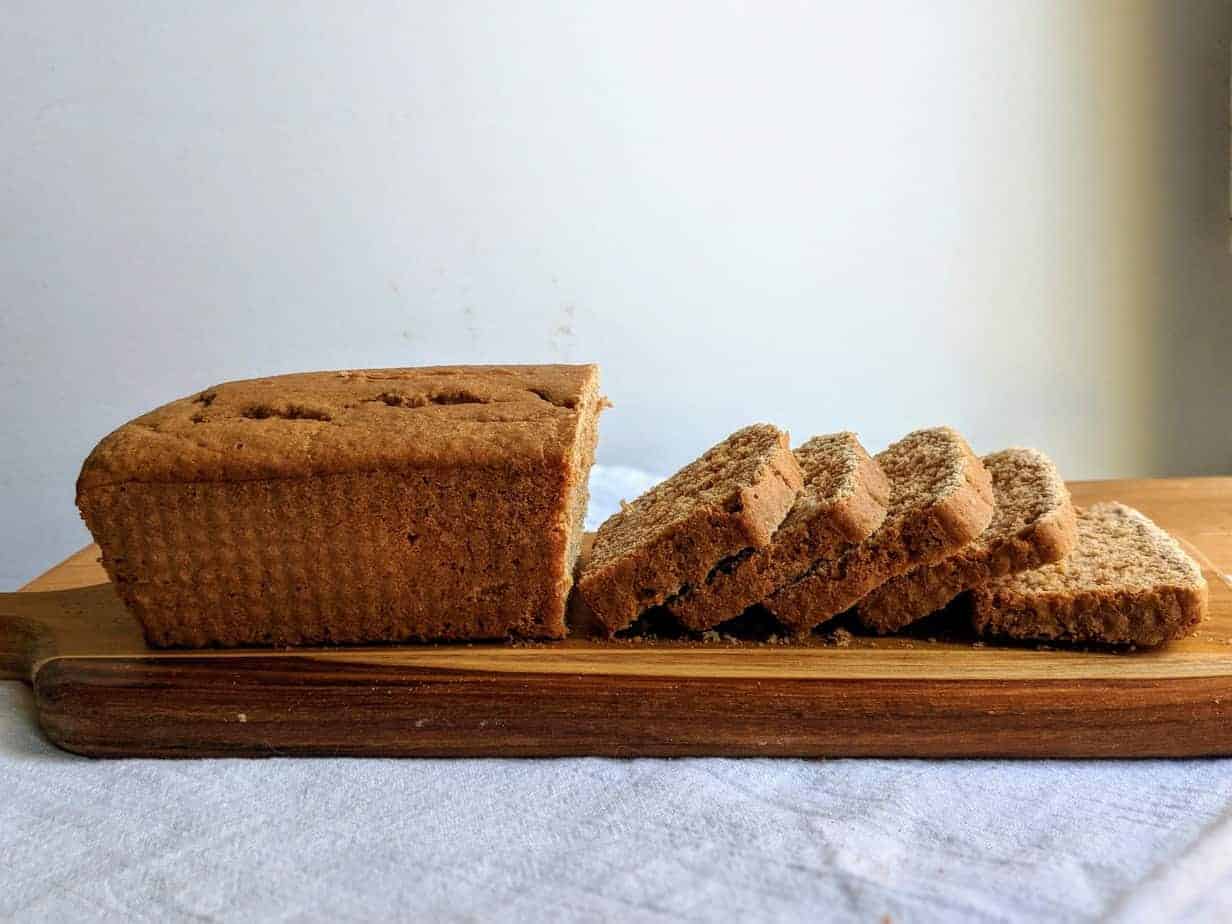
Other Breakfast Recipes
Recipe
Did you make and love this recipe? Give it your review and rating below! And make sure to follow me on Instagram, Pinterest, and Facebook , too!

Gluten Free Sticky Buns Recipe
Ingredients
For the buns:
- 260 grams gluten free flour mix about 2 cups
- 75 grams almond flour about 3/4 cup
- 50 grams granulated sugar about 1/4 cup
- 1 1/2 teaspoons xanthan gum
- 2 1/4 teaspoons instant yeast
- 1 teaspoon baking powder
- 1/2 teaspoon salt
- 1/2 cup water warmed to 110F
- 2 large eggs
- 1 1/2 teaspoons apple cider vinegar
- 2 Tablespoons vegan butter melted
For the topping/filling:
- 12 Tablespoons vegan butter softened
- 220 grams brown sugar about 1 cup
- 1/4 cup honey
- 1 teaspoon cinnamon
- 1 teaspoon pure vanilla extract
- 1/2 teaspoon salt
- 1/2 cup walnuts chopped
Instructions
For buns:
- In the bowl of a stand mixer, add the gluten free flour mix, almond flour, sugar, xanthan gum, yeast, baking powder and salt. Mix on low speed for 15 seconds, until combined.
- In a small bowl, add the water, eggs, apple cider vinegar and butter. Whisk with a fork to combine.
- With the mixer running, slowly add the wet ingredients to the dry. Batter will come together.
- Mix on medium speed for 5 minutes.
- Scrape down the bowl and cover with a towel. Set aside to rise for 1 hour. Batter will not double.
For topping and assembly:
- Preheat oven to 375F. Spray a 9" round cake pan with cooking spray.
- In a medium bowl, mix together the butter, brown sugar, honey, cinnamon, vanilla and salt. Pour half of it into the prepared pan.
- Sprinkle with chopped nuts.
- Place a large sheet of parchment paper on the counter. Sprinkle it generously with flour.
- Place the dough onto the parchment. Using a rolling pin, roll the dough to a 9"x13" rectangle.
- Pour the remaining topping over the dough.
- Using the parchment as a guide, roll up the dough, starting on the long edge. Use a knife and score the dough for 8 rolls.
- Using a piece of waxed tooth floss, slide the string under the score and pull it up through the dough, using a criss-cross.
- Place the roll into the pan, repeating the slicing method for each one.
- Bake for 35-40 minutes, covering with foil at the 20 minute mark.
- Remove from the oven and set on a wire rack for 5 minutes.
- Place a large plate over the the pan and quickly flip the pan over so the buns go onto the plate. This is best done over the counter as it will be messy.
- Serve warm.
Notes
- Recipe was tested using this flour mix. I would not recommend substituting it.
- The Nuts.com brand of almond flour was used in the recipe.
- Instant yeast is also called bread machine or rapid rising yeast.
- I would not recommend substituting the xanthan gum.
- Swerve sweetener can be used as a sugar substitute in the buns.
- The nuts can be substituted with pecans or even omitted.
- I would not recommend substituting the vegan butter, but regular, dairy butter can be used.
- Your cake pan should have 3″ sides. If not, place a piece of foil on the bottom of your oven as the topping mixture may bubble over.
- To get a nice 9″x13″ rectangle, cut the dough and place where needed to make a rectangle.
- Use a knife to score the dough, but not cut through. Tooth floss is best as it does not crush the rolls.
- To slice using tooth floss: Slide the string under the entire roll. Position it to where the score mark is and bring up each side of the string, criss-crossing as you do. Repeat for each roll.
- To lessen the mess when flipping the pan onto the serving plate, use a large piece of foil to act as a guard. Cover the serving plate with foil, tucking in all the way to the baking pan. Flip it quickly and the mess should stay contained in the foil.
- Rolls can be stored covered at room temperature for up to 2 days. Microwave before serving.
- Baked rolls can be frozen but do not taste as good as fresh.
- The dough can be made ahead of time and refrigerated. After rising, cover the bowl and refrigerate for up to 1 day. Remove from the refrigerator and proceed with making the topping and assembling.