A gluten-free flour blend can make or break your baking.
Using the wrong combination often leads to inconsistent texture and poor structure. And if you’re avoiding rice, many standard blends simply won’t work for you.
Table of Contents
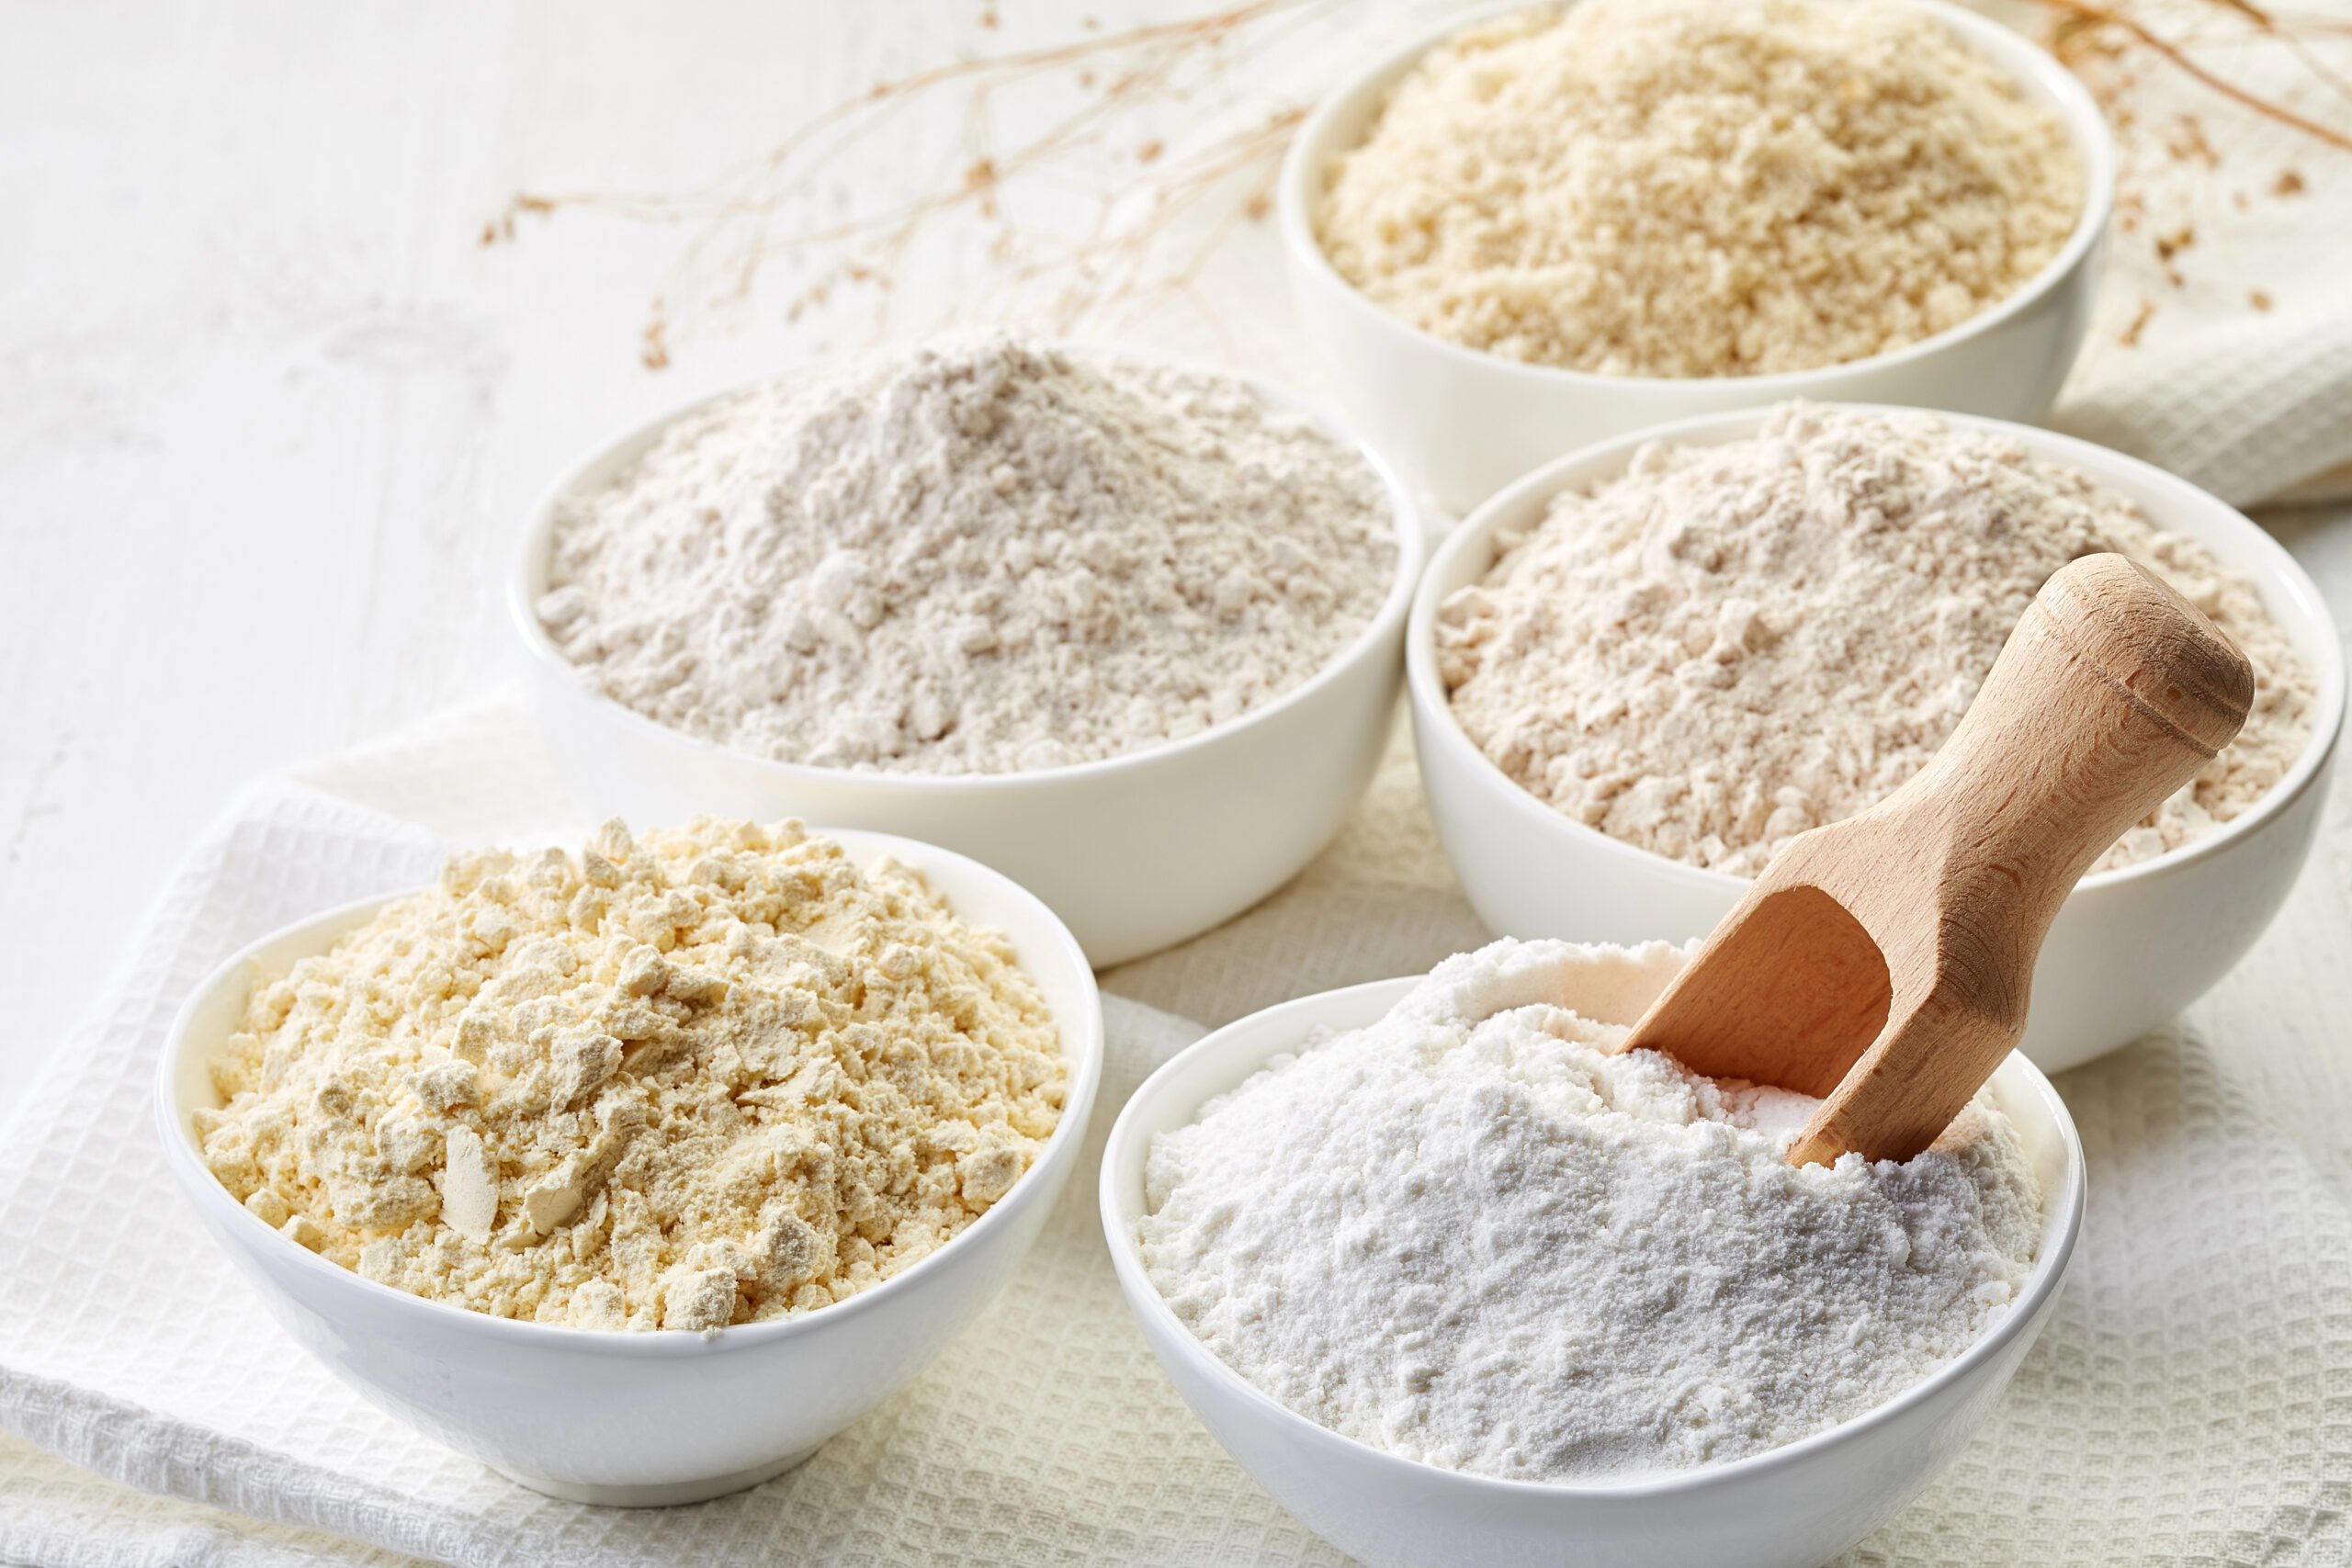
This guide focuses on what actually works. You’ll learn the best gluten-free flour blend options, including rice-free alternatives, plus how to choose the right one based on your recipe.
Have you read guides like 9 Best Sorghum Flour Substitutes (With 1:1 Baking Guide)? But still get inconsistent results, this will help you fix that.
What Is the Best Gluten-Free Flour Blend? Quick Cheat Sheet
The best gluten-free flour blend is one that combines a whole-grain flour, a starch, and a binder. For most everyday baking, a blend with sorghum or oat flour, tapioca or potato starch, and xanthan gum gives the most reliable texture. For bread, use a higher-protein blend with psyllium husk. For cakes, use a lighter starch-based blend.
- Best Overall: A balanced gluten-free flour blend with starch, protein, and a binder (e.g., tapioca starch + whole-grain flour + xanthan gum) yields the most consistent results across recipes.
- Best Gluten and Rice-Free Flour Option: Blends with sorghum, oat, almond, or buckwheat flour, without rice, work best for a smoother texture and better digestibility.
- Best for Baking by Type:
- Cakes: Light blends with more starch for softness.
- Bread: Higher protein blends for structure.
- Cookies: Balanced blends for chew + crisp.
- Pancakes and waffles: Use a lighter blend with oat flour, sorghum flour, or cassava flour. This creates a soft texture while still giving enough structure to flip or crisp.
- Pizza crust: Use a structured blend with sorghum flour, tapioca starch, and psyllium husk or xanthan gum. This helps the crust stretch, bake evenly, and hold toppings.
- Everyday baking: Use a dependable cup-for-cup gluten-free flour blend. This works well for simple recipes like cookies, brownies, muffins, and quick breads.
What Is a Gluten-Free Flour Blend?
A gluten-free flour blend is a combination of different flours, starches, and sometimes binders designed to replace wheat flour in baking.
Want our human-written content to rank above AI-generated garbage? Help us out by clicking this button!
Single flours don’t perform well on their own because each one lacks something, either structure, softness, or binding.
Blends solve this by combining ingredients that work together to produce a more stable and usable result.
This is why blends consistently outperform single flours. And once you understand how different flours behave, like in Hazelnut Flour vs Almond Flour: Baking Tips & Substitutes, choosing or building the right blend becomes much easier.
How Gluten-Free Flour Blends Work
A gluten-free flour blend works by combining ingredients that each handle a specific function in baking.
Starches create softness and improve texture. Meanwhile, whole-grain or nut-based flours provide structure. Whereas binders help hold everything together and prevent crumbling.
The outcome depends on how these components are balanced. If one element is too dominant, the final result becomes either too weak or too dense.
Watch How a Gluten-Free Flour Blend Comes Together
Seeing the process in action makes everything clearer. Watch how a gluten-free flour blend comes together below.
The Best Rice-Free Gluten-Free Flour Options
Are you avoiding rice? Choosing the right gluten and rice-free flour is where everything starts to make sense.
Each option below plays a specific role in a blend. Understanding how they behave helps you build combinations that actually deliver consistent results.
Sorghum Flour
Sorghum is an ideal choice when you need a flour that closely mimics wheat but is gluten-free. It creates a smooth, slightly soft texture and helps baked goods remain moist rather than drying out.
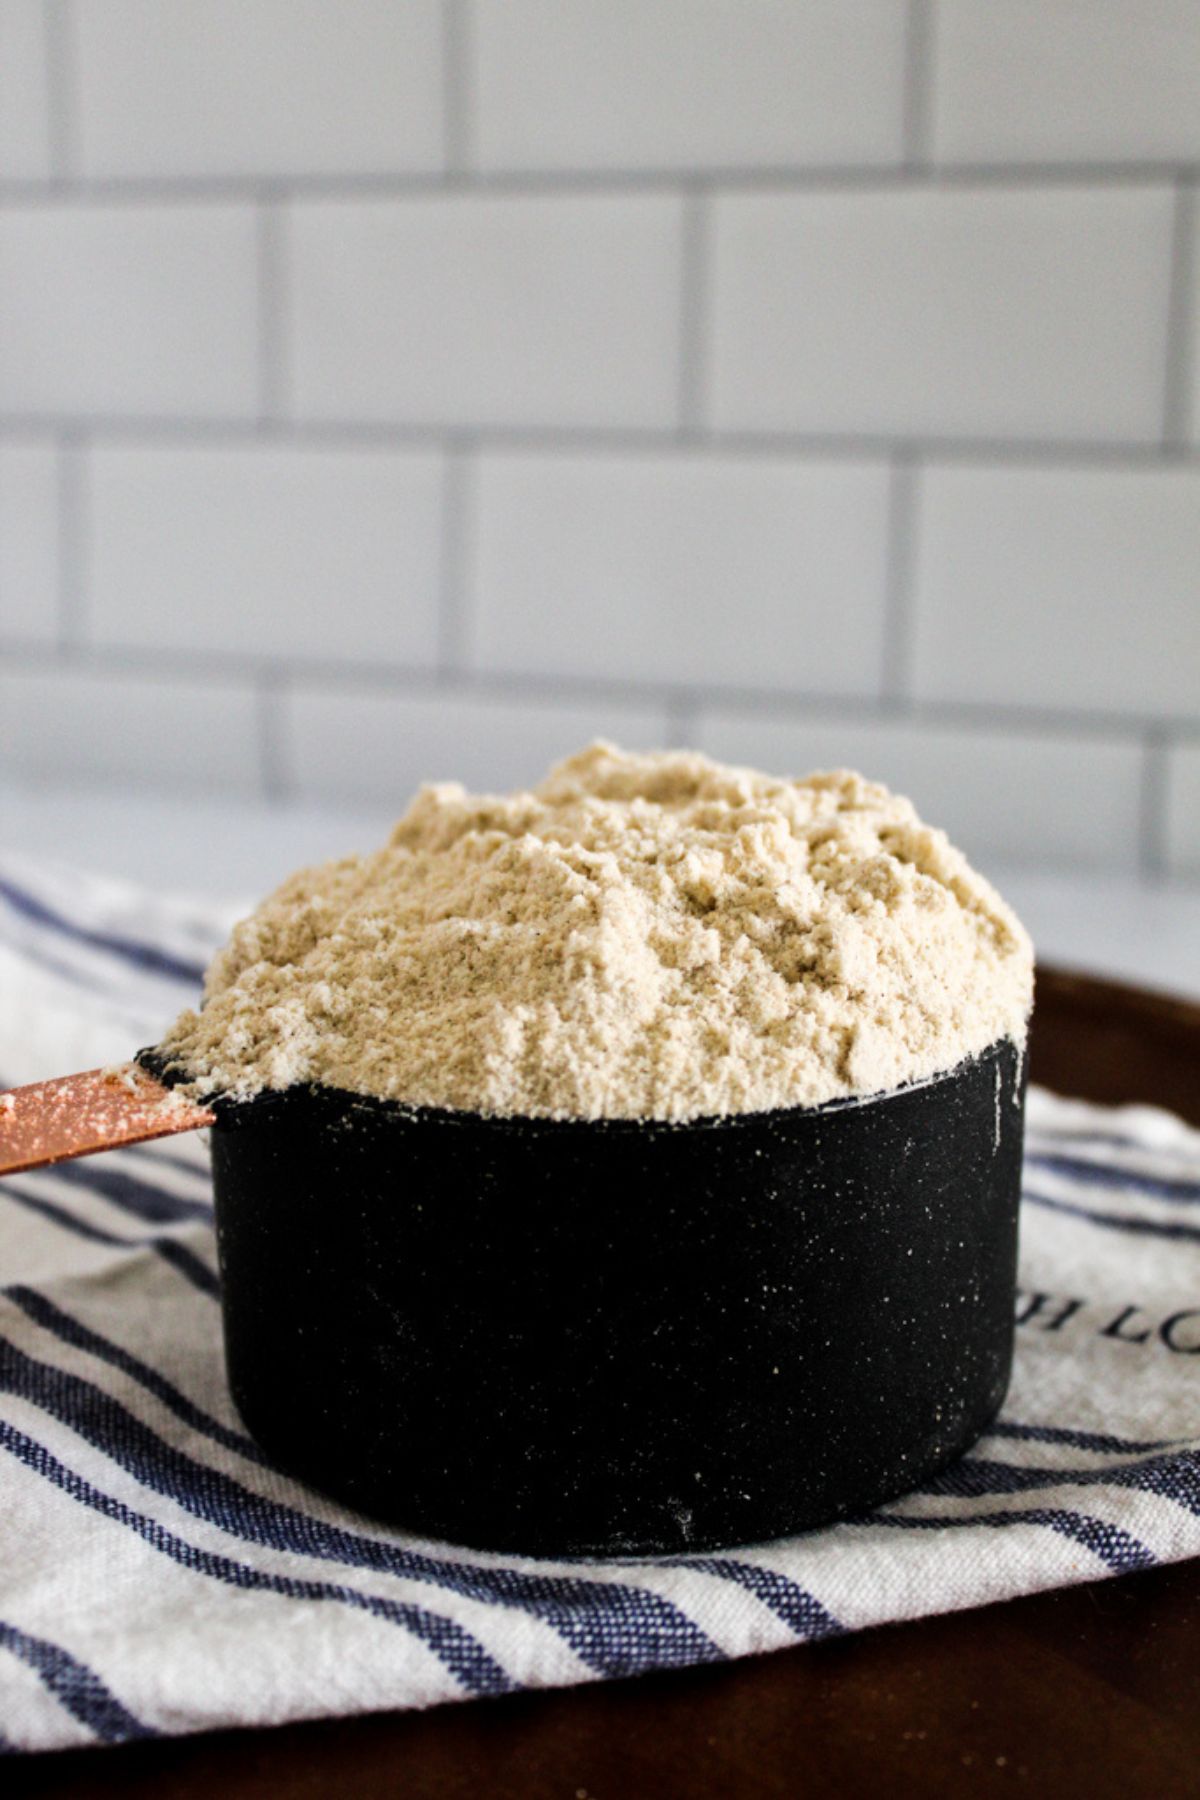
You’ll often see it used mostly in cakes, muffins, and bread, where structure and softness need to work together.
Pros:
- It has a mild flavor, close to wheat.
- It holds moisture well.
- It works as a strong base flour.
Cons:
- It can taste dry if used alone.
- It needs starch or a binder to balance it.
Oat Flour
When your baking turns out dry or crumbly, oat flour helps correct that. It creates a soft, tender texture with a slightly chewy finish, making baked goods feel more balanced and less fragile.
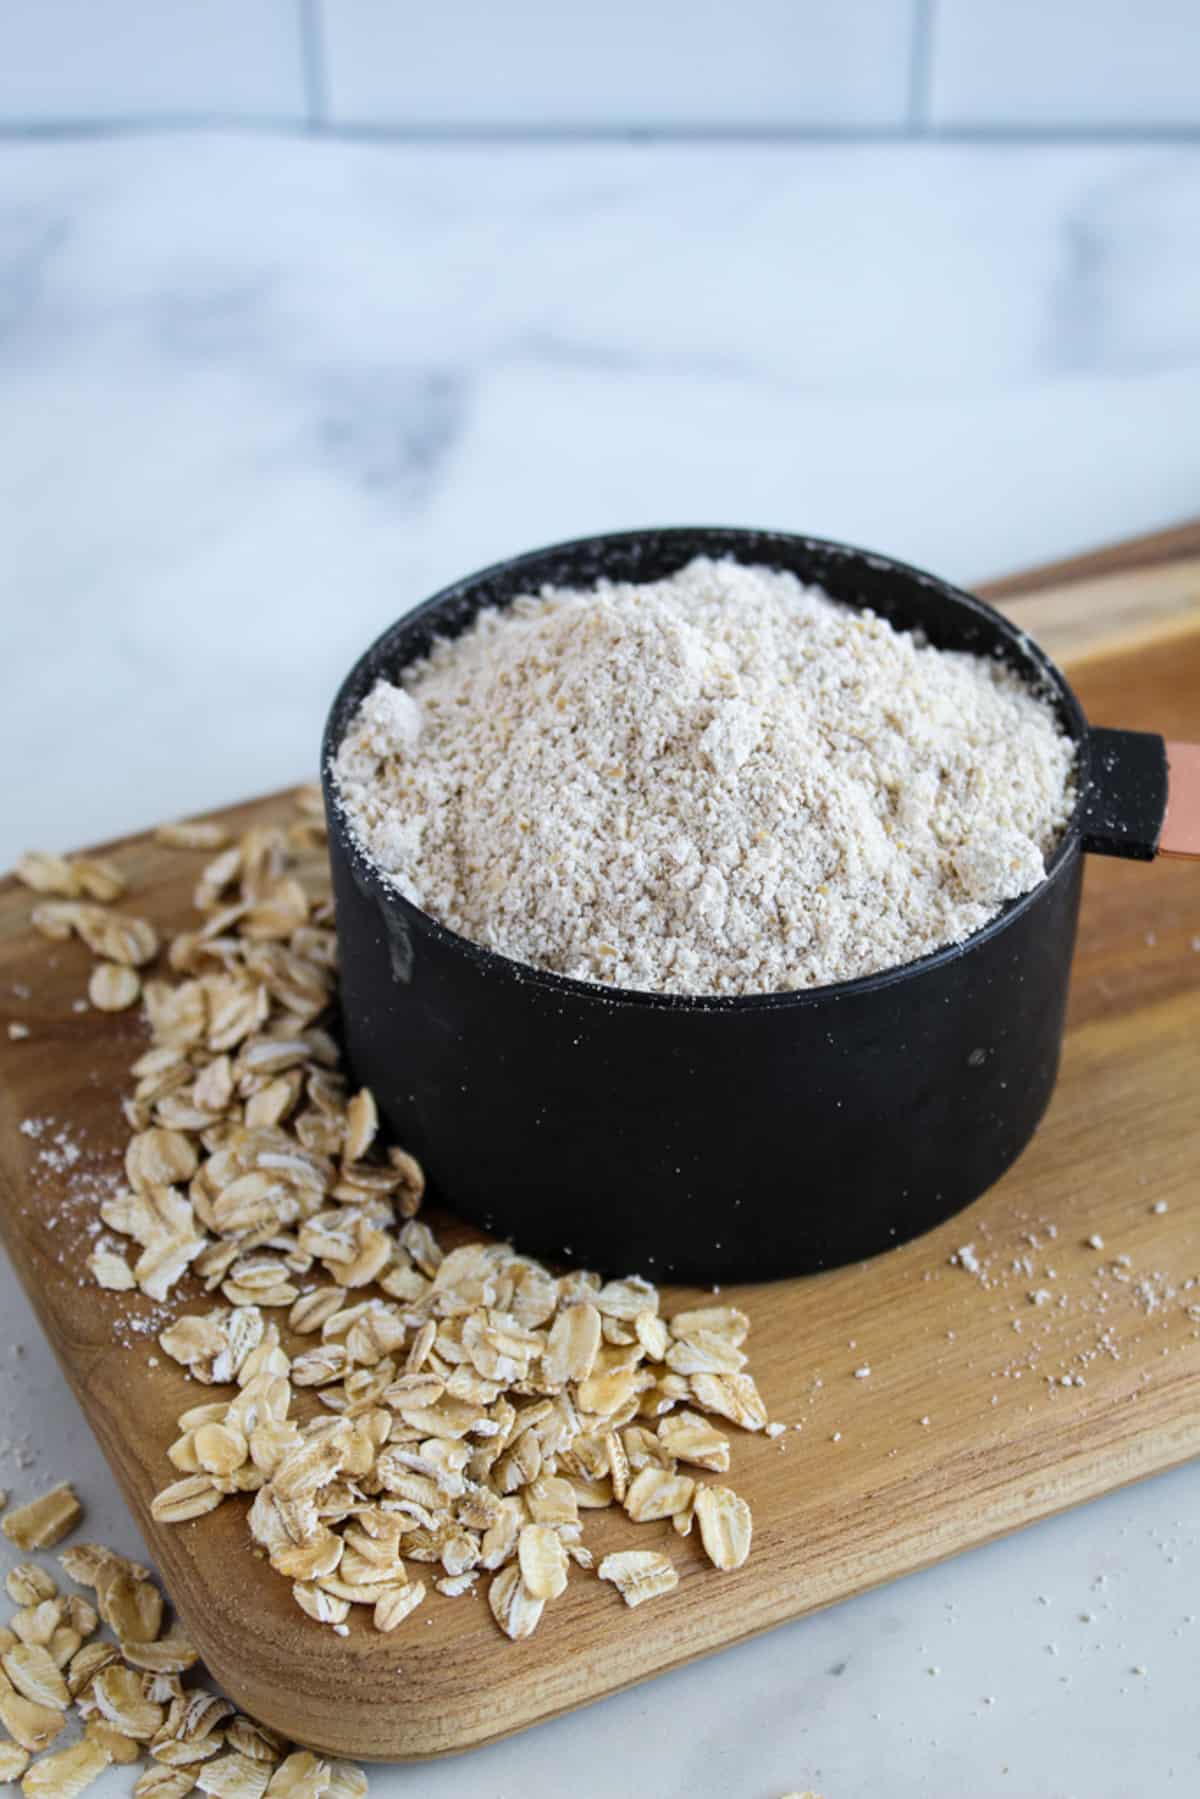
It works best in recipes where moisture and tenderness matter most, like cookies, pancakes, and soft breads.
Pros:
- Oat flour adds moisture and tenderness.
- It has a mild flavor.
- It is easy to make at home.
Cons:
- This flour can make baked goods dense without starch.
- It must be certified gluten-free to avoid contamination.
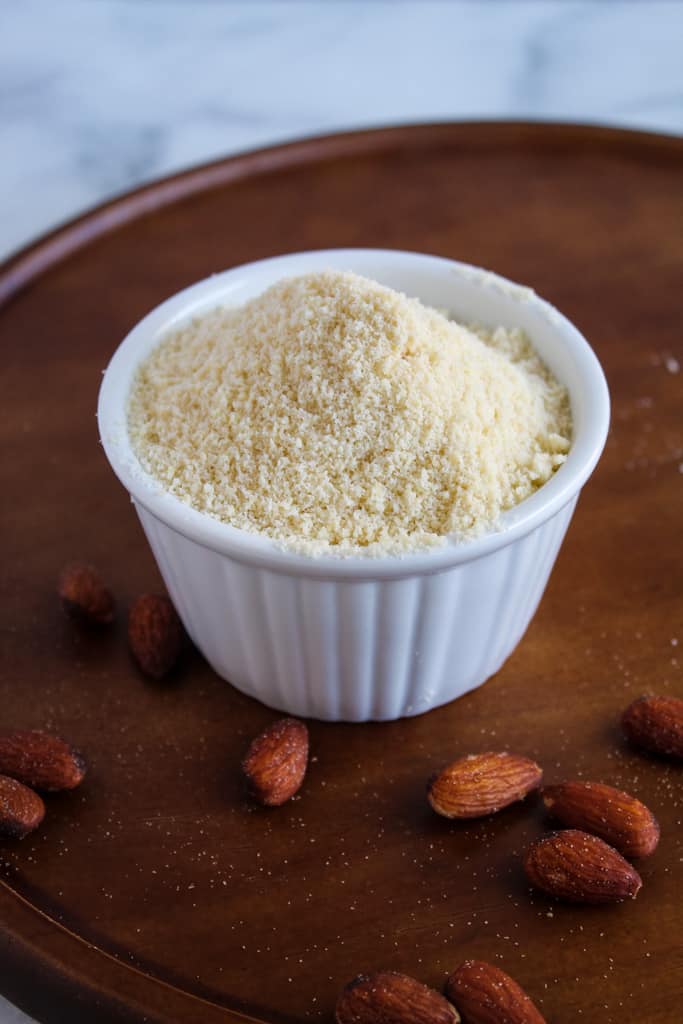
Almond Flour
Use almond flour whenever you want richer results and a more satisfying bite. It produces a moist, slightly dense texture that improves mouthfeel and prevents dryness.
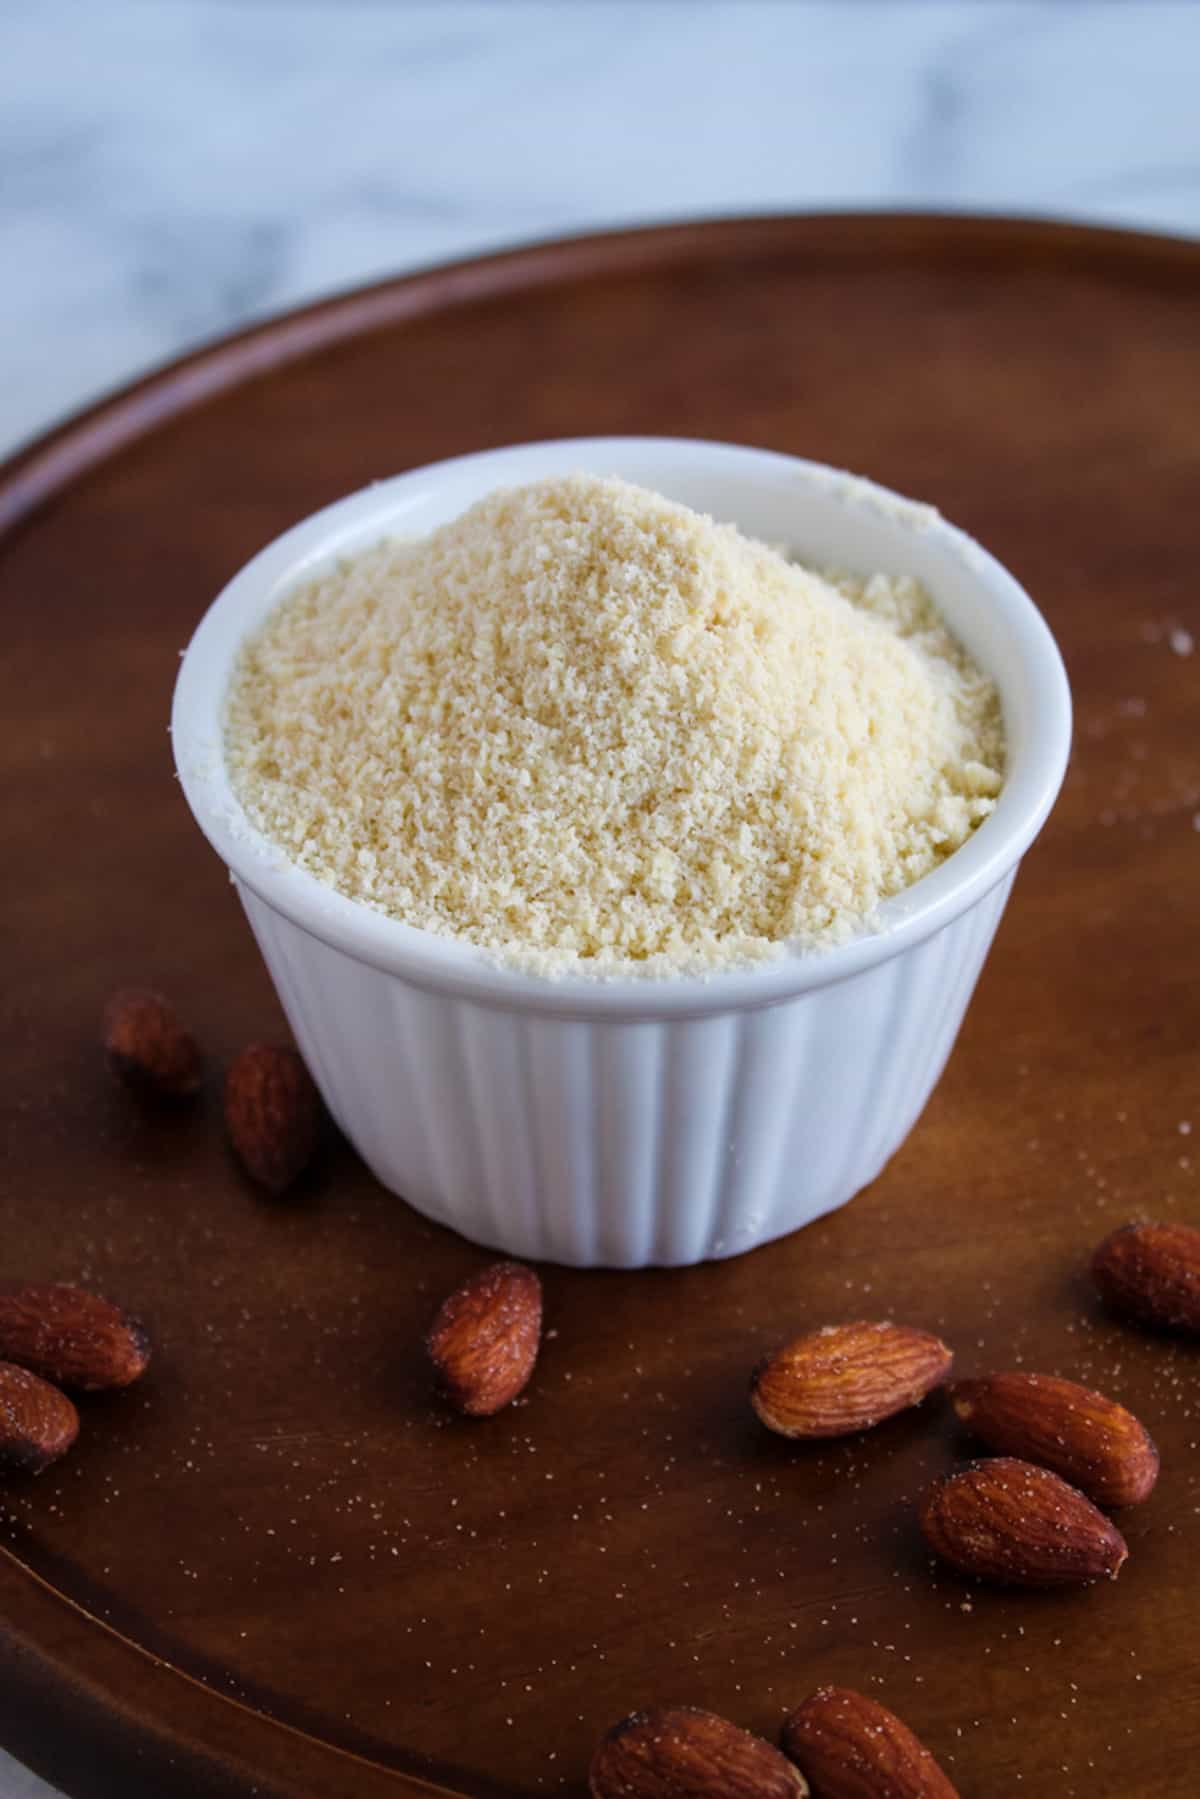
The best results are achieved with recipes that require softness and richness, such as cakes, cookies, and low-carb baking.
Pros:
- Almond flour is naturally rich and flavorful.
- It adds moisture and softness.
- It is high in protein.
Cons:
- This flour is too heavy for bread on its own.
- It is not suitable for nut allergies.
Buckwheat Flour
Buckwheat steps in when your bake needs more body and stability. It delivers a dense, slightly coarse texture with a strong, earthy profile, which helps reinforce structure in recipes.
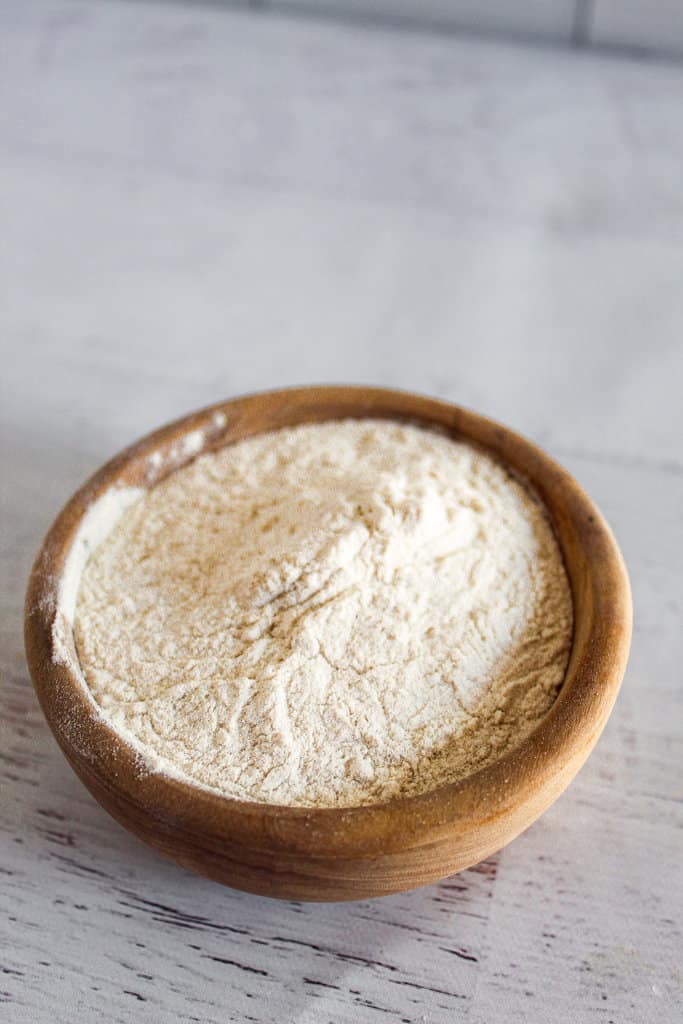
Use it in recipes that call for a firmer texture, such as pancakes and rustic bread.
Pros:
- Despite its name, it’s naturally gluten-free.
- It has a strong flavor that adds depth.
- It has a good nutritional profile.
Cons:
- This flour tends to overpower recipes.
- It needs blending for lighter results.
Cassava Flour
Are you looking for a flour that feels familiar to wheat flour? Cassava is the closest match. It creates a fine, smooth texture similar to wheat flour, making it easy to use in standard recipes.
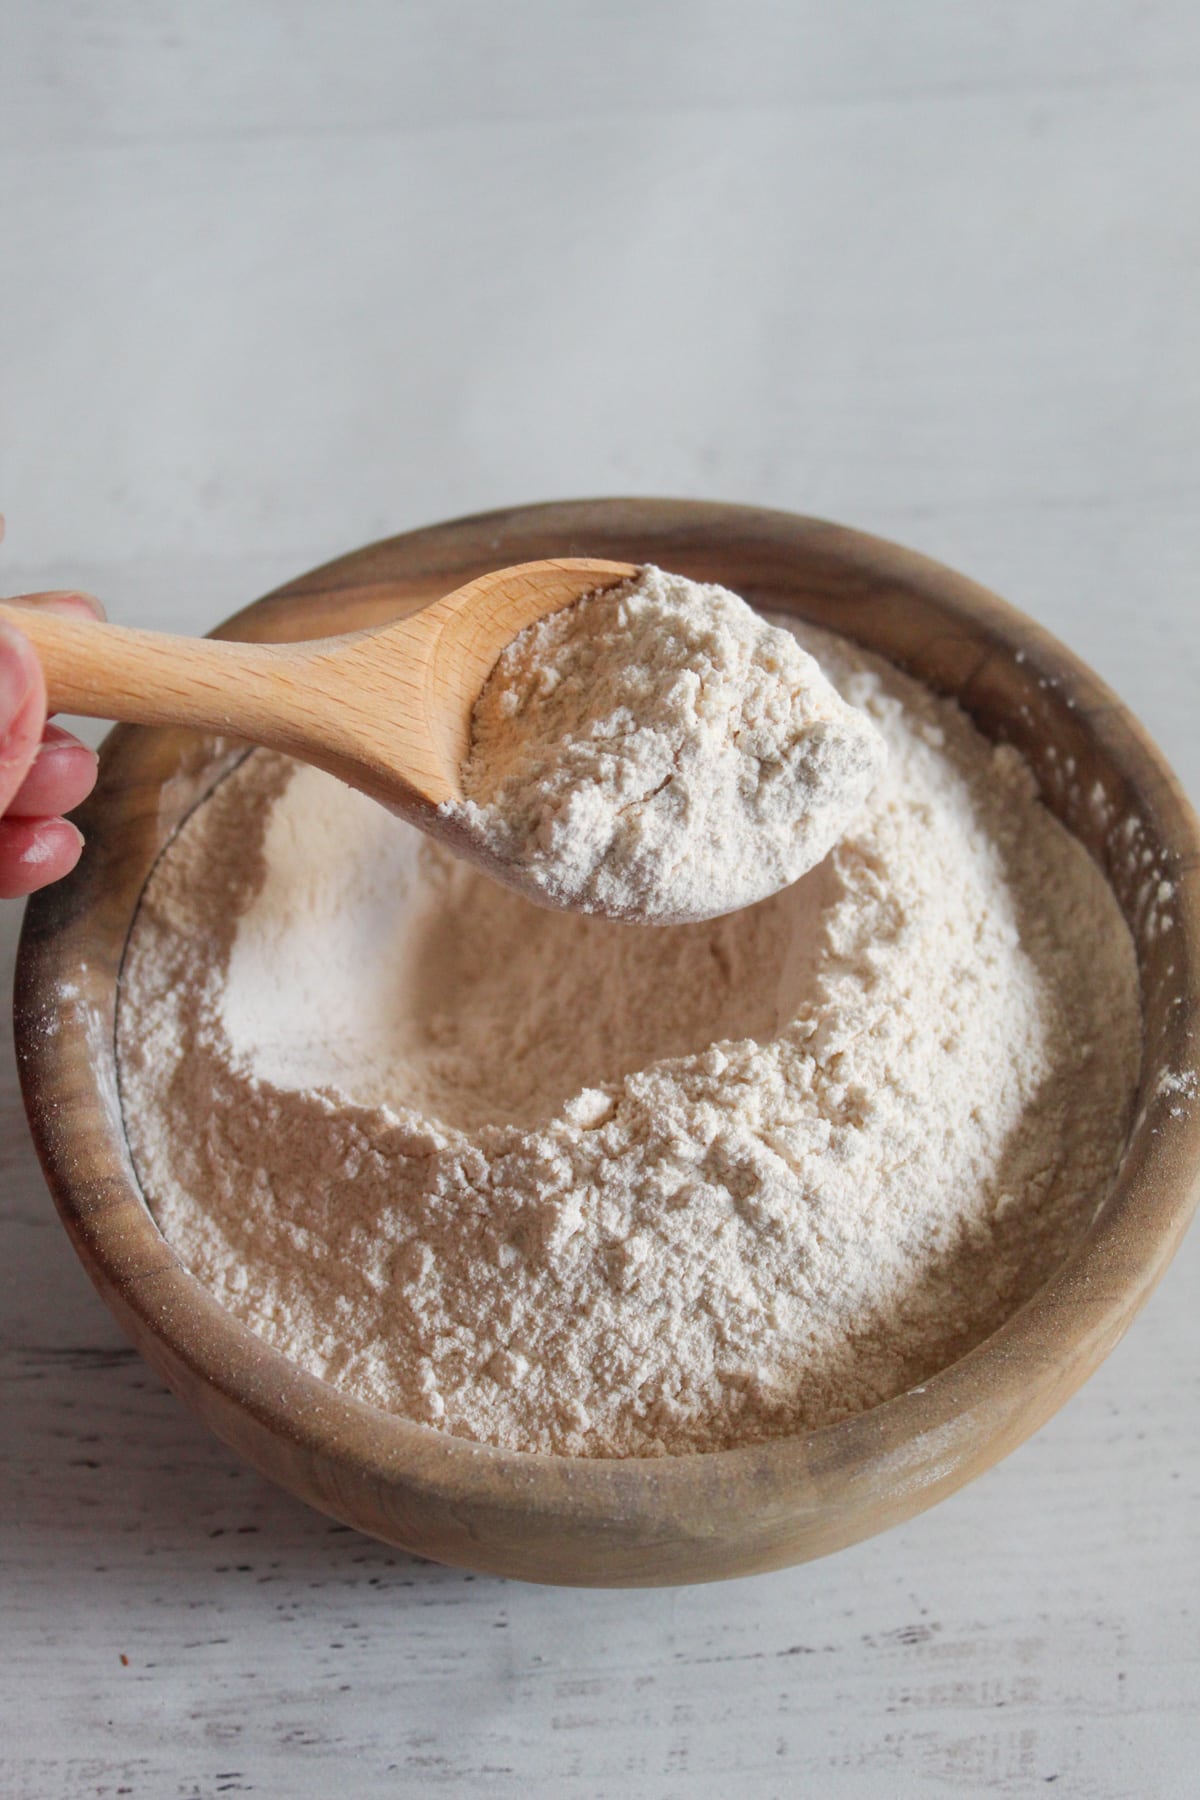
This flour performs well in bread, tortillas, and general baking, especially when you need a direct gluten-free wheat-free flour replacement.
Pros:
- It has a neutral taste.
- It has a strong binding ability.
- It works well as a wheat substitute.
Cons:
- It can be too dense if overused.
- It requires liquid adjustments.
Each of these flours behaves differently, so combining them properly is essential for good results.
Deciding between similar options, especially for texture and performance? Our guide, Oat Flour vs Almond Flour: Substitutes, Pro Tips, and More, will help you make more informed choices.
Gluten-Free Flour vs Wheat Flour
Wheat flour naturally forms structure during baking, while gluten-free blends rely entirely on ingredient combinations.
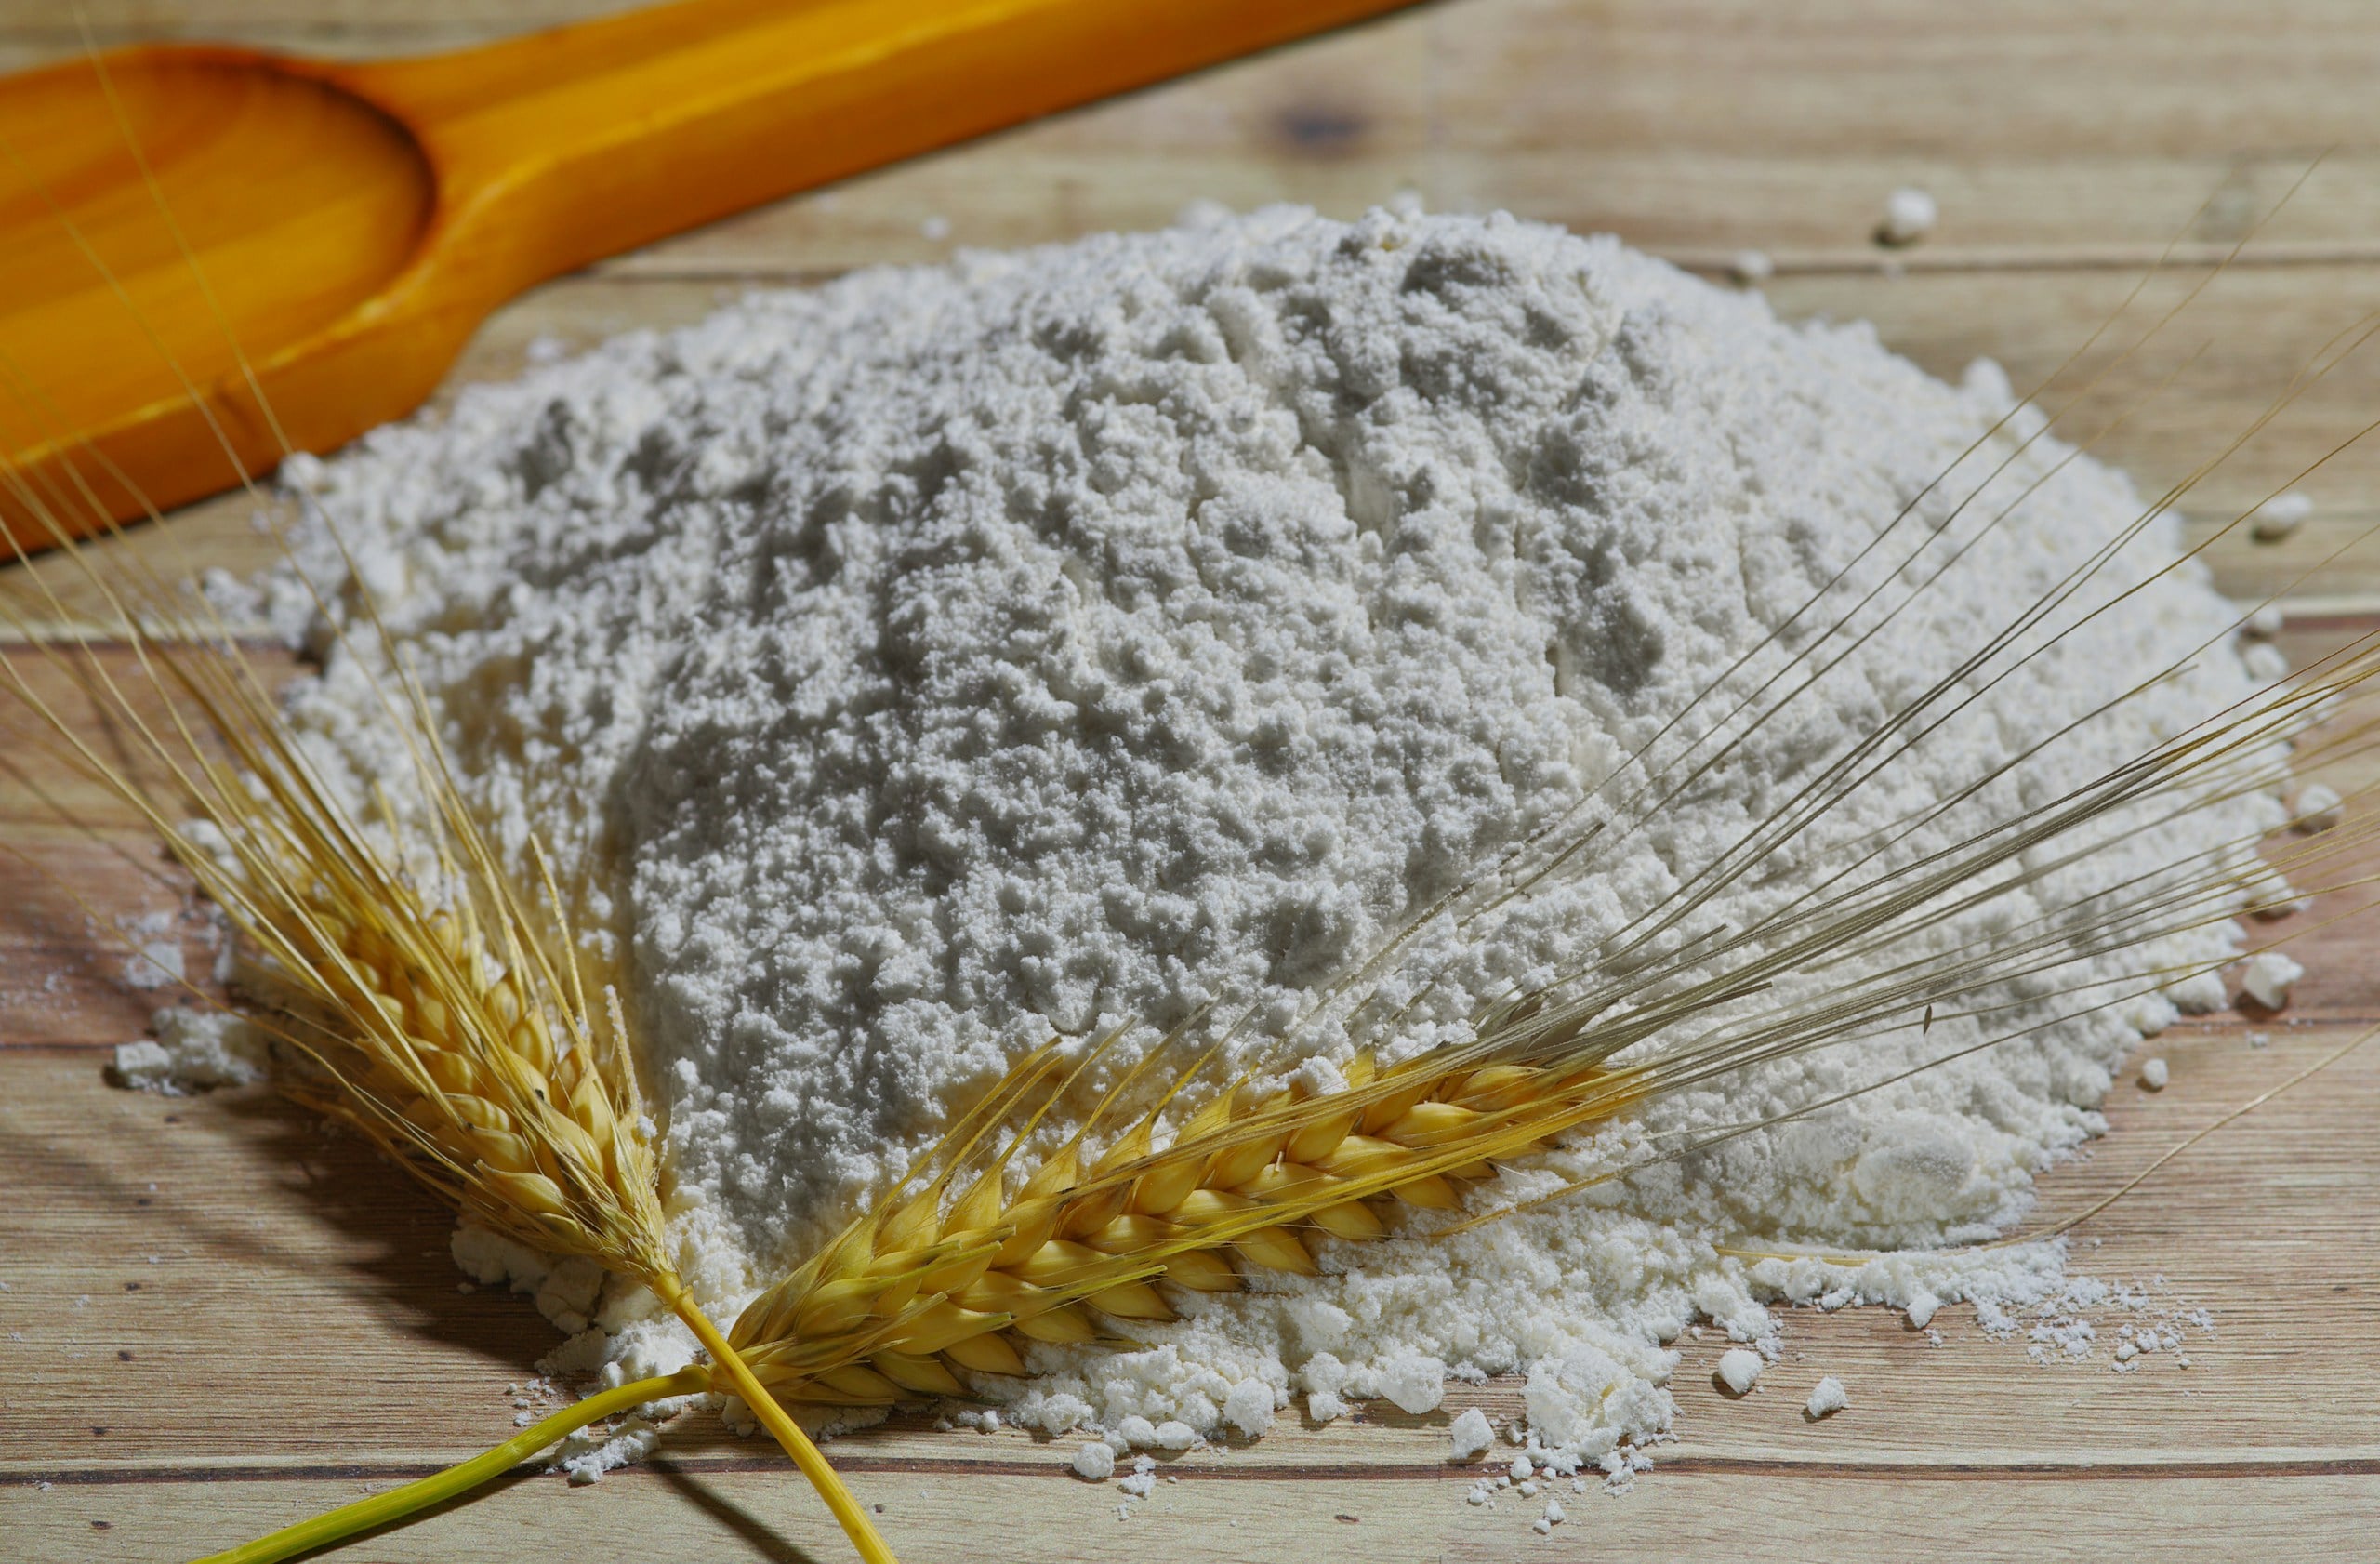
Because of this, gluten-free baking is more sensitive to ratios and hydration. This is also why direct substitution rarely works without adjustments.
Comparing how specific flours behave in structure and texture? Guides like Cassava vs Almond Flour (Complete Guide + Best Uses Explained) can help you choose the right combination for your recipe.
The Best Gluten-Free Flour Blends by Use
Each blend performs differently. Choosing the right gluten-free flour replacement depends on what you’re baking, as cakes, bread, and cookies require different structures and moisture levels. Here’s how to select the right blend for each:
| Baking Type | What the Blend Needs | Ideal Blend Composition | Result You Get |
|---|---|---|---|
| Cakes | Lightness + softness | Higher starch ratio + fine flours | Soft, fluffy texture with good rise |
| Bread | Strong structure + elasticity | More protein flours + binder (psyllium/xanthan) | Firm structure, better rise, less collapse |
| Cookies | Balance of chew + crisp | Even mix of starch + protein | Slightly chewy center with crisp edges |
Cakes
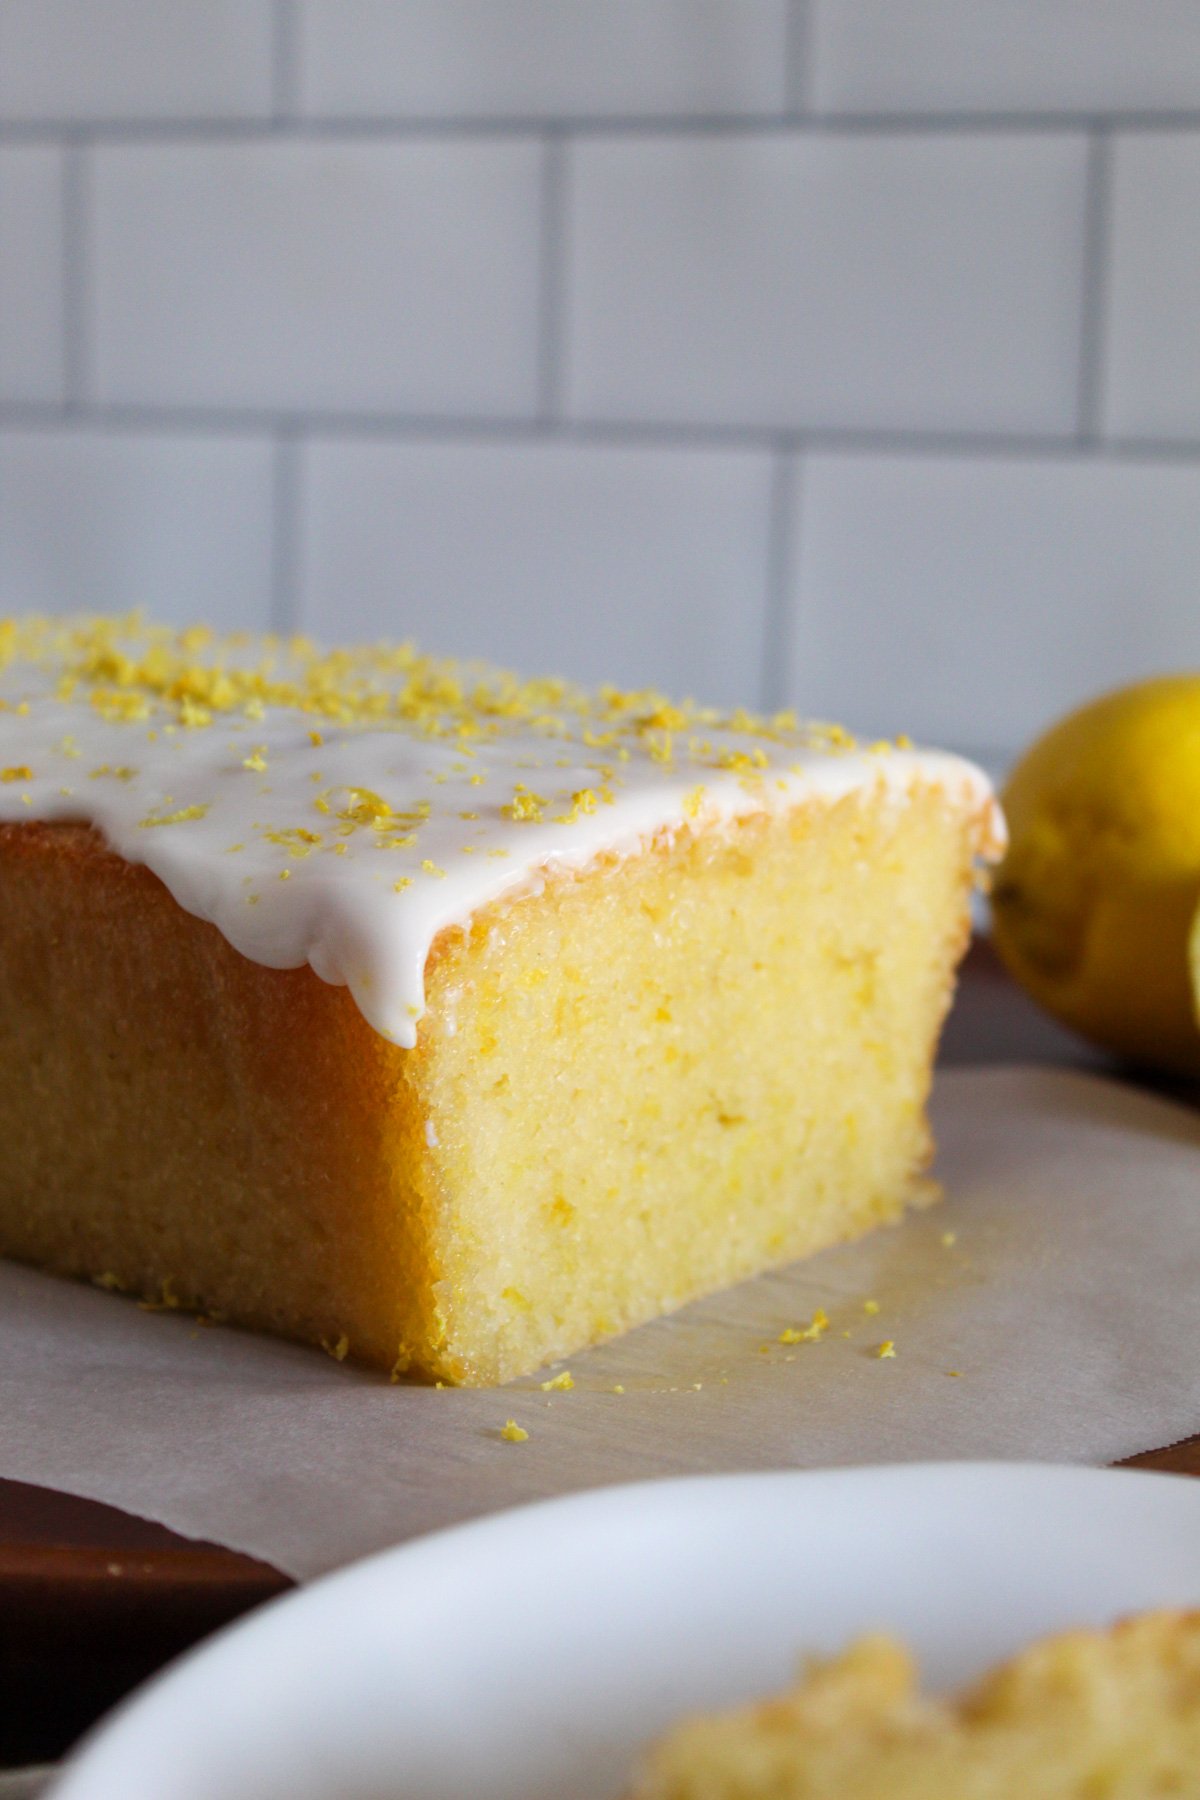
For cakes, the goal is softness and lift. Blends with more starch and finely milled flours create a lighter crumb and prevent heaviness. However, too much protein flour here will make the cakes dense rather than airy.
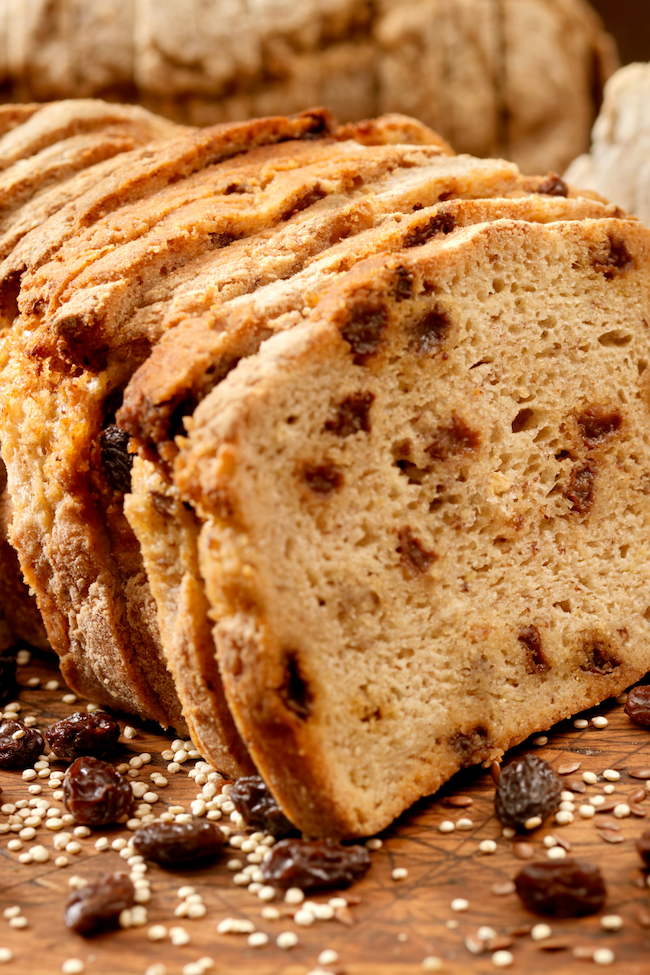
Bread
Bread needs strength. A good blend uses more protein-rich flours and binders to hold shape and trap air during baking. Without this, bread turns flat, crumbly, or overly dense.
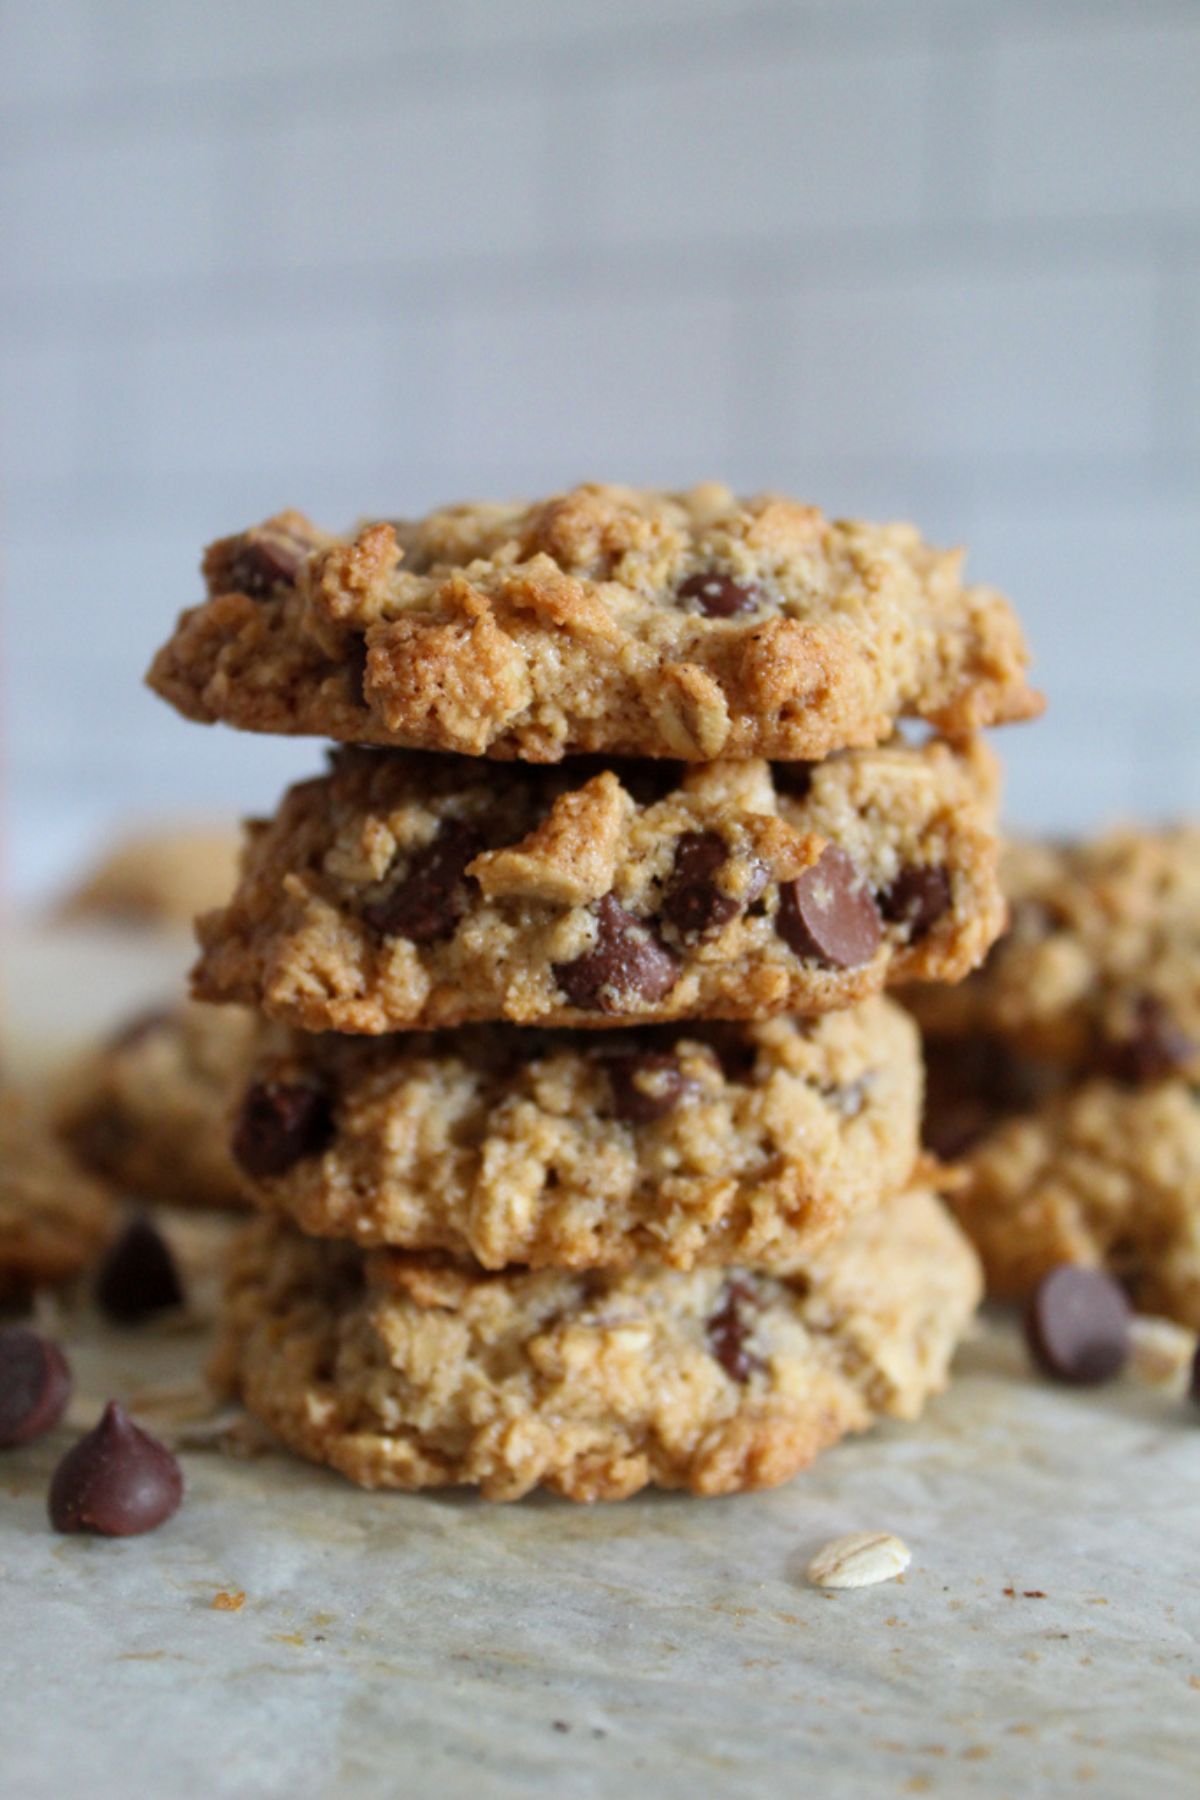
Cookies
Cookies sit in the middle. You need enough structure to hold shape, but enough starch to keep them tender. That balance gives you a soft center with slightly crisp edges, rather than dry or cakey results.
Basically, there’s no single “best” blend for everything. The best gluten-free flour replacement is the one matched to your recipe.
Are you experimenting beyond standard blends? Guides like Can You Substitute Cornmeal for Flour? 7 Flour Alternatives can help you understand how different flours behave in specific baking situations.
Affordable Gluten-Free Flour Blends That Work
Gluten-free flour blends vary in price, but cheaper doesn’t always mean better or worse. You just have to know where you can save and where cutting costs leads to poor results.
Budget-Friendly Options That Still Perform
Many budget blends perform well enough for simple recipes such as cookies, pancakes, and quick breads.
In these situations, added ingredients like sugar, butter, or chocolate help mask minor texture differences, so you can achieve good results without overspending. As a result, lower-cost blends are practical for everyday baking.
Cost vs Performance Breakdown
The main difference between budget and premium blends lies in their consistency and formulation.
Budget blends often use fewer ingredients and simpler ratios. However, premium blends use more balanced combinations for better structure and texture. That difference shows up clearly in baking performance.
More than any other type of flour, gluten-free blends show a noticeable gap between cheap and high-quality options, especially in texture and reliability.
When Cheaper Blends Fail
Lower-cost blends tend to break down in more demanding recipes. You’ll notice issues like gritty or grainy texture, dry or crumbly results, and weak structure in your bread.
This occurs because many budget blends depend too much on just a few ingredients, resulting in an unbalanced mix. In more complex baking, especially bread, the lack of structure and consistency becomes clear.
The Smarter Approach
Match the blend to the recipe rather than choosing purely based on price. For simple bakes, use budget options. However, when consistency, texture, and structure matter, invest in higher-quality blends. With this balance, you will get reliable results without unnecessary expense.
How to Save Money on Gluten-Free Flour Blends
Gluten-free baking can get expensive, but you can keep costs down by using the right blend for the right recipe.
Budget tip: You do not need a premium flour blend for every bake.
- Use budget blends for cookies, pancakes, muffins, brownies, and quick breads.
- Save premium blends for yeast bread, pizza dough, rolls, and recipes that need structure.
- Mix homemade blends in bulk if you use the same formula often.
- Buy tapioca starch, potato starch, or cornstarch separately to stretch pricier flours.
- Use almond flour sparingly if budget is the priority.
Homemade Gluten-Free Flour Blend Recipes
Understanding how blends work makes it easy to make your own gluten-free flour blend, and it is often more reliable than store-bought alternatives. Just ensure you use the right ratios for your baking.
Basic All-Purpose Blend
This is your go-to for cookies, pancakes, and general baking.
The following is the correct ratio:
- 2 cups whole-grain flour (sorghum or oat)
- 1 cup starch (tapioca or potato starch)
- 1 tsp xanthan gum
How to Use All-Purpose Blend
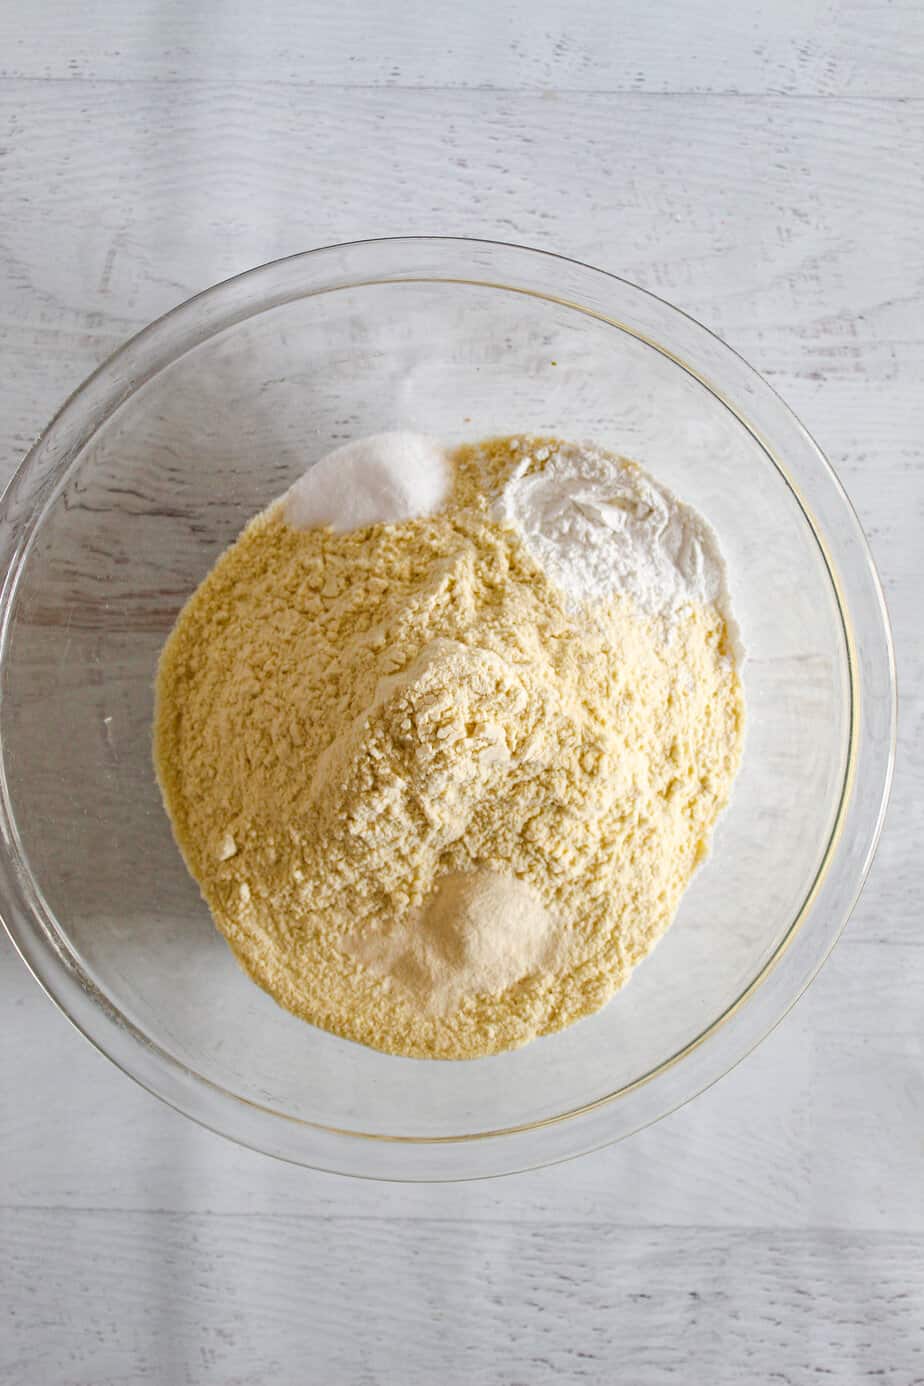
Whisk everything together until fully combined. Then store it in an airtight container and use it as a 1:1 base in simple recipes.
Bread Blend
Bread needs more strength and elasticity, so this blend focuses on structure.
Use this ratio:
- 1½ cups whole-grain flour (sorghum)
- 1 cup starch (tapioca)
- ½ cup protein flour (almond or chickpea)
- 2 tsp psyllium husk
How to Use Bread Blend
Mix it thoroughly; then let your dough rest before baking to improve hydration and structure.
Rice-Free Blend
If you’re avoiding rice, this blend gives better texture without the gritty finish.
We’ve prepared the correct ratio below:
- 1½ cups sorghum flour
- 1 cup oat flour (certified gluten-free)
- ½ cup tapioca starch
- 1 tsp xanthan gum
How to Use Rice-Free Blend
Whisk the mixture thoroughly, then store it in an airtight container. This blend works well for cakes, cookies, and soft breads without the grainy texture common in rice-based blends.
Keep It Simple
You shouldn’t aim for complexity, because it’s all about getting the balance right. Once you know how to adjust ratios, you can tweak blends based on what you’re baking or the flours you have available.
And if you’re swapping ingredients or missing a component, we have something that can help. Guides like Substitute for Corn Flour: Complete Guide with 7 Tested Options can help you adjust without ruining your results.
Fix Common Gluten-Free Baking Problems
Results can still go wrong even with a properly balanced gluten-free flour blend. The most important thing is identifying the exact issue and correcting it based on how gluten-free ingredients perform in real baking conditions.
Gritty Texture
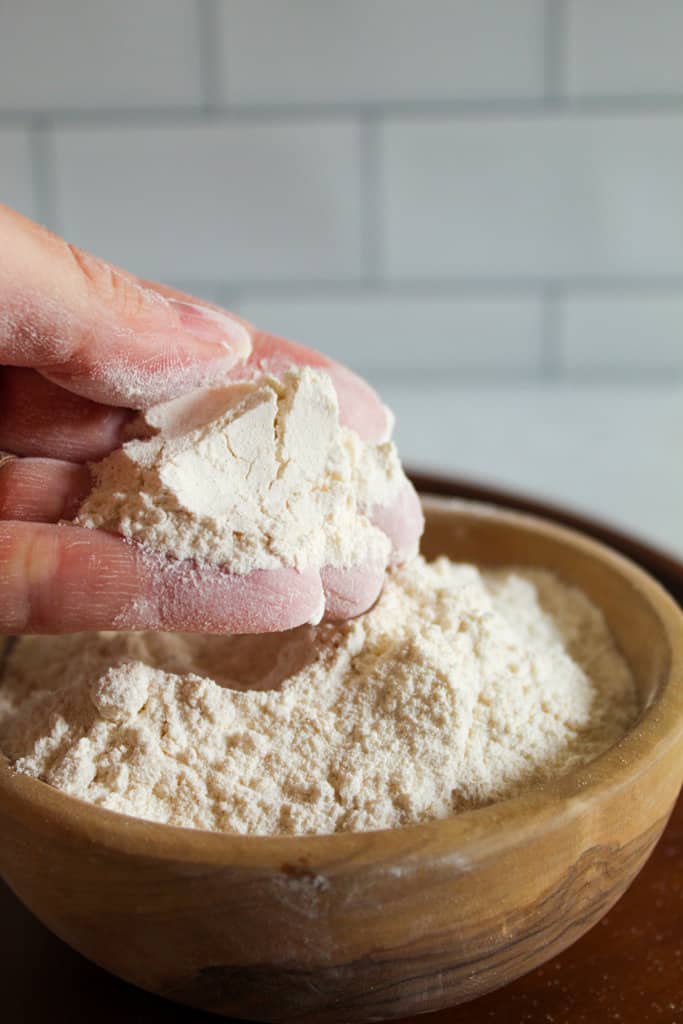
A gritty or sandy texture usually means the flour hasn’t fully absorbed liquid or the blend is too coarse. This often happens when flours, especially rice-based ones, are not finely milled or don’t have enough time to hydrate properly.
To fix this, let your batter or dough rest for 20–30 minutes before baking so the flours can absorb moisture and soften. You can also improve results by using finer flours or increasing the starch ratio slightly to smooth out the texture.
Dense Results
Dense, heavy bakes usually point to weak structure or poor aeration. Without gluten, there’s nothing naturally trapping air, so if your blend lacks enough protein flour or binding support, the bake won’t rise properly.
To fix this, add more protein-rich flour or an extra egg to increase the structure. You can also improve lift by adjusting the leavening or thoroughly mixing to evenly distribute air.
Crumbly Texture
Should your bake fall apart when handled, the issue is almost always a lack of binding.
Gluten normally holds everything together. Without it, the structure depends entirely on binders and proper ratios.
The fix is usually straightforward. Simply add or increase xanthan gum or psyllium husk, and make sure your blend includes enough structure-supporting flours.
Also, adding a bit more liquid can help the ingredients hold together better.
Too Dry or Too Wet
Moisture imbalance is a common issue in gluten-free baking because these flours absorb liquid differently from wheat flour.
Increase the fat or liquid slightly if your bake turns out dry, but avoid overbaking. Ingredients like oil, yogurt, or eggs improve moisture without weakening the structure.
However, if it’s excessively wet or gummy, the usual problem is underbaking or excess liquid. In these situations, you should slightly increase the baking time and adjust your flour-to-liquid ratio to restore balance.
Learn more in our detailed guide on why bread fails and how to fix common mistakes.
How to Store Gluten-Free Flour Blends (Shelf Life Guide)
Not storing your flour properly can cause it to develop a stale flavor, reduced performance, and a shorter shelf life, especially with whole-grain and nut-based flours.
How to Store Gluten-Free Flour Blends
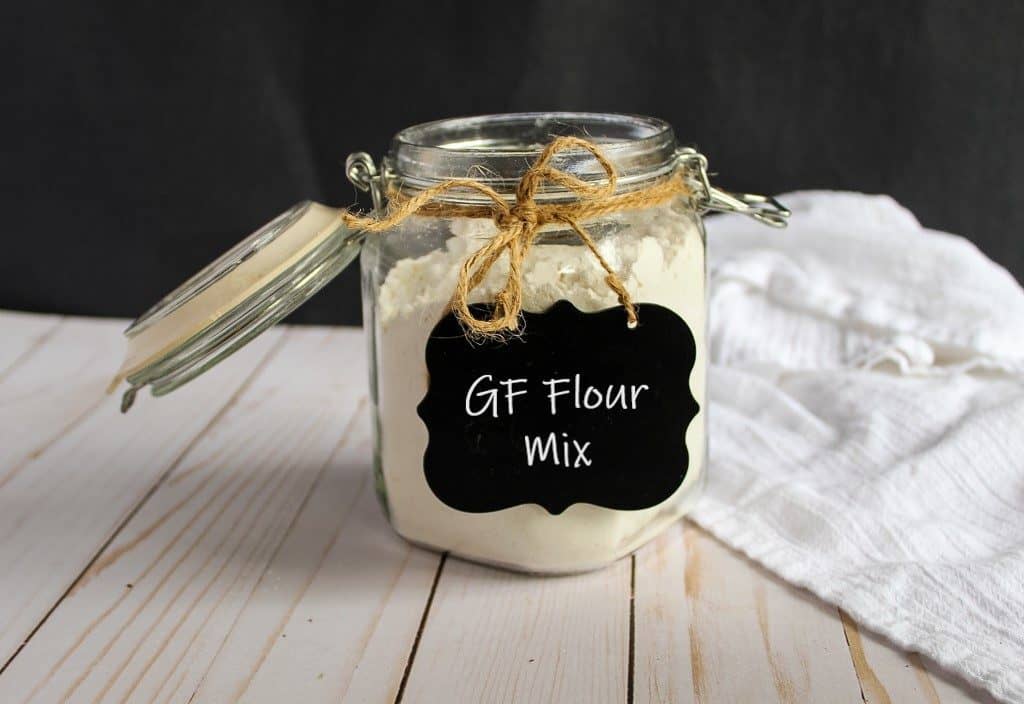
Always store your blend in an airtight container to protect it from moisture and air exposure.
Keep it in a cool, dry place away from heat and sunlight. If the blend contains nut flours or whole grains, it’s more sensitive to spoilage and needs extra care.
For best results, label your container with the date to track freshness.
Pantry vs Fridge
Pantry storage works well for short-term use, especially if you bake frequently and use flour quickly.
However, for longer storage, refrigeration is a better option. Cooler temperatures slow down spoilage and help preserve freshness.
If your blend includes almond flour or other high-fat ingredients, storing it in the fridge, or even the freezer, prevents it from going rancid.
Shelf Life of Different Flours
Shelf life varies depending on the type of flour used in your blend. Refined starches tend to last longer, whereas whole-grain and nut flours have shorter lifespans due to their natural oils.
Generally, pantry-stored blends stay fresh for 1 to 3 months, whereas those stored in the refrigerator can last 6 months or more.
If you notice an off smell, bitterness, or change in texture, it’s a sign the flour has gone bad and should be replaced.
Mistakes You Should Avoid
- Using a single flour only.
- Ignoring hydration differences.
- Skipping binders.
- Using the wrong flour for the recipe type.
Nutritional Benefits of Rice-Free, Wheat-Free, Gluten-Free Flours
The real advantage of a well-built gluten-free flour blend is its nutritional quality.
When you move away from refined wheat and rice-based flours, you often gain more fiber, better fats, and a wider range of micronutrients, especially when using whole-grain and nut-based options.
Why These Flours Are Nutritionally Strong
Many rice-free, wheat-free flours provide higher fiber, antioxidants, and essential nutrients compared to standard refined flours.
For example, sorghum is rich in dietary fiber, phytochemicals, and antioxidants that may help reduce oxidative stress and support metabolic health.
Also, oat flour is an outstanding choice for its beta-glucans, a type of soluble fiber linked to improved gut health and immune function.
Almond flour provides healthy fats, vitamin E, and magnesium, which support heart health and blood sugar regulation. Additionally, cassava flour provides resistant starch and fiber, which support healthy digestion and a balanced gut microbiome.
Overall, research shows that using a diverse range of gluten-free grains and flours can help reduce nutritional gaps often seen in traditional gluten-free diets.
Key Nutritional Advantages
A well-formulated gluten-free flour blend using these flours can provide:
- More dietary fiber for digestion and satiety.
- Higher antioxidant content from whole grains like sorghum and buckwheat.
- Better healthy fat profile from nut-based flours.
- More micronutrients, such as magnesium, B vitamins, and vitamin E.
Who Is This Blend For?
This type of blend is not limited to one group; it serves multiple needs.
- It’s essential for people with celiac disease or gluten sensitivity, where removing gluten is necessary for symptom control and gut health.
- It’s also useful for those with rice intolerance or digestive sensitivity, as avoiding rice-based flours can improve texture and tolerance.
- For those prioritizing nutrition, these blends offer a more balanced nutritional profile than many commercial gluten-free products, which are often lower in fiber and protein.
- They’re also ideal for low-carb or whole-food baking, especially when using almond- or oat-based combinations.
Frequently Asked Questions
These are the questions we often get on gluten-free flour blends. Reach out to us in the comments if you can’t find yours.
Can I Mix My Own Gluten-Free Flour Blend Instead of Buying One?
Homemade blends often perform better because you control the ratios. Once you understand how different flours behave, you can adjust for texture, structure, or dietary needs more precisely than with most store-bought options.
Do Gluten-Free Flours Taste Different from Regular Flour?
Some do. Nut-based and whole-grain flours can add a slightly nutty or earthy flavor. In most recipes, this improves taste rather than making it worse, especially in baked goods like cookies and cakes.
Why Do Some Gluten-Free Recipes Need Resting Time Before Baking?
Allowing the mixture to rest gives the flour enough time to absorb the liquid completely. This improves texture, reduces grittiness, and helps the ingredients bind better, leading to more consistent results.
Can I Use Gluten-Free Flour for Frying or Coating?
You can, but the result depends on the blend. Lighter blends create a crisp coating, while heavier ones can turn soggy. For best results, use a blend with a good starch balance.
Are All Gluten-Free Flours Suitable for Everyday Baking?
Not always. Some flours work better for specific recipes. For example, certain flours are better for soft baked goods, while others are better for structure-heavy recipes like bread.
Do Gluten-Free Flours Require Different Baking Temperatures?
Usually, no. Most recipes use similar temperatures, but baking time and moisture levels may need slight adjustments to get the right texture.
Related Guides You Should Read
If you’re refining texture, improving accuracy, or comparing flour types, the guides below will help you get better results faster:
- Learn the key differences between nut-based options in Almond Meal vs. Almond Flour: Similarities and Differences to choose the right one for your blend.
- Improve consistency in every recipe with How To Measure Gluten Free Flour; small measuring mistakes can completely change your results.
- Understand how rice-based flours behave (and when to avoid them) in Rice Flour vs Sweet Rice Flour.
These guides are a great next step if you want to choose better flours, avoid common texture problems, and get more reliable gluten-free baking results.
Have You Tried These Blends Yet?
If you’ve tried any of these blends or created your own version, share your experience in the comments. What worked? What didn’t?
Got a question about a specific recipe or flour combination? Drop it below, and we can help you troubleshoot or improve it. Your input might also help someone else get better results faster.