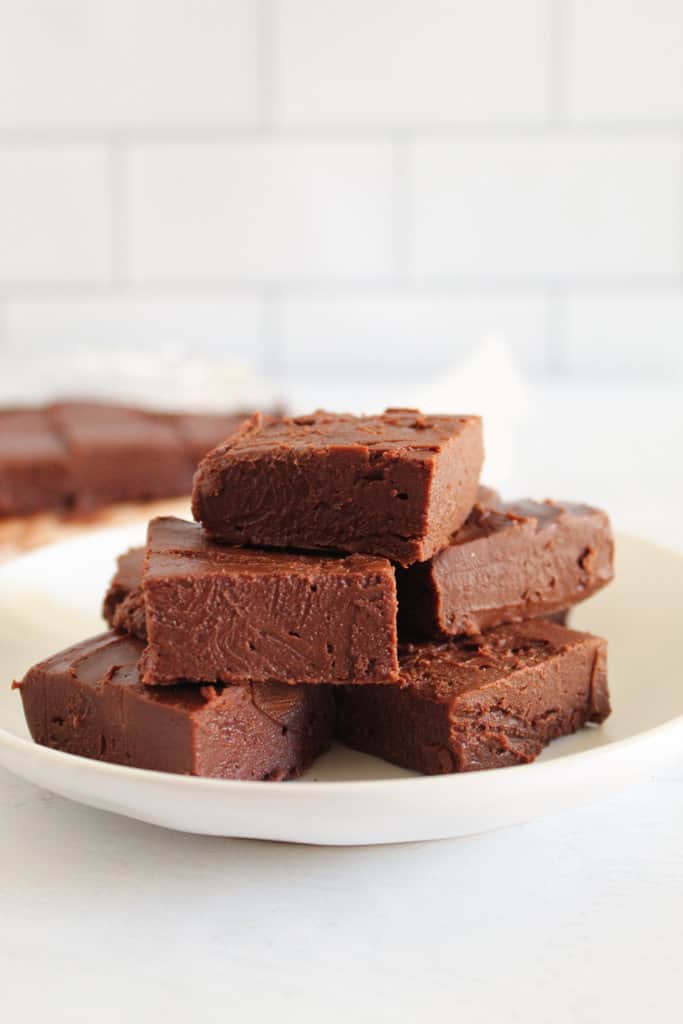
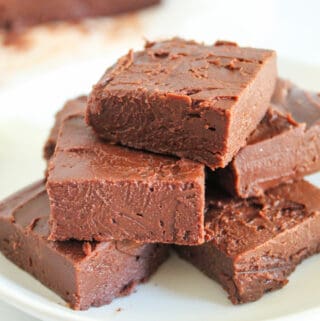
There’s nothing better than rich and creamy homemade chocolate fudge. Made in the microwave, this gluten free fudge is a little taste of heaven in every bite. Plus, it’s dairy free!
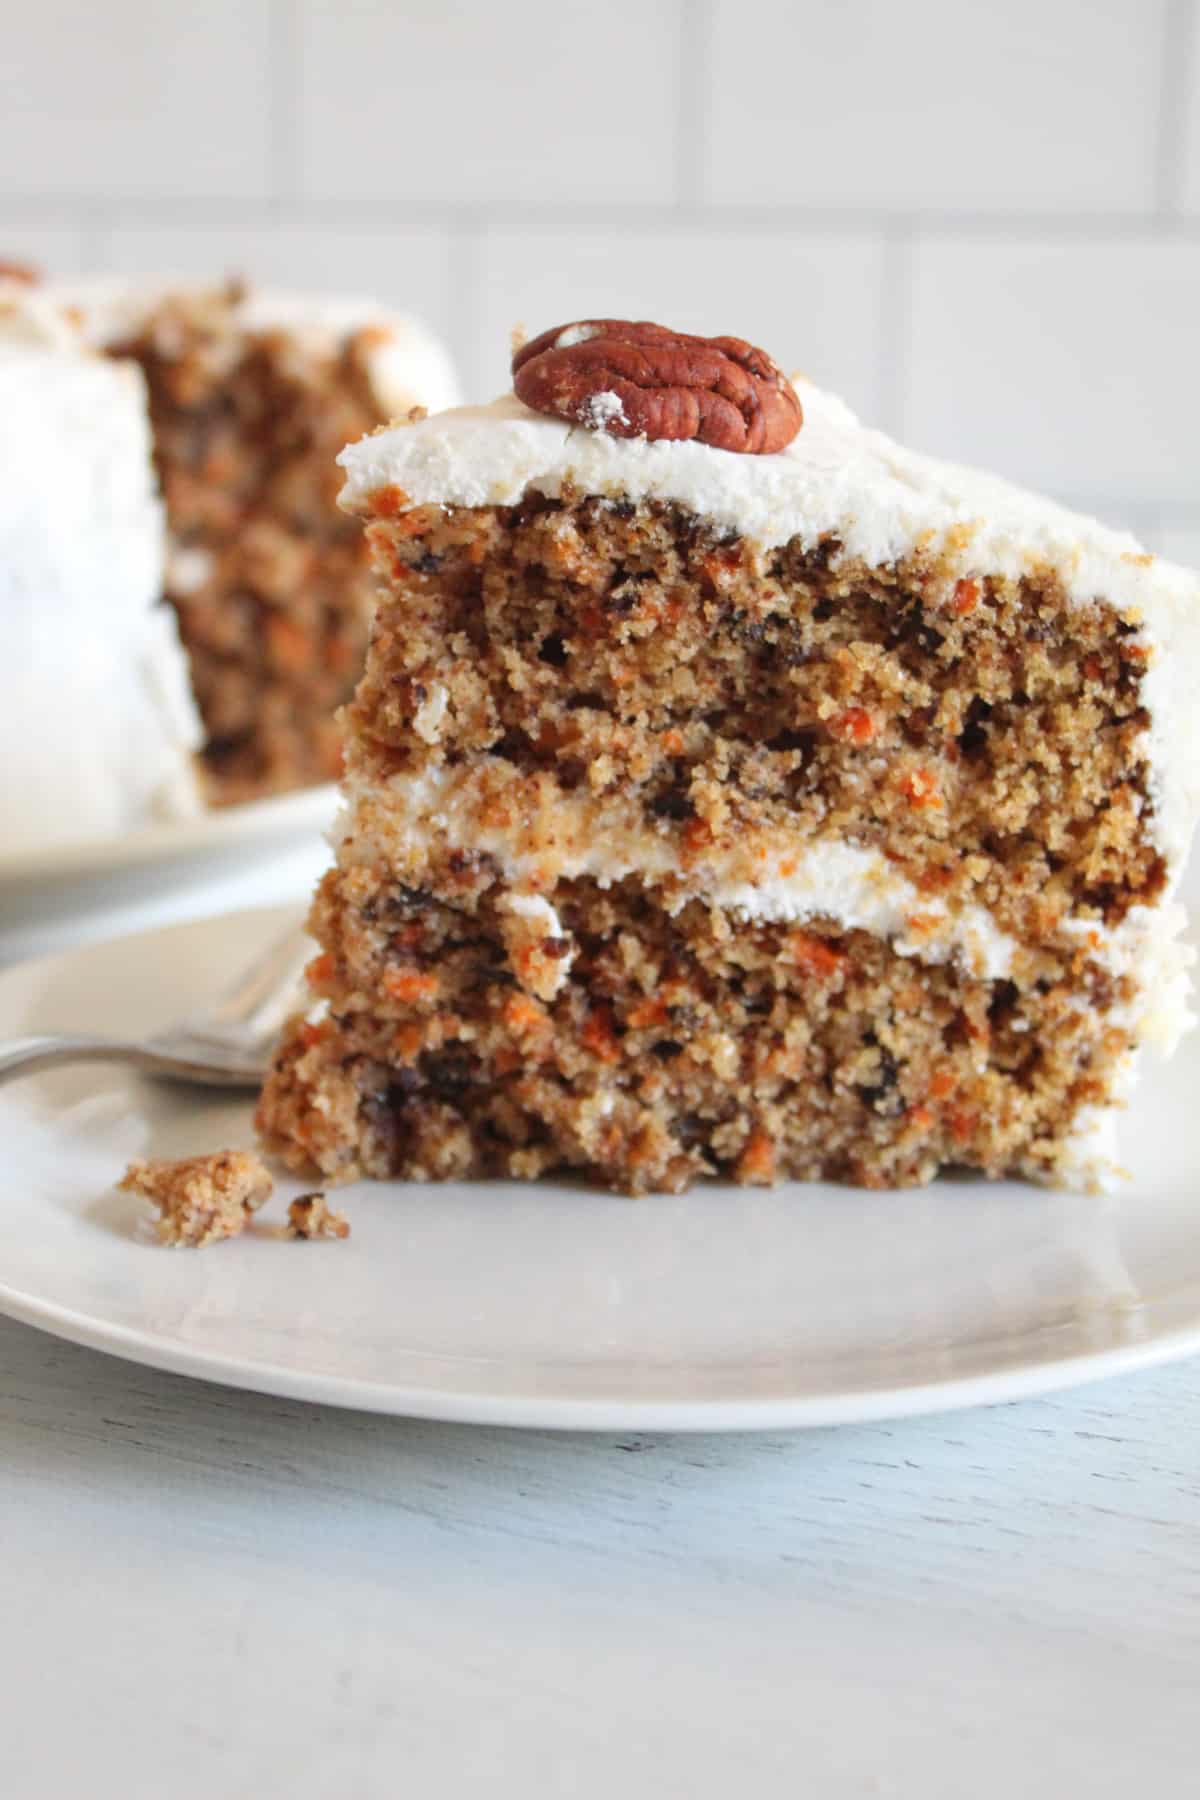
Homemade fudge makes for a decadent sweet treat that’s ideal for any occasion. Sure, it’s a holiday staple, but this recipe will have you craving fudge all year long! This indulgent dessert is unbelievably easy to make and can be customized with various mix-ins. Take this classic chocolate fudge to the next level by adding your favorite nuts or topping with gooey salted caramel. (Oh and for a non-chocolate, crowd pleasing dessert, check out these peanut butter brownies!)
Table of Contents
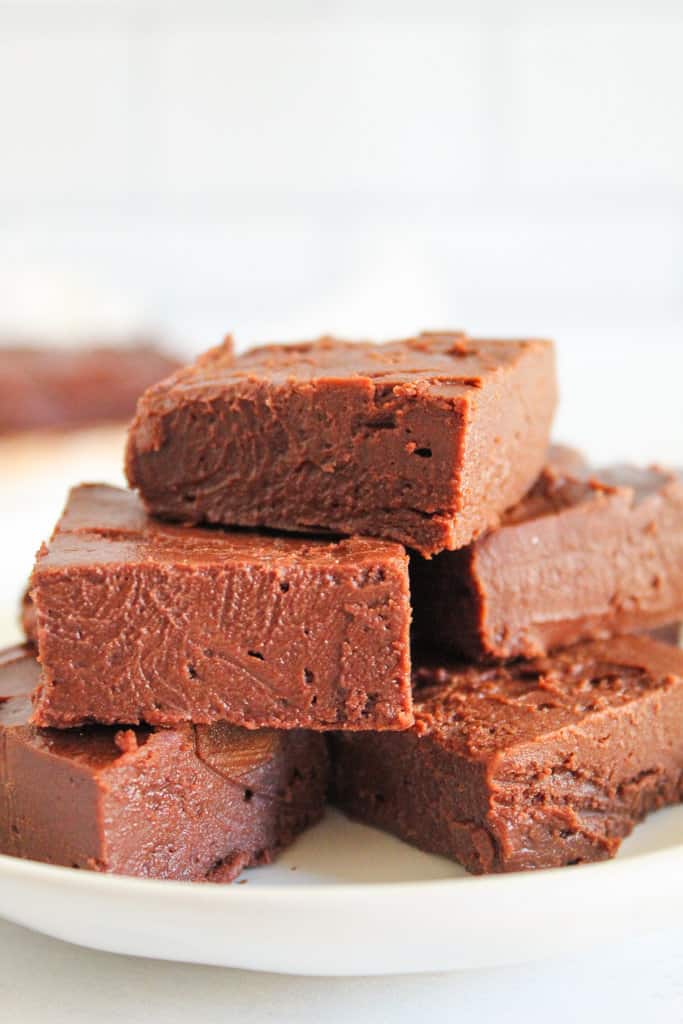
Table of contents
?Why this recipe is a must-make!
This microwave gluten free fudge is one of the easiest (and most delicious) desserts you’ll ever make! In addition to being gluten and dairy free, this velvety fudge is quick to whip up with just 6 basic ingredients. Here’s what else you’ll love about this recipe:
- It takes only 10 minutes to prep, just like these oatmeal crepes!
- It’s super easy to make in the microwave
- You can add a variety of toppings or mix-ins if desired
- It can be stored in the refrigerator for one month
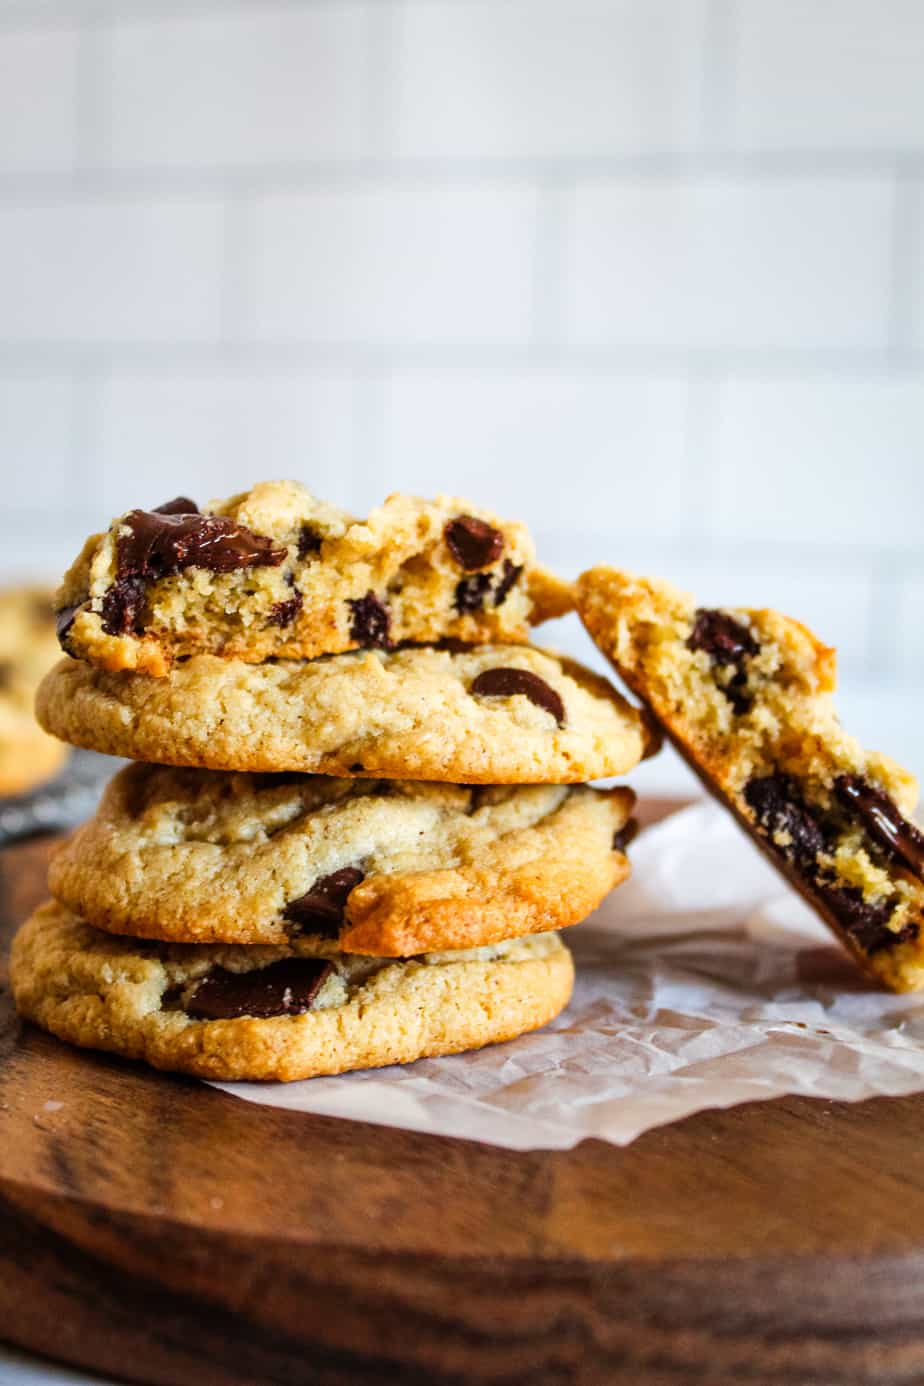
- It’s the perfect, easy dessert for chocolate lovers… as are these oat flour brownies, almond flour cupcakes and chocolate chip cookies
?Pro tips
This hassle-free fudge recipe comes together in minutes with minimal effort. That being said, there are a few tricks to keep in mind to ensure a perfect final result. These tips will have you making this microwave gluten free fudge like a pro!
1. Measure the dry ingredients by weight
Use a digital scale, like this one, to measure the powdered sugar and cocoa powder by weight for the best results. This method of measuring is the most accurate and will ensure your fudge turns out smooth and creamy.
2. Sift the dry ingredients
For best results, sift the cocoa powder and powdered sugar. This will help remove any lumps and keep the consistency of your fudge nice and smooth.
3. Cover the bowl when microwaving
It’s a good idea to cover the bowl when microwaving the butter mixture. Because it may pop and bubble in the microwave, this will prevent splattering.
4. Line the pan with parchment paper
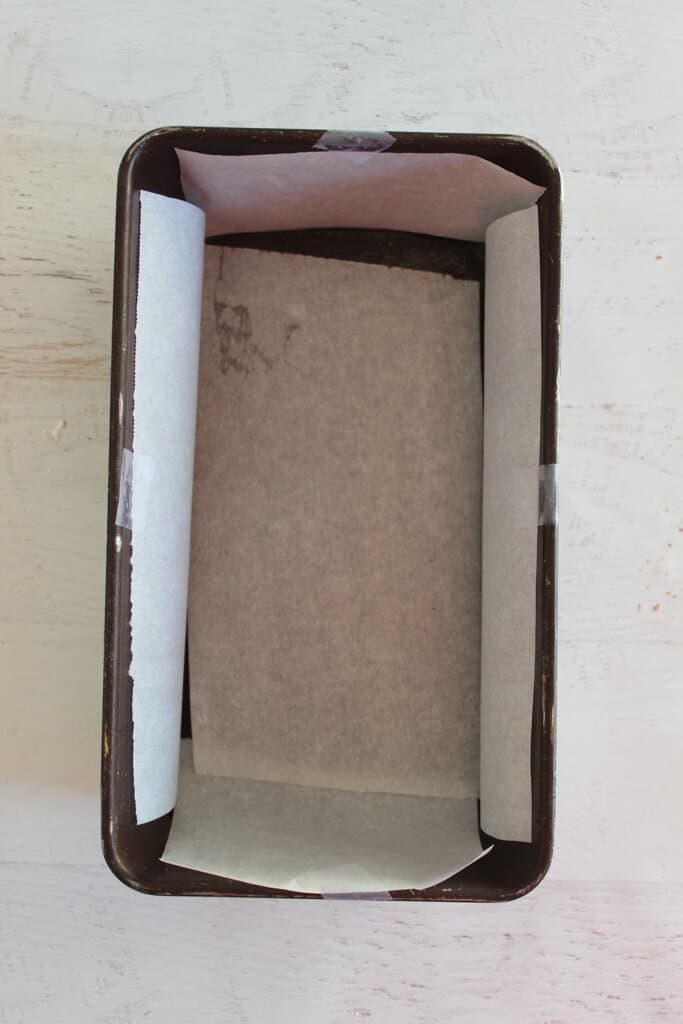
Use parchment paper to keep the fudge from sticking to the pan. This will make it easy to simply lift the fudge out of the pan once it’s set up and ready to cut. Be sure to form the parchment paper neatly on the bottom and sides of the pan. The fudge will take the shape of any creases in the paper. Using tape will also help keep the parchment in place.
5. Helpful tools
These tools will help make prepping your microwave gluten free fudge a breeze:
- Digital scale
- Sifter
- Whisk
- Microwave-safe bowl
- Sturdy spoon
- 9”x5” loaf pan
- Parchment paper
- Sharp knife
?Ingredients & substitutions
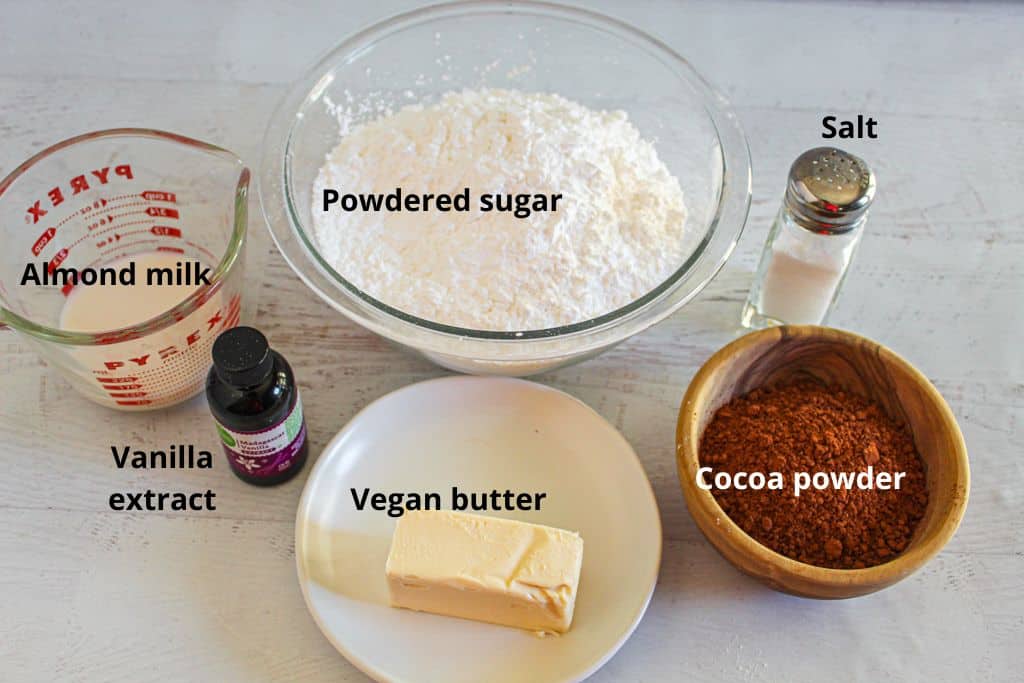
- Powdered sugar – There is no substitute for the powdered sugar in this recipe.
- Cocoa powder – There is no substitute for the cocoa powder in this recipe.
- Vegan butter – This recipe was tested using Country Crock brand vegan butter. Regular butter can be used as a replacement in this recipe if desired.
- Unsweetened almond milk – Regular milk can be used as a substitute here. If you’d like to use a different dairy free alternative, coconut milk or oat milk can also be used.
- Pure vanilla extract – There is no substitute for the vanilla extract in this fudge recipe.
- Salt – There is no substitute for salt in this recipe.
?Making the fudge

Prep your gluten free fudge in the microwave in just 10 minutes. Start by lining a 9″x5″ loaf pan with parchment paper (step 1 above). Press the parchment paper neatly into the pan to avoid any creases. Set aside the lined pan. In a medium bowl, sift the powdered sugar and cocoa powder (step 2). Set it aside. In a large microwave-safe bowl, place the vegan butter, milk, and salt (step 3). Cover and microwave it on high for 1 minute. Then, stir the mixture and microwave in 30-second increments until the butter is fully melted (step 4). It’s okay if there are a few small chunks of butter left – they will continue to melt as you stir it.
Next, add the vanilla extract and whisk until combined. Then, add the powdered sugar mixture to the butter mixture (step 5). Whisk until the fudge is smooth with no lumps (step 6). The fudge will form quickly so it may be necessary to use a sturdy spoon to mix it fully.
⏲️Cooling
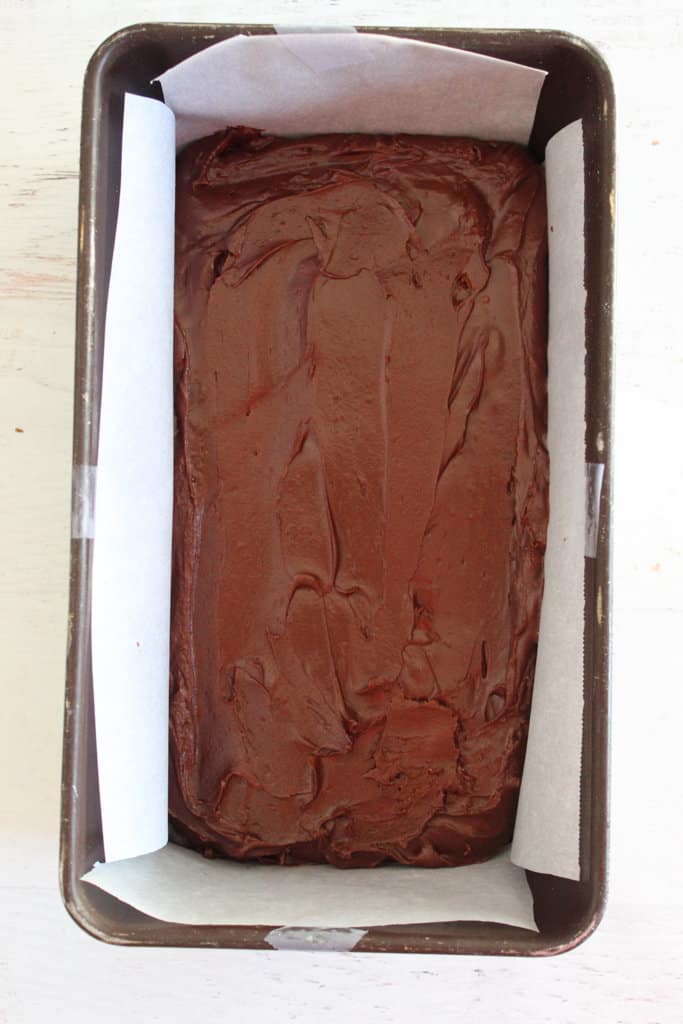
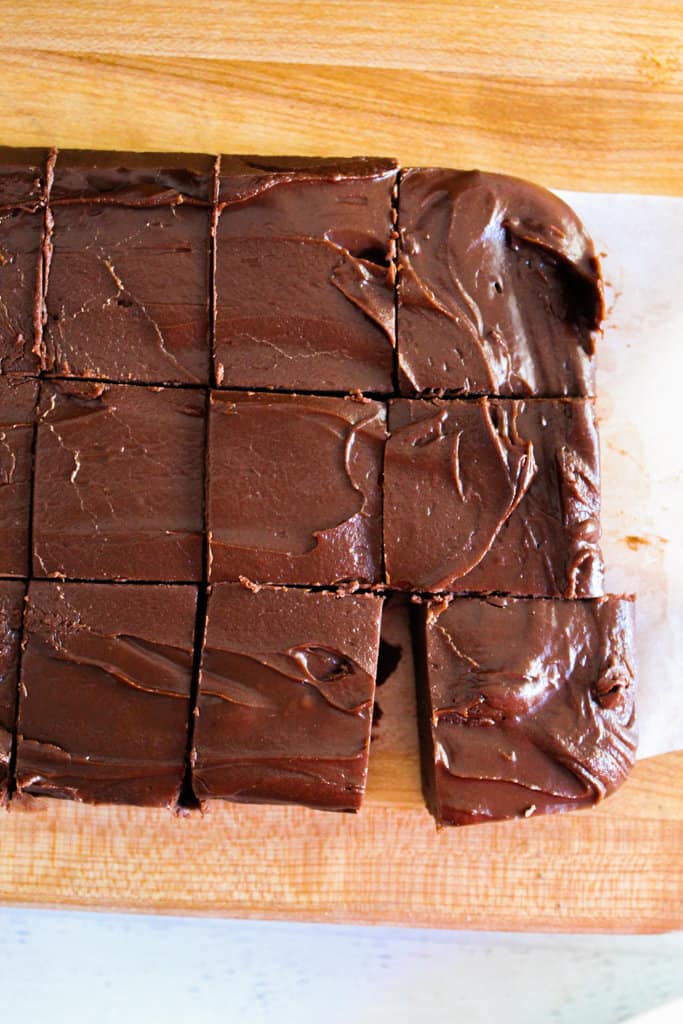
Once the fudge is fully mixed, scrape it into the lined pan and smooth it to the edges of the pan with a spoon or rubber spatula. Refrigerate the fudge for at least 3 hours to set up. Once it’s completely set, lift the fudge out of the pan and cut it into small squares using a sharp knife. Serve the fudge immediately.
Storing
This fudge should be stored in the refrigerator. Remove it to serve but the longer it sits at room temperature, the softer it will get. For longer term storage, place pieces in a plastic container and seal well.
FAQ’s
This microwave fudge needs to be refrigerated for 3 hours in order to fully set up. In general, the longer you can let it chill in the refrigerator, the better!
This gluten free fudge is best when stored in the refrigerator. It will last for up to a month in an airtight container. It can be kept in the freezer for longer storage if needed.
The most common reason your fudge may not have set is that it was not initially heated enough. This can result in super sticky fudge. Be sure to microwave the mixture until the butter is fully melted (a few small chunks are okay).
Other recipes you may like!
Did you make and love this recipe? Give it your review and rating below! And make sure to follow me on Instagram, Pinterest, and Facebook , too!
Microwave Gluten Free Fudge (Dairy Free!)
Ingredients
- 365 grams powdered sugar about 3 1/2 cups
- 45 grams cocoa powder about 1/2 cup
- 1/3 cup vegan butter
- 3 Tablespoons almond milk
- 1 teaspoon pure vanilla extract
- 1/4 teaspoon salt
Instructions
- Line a 9"x5" loaf pan with parchment paper. Set aside.
- In a medium bowl, sift powdered sugar and cocoa powder. Set aside.
- In a large microwave safe bowl, place the vegan butter, milk and salt and microwave on high for 1 minute. Stir the mixture and microwave in 30 second increments till butter is melted.
- Whisk in the vanilla extract.
- Whisk in the powdered sugar mixture. Fudge will form quickly.
- Scrape fudge into lined pan and smooth to the edges.
- Refrigerate for 3 hours.
- Life fudge out of the pan and cut into small squares using a sharp knife.
- Serve immediately. Store in the refrigerator.
Video
Notes
- Country Crock vegan butter and unsweetened almond milk were used in this recipe.
- Form parchment paper neatly on the bottom and sides of the pan as the fudge will take the shape of any creases. Tape will also help keep the parchment in place.
- Sift powdered sugar and cocoa for best results.
- The melted butter can be removed from the microwave if a few small chunks are left – it will continue to melt.
- Cover the butter mixture as it may pop and bubble in the microwave.
- When stirring the powdered sugar mixture into the butter, use a sturdy spoon – the mixture will get thick fast.
- Fudge is best when stored in the refrigerator. It will last for up to a month in a well sealed container.