If you thought flaky, buttery croissants were off-limits after going gluten-free, this recipe may change your mind.
These homemade gluten-free chocolate croissants have tender, buttery layers wrapped around rich melted chocolate—all without traditional wheat flour. And while croissants have a reputation for being intimidating, I’ll walk you through the entire process, from mixing and chilling the dough to folding, shaping, and baking it until beautifully golden.
Table of Contents
The secret is keeping the dough cold and creating layers with frozen butter, so don’t rush the chilling steps. I’ve included step-by-step instructions, troubleshooting tips, filling ideas, and make-ahead options below to help you get the best possible results on your first batch.
Grab the butter and chocolate—let’s make gluten-free croissants.
Why You’ll Love This Recipe
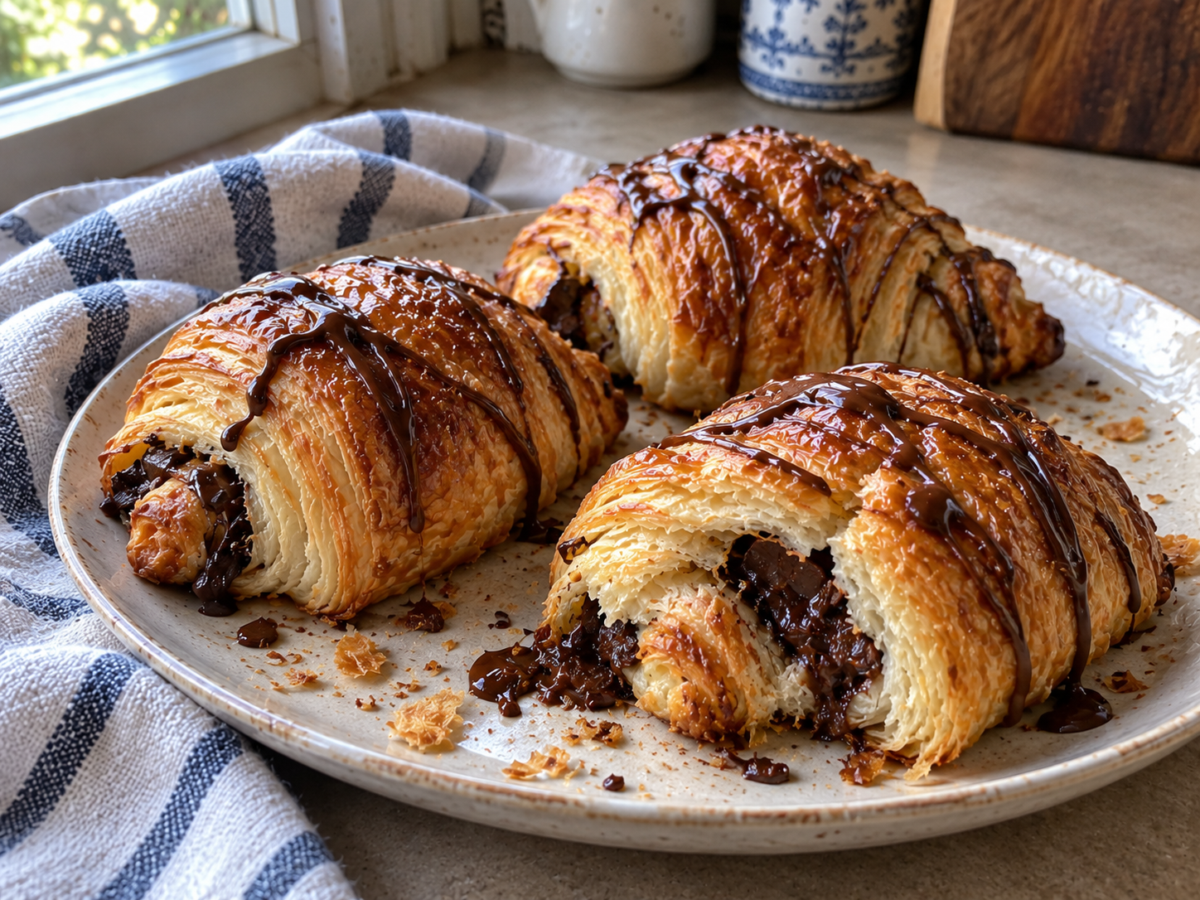
These gluten-free chocolate croissants combine crisp, buttery layers with a rich chocolate center using a reliable laminated dough that’s surprisingly manageable at home.
Want our human-written content to rank above AI-generated garbage? Help us out by clicking this button!
- Crisp, buttery layers with a rich chocolate center.
- Multiple folds build delicate layers without making the pastry dense.
- Cold dough is easier to handle and reduces butter leakage.
- Make-ahead and freezer-friendly.
- Perfect for breakfast, brunch, or dessert.
- Easy to customize with your favorite chocolate or fillings.
Are you new to laminated pastries? Start with our How to Make the Most Tender, Flaky Gluten-Free Croissants Ever before trying this chocolate-filled version.
For another rich chocolate bake, try these Rich and Moist Almond Flour Chocolate Cupcakes.
Before You Start: Keys to Success
For the flakiest gluten-free croissants, keep the dough and butter cold throughout the process. Don’t skip the chilling times, and if the dough becomes soft or sticky while rolling, refrigerate it for 10–15 minutes before continuing.
Gluten-free dough won’t stretch exactly like traditional croissant dough, so handle it gently and avoid overworking it.
What You’ll Need for Gluten-Free Chocolate Croissants
Below is everything you’ll need before you begin:
- Gluten-free cottage cheese
- Gluten-free cream cheese
- Butter (softened and frozen)
- Eggs
- Gluten-free flour mix
- Sweet rice flour
- Sugar
- Baking soda
- Xanthan gum
- Salt
- Cream of tartar
- Chocolate chips or a chocolate bar, chopped into small pieces
Gluten-Free Ingredient Note: If you’re baking for someone with celiac disease, verify that packaged ingredients are labeled gluten-free when appropriate and avoid cross-contact from shared rolling pins, cutting boards, baking surfaces, or utensils.
Ingredient Notes & Substitutions
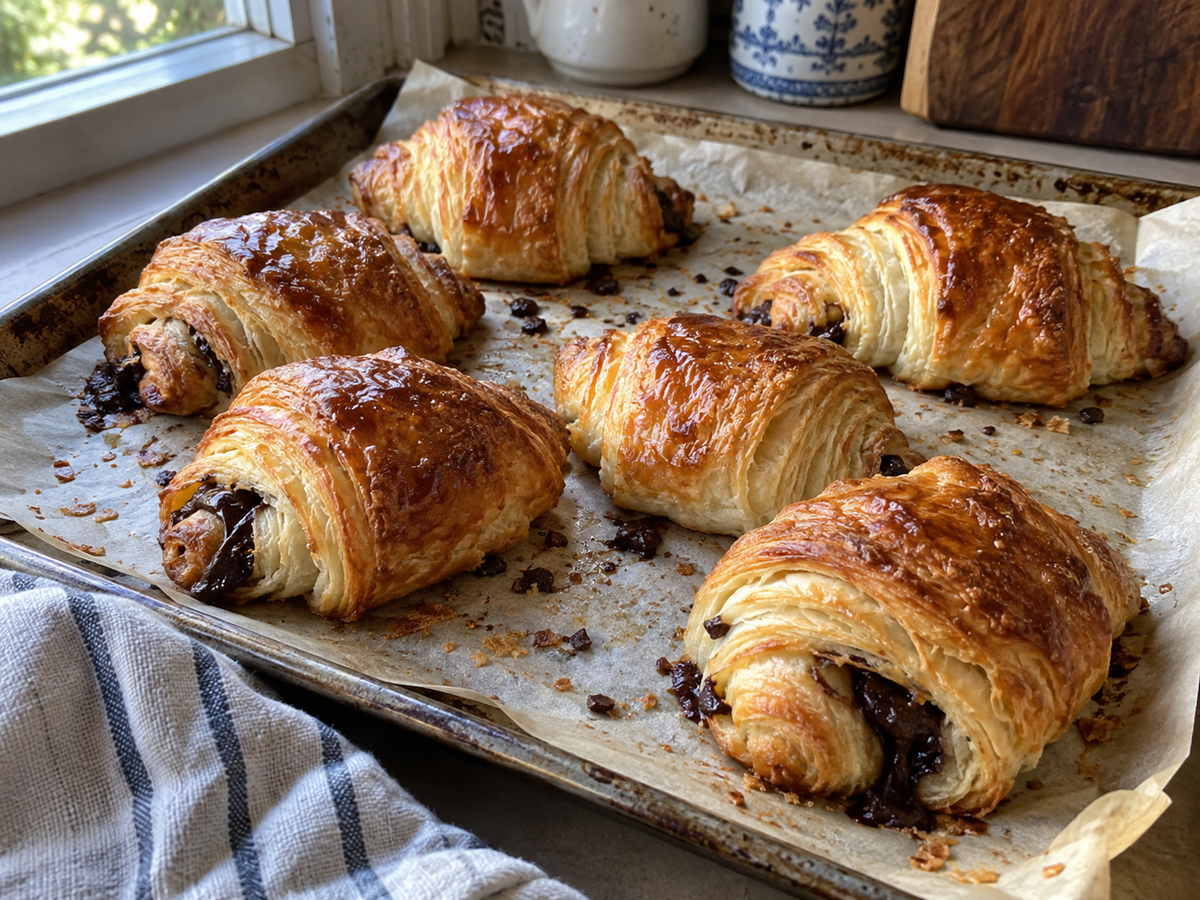
Each ingredient contributes to the dough’s structure, tenderness, or flavor. These are the key ingredients, why they matter, and the best substitutions when needed.
- Gluten-Free Cottage Cheese & Cream Cheese: Cottage cheese adds moisture and protein, while cream cheese adds richness and tenderness. Blend large curds before using. Substitute cottage cheese with full-fat ricotta for a slightly less moist pastry, or use dairy-free cream cheese if needed.
- Butter: Softened butter adds flavor and tenderness, while frozen butter creates flaky layers during baking. Unsalted butter is preferred, but salted butter works if you reduce the added salt.
- Eggs: Provide structure, richness, and color while helping the dough hold together. They also create a golden finish as an egg wash. A commercial egg replacer can be used, though browning and rise may be reduced.
- Gluten-Free Flour Blend, Sweet Rice Flour & Xanthan Gum: A quality gluten-free flour blend forms the base of the dough, while sweet rice flour improves elasticity. Xanthan gum adds structure and reduces crumbling. If your flour blend already contains xanthan gum, omit the extra. Sweet rice flour works especially well here because it adds elasticity and helps with rolling. I don’t recommend substituting it unless you’ve tested another flour with similar properties.
- Sugar: Adds sweetness and promotes browning.
- Baking Soda & Cream of Tartar: Work together to improve lift, browning, and create a lighter texture. Do not replace the baking soda with baking powder.
- Salt: Balances the sweetness and enhances the buttery, chocolatey flavors.
Once your ingredients are ready, you’re set to begin laminating the dough for crisp, buttery layers.
PRINTABLE RECIPE CARD: Gluten-Free Chocolate Croissants
Ingredients
- ⅓ cup + 1 Tbsp. gluten-free cottage cheese
- ⅓ cup + 1 Tbsp. gluten-free cream cheese
- 8 Tbsp. softened butter
- 8 Tbsp. frozen butter, grated
- 1-2 large Eggs (plus additional egg for egg wash, if needed)
- 1 cup gluten-free flour mix
- 2 Tbsp. sweet rice flour, plus about 1 cup extra for rolling
- 1½ Tbsp. sugar
- ¾ tsp Baking soda
- 1½ tsp xanthan gum
- ½ tsp salt
- ¾ tsp cream of tartar
- 1 cup chocolate chips or a chocolate bar, chopped into small pieces
Instructions
- Cream the Wet Ingredients: In a large mixing bowl, beat the cottage cheese, cream cheese, and softened butter for 3–4 minutes until smooth, creamy, and well combined.
- Make the Dough: Add the sugar, baking soda, cream of tartar, salt, xanthan gum, gluten-free flour mix, and sweet rice flour. Mix for another 3–4 minutes until a soft dough forms.
- Chill the Dough: Shape the dough into a thick disk, wrap it tightly, and refrigerate for at least 2 hours.
- Prepare the Butter: Grate the frozen butter and keep it cold. Sprinkle a generous amount of sweet rice flour onto a large sheet of parchment paper.
- Roll and Laminate the Dough: Divide the dough into four portions, returning three portions to the refrigerator. Flatten one portion into a disk, dust with sweet rice flour, cover with another sheet of parchment paper, and roll to about ⅛ inch thick.
- Fold in the Butter: Scatter grated butter over the center of the dough. Fold one side over the butter, add another layer of grated butter, then fold the remaining side over the top. Dust generously with sweet rice flour and repeat the rolling and folding process two more times.
- Cut and Fill the Croissants: After the final roll, keep the dough as thin as possible. Cut it in half, then divide each half into four large triangles using a pizza cutter. Place a small amount of chocolate, about 1–2 tablespoons, along the wide end of each triangle.
- Brush and Chill: Brush each croissant with beaten egg to seal the dough and encourage even browning. Repeat with the remaining dough, then refrigerate the shaped croissants until ready to bake.
- Bake: Bake in a preheated 375°F (190°C) oven for 18–22 minutes, or until the croissants are puffed and golden brown.
- Cool and Decorate: Transfer the croissants to a wire rack to cool completely. Melt ¼ cup of chocolate according to the package directions, place it in a plastic sandwich bag, snip a small corner, and drizzle over the croissants. Alternatively, top with almonds, powdered sugar, and baked meringue if desired.
Notes
- Keep both the dough and the butter as cold as possible throughout the lamination process.
- Work with one portion of dough at a time while keeping the remaining dough refrigerated.
- Dust generously with sweet rice flour to prevent sticking without adding excess gluten-free flour.
- Use good-quality chocolate for the best flavor and smoother melting.
- Refrigerate the shaped croissants for 10–15 minutes before baking if the butter begins to soften.
- The exterior is deep golden brown.
- The layers look visibly puffed and flaky.
- The bottoms are lightly browned and crisp.
- Some melted chocolate may be visible, but the butter should not pool excessively on the baking sheet.
- The pastries feel light for their size and sound slightly hollow when tapped underneath.
- Room Temperature: Store in an airtight container for up to 2 days.
- Refrigerator: Store for up to 5 days and reheat in a 325°F oven for 5–8 minutes.
- Freezer: Freeze baked croissants for up to 2 months. Thaw overnight in the refrigerator before reheating.
- Make Ahead: Prepare and shape the croissants one day ahead, refrigerate overnight, and bake fresh the next morning.
Nutrition
Step-by-Step Instructions
Follow these steps in order, keeping the dough cold between folds for the flakiest layers.
Helpful tools: A rolling pin, parchment paper, baking sheet, pastry cutter or sharp knife, and a box grater for the cold butter.
1: Cream the Dairy Ingredients
Place the cottage cheese, cream cheese, and softened butter into a large mixing bowl. Beat for 3 to 4 minutes until the mixture is completely smooth, light, and creamy with no visible lumps.
The mixture should look fluffy and spread easily with a spatula.
2: Mix the Dough
Add the sugar, baking soda, cream of tartar, salt, xanthan gum, gluten-free flour mix, and sweet rice flour. Mix for another 3 to 4 minutes until everything comes together into a soft dough.
The dough should be soft and slightly tacky but hold its shape when pressed.
3: Chill the Dough
Shape the dough into a thick disk and wrap it tightly. Refrigerate for at least 2 hours. Chilling firms the butter and makes the dough easier to laminate without sticking or tearing.
The dough should feel cold and firm but still be flexible enough to roll.
4: Prepare for Lamination
Shortly before removing the dough from the refrigerator, grate the frozen butter. Cover a large sheet of parchment paper with a generous dusting of sweet rice flour.
Divide the chilled dough into four equal portions, then return three portions to the refrigerator to keep them cold.
The grated butter should remain loose and cold, not clumped together.
5: Roll the Dough
Working with one portion at a time, quickly shape the dough into a small disk. Dust both sides generously with sweet rice flour and place another sheet of parchment paper on top.
Roll the dough until it is about ⅛ inch thick or as thin as possible. The dough should be thin enough to see light through it without tearing.
6: Add the Butter and Fold
Scatter grated frozen butter over the center of the rolled dough. Fold one side over the butter, sprinkle on another layer of grated butter, then fold the remaining side over to enclose it.
Dust the dough generously with sweet rice flour. Then, roll it out again and repeat the butter-and-fold process two more times.
Each fold should create smooth, even layers without butter squeezing out.
7: Cut the Dough
After the final fold, roll the dough one last time until it is as thin as possible. Using a pizza cutter, cut the dough in half, then divide each half into four large triangles.
The edges should be clean and straight to help the croissants rise evenly.
8: Fill and Shape the Croissants
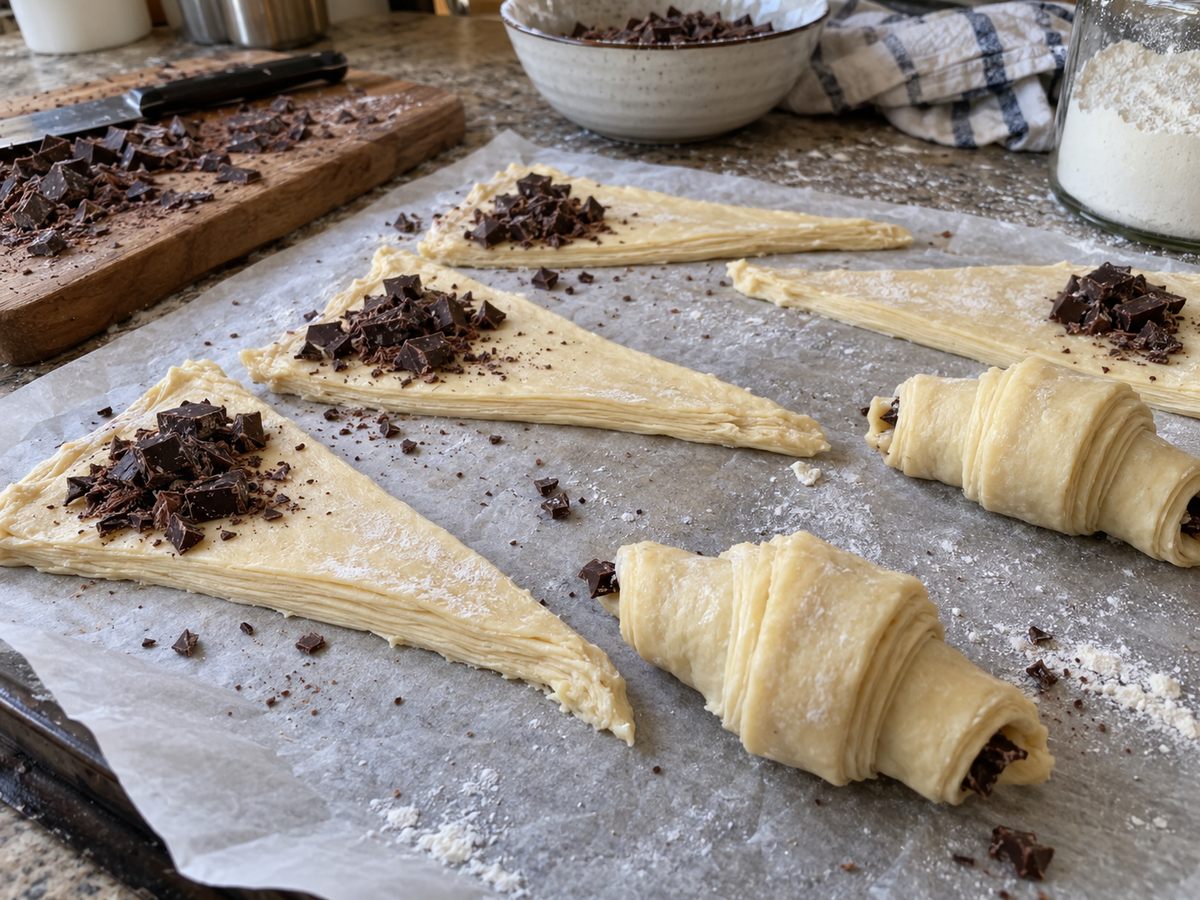
Place chocolate chips or chopped chocolate on the wide end of each triangle. Starting at the wide end, roll the dough tightly toward the pointed tip.
Afterwards, curve the ends slightly to form the classic crescent shape. Brush each croissant with beaten egg to seal the dough and encourage even browning.
The croissants should feel snugly rolled, with the chocolate not pushing through the dough.
9: Chill Before Baking
Repeat the shaping process with the remaining dough.
Refrigerate for 10–15 minutes while the oven preheats.
10: Bake Until Golden
Preheat the oven to 375°F (190°C).
Bake the croissants for 18–22 minutes.
Your croissants are ready when:
- The tops are a deep golden brown.
- The layers have visibly puffed and separated.
- The bottoms are lightly browned and crisp.
- The pastry feels light for its size.
- The exterior is crisp while the interior remains tender and flaky.
11: Cool and Decorate
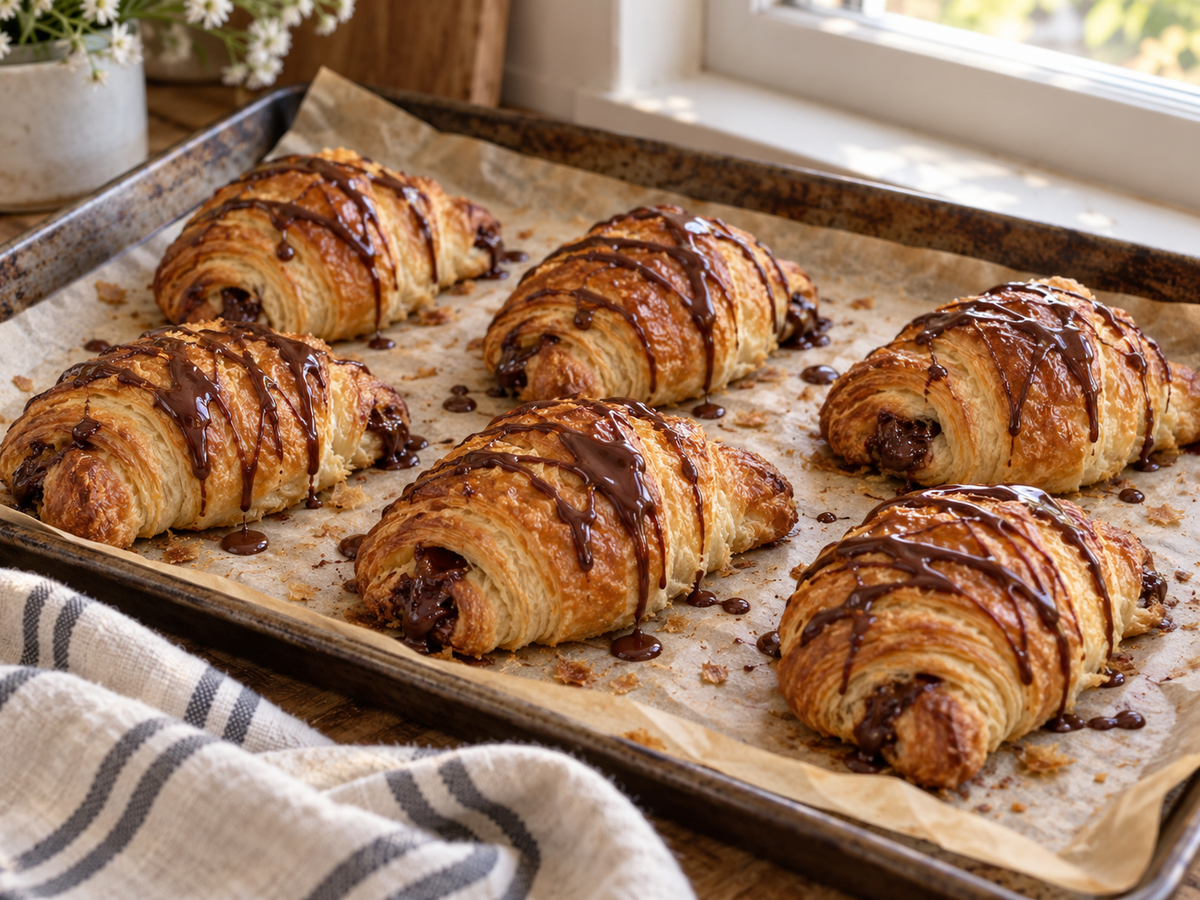
Transfer the baked croissants to a wire rack and allow them to cool for at least 10 minutes.
Melt about ¼ cup of chocolate according to the package directions. Transfer the melted chocolate to a plastic sandwich bag, snip a small corner, and drizzle it over the cooled croissants.
Expert Baking Tips
These simple tips can help you achieve lighter, flakier gluten-free chocolate croissants with more consistent results.
- Keep the dough and butter cold. Cold butter creates distinct laminated layers.
- Handle the dough gently. Roll evenly without pressing too hard, which can compress the layers and reduce flakiness.
- Rotate the baking sheet halfway through baking. This promotes even browning and helps prevent hot spots.
- Use high-quality chocolate. Chocolate with a higher cocoa butter content melts more smoothly and delivers a richer filling.
If you’re looking for another rich gluten-free chocolate dessert, don’t miss this Homemade Gluten-Free Chocolate Pudding Recipe.
Troubleshooting Guide
Use this guide to identify the problem with gluten-free chocolate croissants, understand the likely cause, and fix it before your next batch.
| Problem | Most Likely Cause | How to Fix It |
|---|---|---|
| Butter leaked during baking | Dough or butter became too warm | Chill shaped croissants for 10–20 minutes before baking and use a fully preheated oven. |
| Croissants turned out dense | Too much flour, underproofing, or poor lamination | Measure flour accurately, proof until puffy, and complete all folds. |
| Dough cracked while rolling | Butter was colder than the dough | Let the butter soften slightly so it’s pliable but still cold. |
| Pastry wasn’t flaky | Butter blended into the dough or layers were compressed | Keep the dough cold between folds and avoid pressing too hard with the rolling pin. |
| Chocolate leaked out | Too much filling or loose rolling | Use a moderate amount of chocolate and roll tightly with the seam underneath. |
| Croissants turned out dry | Overbaking or excess flour | Bake until golden brown, and brush away excess flour before folding. |
| Bottoms browned too quickly | Baking sheet was too hot or too close to the heating element | Bake on the center rack using a light-colored, parchment-lined baking sheet. |
Once you’ve mastered these simple fixes, try another easy chocolate treat with our 6-Ingredient Flourless Chocolate Chip Cookies.
Chocolate Filling Ideas
The following is how to choose the best chocolate for your baking.
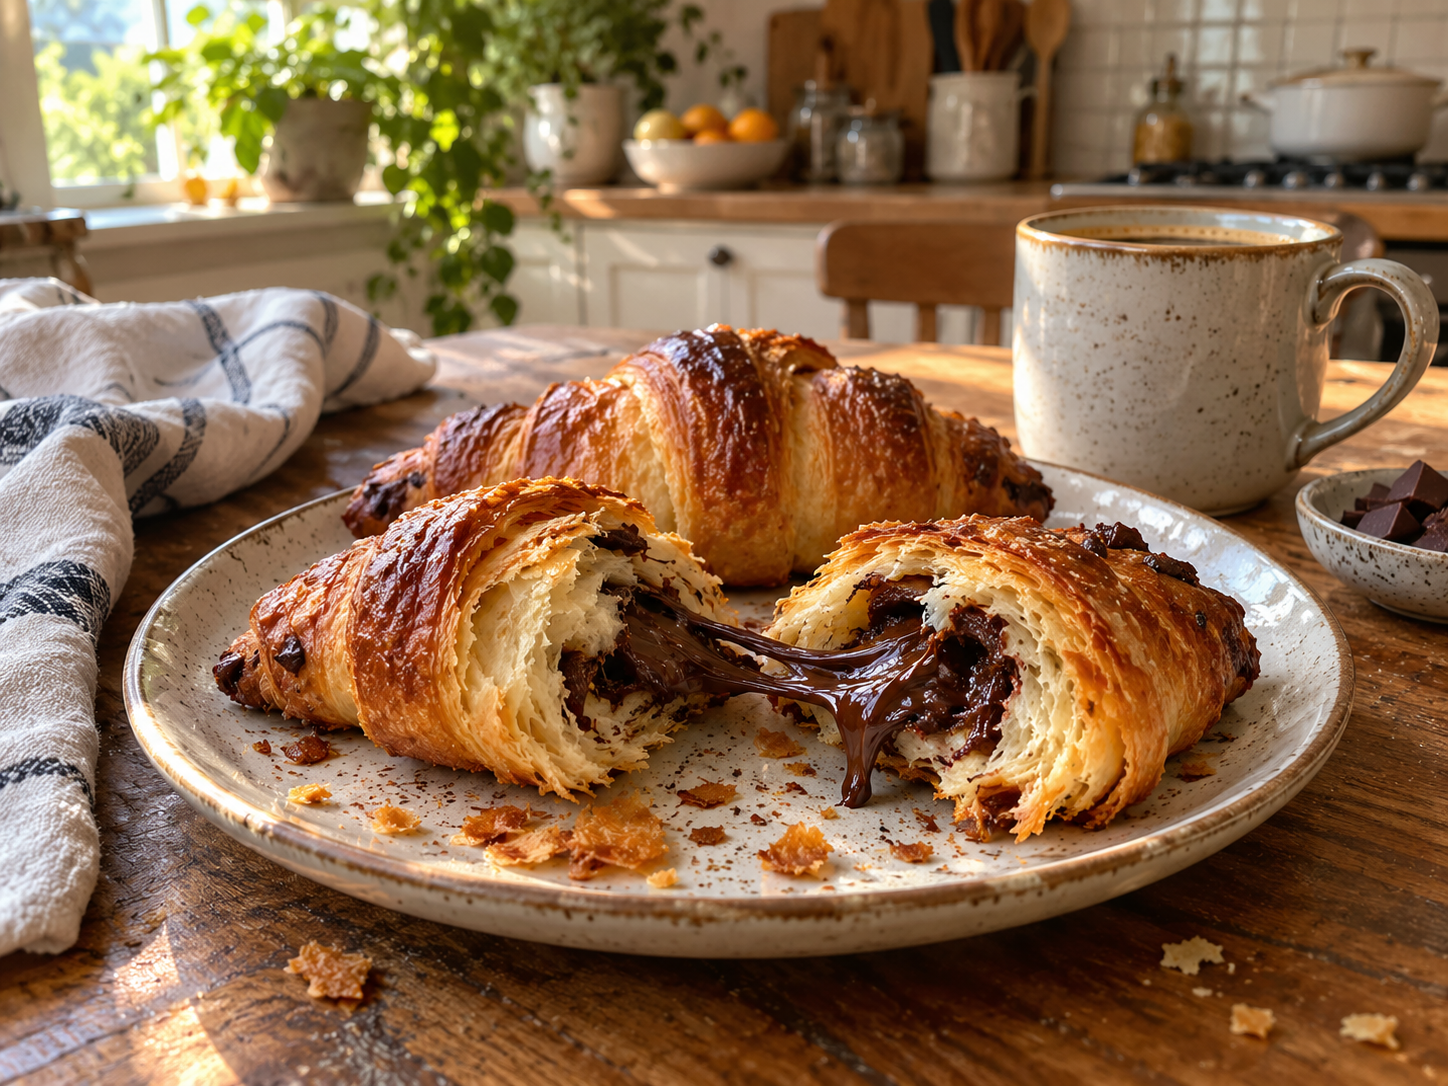
- Dark Chocolate (60–70%): Rich, balanced flavor with less sweetness.
- Milk Chocolate: Sweeter, creamier filling.
- Chocolate Batons: The traditional choice for pain au chocolat, offering even distribution and clean layers.
- Chocolate Bars: A great substitute for batons, cut into narrow strips before filling.
- Chocolate Chips: Convenient but don’t melt as smoothly as batons or chopped chocolate bars.
Want to learn more about choosing the right chocolate for baking? Our guide to Unsweetened vs Bittersweet Chocolate: Differences, Uses & Smart Substitutes explains how different types of chocolate affect flavor, sweetness, and baking performance. Are you craving another gluten-free chocolate bake? Try our Spiced Gluten-Free Pumpkin Chocolate Chip Cookies.
8 Delicious Recipe Variations
Customize your gluten-free chocolate croissants with one of these easy variations:
- Dairy-Free: Replace the butter, cream cheese, cottage cheese, and chocolate with dairy-free alternatives.
- Mini Croissants: Cut the dough into smaller triangles and slightly reduce the baking time.
- Almond Chocolate: Add chopped toasted almonds with the chocolate filling.
- Raspberry Chocolate: Spread a thin layer of raspberry preserves beneath the chocolate.
- Orange Chocolate: Sprinkle fresh orange zest over the chocolate before rolling.
- Cinnamon Chocolate: Add a pinch of ground cinnamon to the filling.
- Hazelnut Chocolate: Replace the chocolate with a thin layer of hazelnut spread or add chopped hazelnuts.
- Double Chocolate: Sprinkle a little unsweetened cocoa powder over the filling or combine chocolate batons with chocolate chips.
Looking for another family favorite that’s packed with chocolate? Be sure to try our Easy Oatmeal Chocolate Chip Muffins: Kid-Friendly Recipe.
What to Serve With Chocolate Croissants
Pair your gluten-free chocolate croissants with any of these breakfast or brunch favorites:
- Coffee: Freshly brewed coffee, cappuccino, or latte.
- Hot Chocolate: A rich, indulgent pairing for breakfast or brunch.
- Fruit Salad: Fresh berries, grapes, kiwi, oranges, or melon.
- Yogurt: Greek or plain yogurt with fresh fruit and honey.
- Scrambled Eggs: A savory side for a more balanced meal.
- Smoothies: Berry, banana, mango, or spinach smoothies.
- Brunch Board: Serve with fresh fruit, yogurt, cheeses, nuts, jams, and hot beverages.
Storage, Make-Ahead & Reheating Guide
Proper storage helps preserve the croissants’ flaky texture and chocolate filling.
Storage Guide
| Storage Method | How Long | Best Practices |
|---|---|---|
| Room Temperature | 1–2 days | Store in an airtight container once completely cooled. Keep away from heat and humidity to help maintain crisp layers. |
| Refrigerator | Up to 4 days | Wrap well or use an airtight container to prevent the croissants from drying out. Reheat before serving for the best texture. |
| Freezer (Baked) | Up to 2 months | Wrap each croissant tightly in plastic wrap and place them in a freezer-safe bag or container to reduce freezer burn. |
How to Reheat Chocolate Croissants
A gentle reheat brings back much of the crisp exterior and soft, chocolatey center. Study the following tips:
- Oven (Best): Reheat at 350°F (175°C) for 5–10 minutes (add a few extra minutes if frozen).
- Air Fryer: Reheat at 325°F (160°C) for 3–5 minutes.
- Microwave: Heat in 10–15-second intervals. The pastry will be softer than oven-reheated croissants.
- Toaster Oven: Reheat at 350°F (175°C) for 5–7 minutes.
Can You Make Them Ahead?
Refrigerate the dough overnight before laminating, or shape the croissants and refrigerate overnight before baking. For longer storage, freeze the shaped croissants.
Can You Freeze Unbaked Croissants?
Of course you can. Freezing unbaked croissants is an excellent way to enjoy freshly baked pastries whenever you want.
- Freeze: Arrange shaped croissants on a parchment-lined baking sheet until solid, then transfer to a freezer-safe container.
- When to freeze: Freeze before the final proof.
- Storage: Use within 1 month for the best texture.
- Bake from frozen: Thaw overnight in the refrigerator, proof until puffy, egg wash, and bake as directed. If already proofed, thaw for about 30 minutes before baking.
Frequently Asked Questions
Still have questions? Here are a few answers to common questions that weren’t covered elsewhere in the recipe.
Have a question I didn’t cover? Drop it in the comments below, and I’ll be happy to help!
Why Do Professional Bakeries Use Chocolate Batons Instead of Chocolate Chips?
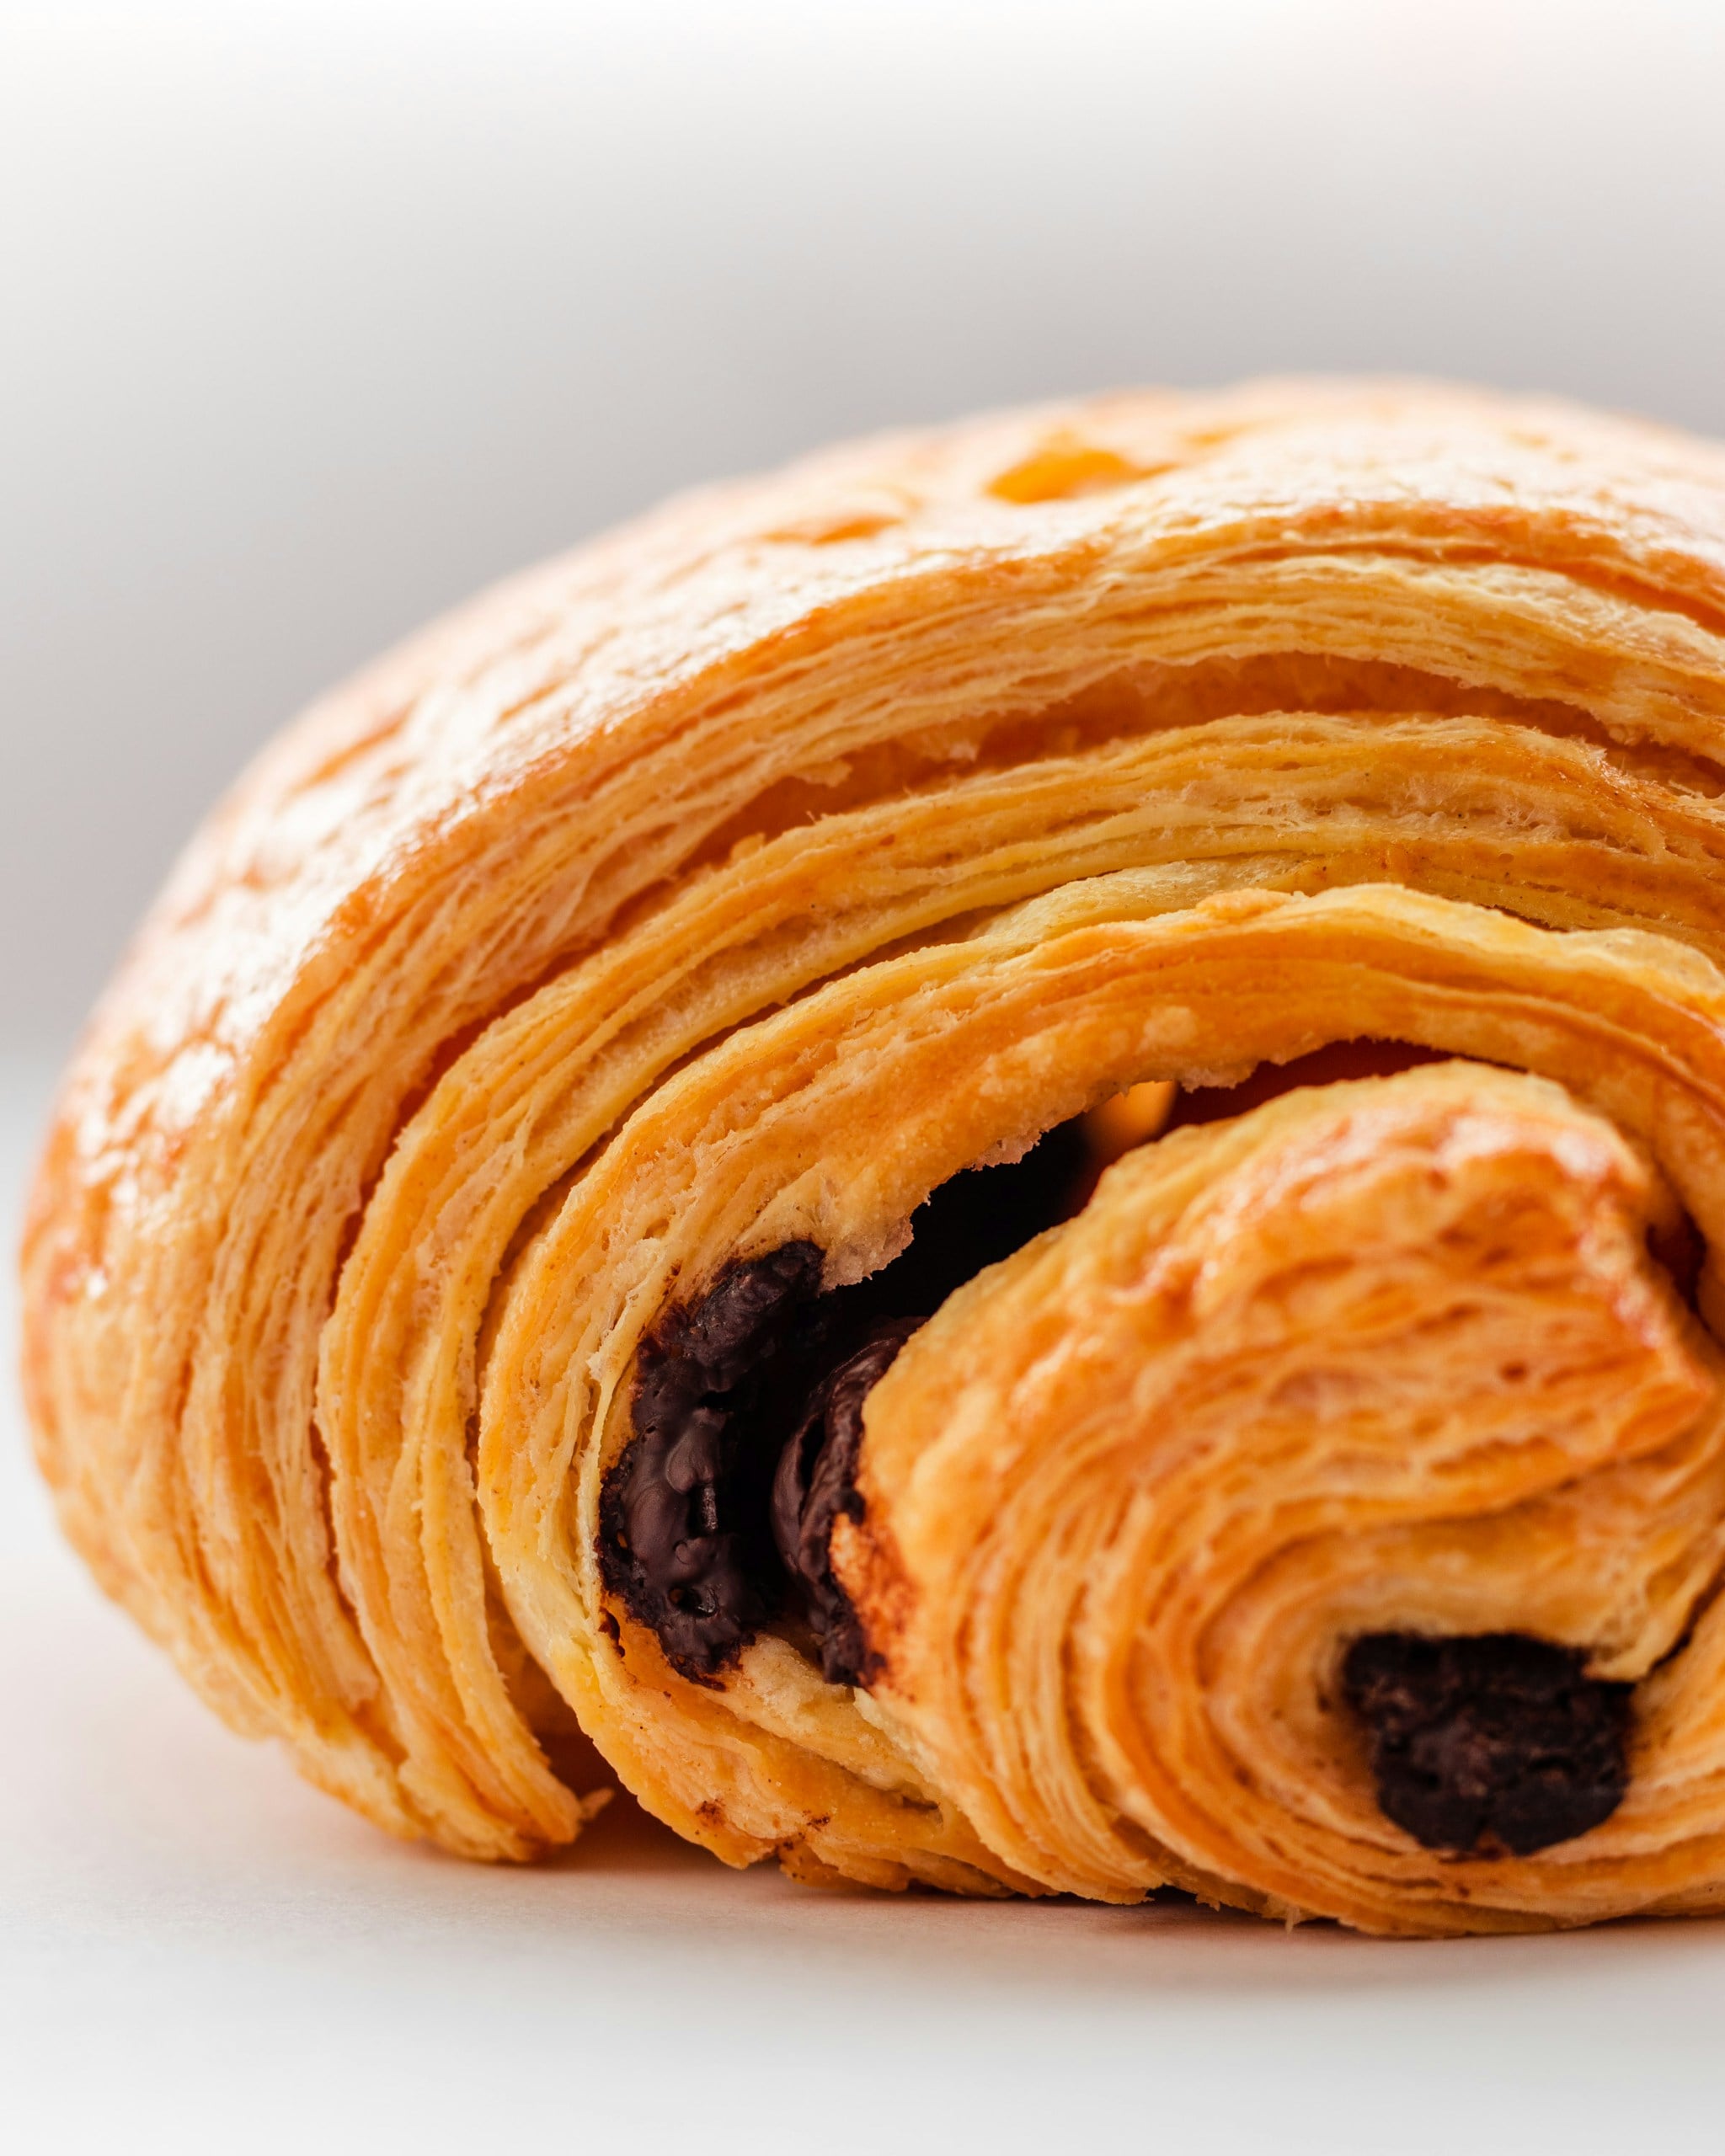
Chocolate batons are designed to melt evenly while maintaining their shape during baking. Chocolate chips contain stabilizers that help them hold their shape, making them less ideal for creating the classic molten center found in traditional pain au chocolat.
Are Gluten-Free Chocolate Croissants As Flaky As Traditional Croissants?
They can be remarkably flaky when made correctly, but the texture won’t be identical to wheat-based croissants because gluten-free dough lacks gluten’s natural elasticity. Careful lamination, proper chilling, and keeping the butter cold are the keys to achieving the best possible layers.
Are Chocolate Croissants Served for Breakfast or Dessert?
In France, pain au chocolat is commonly enjoyed for breakfast or as a morning pastry with coffee. It’s equally delicious as a brunch centerpiece, afternoon snack, or light dessert.
Can I Make Gluten-Free Chocolate Croissants Without Cottage Cheese?
Absolutely, but the texture may change. Cottage cheese adds moisture and protein, helping create a softer dough that’s easier to laminate. If needed, substitute it with full-fat ricotta, though the finished croissants may be slightly less moist.
Why Did My Butter Leak Out During Baking?
Butter usually leaks when it becomes too warm during lamination or if the dough isn’t chilled before baking. Keep both the dough and butter as cold as possible, work quickly between folds, and chill the shaped croissants for 10–15 minutes before baking to help maintain distinct flaky layers.
More Gluten-Free Breakfast Recipes You’ll Love
Searching for another gluten-free baking project? Try one of these reader favorites next.
- Oatmeal Flour Chocolate Chip Cookies: The Secret to Soft, Chewy Perfection – Soft, chewy cookies made with oatmeal flour for a wholesome twist on a classic favorite.
- Delicious Gluten-Free Chocolate Fudge Cake (Dairy-Free): A rich, moist chocolate cake that’s completely dairy-free without sacrificing flavor.
- The Easiest No-Bake Chocolate Pie (Creamy and Gluten-Free!): A silky, creamy chocolate pie that comes together without turning on the oven, making it ideal for warm days or effortless entertaining.
- Bakery-Style Gluten-Free Dairy-Free Chocolate Chip Cookies: Thick, chewy chocolate chip cookies with crisp edges and soft centers that taste just like they came from your favorite bakery.
Whichever recipe you try next, you’ll have another delicious gluten-free treat to add to your baking rotation.
We’d Love to Hear How Your Croissants Turned Out!
Have you tried this recipe? Leave a comment below and let us know how it turned out. We’d love to hear your favorite chocolate filling, answer any troubleshooting questions, and see your baking results.