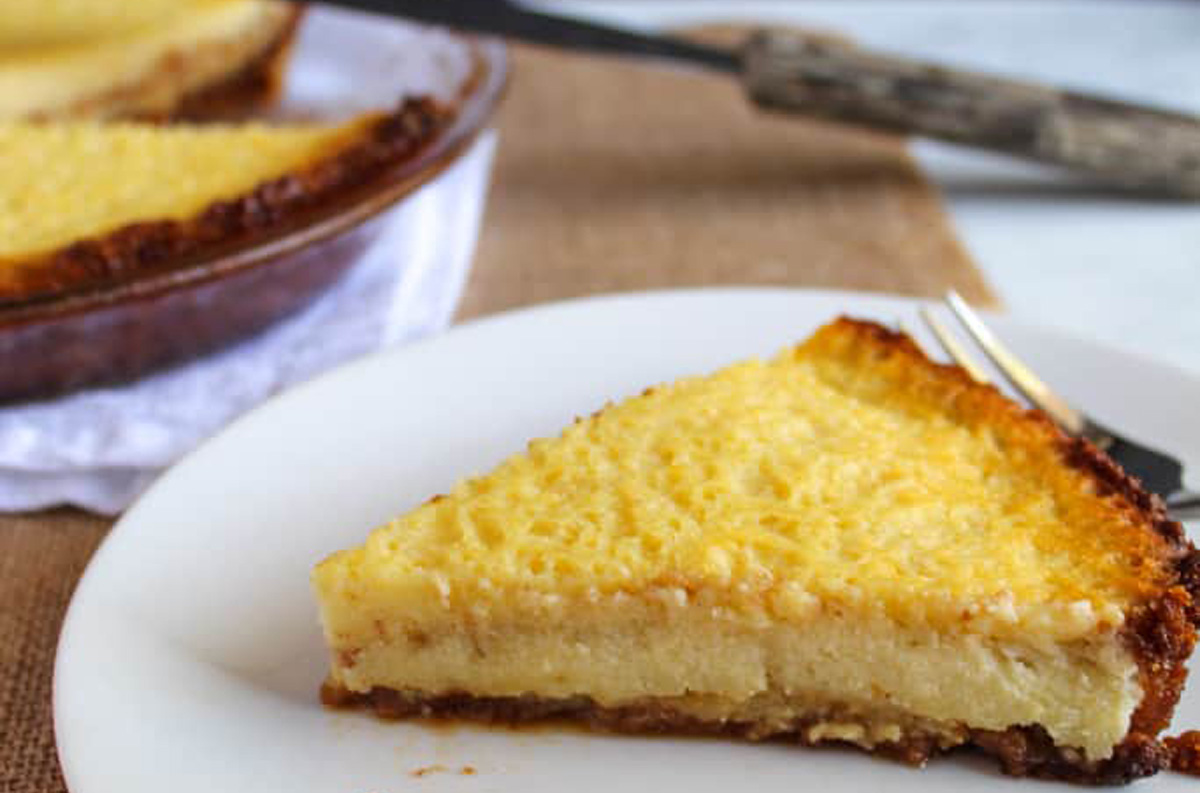
A big slice of sweet, mouthwatering gluten-free buttermilk pie with a homemade graham cracker crust… It’s like a little bite of Heaven. It’s creamy and delicious, and this version is super easy to make!
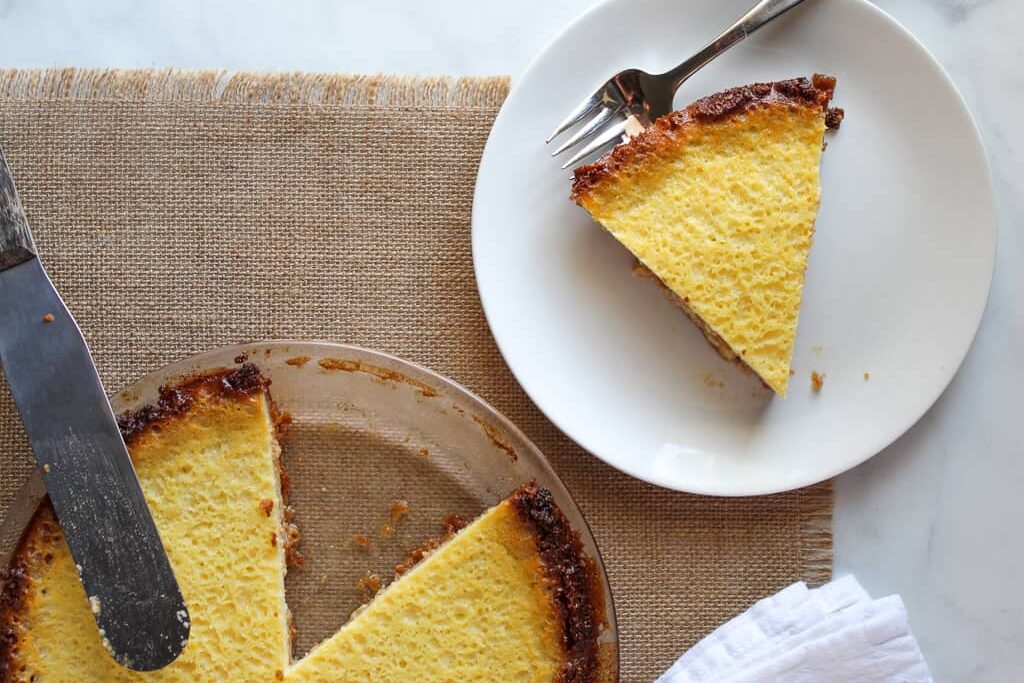
You’ve never had buttermilk pie like this before! With it’s cool and creamy filling and classic graham cracker crust, it makes for a superb dessert that’s easy enough to make during the week, but impressive enough to serve to guests.
Table of Contents
What is Gluten-Free Buttermilk Pie Made Of?
This classic dessert has a short list of ingredients, like sugar, lemon zest, a bit of gluten free flour mix, a few eggs and some butter, but the shining star is the buttermilk. With it’s rich and creamy texture, buttermilk is a heavy hitter when it comes to this pie. And of course this almond flour graham cracker crust is a must-have too!
Should It Be Refrigerated?
The initial refrigeration time for this buttermilk pie is important – actually, it’s vital. Buttermilk pie is delicious, but it’s delicious cold. After serving, store any leftover pie in the refrigerator for the best results.
Is The Pie Batter Supposed To Be Runny?
Buttermilk pie batter will be very thin – similar to crepe batter. It will be runny, and when you fill the graham cracker crust, some batter may even spill over the sides. The pie will be very full with runny batter before baking.
What It Taste Like?
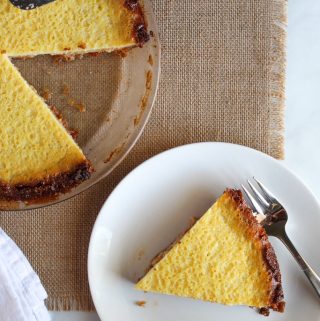
This gluten-free buttermilk pie recipe combines the best of both worlds – sweet with a little crunch. Without a doubt, this graham cracker crust is the ideal crust for this pie. Could you use a flaky pie crust? Sure, but the graham cracker crust is just too good of a combination to use anything else. Then with the sweet and tangy custard-like filling… there’s a reason why it’s known as a classic!
How To Make Gluten-Free Buttermilk Pie
Room temperature ingredients
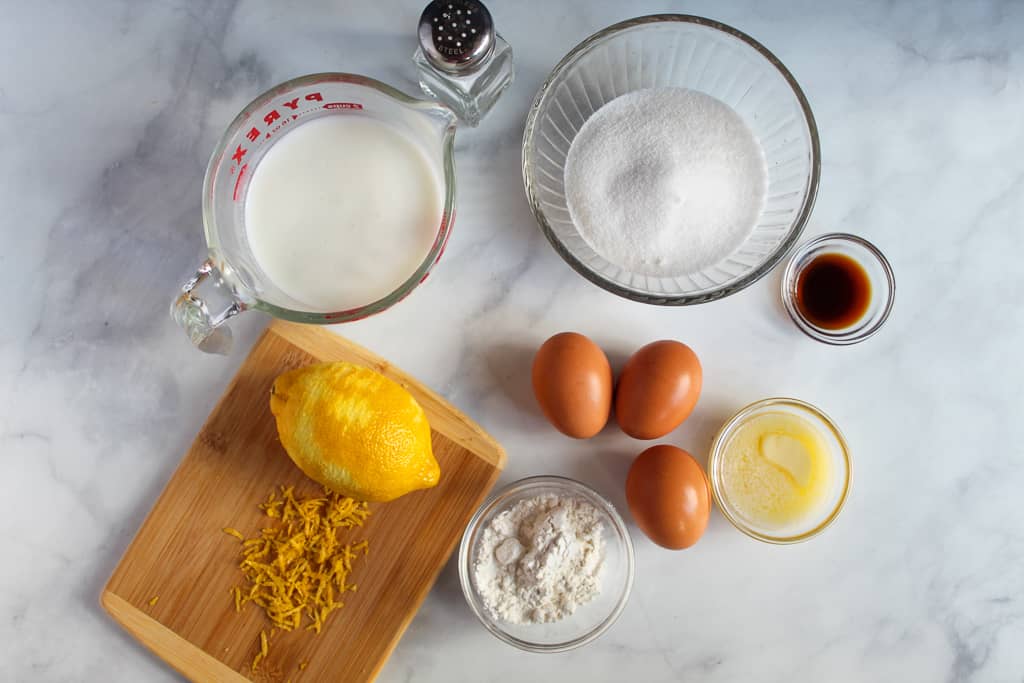
Even though the ingredients list is short and it’s tempting to just jump right in and start mixing, the ingredients for this pie have to be at room temperature. And here’s why…
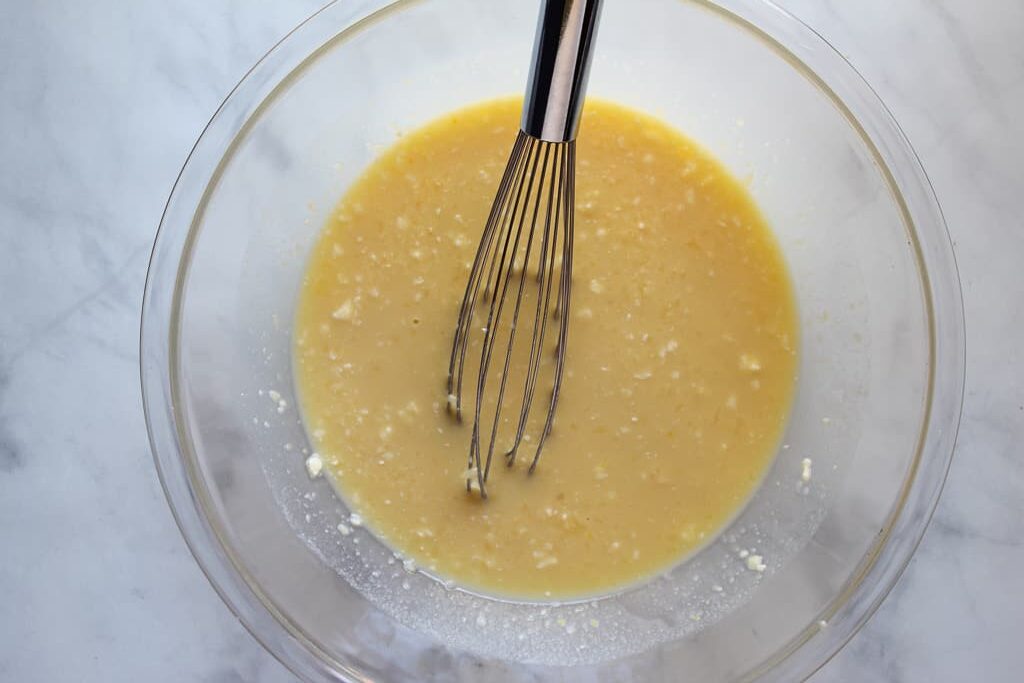
See this picture of the batter?
This is what happens if some of the ingredients are cold and some are warm.
So pull out those eggs, let the melted butter cool off a bit and let the buttermilk warm up – it might take some extra time, but it’s worth it to have a nice, smooth pie.
Work Quickly

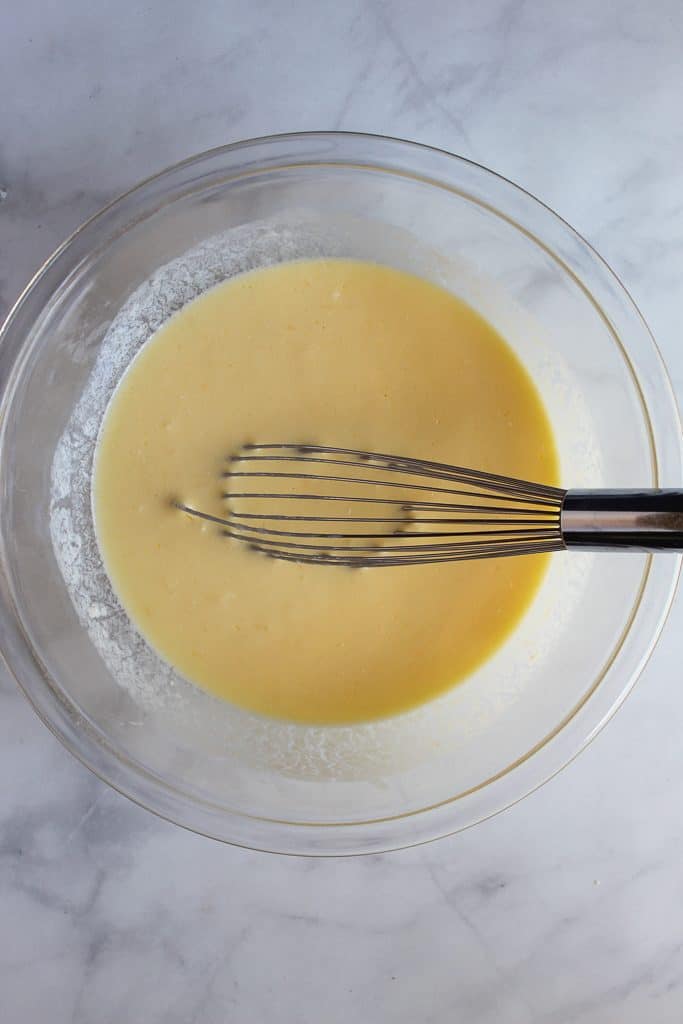
Using a wire whisk to mix this batter makes all the difference in the world. It helps keep the batter smooth and incorporates all the ingredients quickly. And quick is the name of the game. Once the buttermilk mixture is mixed and added to the sugar mixture, just a quick mix is all it needs. Get that batter into the graham cracker crust!
Pouring The Batter
Pouring this batter into the crust means you’re almost there! Ensure the pie plate is placed on the baking sheet before adding the batter. And carefully pour the batter in – you will end up with a very full pie!
Tip: It’s ok if some of the batter spills out of the crust; it will bake up nicely and evenly.
Baking
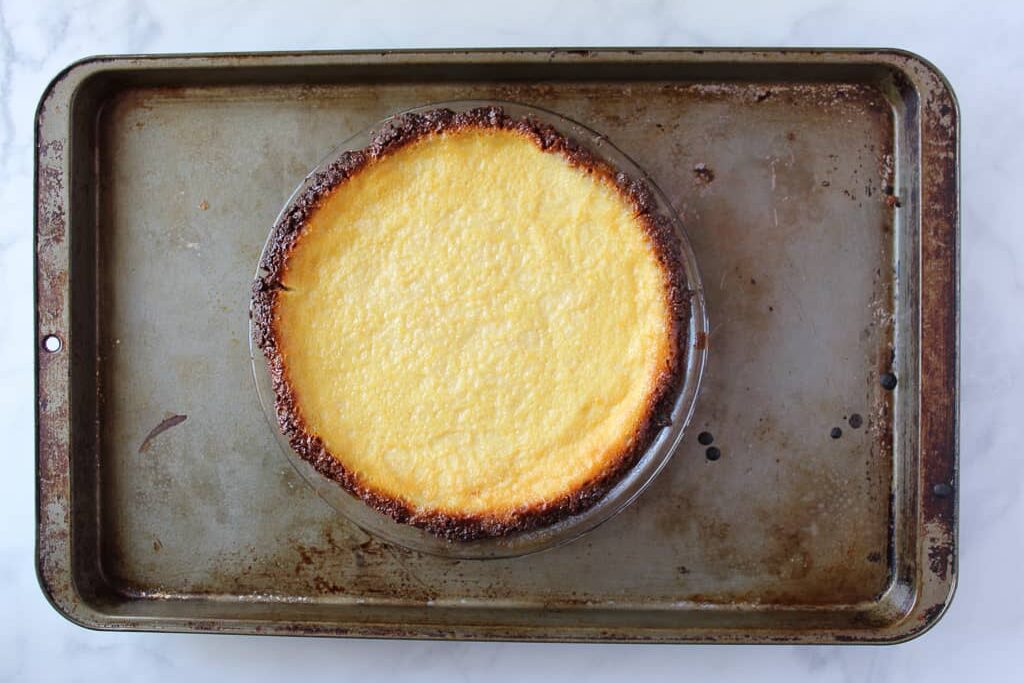
Start the pie baking at 400 F, then turn the oven down to 350 F to finish baking this creamy, delicious pie. After about 45 minutes, remove the baking sheet with the pie on it and place it on a rack to cool completely.

After cooling it’s time for the refrigerator and then time to dig in!
Gluten Free Buttermilk Pie
Ingredients
- 3/4 cup granulated sugar
- 1 tsp. lemon zest
- 1 tsp. vanilla extract
- 3 Tbsp. gluten free flour mix
- 1/4 tsp. salt
- 3 eggs beaten
- 1 3/4 cups buttermilk
- 2 Tbsp. unsalted butter melted
- 1 9-in gluten free graham cracker pie crust
Instructions
- Preheat oven to 400 degrees Place graham cracker crust on a large baking sheet. Set aside.
- Place sugar, lemon zest, and vanilla extract in a food processor. Pulse until thoroughly mixed.
- Add the gluten free flour mix and salt to food processor and pulse again.
- Pour sugar mixture into a large bowl and set aside.
- Place beaten eggs, buttermilk, and melted butter in a medium bowl. Gently beat with a wire whisk until thoroughly combined.
- Pour buttermilk mixture into sugar mixture and stir with wire whisk until completely combined.
- Pour the buttermilk pie batter carefully into the pie crust. Pie will be very full.
- Carefully place pie in the oven and bake for 10 minutes at 400 degrees Then reduce oven temperature to 350 degrees Bake buttermilk pie for 45 – 47 minutes more.
- Remove pie from oven and cool on countertop. Then refrigerate for 1-2 hours before serving.
Notes
- Make sure all ingredients are at room temperature – including the graham cracker crust!
- The pie will be very full and the batter may even spill out.
- Bake at 400 F for 10 minutes and then reduce the temperature to 350 F for the remaining time.
- Even though it’s tempting, don’t cut into the pie when it’s warm from the oven, refrigerate it first!
Nutrition
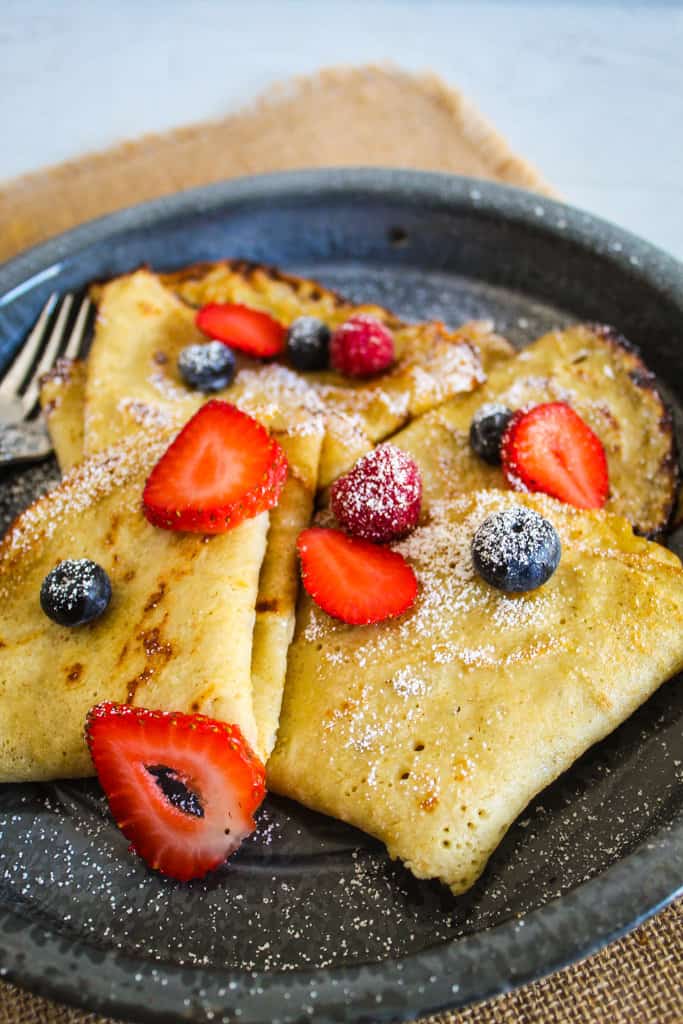
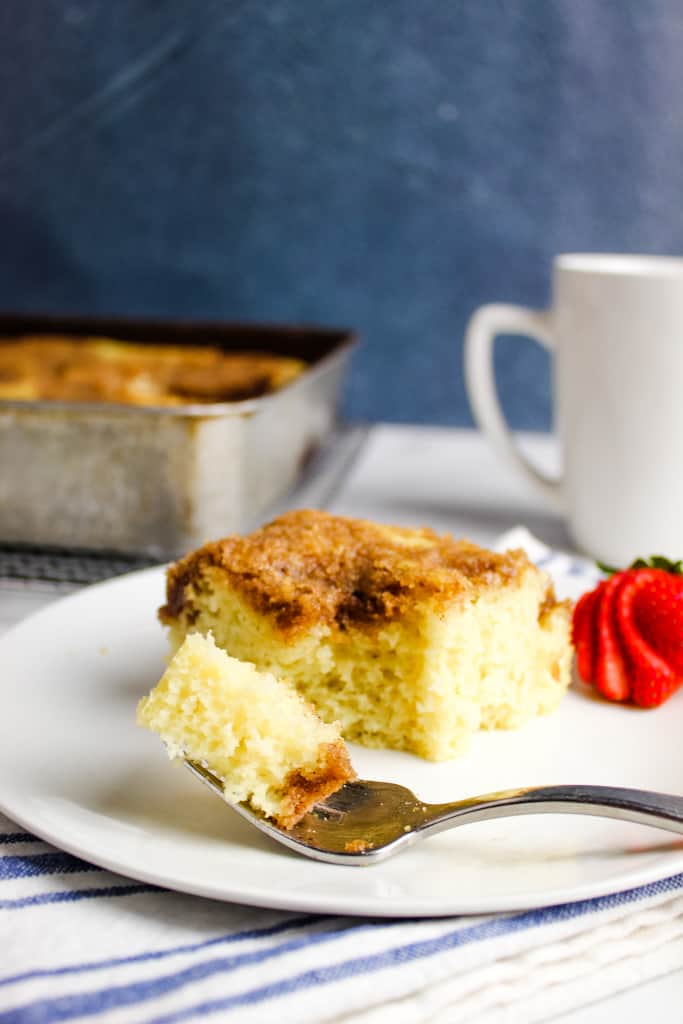
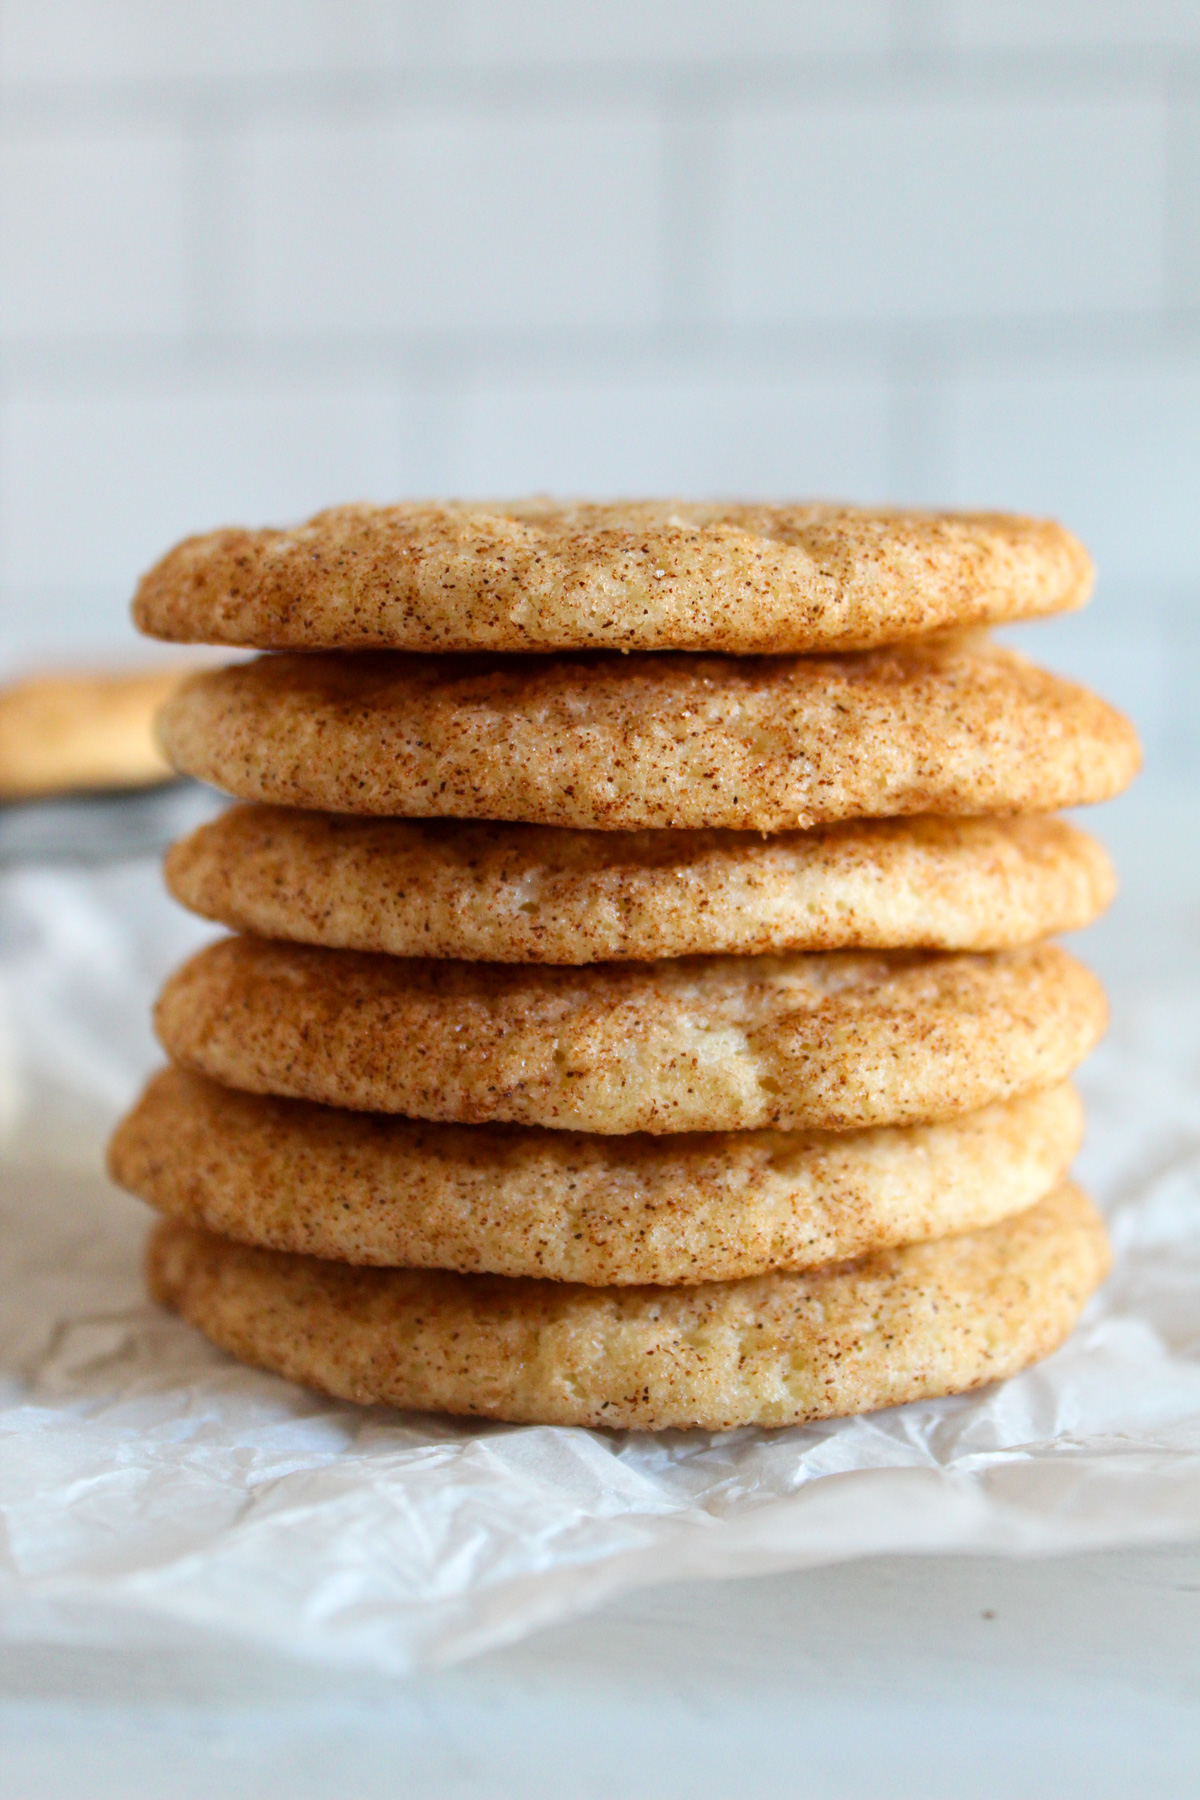
Also check out these delicious gluten-free recipes:
And here are some helpful tips for gluten-free baking:
- 5 Alternatives to Xanthan Gum and Guar Gum
- How to Substitute for Potato Starch and Potato Flour
- Guide to Gluten Free Flour Substitutes