Millet Biscuits: Gluten Free, Dairy Free
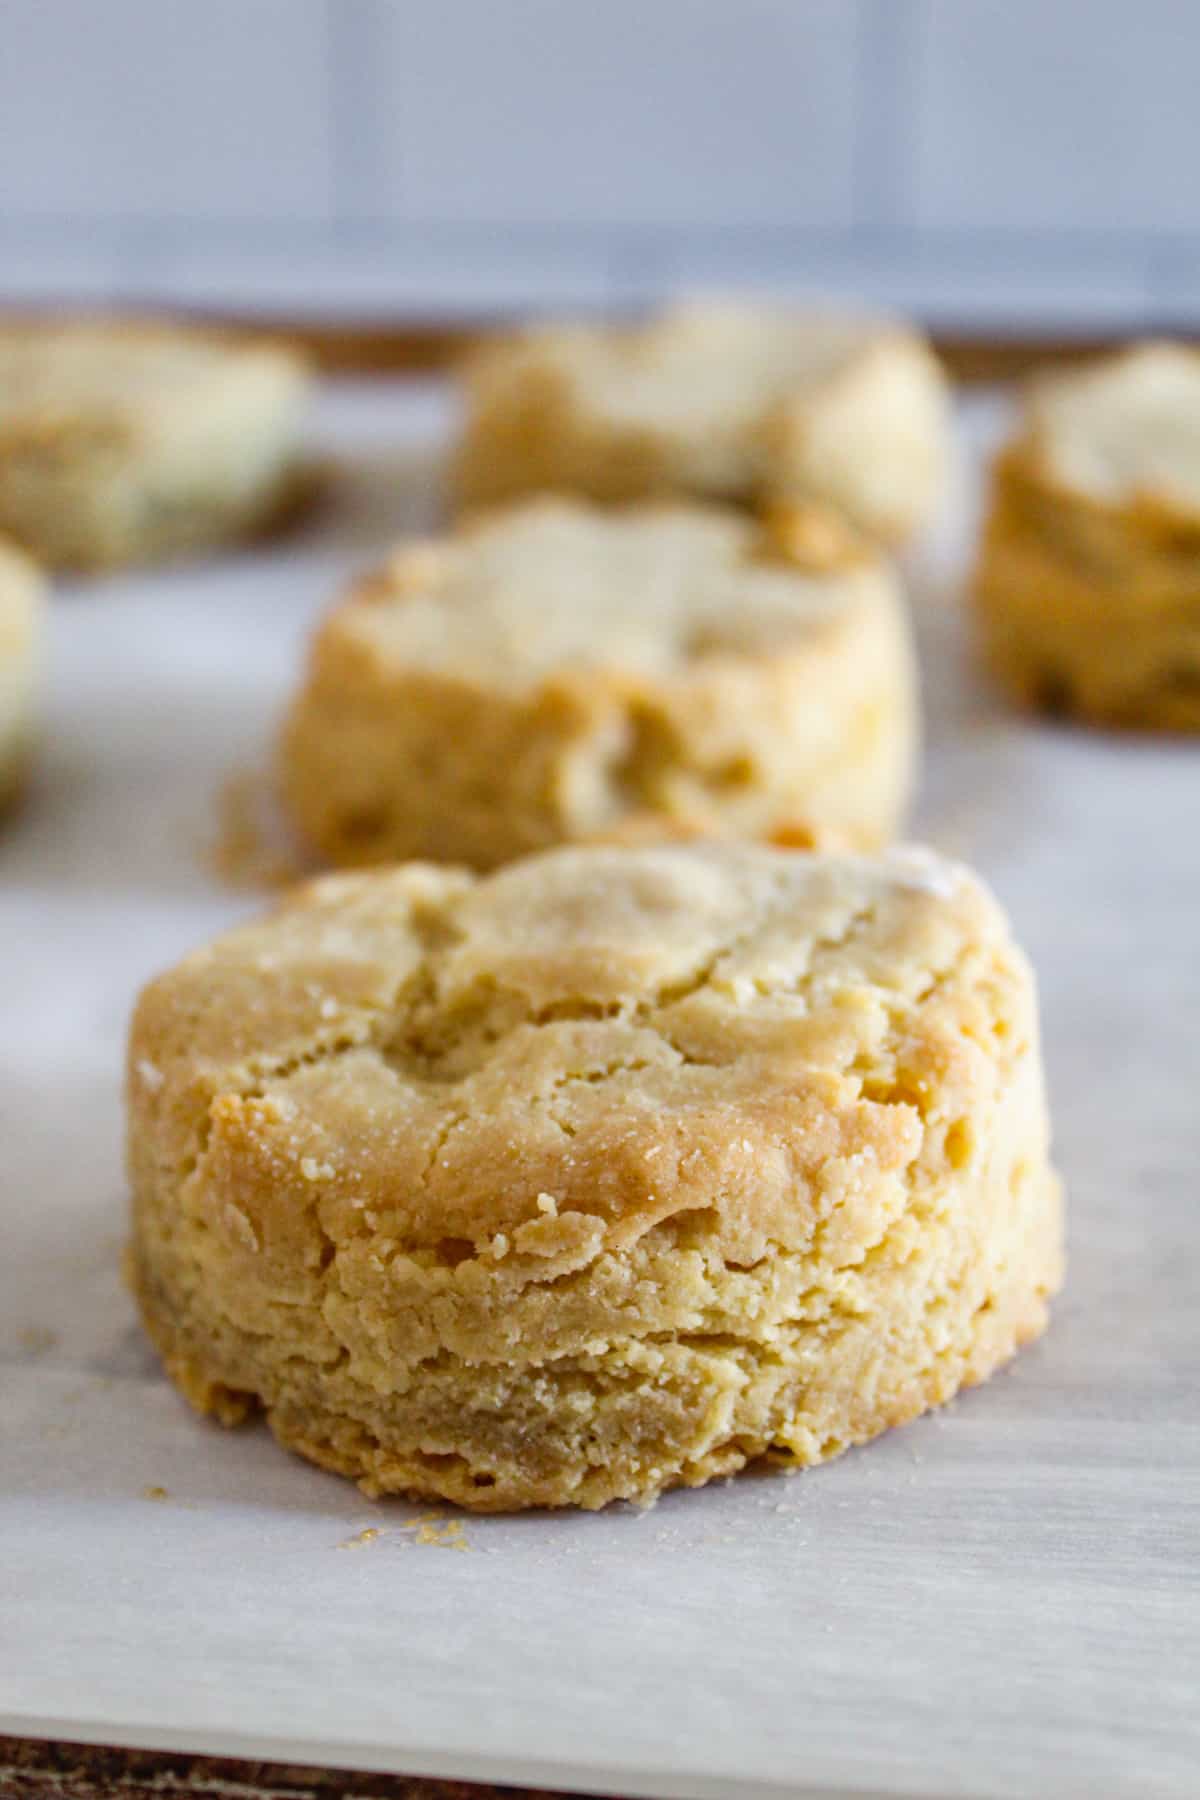
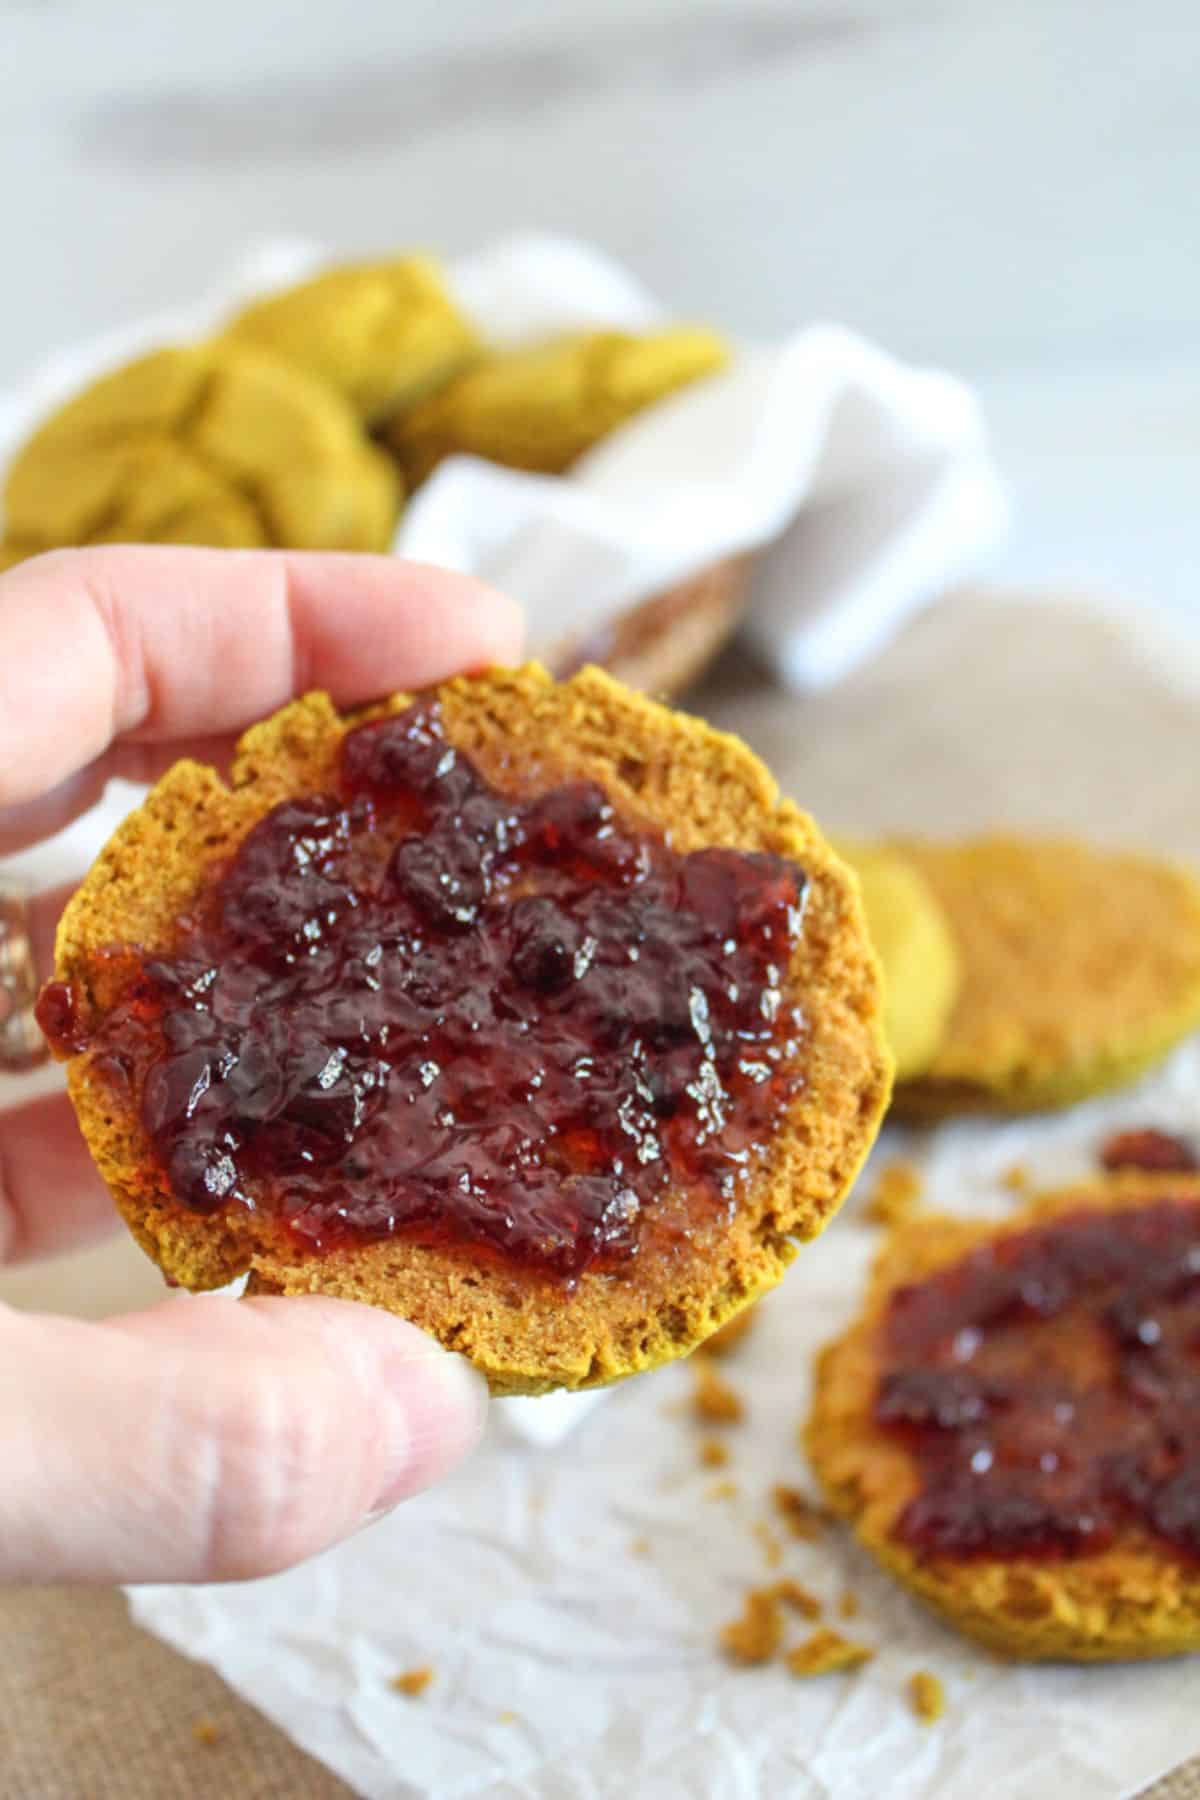
Light, fluffy, and exceptionally tender, these millet biscuits are a delicious change of pace from traditional biscuits and can be enjoyed topped with a pat of butter and a drizzle of honey or with your favorite jam or jelly! These high-rising biscuits are soft in the center with a nice golden brown exterior.

Biscuits are a versatile quick bread that can be served with any meal. Similar to these other biscuit recipes like oat flour biscuits or these buckwheat biscuits, millet flour biscuits make a great breakfast, side with dinner, or anytime snack. With their amazing flavor and texture, you’d never know they were gluten and dairy free! These biscuits are also extremely easy to make from scratch in under an hour.
Table of Contents
Overview: Millet Flour Biscuits
Like this white bread, there’s nothing quite like warm, fluffy homemade biscuits straight from the oven. This millet biscuit recipe is so simple to make and only uses 9 ingredients. Here are a few more great things about this biscuit recipe:
- The dough is quick to prep in just 15 minutes
- They are both gluten and dairy free
- They are a great way to use millet flour in recipes
- The rest time for the dough is only 10 minutes
- They are easy to store in the freezer


Struggling with cutting gluten from your diet?
Resource Pack Offer – Cut Gluten from your Diet and Save Money!
Ingredients & Substitutions
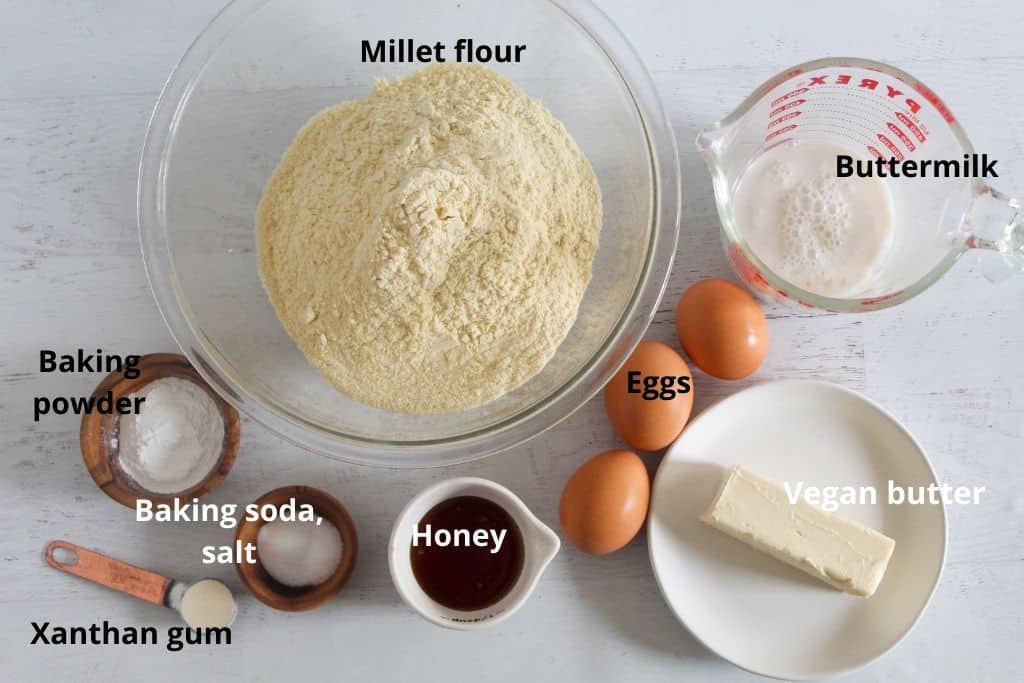
- Millet Flour – This recipe was tested using the Nuts.com brand of millet flour. I highly recommend this brand because it seems to have a lighter texture than others I’ve tried. Although I have a reference for substituting millet flour, I do not recommend it for this recipe as it will change the entire recipe.
- Baking Powder – There is no substitute for baking powder in this recipe.
- Baking Soda – There is no substitute for baking soda in this recipe.
- Xanthan Gum – The recipe needs xanthan gum to bind the ingredients together. Here is a reference for some other substitutes for the xanthan gum, but I have found that xanthan gum works the very best in this recipe.
- Salt – There is no substitute for salt in this recipe.
- Vegan Butter – This recipe was tested using Earth Balance vegan butter. Regular butter also works great as an alternative in these biscuits. I would not recommend using coconut oil as it has not been tested.
- Dairy Free Buttermilk – You can make your own dairy free buttermilk by combining the dairy free milk of your choice with either lemon juice or vinegar. Follow the instructions on this post about making dairy-free buttermilk. Regular buttermilk also works as a substitute in this recipe.
- Eggs – Regular eggs work best in this biscuit recipe. No substitutes have been tested so I would not recommend using an egg alternative. Chia eggs or flax eggs would be the best options for testing a substitute however.
- Honey – Honey adds just a touch of sweetener to this recipe. Maple syrup could also be used as a substitute for the honey.
Exact measurements and step-by-step instructions for making the biscuits are in the recipe card below.
How to Make Millet Biscuits

Step One: Add the flour, baking powder, baking soda, xanthan gum, and salt to a medium mixing bowl and stir to combine.

Step Two: In the bowl of a stand mixer, combine the butter, buttermilk, eggs, and honey and mix for 2 minutes on low speed. The butter will be in small chunks after mixing.

Step Three: Add the flour mixture to the butter mixture in the stand mixer bowl and mix for 15 seconds.

Step Four: Stop the mixer and scrape down the sides of the bowl and then mix for another 15 seconds to form the dough.

Step Five: Set the dough aside to rest for 10 minutes. Preheat the oven to 400F.

Step Six: Place a piece of wax paper or parchment paper on the countertop and dust it with flour.

Step Seven: Place the dough on the paper and lightly roll it out to 1-inch thickness. Using a floured 2-inch biscuit cutter, cut out the biscuits. Use a metal spatula to gently move the biscuits to the baking sheet.

Step Eight: Place the biscuits on the parchment lined baking sheet. Push the excess dough together and lightly roll out again to cut out more biscuits. You should end up with 9 biscuits. Bake for 14-15 minutes.

Storing
These fluffy biscuits store very well.
They can be stored at room temperature in an airtight container for up to 3 days.
Any longer than that and they will need to be frozen for best results. Tip: slice the biscuits first before freezing and they can be taken directly from the freezer and placed in the toaster.
Variations
Drop Biscuits: While these are not drop biscuits, you could make millet drop biscuits by simply spooning the dough onto the baking sheet instead of rolling and cutting it out. Bake them at the same time and temperature.
Sweet Biscuits: Add a teaspoon of additional honey to make the biscuits sweeter. Or brush the tops with melted vegan butter and sprinkle with granulated sugar and cinnamon for sweet biscuits.
Savory Biscuits: After mixing the dough, sprinkle in some crushed rosemary or other dried herbs for a savory biscuit.
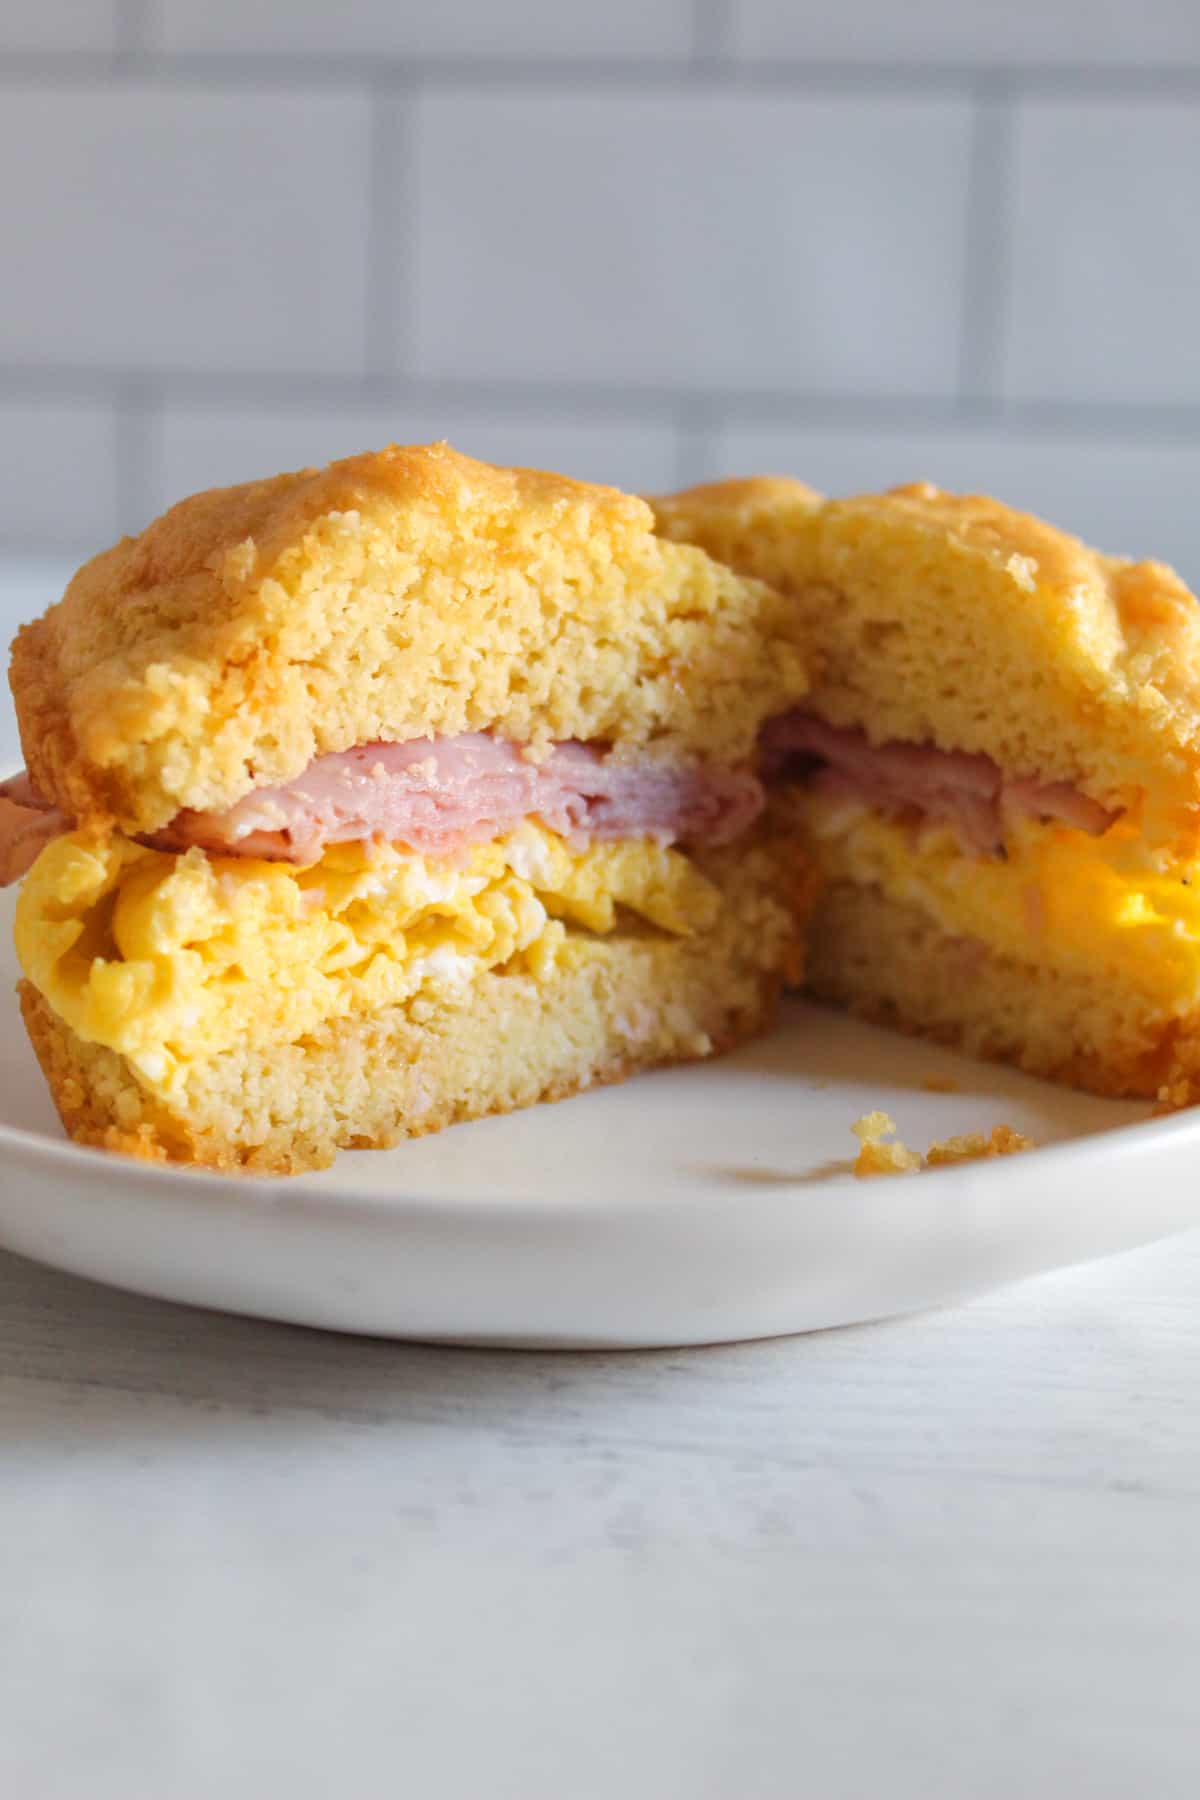
Breakfast Sandwiches: Make a delicious biscuit breakfast sandwich with any of these cut-out biscuits. Simply slice each cooled biscuit and sandwich eggs, bacon or ham in the middle. Enjoy immediately or wrap well and freeze them for an easy breakfast later.
Pro Tips
These rolled millet biscuits are super easy to make, but just like in any gluten free recipe, there are a few essential steps to follow for the best outcome. For the perfect millet biscuits, keep these pro tips in mind!
1. Use room temperature ingredients
For these biscuits, make sure all of your ingredients are at room temperature. Many other biscuit recipes call for cold butter, but for this recipe, the butter should be softened. Using room temperature ingredients will help them better combine together when mixing.
2. Measure the flour by weight
It is best to use a digital scale to measure the millet flour by weight for the most accurate measurement. This will make certain your biscuits turn out perfectly!
3. Give the dough 10 minutes to rest
As one of my gluten free baking tips, this recipe is a little different in that it just needs 10 minutes as a rest time. Letting the biscuit dough rest before baking allows the starches and liquids to fully combine so your biscuits are light and fluffy.
4. Helpful tools
Here are some great tools that will help in prepping your millet biscuits:
- Digital scale
- Medium mixing bowl
- Stand mixer
- Parchment paper
- Rolling pin
- 2-inch biscuit cutter
- Baking sheet
FAQs
Yes! Millet is a naturally gluten free grain that is often ground into flour to be used in baking. It is a great option to use in gluten free recipes. Because many grains are at high risk for gluten cross-contamination, be sure you choose a certified gluten free millet flour.
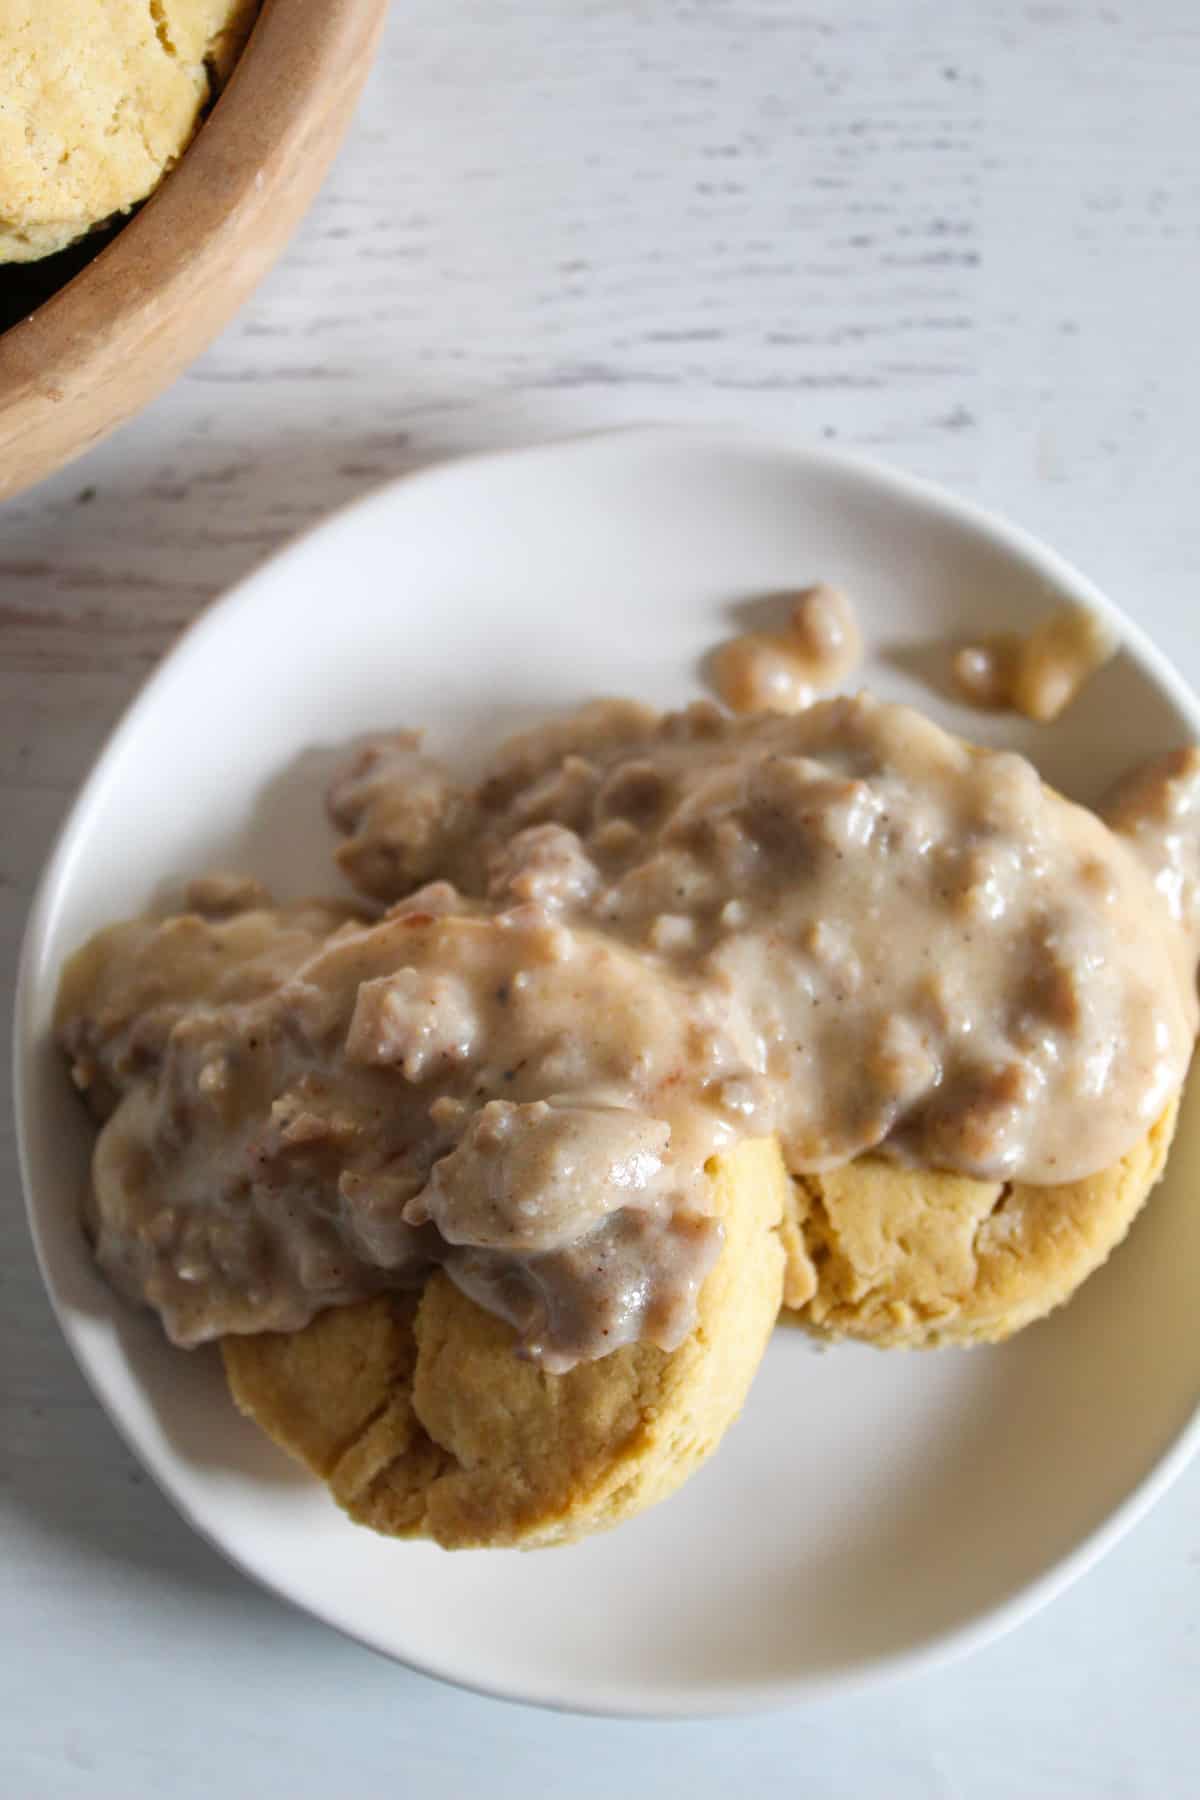
These biscuits are delicious served with butter, jam or jelly, honey, peanut butter, Nutella, cinnamon sugar, gravy, and more! You can enjoy them toasted or fresh from the oven. They also make great breakfast sandwiches.
Once baked and cooled, these biscuits can be stored in a plastic bag or air-tight container at room temperature for up to 3 days. After the first day, serve them toasted for the best flavor and texture. After 3 days, the biscuits can be frozen for longer storage.
These biscuits have very little sugar, so they are great for anyone looking for a low-sugar biscuit. They do have a bit of fat and carbohydrates however, so they are not an all-around healthy biscuit.
More Biscuit Recipes
Did you make and love this recipe? Give it your review and ![]() rating below! And make sure to follow me on Instagram, Pinterest and Facebook too!
rating below! And make sure to follow me on Instagram, Pinterest and Facebook too!

Millet Biscuits: Gluten Free, Dairy Free
Ingredients
Method
- In a medium mixing bowl stir together the flour, baking powder, baking soda, xanthan gum and salt.
- In the bowl of a stand mixer, combine the vegan butter, buttermilk, eggs and honey. Mix for 2 minutes. Butter should be in small chunks.
- Add the flour mixture. Mix 15 seconds. Stop machine and scrape batter down. Mix another 15 seconds.
- Set batter aside to rest for 10 minutes.
- Preheat oven to 400 F. Place a sheet of parchment on a baking sheet.
- Place a piece of wax paper on countertop. Dust it with flour. Place dough on the wax paper.
- Lightly roll dough out to 1 inch thickness. Using a floured 2 inch biscuit cutter, cut out biscuits and place them on the baking sheet.
- Push dough together, lightly roll again and cut out more biscuits. You should end up with 9 biscuits.
- Bake for 14-15 minutes or until biscuits are golden. Serve warm with butter, jam or jelly.
Video
Notes
- All ingredients should be at room temperature.
- Make dairy free buttermilk by adding 1 Tablespoon of white vinegar to a 1 cup measuring cup and filling to the 1/2 cup mark with almond milk or other dairy free milk or follow this article.
- The buttermilk-butter mixture will still have small chunks of butter after mixing,
- Using wax or parchment paper to roll the dough out makes clean-up a breeze!
- Lightly roll the dough to 1 inch thick, any thinner and biscuits will be flatter.
- Biscuits will keep for 3 days at room temperature (they’re best toasted after the first day) or freeze for longer storage.
