Crisp and golden brown Gluten Free Belgian Waffles… These lighter than air waffles are so good (no one has to know how easy the prep is!).
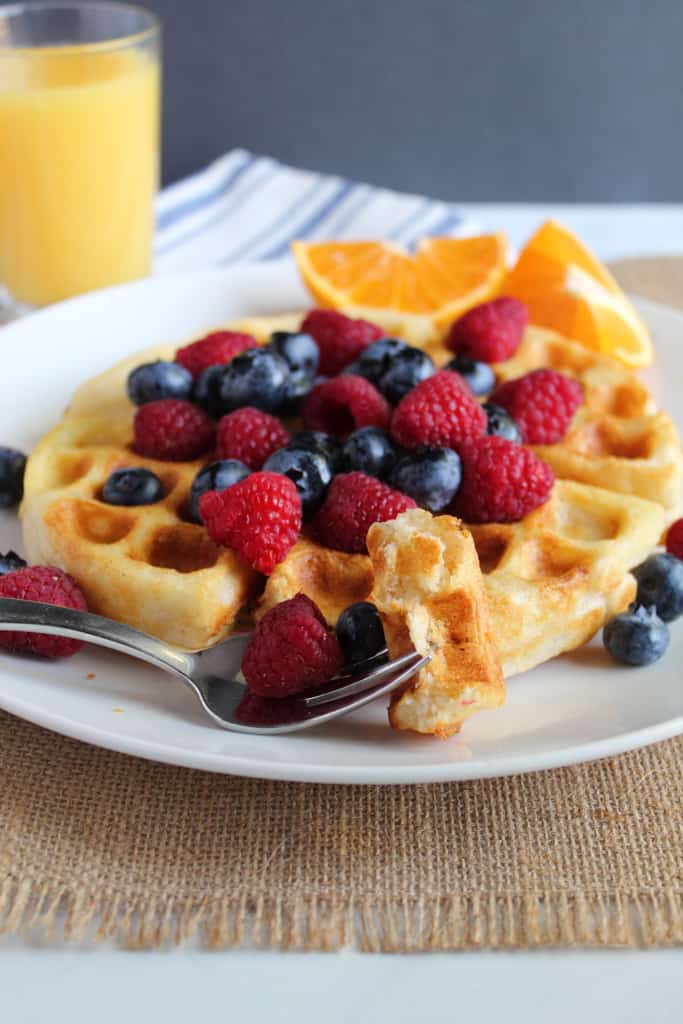
There’s just something about a big fluffy gluten free Belgian waffle that makes my gluten free baking heart happy. It could be that they’re so decadent and have the appearance of a super luxurious breakfast when really, they couldn’t be simpler! Just one bowl, an hour rise time and a waffle iron and you have all the makings of a restaurant-quality Belgian waffle that’s also dairy free.
Table of Contents
What makes a Belgian waffle different from a regular waffle?
There are two schools of thought with Belgian waffles and what makes them different from say, these gluten free waffles… Belgian waffles have added ingredients to give them a signature rise that other regular waffles don’t have. They will often include either yeast (maximum rise) or baking powder (not as high rising). And they are typically cooked in a ‘Belgian waffle maker’ which has deeper and larger pockets than a regular waffle maker. Besides that, the taste and texture of a gluten free Belgian waffle is much lighter than a regular waffle, with a golden brown, crispy exterior and a tender interior.
Waffle-making pro tips
For the absolute best tasting, highest rising waffles, follow these tips:
1. Make sure the ingredients are warm, not too hot or cold
If you’re microwaving the butter and milk, it should be warm to the touch, not too hot to touch. Be sure not to get it too hot otherwise you risk killing the yeast. And the other ingredients – maple syrup and the egg should be warm also.
Tip on heating the butter and milk: chunking the butter into pieces helps it melt quicker.
2. Measure the flour by weight
We talk about this in my masterclass, but a digital scale like this one is an indispensable kitchen tool. It can make the difference between a heavy dense baked good and one that is just right. And in things like these waffles, this blueberry pancake recipe, this biscuit recipe and these dinner rolls, accuracy is everything.
3. Batter can be doubled
In fact, I do this often. Simply double the amount of every ingredient. This way, you’ll end up with 6 waffles instead of 3.
Best way to reheat these waffles
Keeping foods like waffles and pancakes warm after cooking them has always been a challenge. When you’ve got a big batch to make, the ones that are made first sit out the longest and tend to get cold. So here’s a handy tip…
Heat the oven to 200 F. As you cook the waffles, place them on a clean rack and place the rack on a large baking sheet. Place the baking sheet in the oven to keep them warm. If you end up with a lot of waffles – just use two racks. This is a good way to keep them warm, just don’t extend it for too long – any longer than 20 minutes and they’ll start to dry out.
Steps to making Belgian waffles
Ingredients & substitutions
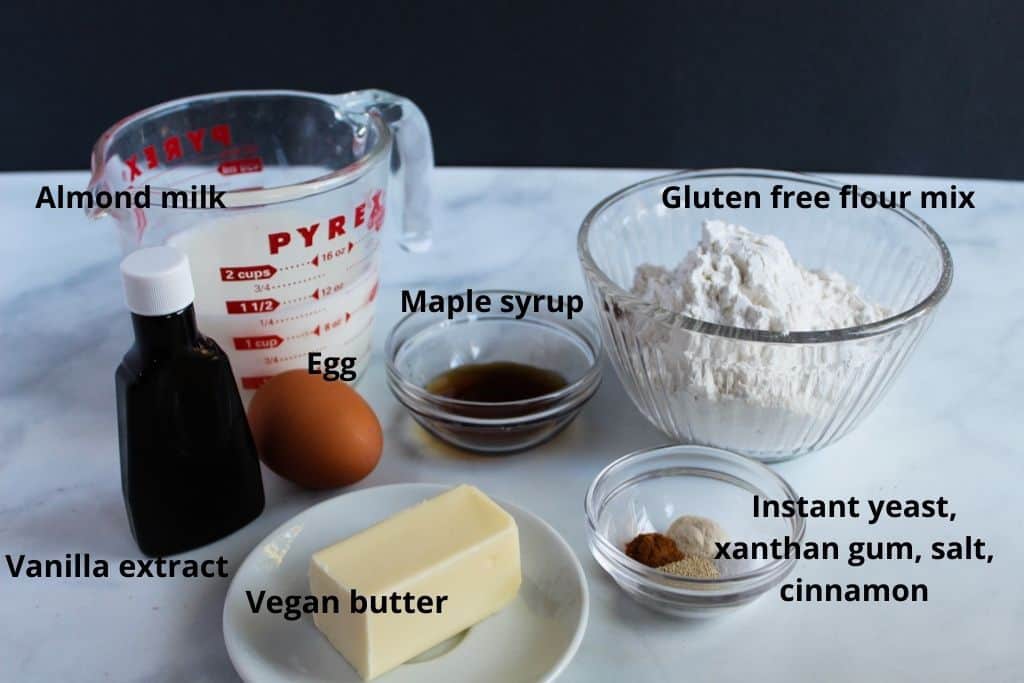
The ingredients list for these gluten free Belgian waffles is short – here are the brands I use and recommend and an equally good substitute if one is available…
Gluten free flour mix – The flour mix I use and recommend is my gluten free flour mix. This blend results in a light, fluffy waffle with the perfect balance of starch and flour. I would not recommend substituting this as other blends have not been tested and it could alter the texture of the waffles.
Almond milk – I use and recommend the Silk brand of almond milk. Coconut milk or even oat milk would be great options too.
Vegan butter – Earth Balance is my go-to for most of my recipes (including these blackberry muffins). Country Crock buttery sticks would be a good option as well. Or if you can tolerate dairy, regular butter would work well too.
Egg – This recipe was tested with a regular, organic egg. If you need to avoid eggs, the JUST egg brand of egg substitute would work well (more about this in my substitution guide).
Maple syrup – The 365 brand of pure maple syrup is the brand tested in this recipe but any variety will work – just make sure it’s pure maple syrup. Alternatively, honey would be a good substitute.
Vanilla extract – I use and recommend the Simply Organic brand of pure vanilla extract. Any brand will work great, as long as it’s pure vanilla extract, not imitation.
Xanthan gum – Bob’s Red Mill is the brand of xanthan gum used in the recipe. If you want to substitute the xanthan gum, reference this guide or these articles on alternatives.
Instant yeast – Fleischmann’s was used in the recipe but any brand will work, just make sure it’s instant yeast, which is also called rapid rise yeast, quick rise yeast or bread machine yeast.
Salt – Morton’s salt was used in the recipe, but any brand will work great. Salt enhances the flavor but can be omitted if you are following a low salt diet.
Ground cinnamon – The McCormick brand was used in the recipe, but any ground cinnamon will work. This can be omitted if desired.
Mixing
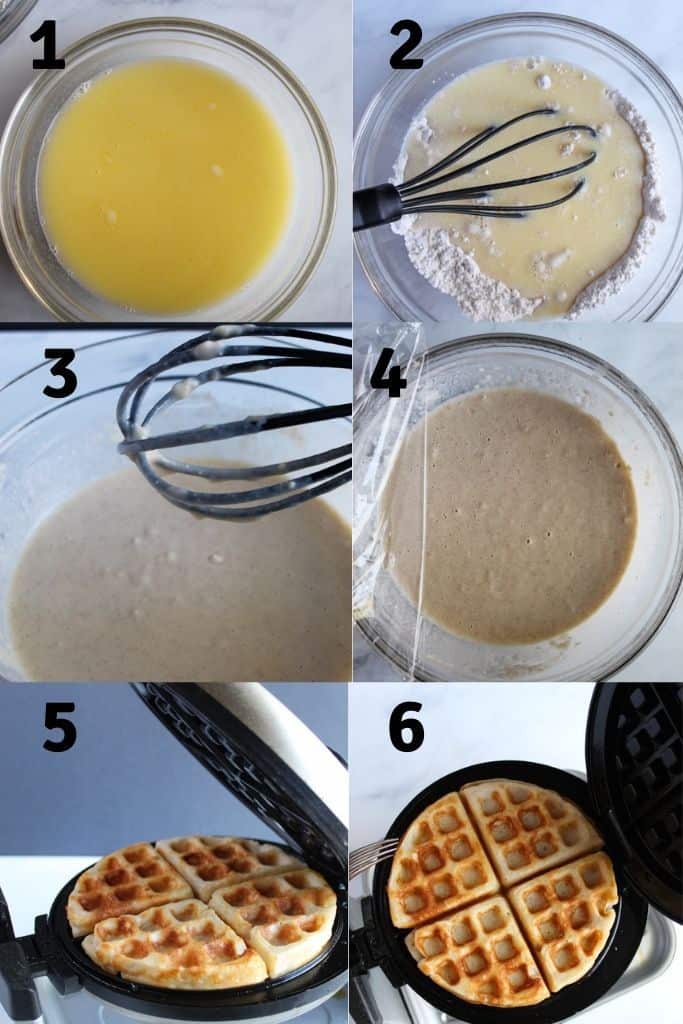
The prep time for these waffles couldn’t be simpler!
First, melt the butter and milk in a microwave safe cup (step 1 in the images above). In a large mixing bowl, whisk together the dry ingredients with the wet (step 2). Set the batter aside to rise (step 3).
For the ultimate, mouthwatering fluffy waffles, a nice rise time is essential. Using instant yeast helps speed along this process so 1 hour is all you need. After rising the batter will look full and light (step 4). Just give it a gentle mix and then get your waffle iron ready for cooking.
Cooking the Belgian waffles
The waffle iron used for these gluten free Belgian waffles is this one by Cuisinart. It works perfectly for these waffles and easily adjusts depending on how golden brown you like them.
To cook the waffles, simply spray the grates with cooking spray and ladle the batter onto the bottom one. 3/4 cups of the batter seems to be the perfect amount to produce a nicely filled waffle. Close it and flip the entire device (your waffle iron may be different), let it cook until the green light goes off. I usually let mine cook a little longer as we like a nice deep golden brown waffle.
Use a fork to carefully remove each Belgian waffle to a plate. Serve and enjoy or follow the steps below for keeping them warm!
FAQ’s about this recipe
You are in luck – they sure can! And it’s easy to do it! After the 1 hour rise time for the batter, just stick the whole bowl of batter into the refrigerator. It can be refrigerated for up to 24 hours. Batter prep the night before = quick and easy waffles the next morning!
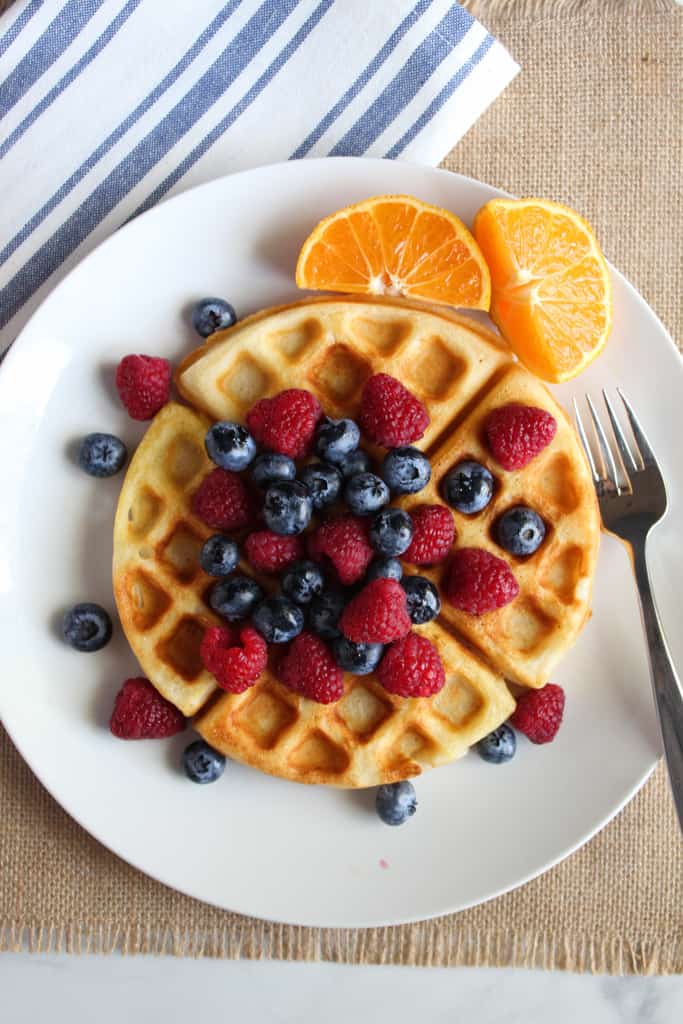
Gluten free Belgian waffles are amazing topped with a heaping pile of fresh fruit – berries are an excellent choice, but cooked apples would be amazing too. And you can’t go wrong with syrup on waffles of course!
Yes! They sure do. Simply stack each waffle in between pieces of wax paper and either place in a large plastic resealable bag or wrap in plastic wrap and freeze. Waffles can go from frozen directly to the toaster oven to enjoy.
The recipe uses our own gluten free flour mix. It’s the perfect balance of starch and flour for these waffles.
Originally published 7/26/2013. Updated with new photos and more information on 11/21/2019 and 12/30/2021.

Gluten Free Belgian Waffles
Ingredients
Equipment
Method
- Place butter chunks and milk into a microwave safe bowl and heat for 1 minute. Check and stir. Microwave another 30 seconds until butter is almost completely melted. Remove and set aside.
- In large mixing bowl, add flour, xanthan gum, yeast and salt. Stir to combine.
- Add warm milk mixture, maple syrup, vanilla extract and egg. Whisk until no lumps remain.
- Cover bowl loosely with plastic wrap and let rise in a warm place for 1 hour. Give it a gentle stir.
- Preheat waffle iron. Spray with cooking spray.
- Pour 3/4 cup of the waffle batter onto hot waffle iron. Let cook until desired shade of golden brown is reached (usually about 4 minutes each).
- Remove and serve with fruit and/or syrup.
Video
Notes
- Make sure all ingredients are at room temperature.
- The batter can be prepared ahead of time – just mix it and let it sit on the counter for 1 hour, then refrigerate the batter for up to 24 hours. Use immediately after removing from the refrigerator.
- Waffles can be made and then placed on a rack in a 200 F oven to keep warm.
For more delicious gluten free recipes, check out:
